When you click on links to various merchants on this site and make a purchase, this can result in this site earning a commission. Affiliate programs and affiliations include, but are not limited to, the eBay Partner Network.
Tutorial - Front Sway Bar Bushings and End Link Replacement
Hi all - I did a search, didn't see if this was already done elsewhere but thought I would post my experience in the hopes of making it a bit easier for the next person. Many ways to skin this cat I am sure, but this is how I did it. SIGNIFICANT thanks to user "pindre" who I have engaged a few times over PM to talk this through until I felt confident I could do it. I'll try to do this step-by-step and have some pictures, but do feel free to ask me any questions.
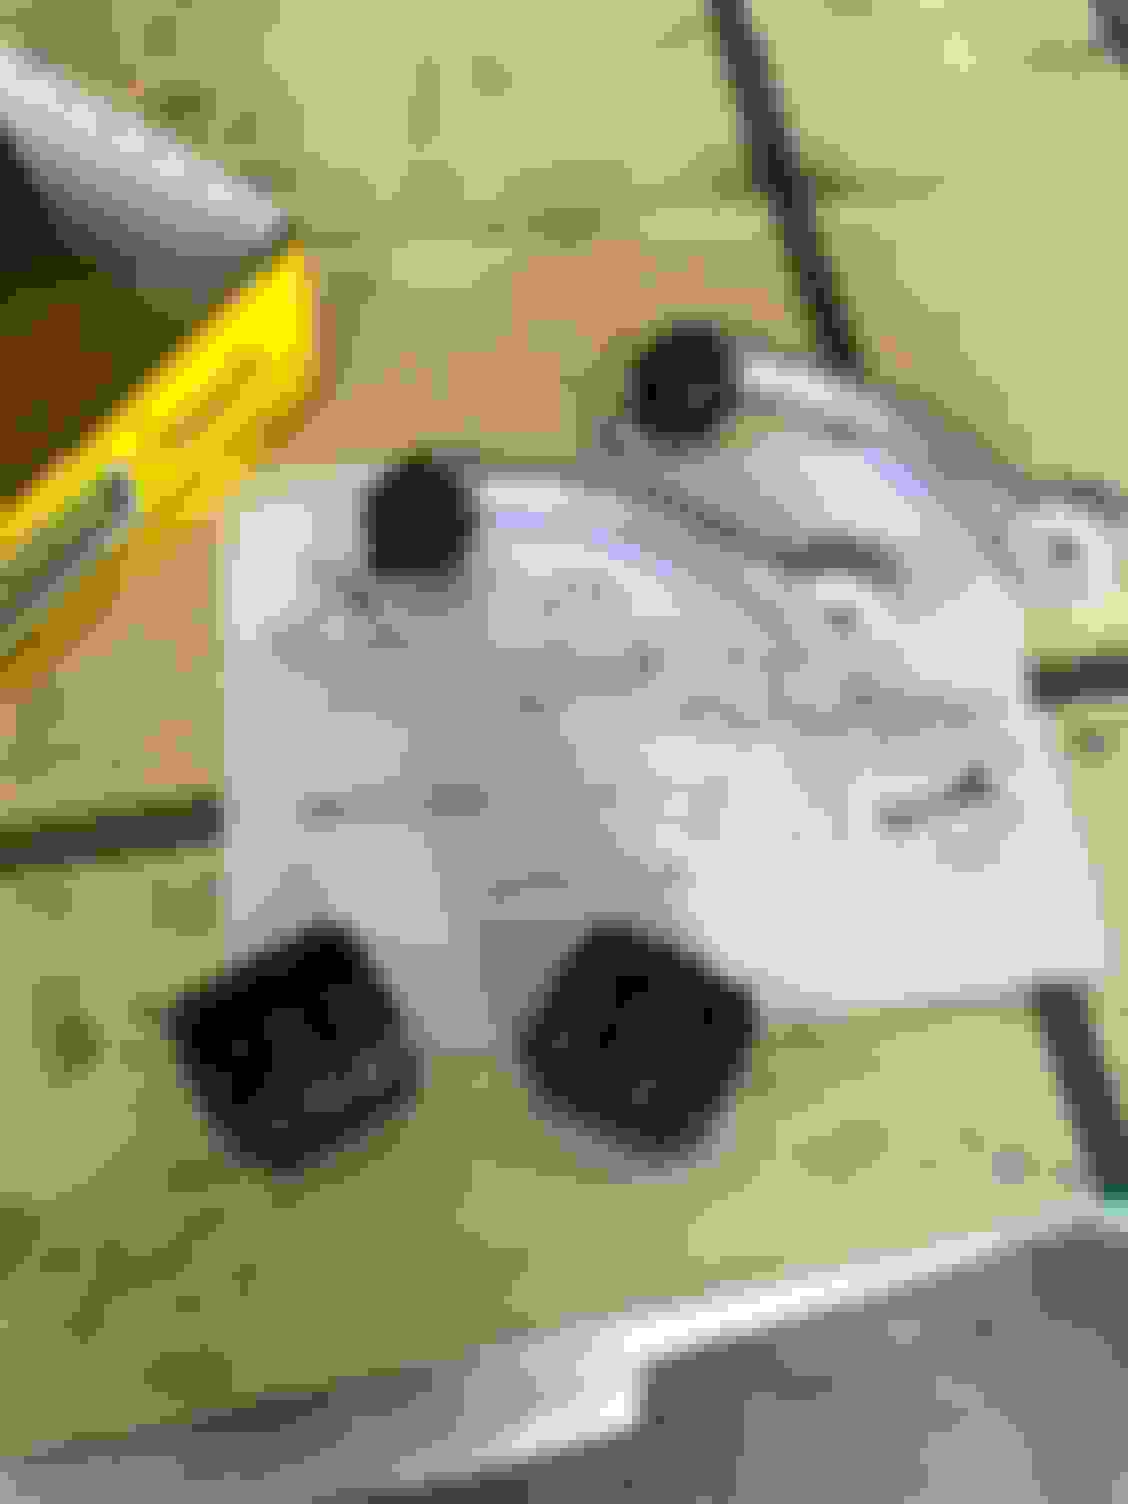
Here's the parts I used, along with a printout of the suspension assembly found elsewhere on the forum:
1. Jacked up car and put jack stands under both sides, under the lower control arm on the rear inboard side (under the larger pivot point).
2. Removed the wheel well arches (you'll need your Torx bits...):
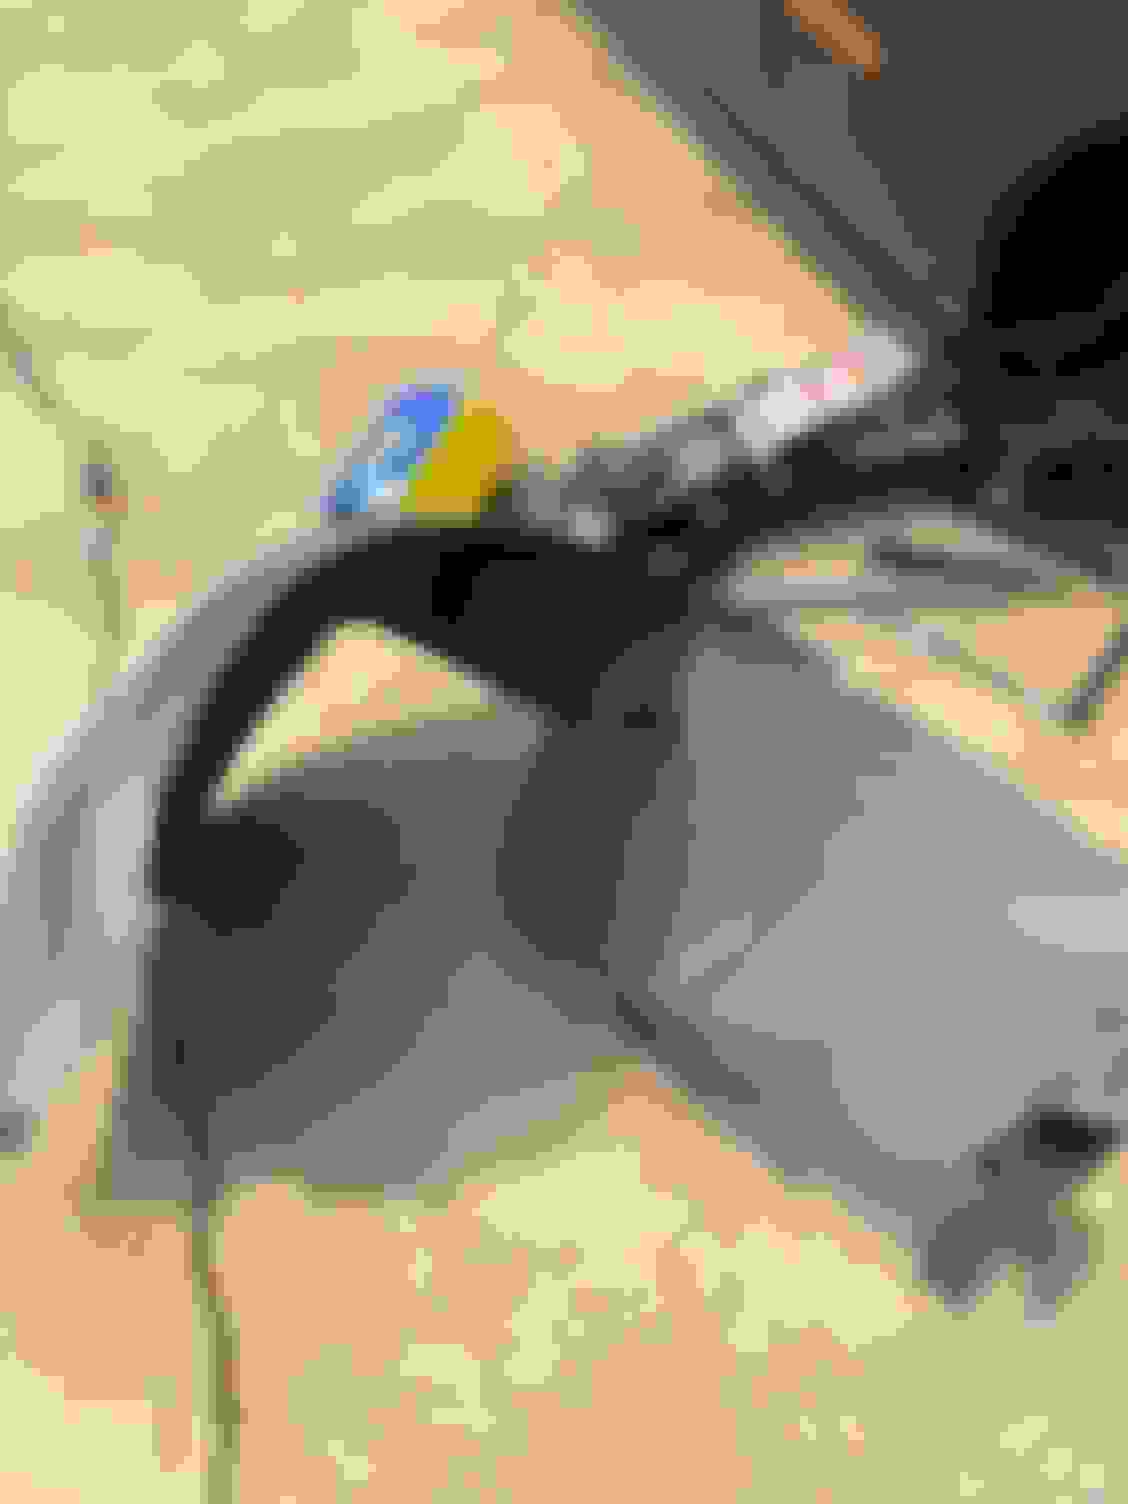
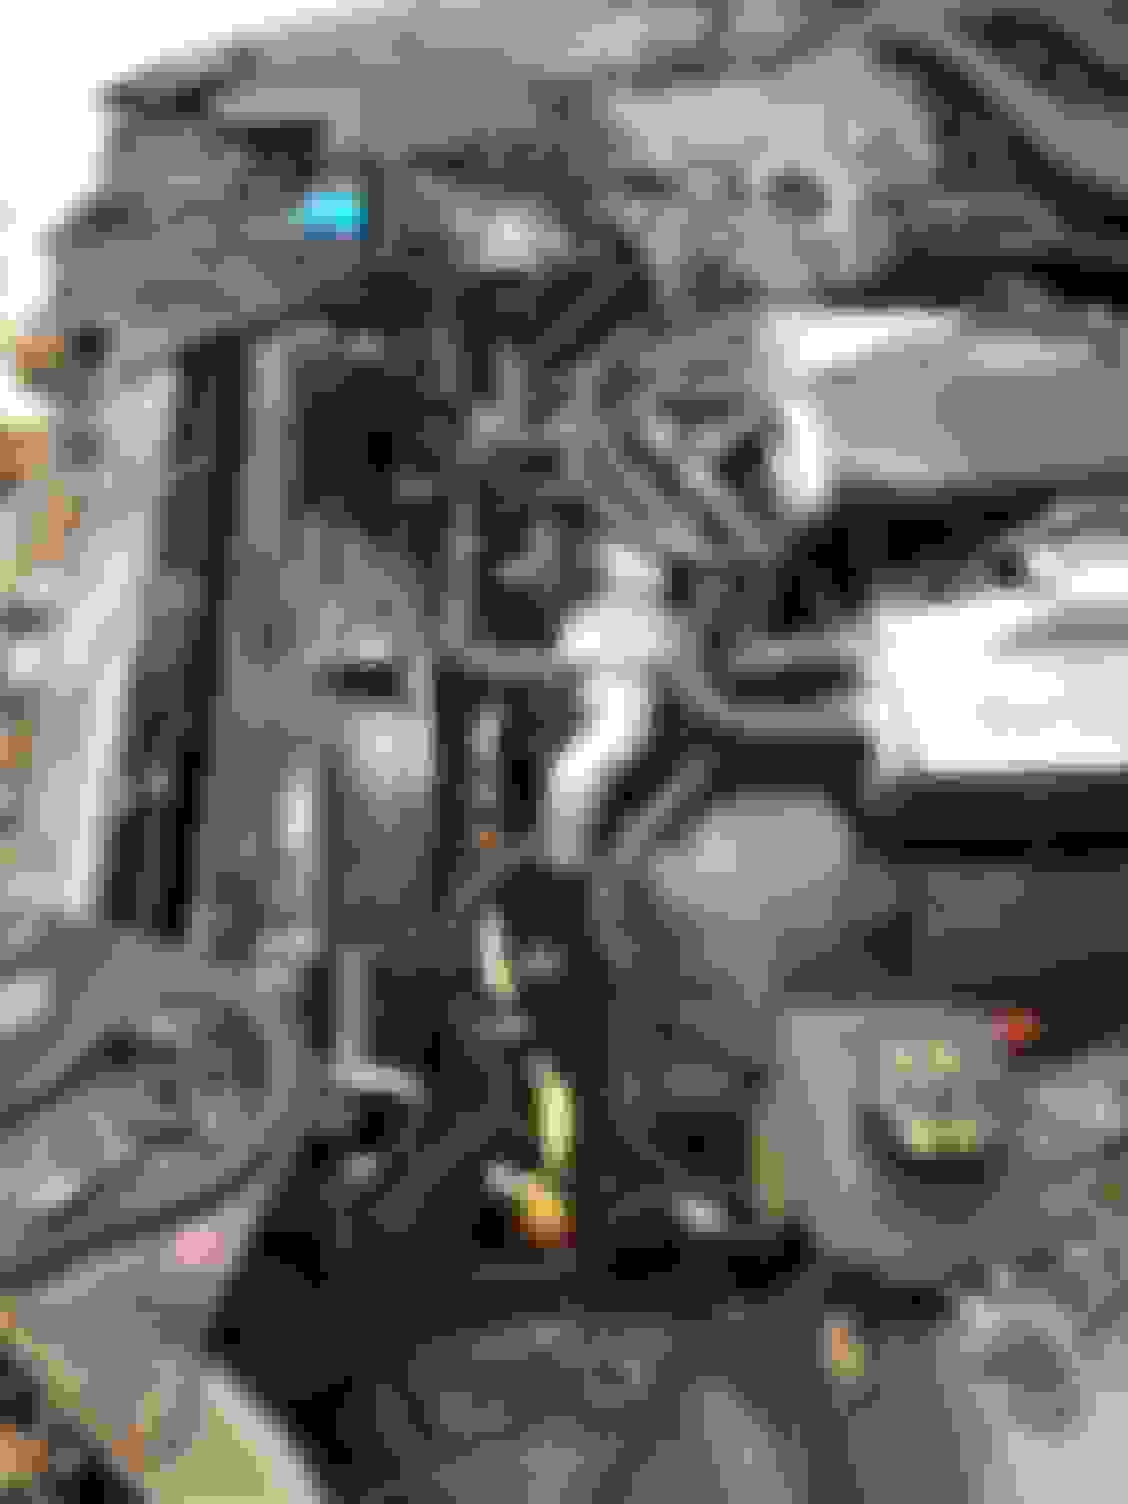
3. And starting on the right side, there is a small rubber shroud attached to the frame by only 2 pop-in fasteners. Removing those will help move that to expose the sway bar bushing bracket. You can see it just behind my screwdriver here:
these just pop out and you can push it aside.
4. You'll also need to remove the plastic skid plate from the bottom of the car, just the front half. Same Torx bits as before.
5. I then removed the sway bar end links, starting with the bottom. Deep well 15mm socket at the rear along with an extension, and a 13mm wrench at the front, and that bolt will just slide back and allow you to pull the end link out and over.
6. Then at the top of the end link where it attaches to the sway bar - a 15mm wrench to remove the nut and a 5mm t-handle allen key to hold the stud:
7. Repeat above steps for left side - makes it easier so you can swivel the sway bar to help line things up.
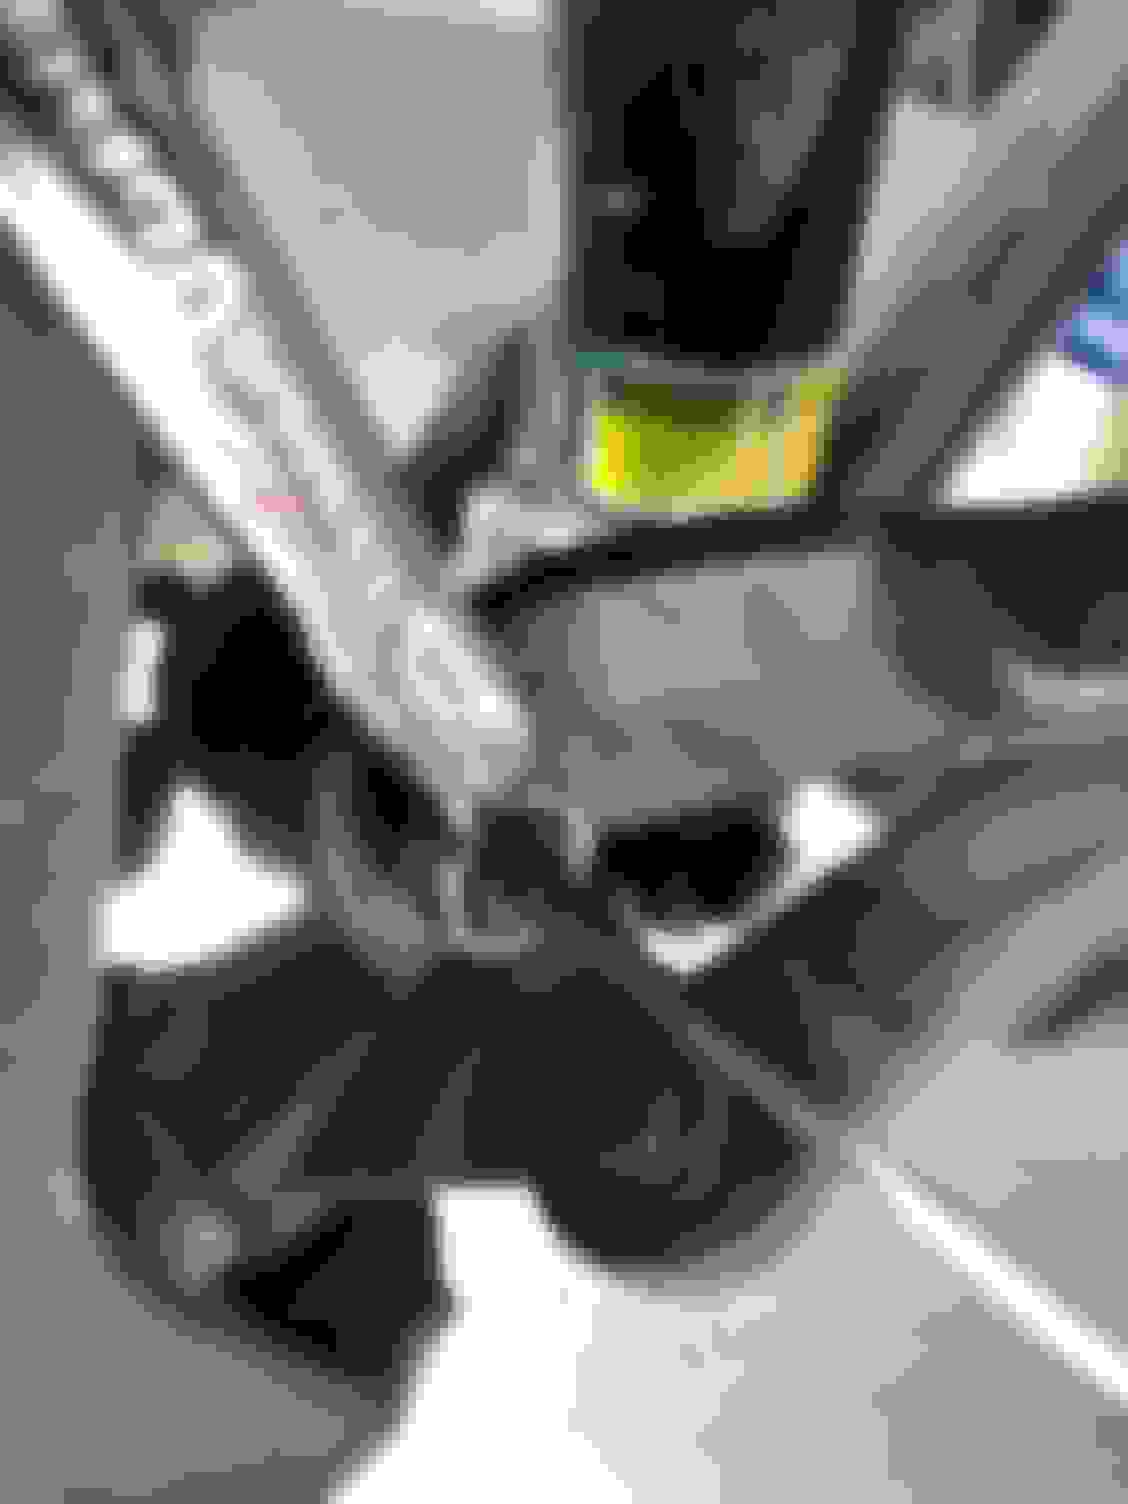
8. Now here is the part I Wished I'd Known. There is a cross bar mounted directly over the sway bar. It is a piece of aluminium c-channel, held in place with 2 13mm bolts on each side. The opposite holes are threaded, so no nut to worry about. If you take this off, you can move it around and fish it out the left side:
Here is the bar disconnected and ready to fish out.
It was impossible for me with the tools I had to remove the front bolt on the bushing bracket. With this channel removed, you can then get a socket on it fairly easily, either from underneath the car or from the wheel well area. Remove the rear bracket bolt but do NOT REMOVE the front bolt - just loosen as much as you can - you can feel the threads from underneath thru the chassis - otherwise you will never get it back in.
9. With the bracket lifted up, you can get a screwdriver in there to split the bushing and spray copious amounts of WD-40 in there to help it slide off. Slide the old one out and around the bar, pack the new one with high quality grease, and put it back in. Evenly tighten the front and rear bolts until they are tight. With both in place, the sway bar should feel a little tighter than it was before.
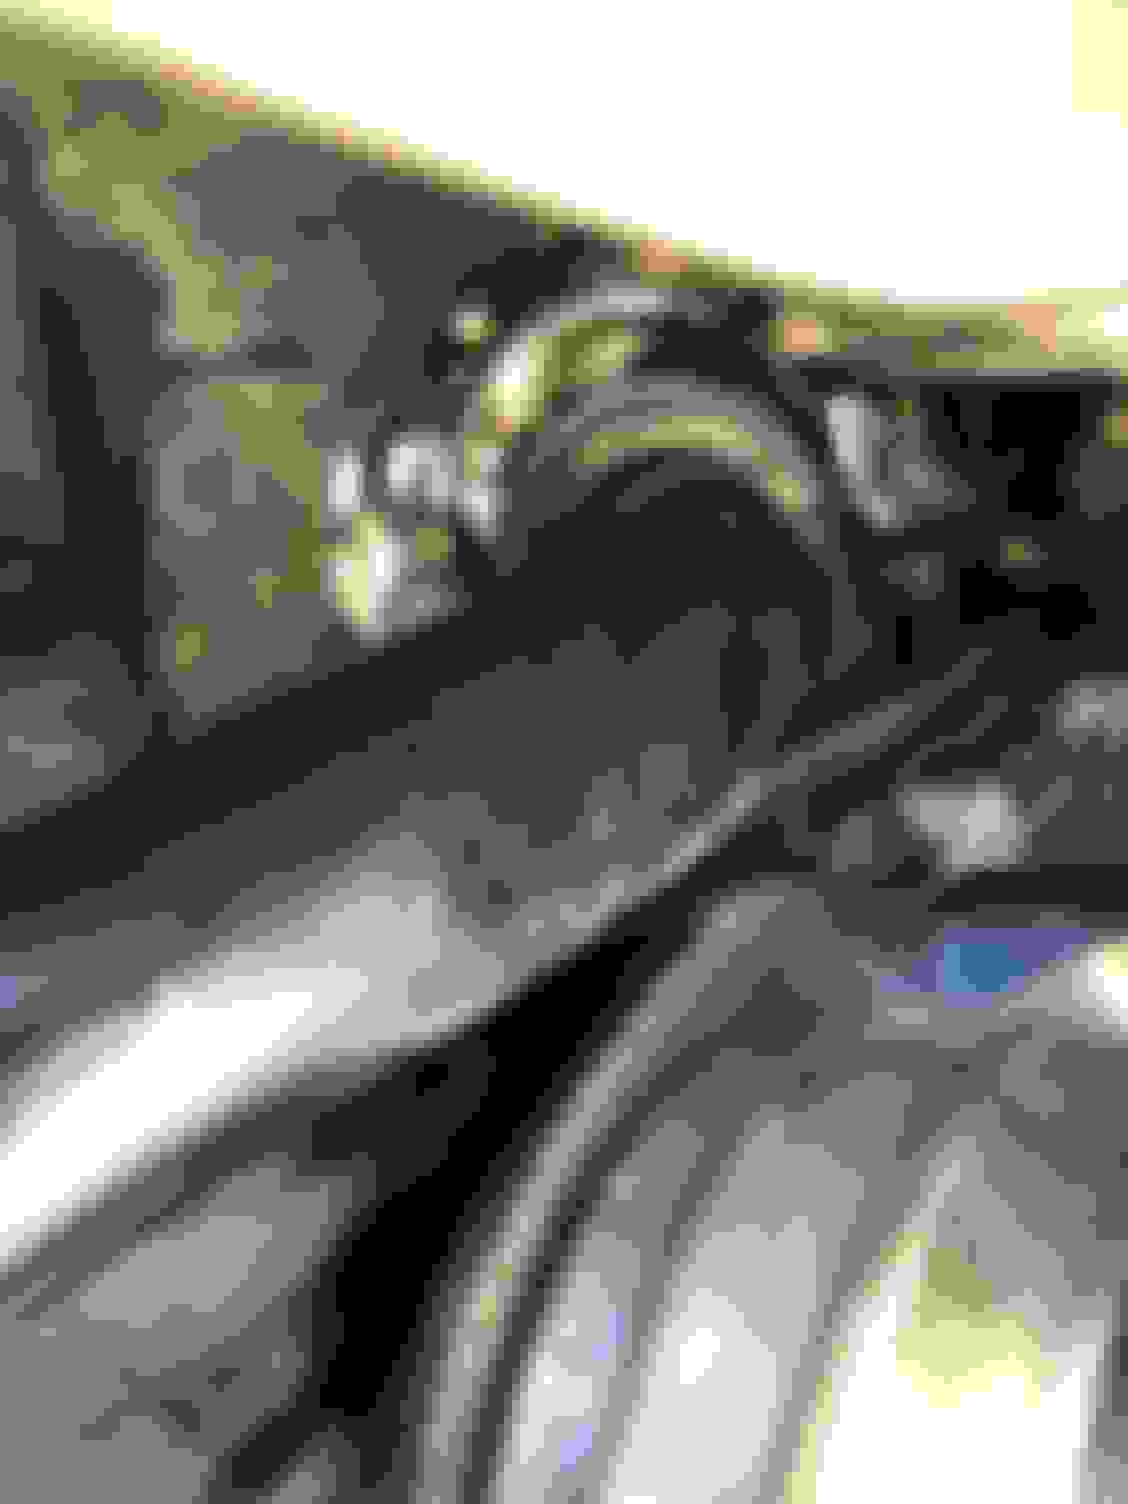
10. Left one is similar, you do have the alternator to work around...
11. Fishing the crossbar back through...
12. And the end links are just a reversal of the removal procedure. I'd be shocked if it took any longer than 5 minutes.
snazzy!
Now all that remains is to reattach the skidplate and wheel arches. Take this opportunity to replace those old broken or missing fasteners. Jackstands out, wheels on, and go for a test drive!
In my case, it did not fix the issue I was hoping to address (the nefarious low-speed clunking noise) but it was a good exercise and will save me from having to do them any time soon. I am working through the diagram from the first step and eventually will find the culprit! If not, well, i'll have learned a bunch in the process!
Hope you all enjoyed, and will try to do more of these in the future.
Hello fellow Northeast Texan! Nice write up and great pictures, thanks for taking the time and documenting your work! I've been down this same road that you are traveling. I've posted in numerous threads associated with this problem over the past two years. The parts you have replaced are good to replace and inexpensive, all good things to do. I just read your other post that you have already replaced the front air struts with Arnott AS-2888's and the clunk persists. How do the lower front A arm large bushings look? I pressed two new ones into my car a year ago and it didn't solve the clunking (mine was the air struts), but it did help the feel of the car to tighten up. Good luck and PM me if you have any questions, I am happy to help you in any way I can.
Hey there - nope, already replaced the struts with shiny new AS2888's - that was the first thing I did actually because I also had the cold weather overnight sinking curse. Fixed that, but not the noise.
I can see the boots on the tie rod ends and the upper control arm ball joint are torn up, so reckon those are next!
Thanks NDW - any good BBQ down that way? I'm always up for a trip!
The lower control arm bushings seem good. I wonder if the sound is something I can take a recording of - its not really a "clunk" per se. If i were younger I'd suspect the old "nuts and washers in the hubcap" trick.... if i had hubcaps. But that kinda gets close - i think in another thread I described it as jogging down the road with a pocket full of small sockets or change.
its actually kinda embarrassing, if I roll down the windows I can hear it resonating off of houses and buildings as I drive down the road... what must the neighbors think! :-P
Hmmm, there are some good BBQ places in Tyler - especially like Stanley's. I wouldn't think the brake pads would cause that much racket, you mentioned the sound goes away when you drag the pads slightly. If it is that noisy they should be rattling by touch when the wheel is off. If the caliper was loose I would think that would be very obvious when you hit the brakes. I know you've inspected the pads and associated hardware thoroughly so this is a mystery. But, it is a mechanical problem and there is a solution, we just need to keep looking.
It is hard to say, because of course when the wheel is off, the rotor is no longer held in place. I know that i can reach through the wheel spokes when the wheel is on, and everything *seems* firm and in place, but I know we are probably dealing with millimeters or less.
I've ordered the tie rod ends, those are next anyway. Appreciate the info and the encouragement -- stay tuned! :-)
Will have to check out Stanley's!
Consider getting a couple of lug nuts that are open ended and cinching up the rotor without the wheel on. If it is rattling that badly while underway, one would think it could be found. You'll find it - persistence pays off. Good luck!
If your doing front tie rod ends, check the rear tie rods, as well as drop links. More than likely need new ones. Then do your alignment, or you will be doing it twice.
If your doing front tie rod ends, check the rear tie rods, as well as drop links. More than likely need new ones. Then do your alignment, or you will be doing it twice.
Thanks Newt - yup that is the bit mine is missing, and I have a feeling it may be the culprit! For the benefit of anyone following this or other "clunking" threads - check this out:
Thanks for the thorough post! Extremely helpful! One thing I would add: Do not remove the bracket: Just push it up slightly and you can access the bolts. Then just slide it back into place. Warning, this job is a PITA relatively speaking.
Great tutorial and very helpful today when I changed out my sway bar bushings today. I agree this is not a job for somebody who isn't determined and flexible. I pushed out the old bushings from the outside of the car and found the easiest way to insert the new bushings was to slide them on at the bend in the sway bar and then slide them up to the welded flange. The new bushings (even with gobs of grease) are very tight. Tomorrow, I put the aluminum channel back on and new drop links before trying her out. Thanks for all of the help on this
Steve
Finally, finally finally put on my big boy panties and put my 08 XJ8 on stands at first light.. 6:45 am.. preparing for a days battle!
Following this thread I got the bushings replaced and in my case... Total sucess.. the thunk clunk driving down the road is gone! So frickin happy. The Jag cruises like it was meant to cruise
Took from 7:30 am to 4 pm to do it all and only comment is that drivers side was much more difficult.. I guess cuz of alt in the way
...
But so satisfying..
Also meant to say that driver side front bush clamp bolt was IMPOSSIBLE from wheel well.
I finally removed snorkel tube that connects to air box and from above with crazy combo of extensions and wobble joint, managed to loosen bolt and then re tighten
As this thread has popped up again, I would like to add what I found out while working on my SV8.
My car also had a clonking from the front and it turned out that the sway bar bushings were shot.
As I was also replacing the valley hose (actually all of the hoses) and doing some other jobs to tidy up and clean the engine compartment, I saw that with most of the hoses removed you could access all screws of the brackets holding the sway bar bushes quite nicely from above, including the ones holding the c-shaped cross bar mentioned in this post
:
My apologies for the quality of the pictures, but I hope that they give an idea of the accessibility.
Yes, removing the hoses is also a bit of a pain, but if someone needs to do works on the cooling system it might be worth to consider combining two jobs.
Hi, I was reading throw your thread and id like to ask you, I was changing the 2 front struts, the sway bar on the passenger side was too tight but when I moved to the driver side it was very lose, I can move it up and down with my hand and no effort, is it suppose to be that way or something is broken, its puzzeling me any help would be appreciated, thank you.,
Hi, I was reading throw your thread and id like to ask you, I was changing the 2 front struts, the sway bar on the passenger side was too tight but when I moved to the driver side it was very lose, I can move it up and down with my hand and no effort, is it suppose to be that way or something is broken, its puzzeling me any help would be appreciated, thank you.,
Hi. - The sway bar should be solid with no movement. The ends are connected to links and main part of bar is secured to frame via rubber bushings and clamps.
When the bushings get old hard and worn, the bar moves a bit and you get the thunk and clunk driving. If yours is that loose, I suspect the rubber bushing is gone or less likely, the bolts holding the clamp over the bushing have come loose or snapped off
thank you for the reply,is there 2 sway bar a left one and a right one or just one sawy bar for both sides, because according to the service manual it shows one sway bar and in order to change it, the engine has to be support with a bar that sits on both fender wall .....................what had hapened is the car was dropped on the left side while i was trying to jack it and i heard a big snap, but if what youre saying that most likly a bolt snapped then i can fix it.thank you!
 03-18-2018, 04:46 PM