When you click on links to various merchants on this site and make a purchase, this can result in this site earning a commission. Affiliate programs and affiliations include, but are not limited to, the eBay Partner Network.
Put new urethane grease boots on the rear upper control arms greased them well. I changed the right side oil cooler line o-ring at the oil filter end. Fingers crossed that the oil drip is gone. Installed stock mufflers from the breaker yard, didn't like the straight pipe and tips the previous owner installed. sounds better IMO. Repaired the air-filter to fender bracket & installed a fresh stock type K&N filter. lots more to do. Wanted to replace the L engine mount, but will save that for another day. I've got rear anti-roll bar links & rear tie rods & brake pads coming, so the fun will continue for a while.
Wow! It really came out easily... rear passenger side! Placing new Arnott was not so easy. It seemed just a bit too long. I could not compress it any and could not push down the hub any lower to get the bolt through the lower control arm collar. Never did get it- working alone. Will try again tho. Any hints? It is an �09 XJ Portfolio. The Portfolio is never listed when ordering parts. It is a SV8 on the original window sticker but comes up an XJR when searching for parts by VIN. Very confusing. The shock that came out was a green stickered comfort shock.
It IS tough to get it that bottom bolt in !!!!!
Try using a floor jack, with a thin round shank pry bar.
Or long round shank screw driver to line things up.
I had the use of a rack, as well as another pair of skilled hands.
All the necessary tools, including a transmission jack.
Sill fought us every step of the way on both cars, what a B- itch.
Dove into ceramic coating for the first time and I have to say it looks so much better than expected. It did require complete stripping of any waxes and sealants I previously had applied. This made the ceramic hyperwax gel easy to apply. No streaks or unbonded material. The gloss provided by ceramic is outstanding. I was always afraid of ceramic coating as I had seen some nightmarish results both in person and online. Very happy with the results. 😎
After the upheaval of our recent house move, I finally got around to fitting the Winter wheels, only for the temperature to turn very mild so I could have got away with it for another couple of weeks. Typically, the following day one of the TPMS valve bodies started leaking. Fortunately I bought some spares a few years ago when I saw them cheap on eBay, so just a minor irritation rather than a complete PITA. Other than that, all I have done is abuse the speed limits with it. It doesn't matter how long I have had this car, or how many miles its done, it just thunders on asking only fuel and scheduled maintentance, delivering more satisfaction than any of the other ninety something cars https://jagchat.net/thread/624/car-h...scrollTo=32377
I have owned have ever done.
Today me and my dad replaced the serpentine belt and the tensioner/idler pulley, and it was an experience! And it pay off in the end with the car no longer squeaking (Instead she just purr!).
During the trip, we found out that whoever serviced the car seems to forgot to tight the clamp that holds the tube from the air filter to the throttle body, possibly spilled engine oil out and left a mess... (Also previous find from months ago includes a rag in the radiator, broken clips...).
Buttoned everything up only realize that transmission hoses gave out big time. Replaced rubbers with universal transmission hoses from NAPA. Double clamped.
Harbor freight engine brace along with homemade engine brackets. This is the compressor valve that was replaced. Make sure it's completely pressed in and the clip sits well. Ask me why.
Hello BlackKat,
Do you recall the brand you purchased for the engine mounts? Currently searching as they need to be addressed first thing in 2021. Thank you!
Swapped out the old bluetooth module in favor of the newer one that connects more easily, especially since it seems mine was somehow corrupted or something.
A few weeks ago I was in a pickle when I found myself stuck on the side of the road because of a loose battery cable, and the key wouldn't open the trunk. So today I also dug into that and reconnected the cable from the lock mechanism to the latch. It was a little fiddly but easy enough after I figured out how it is meant to work.
I wanted something different than the RR upper intake and the usual options on the market, so I fabbed up a custom 3.5� intake from the TB to the air box with a K&N filter.
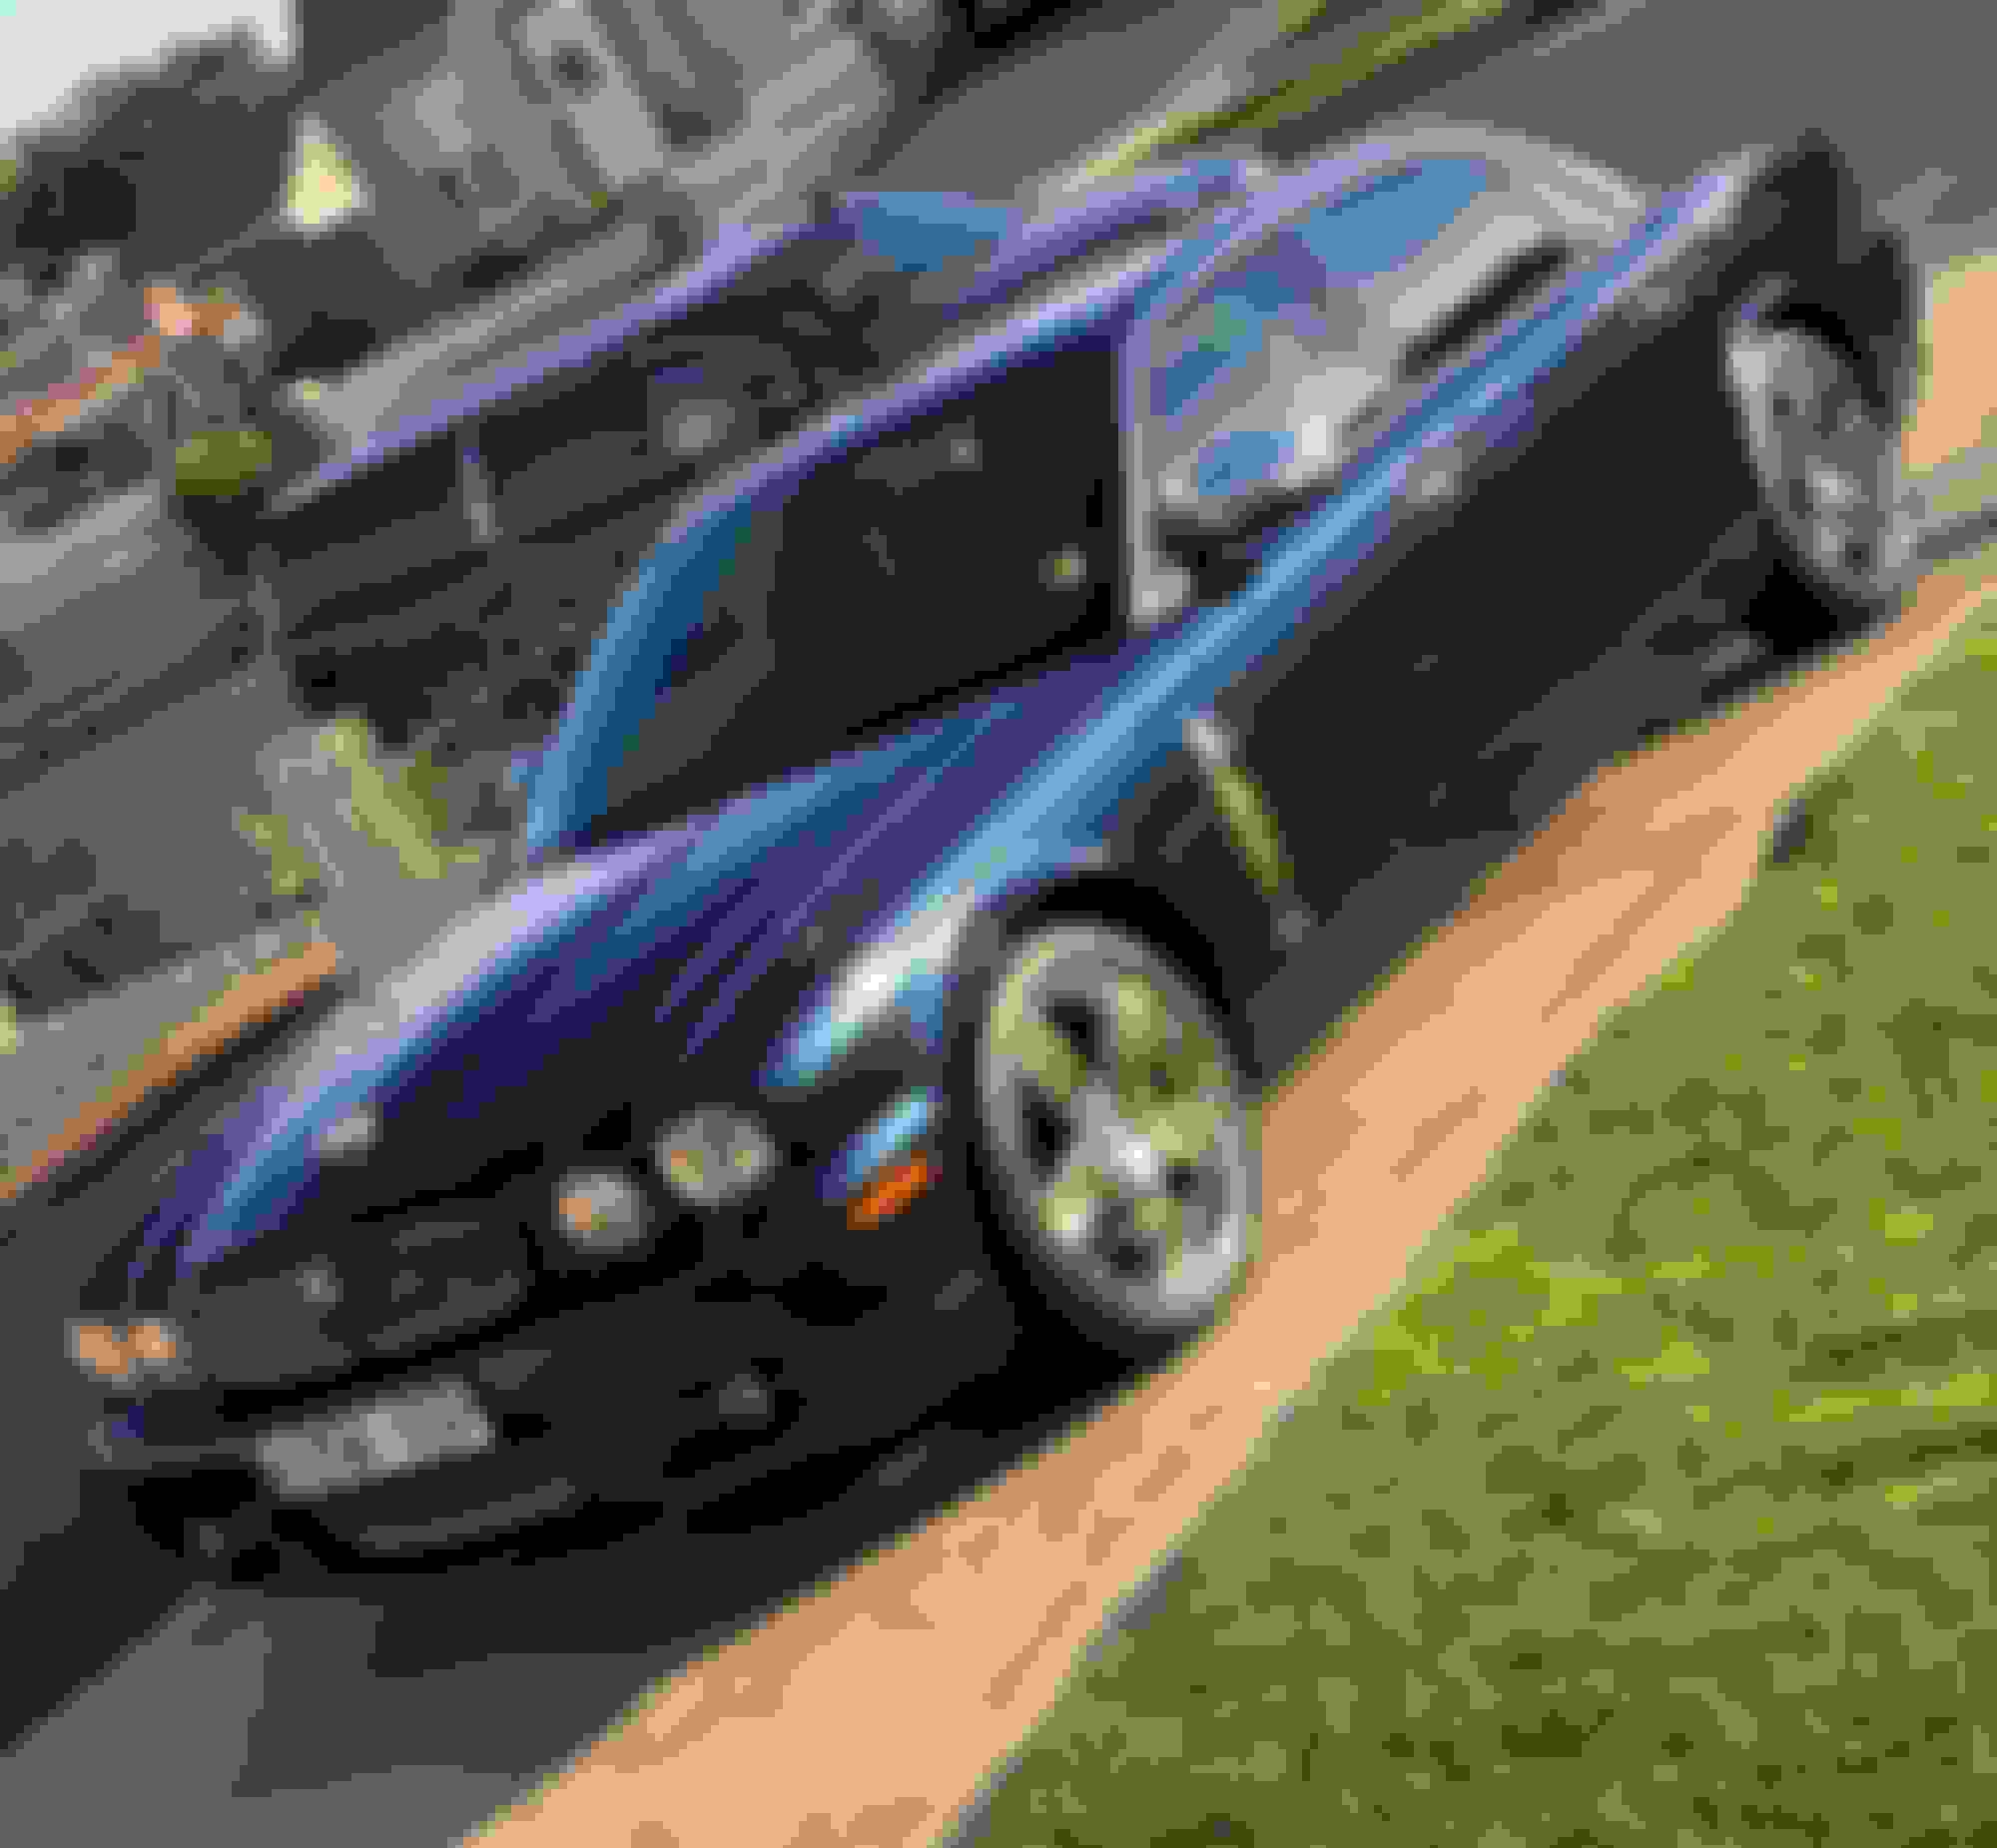
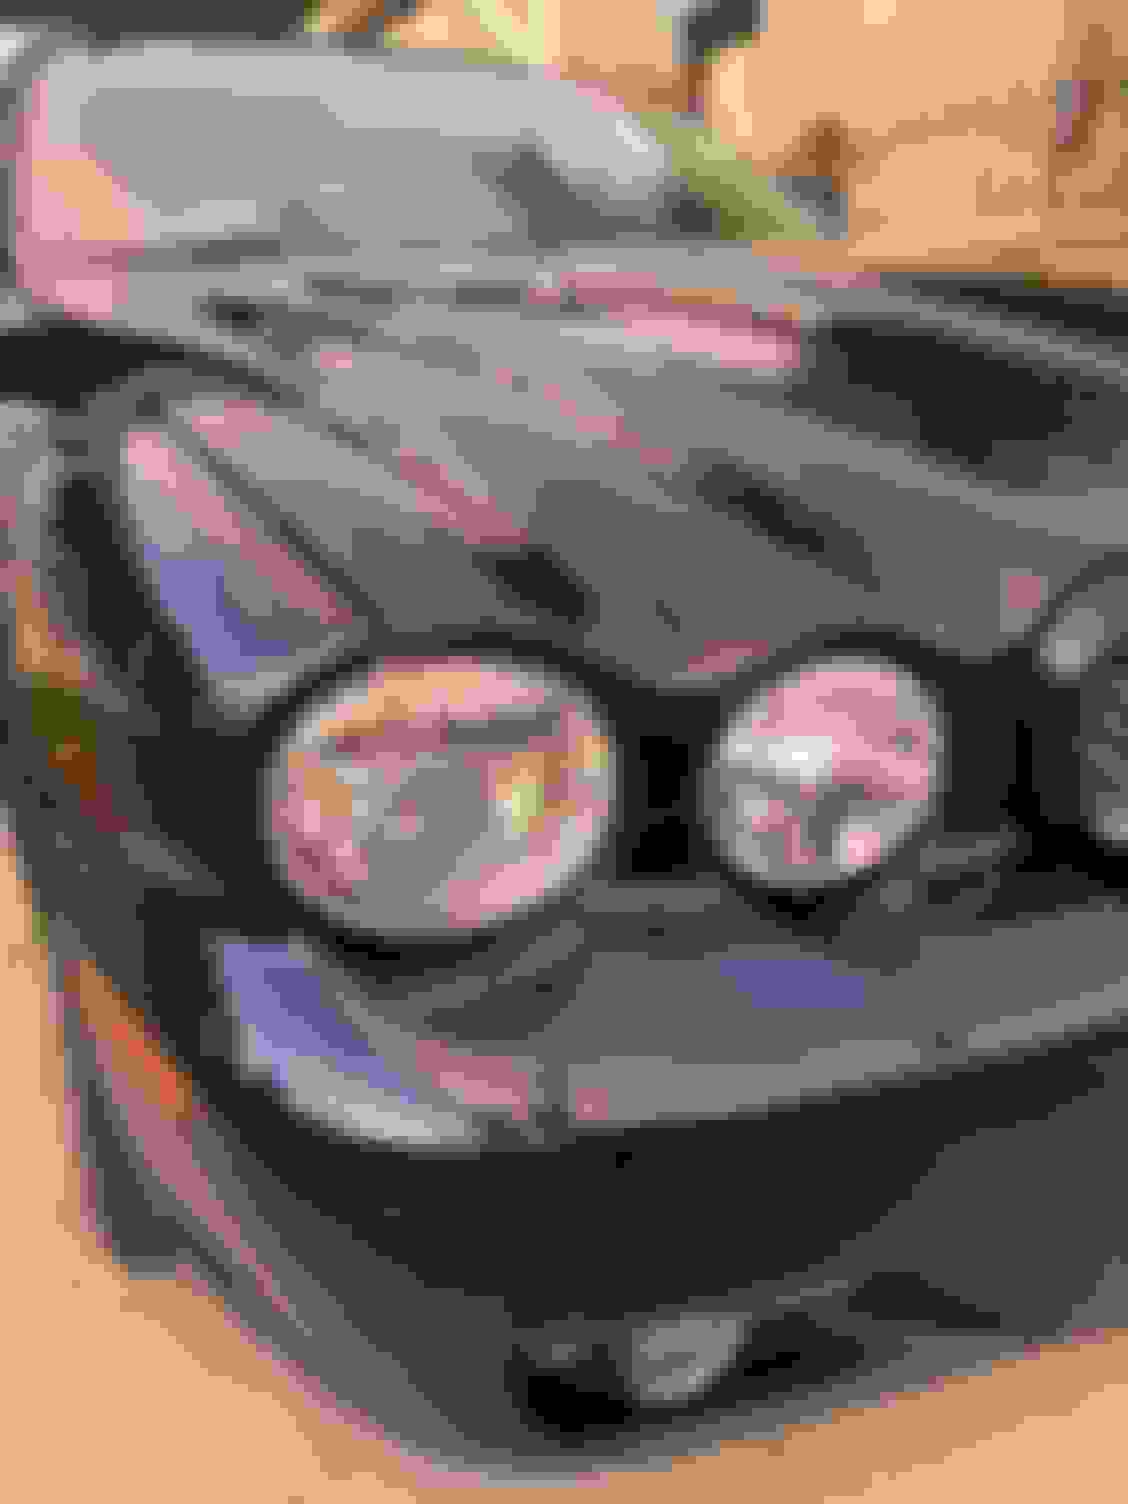
My son took the jag out for a spin and in good gesture he also took it for a cleanse at a dreaded machine �drive thru� wash and unfortunately that left some swirls and light scratches on the paint. I was thankful but did mention that I�d rather keep our vehicles out of those places due to the grime that can damage paint. No lecture needed, he understood. I waited a few weeks after some rain and dirt build up to give the Princess a proper treatment.
Treatment Process: Foam wash with Chemical Guys Clean Slate and Dawn Soap. Bucket Wash with same mixture. Clay Bar and Rinse. IPA Wash to remove all remaining traces of previous waxes and sealants. Torq DA Polisher with Black Foam Pad (Soft) with TW Hybrid Solutions Ceramic Polish and �Wax� - Not sure it�s really a wax but it offers some protection as an All In One product. Finished with Griots Finishing Sealant and TW Ceramic Spray Wax along with Chemical Guys Hydro Slick Ceramic Hyperwax for the small crevices that require protection. Keep in mind that I wash my cars once a week so I�m not a huge fan or 100% ceramic coating as they take away from the therapeutic vibes that hand waxes and liquid creams provide.
Anyways, she looks great again and now we hybernate through the Winter!
Hibernate!! Holy cow aren't you in LA? If my Jag here in CT hears about that she's going to be very mad at me for making her work on sunny weekend days right now if the temps make into the 40's :-)
 11-15-2020, 02:11 PM