When you click on links to various merchants on this site and make a purchase, this can result in this site earning a commission. Affiliate programs and affiliations include, but are not limited to, the eBay Partner Network.
It's been a minute since I been on here but I'm excited to share that I made a slight upgrade to the 2006 XJ8 Vanden Plas recently. I love everything about this car. Shout out to all the x350 & x358 owners out there. We own the last real Jaguar made in my own opinion. Sending everyone positive energy and light. Good night.
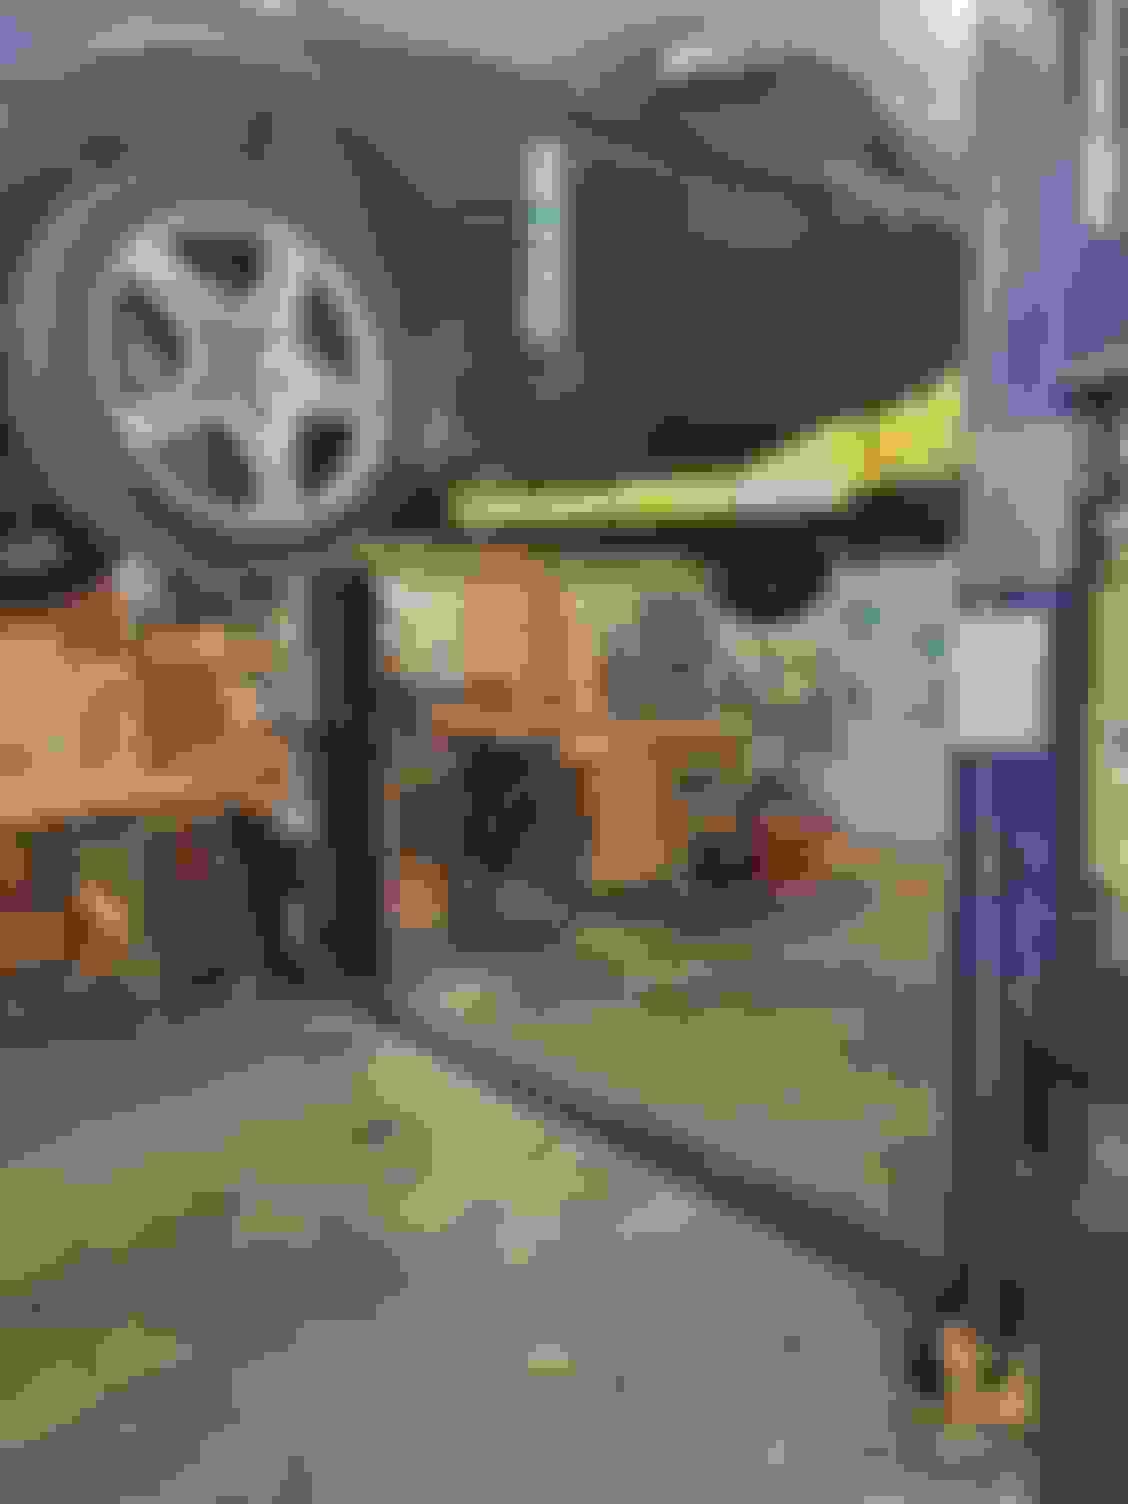
So, I finally got tired of the headlights-aimed-at-the-ground syndrome, and assumed the stance must be wrong, so measured the front and rear wheel center-to-fender edge, to check for level. The front was exactly on, but the rear measured 10 MM too low! If i raised the rear, the headlights would have pointed even more downward. I actually like the stance just as it is, so I pulled the front bumper cover for the second time, and installed shims and longer bolts under the lower mounting points of the headlight units, to lift the aim. I had to do that on my '06, because the air shocks had been replaced with coil/overs, and the rear always rode a bit high, but I never thought I'd have that issue with operational air shocks.
Before I replaced the bumper cover, I had my wife approach me on a dark street at night, me driving her car, to make sure I hadn't jacked them up to a blinding level. They looked fine, and when she got back home, she remarked on the improvement. ("I didn't have to use the brights once in order to see down the road"). Some road trips are on our horizon, and I'm looking forward to the improvement myself, since I've always loved driving at night.
The bumper cover removal is SO much easier on a lift, so I herewith offer my evidence of the extreme value I get from my monthly membership fee to belong to our local maker's space. Access to TIG welders, MIG welders, plasma cutter and the lift, as well as the camaraderie of a fellowship of geeks and nerds, makes living in this small college town all the more special.
Maybe it's a stupid question, but have you tried to adjust the headlights first, before doing the work with the shims and all? Normally, that's enough to set the level of the beams right.
Not stupid at all. I've been following the issue for quite awhile, and have noticed that "headlight aim" questions get thousands of reads but only single digit responses. That points to a constant question but few answers. I had no response from the adjustment screws on my silver car, so didn't even attempt it on the blue car. They were so badly misadjusted I jumped immediately to plan B, since it worked so well before. Now that you bring it up, next time I have it at the shop after dark, I'll try the adjusters. If they work, and have that much travel, I may be able to pull out the shims. That's an example of the value of crowdsourcing. Thanks.
If you did not get any response from the adjustment screws on your silver car, something must be not right with them.
When you get the chance, it might be worthwhile to remove the headlight assembly and check the adjustment mechanism. As normally it is all plastic, it might be that one of the internal connections has only come apart instead of breaking and can be put together again. I know that buying a new headlight assembly is a financial pain, especially the for the HID version.
Best regards,
Thomas
Just want to add my $0.02 here.
I have an 04 XJR with HID lights. Air suspension deleted. Now the air suspension and headlights go hand in hand.
Finally bit the bullet and have the headliner reupholstered by a shop. A bit pricey, but definitely worth it!
Very nice, how is the color match in person with the factory trim? We have the same interior and I've considered a darker headlining with recoloring the factory trim as i thought it wouldn't look right.
Very nice, how is the color match in person with the factory trim? We have the same interior and I've considered a darker headlining with recoloring the factory trim as i thought it wouldn't look right.
Hey!
The new fabric does look a bit darker than the factory trim, which I believe is because of discoloration overtime, so that's something to keep in mind.
I'd definitely go for recoloring the factory trim if you want a perfect match with the headliner fabric
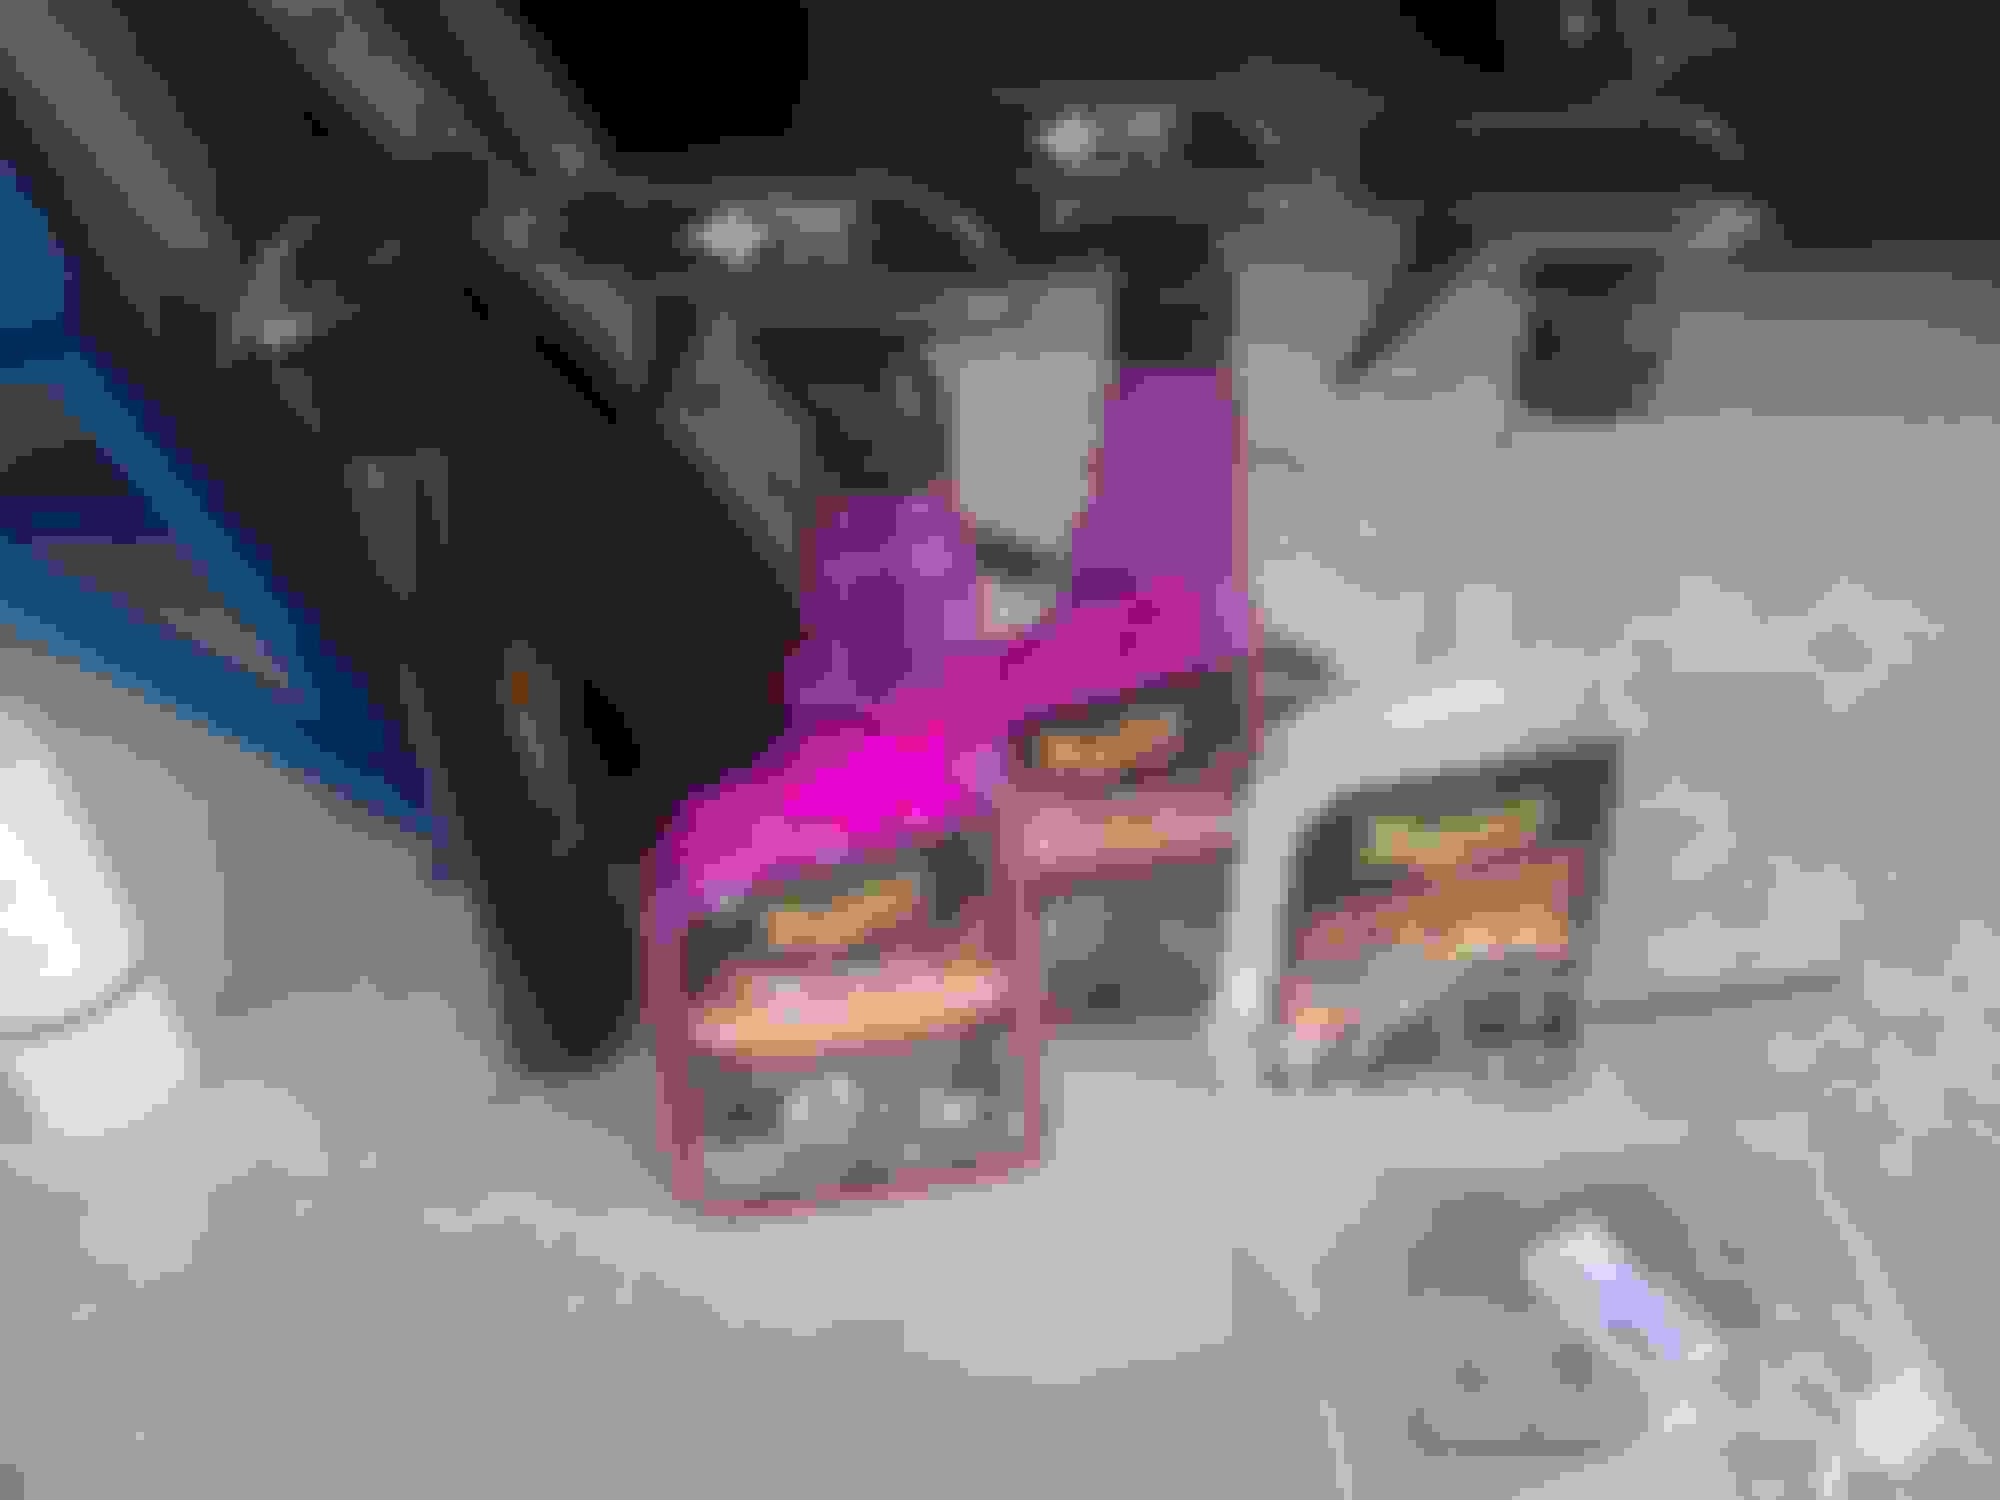
Thanks for the Kudo's Greg. Nothing more than Maguires wheel cleaner that's shown in the pic along with the tire treatment. I must confess the front of the wheels had a few weeks head start over this project so its an unfare advantage over the rear. That said, I've been impressed with the product (that I think in the USA you can find anywhere) but please note while cleaning the arches, it was a tad.... toxic in a confined space lol. Still did a great job. The whole job tuck a couple of bottles but this was a one off. One bottle should last a couple of cleans after this. The wheel brushes impressed me too. Hope this helps and thanks again for the words.
If you are going to invest this much time to your wheels I would recommend trying the Meguiars Detailer line of professional products. They normally are stronger, some can be diluted and can be bought in gallons which will work out cheaper than multiple bottles. For old built up grime they do have an acid based wheel cleaner. However, there are a number of great non-acid based wheel cleaners out in the market too, by Meguairs and P&S to name a few once you maintain your wheels regularly.
Other than that, great work on your car. Nothing like quality time with your ride.
Thanks for the Kudo's Greg. Nothing more than Maguires wheel cleaner that's shown in the pic along with the tire treatment. I must confess the front of the wheels had a few weeks head start over this project so its an unfare advantage over the rear. That said, I've been impressed with the product (that I think in the USA you can find anywhere) but please note while cleaning the arches, it was a tad.... toxic in a confined space lol. Still did a great job. The whole job tuck a couple of bottles but this was a one off. One bottle should last a couple of cleans after this. The wheel brushes impressed me too. Hope this helps and thanks again for the words.
Originally Posted by ChristianMichael
Thanks for the Kudo's Greg. Nothing more than Maguires wheel cleaner that's shown in the pic along with the tire treatment. I must confess the front of the wheels had a few weeks head start over this project so its an unfare advantage over the rear. That said, I've been impressed with the product (that I think in the USA you can find anywhere) but please note while cleaning the arches, it was a tad.... toxic in a confined space lol. Still did a great job. The whole job tuck a couple of bottles but this was a one off. One bottle should last a couple of cleans after this. The wheel brushes impressed me too. Hope this helps and thanks again for the words.
If you are going to invest this much time to your wheels I would recommend trying the Meguiars Detailer line of professional products. They normally are stronger, some can be diluted and can be bought in gallons which will work out cheaper than multiple bottles. For old built up grime they do have an acid based wheel cleaner. However, there are a number of great non-acid based wheel cleaners out in the market too, by Meguairs and P&S to name a few once you maintain your wheels regularly. Other than that, great work on your car. Nothing like quality time with your ride.
It�s about to rain in LA this coming week so I decided to strip the wax, clay, polish and protect the paint so I can do easy maintenance once Summer returns.
Turtle Wax Graphene Paste Wax is such a great product. Easy to apply and the gloss just pops!
Got the Jag's window re-tinted Came out really good!
Context: So I tried DIY tinting the windows on the Jag a year ago and it came out horribly due to doing so in an open environment and the window seal disintegrating, plus my OCD doesn't really help
It�s about to rain in LA this coming week so I decided to strip the wax, clay, polish and protect the paint so I can do easy maintenance once Summer returns.
Turtle Wax Graphene Paste Wax is such a great product. Easy to apply and the gloss just pops!
Looking good! Hope I can also find time to give mine a good polishing as well
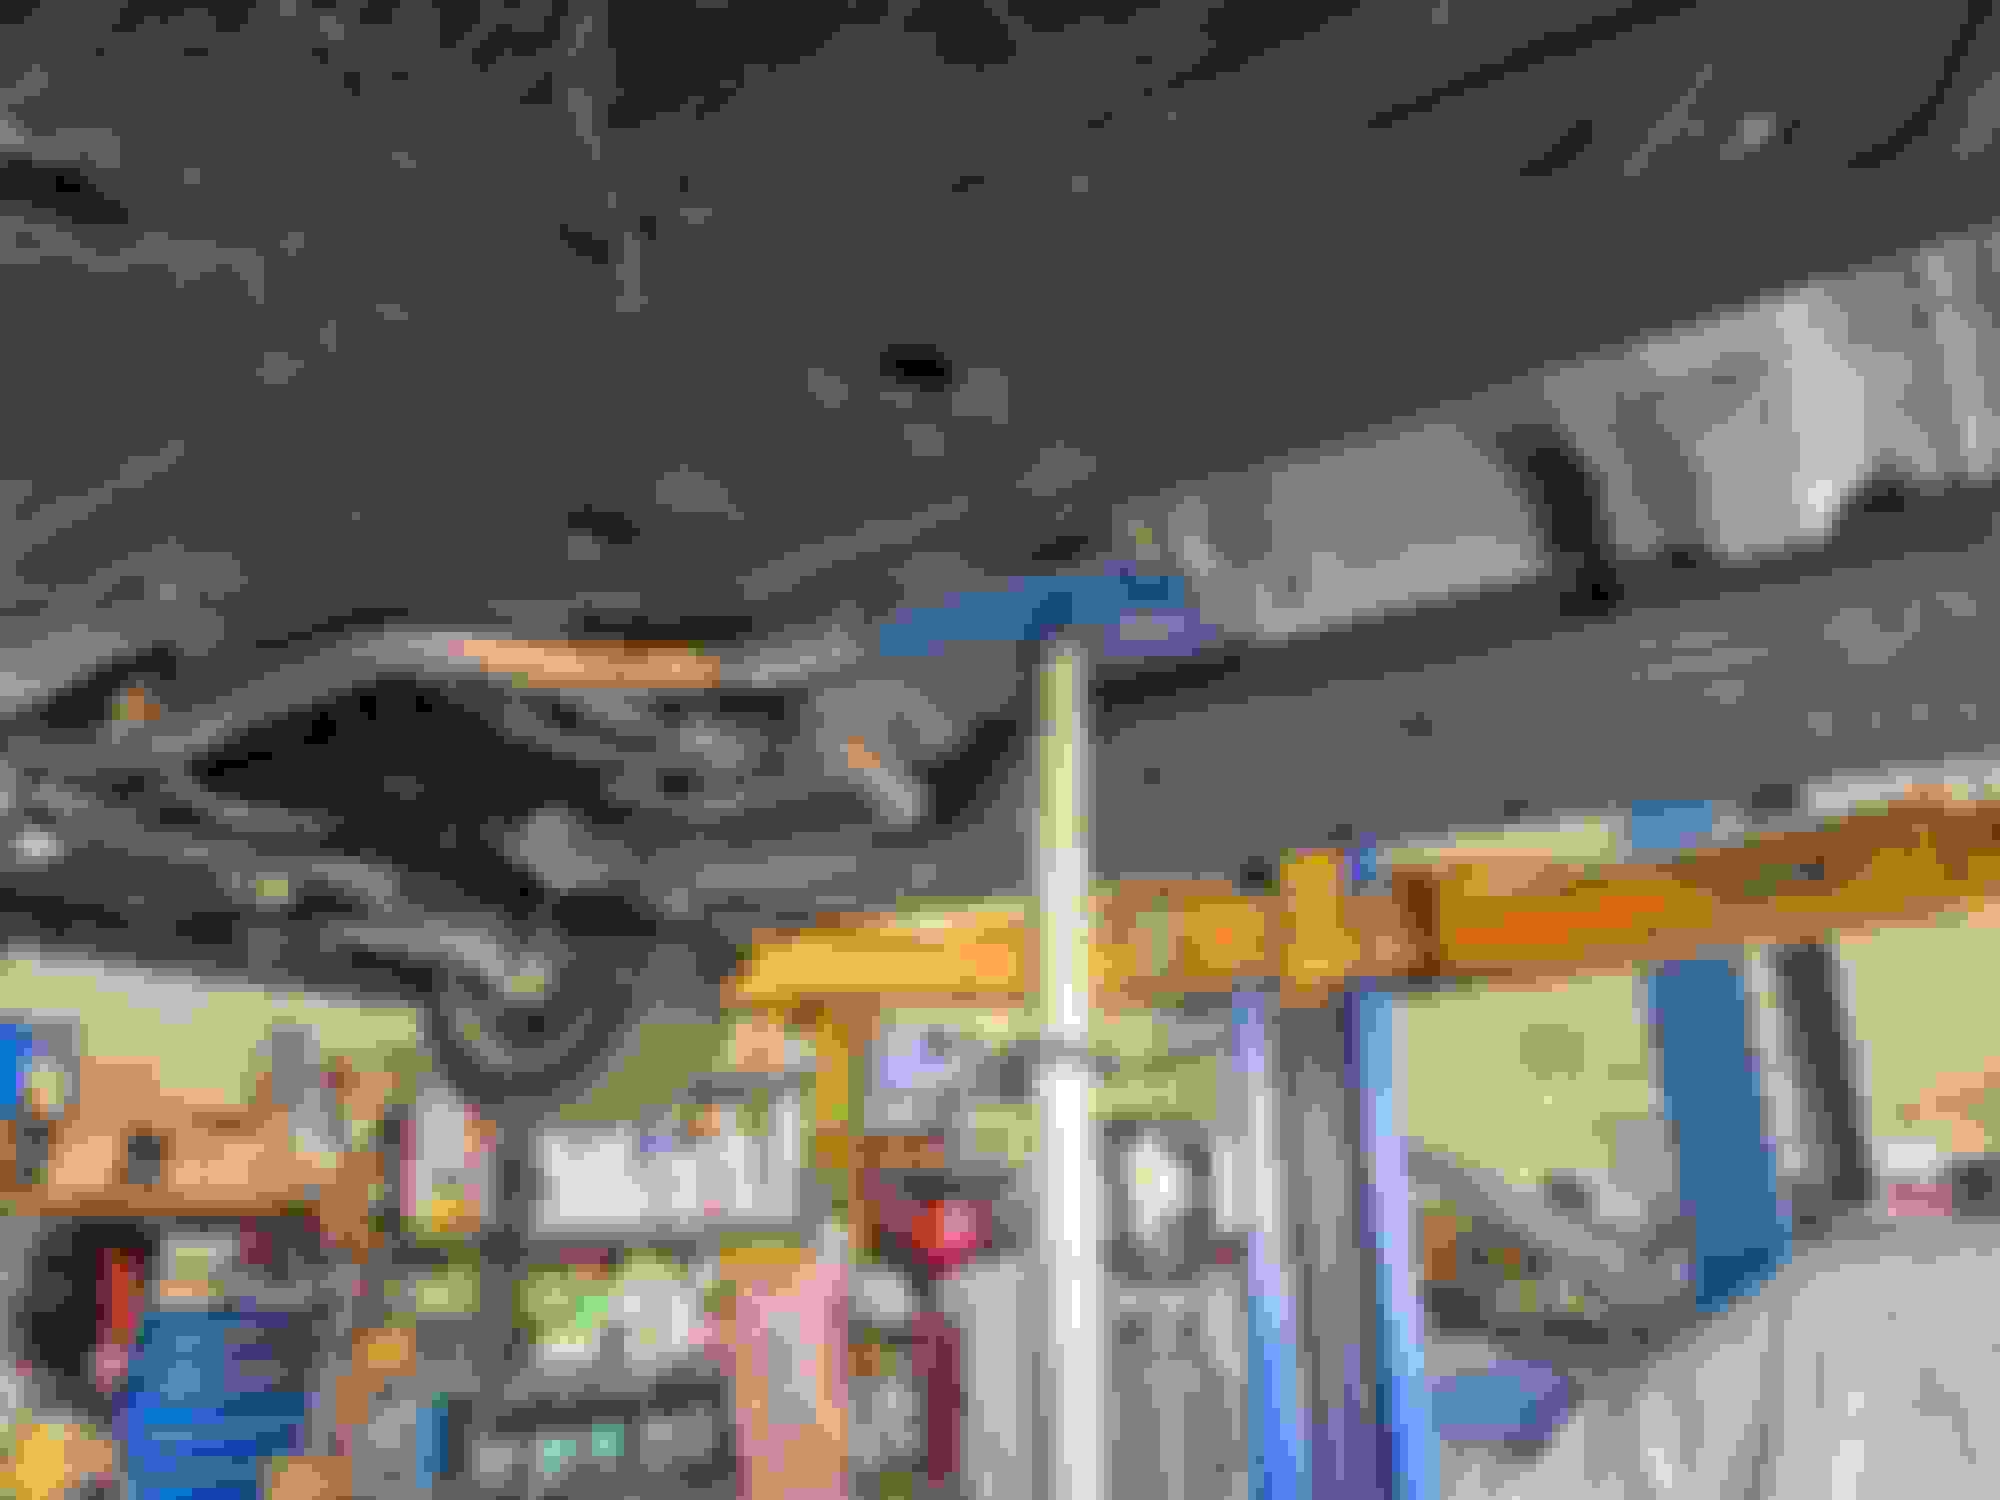
So, I have decided to modify the exhaust system after thinking about it for quite a while
Removed both middle mufflers and replaced it with an 2 1/4 inch X-pipe and wow, it is beyond my expectation. It is not loud, which is perfect, but when you step on the gas pedal, that's when the magic happens.
Nice....like the note you are now getting,
Would be interesting to know if there is any perceivable increase in power with the reduction in exhaust restriction.
Just hope the HO2 sensors don't get the pip with the change of flow.
 08-20-2023, 07:26 PM