When you click on links to various merchants on this site and make a purchase, this can result in this site earning a commission. Affiliate programs and affiliations include, but are not limited to, the eBay Partner Network.
Thought I would share my subwoofer upgrade experience.
First: Don't let anyone tell you that upgrading the subs without upgrading the amp will make no difference or even make it sound worse. The stock subs are incapable of handling the stock amp's power and an upgraded set of subs (stick to 4ohm single coil) can make an AMAZING DIFFERENCE.
Third: Here are some images that will hopefully educate and inspire.
Old subs viewed from trunk
Baffle cutout diameter
Don't worry about original mounting screws, you will almost assuredly have to drill new holes.
Top view no speakers, remove those plastic screw anchors.
View from trunk, best way to make holes for new speakers: Hold new speaker up to this surface (like you're mounting them upside down) then mark holes with pencil, drill up from trunk side.
Extra view
Extra view
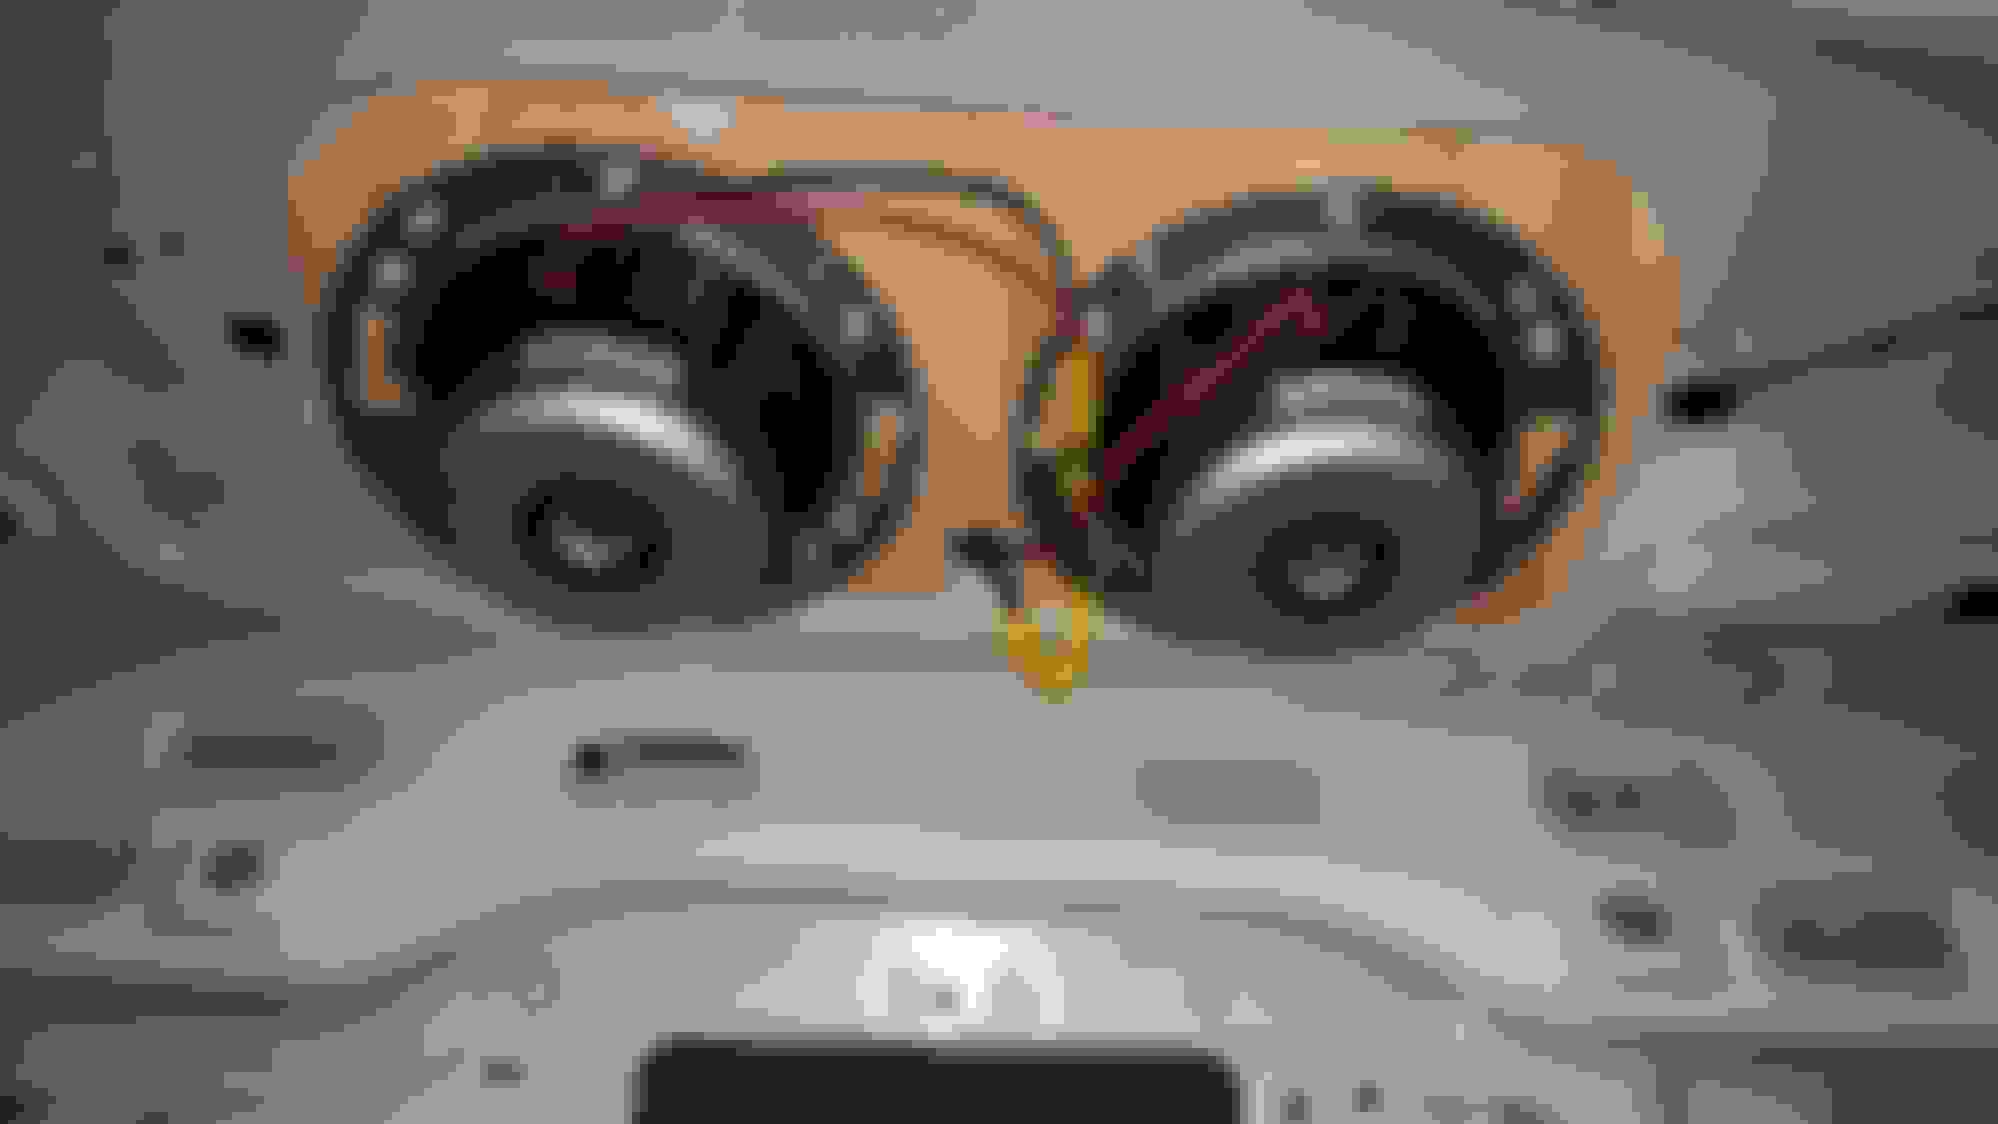
New speakers in place.
I cutout a small piece of ply wood for reinforcement. Two-sided padded tape on all mating surfaces, Stainless steel screws with nylock nuts, and yes those are 2 stainless steel toilet flanges. A thicker, stiffer, more stable surface and those woofers are mounted FIRMLY.
Note hot glue around ports and weatherstrip tape
I taped weatherstrip tape to all points that would contact the deck.
weatherstrip tape on insert tabs to eliminate buzz
Gorilla glue along mating line for vent portion of trim
I removed the padding form this trim and just put a bunch of weatherstrip tape on all contact surfaces to eliminated buzzing
Notes:
1. The middle seatbelt is the source of much buzzing, try to eliminate its buzzing without affecting its safety.
2. Even after all the gluing, isolating and padding I still had buzzing. The speaker grill cloth was the culprit. I ended up using small drops of hot glue to fasten the underside surface of the cloth down to the grill part of the rear deck trim and that did the trick!
I have a pair of Kicker COMPVT65 6 1/2" 4 ohm subwoofers that I plan to install one of these days. MY 2004 has the standard audio system and I'm going to replace the whole system with a Kenwood double-din, 2 pair of MB Quart components, the Kickers and a couple of amps, a 4-ch for the speakers and a 2-ch for the subs. Might not get to it until this summer.
Not many true 6 1/2" subwoofers on the market to choose from.
Sweet idea. How hard is it to remove the rear package tray? I'm going to give this some thought because I want harder hitting, deeper bass.
After removing the bench, both bottom and back, you carefully un-snap the rear pillar trims on either side, they have the seat belts going through them, pull them straight out, lay them out of the way). The tray is held in place with 3 trim clips. Once you remove them, the tray slides out by wiggle/pulling it out towards the front of the car and lifting the forward edge up slightly. It's super easy... Once you get to it.
Victor; Thank you for sharing your experience and the specific pn of the replacement Mid-Bass Driver/Woofer. Your photo documentation is great. Are you using stock speakers in the doors? I'd like to know experiences of any readers replacing the mid-range door speakers (specific pn's, etc).
Victor; Thank you for sharing your experience and the specific pn of the replacement Mid-Bass Driver/Woofer. Your photo documentation is great. Are you using stock speakers in the doors? I'd like to know experiences of any readers replacing the mid-range door speakers (specific pn's, etc).
Thanks for the post, I decided to order the speakers today, I'll give them a shot.
If you want a killer deal, buy them direct from NVX.com and use the coupon code WAVE to get them for $127.99 instead of $159.99 that Amazon wants. It's essentially an unadvertised promo code.
Thought I would share my subwoofer upgrade experience.
First: Don't let anyone tell you that upgrading the subs without upgrading the amp will make no difference or even make it sound worse. The stock subs are incapable of handling the stock amp's power and an upgraded set of subs (stick to 4ohm single coil) can make an AMAZING DIFFERENCE.
Thank you for sharing the idea. Why did you choose to use 4ohm speakers? I measured stock ones and they show 1.8ohms each..
You can't really get an accurate Ohm measurement by measuring the resistance at the speaker connections. Manufacturers arrive at their numbers by factoring several variables and calculating the measurement. I don't remember the exact piece of info that I got the number from but trust me, it's 4 ohms.
That's true. But from the experience 4ohm speaker never shows impedance around 1.8-1.9. It belongs to 2ohm rated speakers. Just open any car audio speaker magazine. I guess the problem is from wrong info circulated around the forum about their 4 Ohm class.
That's true. But from the experience 4ohm speaker never shows impedance around 1.8-1.9. It belongs to 2ohm rated speakers. Just open any car audio speaker magazine. I guess the problem is from wrong info circulated around the forum about their 4 Ohm class.
The numbers stamped on the white square are different, that has to be it. You have an early X350, the Jag EPC shows a different subwoofer part number for a series of early X350's, the amps may be different too. Maybe that's the difference. If your VIN is an early one, it might have had a different set up. If that's the case I would stick with what you're reading and get 2 ohm drivers.
My VIN is G08318.. subs should be the same but different p/n amp. Ok i'll try different options. The other thing is that SUB volume setting do change nothing noticeable in sound.. may be it's somehow connected issue.
My VIN is G08318.. subs should be the same but different p/n amp. Ok i'll try different options. The other thing is that SUB volume setting do change nothing noticeable in sound.. may be it's somehow connected issue.
mine is an early premium alpine , nav unit .so thought id check my stock subs to compare .
they were 2ohm . and when i was looking at options , all the forum posts were stating 2ohm was required
i replaced/upgraded mine using JBL P660C component 6.5'' woofers .
2ohm 90w RMS, 270w peak .
no drilling , no wood, no glue or foam required .
they are the business , and also sound great off the stock amp .
don't stop there though ->
buy replace the door speakers completes a great sounding upgrade .
i used
Fronts,
Kicker 40CS684 225w , 2 way, 4ohm 6X8''
Rears,
Pioneer TS-A6813i , 350w , 3 way, 4ohm ,6X8''
these are awesome sounding speakers . No regrets .
i just noticed mine have no vented voice coil ports on the back like the other two pic's , so there is another difference .
but the part No# remains the same , bar the prefix . i believe the two letter prefix on the end of the part no# is regards to the country of origin .
in my case was japan .
My VIN is G08318.. subs should be the same but different p/n amp. Ok i'll try different options. The other thing is that SUB volume setting do change nothing noticeable in sound.. may be it's somehow connected issue.
Note that on Premium Sound systems you will get very little sub-signal unless you turn off REAR DSP - The reasoning was that with "ALL" or "REAR" DSP turned on they didn't want rear passengers getting blown out by the subs. They needn't have worried, as they aren't all that. I have also noticed that the system is VERY sensitive to different production values on CD recordings and gain differences between tracks and recordings. I make a lot of CD's to try and get a bit more music in the changer vs commercial CD recordings. I have a VENBOX Bluetooth Streaming device but I am not sure I want to install it in this car (Lost the previous X350 in a firey crash at 70 MPH) - I literally have to drop the Sub signal and/or bass levels when I get a heavy bass intensive recording in the mix.
I am most likely going to go with Ben Wilcox's method to add aux-in to the factory Head Unit with a soldered connection. Then I can put a bluetooth receiver on that line and have the stock system mostly untouched but be able to stream music or enjoy tunes from a friends phone. For anyone who just wants to add streaming audio with steering wheel control for skipping tracks check this out: https://jaguar.willcoxonline.com/part-4
Who noticed that factory subs wired out of phase? Diminishing of bass response decrease between two channels? When manual says audiophile sound system..))
Note that on Premium Sound systems you will get very little sub-signal unless you turn off REAR DSP - The reasoning was that with "ALL" or "REAR" DSP turned on they didn't want rear passengers getting blown out by the subs. They needn't have worried, as they aren't all that. I have also noticed that the system is VERY sensitive to different production values on CD recordings and gain differences between tracks and recordings. I make a lot of CD's to try and get a bit more music in the changer vs commercial CD recordings. I have a VENBOX Bluetooth Streaming device but I am not sure I want to install it in this car (Lost the previous X350 in a firey crash at 70 MPH) - I literally have to drop the Sub signal and/or bass levels when I get a heavy bass intensive recording in the mix.
I am most likely going to go with Ben Wilcox's method to add aux-in to the factory Head Unit with a soldered connection. Then I can put a bluetooth receiver on that line and have the stock system mostly untouched but be able to stream music or enjoy tunes from a friends phone. For anyone who just wants to add streaming audio with steering wheel control for skipping tracks check this out: https://jaguar.willcoxonline.com/part-4
Yeah, I discovered all factory system capabilities on day two after I bought the car)) More bass is in FRONT setting of DSP, all the rest settings sounds very very strange for me)
I would choose WiFi receiver (AirPlay or DLNA) not Bluetooth to get maximum possible SQ from wireless source.
 02-15-2018, 05:53 PM