XJ8 Cabin Air Filter Change
#1
 10-17-2013, 02:48 PM

Another simple job today completed, The Cabin Air filter arrived was swapped out with the old one. This took about 5 minutes in total.
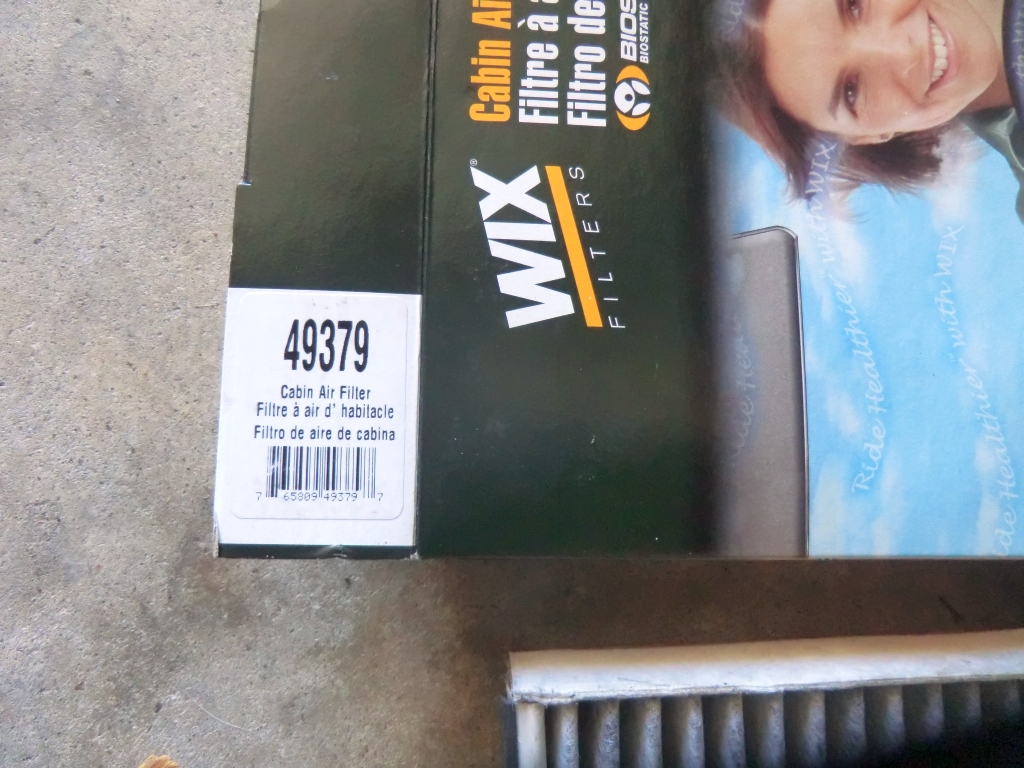
I had purchased a WIX 49379 Cabin Air Filter, that I was not sure fitted the hole correctly. Well I can say now that it fits perfectly.
1. I opened the bonnet and identified the Cabin air filter cover.

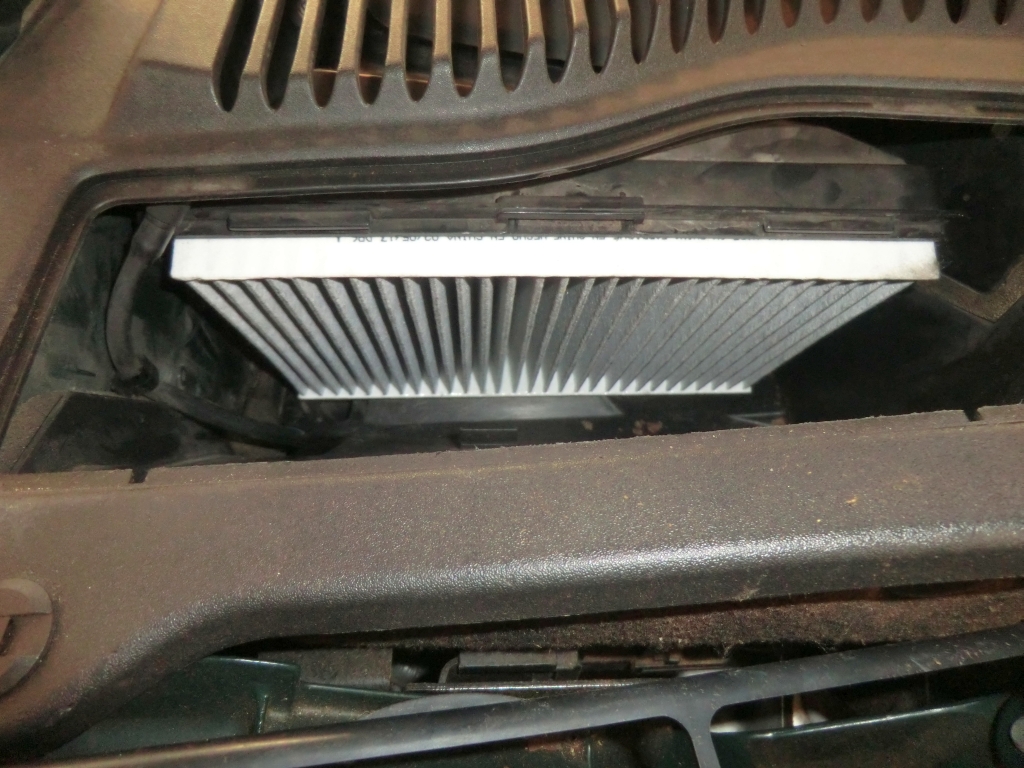
2. Removing the cover you can see the filter and cradle inside the well.

3. On top of the cradle is a small plastic lug that is pulled out, this allows you lift the cradle out. Be aware half way down the front of the wall is a plastic lips that catches the cradle and running from top to bottom along the left wall was a plastic cable (probably screen washer cable!).

4. I cleaned inside the well, there was quite a lot of leaves underneath the filter box. I checked the filter for fit and it was good and tight.
5. I checked the cradle for broken lugs, removed the new filter from the well and reattached the cradle leaving room to slide the filter between the cradle and the box walls. It was a bit of a tight squeeze but it goes in ok. I tried various methods prior to this to see which way was easiest, filter first then cradle, filter in cradle but found it hard to sit the bottom lugs securely. YMMV.

5. Cradle secured top and bottom. Replace cover and job done.

Good luck with yours.
I had purchased a WIX 49379 Cabin Air Filter, that I was not sure fitted the hole correctly. Well I can say now that it fits perfectly.
1. I opened the bonnet and identified the Cabin air filter cover.
2. Removing the cover you can see the filter and cradle inside the well.
3. On top of the cradle is a small plastic lug that is pulled out, this allows you lift the cradle out. Be aware half way down the front of the wall is a plastic lips that catches the cradle and running from top to bottom along the left wall was a plastic cable (probably screen washer cable!).
4. I cleaned inside the well, there was quite a lot of leaves underneath the filter box. I checked the filter for fit and it was good and tight.
5. I checked the cradle for broken lugs, removed the new filter from the well and reattached the cradle leaving room to slide the filter between the cradle and the box walls. It was a bit of a tight squeeze but it goes in ok. I tried various methods prior to this to see which way was easiest, filter first then cradle, filter in cradle but found it hard to sit the bottom lugs securely. YMMV.
5. Cradle secured top and bottom. Replace cover and job done.
Good luck with yours.
The following 6 users liked this post by trosty:
ayavner (09-19-2017),
BrentGardner (10-18-2013),
chris_kimble (04-18-2014),
Clamdigger (10-20-2013),
edobernig (10-20-2013),
and 1 others liked this post.

#3
10-18-2013, 06:09 AM
Veteran Member
Join Date: Nov 2006
Location: Glasgow, Scotland UK
Posts: 47,302
Received 9,007 Likes
on
4,113 Posts
#4
10-18-2013, 10:05 AM
#6
10-20-2013, 07:53 AM

Senior Member
#7
10-20-2013, 10:49 AM

Senior Member
yours looks commendably clean. Mine was half full of leaves, and the water drain hole was clogged. I vacuumed mine out, unclogged the hole and poured water down it, gave the chamber a good clean with a paintbrush and warm water with car shampoo. the fresh air smells much fresher now the leaves and dirt have gone.
On the RHD cars the filter is on the LHS
On the RHD cars the filter is on the LHS
Trending Topics
#8
10-20-2013, 02:56 PM


Thread
Thread Starter
Forum
Replies
Last Post
Currently Active Users Viewing This Thread: 1 (0 members and 1 guests)