When you click on links to various merchants on this site and make a purchase, this can result in this site earning a commission. Affiliate programs and affiliations include, but are not limited to, the eBay Partner Network.
Good stuff and relevant over ten years later! Except the gas price! Can we go a step further and talk about how to take the seat backs out? I'm striking out on searching how this is done and am needing to do this next to install a CATS-bypass module. Making it possibly more difficult are the power rear seats.
You need to remove the seat bottom and then pull the straps for the back cushion to release the latches.
I have the NP04 (New Product 2004) training guide from Jaguar when I attended the class but it is a PAPER 3 ring binder.
It has the interior trim remove/replace section but I would need to find it in the plastic tubs I keep for all the old books.
Jaguar might have updated the info to .pdf since I left the dealer?
Got it. Thanks! I'll ping you if I can't figure it out, and will update back with photos if I can.
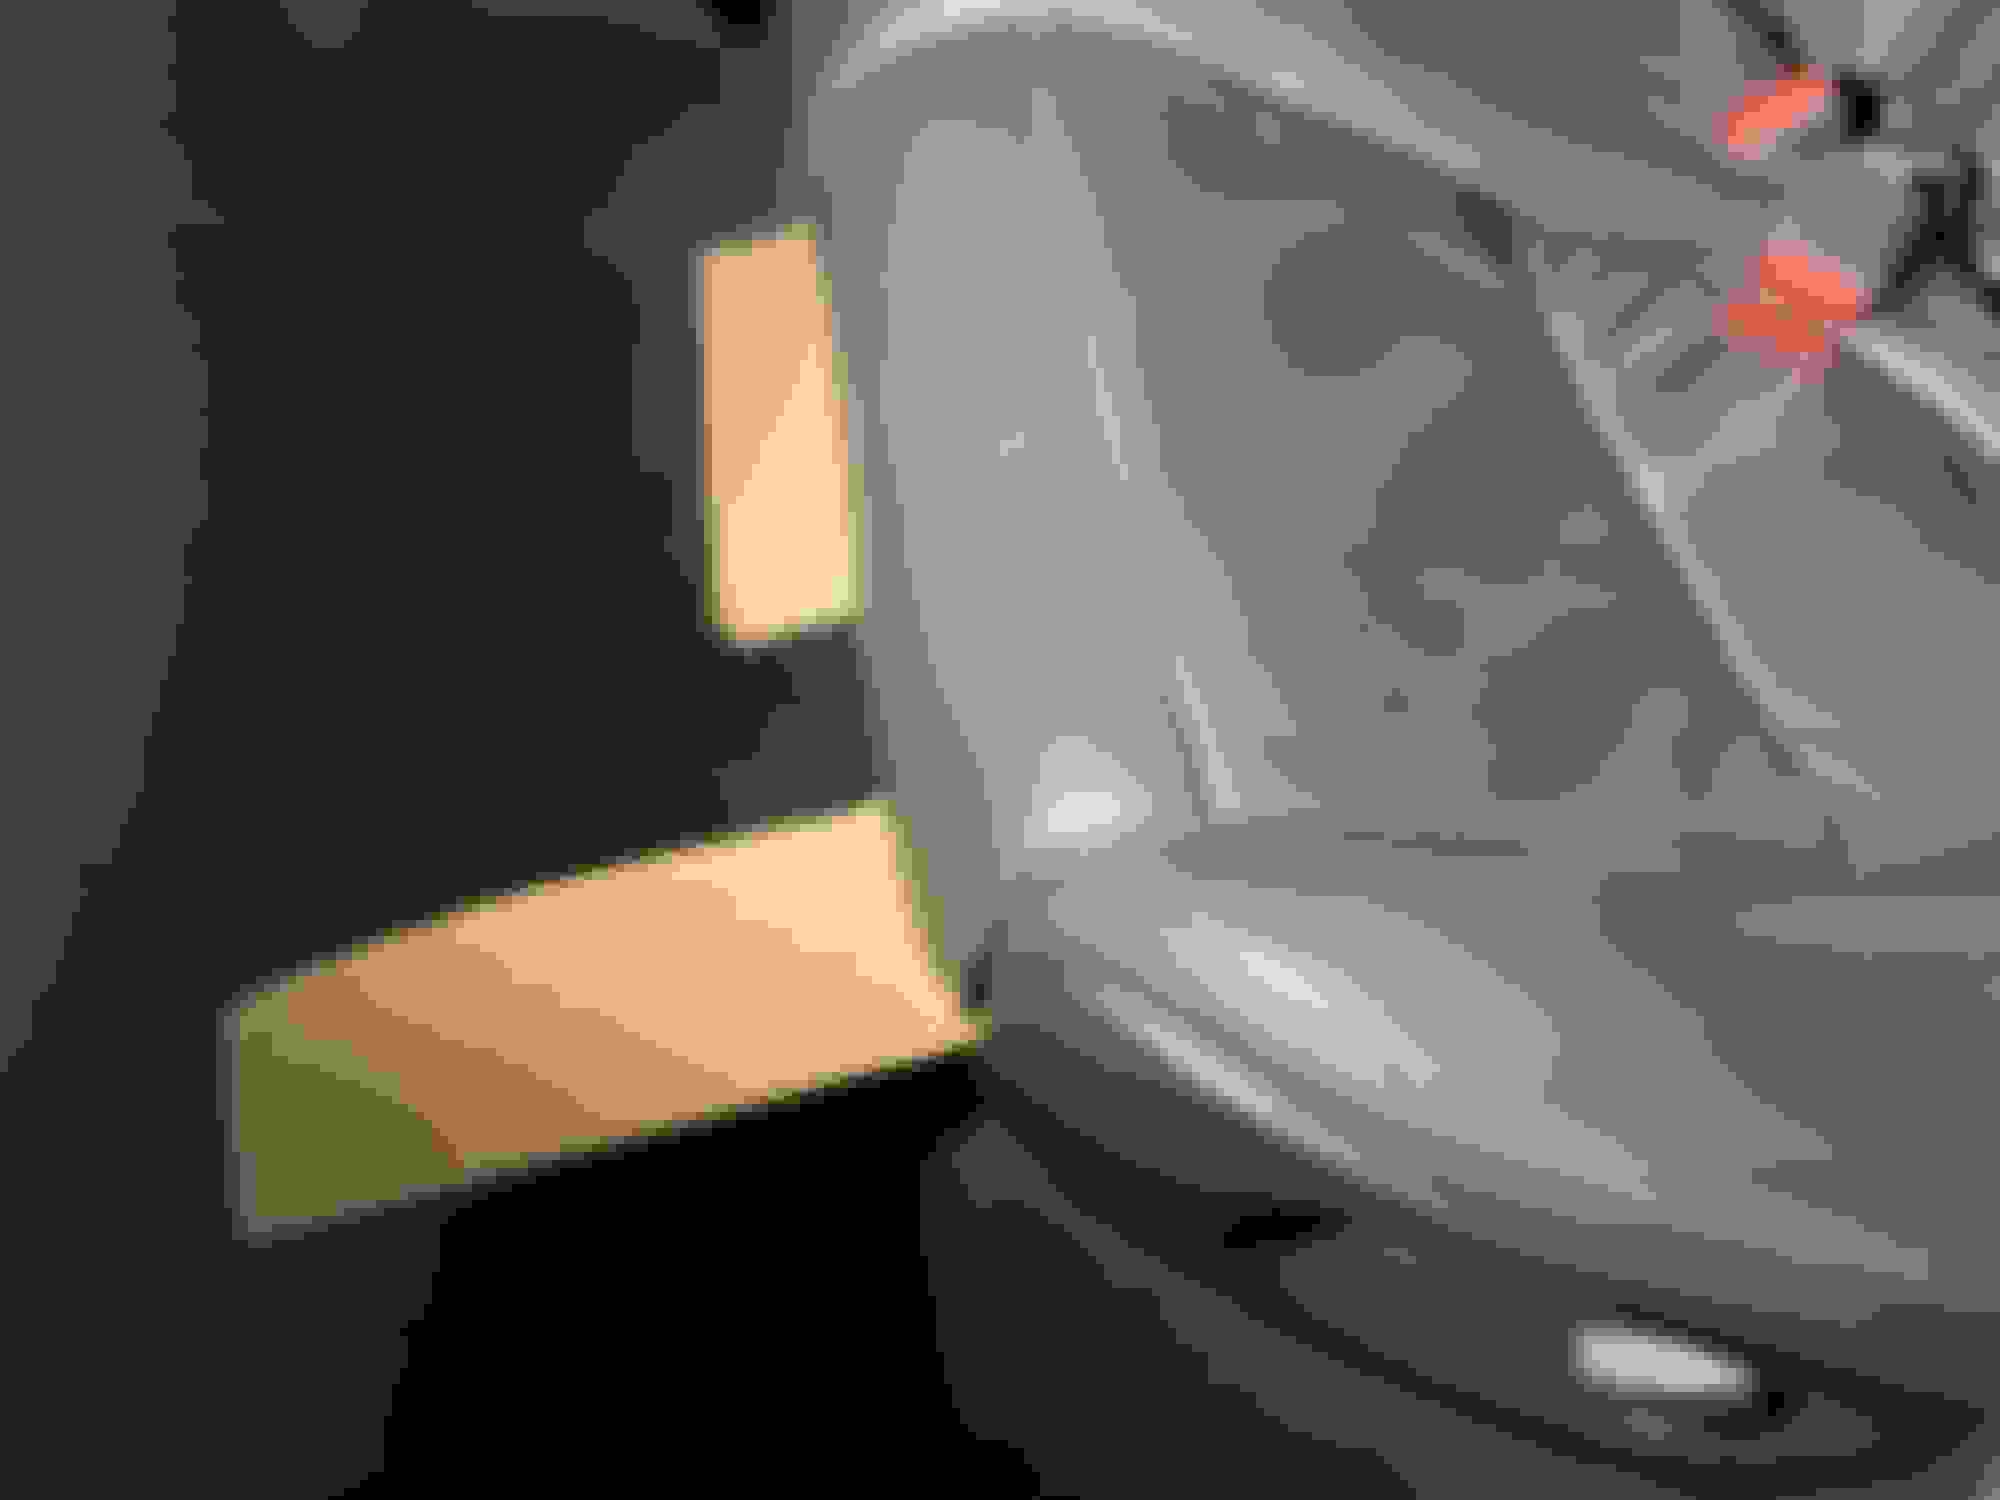
Pull the straps. A latch, located above the strap, about 3/4 of the way up the seat back, will release, and you can pull the top of the seat forward. Do the other one. The seat does have a habit of falling back into the latch if you let go of the top.
With both latches released, roll the seat back forward, and it will lift out at the bottom. It's not necessary to remove any of the hardware you see down there.
This is a necessary trip if you need to access the Air Suspension Module, which is located on the wall behind the seat.
Much appreciated! Planning to take care of this during some downtime over these next two weeks.
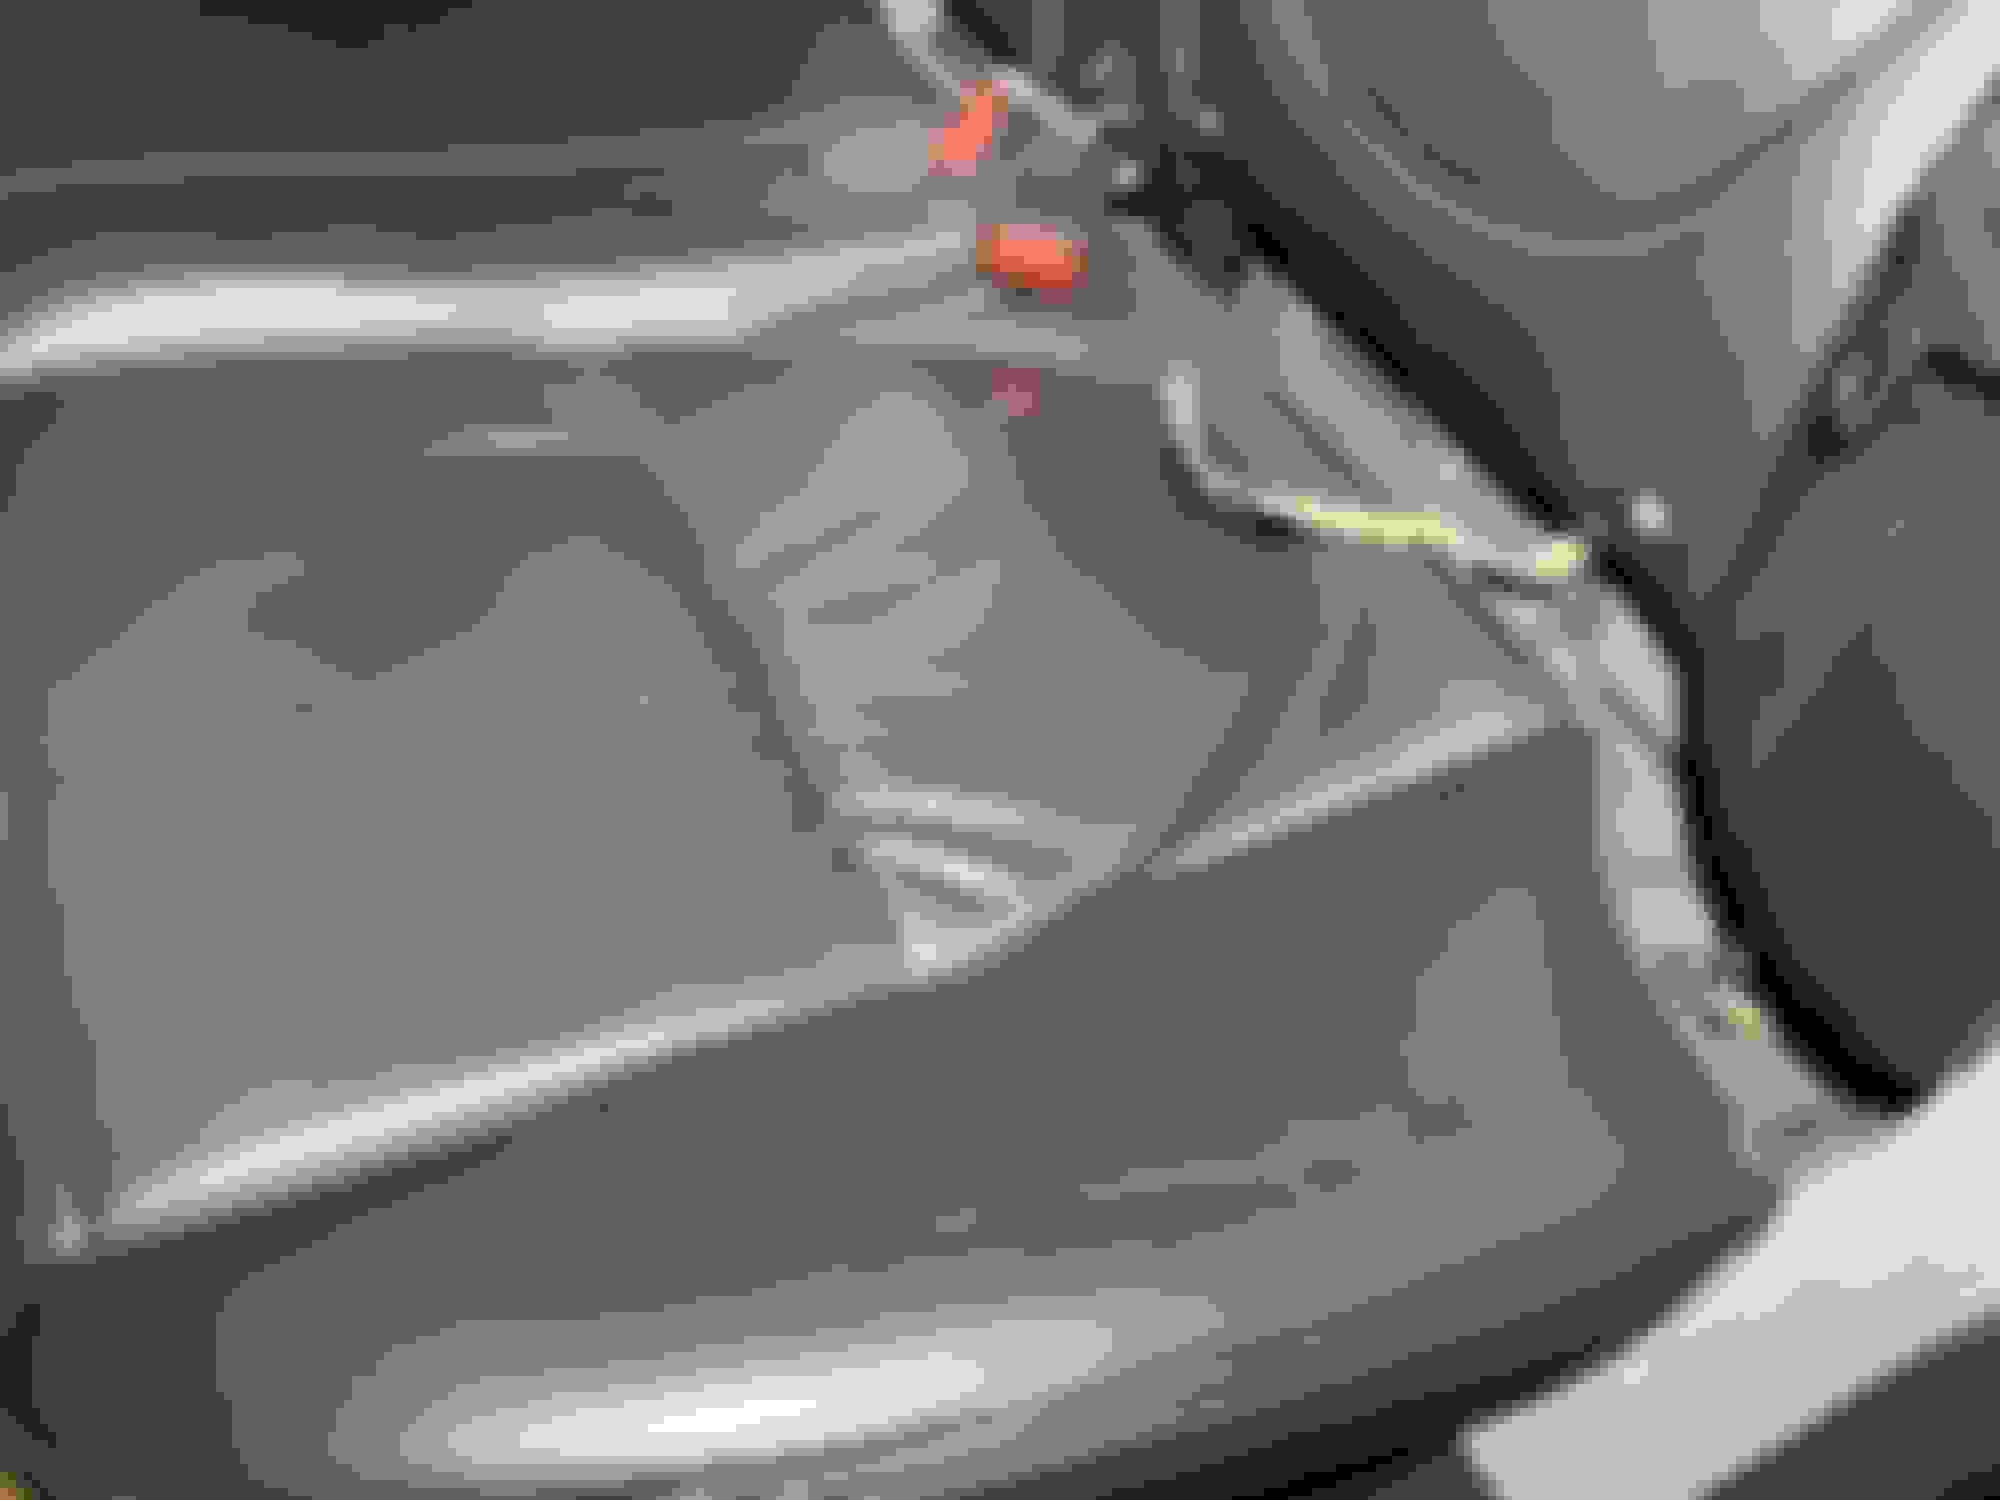
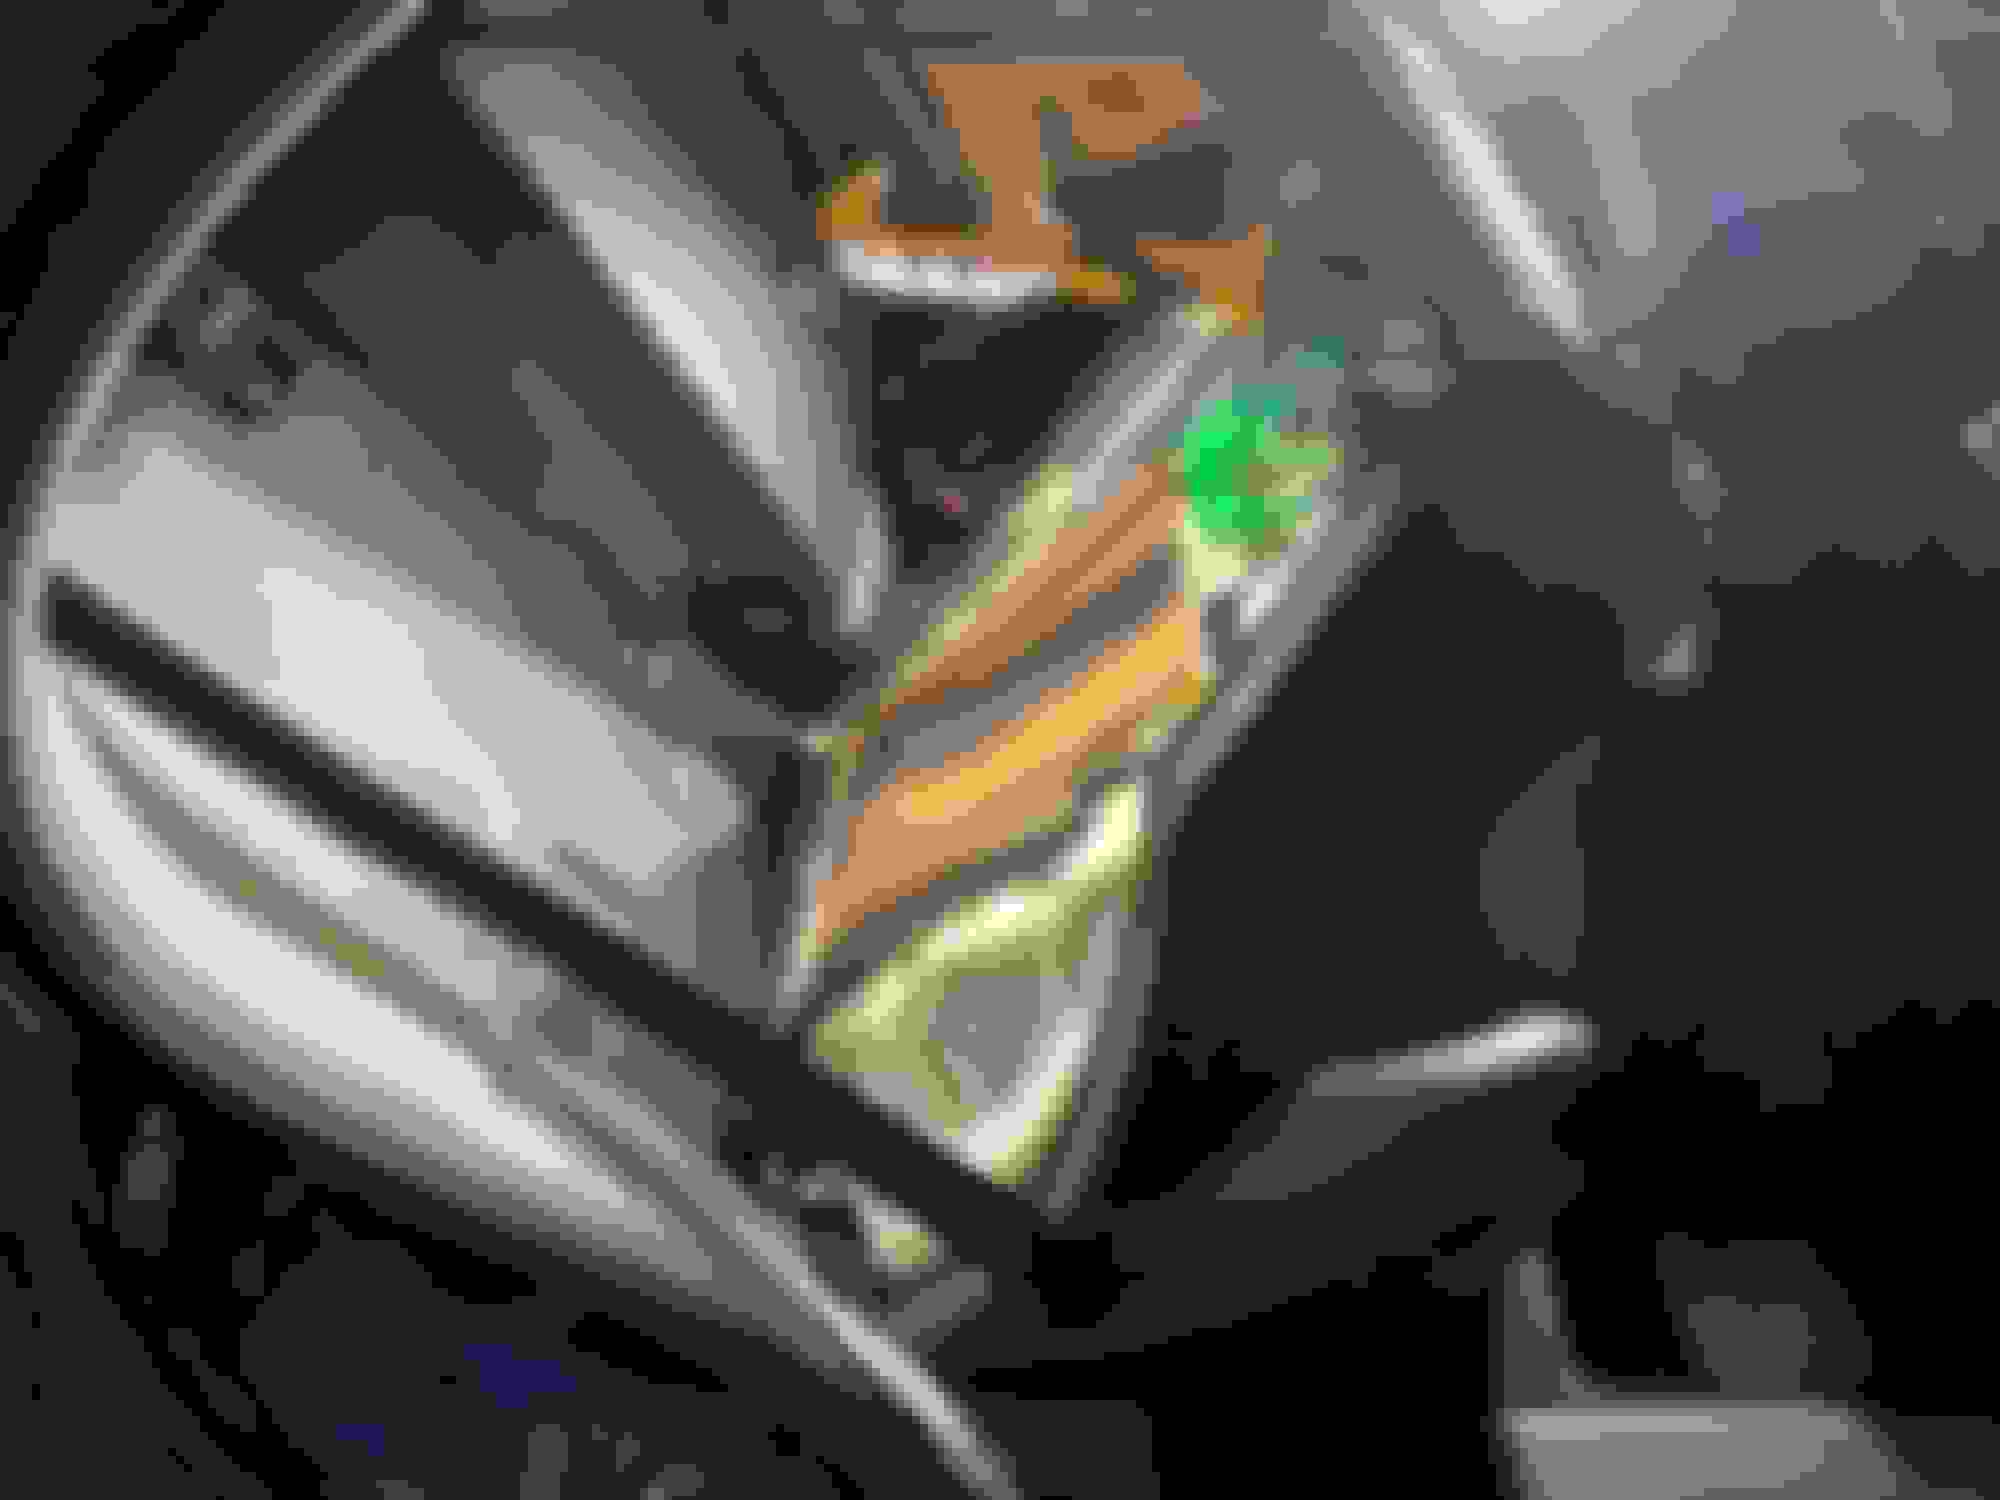
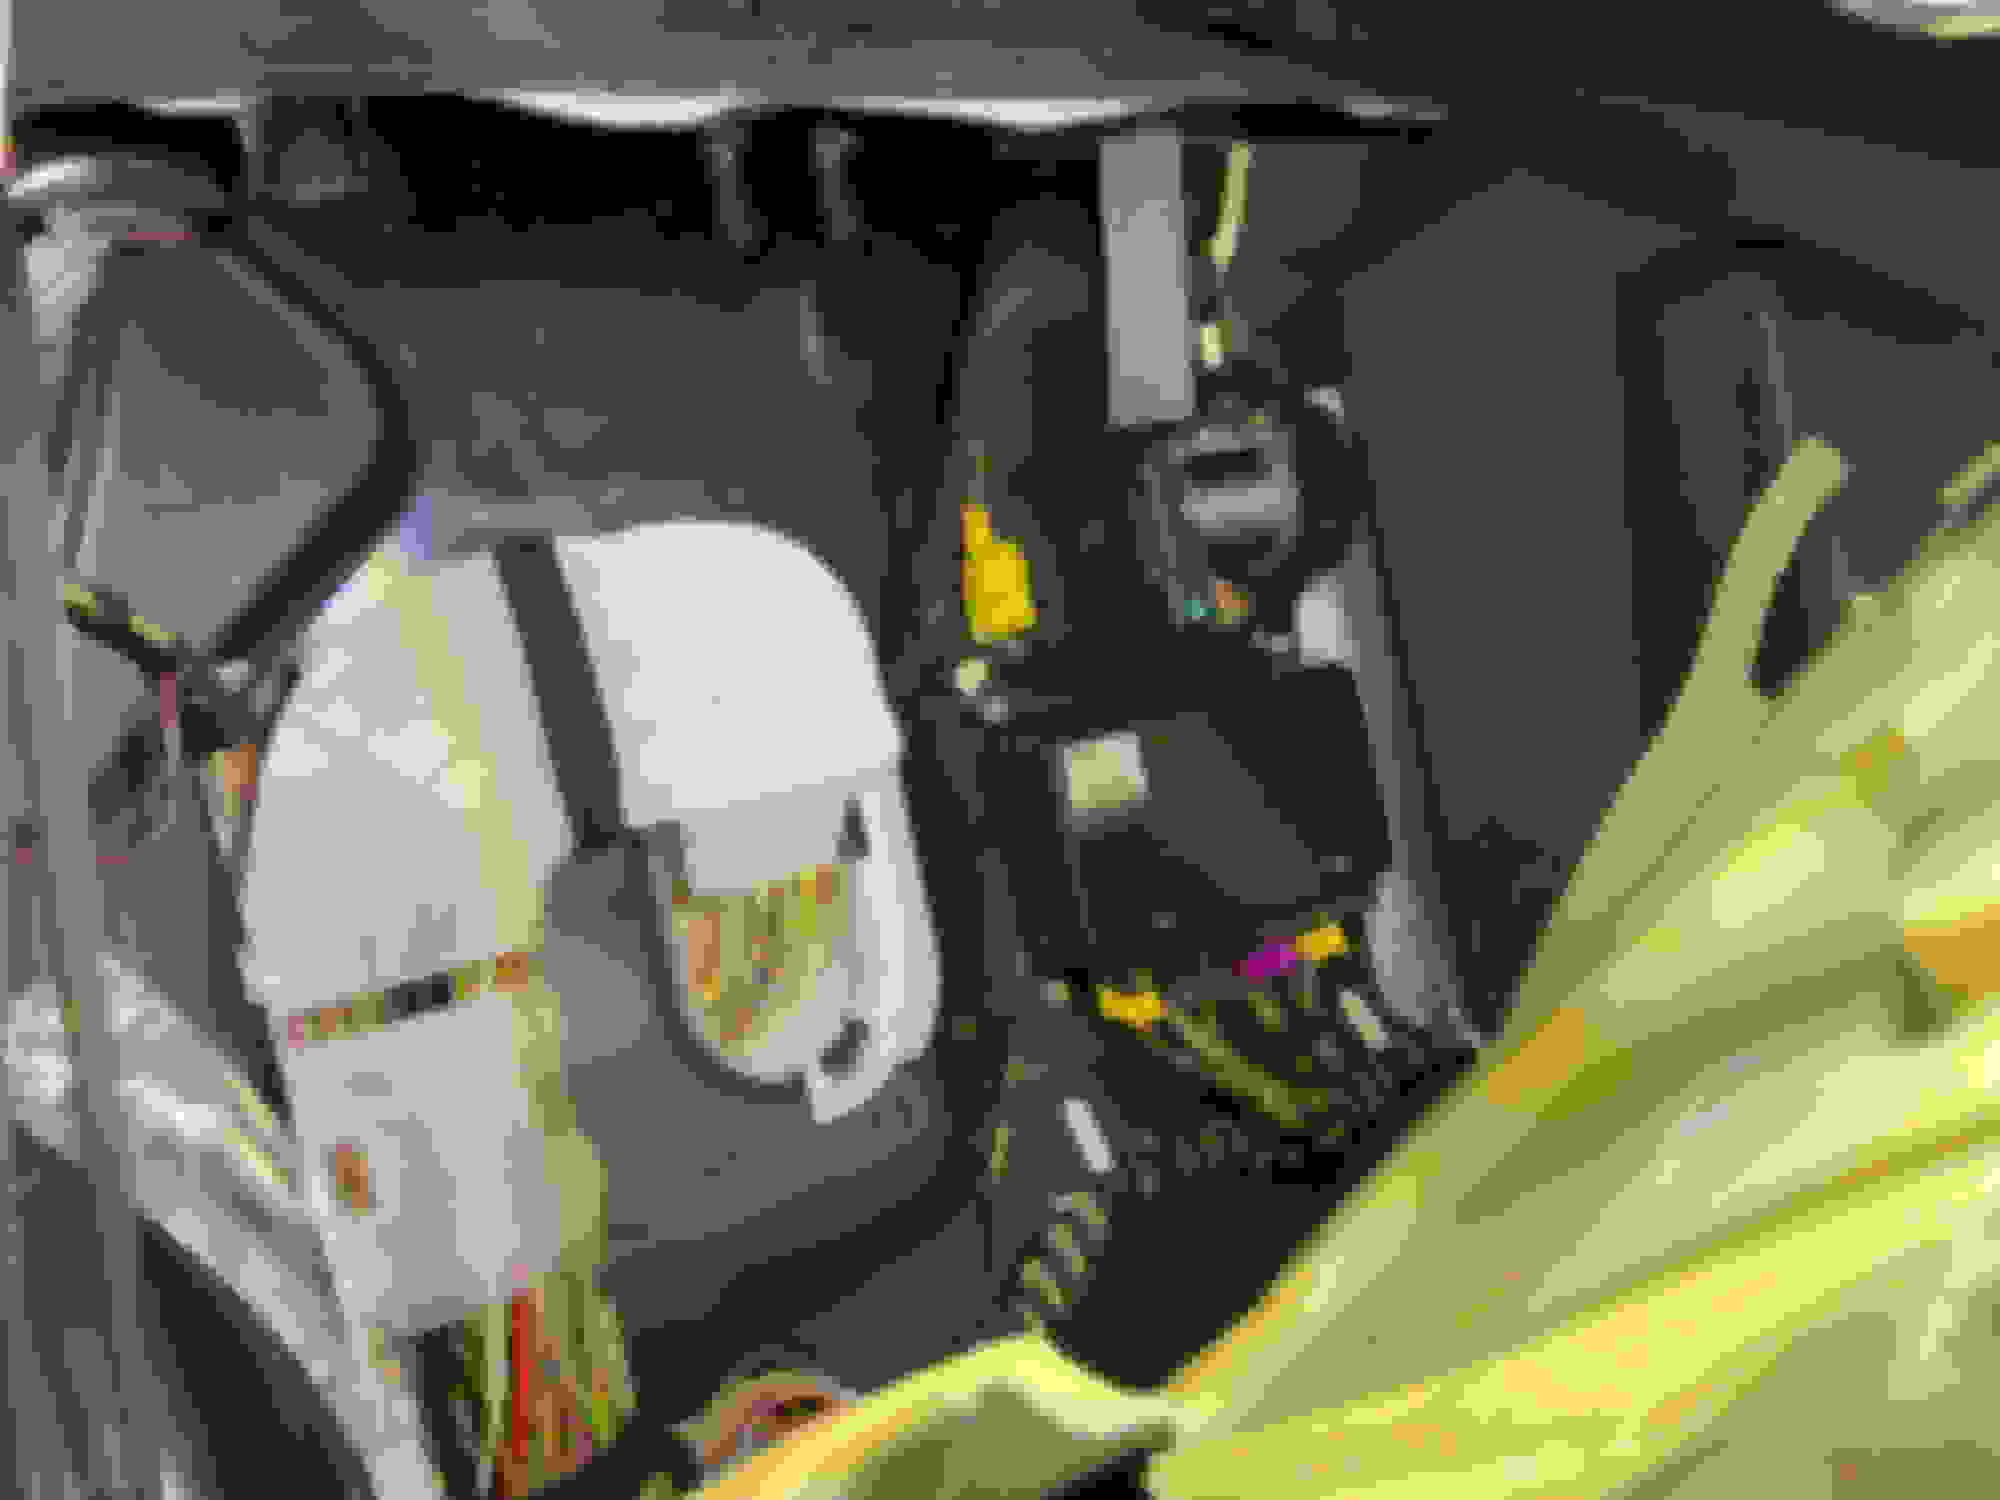
Success, though getting to those bottom latch switch things sure was a bit of a chore as mentioned prior. A combination of long fingers and a big flathead screwdriver got the four of them undone. I used some thick cardboard padding remnants to shove under a few sections as I went to keep them from re-latching. If you have power rear seats, there's enough slack in the wiring you can move the seat bottom a few inches forward to do the work without disconnecting if you don't have to take the bottom out (you don't for the module install as is the case here). The tan straps for the seat backs were clearly visible at that point- pull the strap down, grab the headrest, and pull it toward it the front seat to rotate each one forward. The sound deadening insulation can then be carefully pulled back to do whatever. So many wires in looms back there! Don't sneeze with scissors back there or anything. Only the (US) passenger/right side seat back needed to be exposed- I actually didn't pull the other one back to investigate as it was getting late and I just wanted to get the task done successfully.
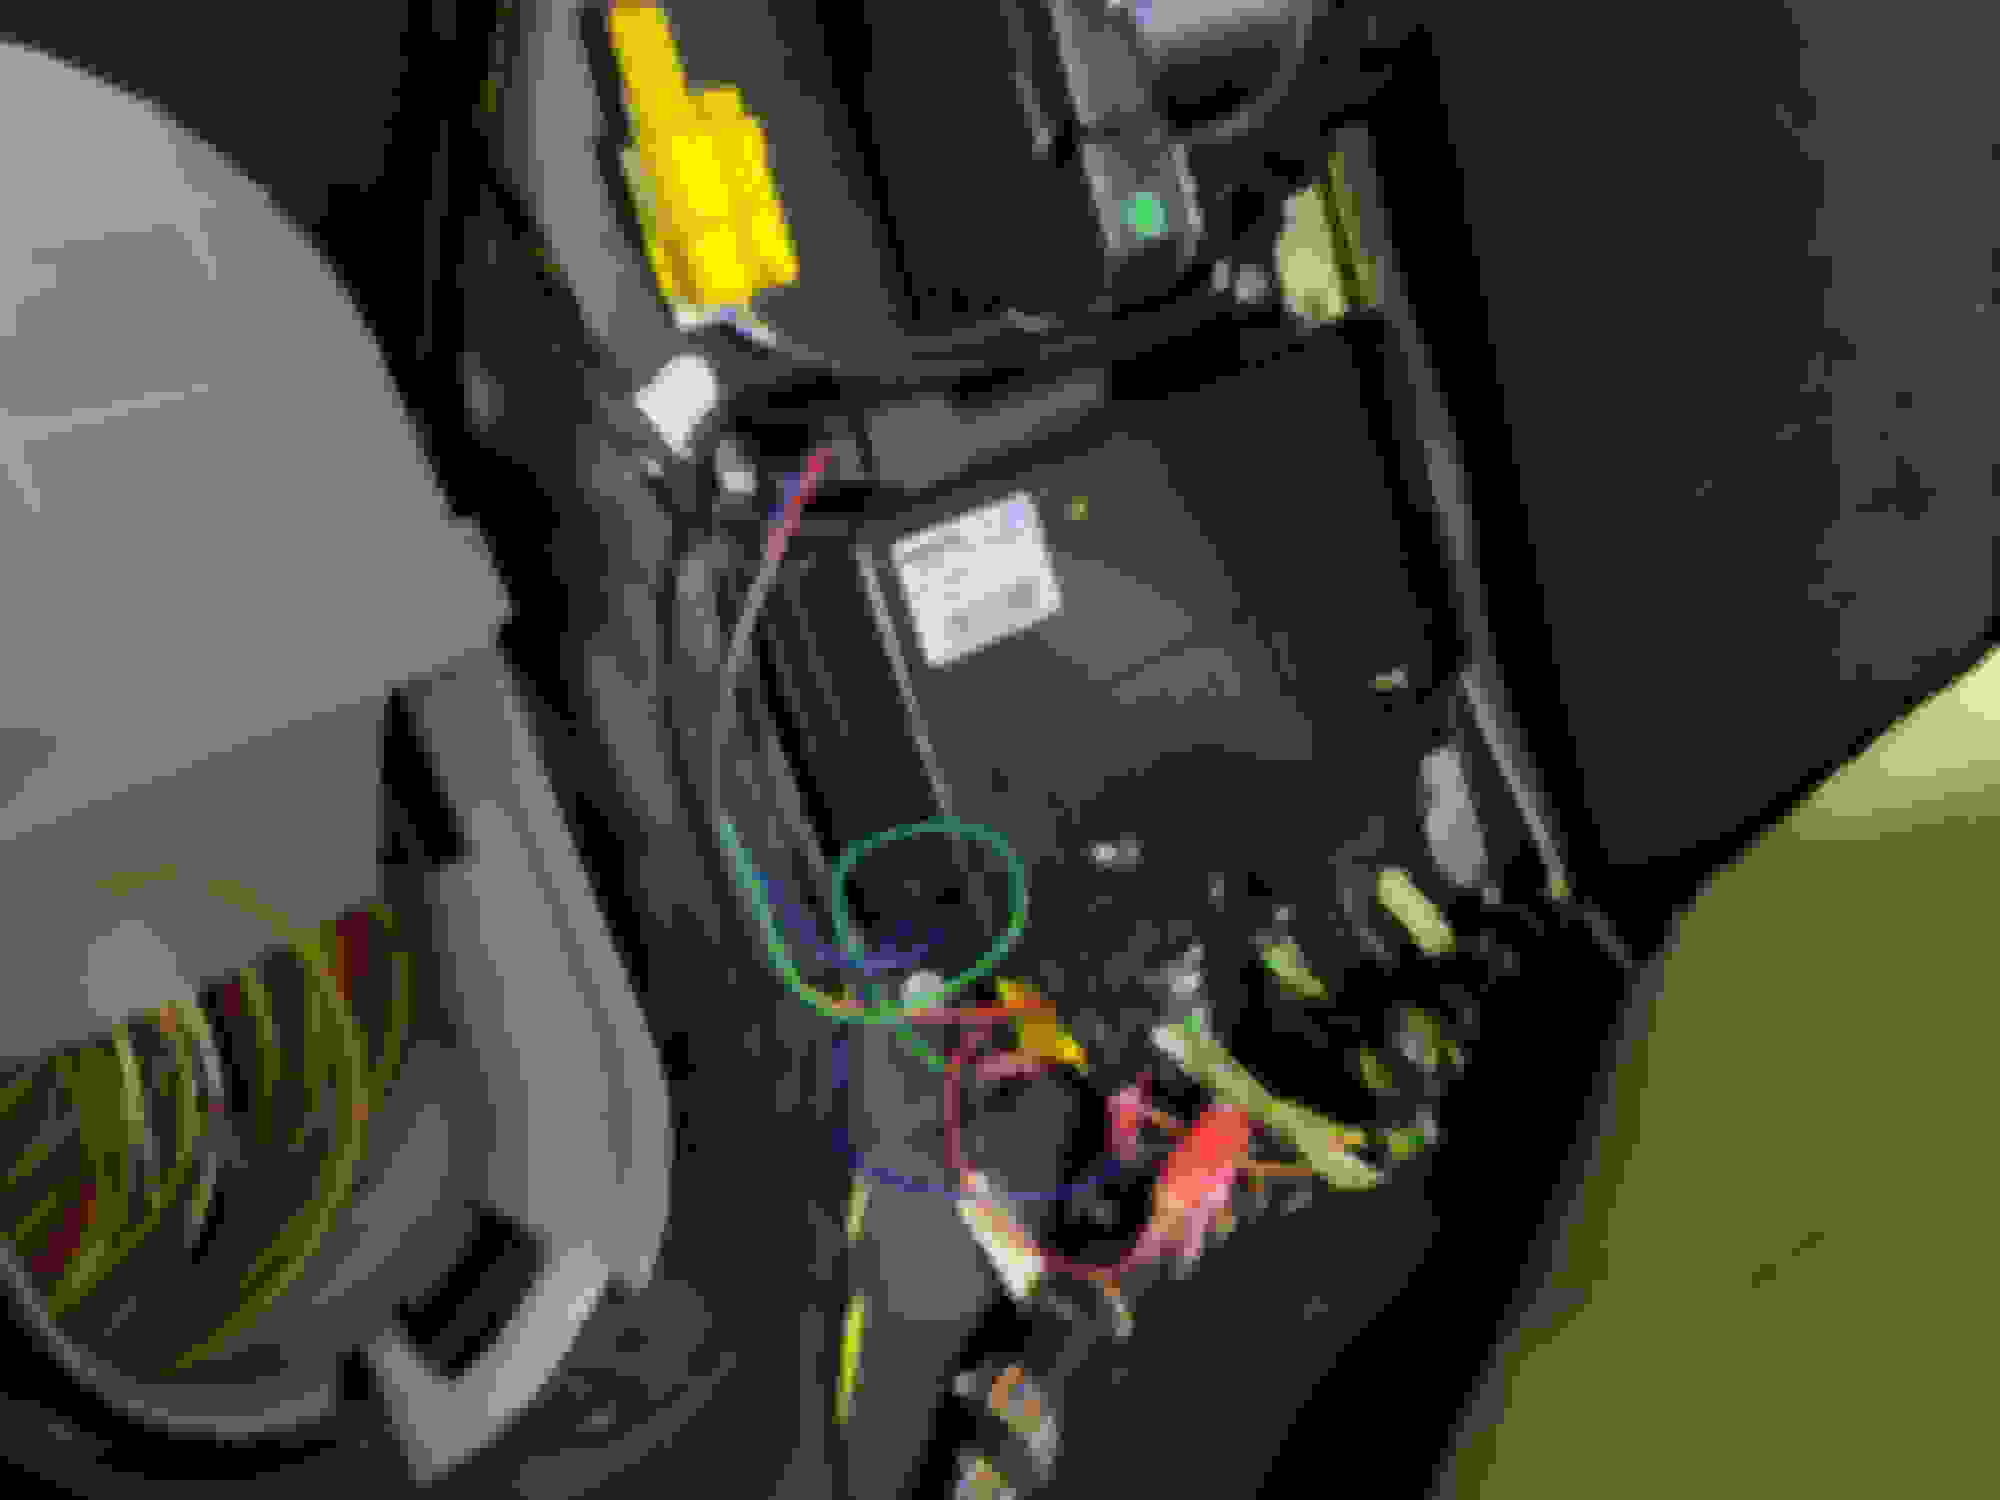
At any rate, the WABCO controller for this case was clearly visible as shown for what I needed to do and I was able to follow the Arnott instructions clearly from there. See the last few pages in their PDF link below for this that clarifies further. I stuck the module on top of the controller with a thick loop of duct tape. And I ended up seating the unplugged plugs 'ajar' back in their slots but obviously not pushed back in, and held them in place with another strip of duct tape for good measure. No issues on the first try and the 'false positive' suspension fault message vanished on startup without having to mess with the battery (verify this before buttoning everything back up of course). Taking your time with the wire taps and connecting them properly is everything, since the wire color targets don't necessarily match the module wire colors. The target plug you tap into is probably yellow, and the one closest to the door on that side.
Set the sound deadening rear bulkhead insulation back how you found it, and tuck the side in behind the trim- you'll probably need both hands to pry the trim forward and tuck the insulation back in. Carefully make sure the seat back bottom hinges are fully pressed back down into their cradles so the seat back pushes back toward the rear bulkhead and latches into place. And again if you have power rear seats, you'll want to test and make sure they still power recline forward and back a few cycles- mine took one cycle to 're-seat' itself and all was well. No issues and relatively easy thing for first timer inside of 2-3 hrs. taking your time and double checking things (and looking up shop manuals, YouTube videos, and getting another beer).
Last edited by Sentinelist; 01-03-2022 at 10:43 PM.
+1 to Wingrider's comments, this post and the others on this thread are very helpful. I have a replacement sun shade to install and have been wrestling with the seat latches.
This is a really helpful writeup. I'm having a very difficult time getting the 4 clips on the bottom seat cover accessed, is there any particular trick? I can get at the two outboard clips but there's so little room for the two inboard clips. Do I just need to insert a thin board or something and pry up on the cushion to allow some access?
This is a really helpful writeup. I'm having a very difficult time getting the 4 clips on the bottom seat cover accessed, is there any particular trick? I can get at the two outboard clips but there's so little room for the two inboard clips. Do I just need to insert a thin board or something and pry up on the cushion to allow some access?
Reach in there with a finger, while lifting up on the cushion... It's difficult the first time but once you get it... done!
I marked the locations of the tabs with a sharpie in the carpet. The marks are not visible unless you're down there looking for them, but with them there, I now know exactly where to reach for the release tabs without hunting.
As it was not mentioned before, here's a trick about how to remove the rear bench easily, at least after the first time, which will still be a pain.
I have read about this trick in the English Jaguar Forum, I hope that the author does not mind...
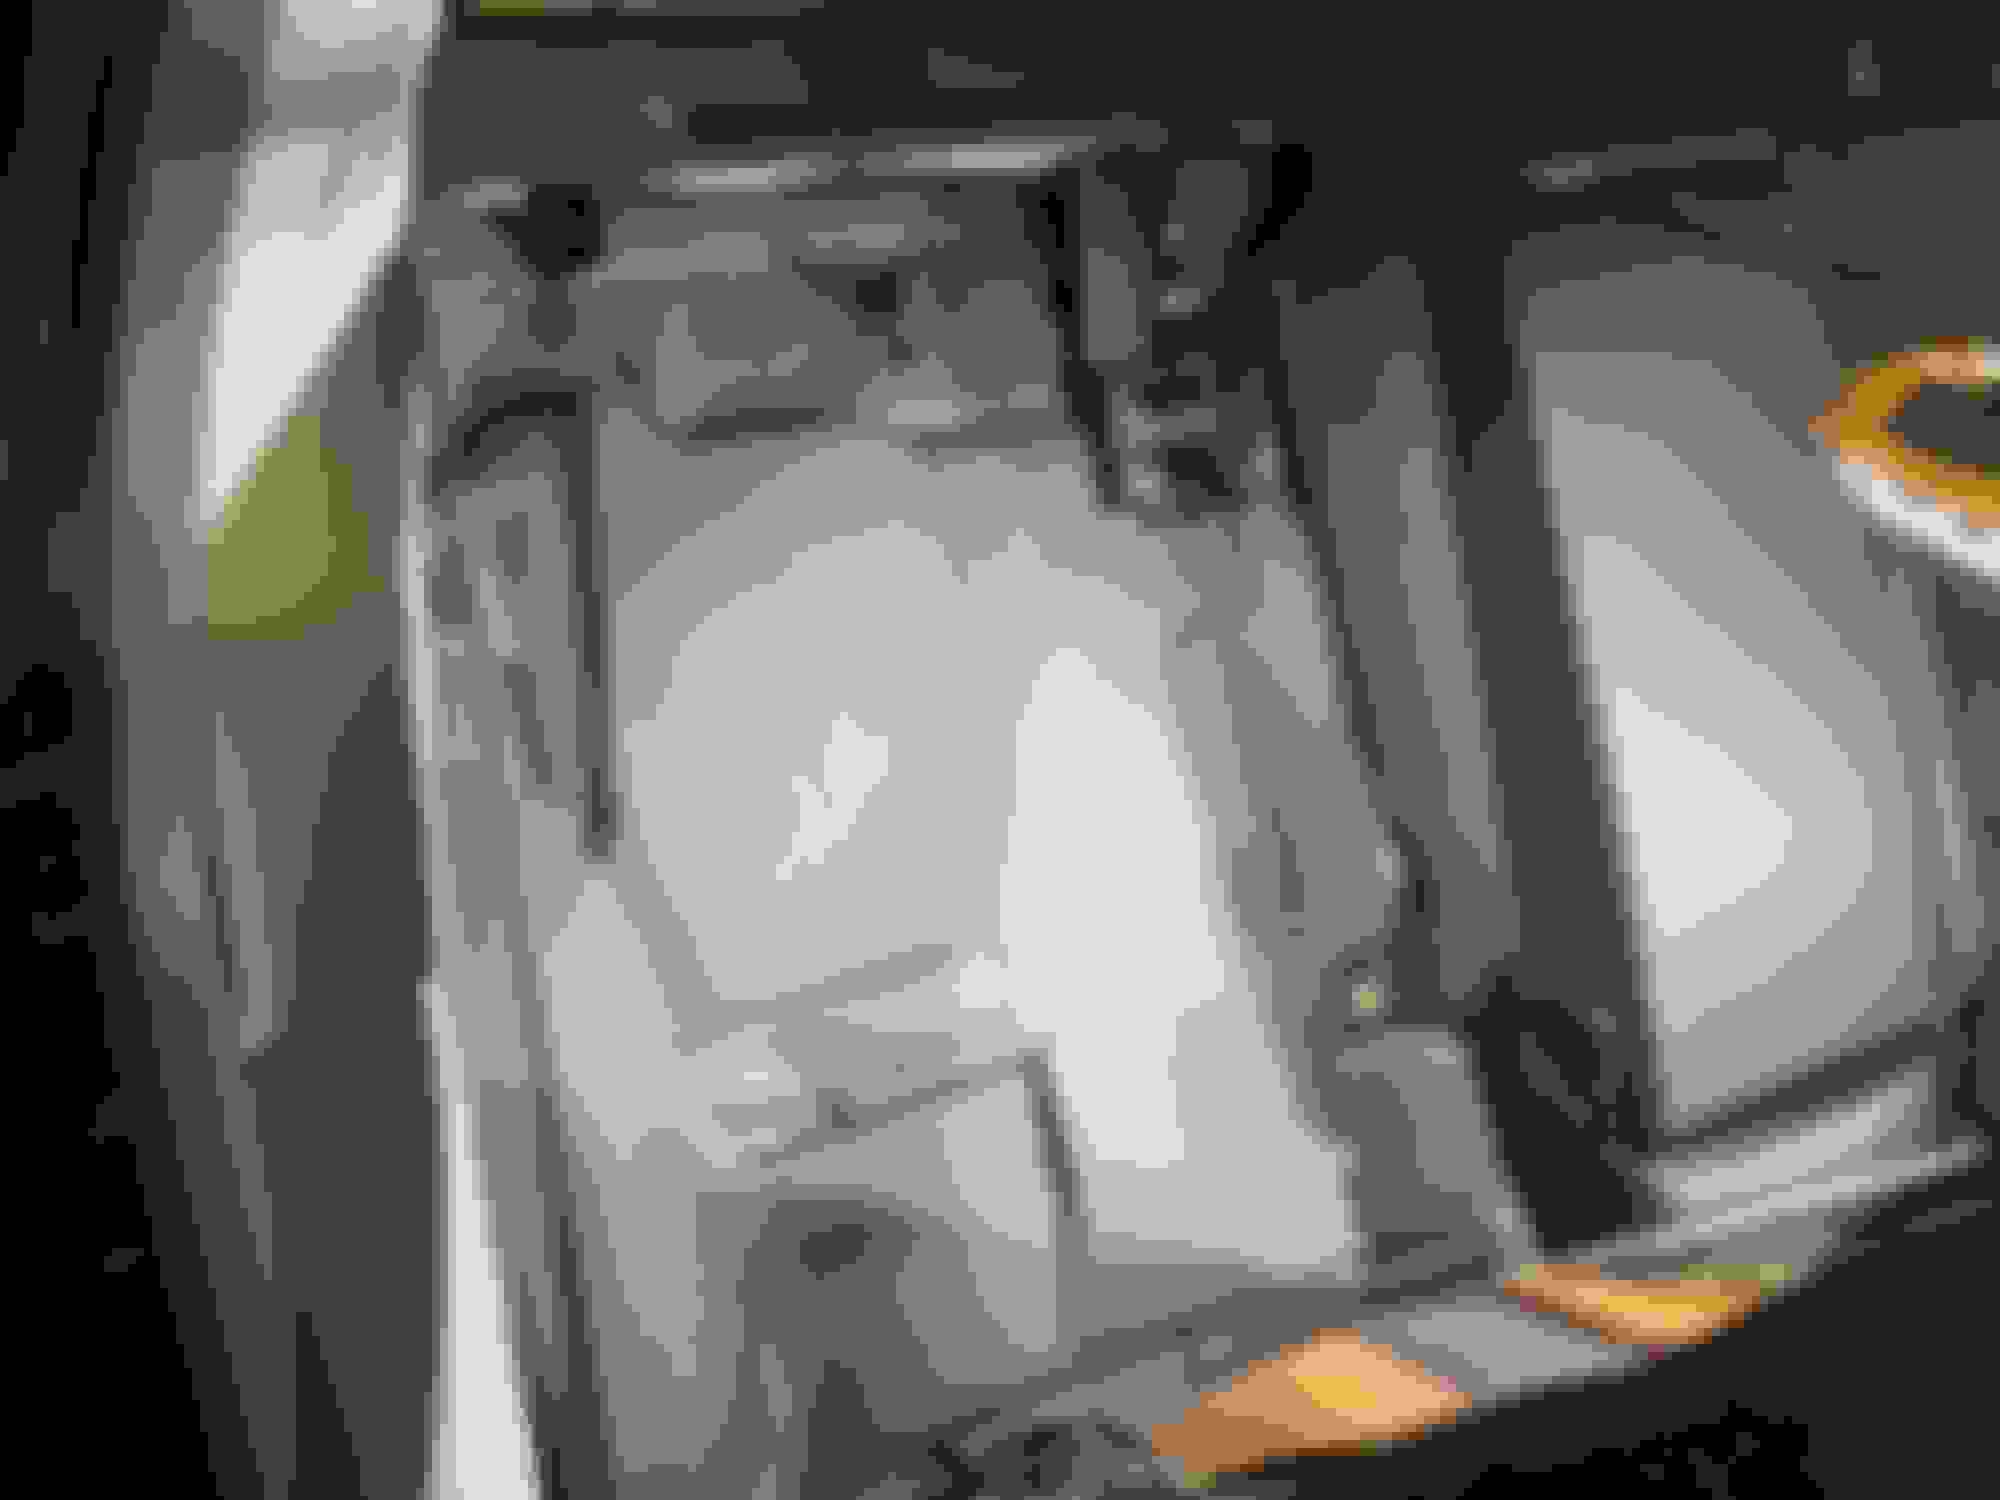
Once you have removed the rear bench for the first time, drill a small hole into the black part of the clips and tie some strings to them (I have used shoestrings). The strings can be hidden underneath the bench and can be pulled out when needed. With them, releasing the bench by pulling on them to release the clips will be child's play and no broken fingers anymore...
As it was not mentioned before, here's a trick about how to remove the rear bench easily, at least after the first time, which will still be a pain.
I have read about this trick in the English Jaguar Forum, I hope that the author does not mind...
Once you have removed the rear bench for the first time, drill a small hole into the black part of the clips and tie some strings to them (I have used shoestrings). The strings can be hidden underneath the bench and can be pulled out when needed. With them, releasing the bench by pulling on them to release the clips will be child's play and no broken fingers anymore...
You can see the strings in the picture
Best regards,
Thomas
I will second that! I did exactly same thing: drilled 1/8" hole and used shuestrings! I did it when I was fixing/replacing parking proximity sounder under parcel shelf. Then I had benefit of improved bench delatching when I had to run wires for aftermarket Android head 6 months later.
 12-17-2021, 08:36 PM