ZF 6HP26 Transmission Removal, Disassembly & Rebuild
#61
The following 2 users liked this post by jackra_1:
Don B (12-31-2019),
Ken Lopour (01-15-2020)
#63
- Jan 4, 2020 6:15am Arrival Scan Knoxville, TN
- Jan 4, 2020 2:03am Departure Scan Nashville, TN
- Jan 3, 2020 12:48pm Arrival Scan Nashville, TN
- Jan 3, 2020 9:32am Departure Scan Memphis, TN
- Jan 2, 2020 5:19pm Arrival Scan Memphis, TN
- Jan 2, 2020 8:45am Departure Scan Ft Worth, TX
- Jan 2, 2020 8:07am Arrival Scan Ft Worth, TX
- Jan 2, 2020 7:42am Departure Scan Fort Worth, TX
- Jan 2, 2020 1:08am Arrival Scan Fort Worth, TX
- Dec 30, 2019 10:39pm Departure Scan El Paso, TX
- Dec 30, 2019 7:19pm Origin Scan El Paso, TX
- Dec 30, 2019 4:54pm Drop-Off El Paso, TX
My rebuild kit is on its way by snail mail UPS as you can see above.
The Bushing kit from China has already landed in this country.
I will be picking up my 1-3/8" 12 point deep socket from Home Depot today so that I can take off the rear transmission flange and hopefully get the rest of the
drums out.
The "A" drum is proving very difficult to get apart as I cannot see the slip ring that locks things together. It will still be possible to get the bushings out and replaced just a little more tricky.
I will also be looking at the rear crank seal of the engine today.
The engine oil pan gasket will get replaced while the car is up as well.
Last edited by jackra_1; 01-04-2020 at 06:56 AM.
#64
#65
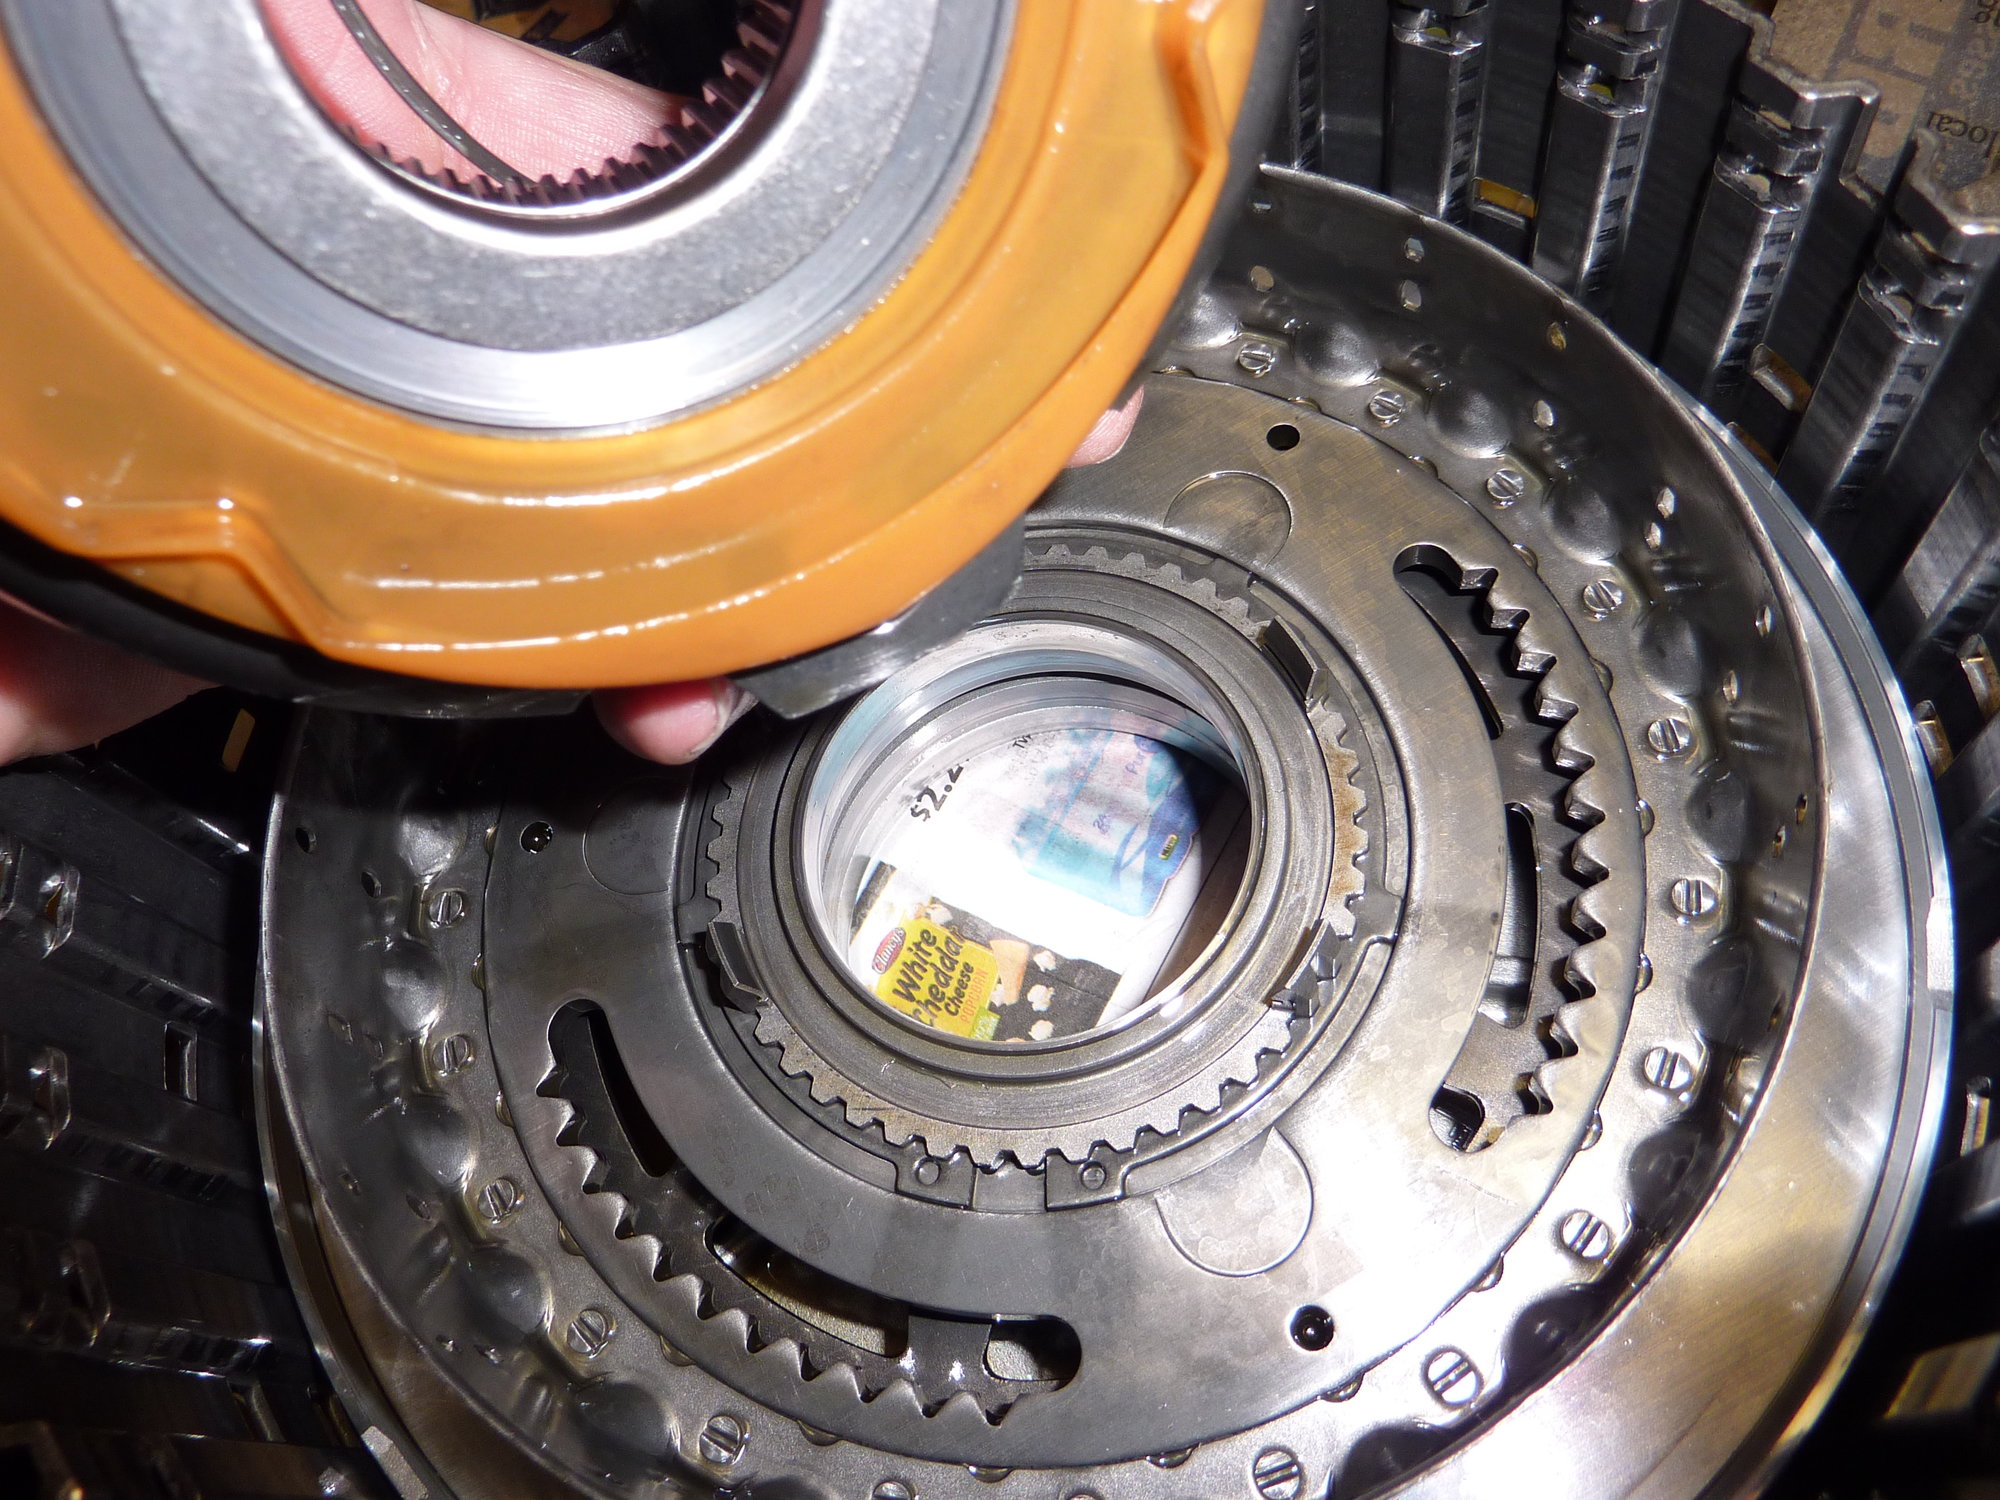
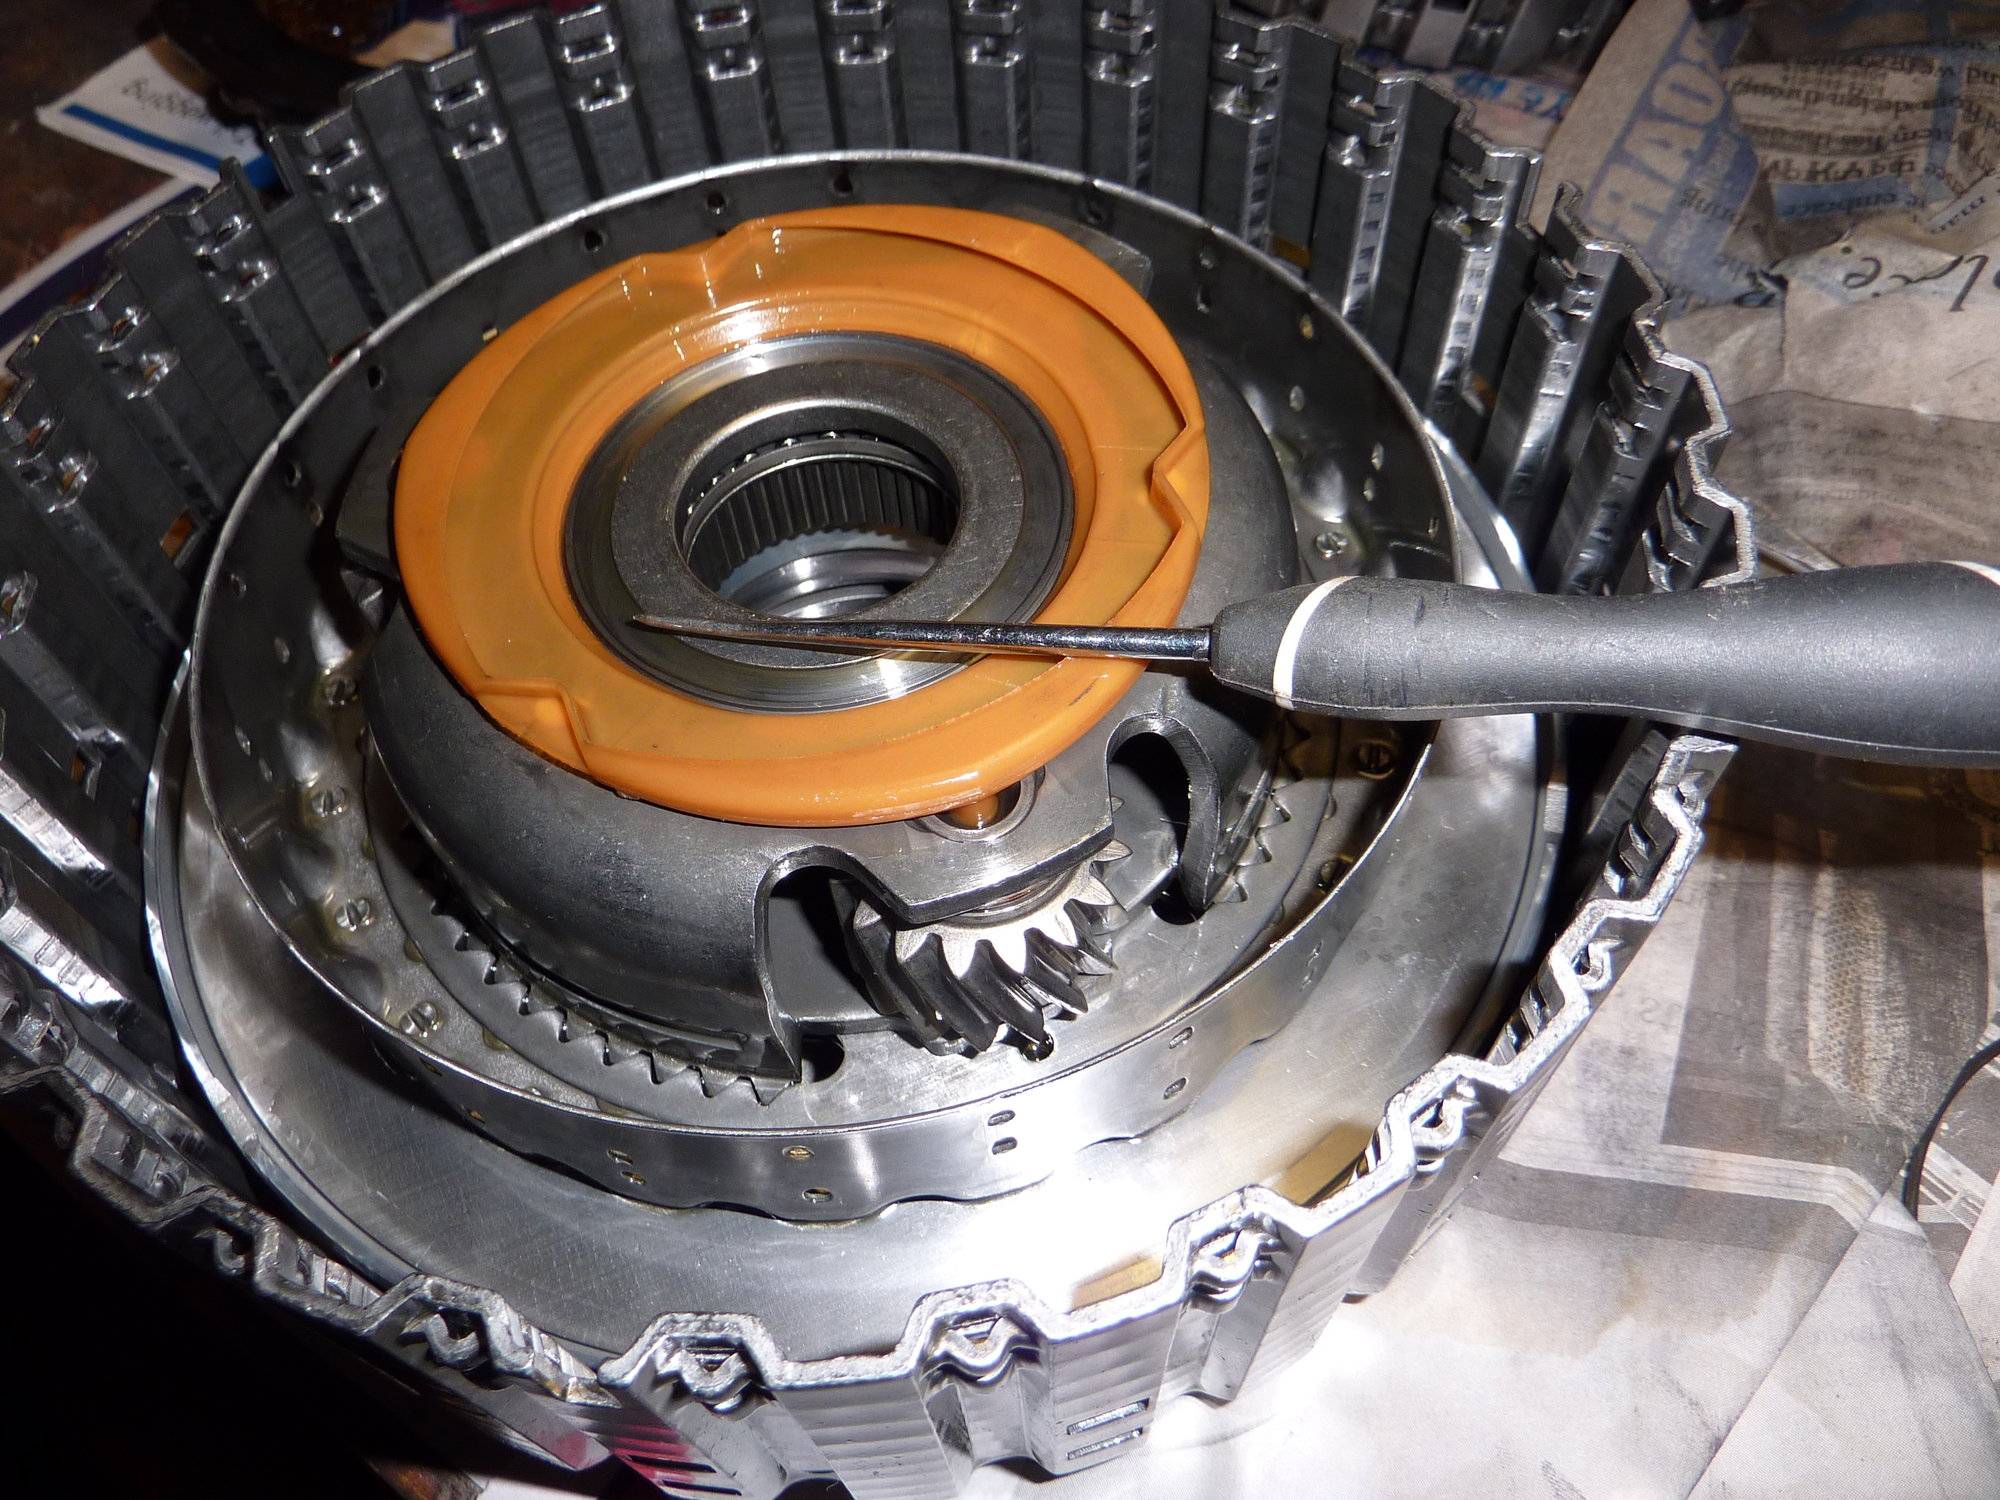
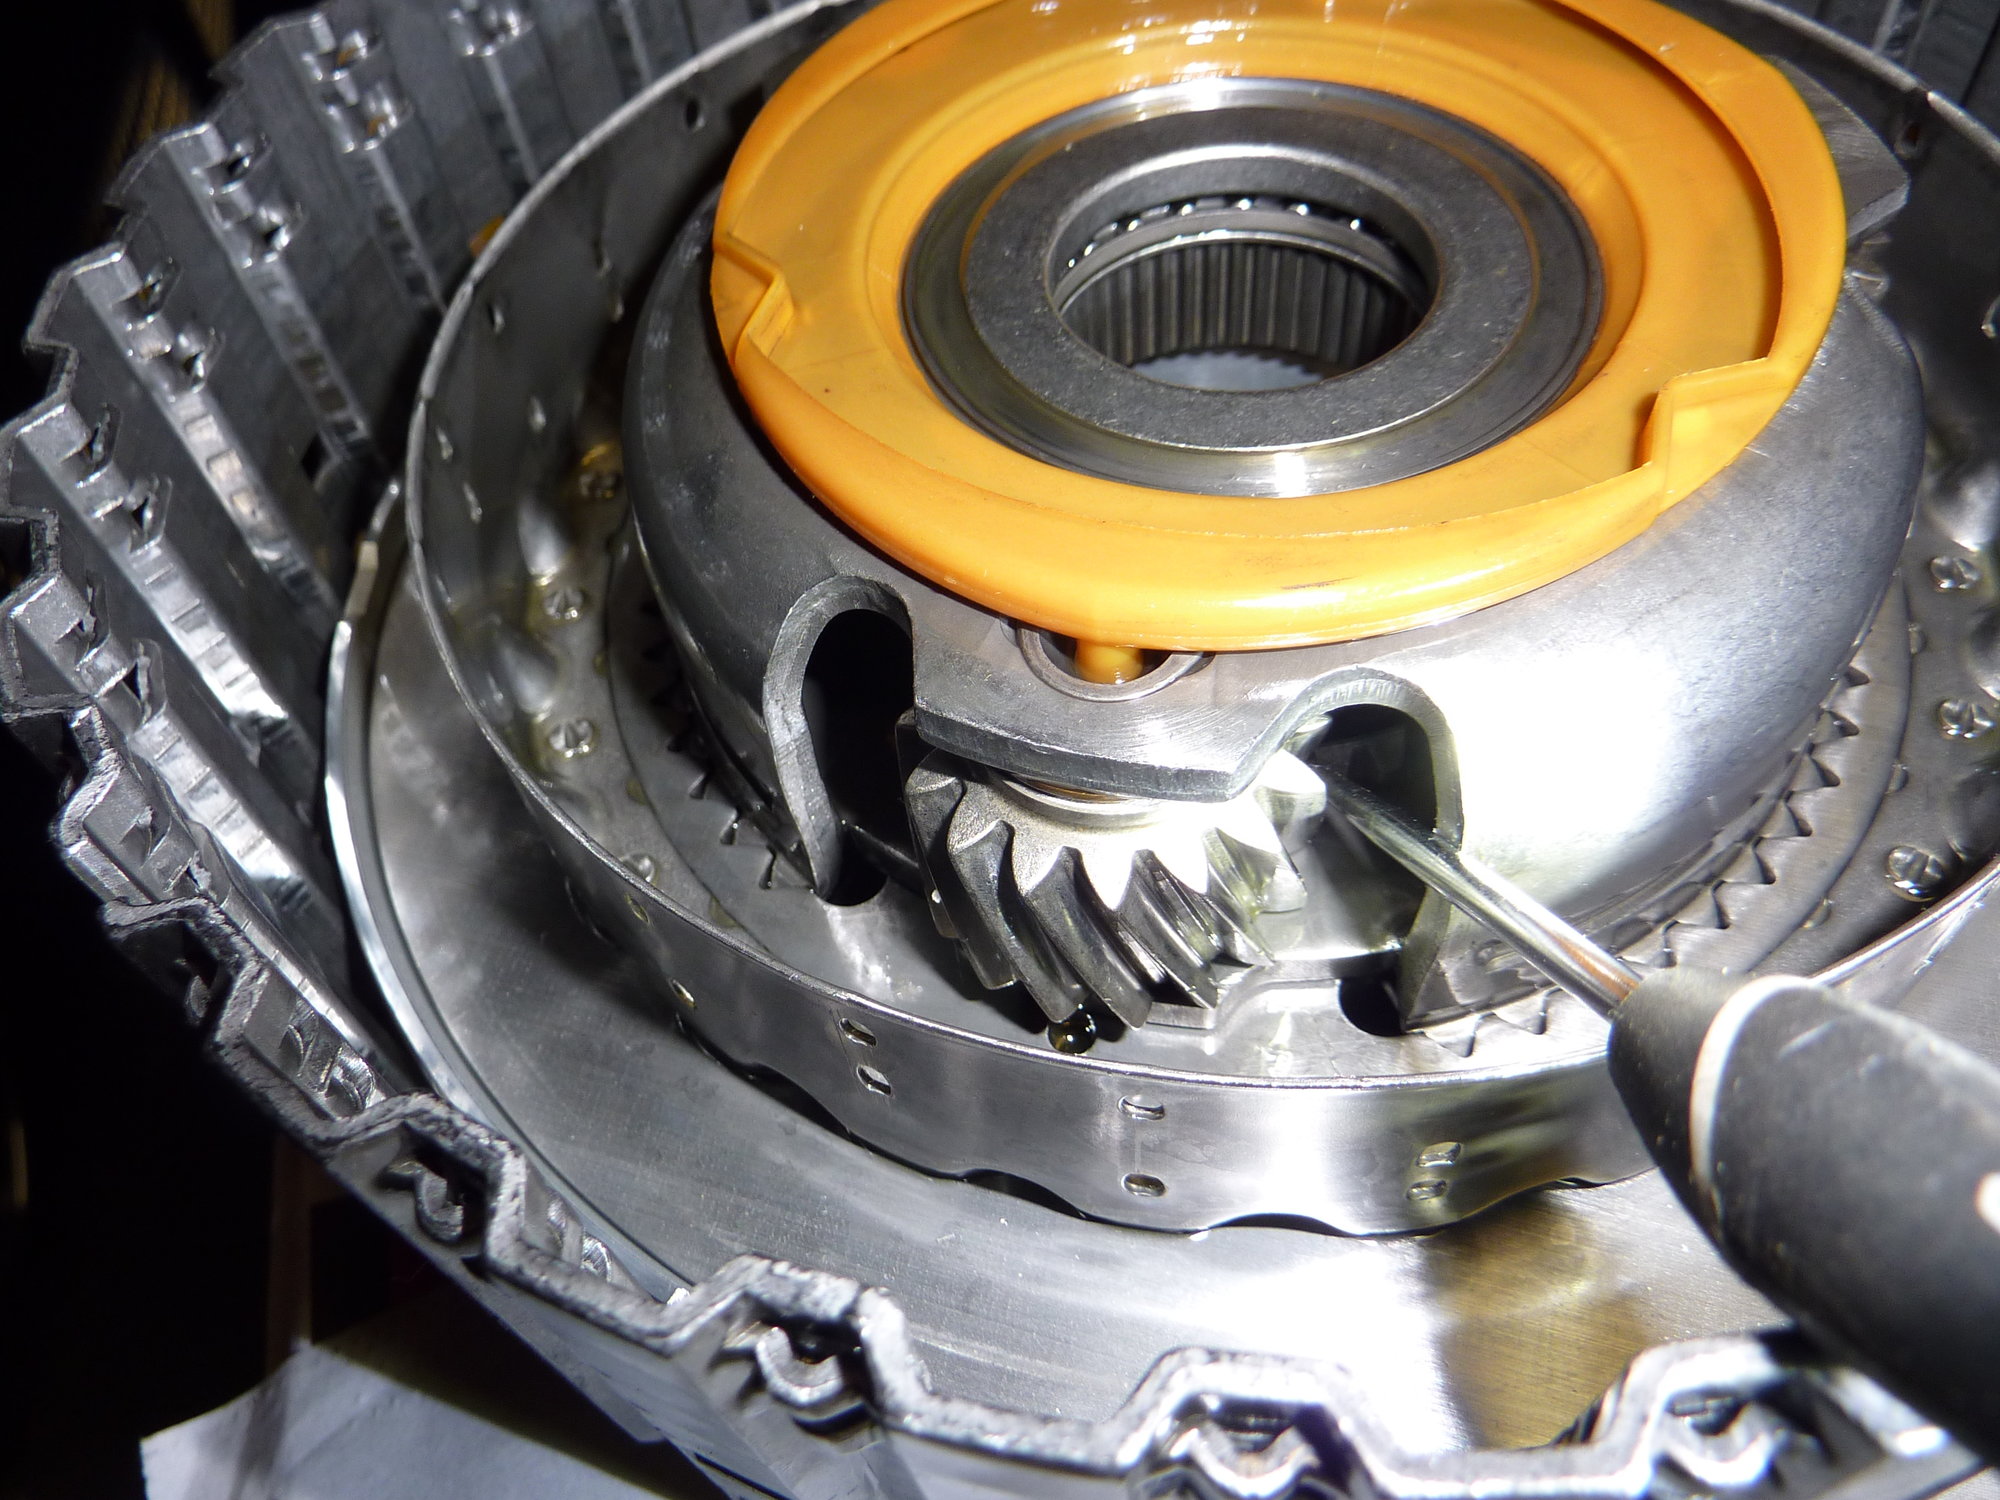
Planet carrier removed from A drum. I scribed the two parts so that they go back in the same position.
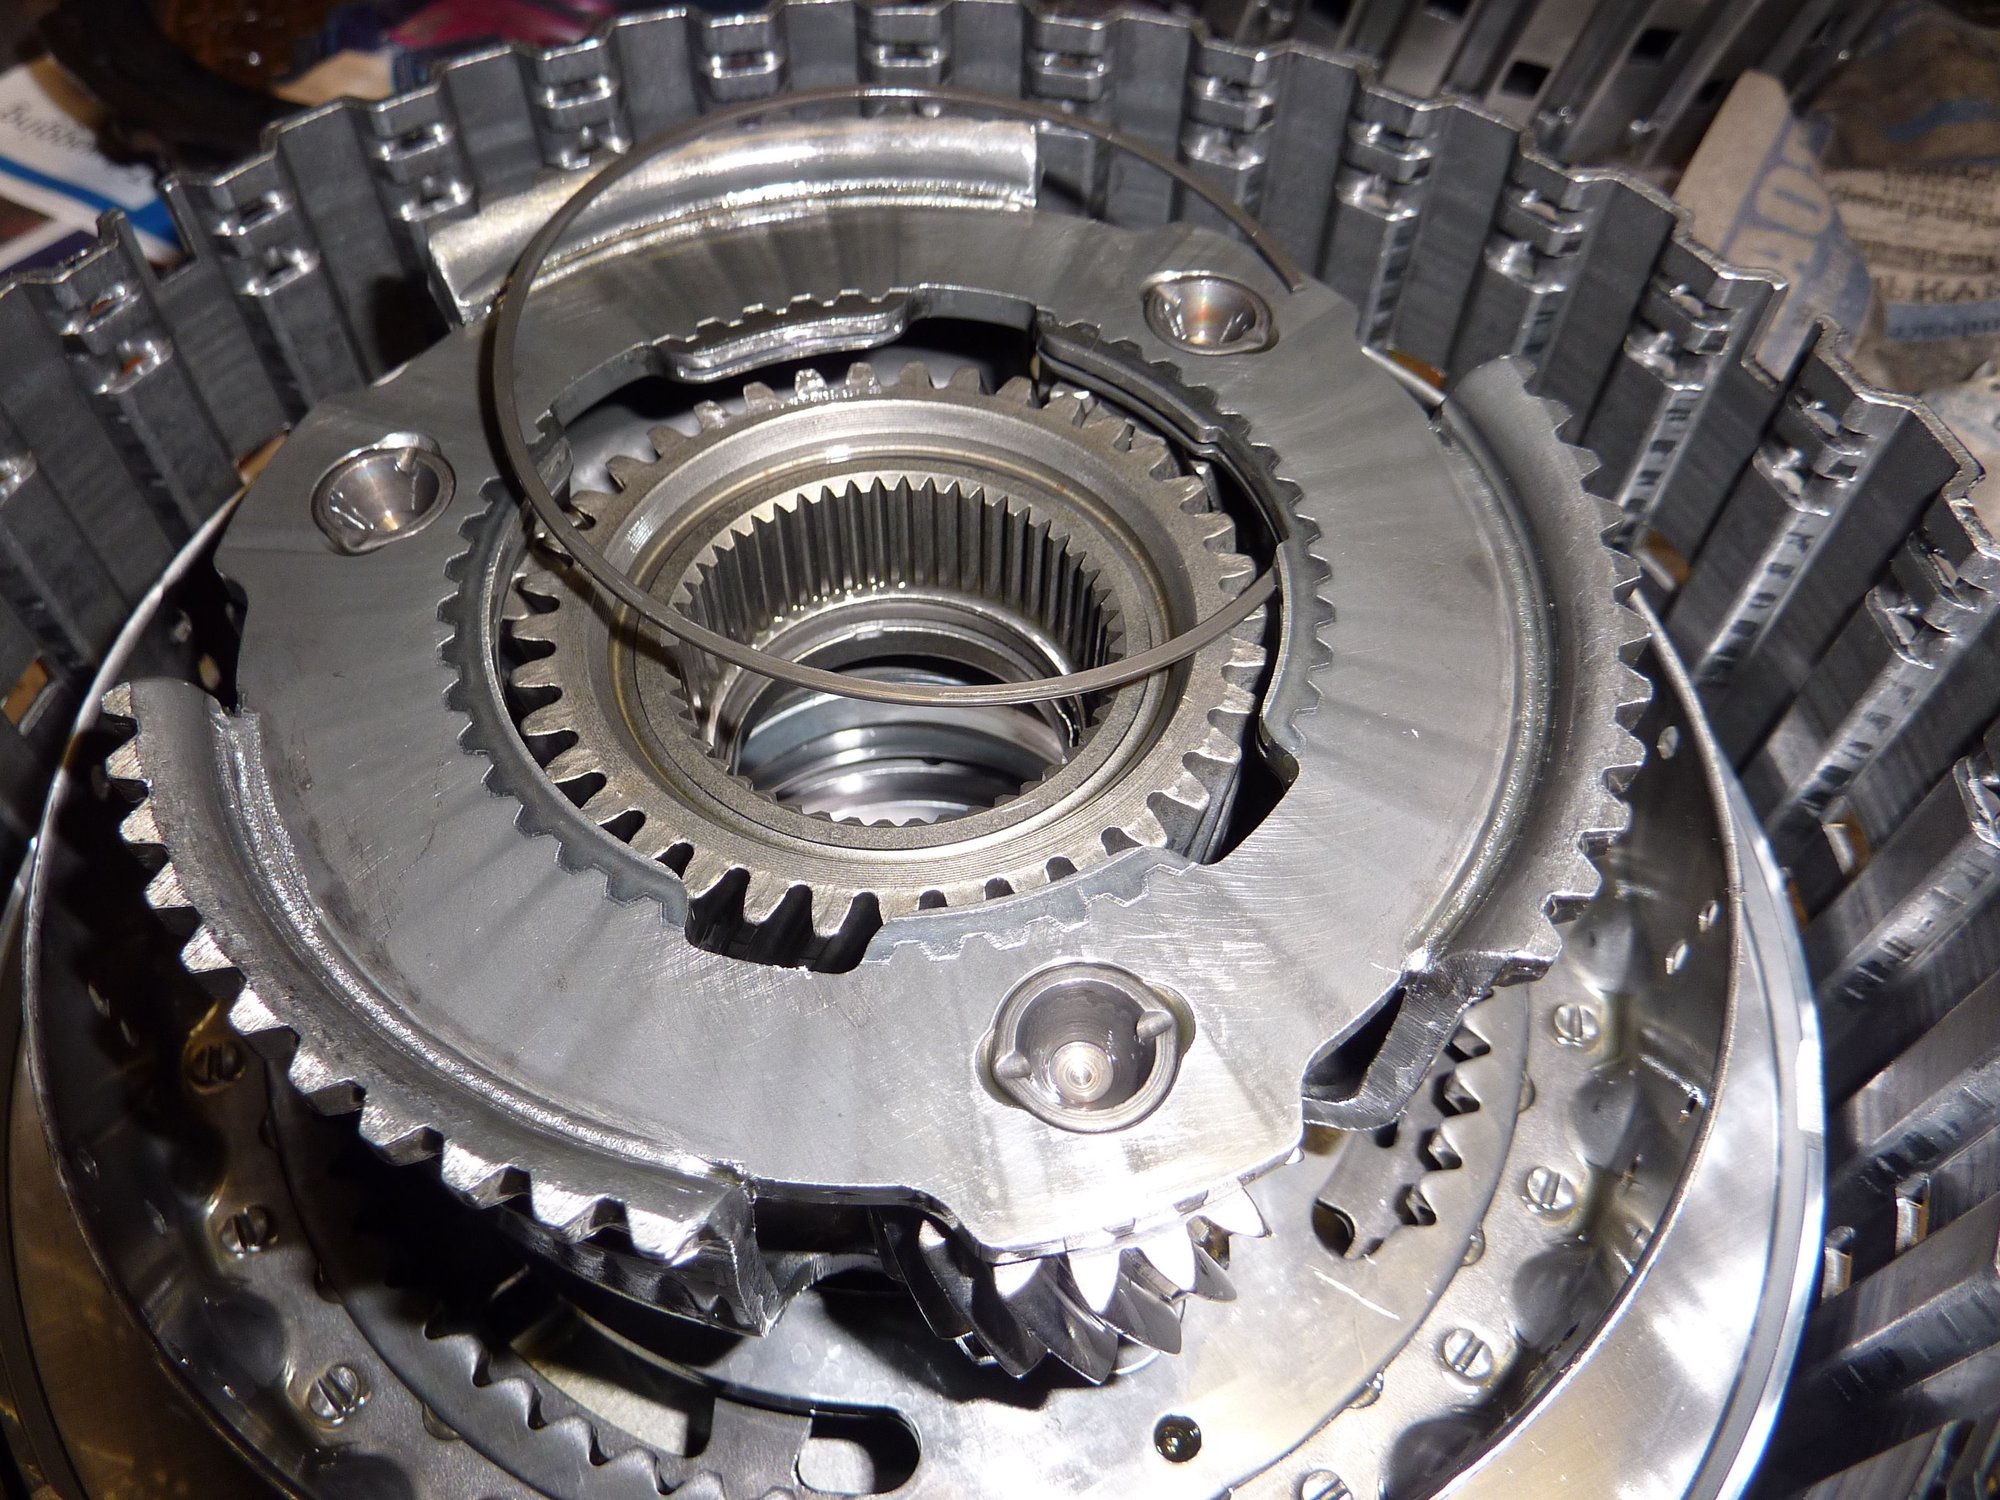
Planet carrier upside down with snap ring loose. I used a needle point tool to lever the snap ring out a section at a time.
I will post two more pics to show where I positioned the tool in the planet carrier.
The following users liked this post:
Don B (01-04-2020)
#67
In a another thread there is a pointer to a 2016 thread posted by Loganr I believe.
This caught my eye "connected IDS, code P0730 set gear ratio fault P0735 set gear fault 5th gear, trans internal fault mechanical fault and or control valve block fault."
If I get everything back together and I still have a problemI think I will be looking at the valve block.
If this does happen it is easy to get out at least.
Just thinking ahead. I would buy a refurb one. So we will see.
#68
Join Date: Feb 2014
Location: Crossroads of America
Posts: 19,581
Received 13,204 Likes
on
6,553 Posts
#69
#70
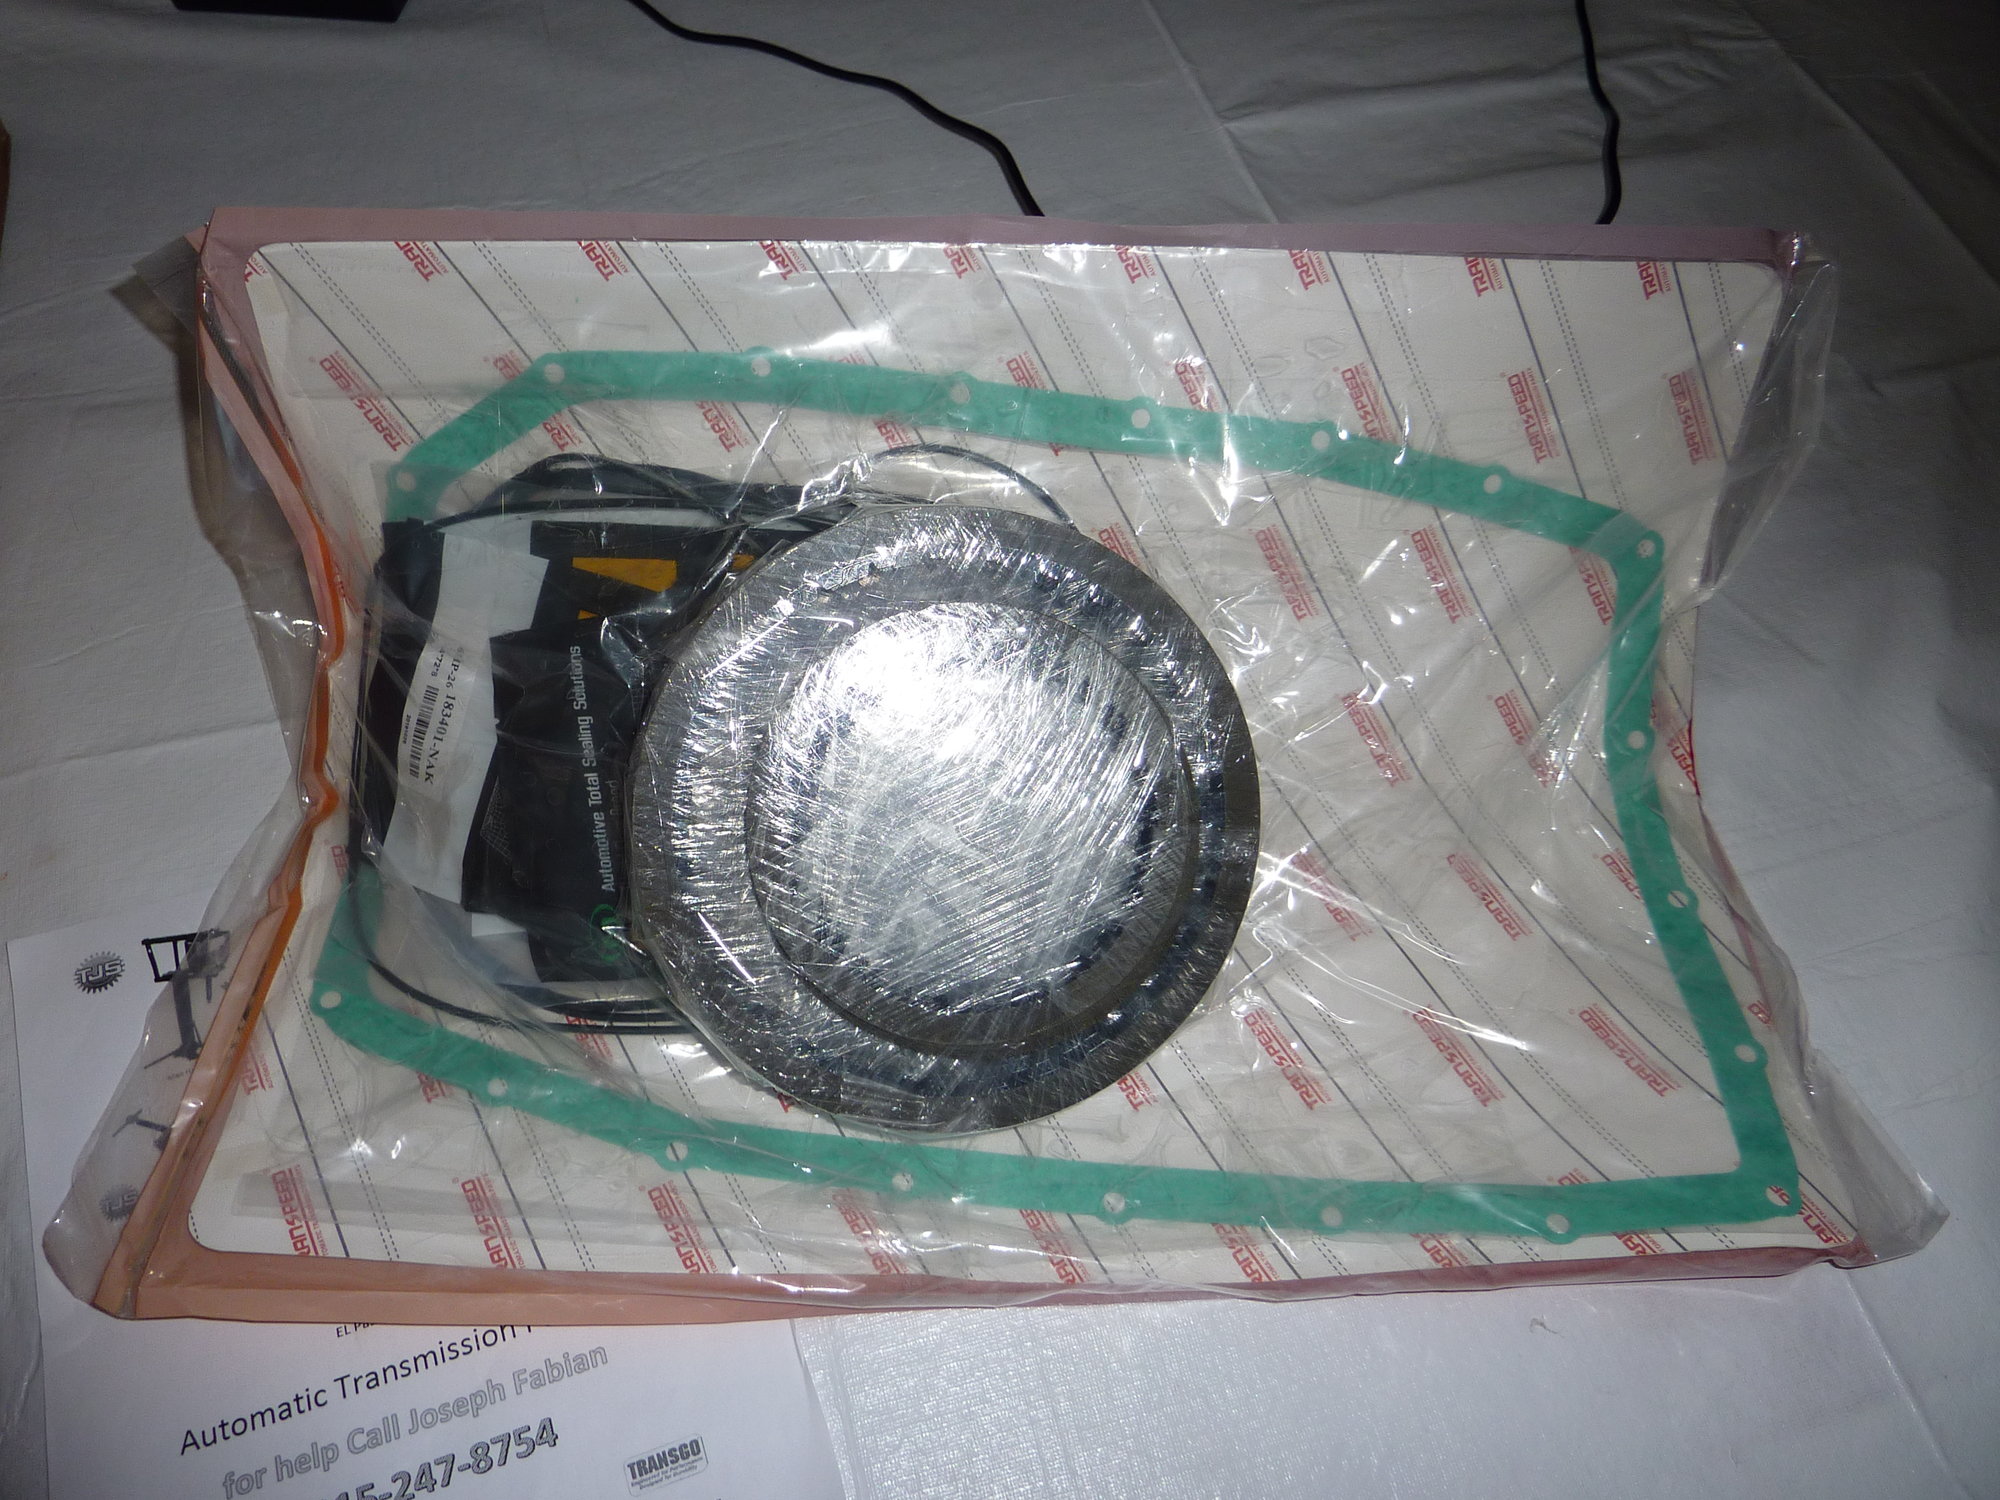
Maybe not all clutch friction plates needed?
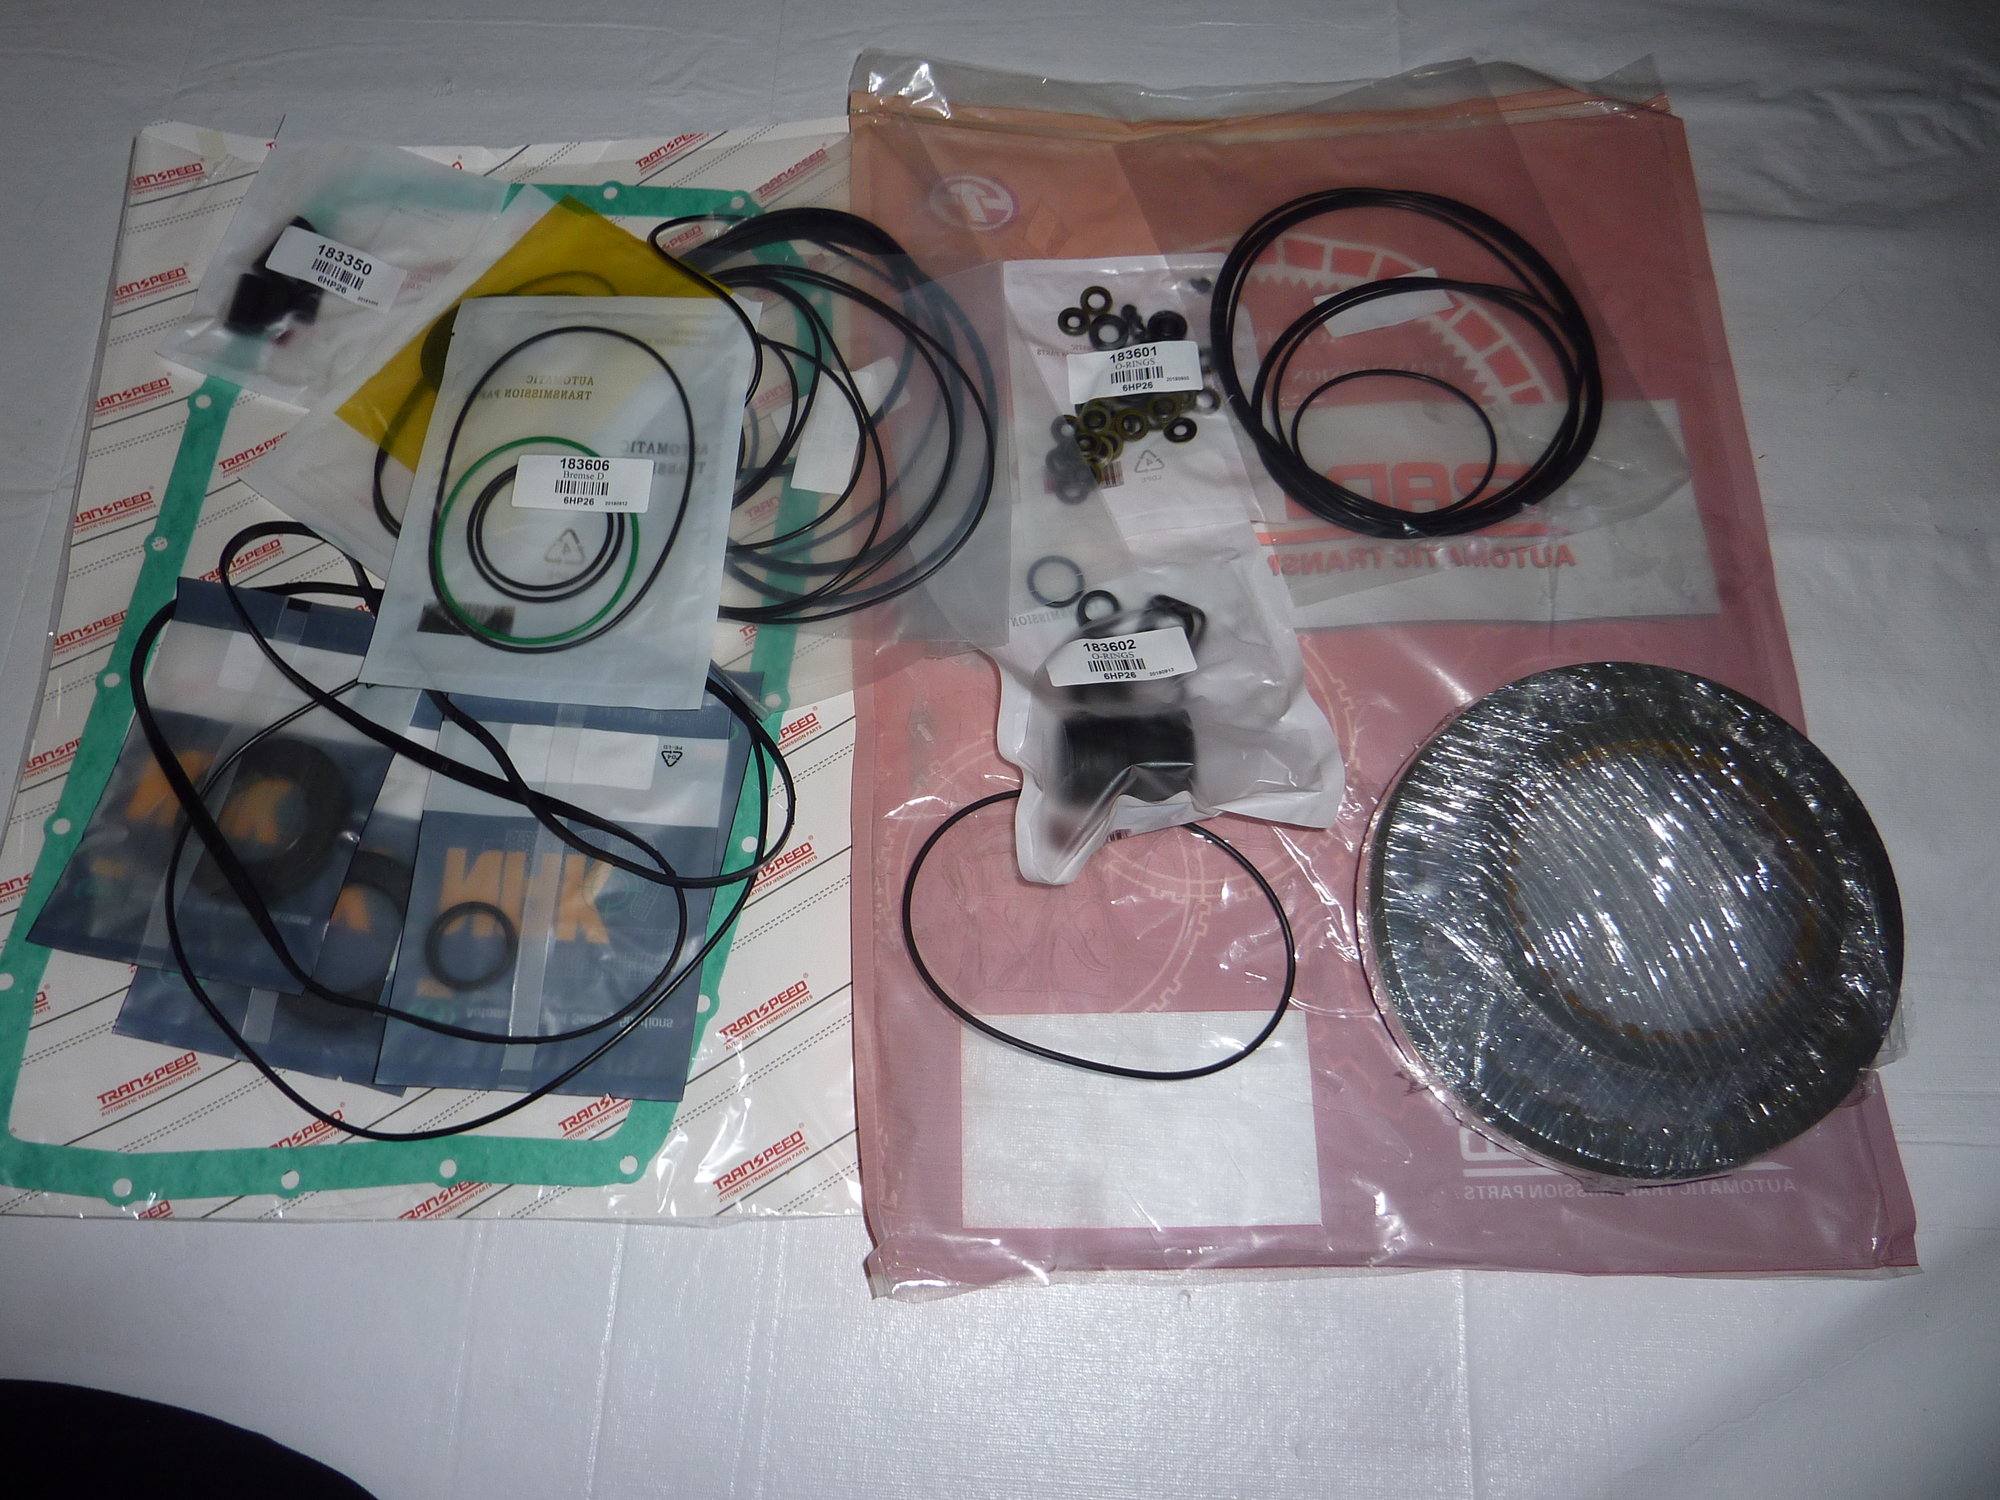
A lot of big sealing rings which I have not come across yet and not expecting to.
A lot of "stuff" here including a pan rubber gasket and mech sleeve. At first glance I do not see as many clutch plates as I would think I need?
Still waiting on bushing set.
The following users liked this post:
Don B (01-07-2020)
#71
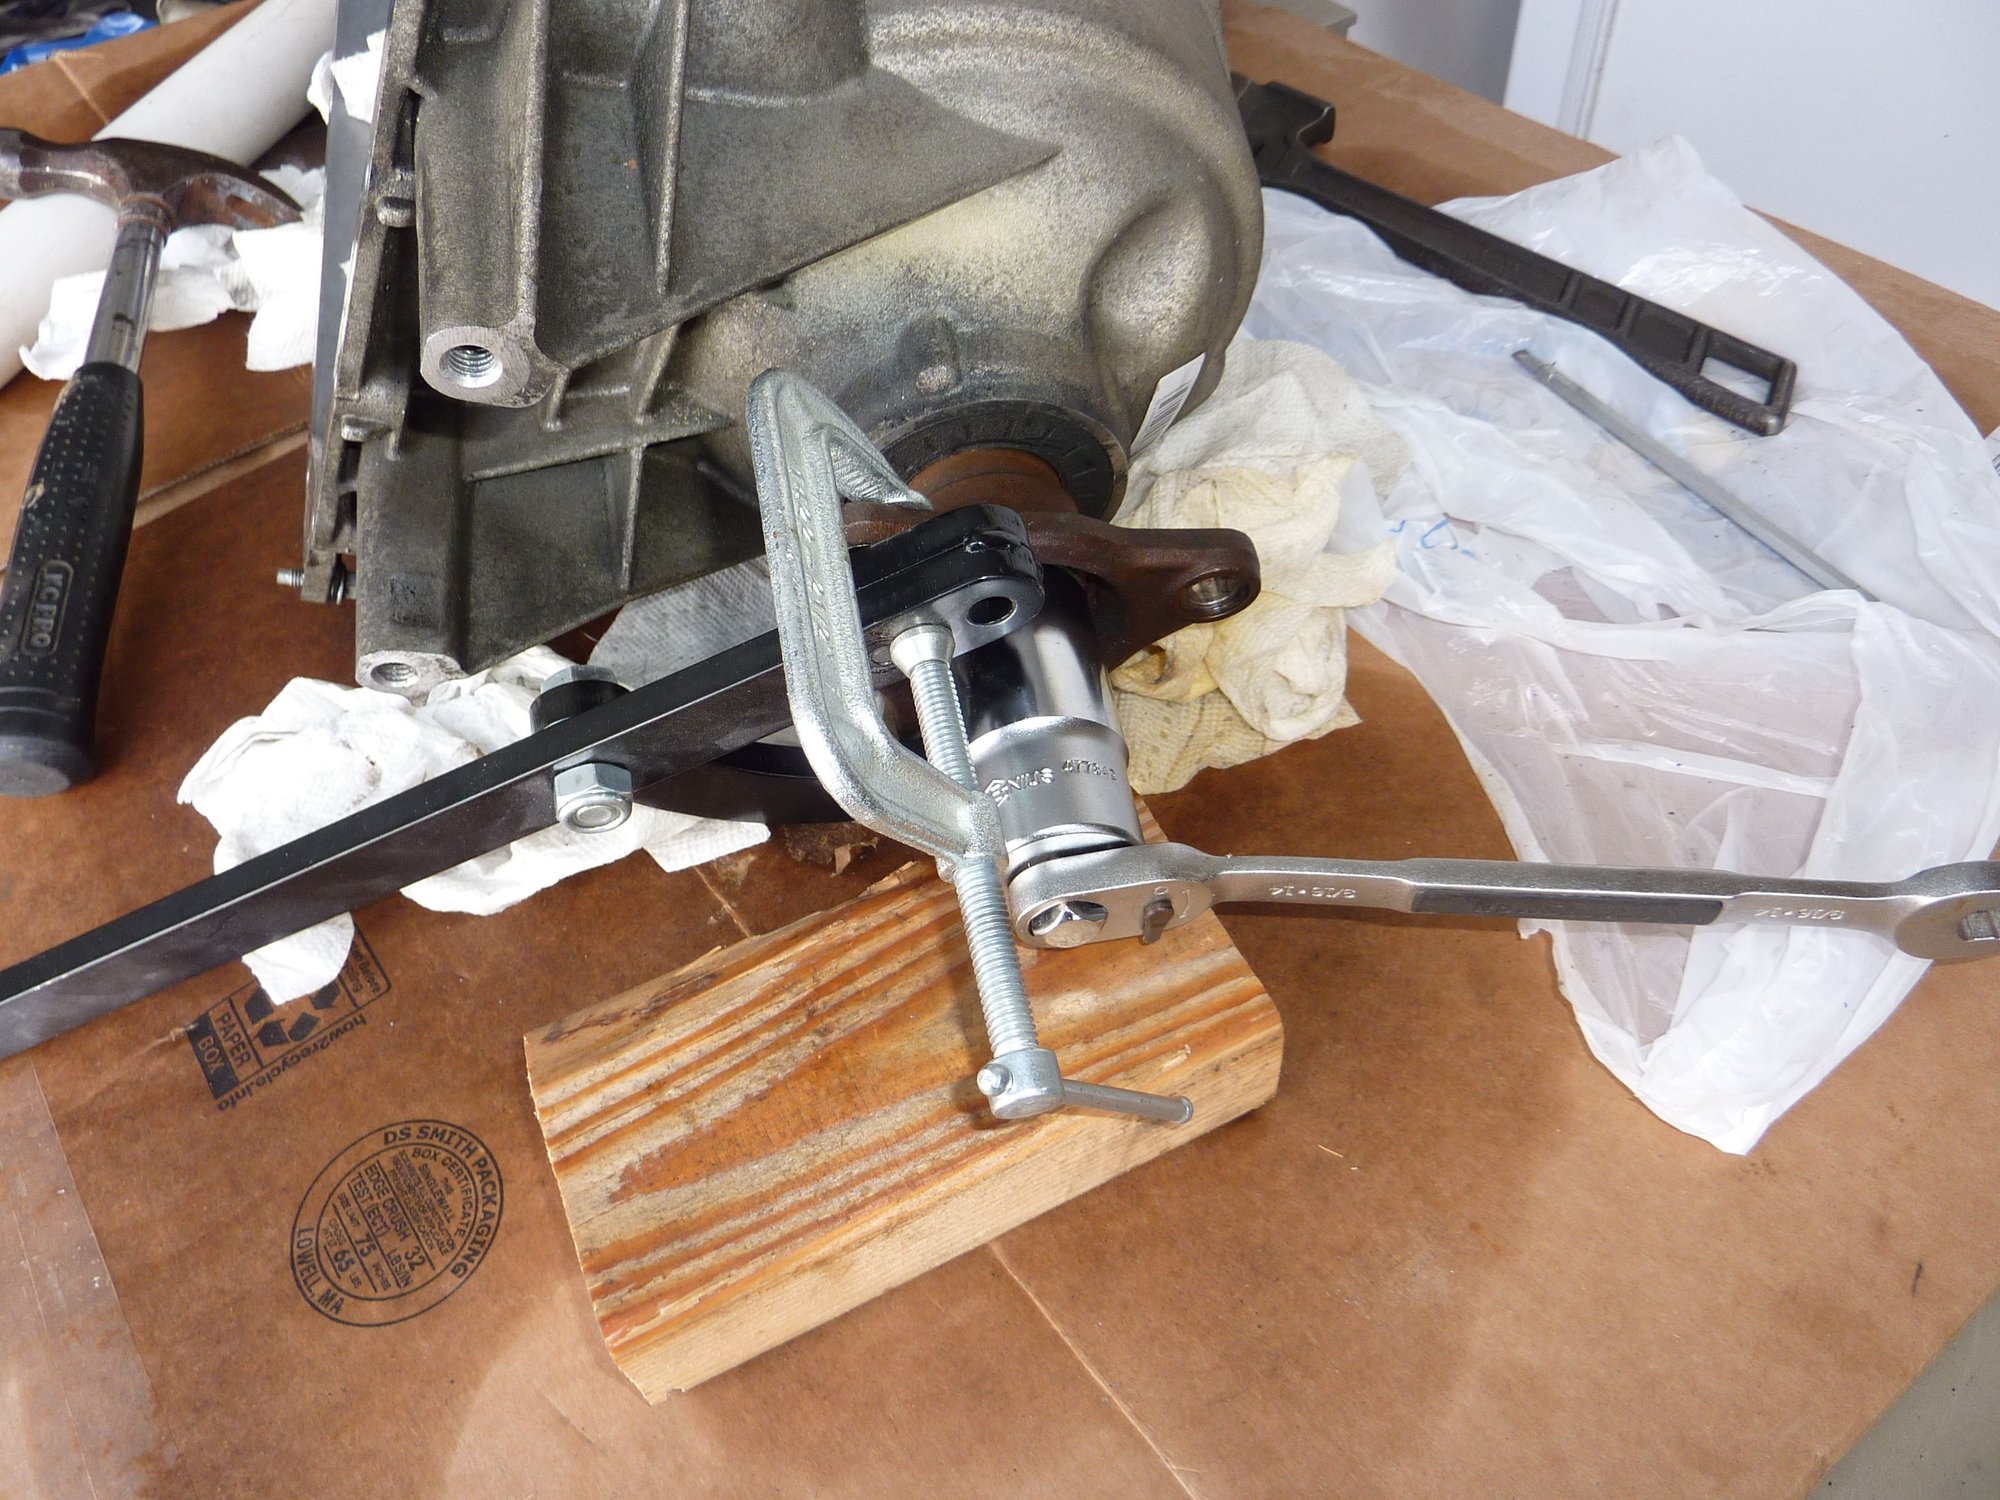
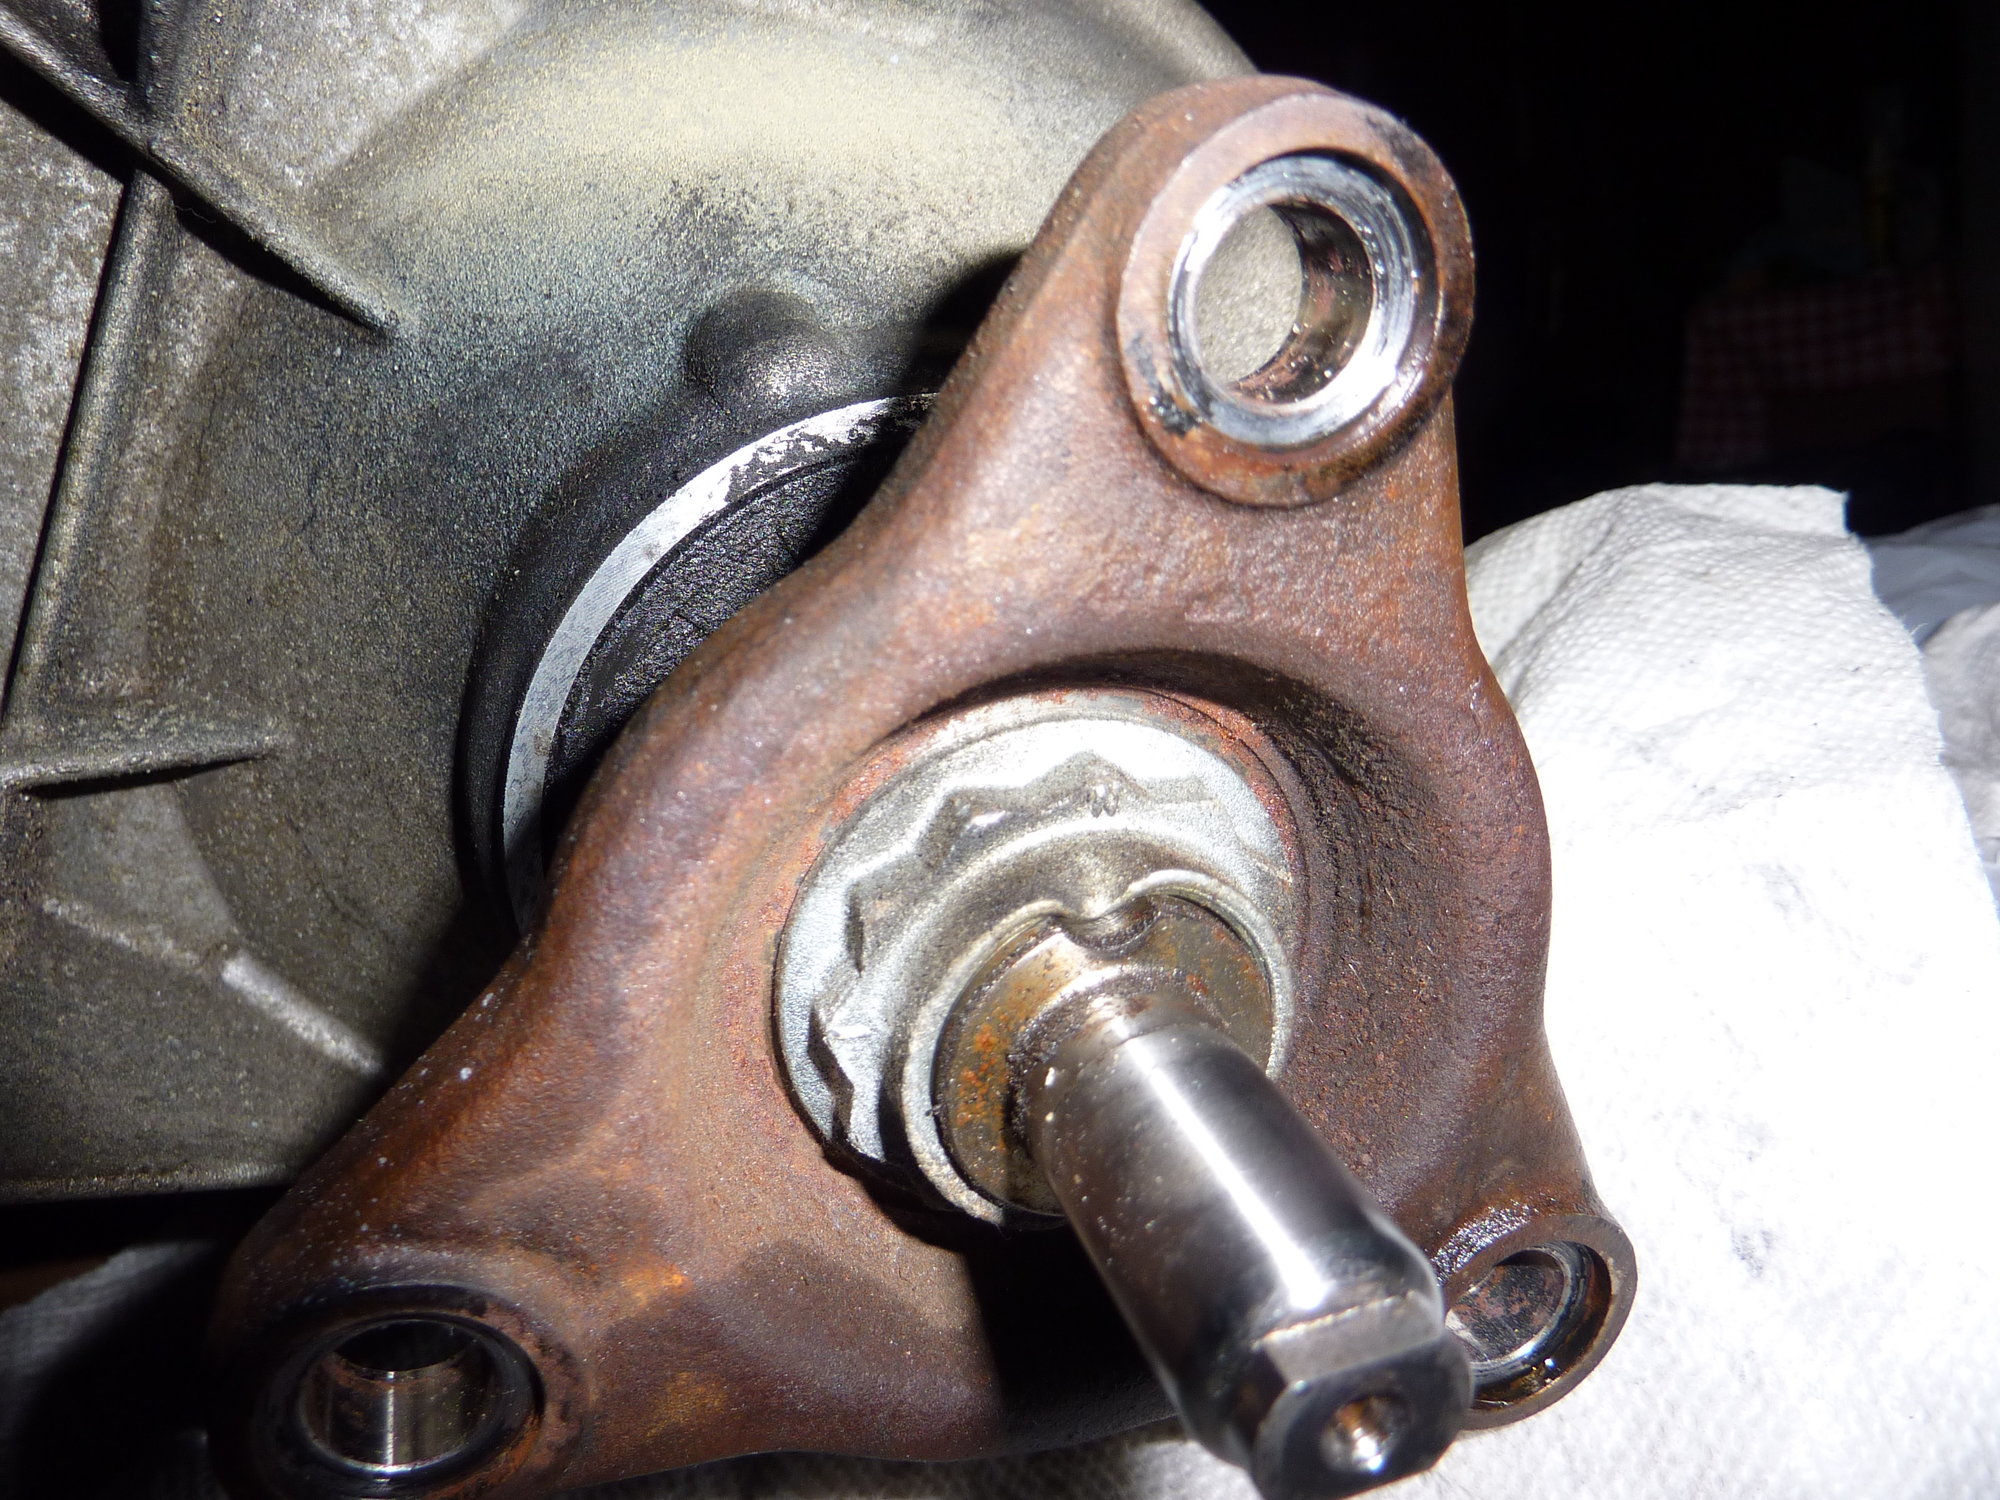
Way more work to get that rear 12 point flange nut off than expected. including drilling the indents out.
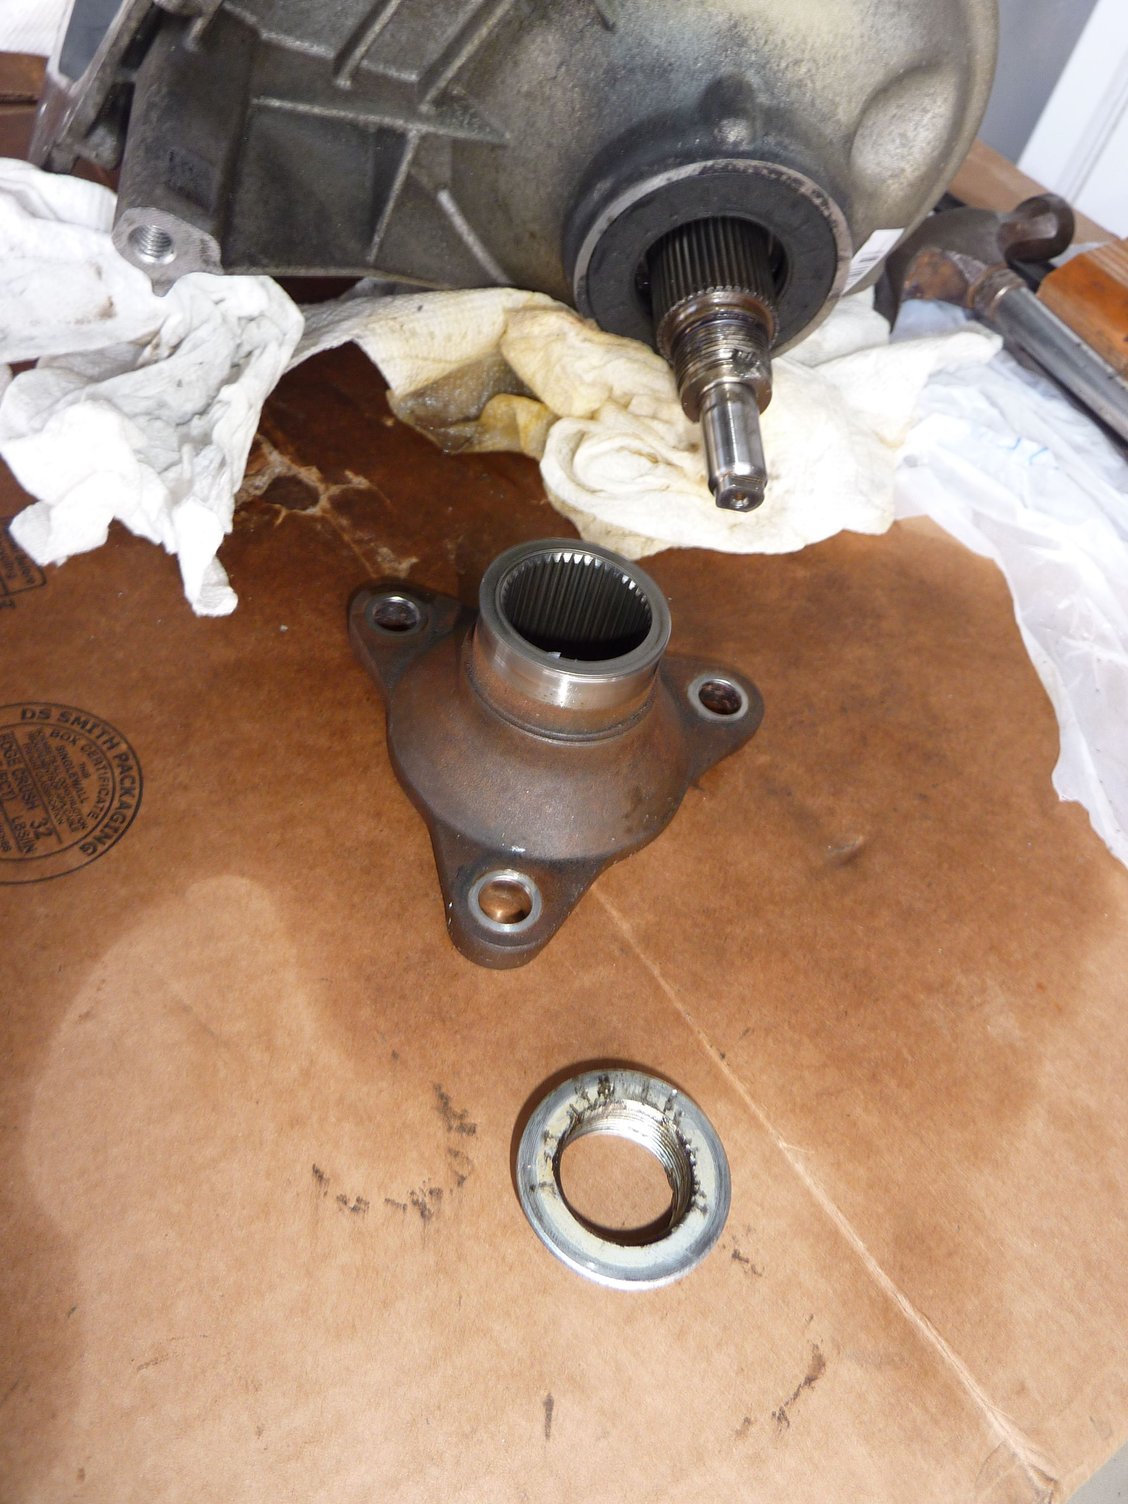
Flange off! My impact wrench would not get it started but did finish the job.
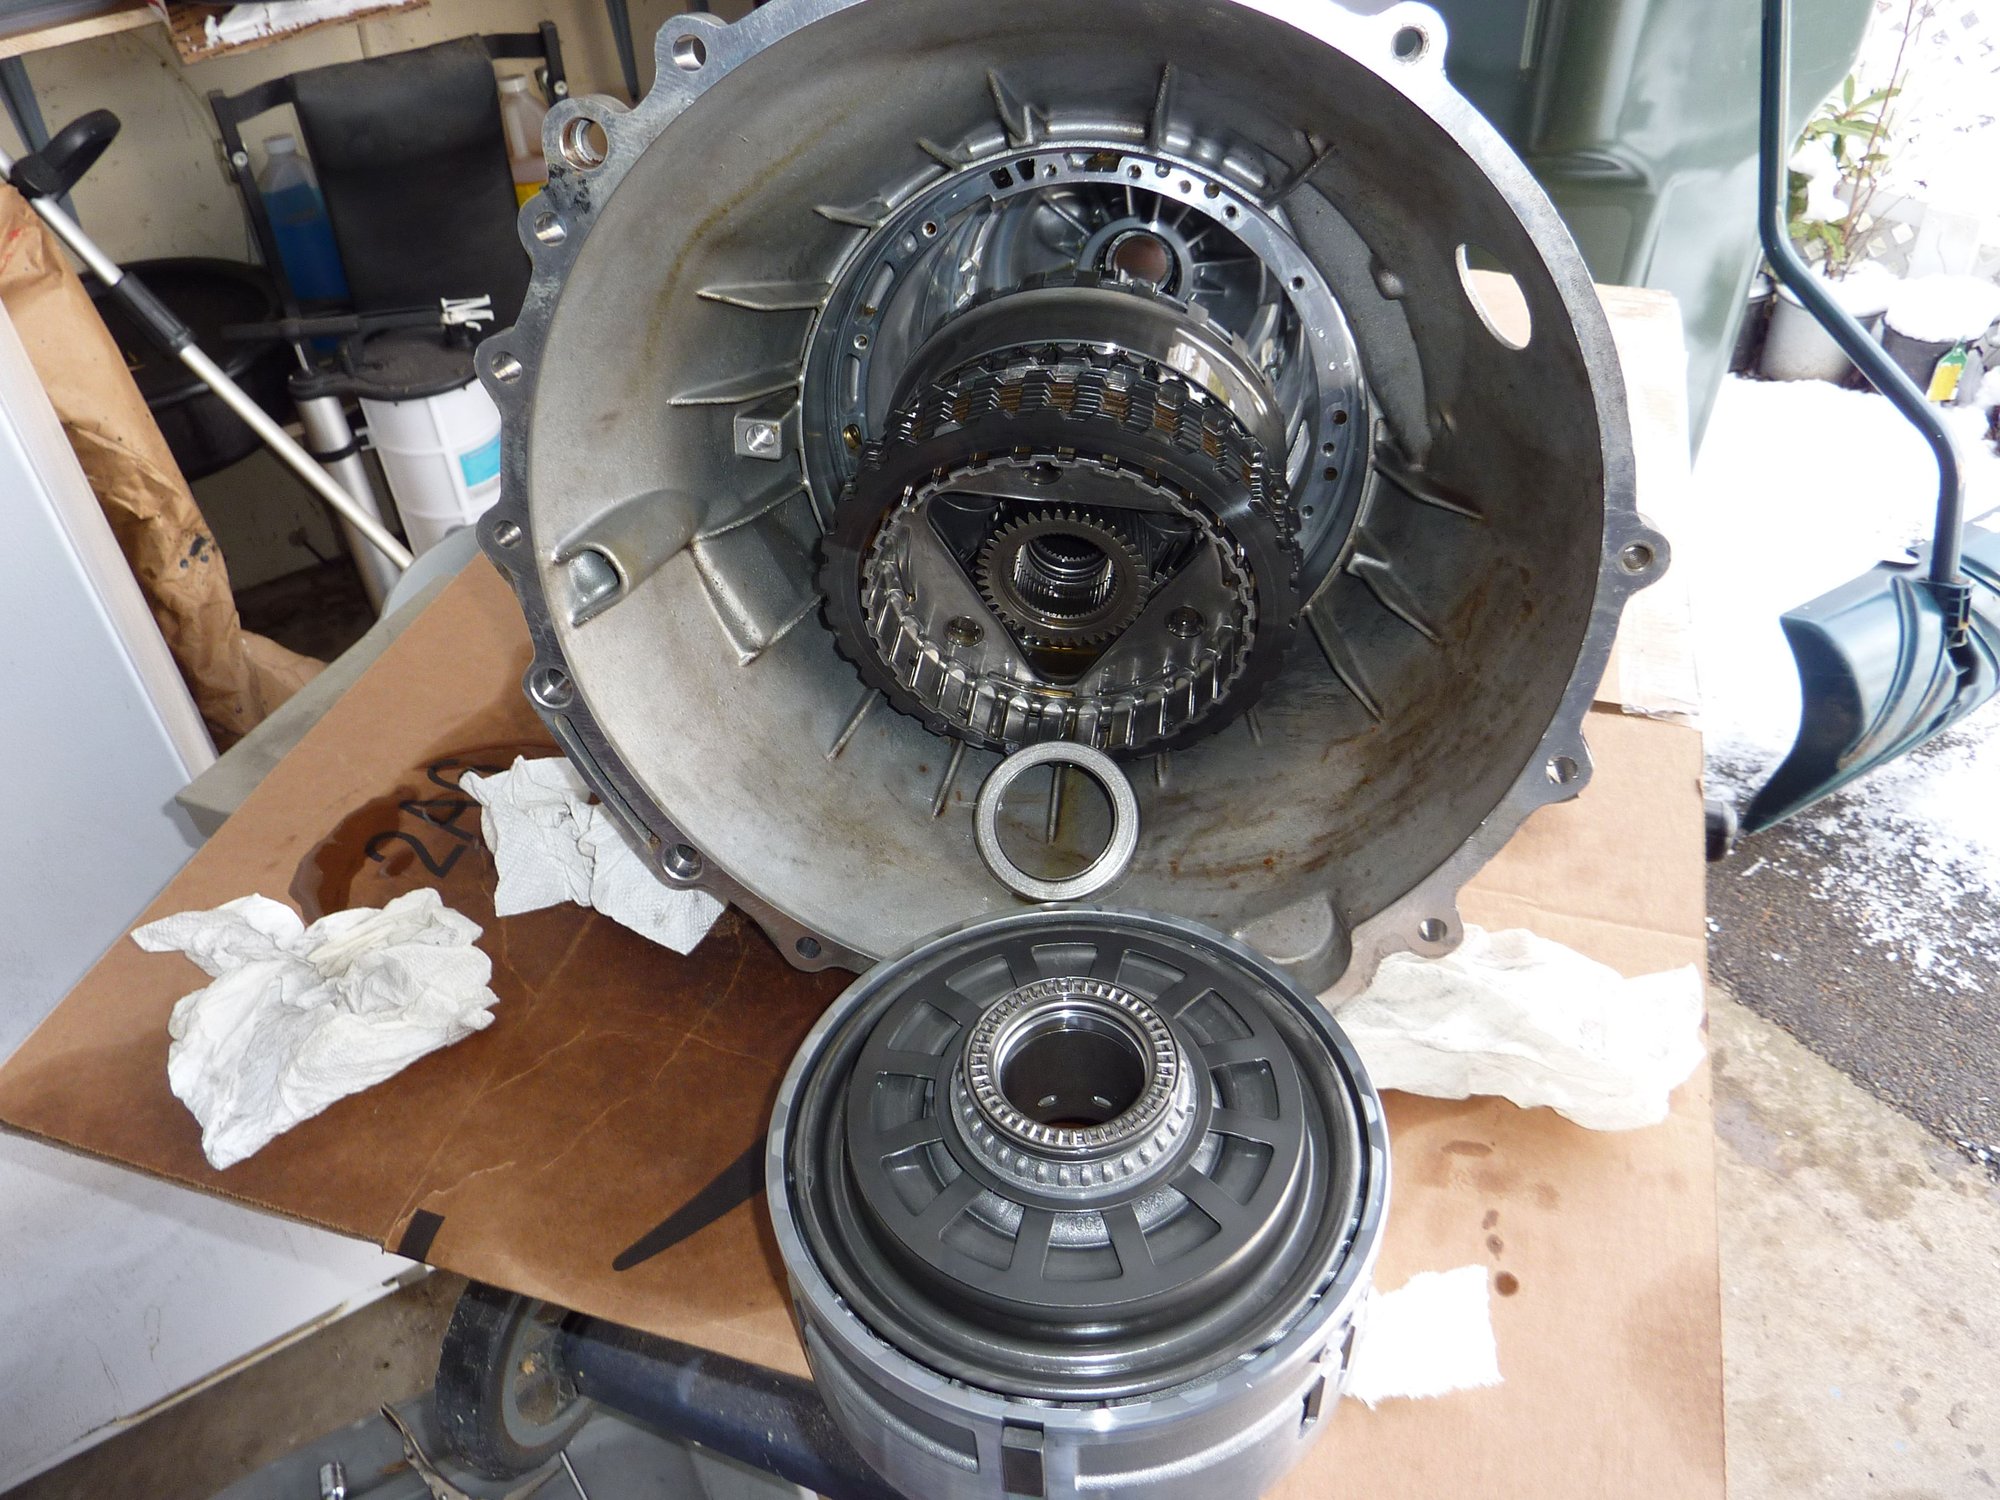
Last two drums out and the final clutch pack.
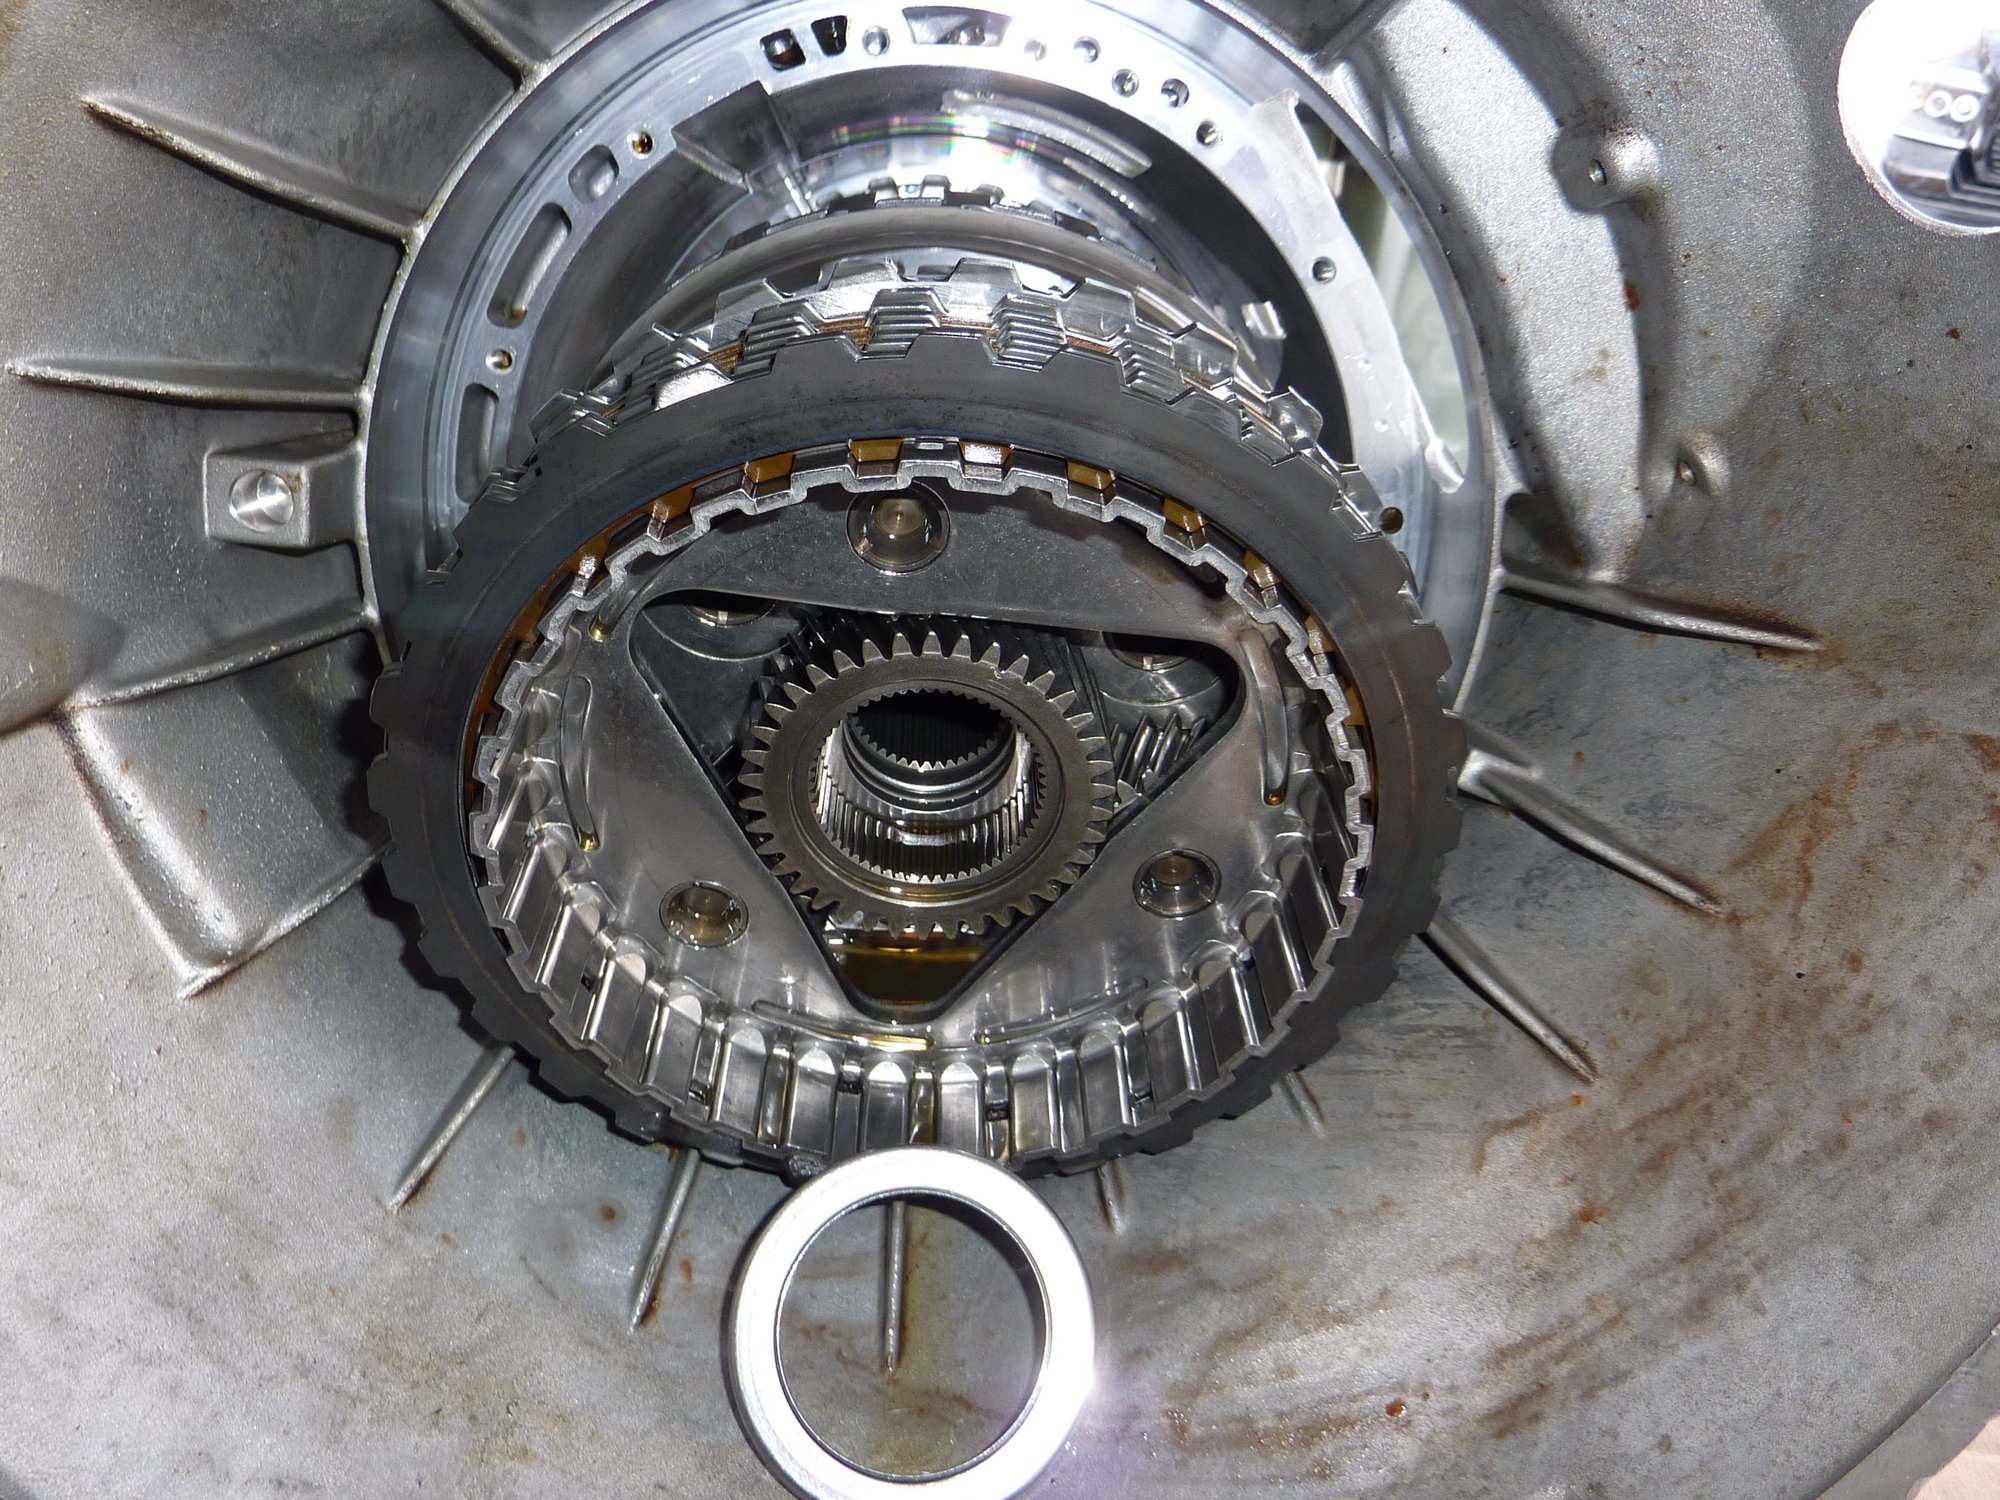
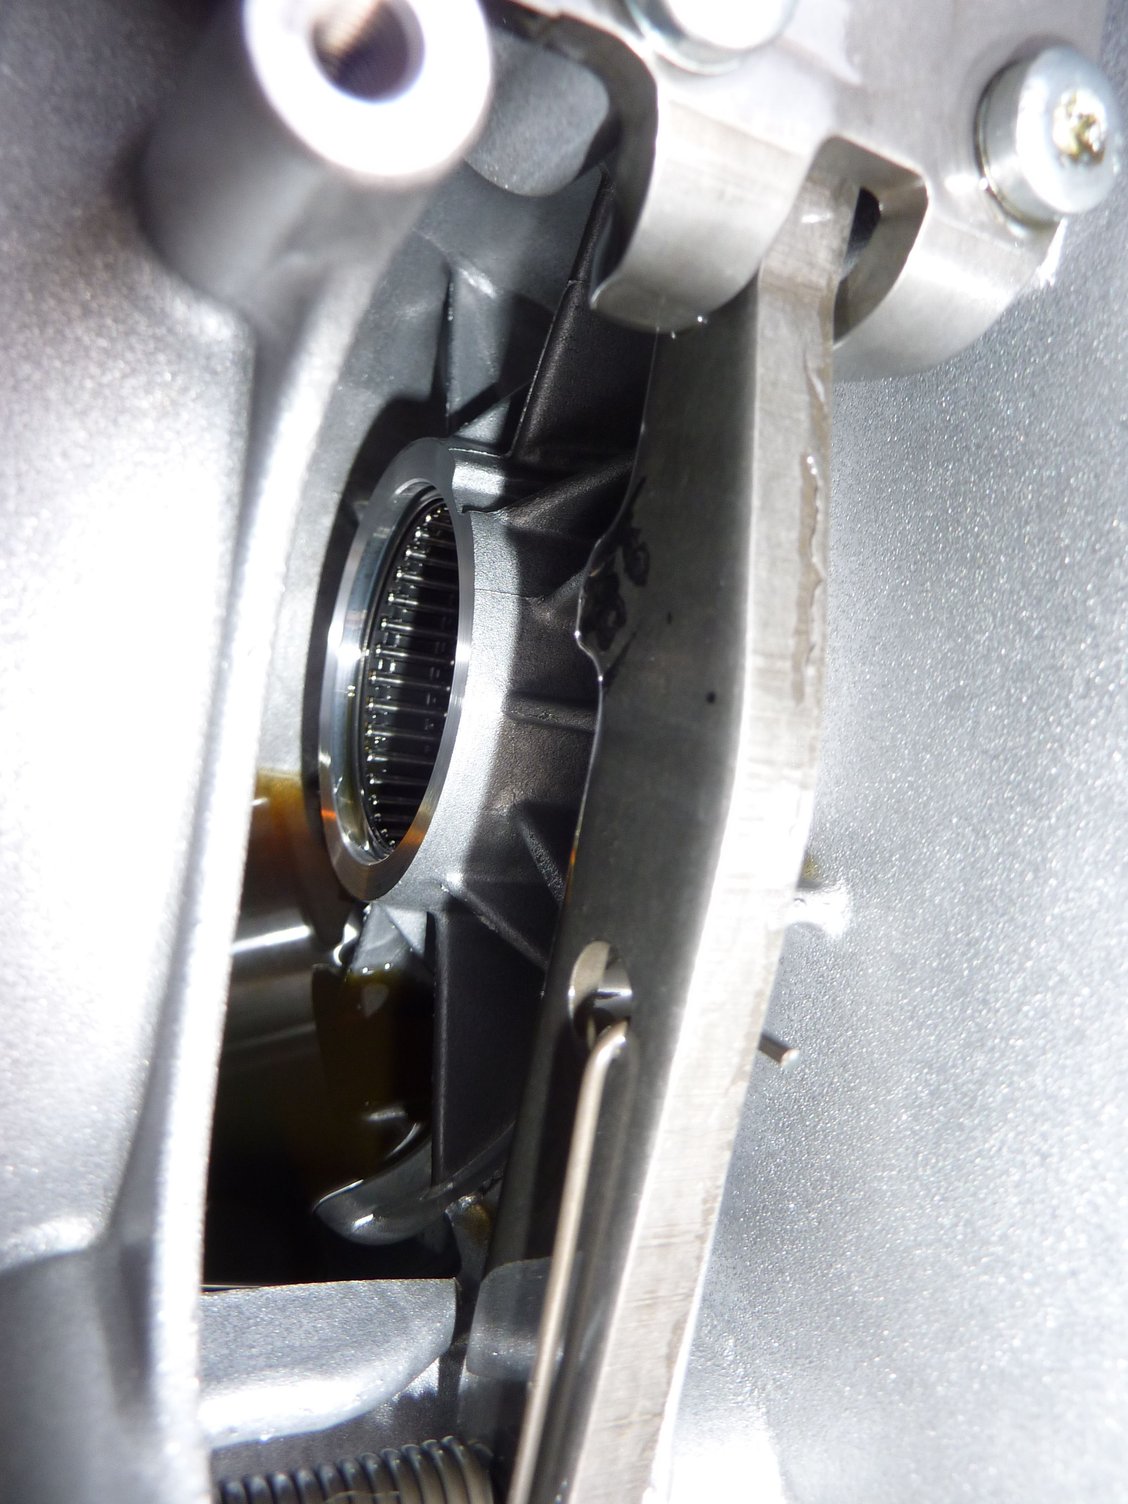
Rear flange needle bearing.
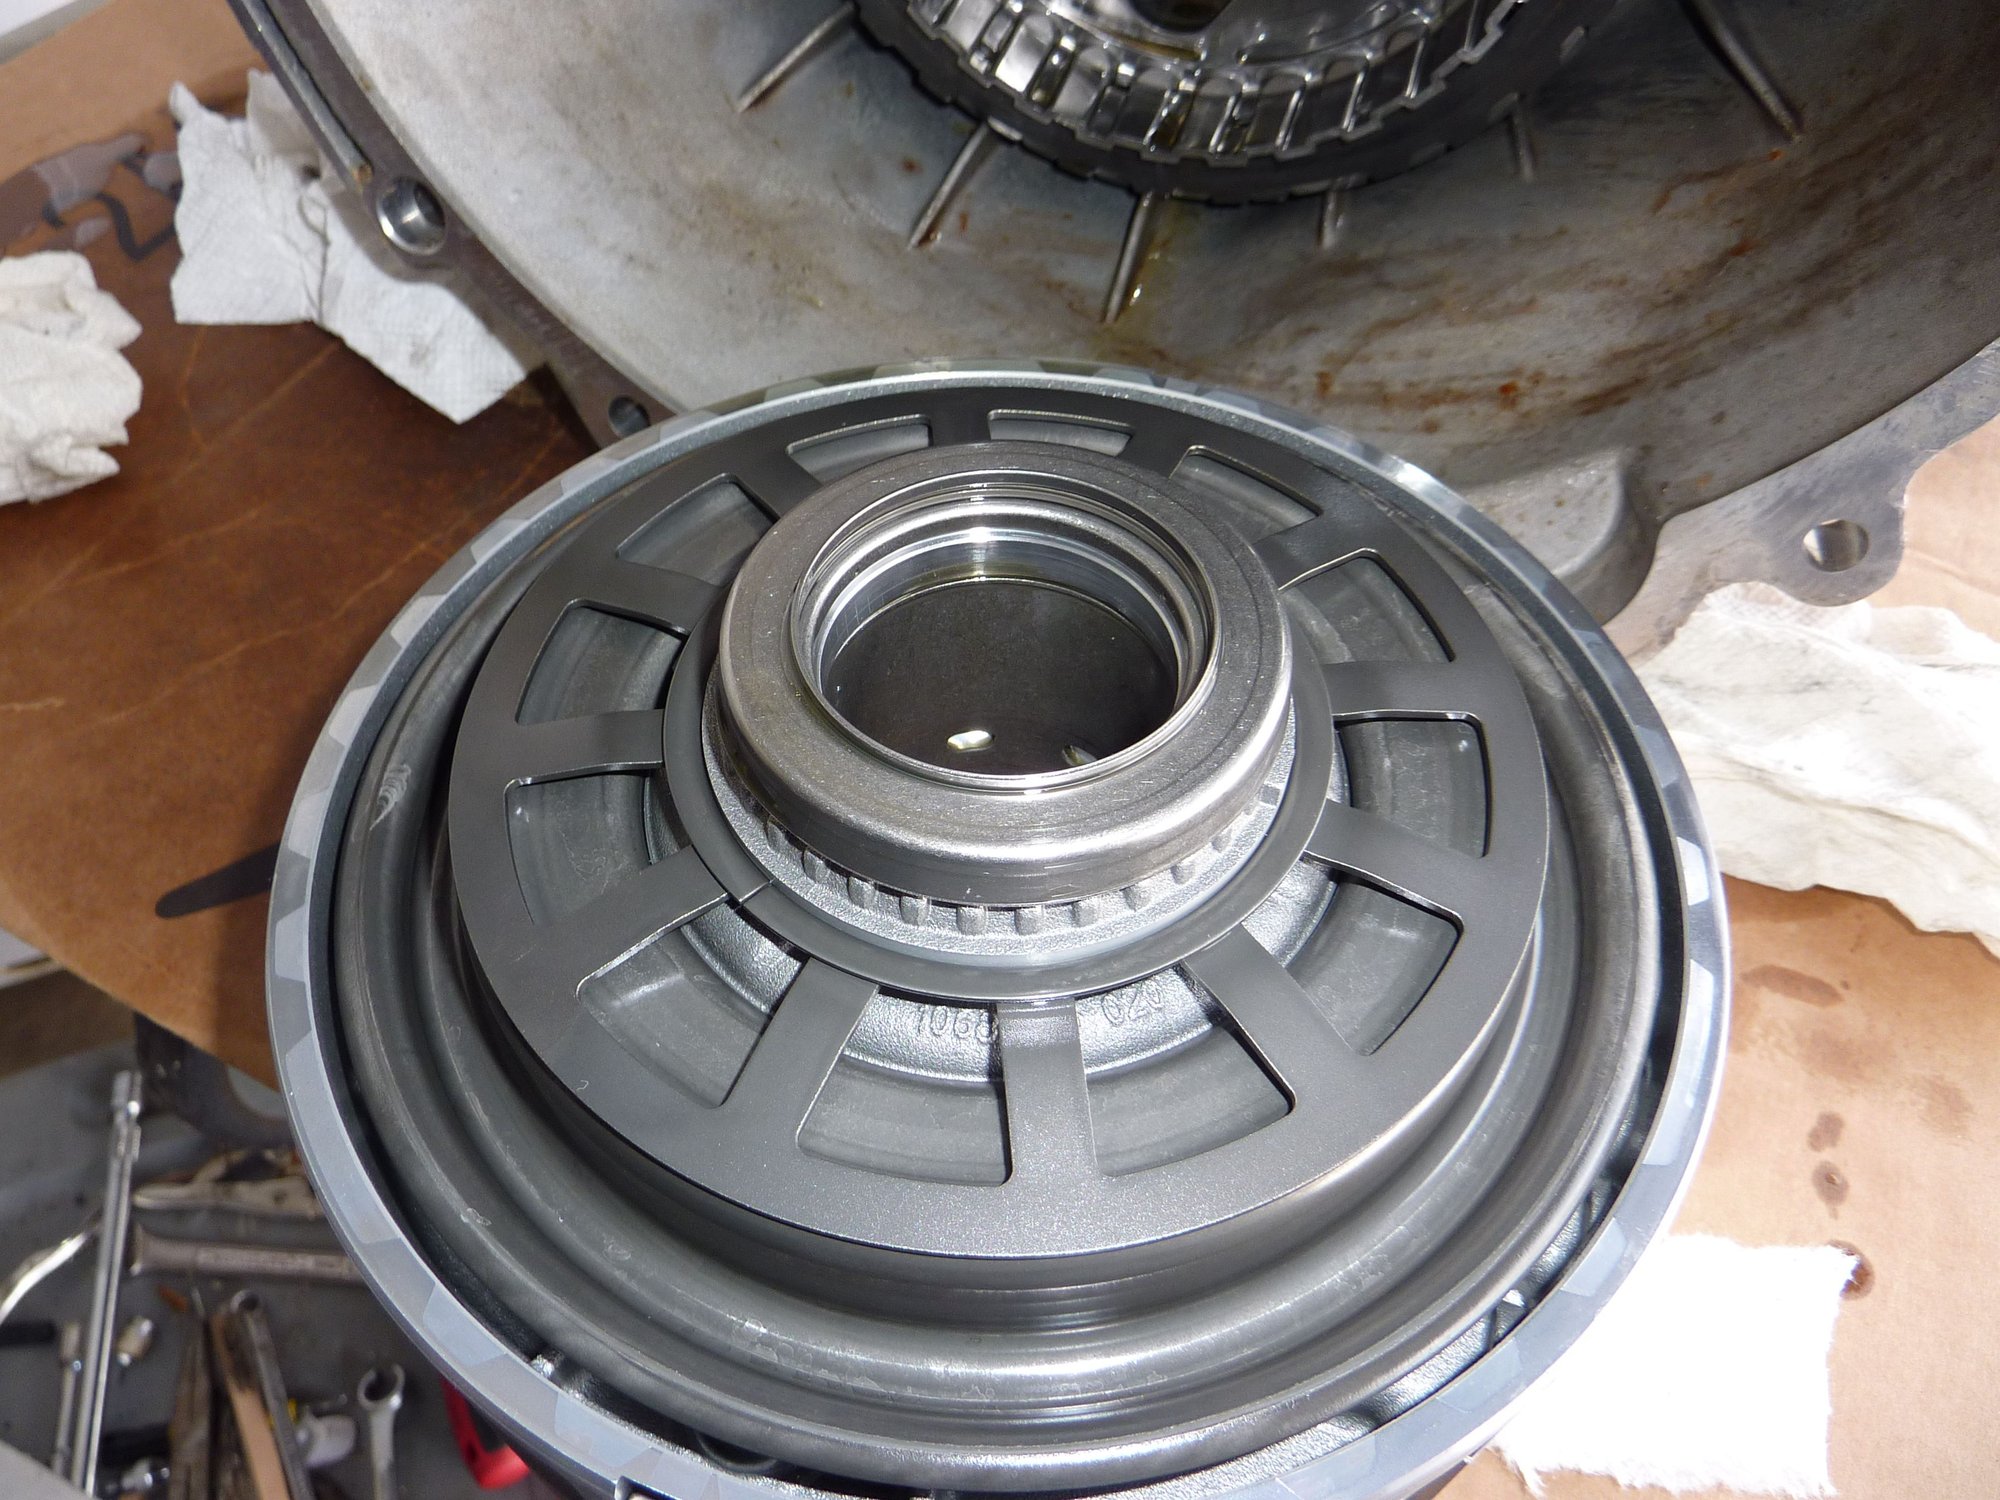
The 1-5/16" 12 point deep socket was a very nice snug fit! That was good because the 34mm 12 point ordered came today as a six point.
The following users liked this post:
Don B (01-09-2020)
#72
When the bushing kit arrives, assuming they are the right size, I will tackle the rebuild of this last set of components and reinstall.
Then I will rebuild all of the drums etc that I pulled out before. I have the bushing removal/installation tool set already.
In the rebuild process I am not replacing any race bearings and I am not rebuilding the valve body.
The valve body actually does not look that difficult to rebuild on the face of it. If I end up needing to rebuild it I do not have to take the transmission out at least!
#74
Join Date: Feb 2014
Location: Crossroads of America
Posts: 19,581
Received 13,204 Likes
on
6,553 Posts
John,
While looking through some of my ZF manuals today for a cutaway diagram I was reminded of this diagnostic guide. The file is too large to attach to a post so I found this link - if you don't already have it in your library I would recommend downloading it and saving it since these kinds of links tend to disappear in time.
ATSG Audi Jaguar BMW ZF 6HP26 Technicians Diagnostic Guide
Cheers,
Don
Last edited by Don B; 01-11-2020 at 01:43 PM.
The following users liked this post:
jackra_1 (01-11-2020)
#75
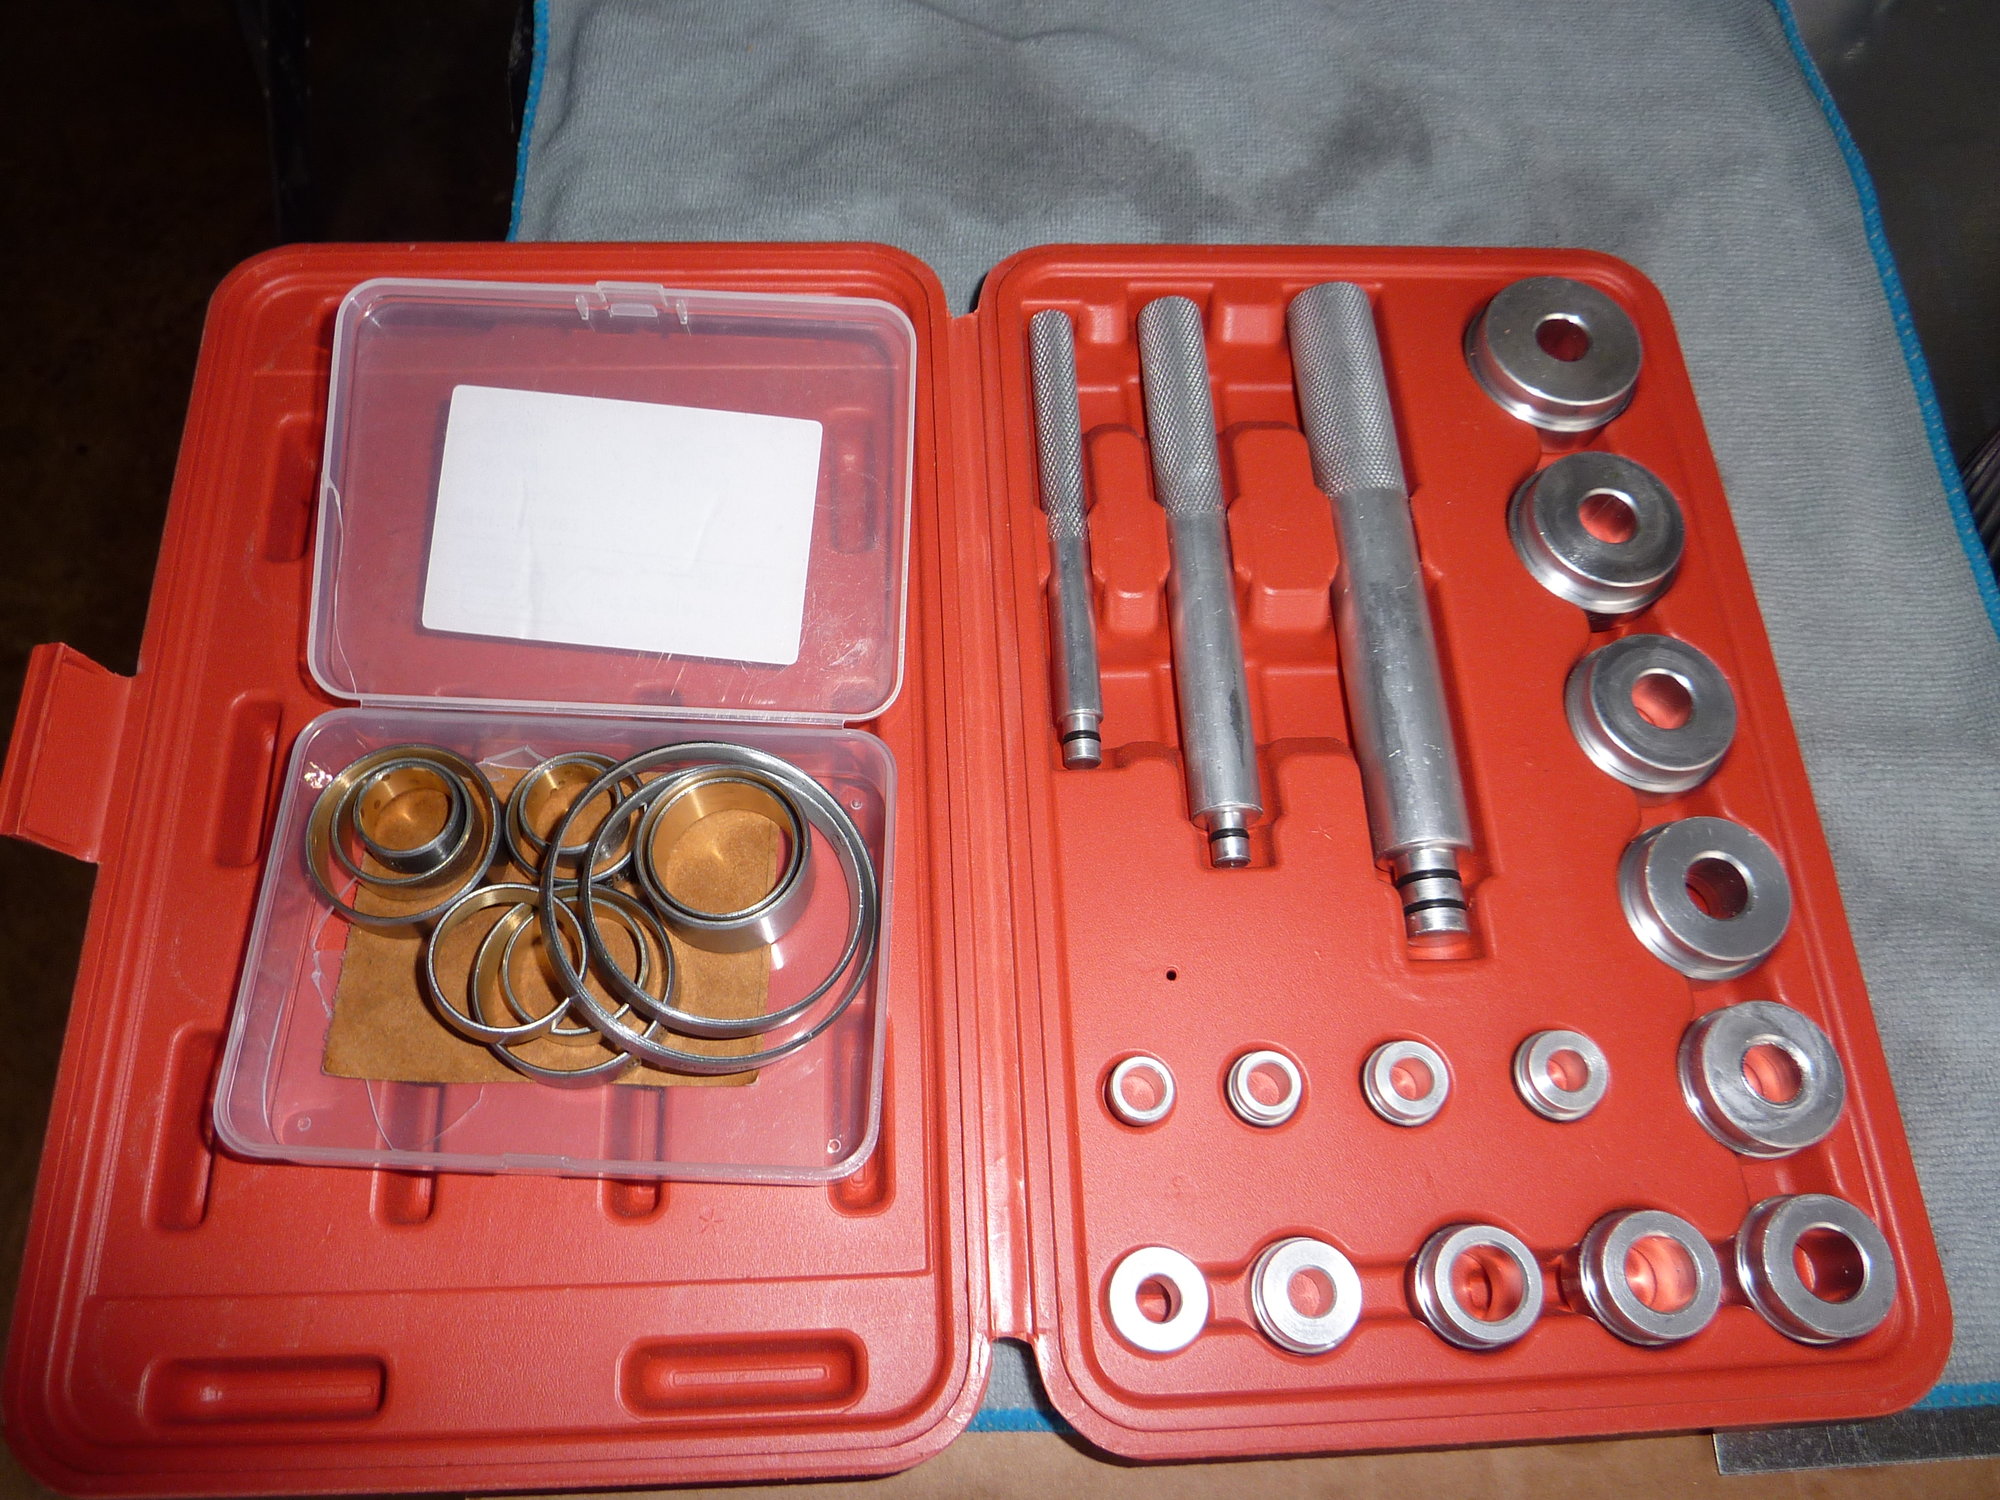
Bushing kit with bushing tool
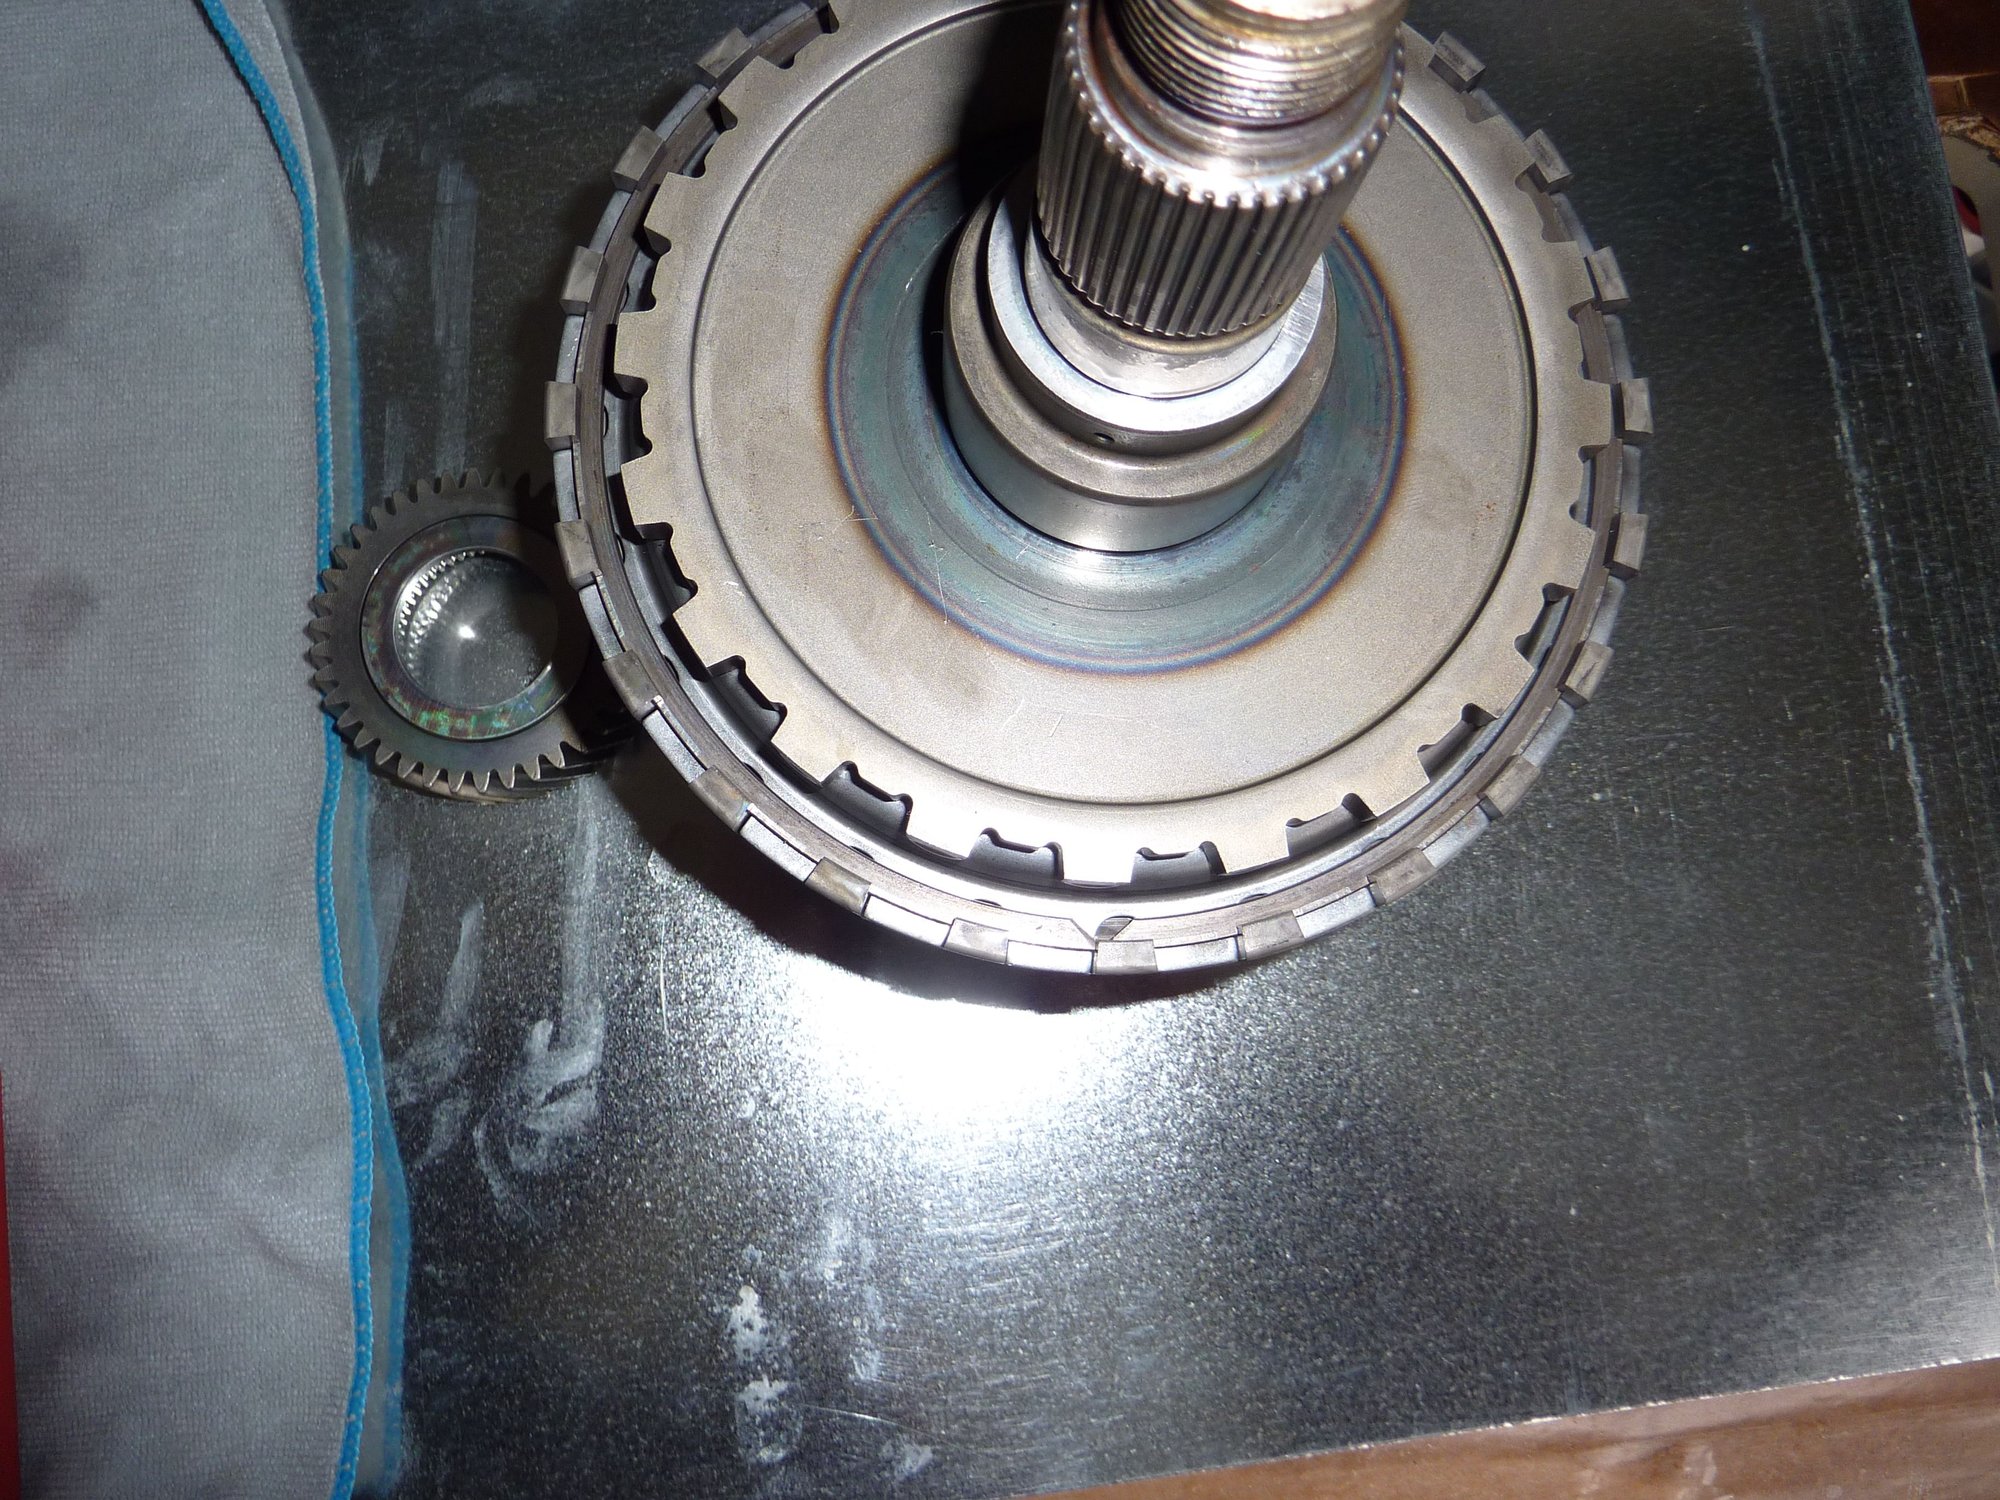
Final spindle that leads to prop shaft flange. Separate gear fits inside.
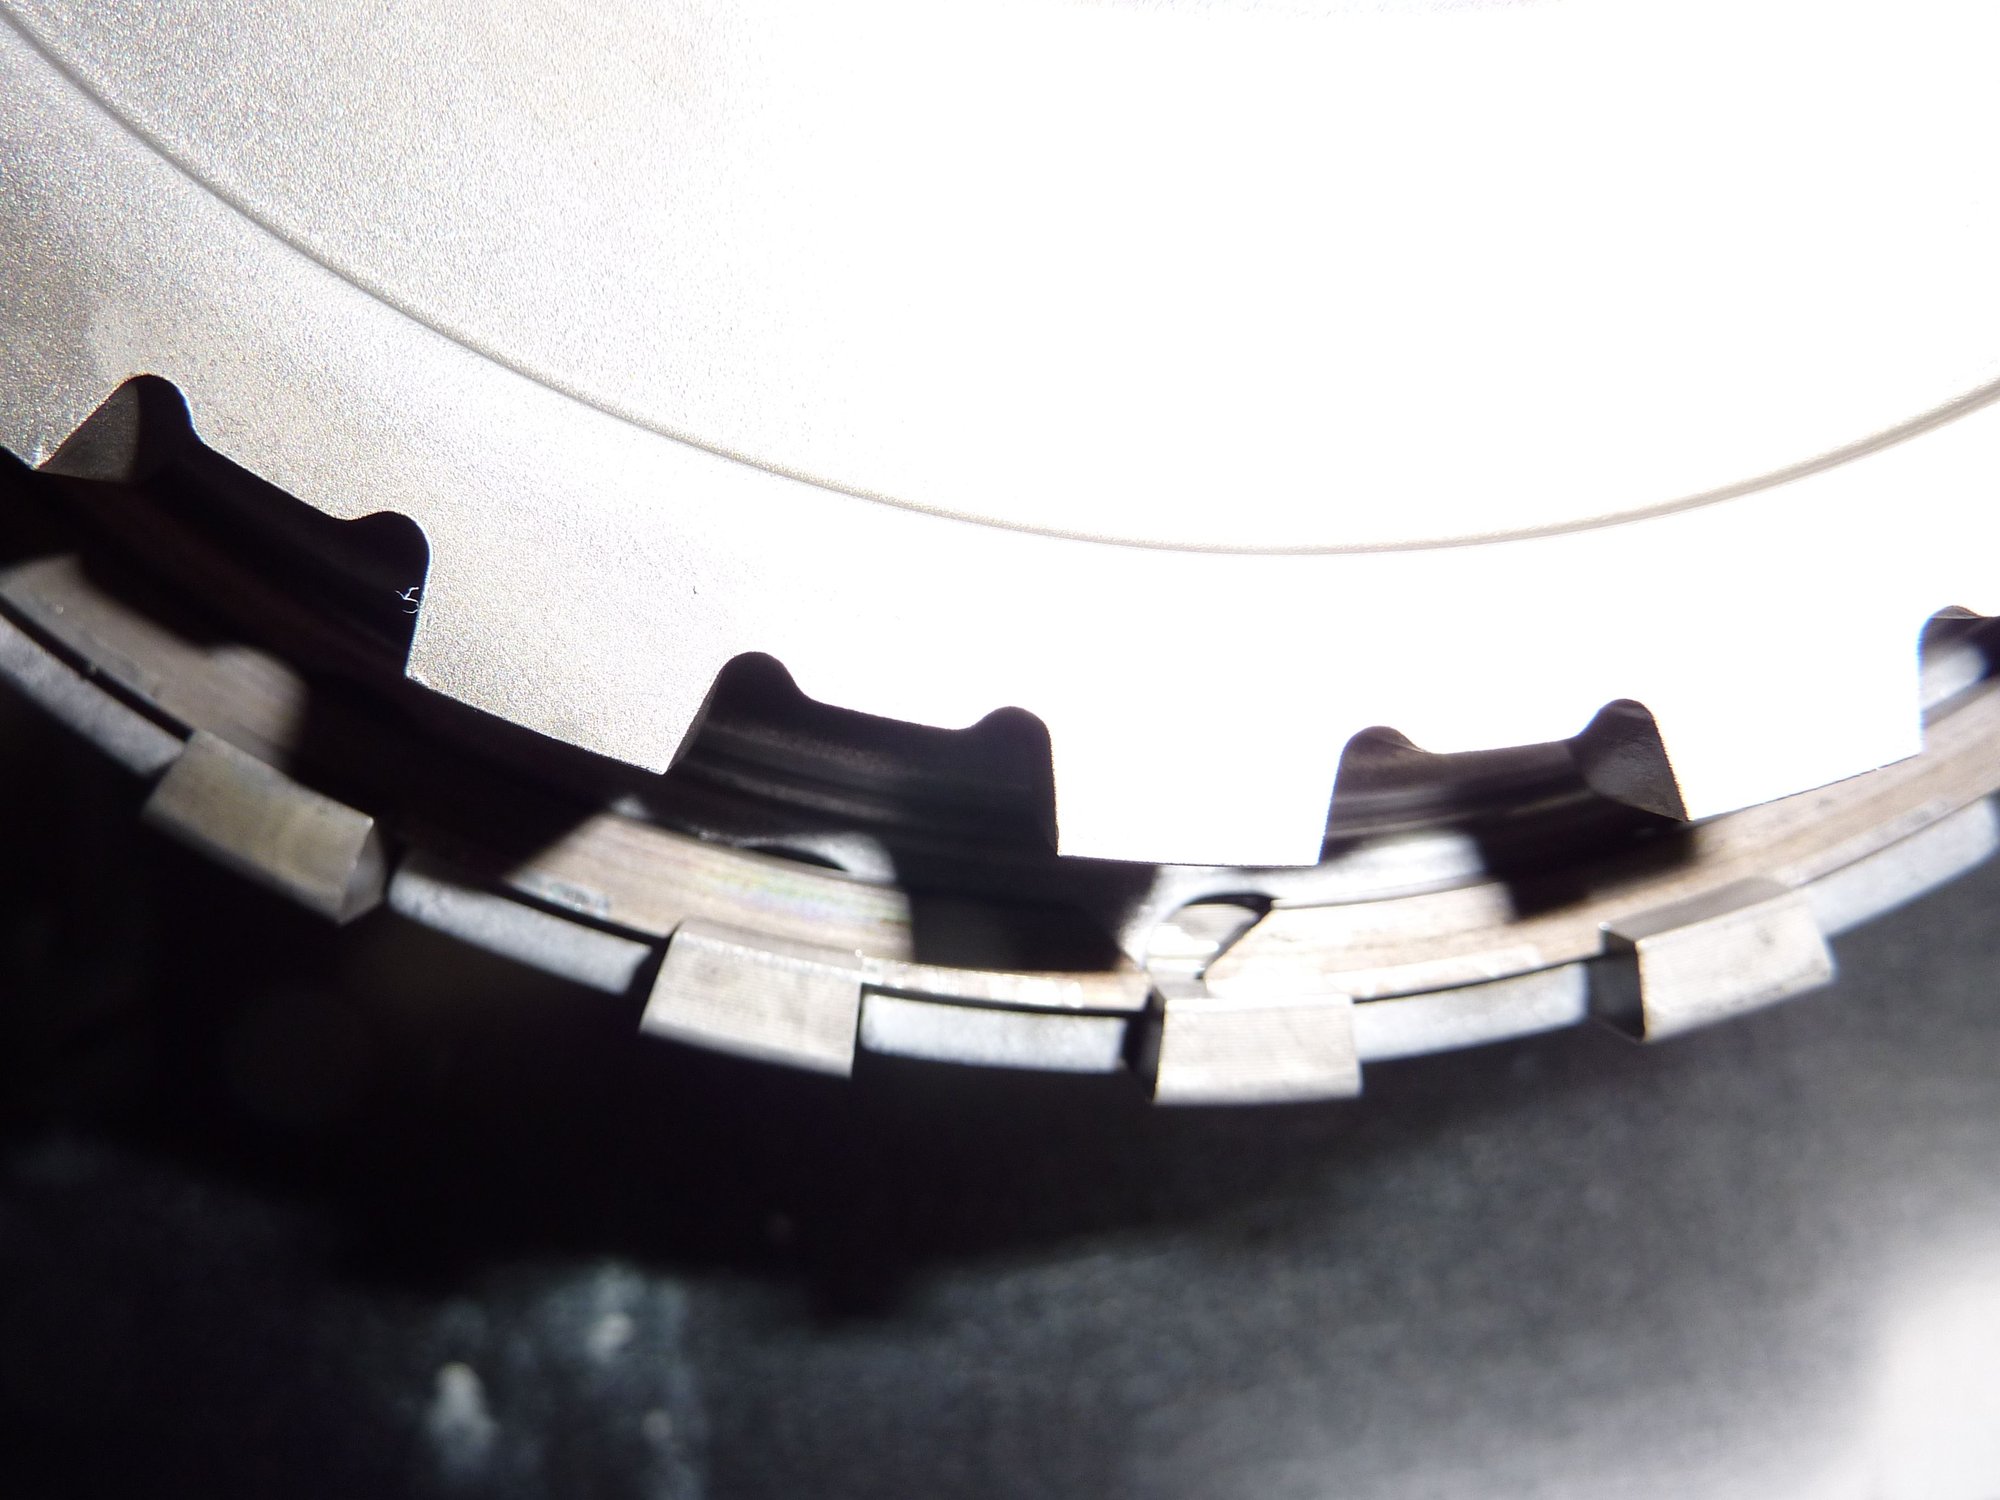
Snap ring holds pieces together.
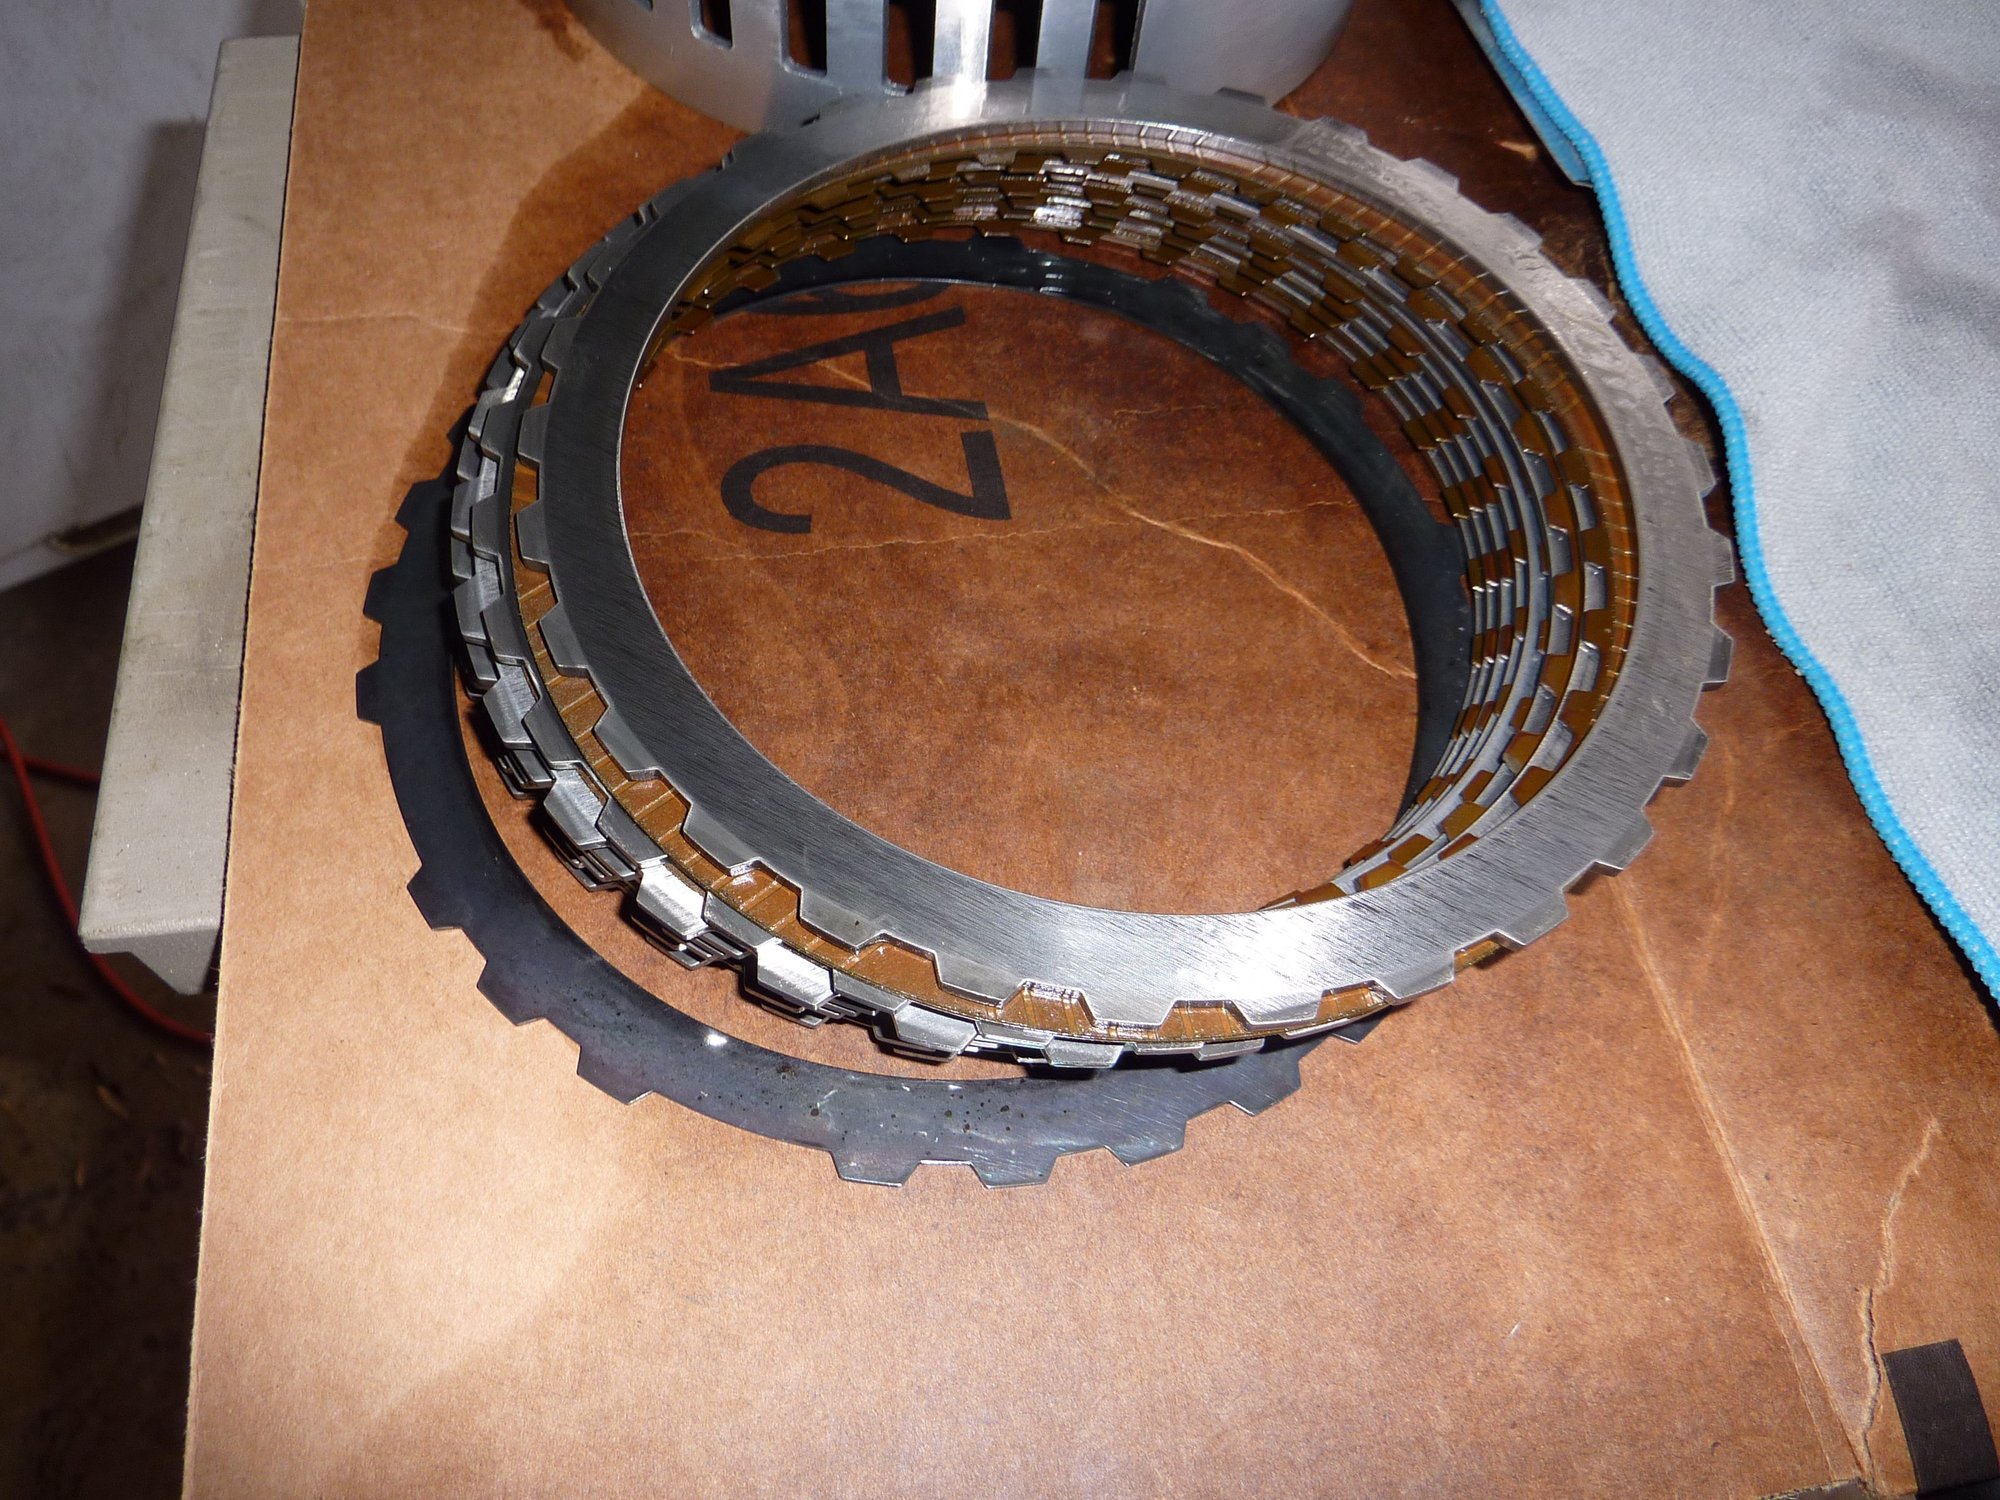
Clutch plates extracted.
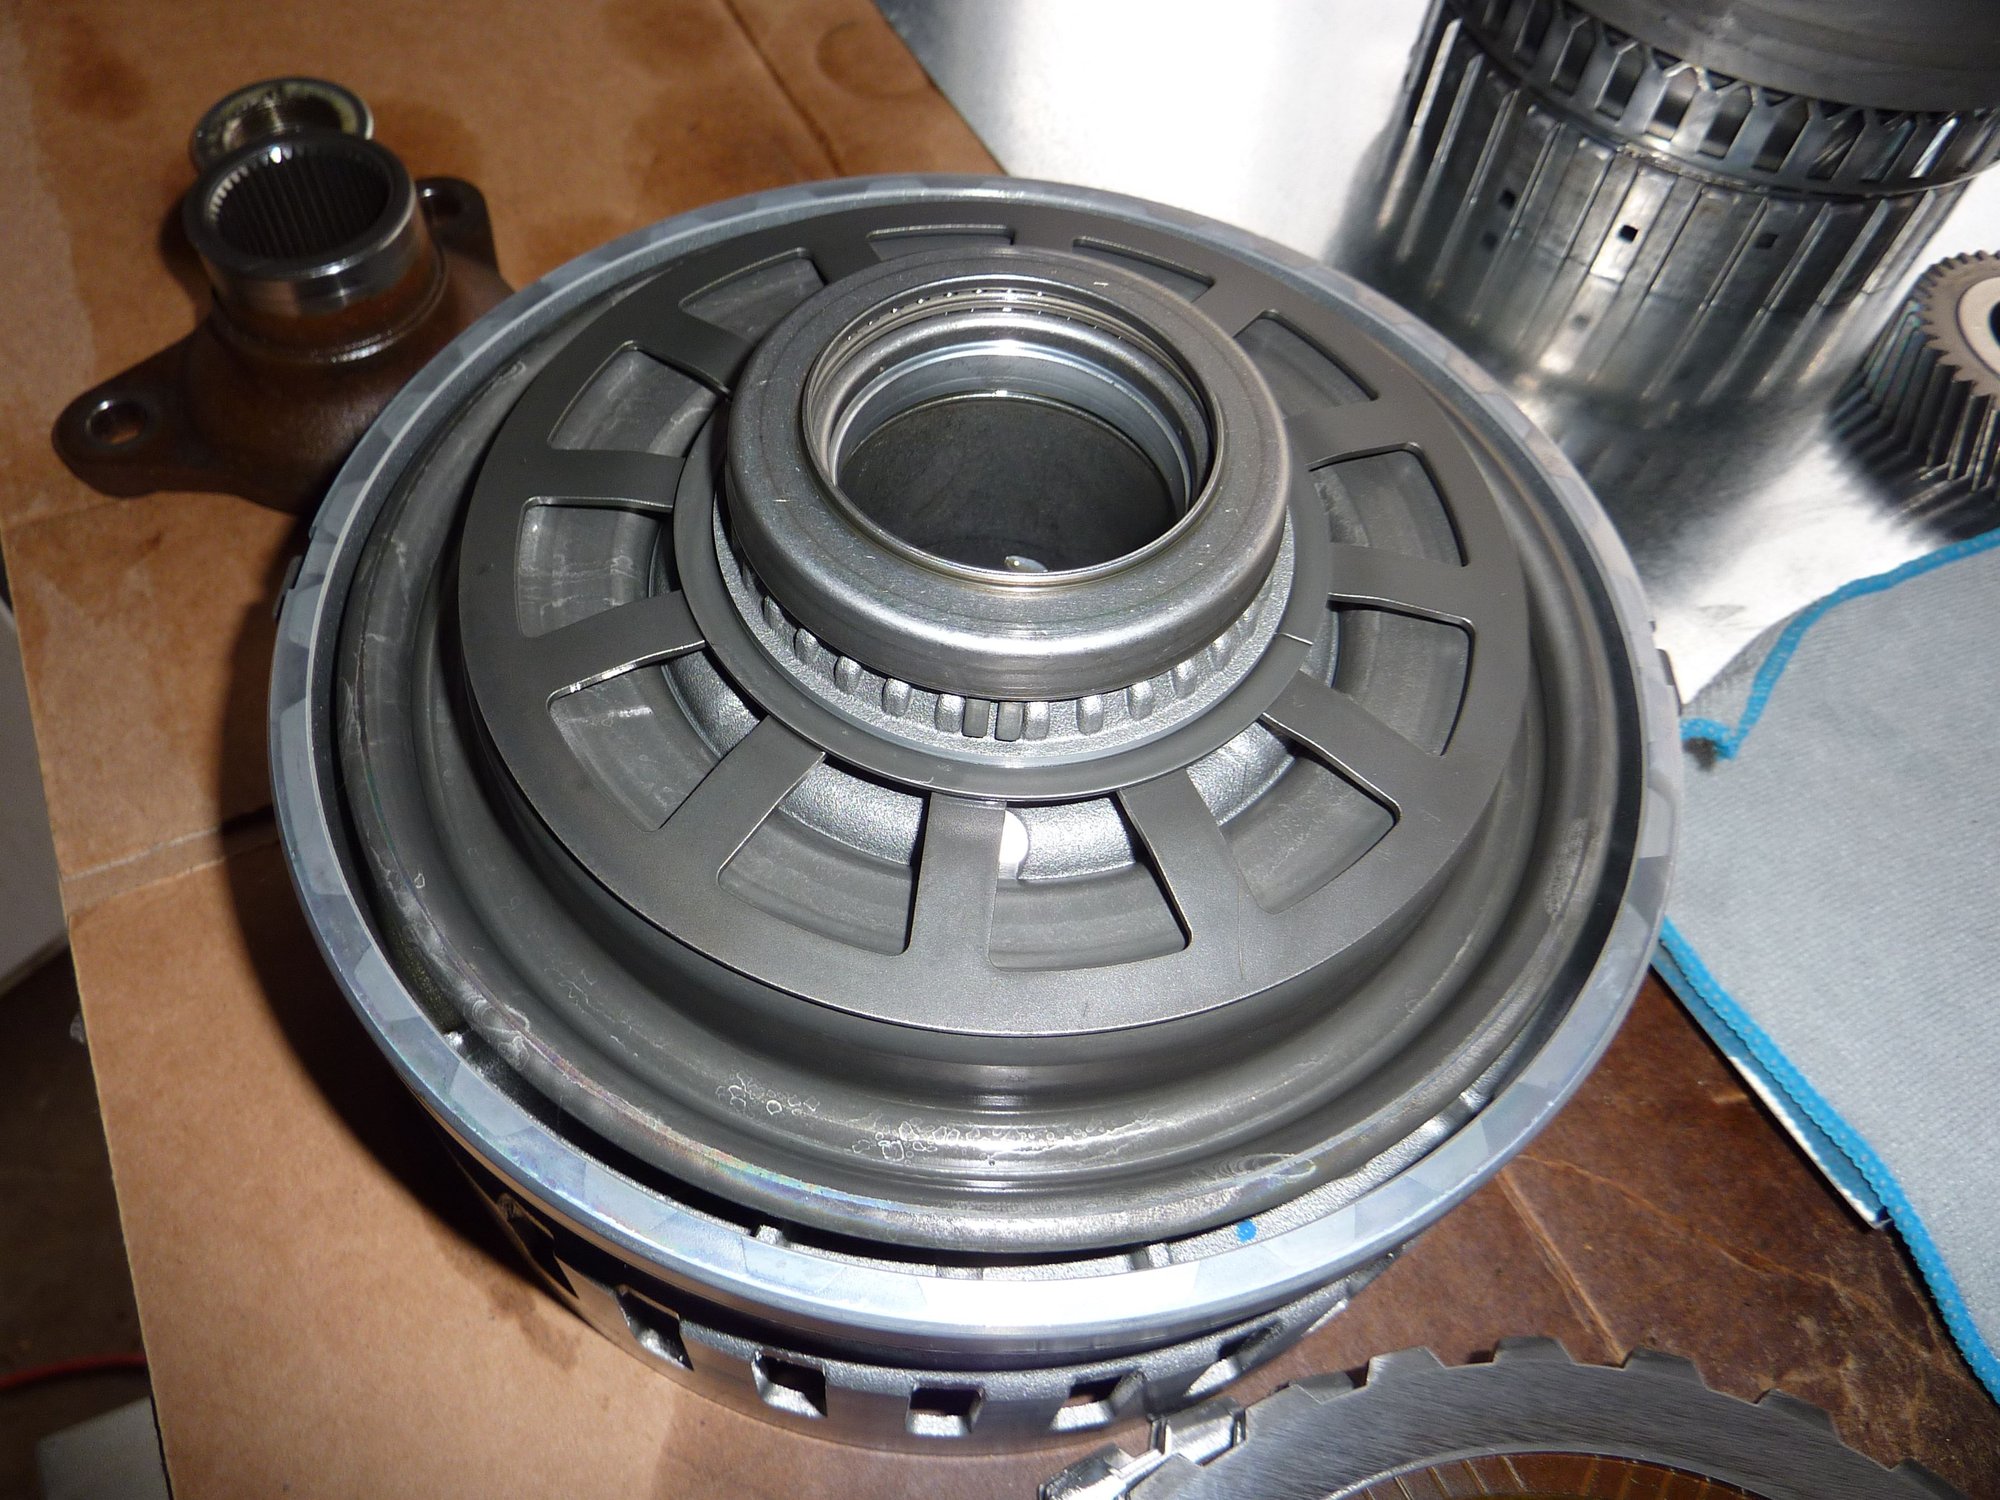
Race with metal cap on top.
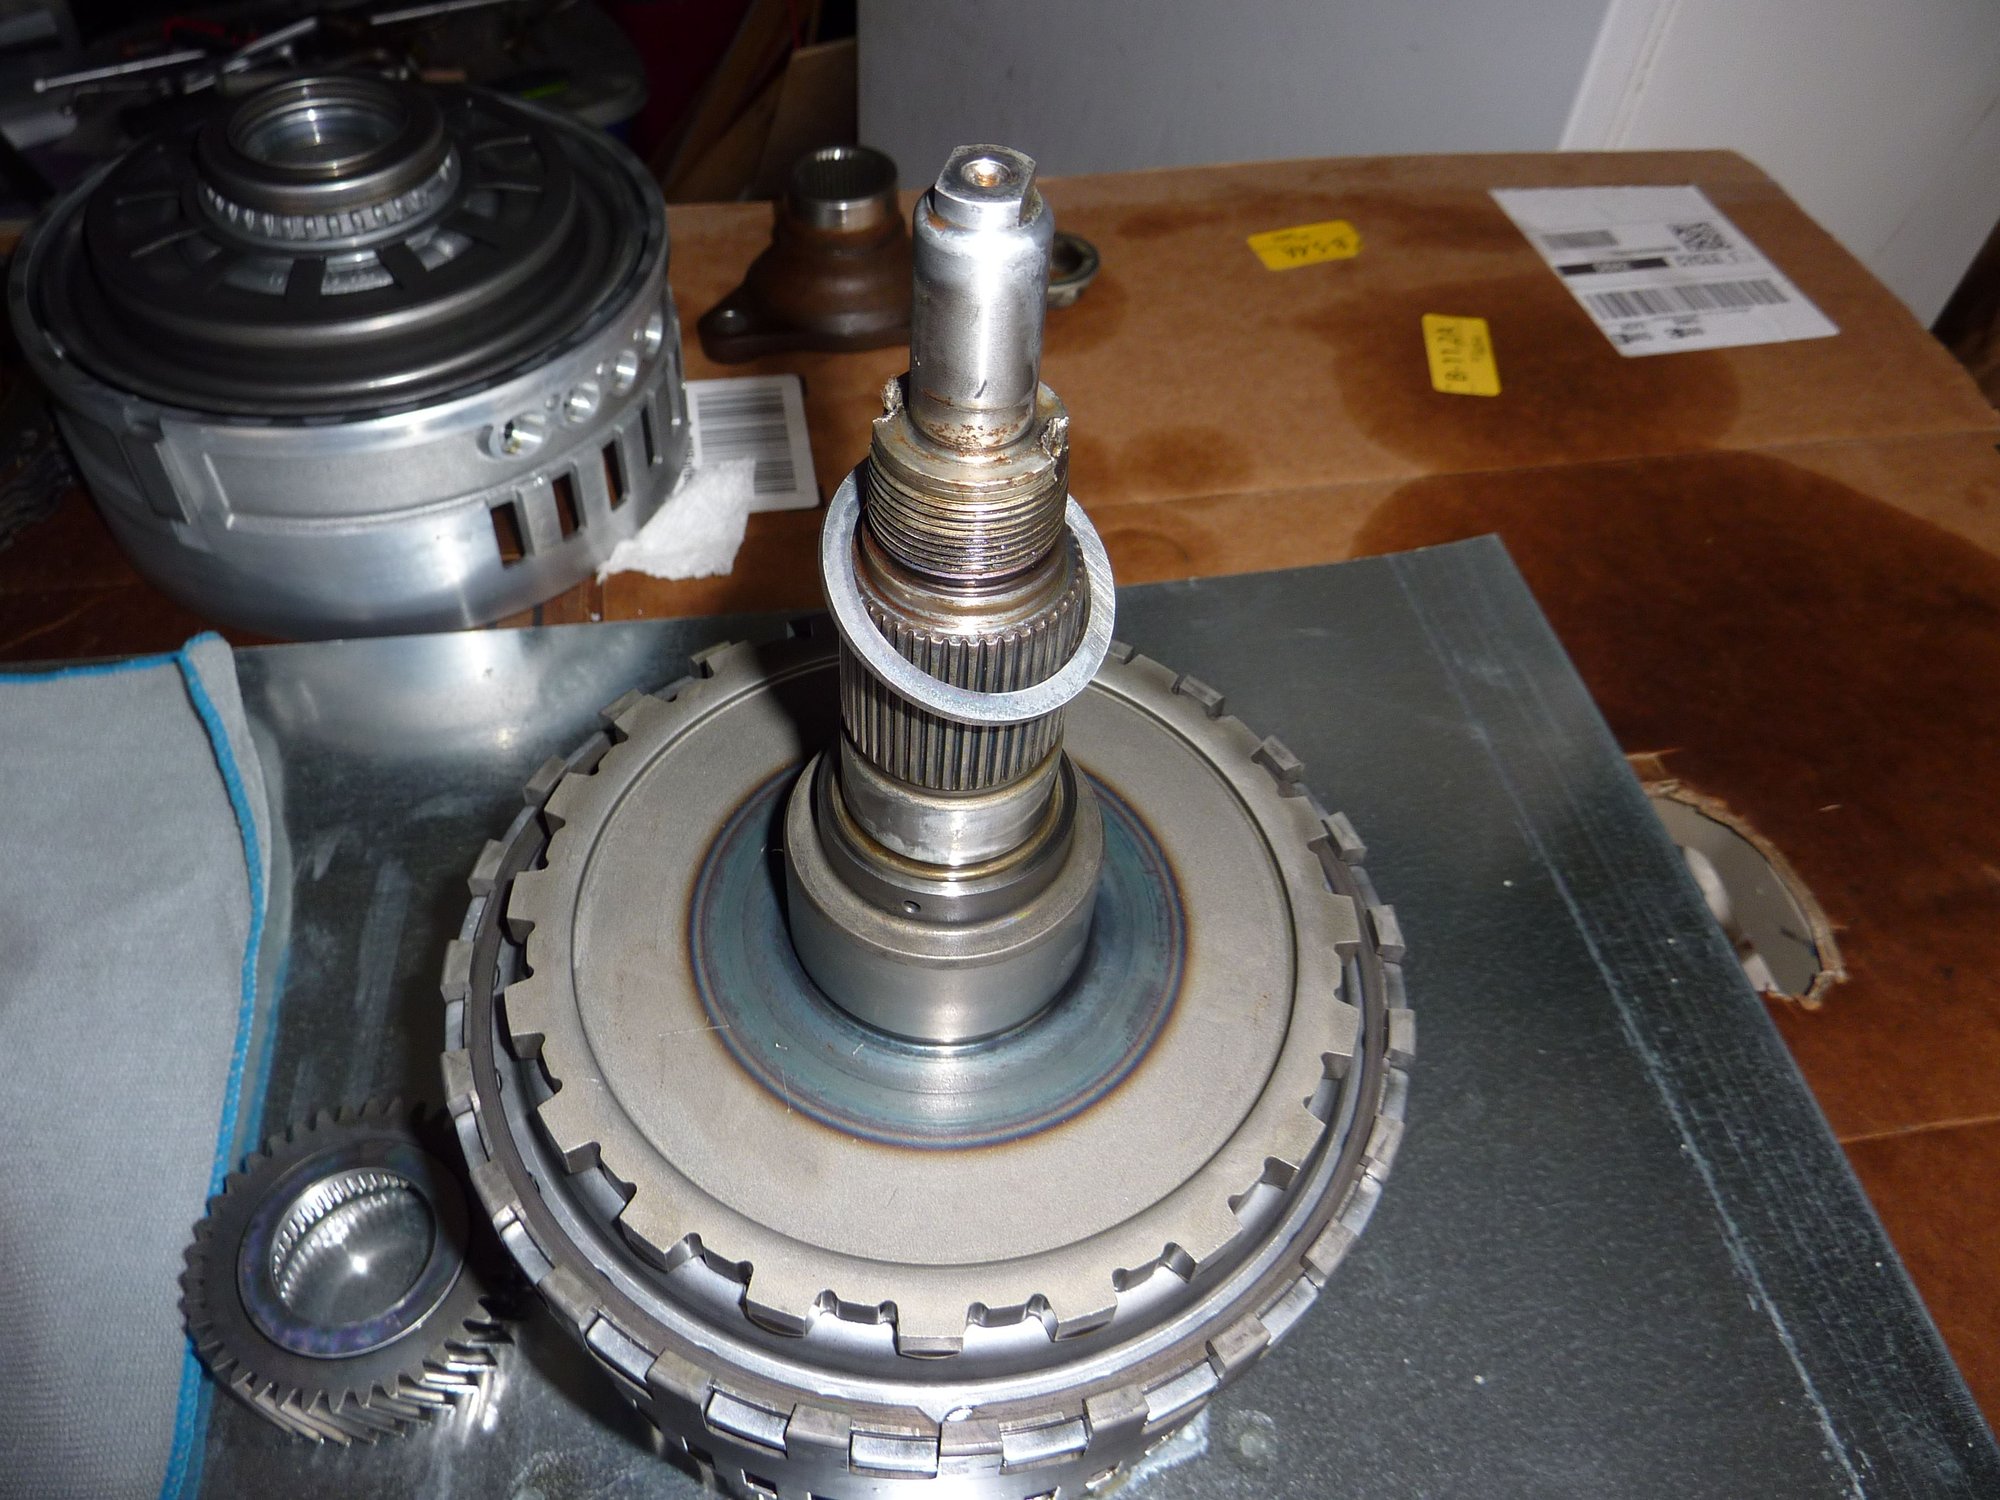
One spacer that fits down below.
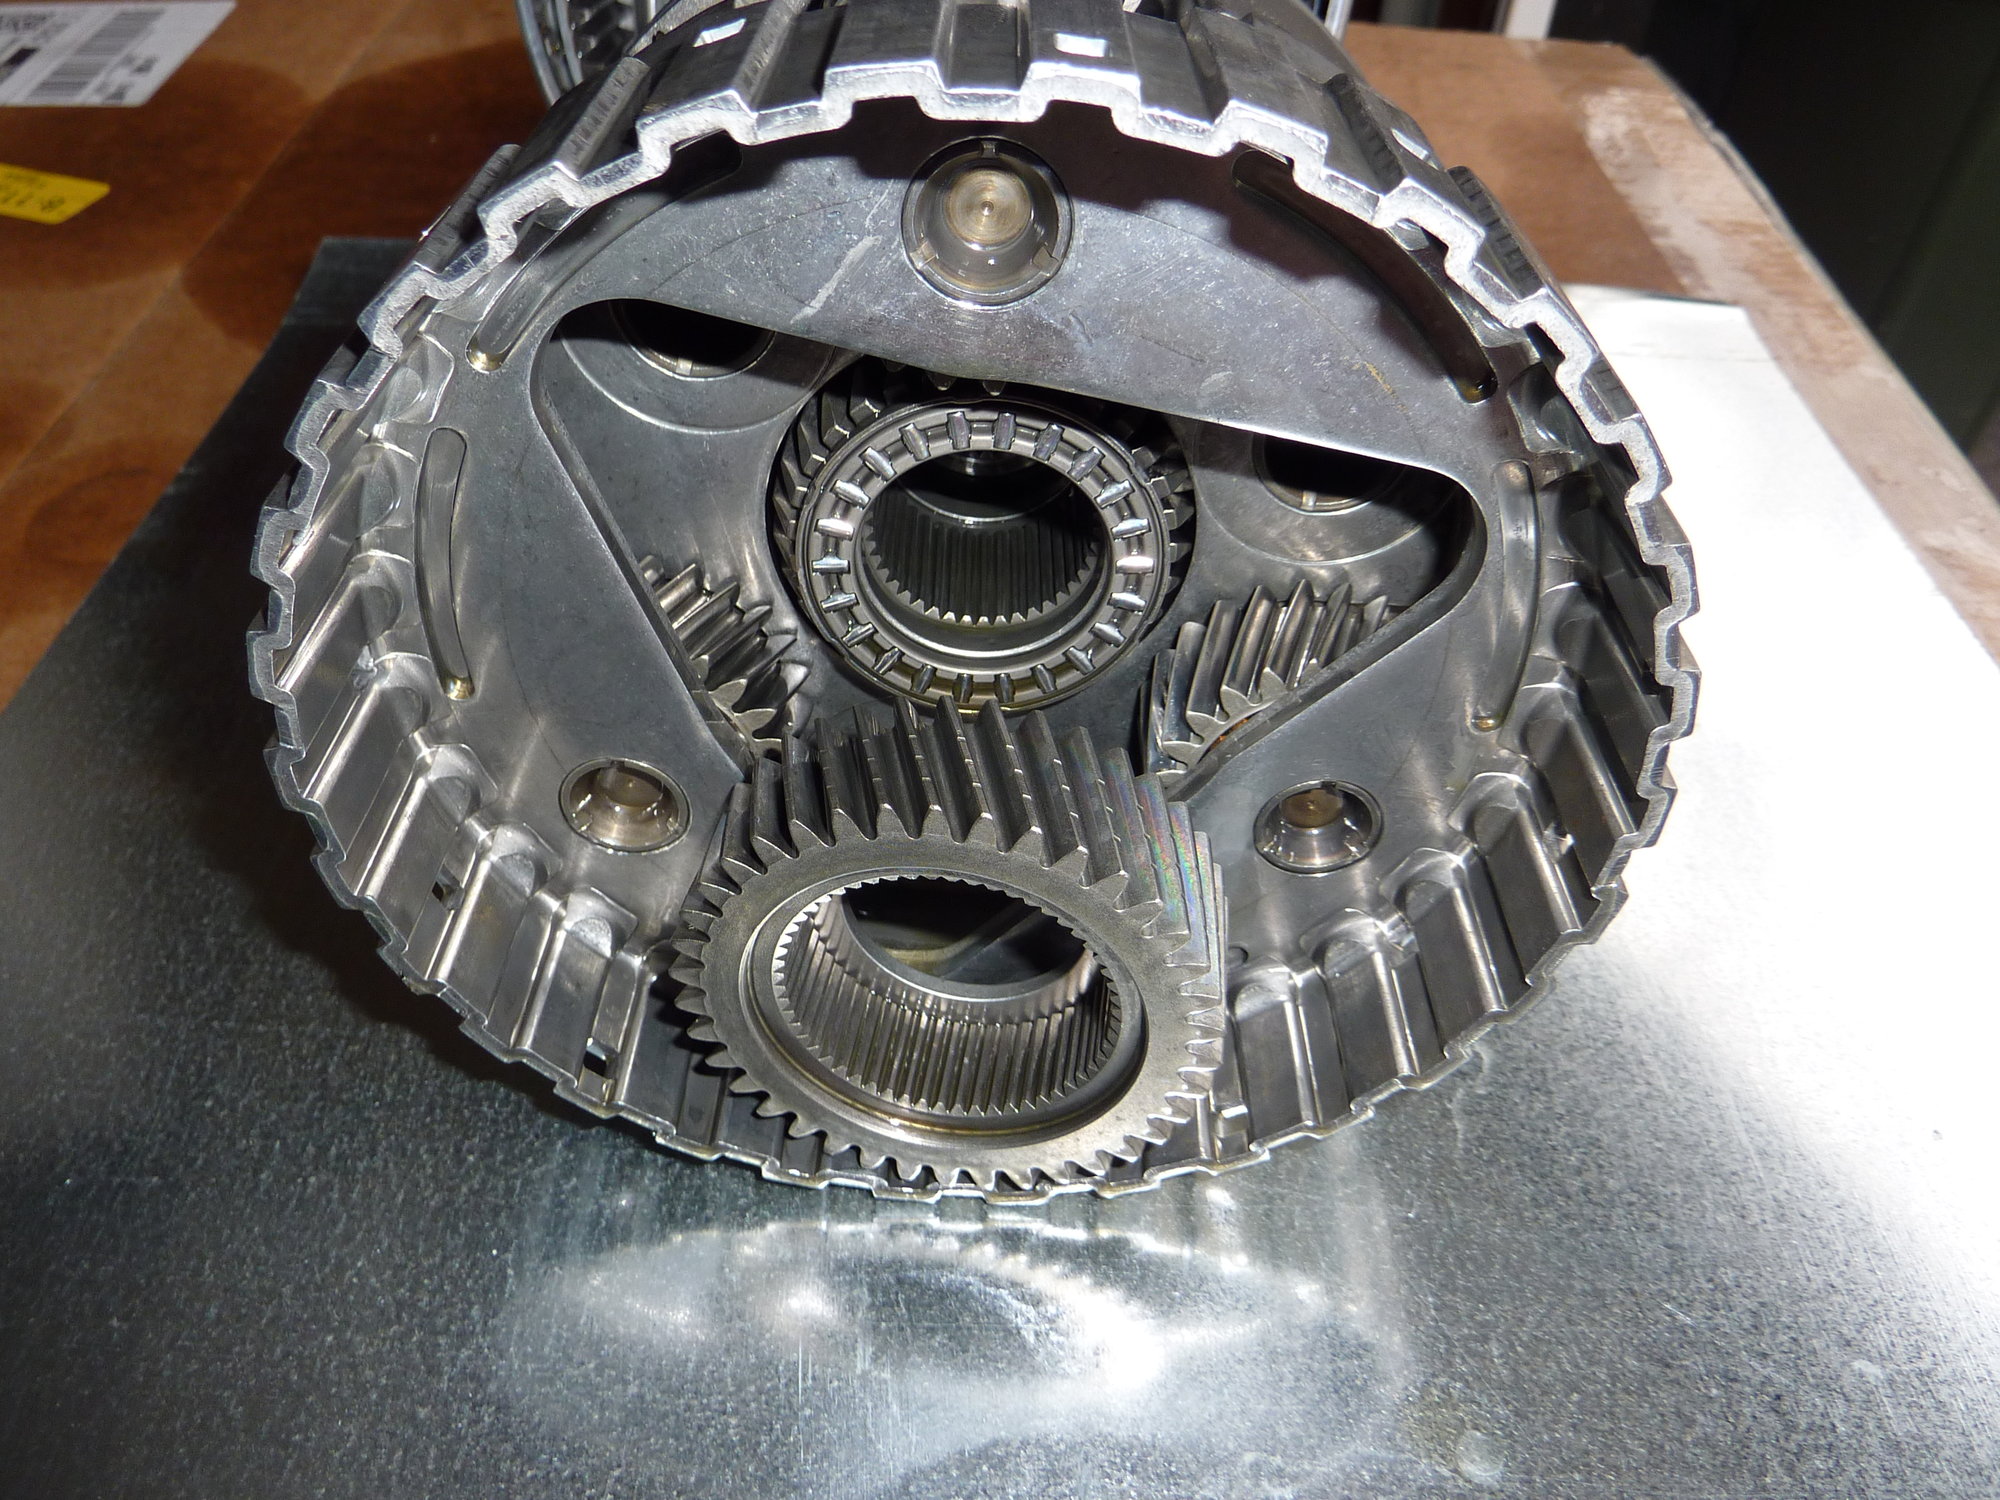
Gear that fits in the center of the planet set.
The following users liked this post:
Don B (01-11-2020)
#76

The copper busing at the center cannot be replaced easily.
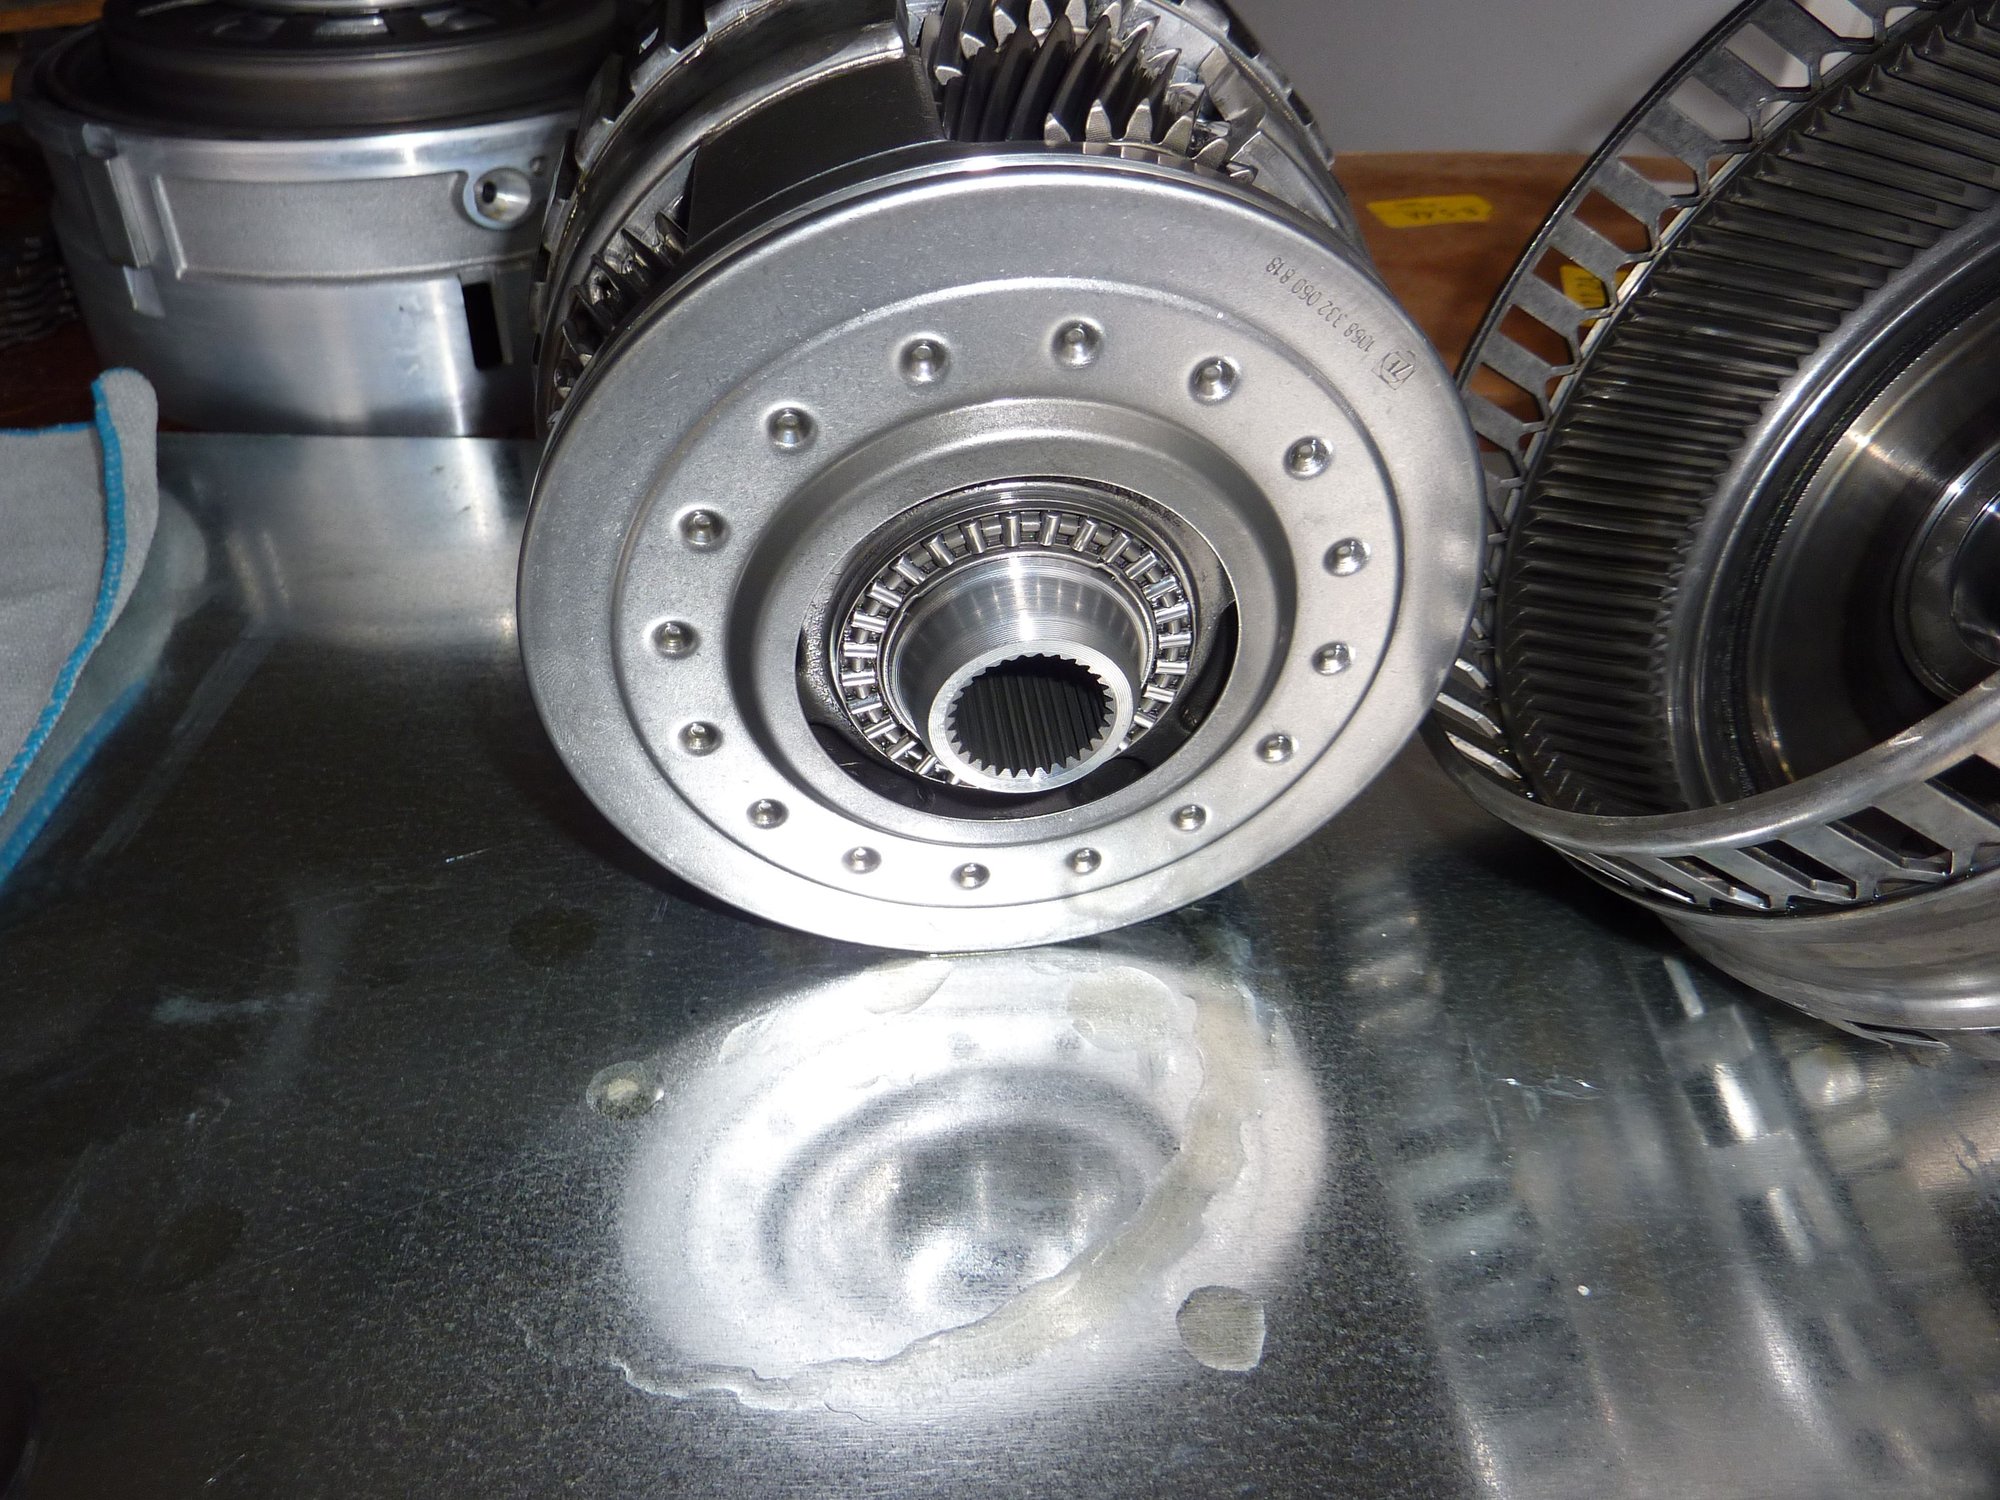
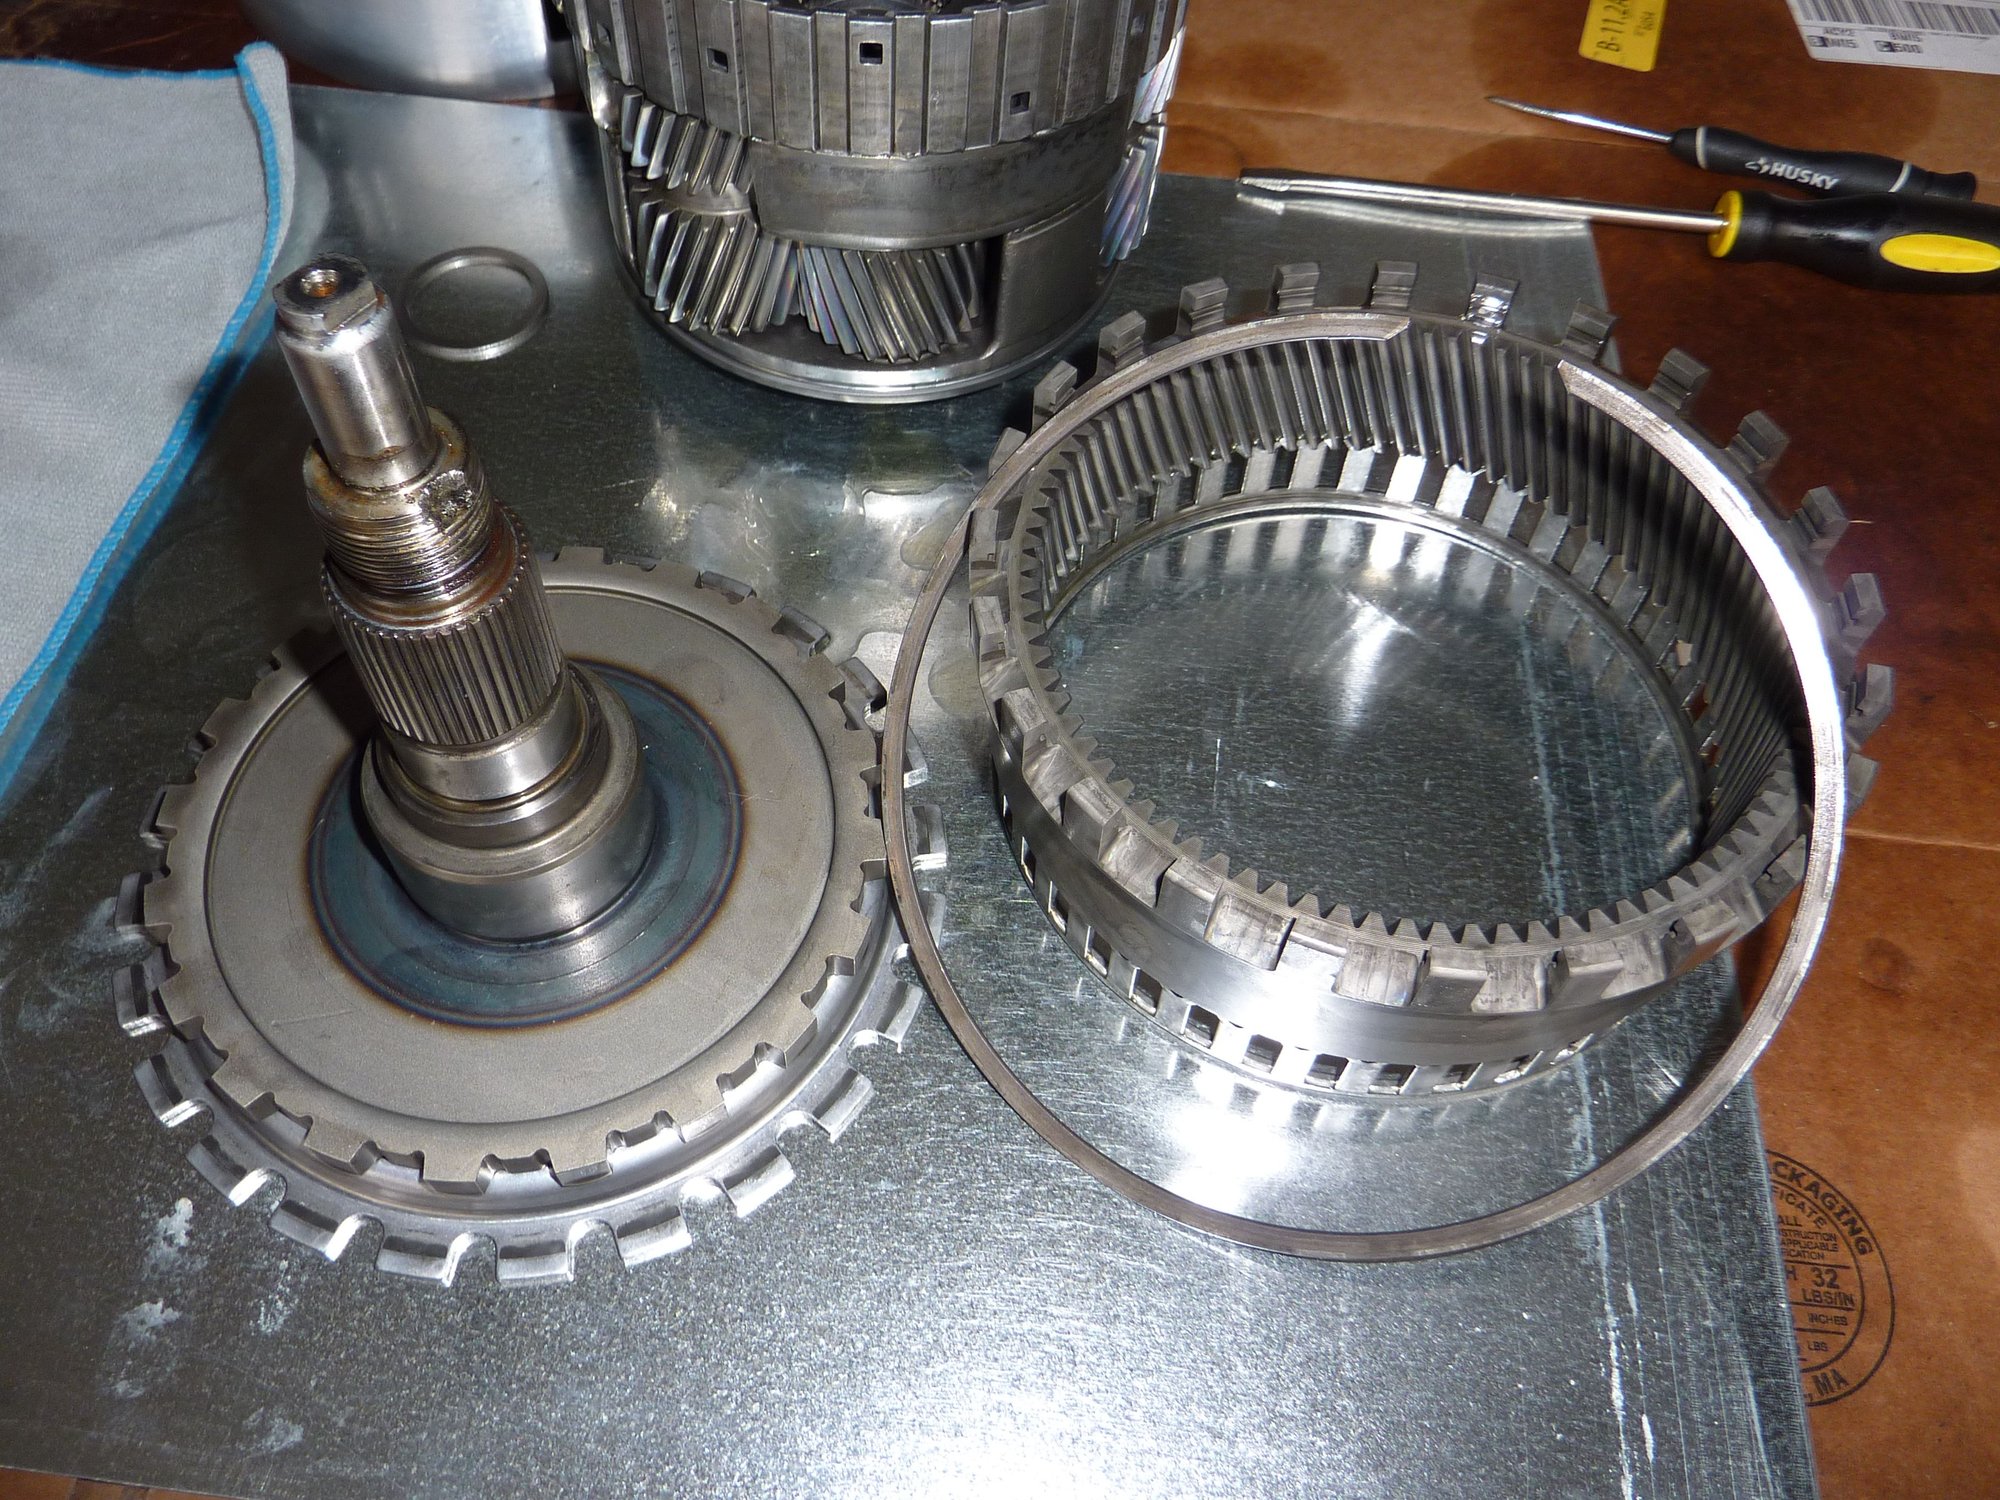
Snap ring removed so parts pull apart.
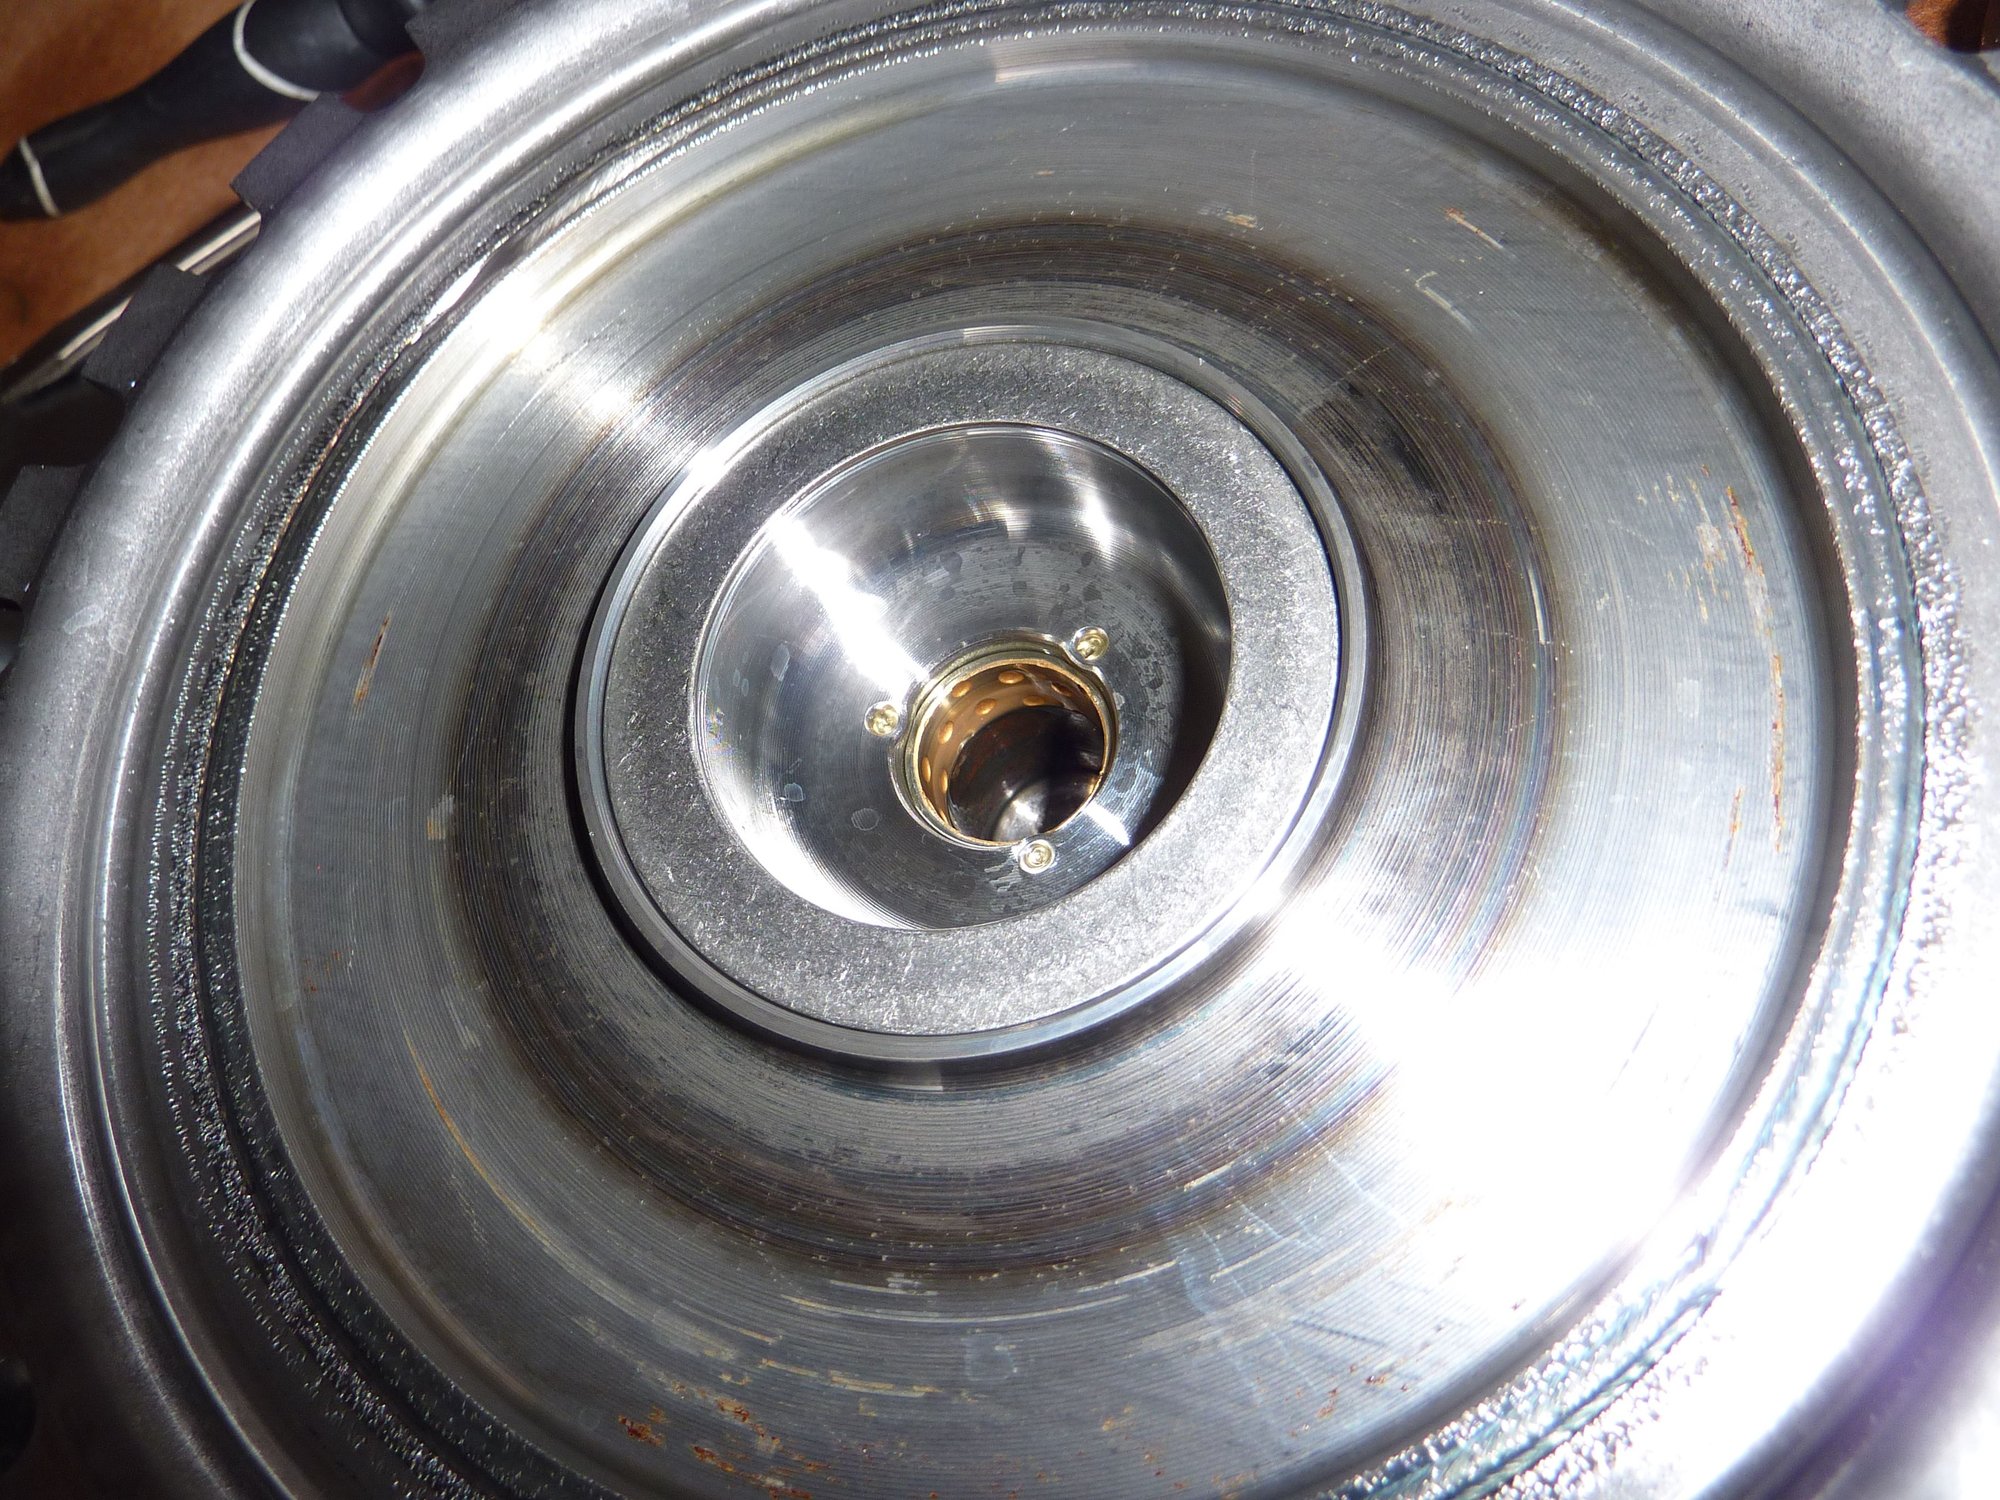
There are three indents around the copper bearing that would prevent tapping in a new bearing.They push the surround out over the lip. So will leave as is.
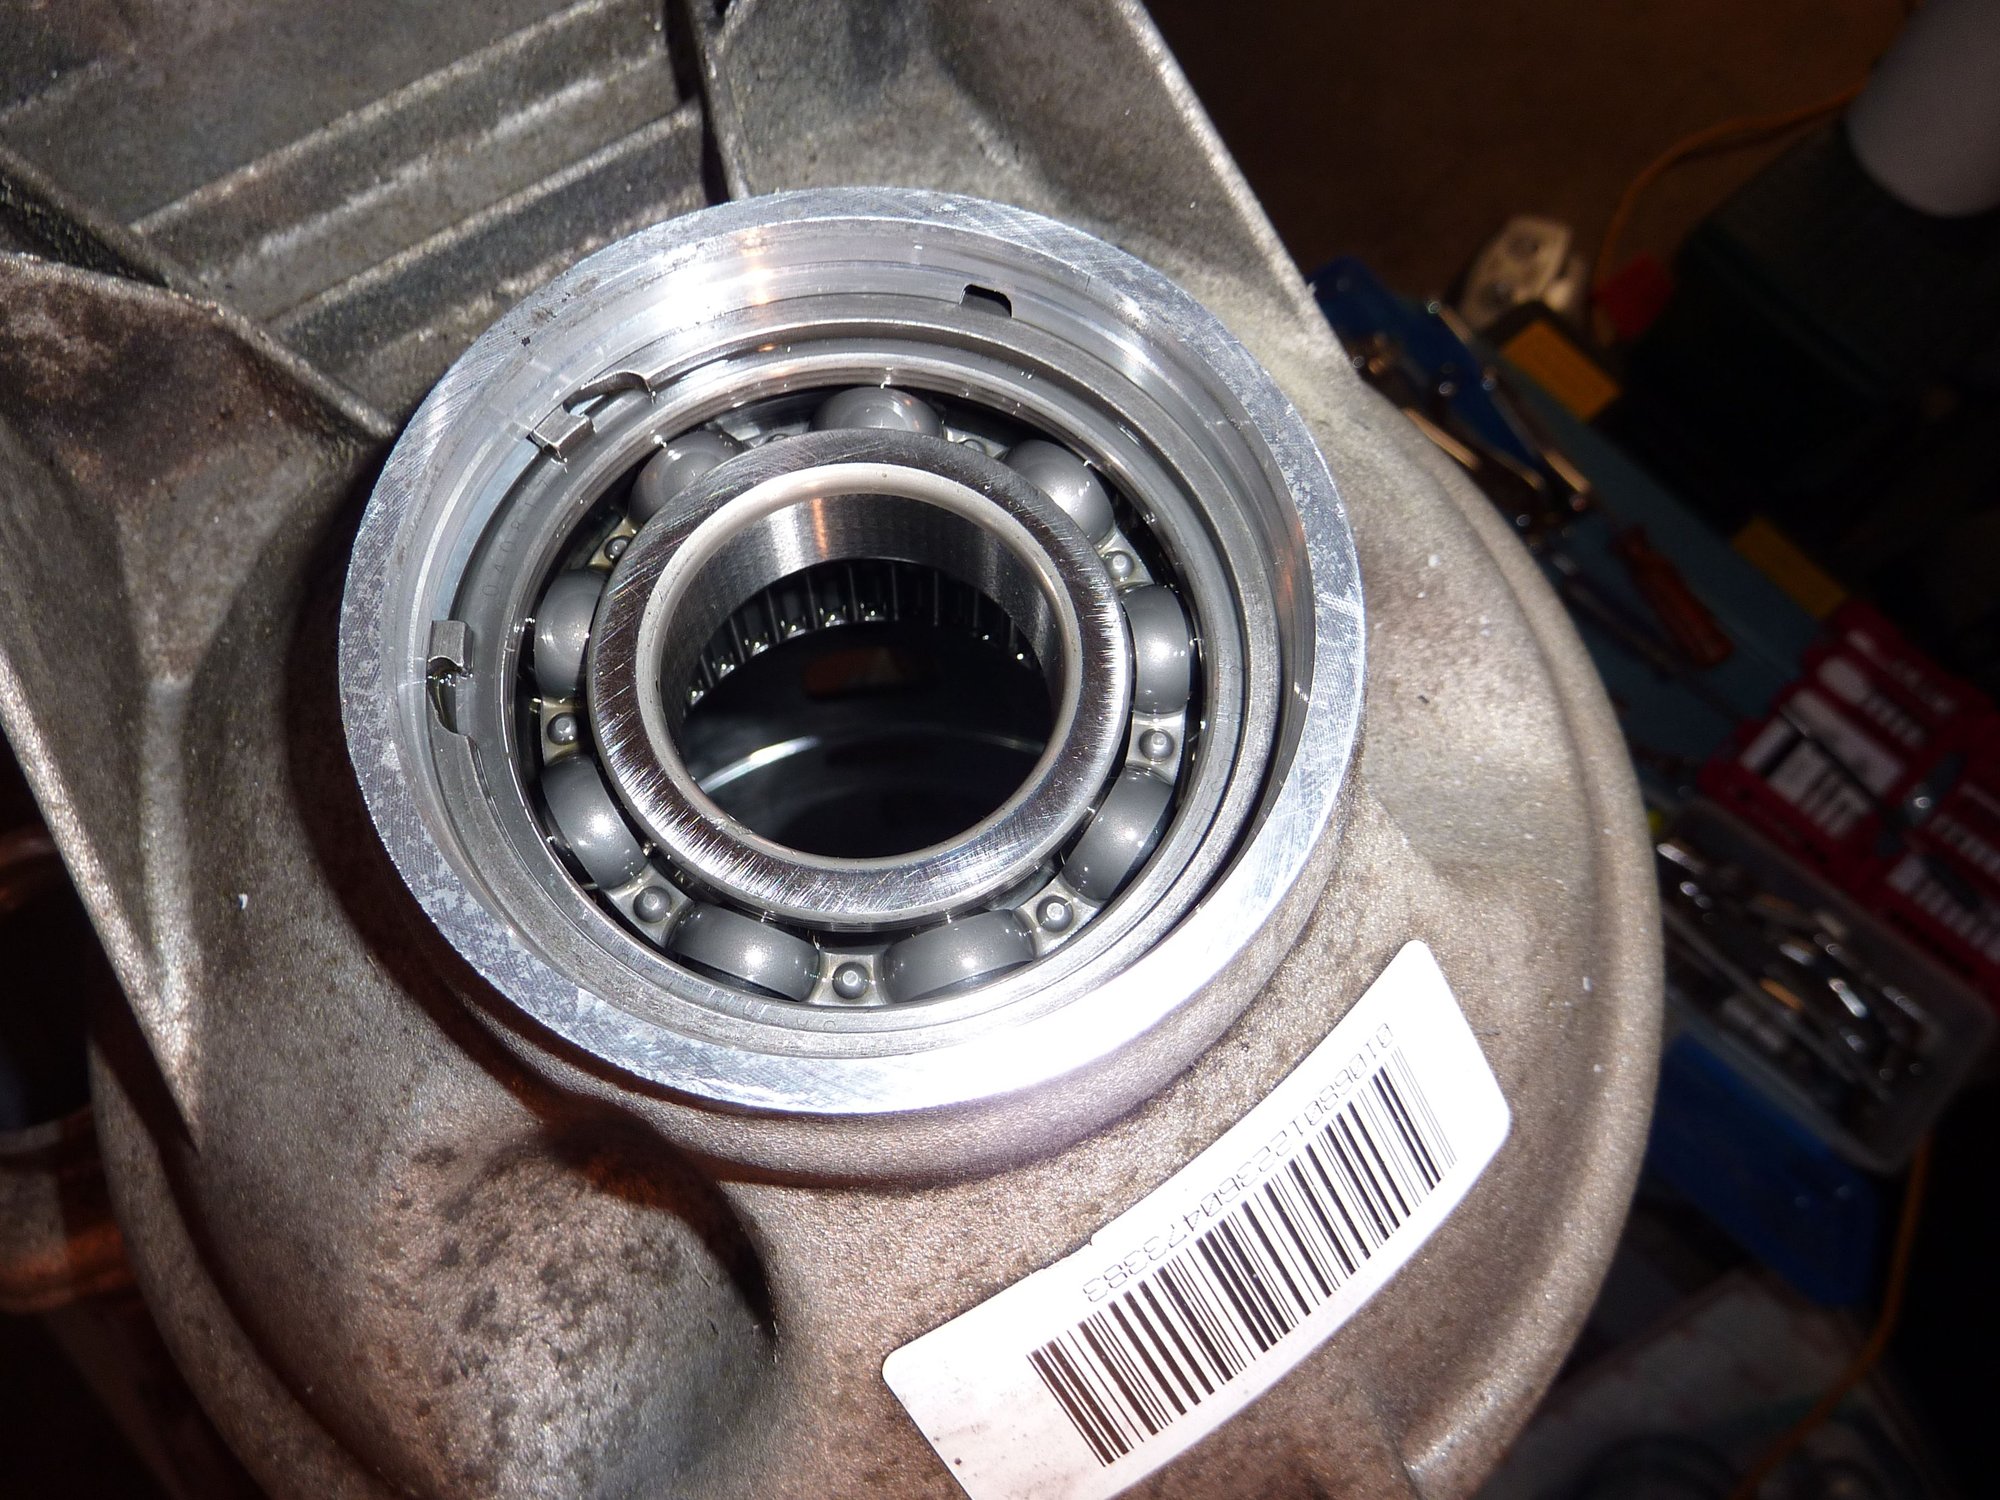
Old seal removed from rear of transmission.
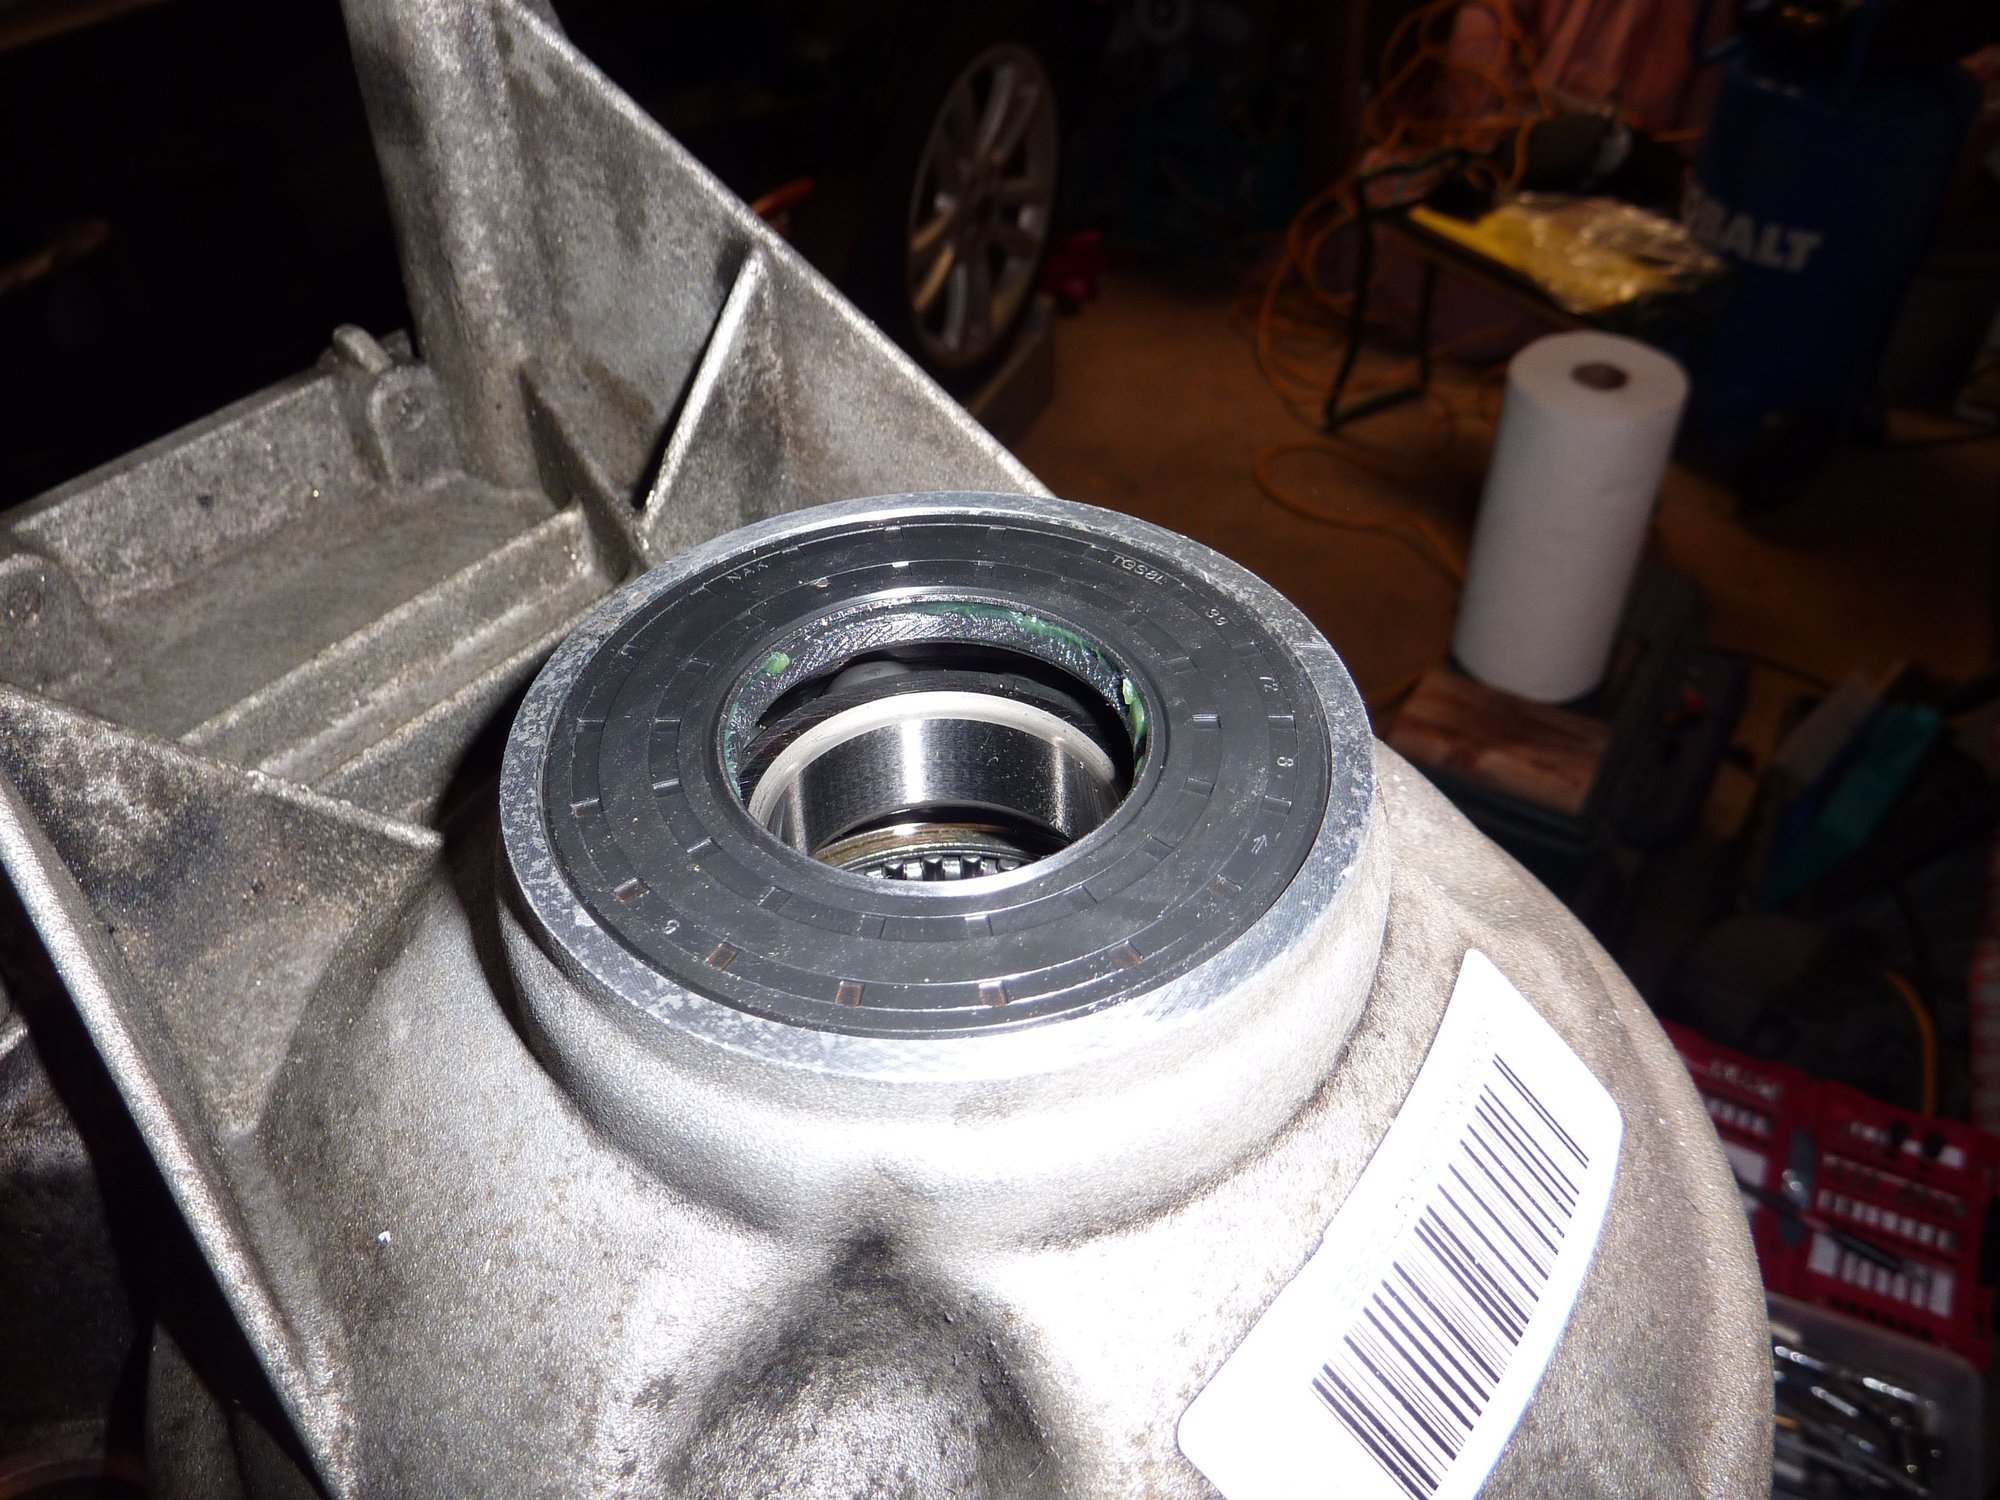
New seal in place.
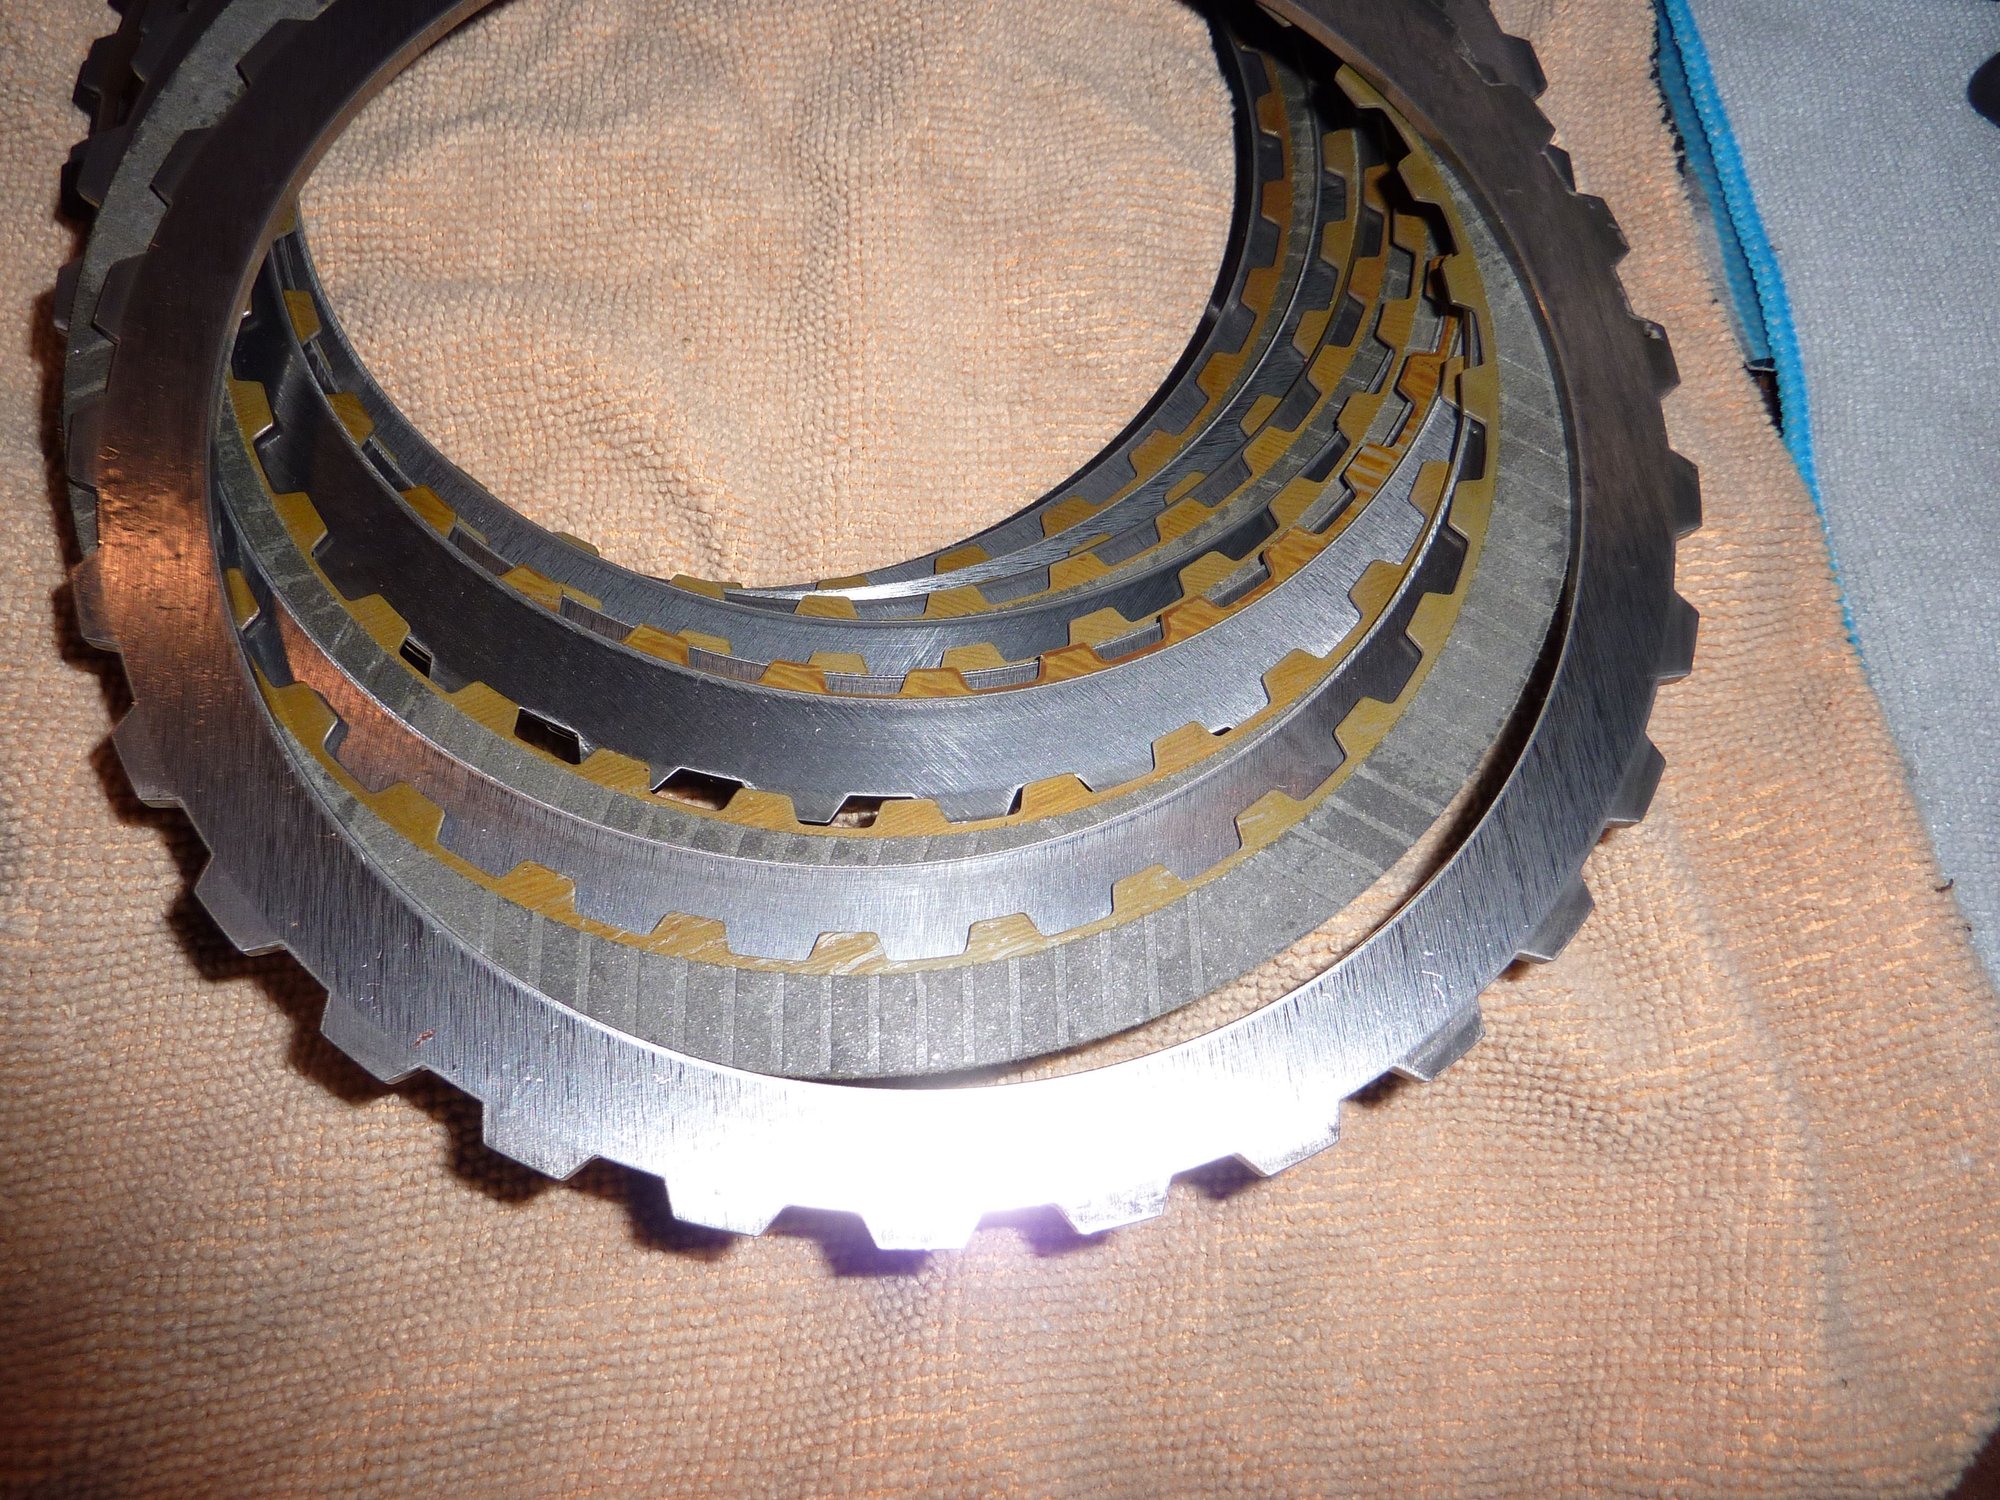
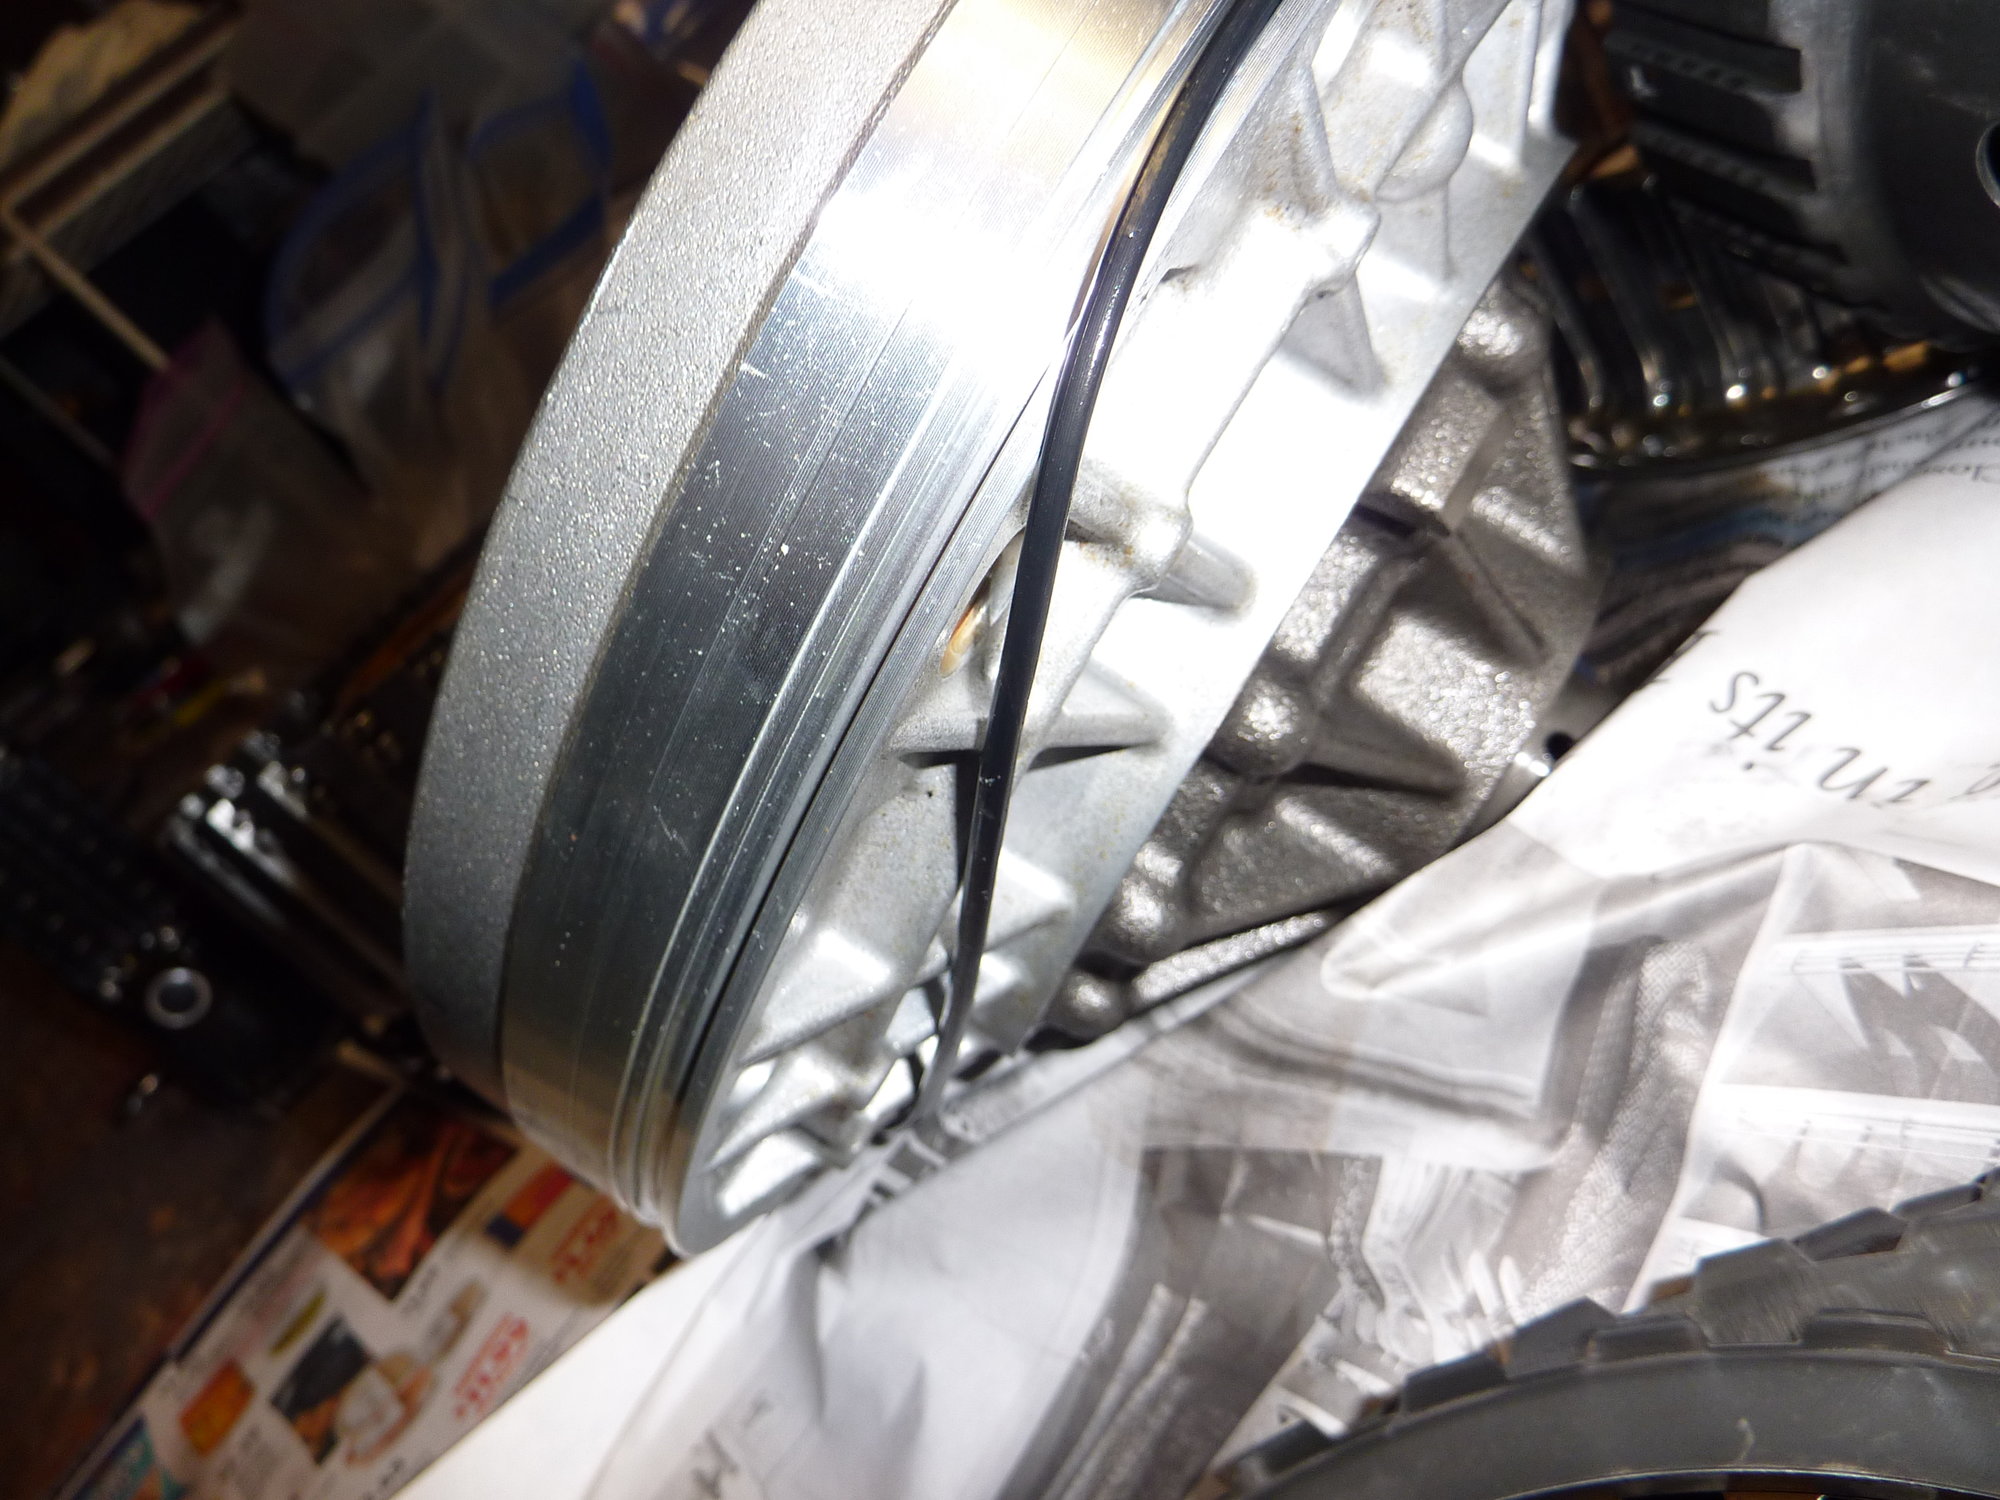
New friction plates in place. Placed between metal plates.
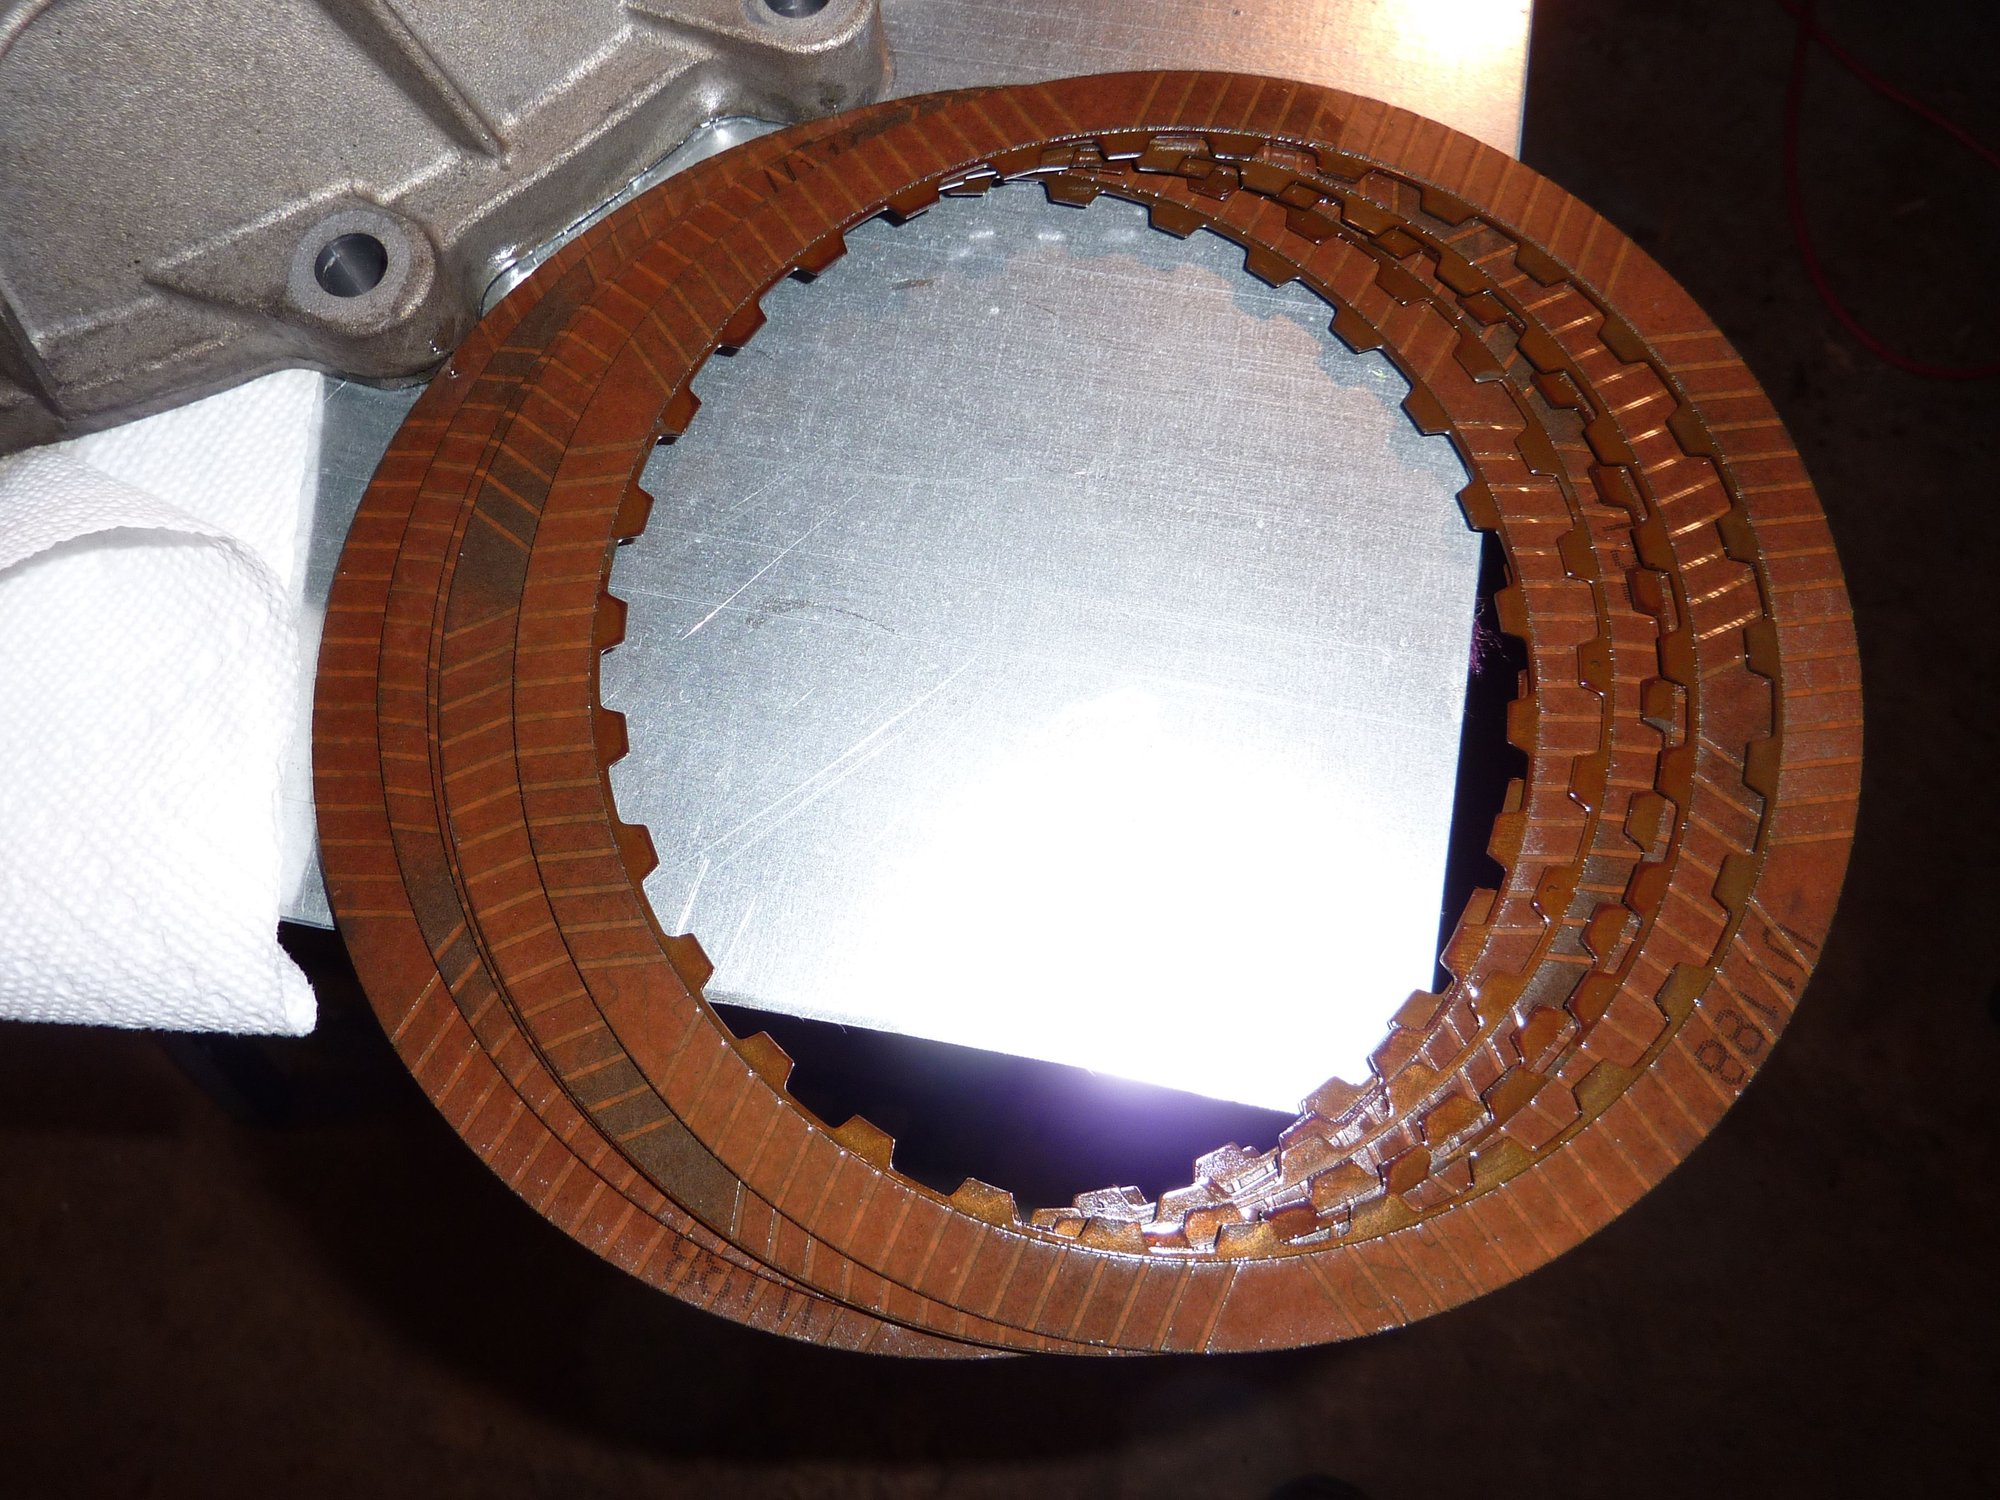
Old friction plates are really in ok condition.
#77
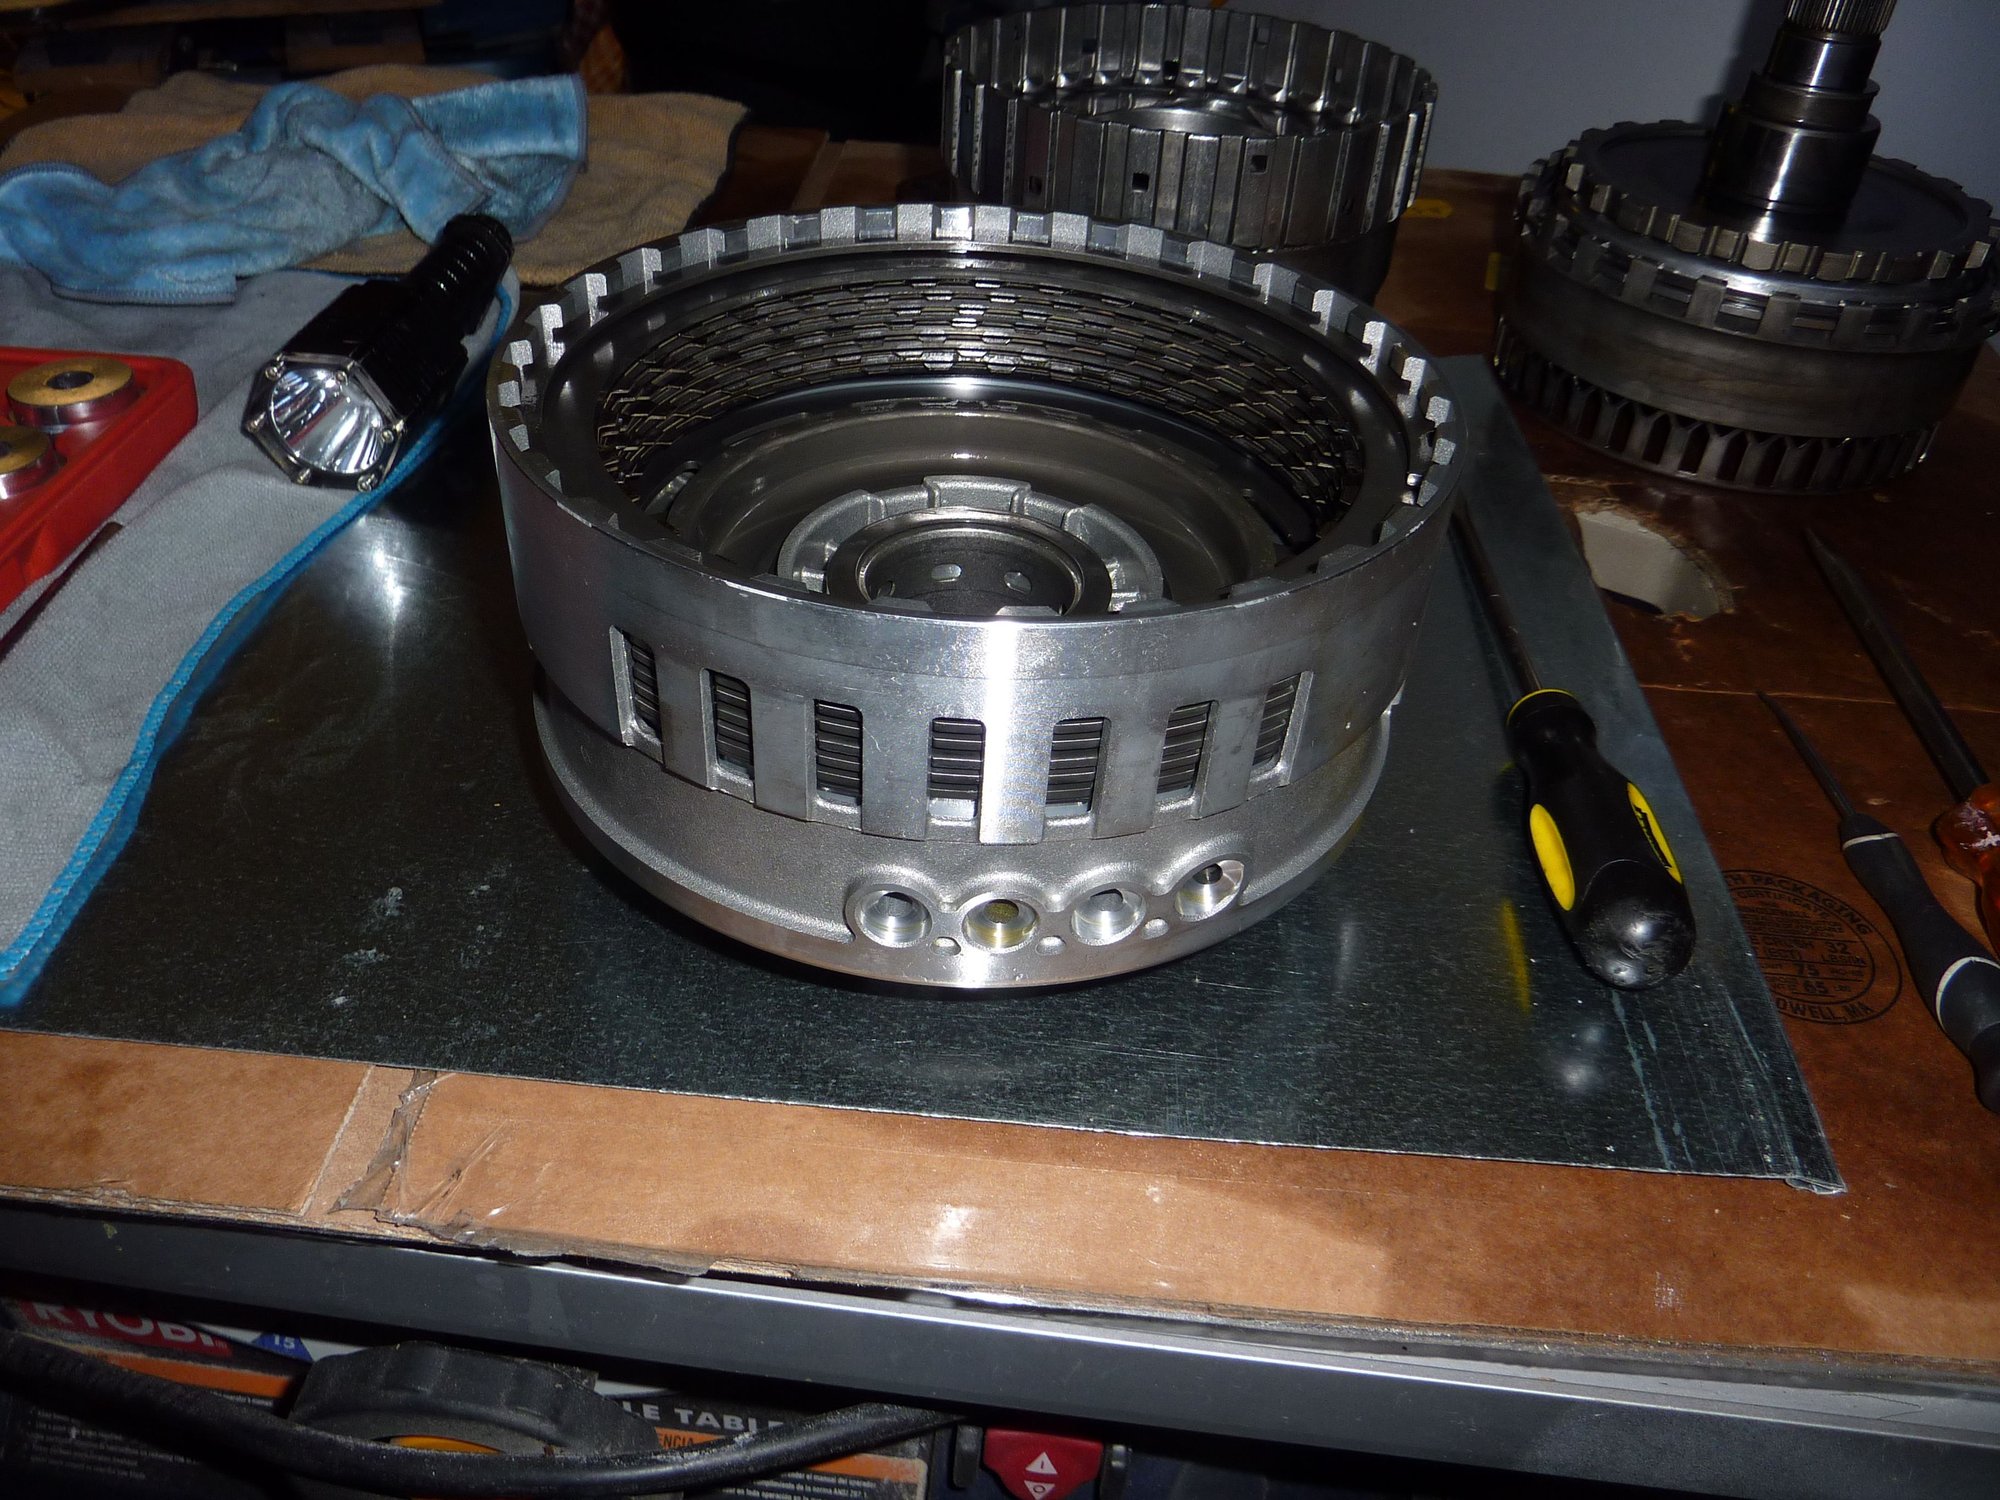
When I tried to insert the snap ring in its slot I could not do so.
The stack of clutch plates was just too high with the top metal plate covering the slots in the drum.
So of course I tried compressing them and realized that they would be way too tight.
When I measured the thickness of the old clutch plates they were 1.4 mm thick. These new ones were over 2 mm thick.
Went back to my stack of new ones and yes there are a bunch at 1.4 mm in thickness so swapped them over and all fit
neatly and loosely in place.
Will conduct an air test at the appropriate time to see whether these plates move when compressed air is applied to one of the holes you see in the side of the drum that take the rubber tube seals to the valve body.
#78
#79
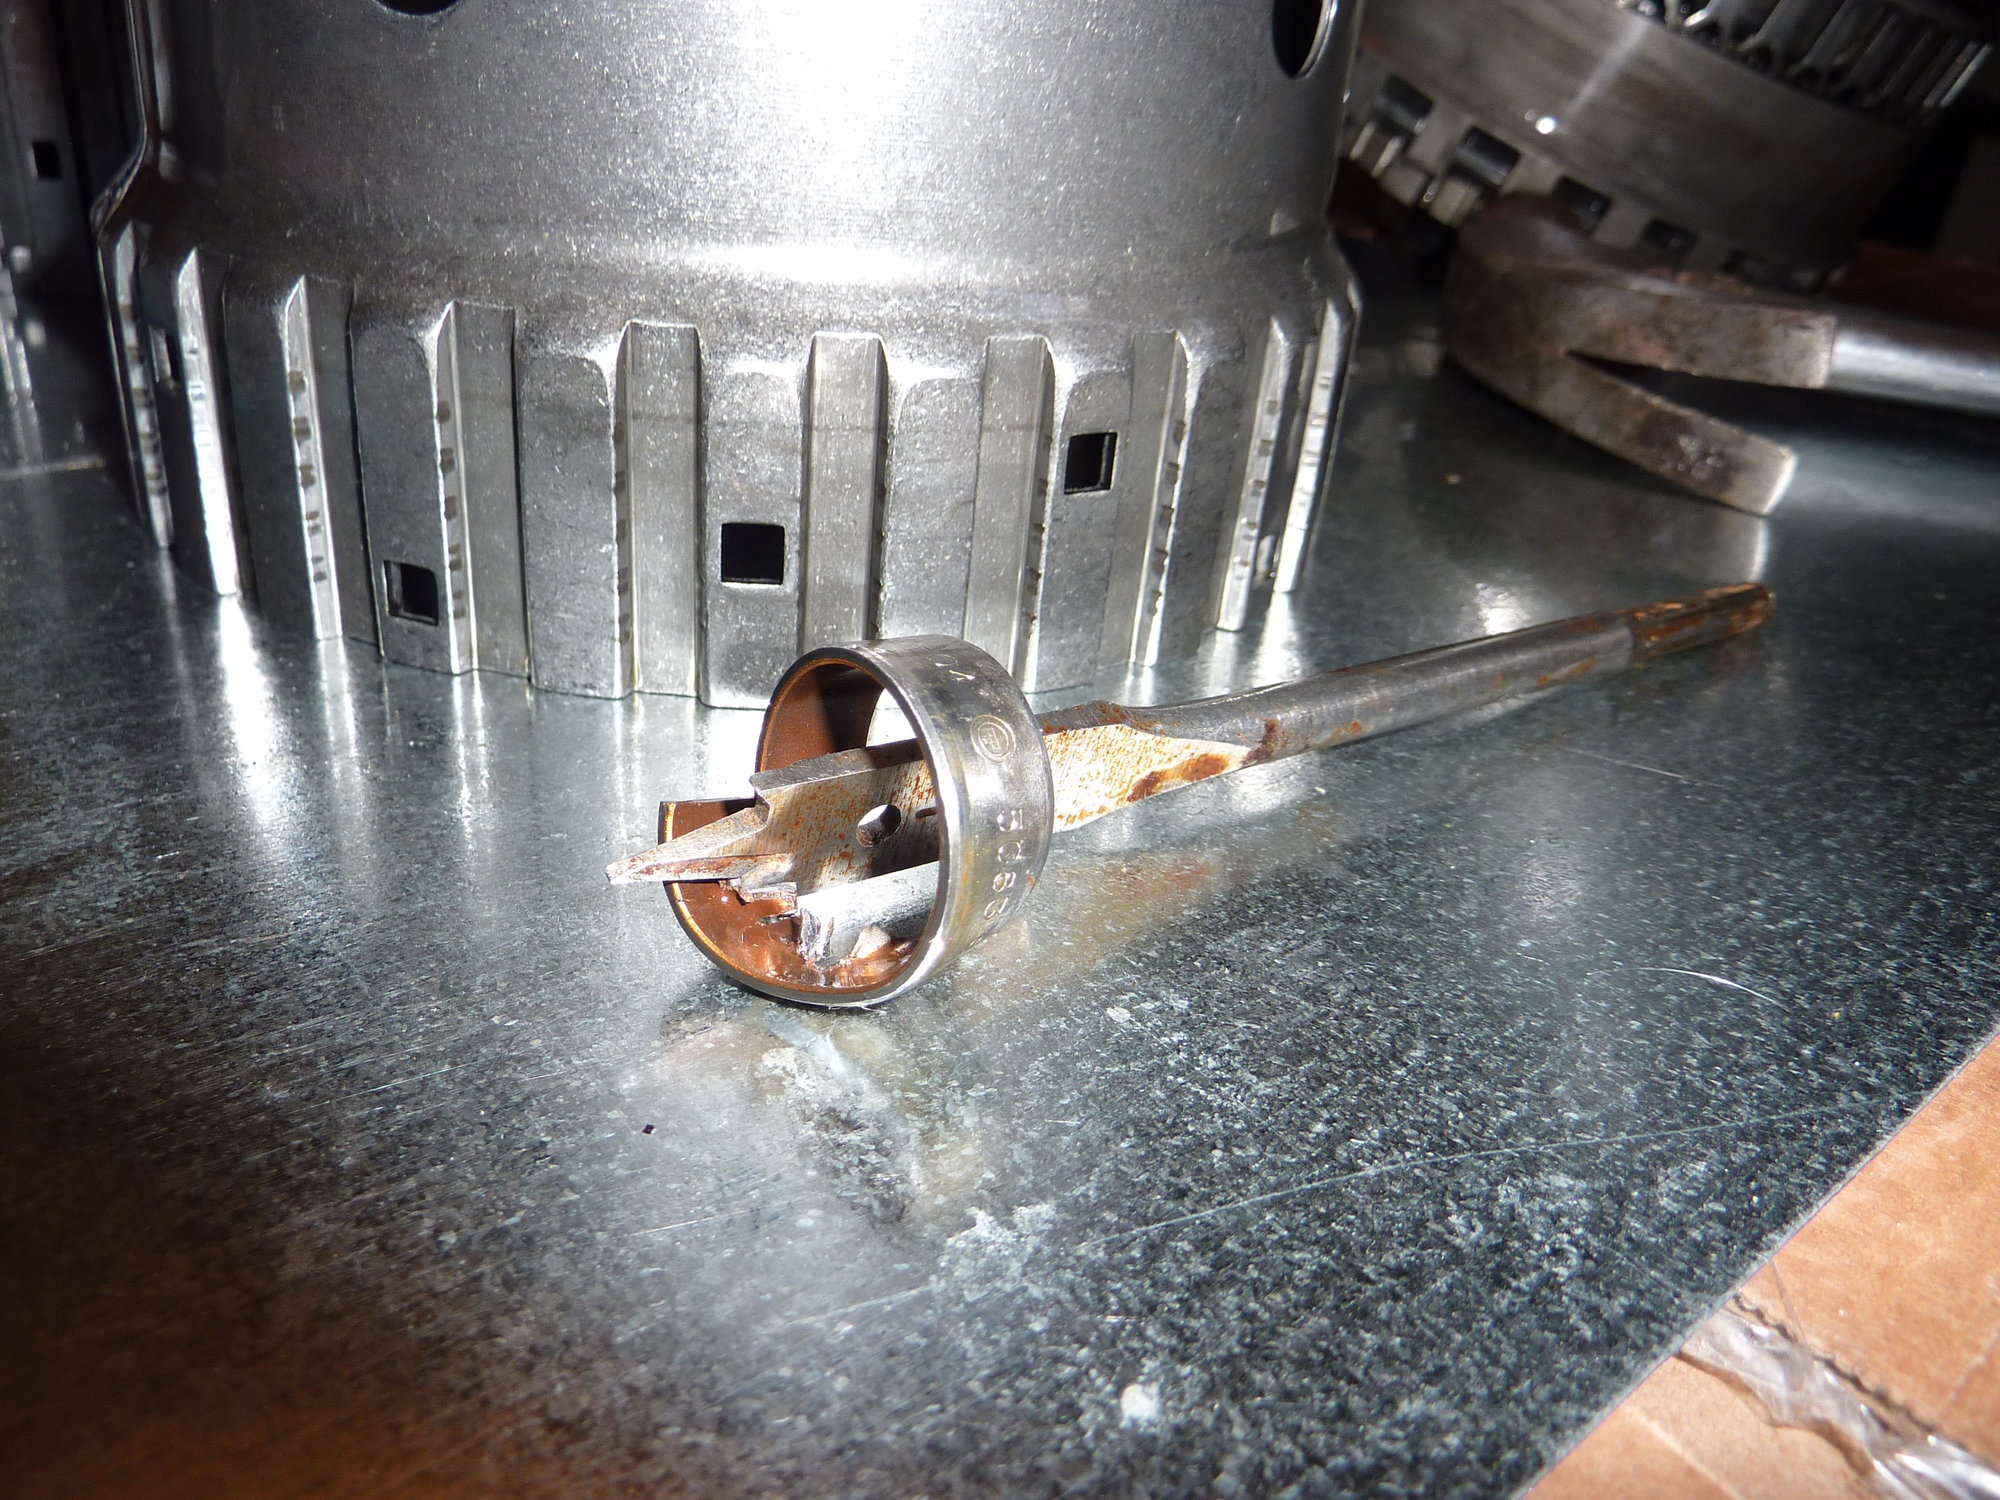
Used a drill bit to get old bushings out quiet easily.
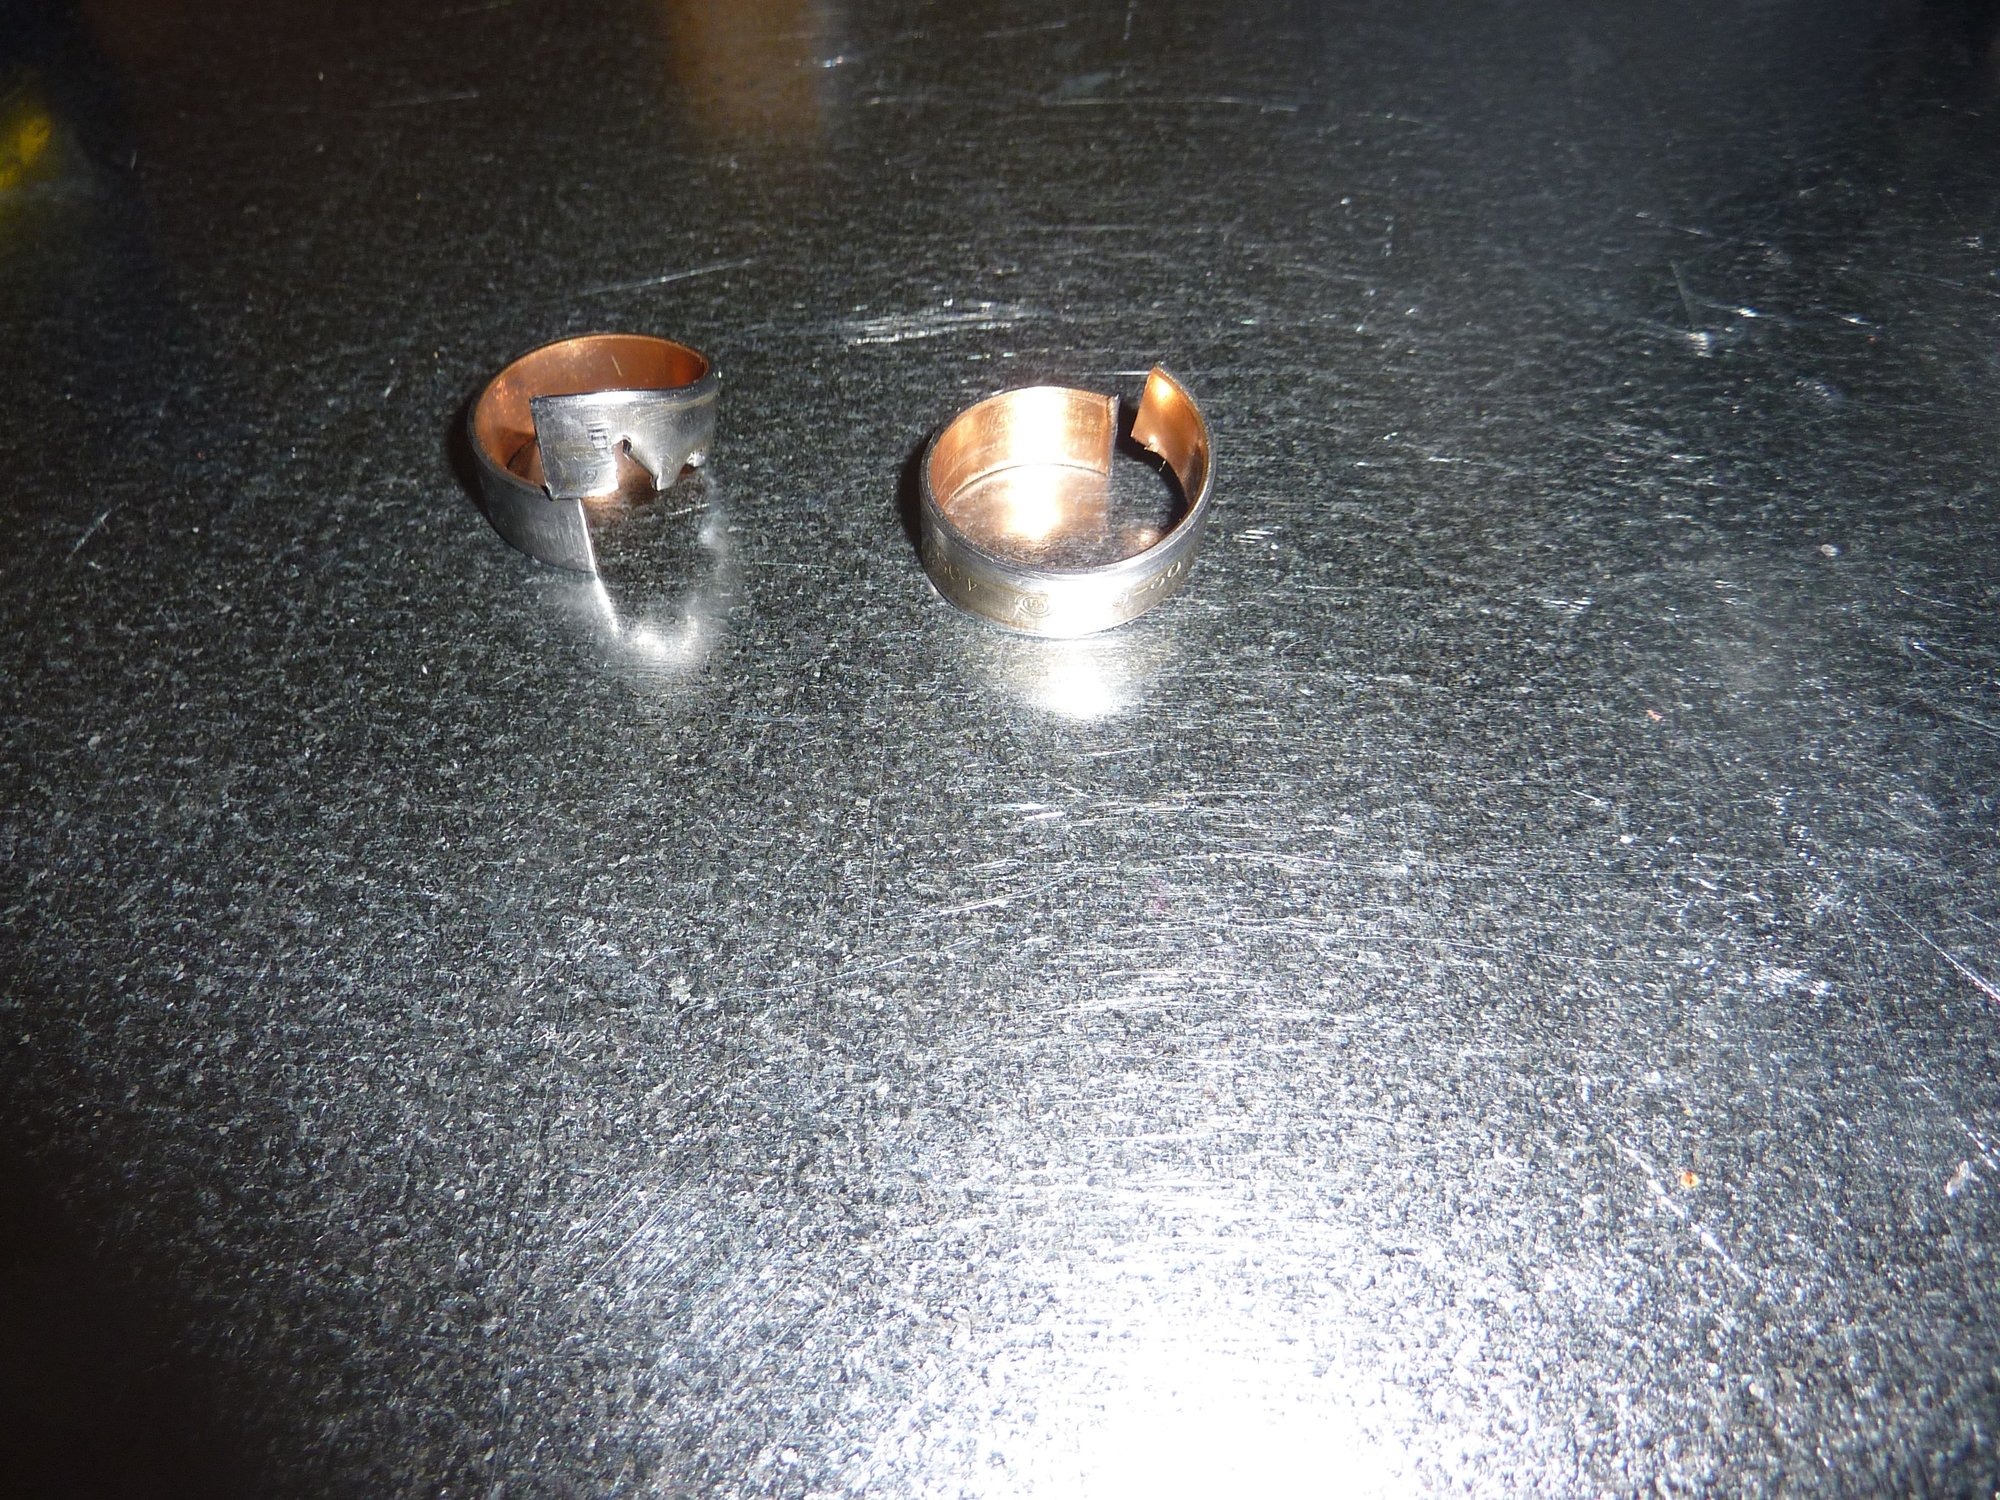
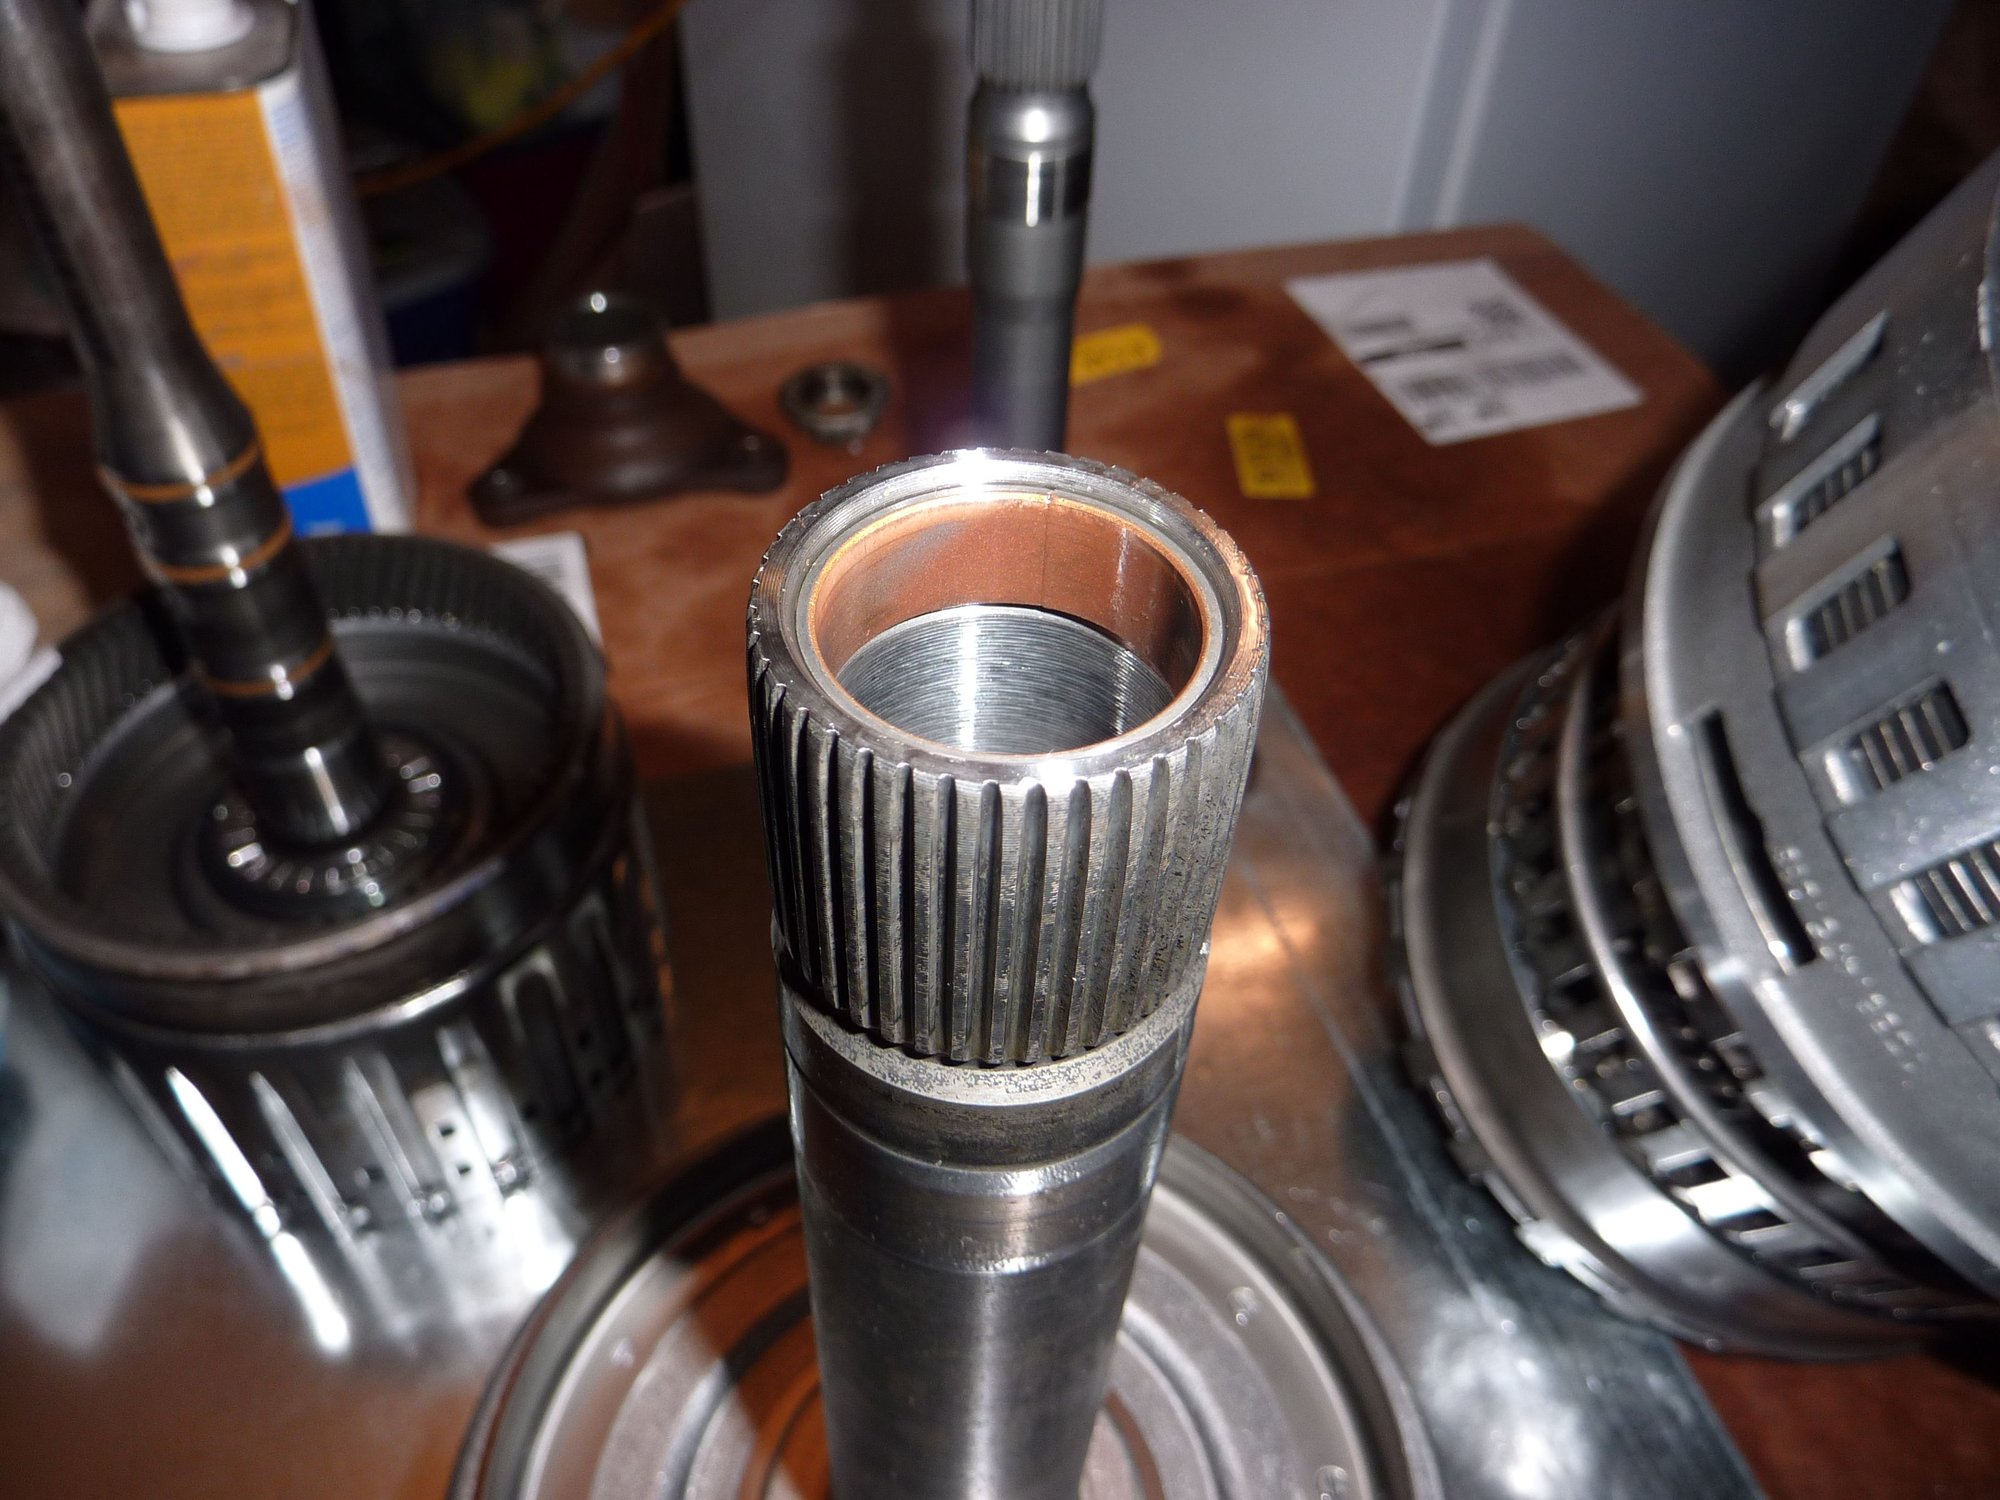
So replaced the two bushings in this spindle this is the 1st old one where you can see the join in the bushing. The new ones fit together like a jigsaw puzzle.
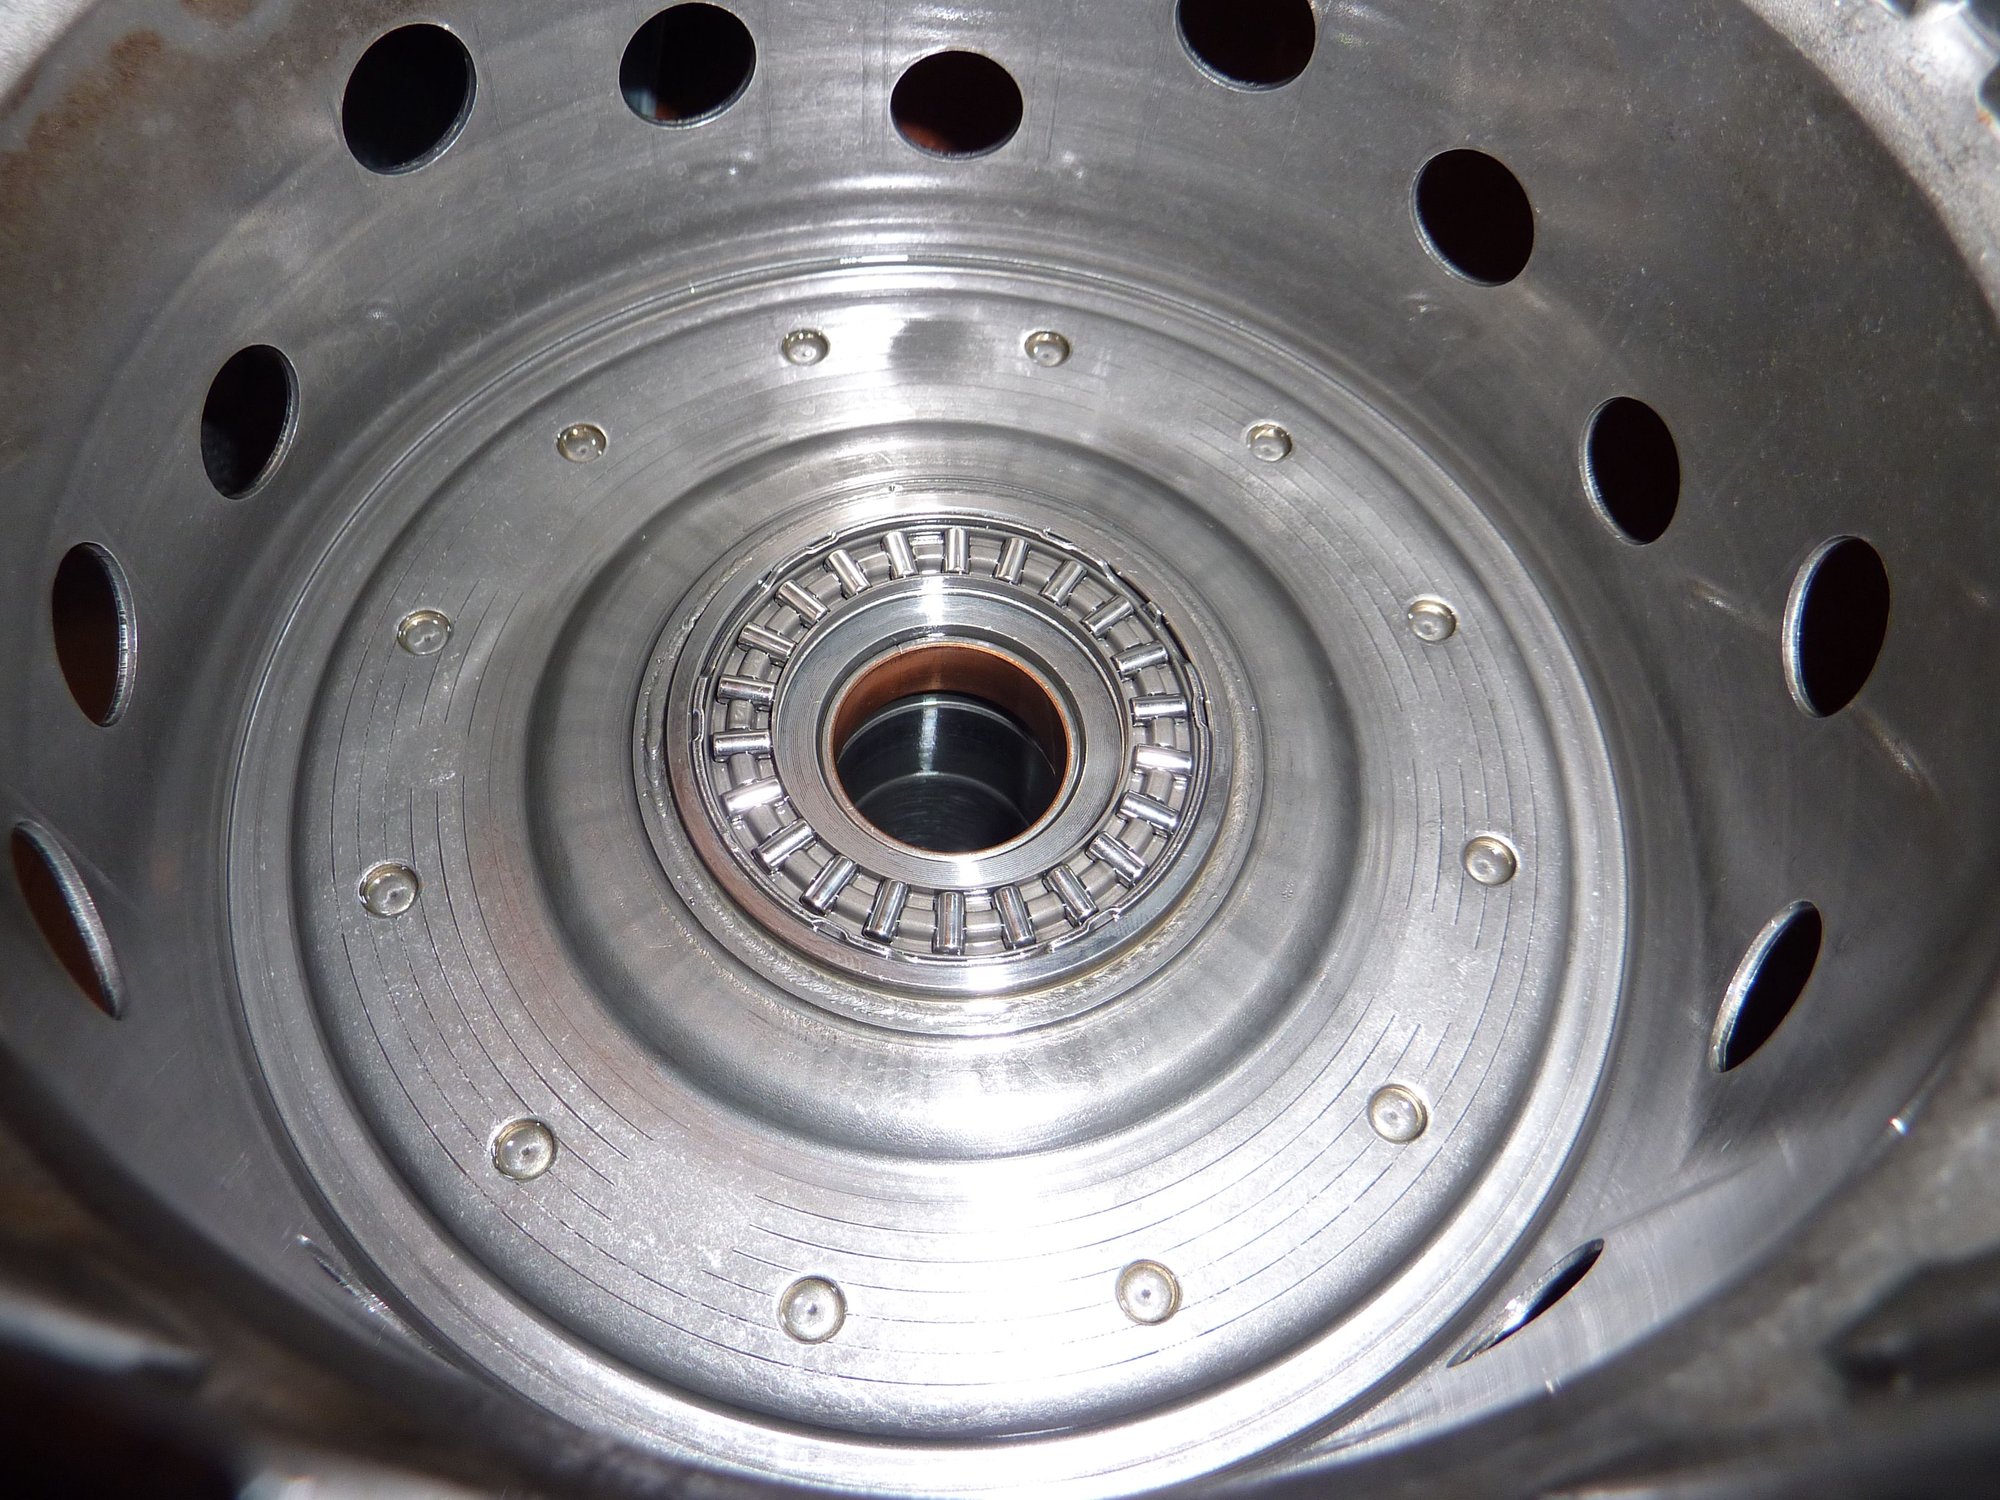
This is the second.
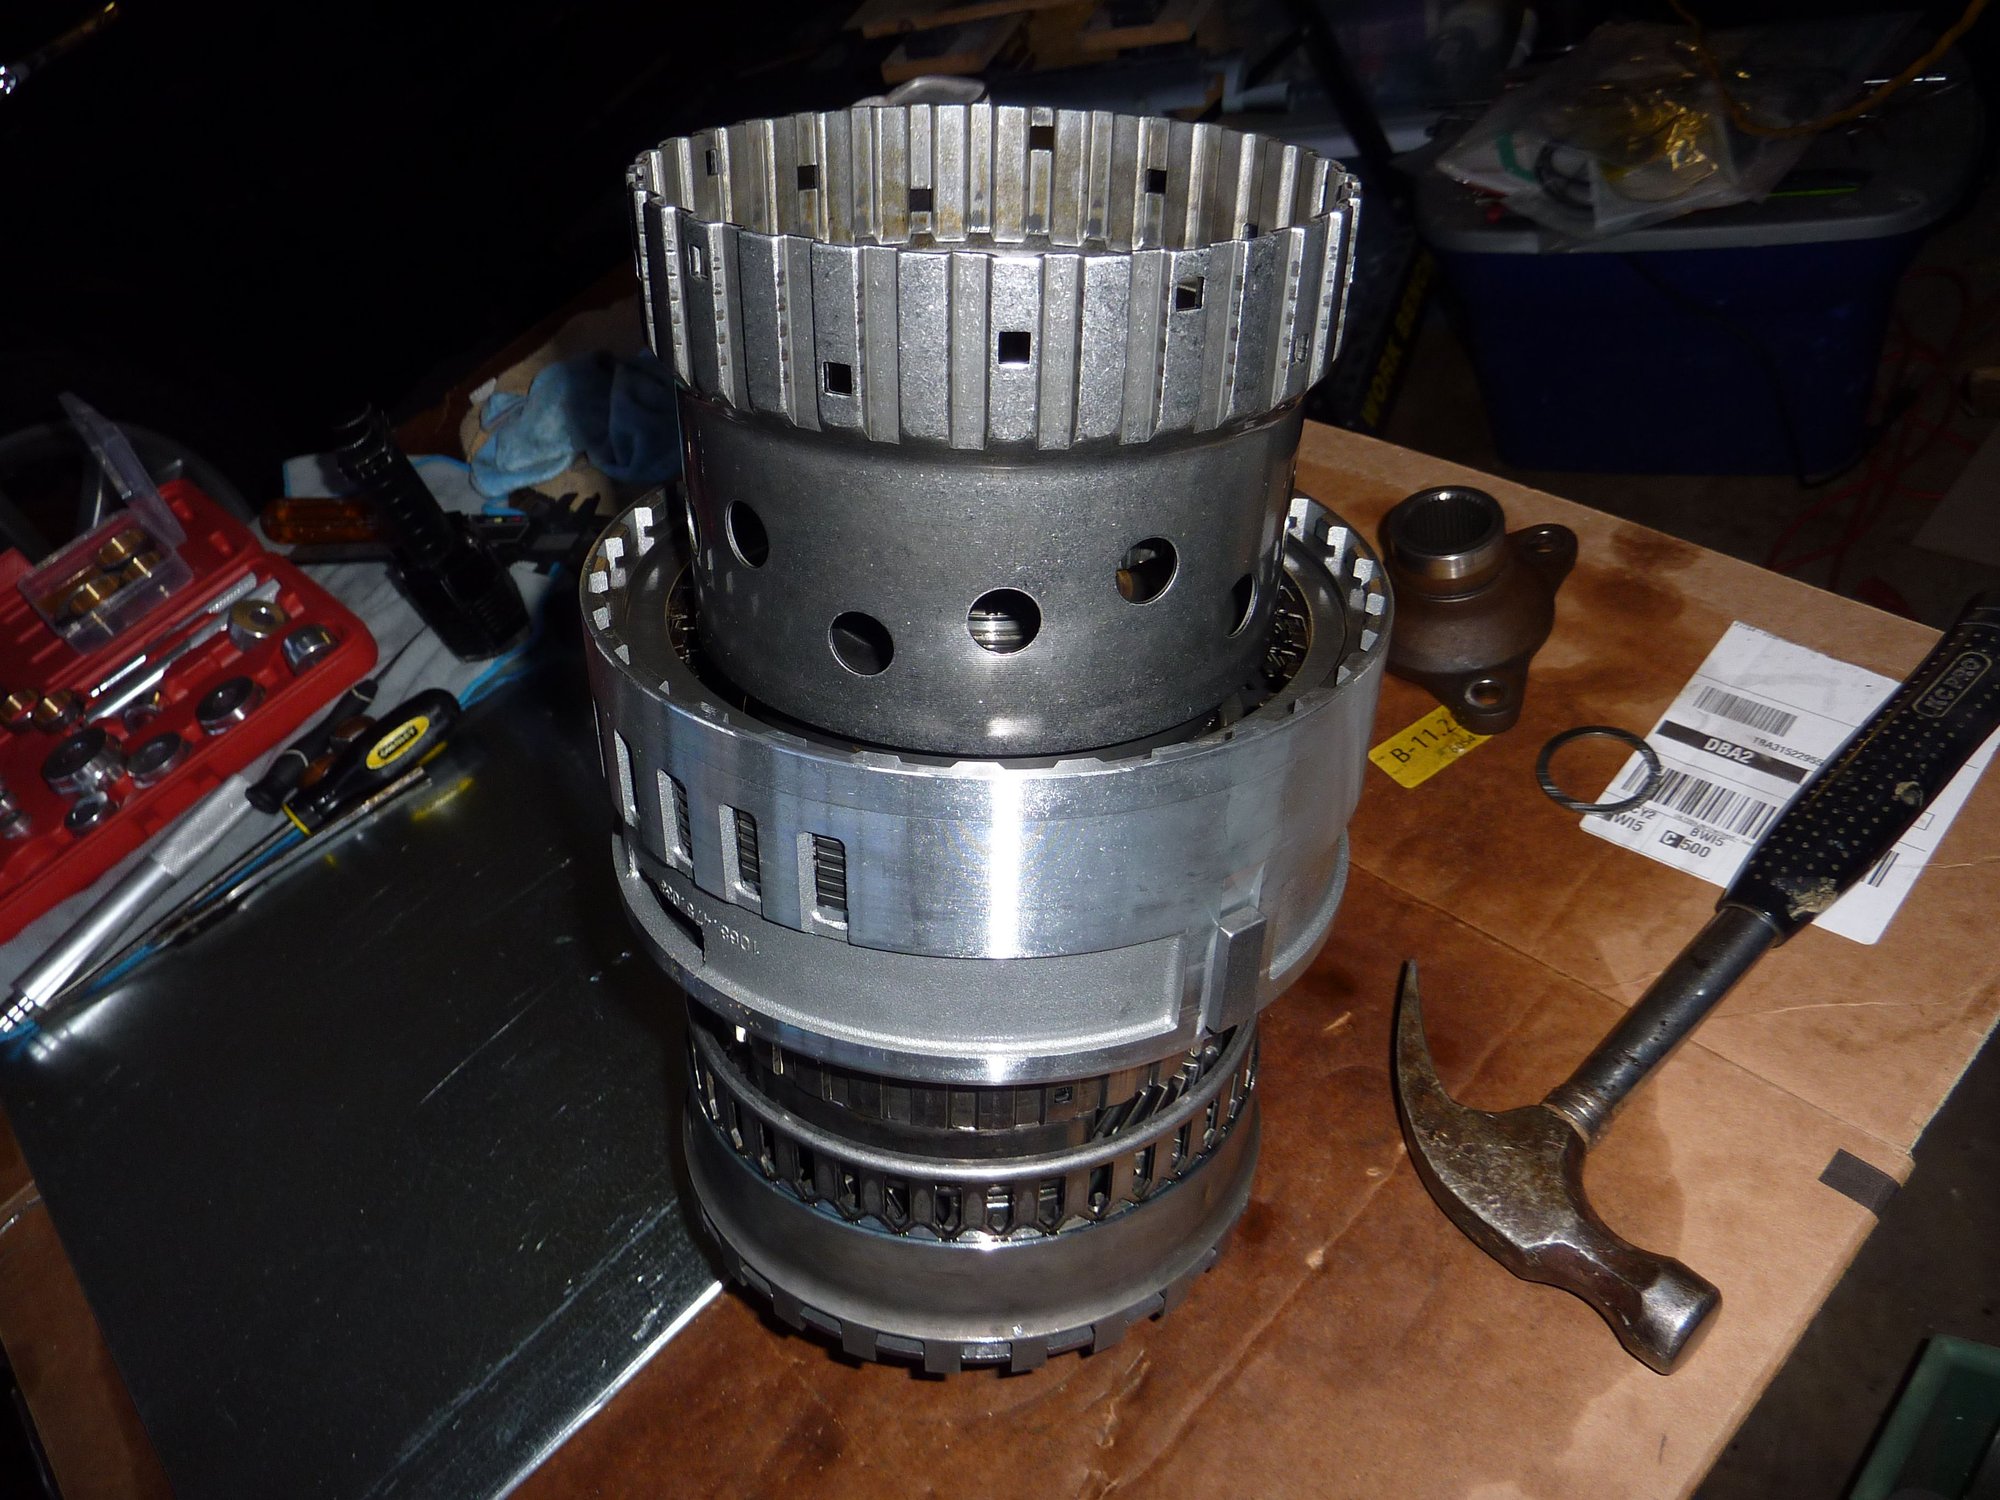
This whole rear section is missing a drum so have to figure it out from pics.
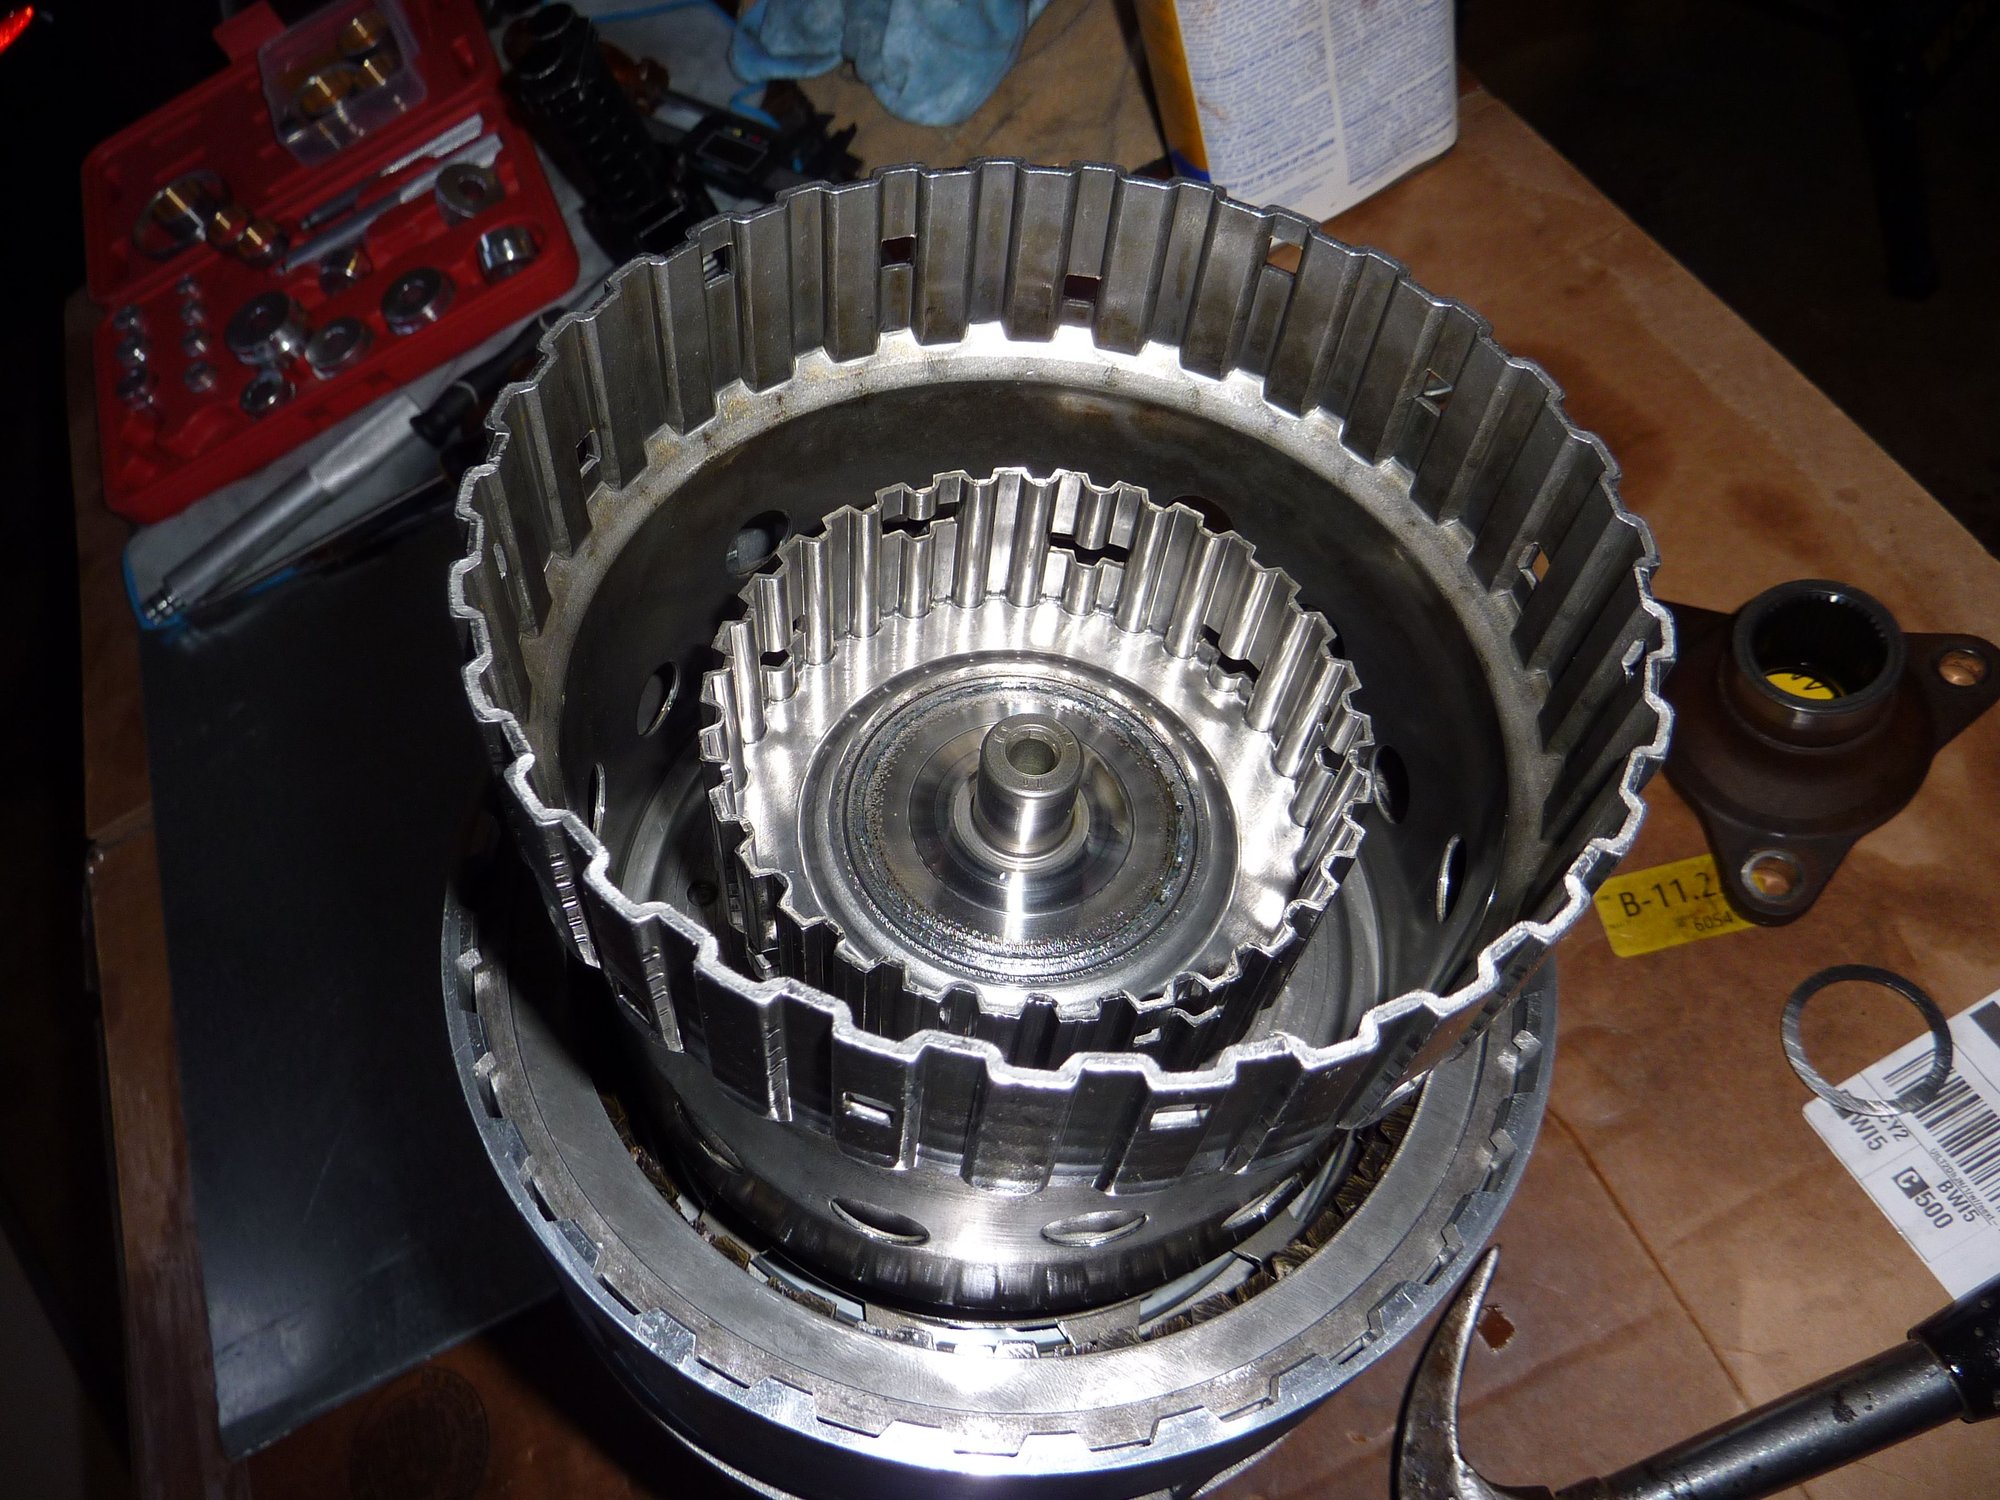
The inner shaft goes all the way thru the drums and into that rear bushing that I did not replace.
The bushings that I installed are supposedly "upgraded".
The numbers stamped on them in no way match the numbers on the original bushings.
So I spent some time trying to match the size visually for the two I replaced.
There were two sets of new bushings that were VERY close in size. The larger would not press in with "reasonable" force.
The very slightly smaller diameter ones would with reasonable force.
I also slightly counter sunk them to match the original placement using another new bushing with no problem.
Last edited by jackra_1; 01-12-2020 at 02:58 PM.
#80
All bushings, except the one I pointed out, have been replaced. Another bushing the same size as that one was an absolute pita to get out with copper shavings to boot. Rinsed them all out.
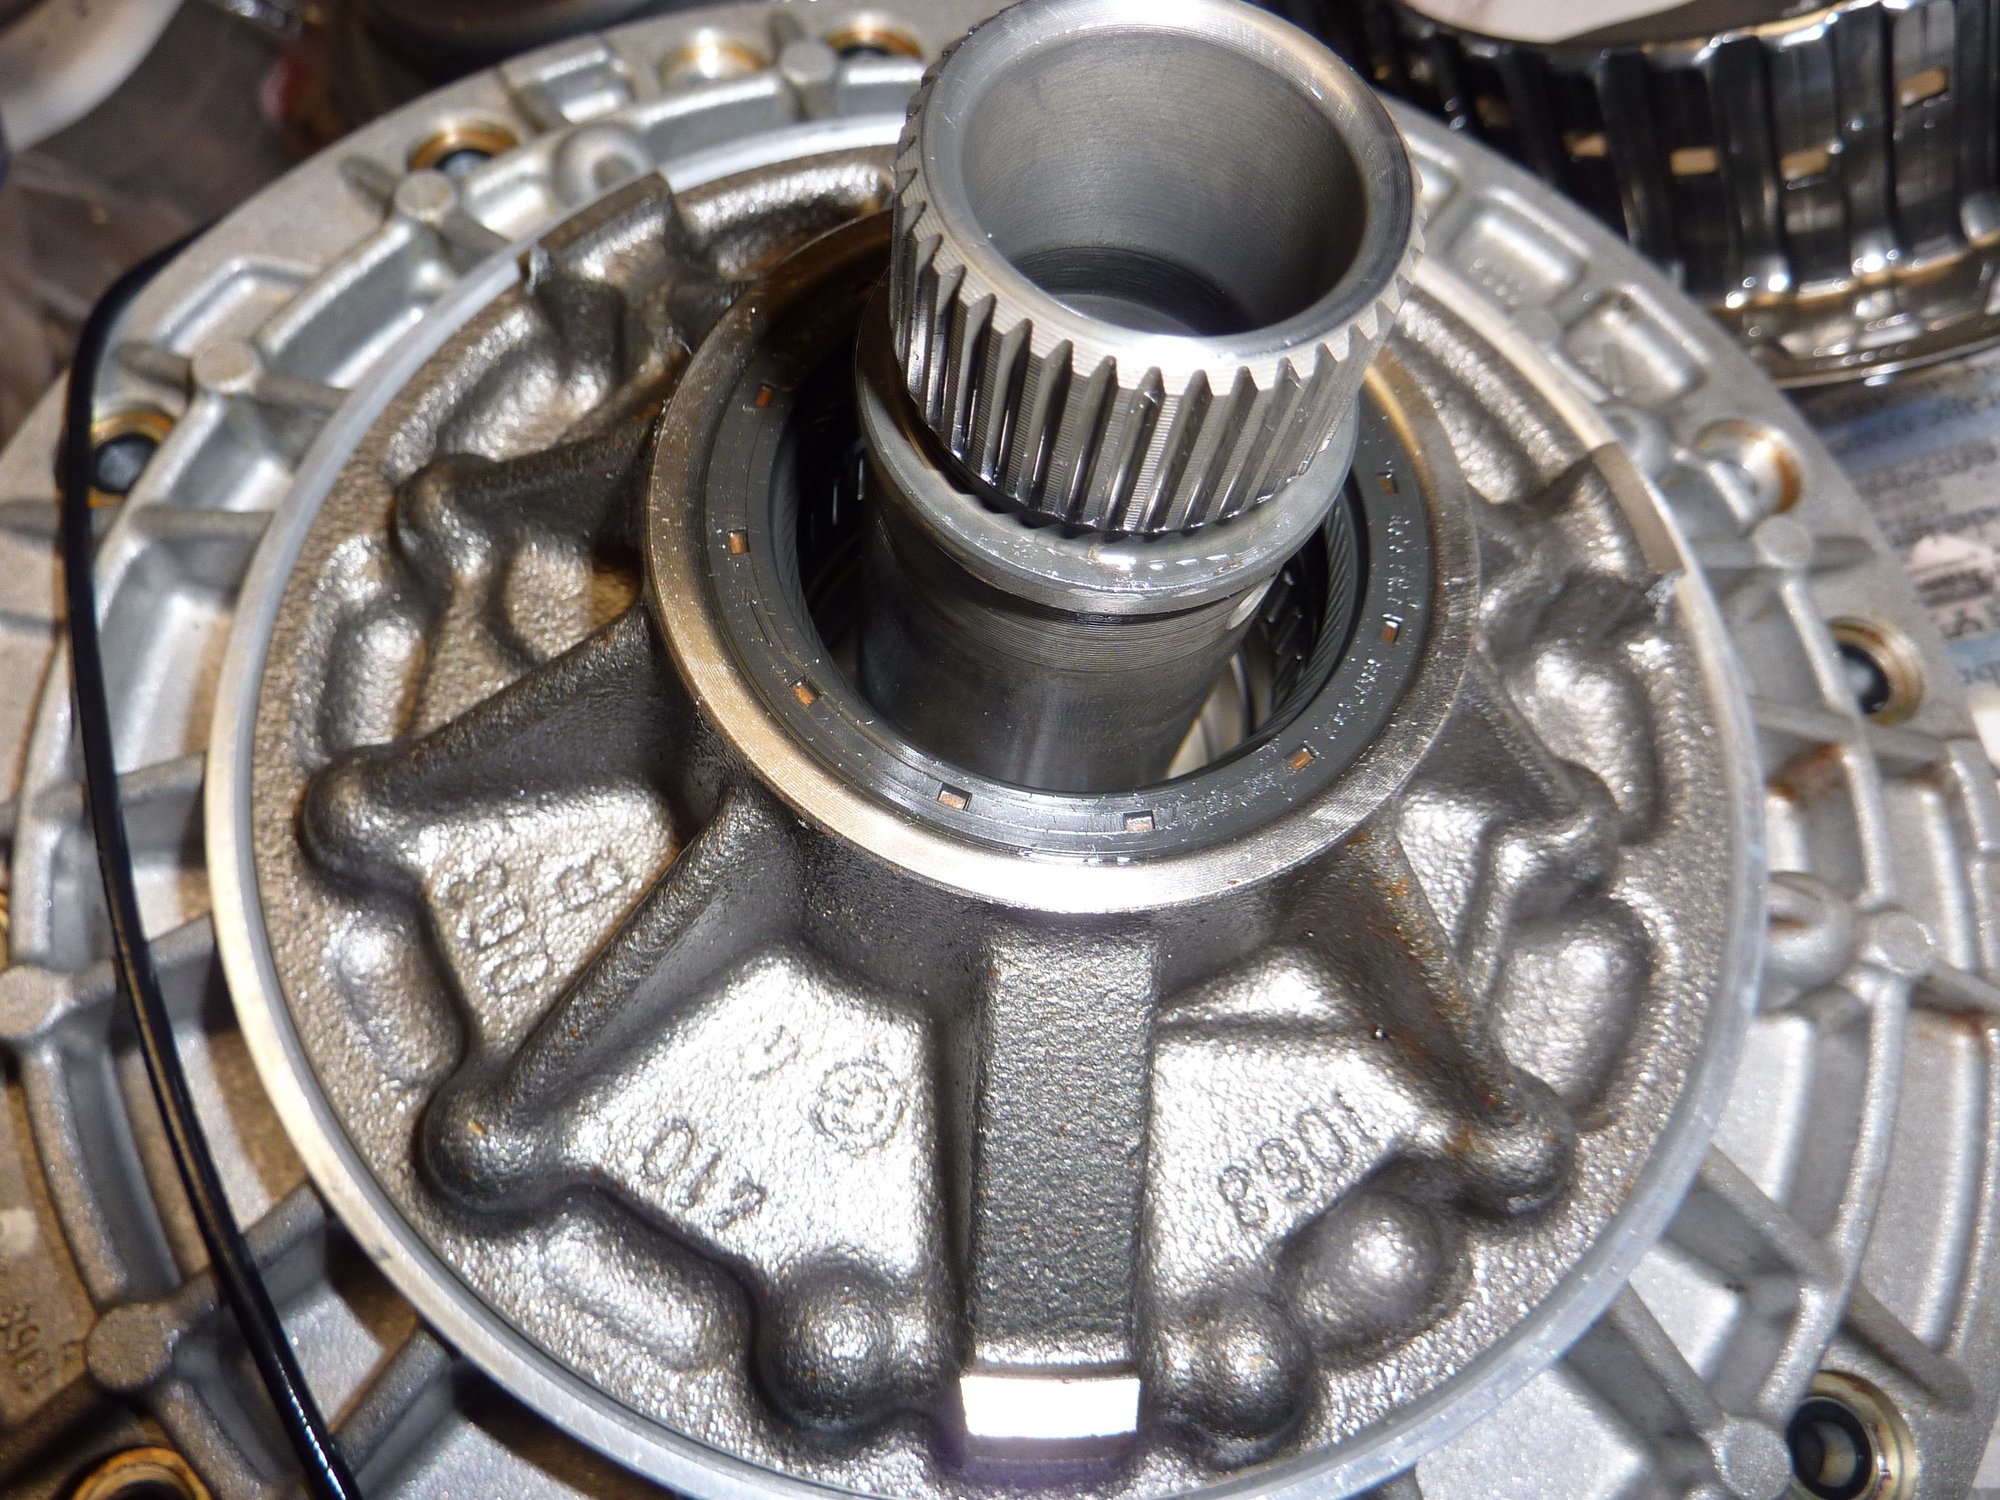
Replaced the front seal on the pump. The old one really did not look bad but could have "stretched" enough to leak?
Replaced all of the "piston ring" shaft seals and like piston rings they may need some finagling to insert the shafts through the new bushings. Will tackle that soon.
So far I have not seen anything that is drastically wrong anywhere. Which is a little disconcerting so I keep thinking "valve body".
More pics tomorrow.


