When you click on links to various merchants on this site and make a purchase, this can result in this site earning a commission. Affiliate programs and affiliations include, but are not limited to, the eBay Partner Network.
I spent many hours on Youtube and in this forum before starting.
For reference used the X350-powertrain-4.pdf file, which gives a procedure which is often obscure.
So here may be useful tips, and if any errors please advise.
1) Disconnect battery, but check something first.
You will probably have the park brake on.
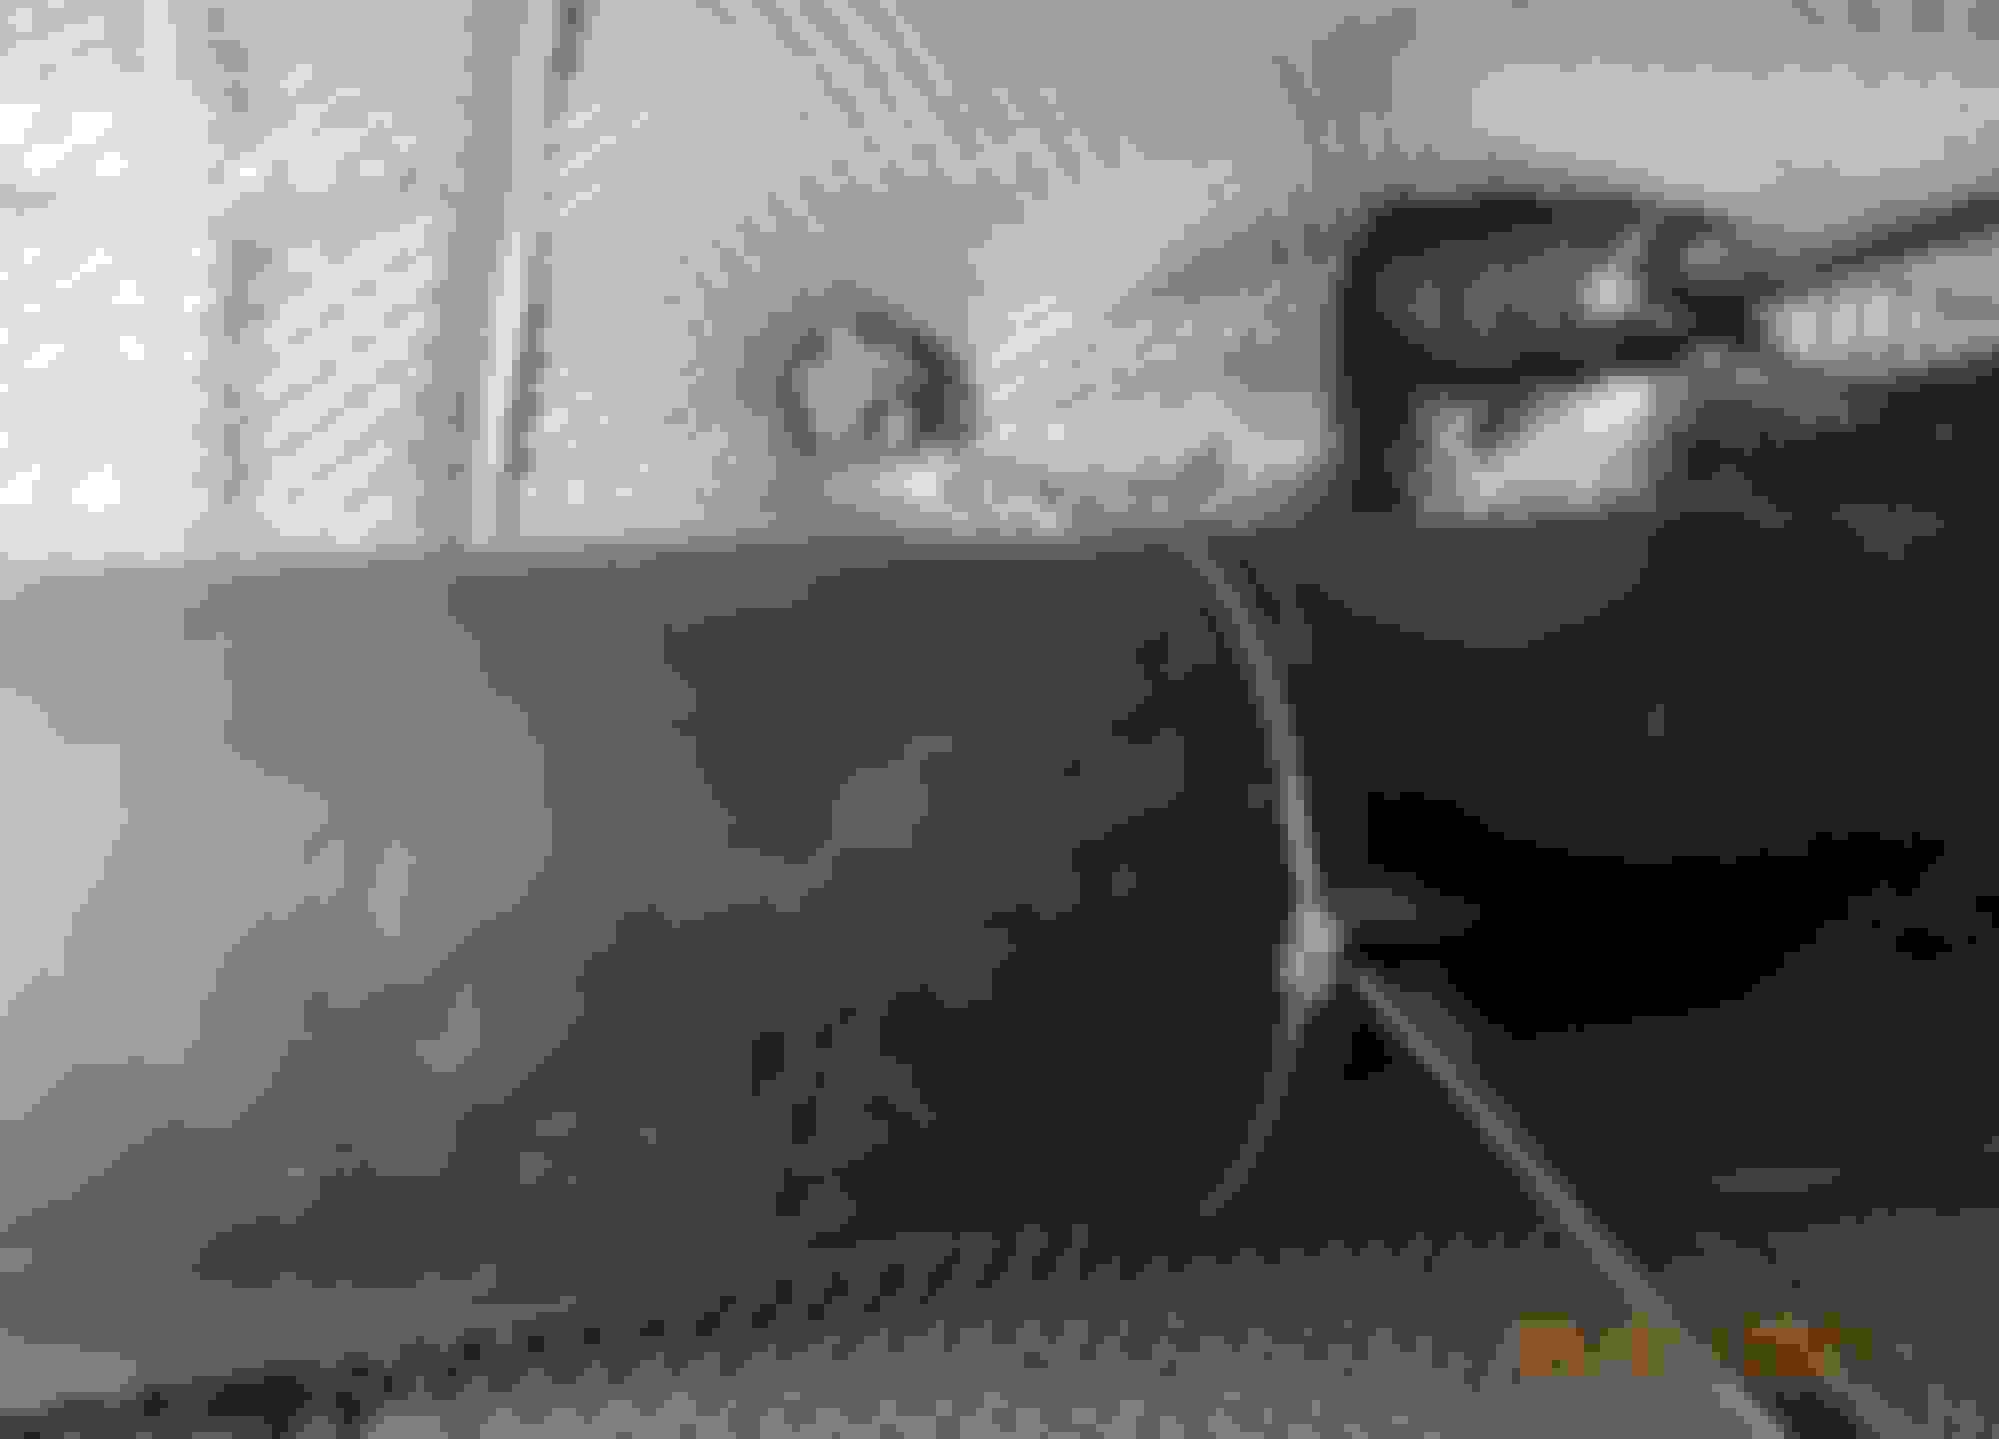
To remove the 3 bolts from the driveshaft flange make sure you can get at them, see DRIVESHAT FLANGE.
By luck I could, but if one was vertically above the driveshaft it would not be easy to get at that one.
If the park brake is off you can rotate the flange. However they are very tight bolts, fitted with Loctite.
I could not crack them and needed the 50% extra beef of my step son and even he just made it.
If the park brake was off the whole flange might rotate and make life harder.
2) It took me a while to figure out best way to support the driveshaft after bolt removal.
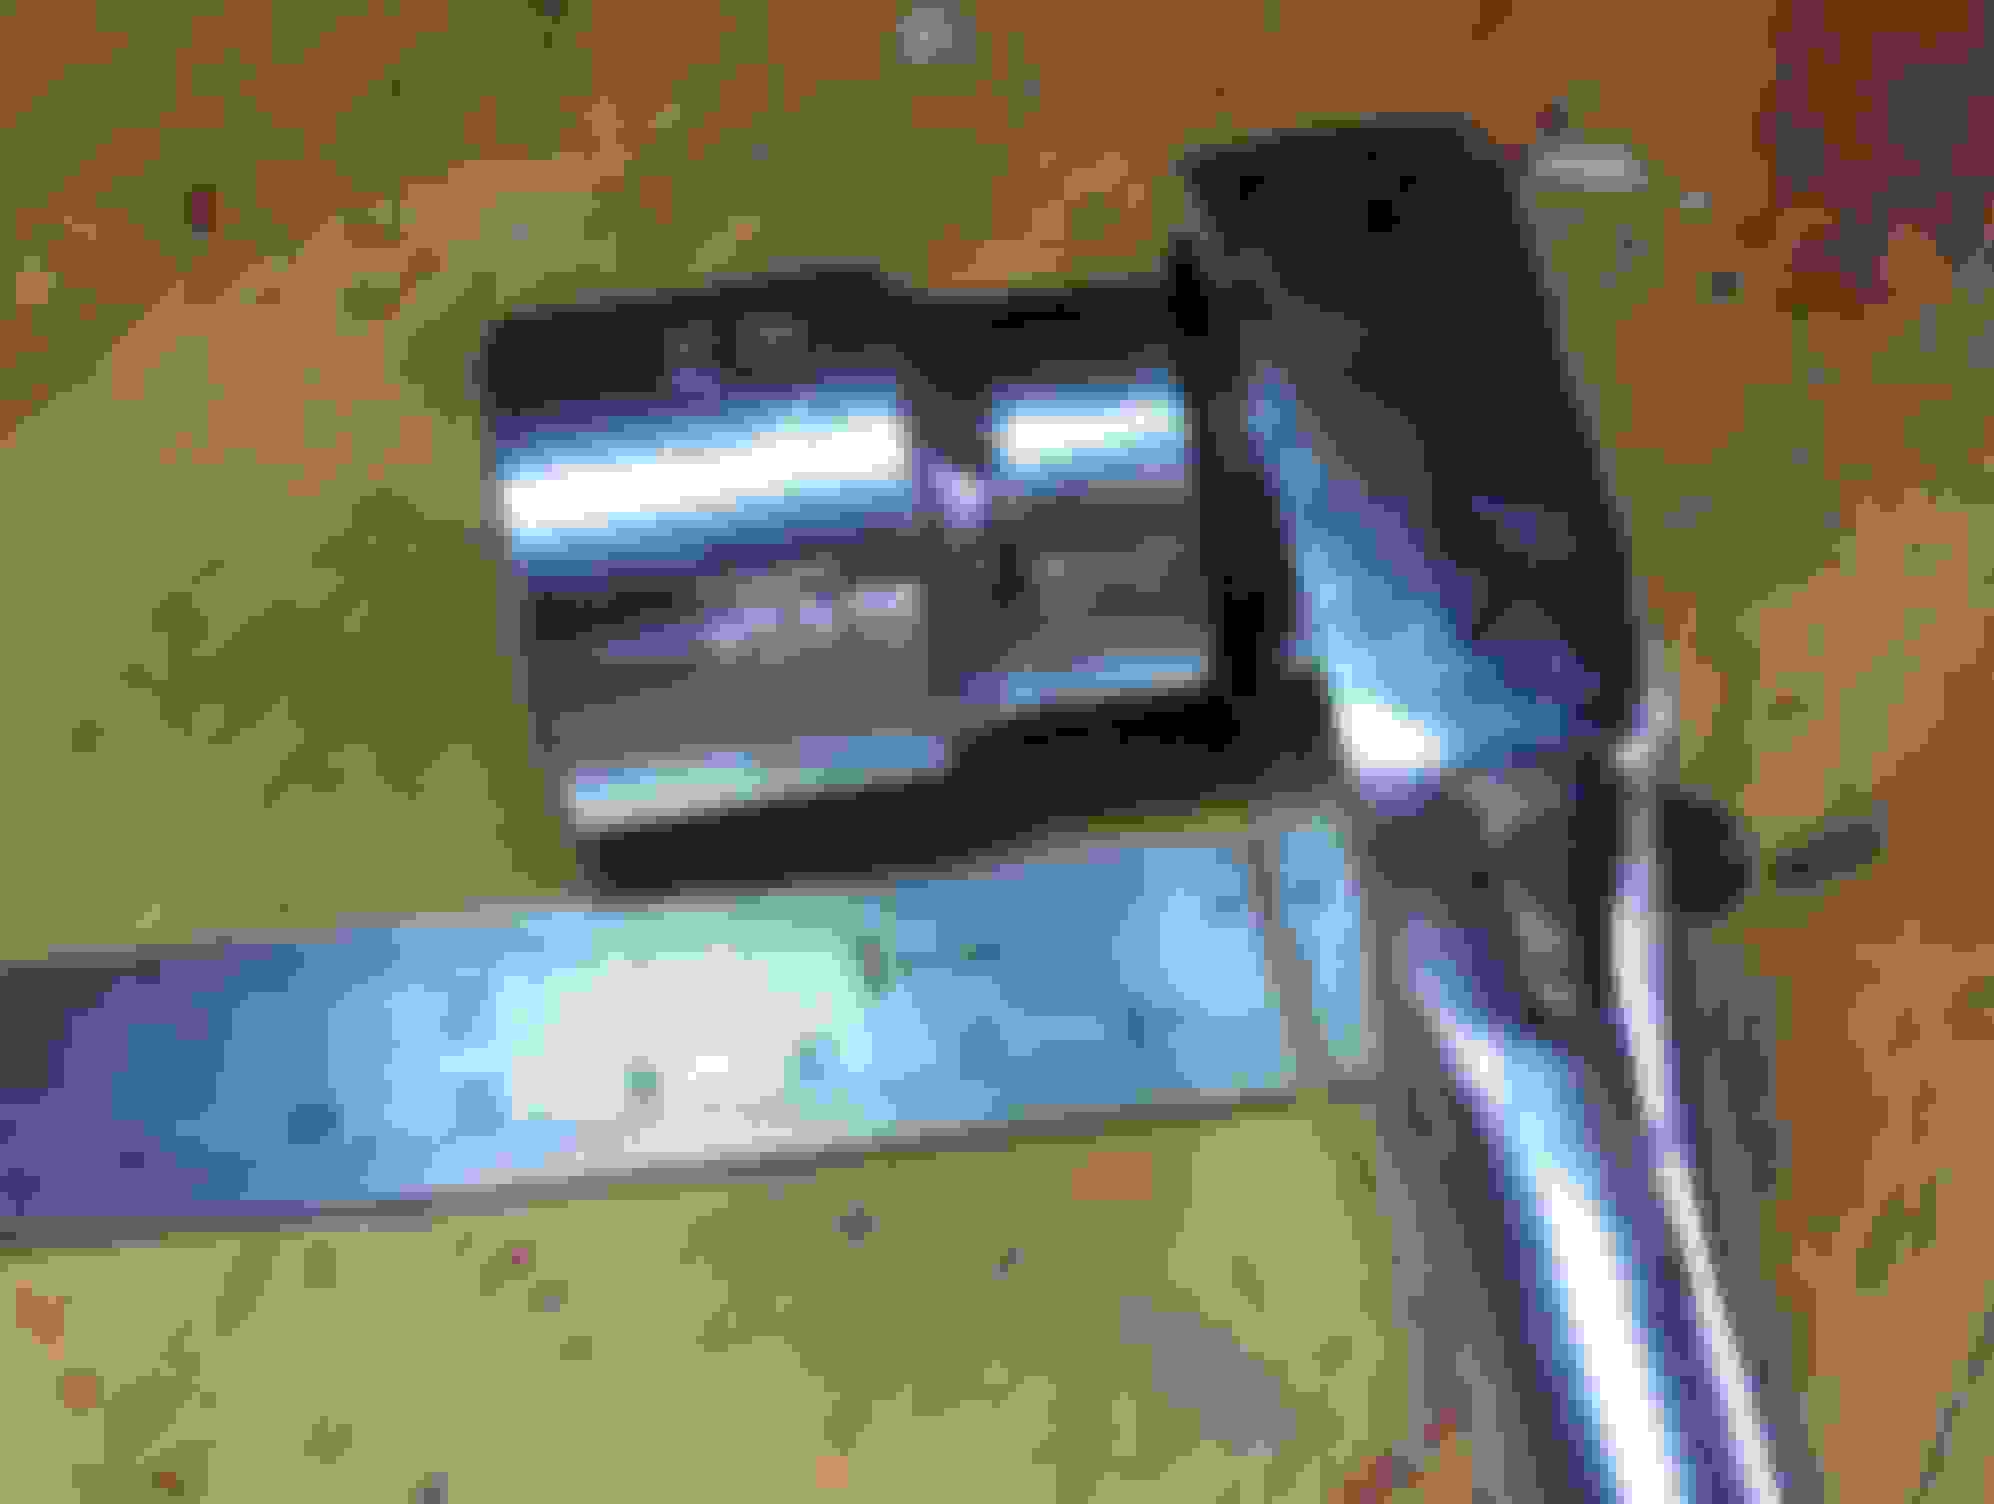
See DRIVESHAFT SUPPORT. I used a length of steel wire, about 16g. One end made a small loop that kind of screws onto the stud #1 with the "press-on fix" holding the heatshield.
To make sure it stayed there took the regular flanged nut off the ( M6 ? ) stud holding a heatshield near the engine and carefully screwed that onto the stud #1.
Stud #1 does not have a regular thread so the nut will cross thread on that stud but with care you can make it grip without damaging it.
On the other end of the 16g wire another loop to take the cable tie, looks O.K. and you do not want that driveshaft to drop.
Anybody got a better idea ?
3) Remove all spark plugs, of course.
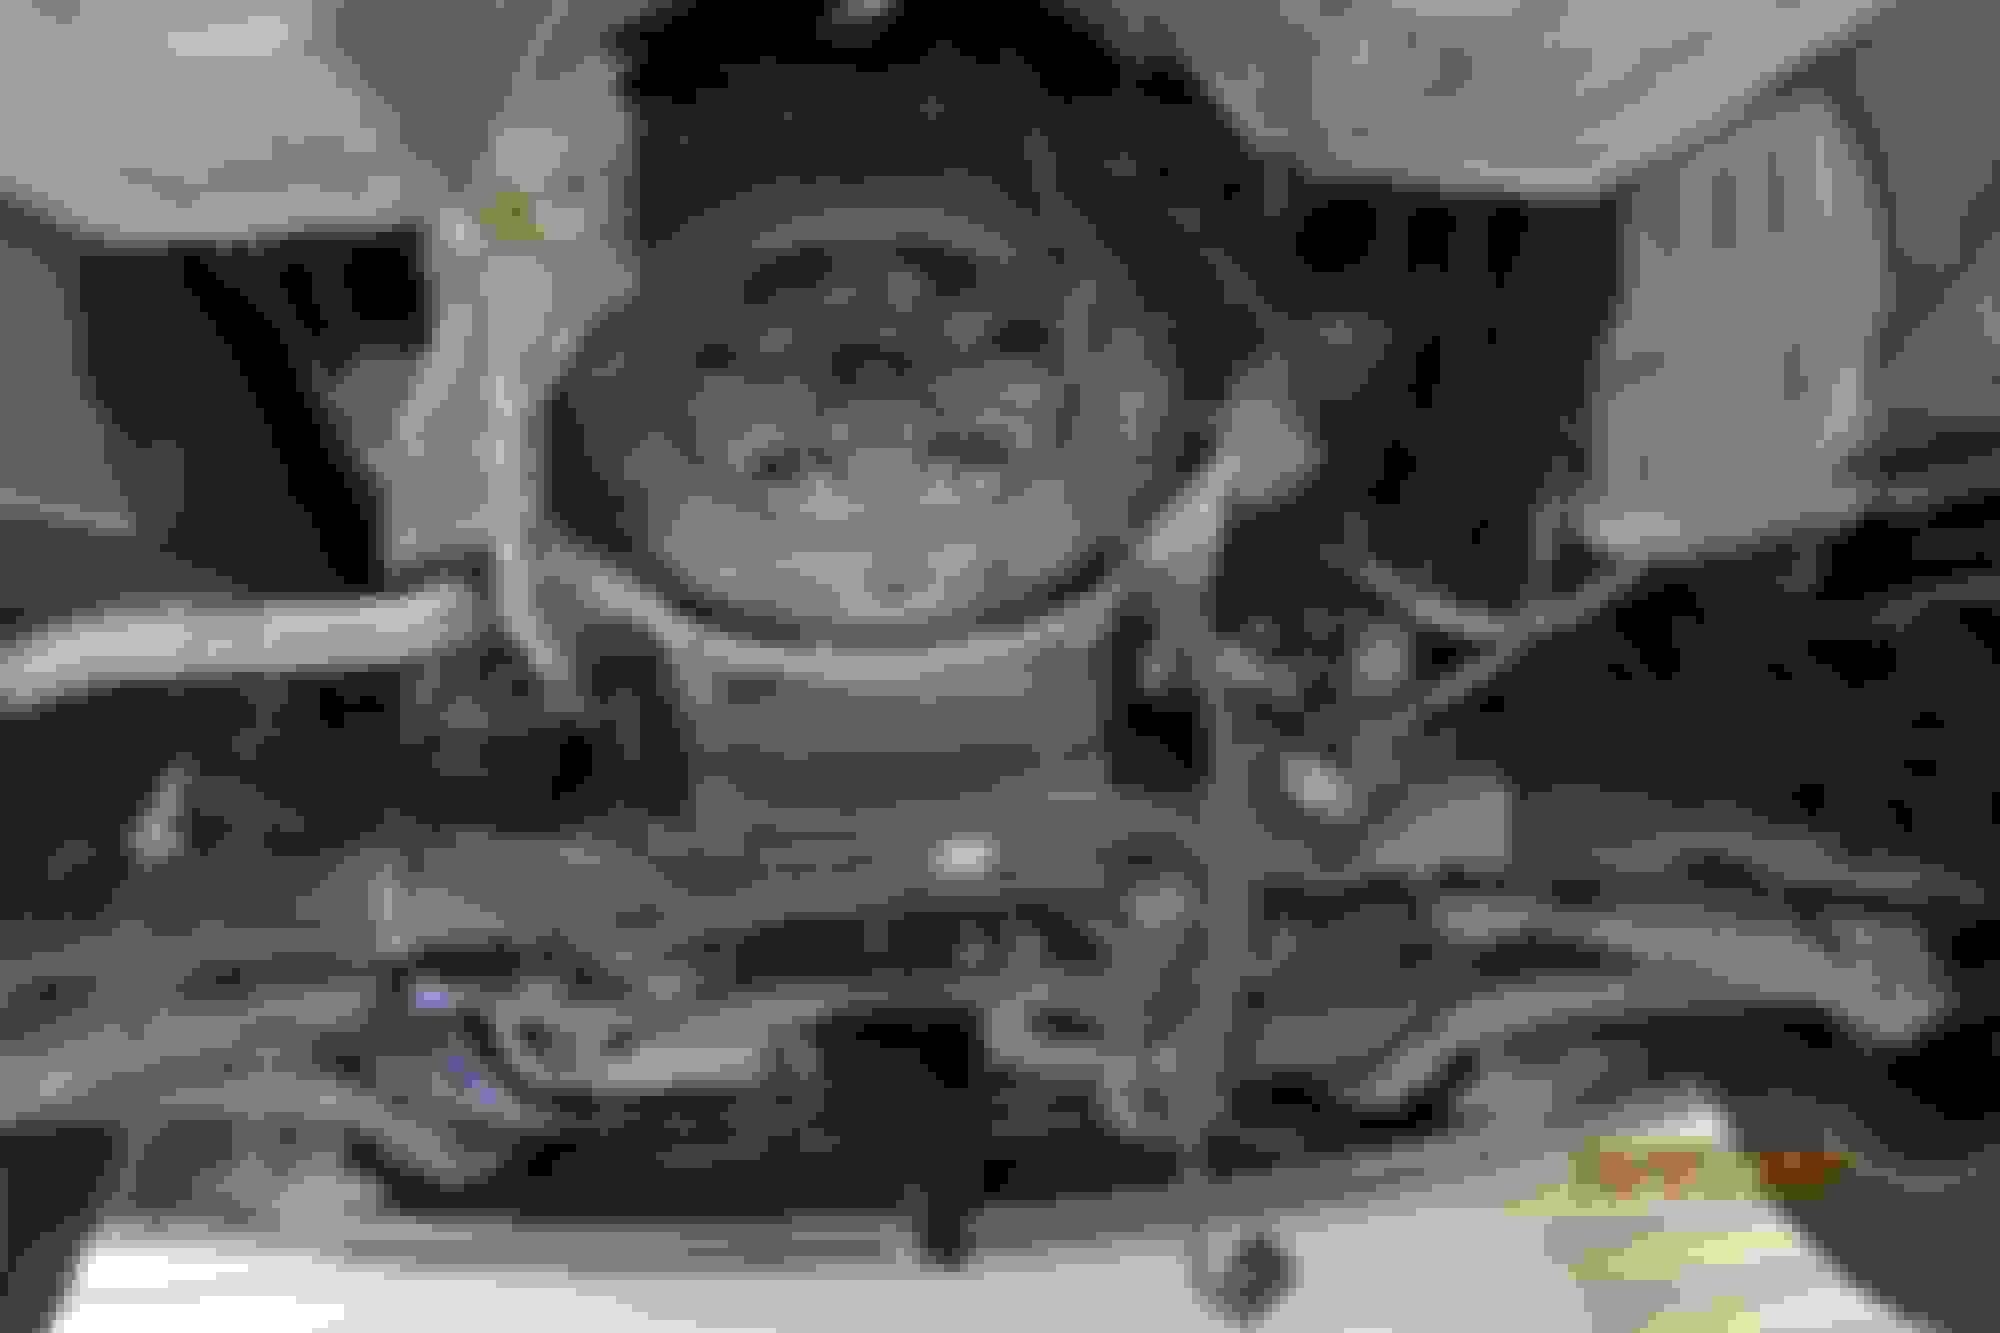
I really struggled to move the 24mm crank nut with any of the sockets in my tool kit.
It would have been handy to do an oil change at this time because taking out the oil filter gives a bit more room.
Taking the whole filter mounting assembly off the engine might be even better.
Since both those items were in situ it was tough to get a socket and ratchet onto the nut.
I had to get the ratchet right up above the filter with many scratches and bruises involved.
See CRANK NUT SOCKET. I think a socket about 3" long would let me get the ratchet between fllter and body metalwork and if so much easier to move the nut.
I did get 2 bolts out of the TC moving the crank nut. For the 3rd bolt I reckoned time to minimise the blood loss.
See TC ACCESS. With care you can rotate the flexplate by jamming a big screwdriver into the slots and prising it.
It is not quick because you don't want to damage the slots or the adjacent plastic connector. That got me to the 3rd bolt and no blood transfusion needed.
So far the engine to transmission bolts I can get at all cracked easily.
Next job is to lower the box and get at the top ones.
Comments:
Surprised only 3 small bolts on the TC, but they are on a large diameter so I guess sufficient.
Anybody know what that big cast iron yoke is doing on the back of the transmission mount ?
Something to do with damping vibration ?
Answer to John of recent ZF6HP26 removal and rebuild: Did not find any metal fragments in my recent fluid change.
But the fluid was real dirty and - no, I do not think the Jaguar claim of lifetime fluid service life is a good idea.
CRANK NUT SOCKET DRIVESHAFT FLANGE DRIVESHAFT SUPPORT TC ACCESS
Progress:
The ZF is out.
It should have been out quicker with my step son helping.
The bolts were easy to crack.
Only the 2 lowest bolts had a bit of corrosion, not serious.
At first we did not realise the top 2 bolts were still not removed, you cannot see them and even feeling for them is a challenge
I had counted the number of bolts in the Jag repair pdf file, but that is not the clearest of procedures.
I thought there were 7 per side, but there are 8.
My stepson stuck his cell phone up the gap and took a photo so then we saw the light.
It is wise to print a photo of the ZF and check the bolts you take out match all the bolt holes in that photo.
By luck a friend from our ballroom dancing venue has a transmission shop. The ZF is in his hands now.

 01-05-2021, 05:22 AM