When you click on links to various merchants on this site and make a purchase, this can result in this site earning a commission. Affiliate programs and affiliations include, but are not limited to, the eBay Partner Network.
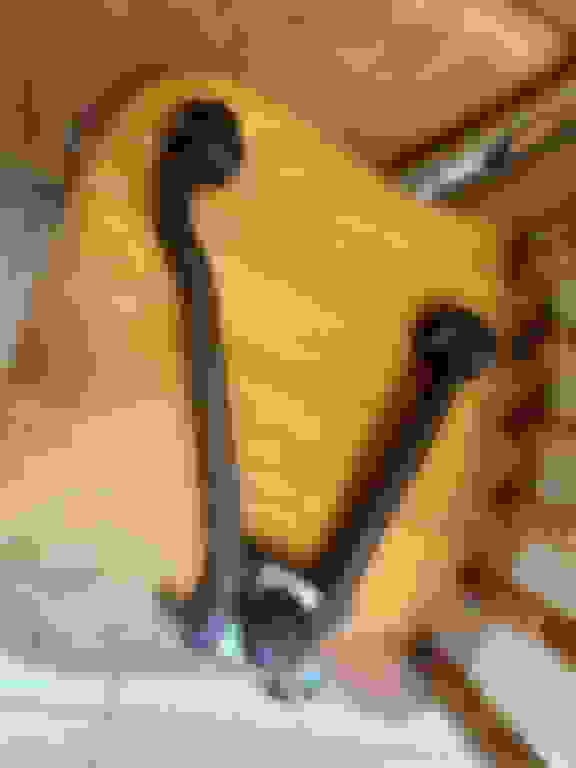
Hi again we're making progress. Spring out. Ball joints detached from the spindle. Lower ball joint is out. But the upper joint is giving us grief. Of the two horizontal bolts, the forward one came out. The inner bolt wouldn't budge. After a while with the impact wrench, penitrating oil and various other large tools, we got the ball joint to spin with the remaining bolt and unscrewed it from the other half of the wishbone. But the bolt remains stuck (rusted?) Inside the ball joint. Anybody have ideas that might get it loose? I can certainly cut into it, but I'd prefer to save the bolt if possible.
Lastly, just in case. Where might i get a new bolt? Or its specs? I have the other bolt for matching, but i suspect it's a metric size (unavailable locally), so I'll have to order online.
But the bolt remains stuck (rusted?) Inside the ball joint. Anybody have ideas that might get it loose? I can certainly cut into it, but I'd prefer to save the bolt if possible.
Lastly, just in case. Where might i get a new bolt? Or its specs? I have the other bolt for matching, but i suspect it's a metric size (unavailable locally), so I'll have to order online.
Hi Bobby,
While I'm thinking about it, please visit your User Control Panel (User CP link above left), and edit your signature to include your Jaguar's year, model, and engine details, so they appear in all of your posts. This will keep others from having to go find your earlier posts in which you disclose this vital information. Many of us visit forums for several different models, and it's impossible to remember what model(s) every member is working on.
Regarding your bolt, it is probably not salvageable. If it is rusted badly enough to be seized in the ball joint and control arm, its strength has almost certainly been compromised and you should replace it as a matter of course. You can carefully cut the head off and if necessary very carefully drill the shaft out of the control arm. I'm assuming you are dealing with Part 6 in this diagram:
The part number for those bolts is JLB110167, but unfortunately they are No Longer Available (NLA) from Jaguar. High-strength metric bolts are available from McMaster-Carr (mcmaster.com). You're looking for what will be called a flange-head metric screw, and you will need to determine the diameter as well as the thread pitch. The diameter can be determined by measuring with an inch ruler or tape, then converting to millimeters (25.4 millimeters per inch). So, for example, if your bolt measures about 5/16 inch in diameter, convert that to decimal and you get 0.3125 inch. 0.3125 inch X 25.4 millimeters/inch = 7.9375 millimeters, so you're looking for an 8 millimeter screw. You can do the same math to determine the length of the screw.
Unlike the threads of SAE/inch-fractional screws, which are measured in threads-per-inch, the threads of metric screws are measured by pitch, which is the distance between two threads in millimeters. So an 8mmX1.25 metric screw has a thread diameter of 8 millimeters and a distance between threads of 1.25 millimeters. One way of determining metric thread pitch without a metric thread gauge or rule is to count the number of threads in one inch, and divide by 25.4 millimeters per inch. So if you count 25.4 threads in one inch, the thread pitch is 1. If you count about 20 threads, the pitch is 1.25. And if you count about 17 threads, the pitch is 1.5 mm.
If you have a good non-big-box hardware store like True Value or Ace Hardware, you may be surprised at the selection of metric bolts they carry. Even Tractor Supply Co. stores carry some metric bolts. Also, those stores often have bolt and nut thread "checkers" that can help you determine the diameter and pitch of your good bolt.
Another factor to consider is that screws come fully-threaded or partially-threaded. Yours is partially-threaded. The section of the shaft that fits inside the control arms and ball joint is unthreaded for the best fit and maximum strength. So look for a correct partially-threaded replacement.
Also, the strength of the new bolt is critical, since it is part of the suspension. Metric bolts are graded by Class, and a Class 10.9 bolt should have sufficient strength.
One other thing is that I hope you noted the position of the shims or spacers on each side of the ball joint (Part 8 in the diagram) so you can reinstall the correct number on each side of the ball joint, since these set the caster angle of your front end alignment.
Lastly, you mention that you "suspect" the bolt is "a metric size." Are you not using metric sockets and wrenches to work on your Jaguar? SAE/Imperial/inch-fractional sockets and wrenches may not fit properly and increase the risk of rounding the heads of your bolts and screws as well as your nuts. Nearly all of the fasteners on an X300 are metric, with possibly a few exceptions. Off the top of my head, the lower ball joint screws may be one exception to that rule. You may find that yours are SAE/inch-fractional.
The upper bolts are M12 serrated bolts as far as I remember and they are 10.9 rated(or class 8 for the americans), they are easily available in most shops in Europe.
If they dont want to come out, you'll have to cut off the ball joint, last time I had to do it on my own car, think left side took 40 minutes to remove, right side, I had to cut them out as no amount of force would get them out of the wishbone and ball joint, head bolt was twisting when I used breakers bar with a long pipe over it and it laughed at my 450nm impact wrench.
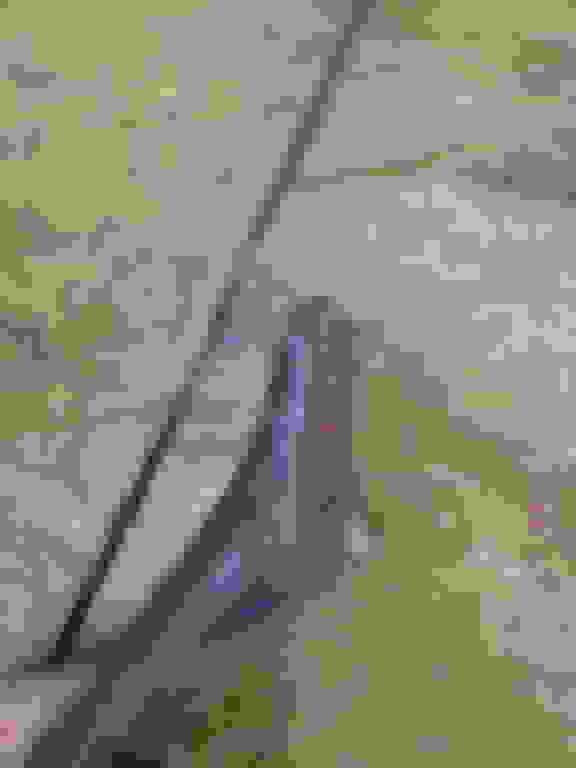
You can see where I've cut it here:
It was still incredibly stuck and I had to cut and hammer an absolute bejesus out of it to split it all up.
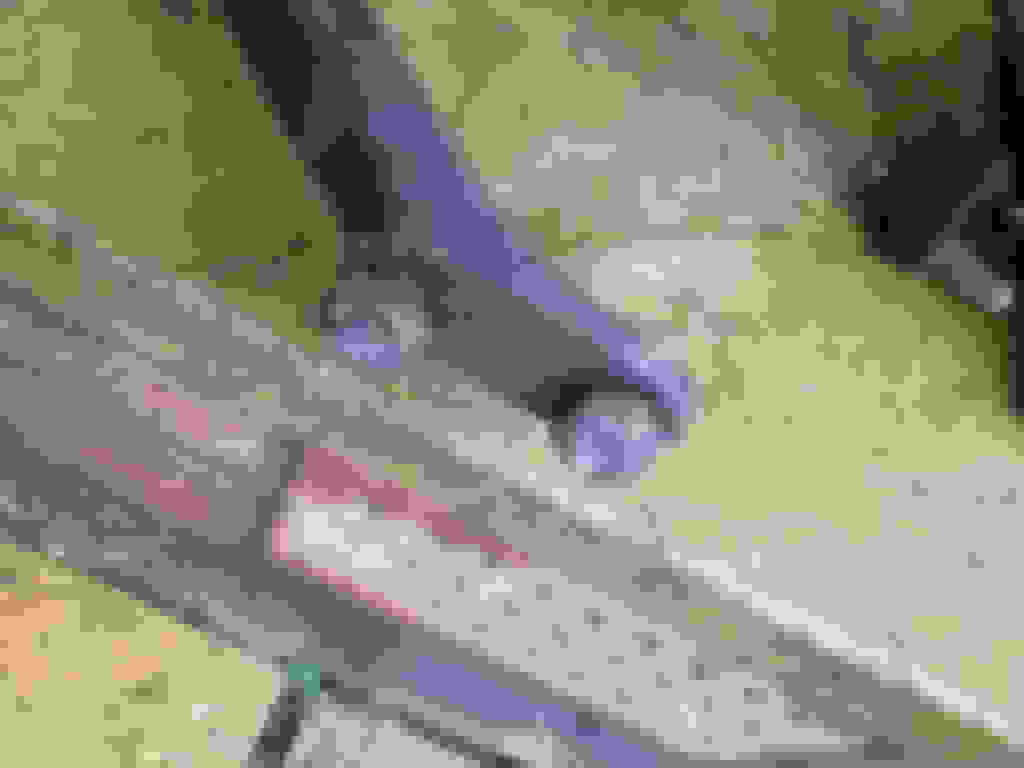
You can see shims that Don mentioned in his posts here, dont loose or damage them, despite them looking like a pile of rust, they are perfectly reusable.
You want to eventually end up with something like this:
Then you can clean it all up and remove them by welding a nut over it
They did come out eventually that way.
Shims after cleaning them up:
And wishbone with ball joint, ready to put back on the car
Good luck!
PS, re bolts used on x300, to confuse things, Jaguar used three different dimension types in their diagrams, starting from UNC through fractals to inches and of course they are all mixed up, even on the same JCP diagrams! Of course original bolts cost as much as �20 from Jaguar per bolt...
Thanks so much. All great info. There were/are 4 shims on the forward side of the ball joint. They have been saved. I've installed the mcmaster-carr app on my phone and will order some new bolts for both sides. Luckily the bolts are clear of the threads on the other half of the wishbone (for this side anyway). I don't have any welding or pneumatic tools. Only a battery powered impact wrench and I just purchased a better metric impact socket set. I've have many sae tools lying about from working on old Chevys years ago, but I realized quickly this jag is a completely different animal🙂
After this we're hoping to also replace the wishbone bushings. Unfortunately in testing so far, we've had little luck in loosening those nuts/bolts. The top wishbone nut/bolt won't budge. I'm having doubts we'll be able to remove them without causing some type of damage.
Also, just so I can order some in advance, what is the recommended form of locktite fluid for these bolts. I see it was used on many of the bolts I've removed so far.
Thanks again. I'll be back with more questions soon.
If you look at the diagram that Don posted, upper wishbone is only secured with a nut and bolt, nut should come off easily with a breakers bar and then bolt will come out too, I had no problems with any of mine. Bolt might be stuck to the bush initially when you remove the nut but turning the bolt should free it up eventually.
Removing old bush is super easy with a simple trick, cut it flush with the wishbone with an angle grinder then drill a hole between inner and outer sleeve, starting from 6mm to 9mm drill(maybe 9.5), that way you should end up with something like this:
It then hammers out with no problems at all, think it took me maybe 10-15 minutes to remove them.
Pressing them in, is another story. First of all, I suggest using polybushes here, not only much easier to fit them in but they will last possibly even better than original bushes and this is one place where poly dont ruin the overall driving experience.
If you however decide to fit in normal rubber - go for genuine Jag bushes as they last much better than cheapo replacement. That said, I've used both and genuine Jag bushes are slightly larger and therefore much harder to press in. Trick here is to slightly grind the inner top sleeve:
That way, you can put a socket over it that would press on the outer sleeve instead of pushing on the rubber and you will be able to use bolt and socket method(36 and 34mm sockets I think) to press them in, otherwise a large press will be needed.
Good luck with it, its by no means an easy job, easily took me 10 hours each side as every single bolt and nut fought me to the death and I had to use heat and brute force to remove most of it. A full week recovery was needed afterwards
PS
I've used standard blue locktite on all suspension bolts, never had a problem with it.
Hi again. So the upper ball joint is out. We used a breaker bar and it snapped the remaining horizontal bolt, which works for me. New bolts are on order from McMaster Carr. Upper wishbone is out and new bushings installed. A breaker bar got that nut loose and the long bolt slid out nicely. The lower wishbone is a different story. The nut comes off just fine, but the bolt won't move. My neighbor lent me his pneumatic impact gun and a 38mm impact socket (+100' hose from his compressor). After 20 minutes of hammering, no movement. Added an air chisel to try hammering the bolt out. No change. Tried the breaker bar and even a breaker bar extention ( pipe... not my idea). Only succeeded in snapping the breaker bar. After so much hammering on it I think the rubber in the existing bushings is being negatively effected. So we may have to back off those bushings. Anybody had any experience with this bolt? Hints, tip or tricks? It has been soaked with penetrating oil for the past week.
Yeah, that's not going to work, its a bit like with the rear wishbones, generally impossible to undo that large bolt that hold everything together as its stuck in both bushes so impact wrench just kicks on the rubber and doesn't do anything to the bolt and its also possibly stuck in subframe.
To give you a fighting chance, if you look at the pic, you can see entire bottom arm here, if you get rid of the hub, spring and shock, the only thing holding it up to the subframe will be that large bolt and nut stuck to subframe and bushes on both sides. Problem with whacking out that bolt with a hammer, or impact wrench, is that the rubber bush in the arm hole damps out most of the "whack" or impact so hitting it does not do much at all. To free the rubber off the bolt simply move entire arm up and down on the bolt, that way you have way more leverage than when trying to turn the bolt. You might need to literally jump on the arm couple of times, where the lower ball joint attaches, but it will go down eventually, then you should be able to free it up moving it up and down.
There are two more things that you could try, one is simply cutting out bolt from both sides and punching out pin from subframe and then brute forcing bush remains from the arm itself or you could try splitting the arm into two pieces with nut removed and long bolt behind lower ball joint removed. That said, that outer long bolt holding arm together, just behind where lower ball joint attaches, is probably stuck even more than the inner one so I'd start with trying to move the whole arm first.
Empty wheel well sporting a shock and single wishbone. Sorry such a bad pic. Florida sun is strong.
I think we'll have to back off and leave the lower bushings for now. If they get too bad then we'll bring it to somebody with experience tackling this type of issue. It's still drivable now, but I'm afraid that we may reach a point of no return and then it'll have to be towed to a pro now. It's time to put it all back together and move to the other side. Now that we have some experience it may go quicker (though I'm sure I'll still have questions). Speaking of questions, is there a tork spec sheet in the forums here for all these screws and bolts? Admittedly I haven't searched yet. I'll do so when I get home to a pc. I've been doing all this on my phone.
Actually, I think Don already answered my question in another thread. I would imaging tork specs would be in the X300 Workshop Manual. Correct?
Yes, the torque specs should be in the X300 Workshop Manual. If you can't find them, they will be the same or very similar to those for the XJ40, which are in the Haynes XJ40 Repair Manual. You can download a mostly-complete UK edition here:
Thanks Don. Another question. How is camber set on this car? I know the shims at the ball joint set castor, but I saw nothing for camber.
Thanks,
Bobby
Update: Nevermind. Manual says camber is set at the factory. Is this correct? We noticed both tires are worn on the inside and I assumed it is/was camber out of whack. So this would all be up to bushings and ride height then?
Just to update: we were able to split the bottom wishbone while still on the car and the front half slid right off the fulcrum bolt. We replaced the bushing on that half. Unfortunately the fulcrum bolt would still not move even a little. The lower rear bushing remains unchanged. So we got 3 out of 4 replaced and it's starting to go back together.
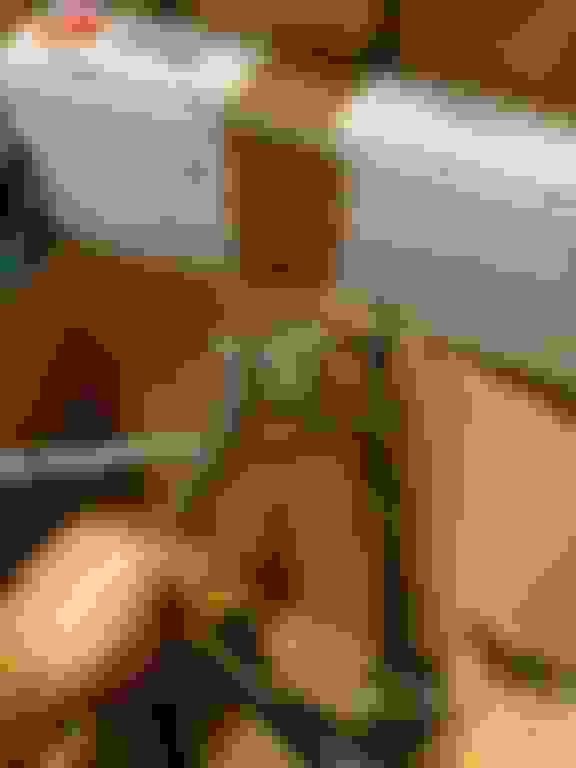
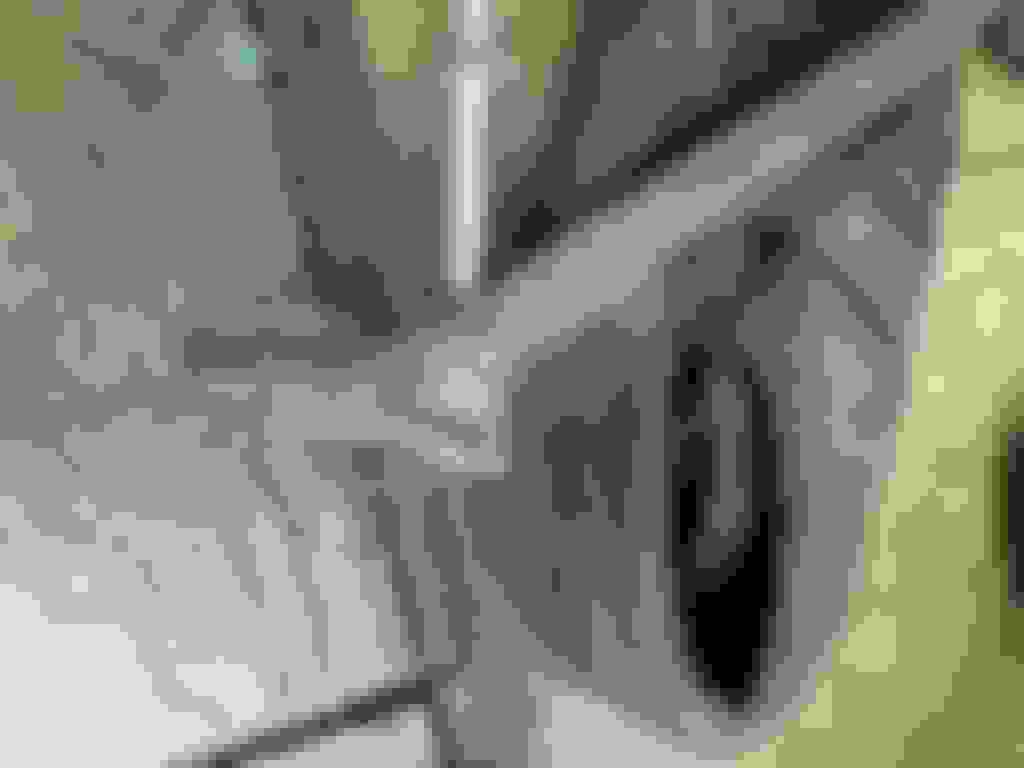
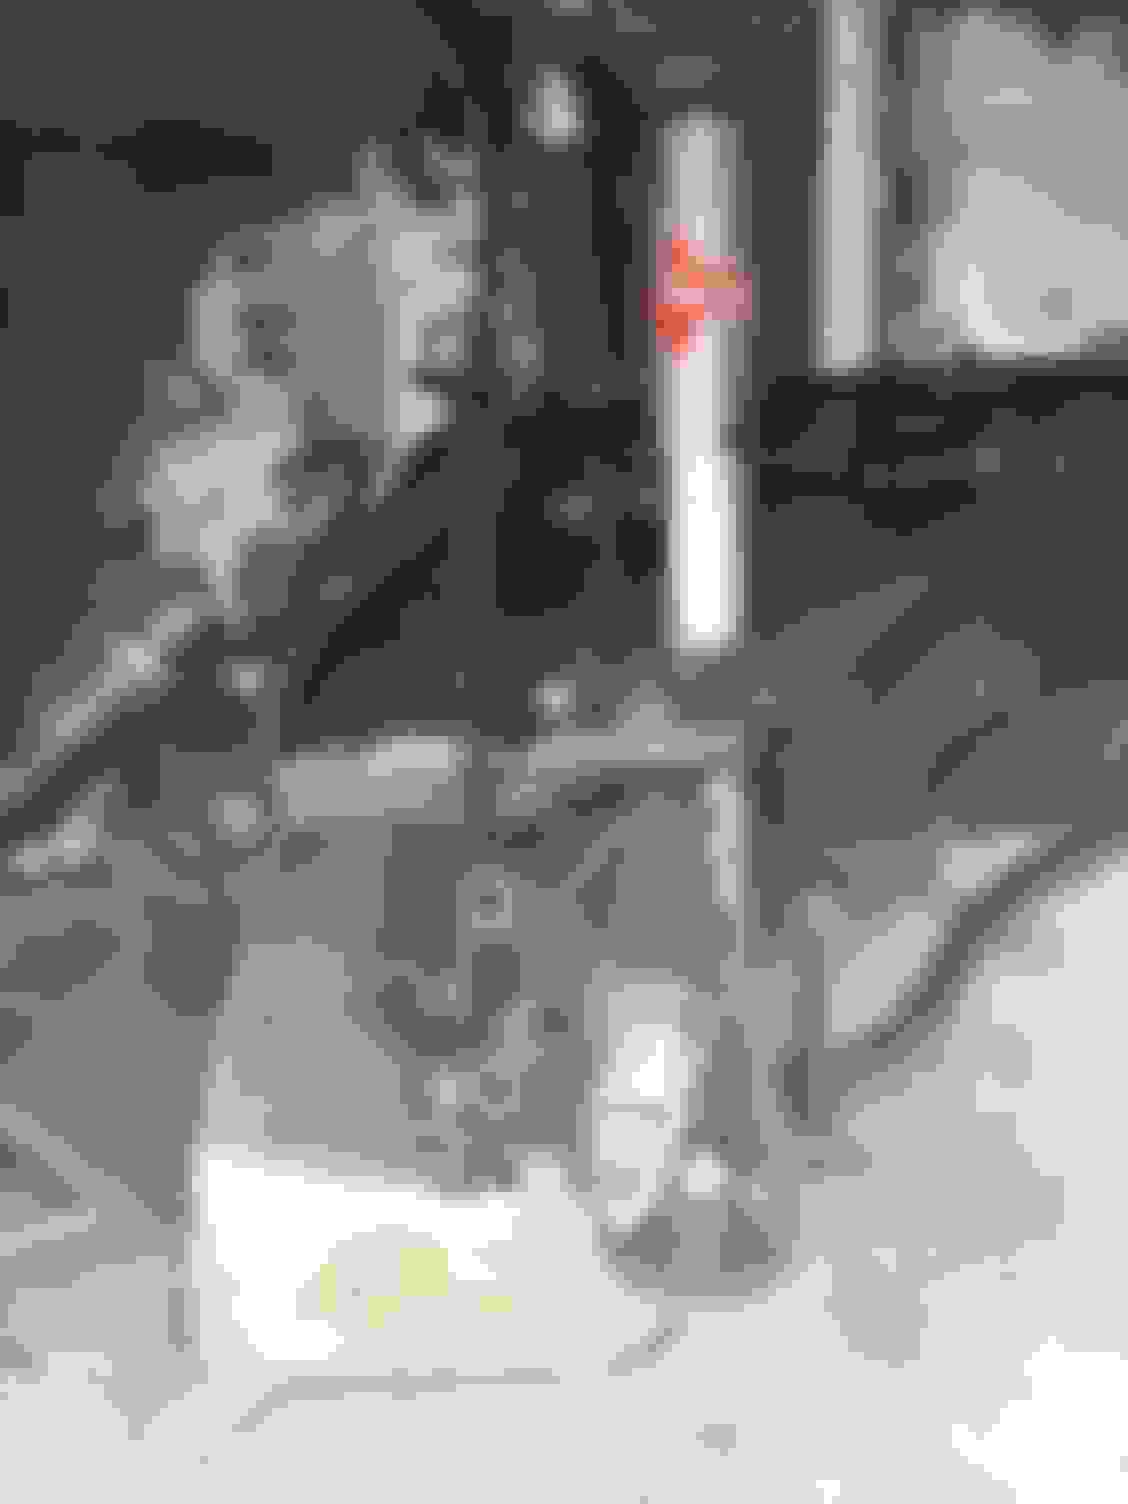
Hi again. We are continuing our adventure rebuilding (as best we can) our XJ's front suspension. We finished the passenger side and it is functioning well. We're now on to the drivers side and have hit an unexpected snag. Unexpected to us anyway. The upper fulcrum bolt cannot come all the way out as it hits part of the car (pic below). Seeing as it was already dark out we had to back off for tonight. Any hints as to what this is and the best way to get around or remove it?
On my car the top fulcrum bolts come out forwards and the bottom fulcrum bolts come out rearwards so it seems to me that someone has dropped the whole front suspension to work on it and re-assembled it incorrectly.
You will need to remove those two rusty screws and another one at the front of the bracket, to release the module. Then you will see a couple more screws that hold the bracket to the body.
You could try just bending it out of the way if there's enough room. Those rusty screws look like they will be a bit of a challenge!
 10-29-2020, 05:00 PM