When you click on links to various merchants on this site and make a purchase, this can result in this site earning a commission. Affiliate programs and affiliations include, but are not limited to, the eBay Partner Network.
Have you found out anything more on this? I am about to start down the same path, may end up have something hogged out of 316L SS or 7075 Aluminum. (We have a3d Scanner system at work, this could ve an interesting prospect.)
I heard from Jet-Hot that they can't ceramic coat the magnesium, so that option is out.
Several owners of course have painted or powder coated, or even polished theirs.
I'm leaning toward a textured/wrinkle finish or polishing. But its a bit further down on my list of projects right now, so haven't put a lot of thought into it.
Al,
I am about to start down the same path, may end up have something hogged out of 316L SS or 7075 Aluminum. (We have a3d Scanner system at work, this could ve an interesting prospect.)
Keep us posted, Alan....somedbody's gonna have to do something if we are going to keep driving these fine cars....we'll run out cam covers before you know it! I pulled one off my $200 car with intention of refurbishing it for my daily driver. Found damage similar to your picture on the #5. (Dropped it and chipped a corner but that's a different story) Found a replacement at the Pick-n-Pull and had it powder coated. Pulled the one from daily driver for replacement this weekend and found #4 and #6 full of oil. #6 was probably just the seal, but #4 has arcing damage like the picture. I'm on the hunt for another replacement to go on the $200 SpruceBruce.
Working on a comprehensive cam-cover post, gathering everything I can find here on the forum on them, plus detailing my experience in getting one done......but it is probably still a week out. Here's a teaser:
Not to stir the pot, but I work as a mechanical engineer. Most of my time was spent in the Detroit area working for the Big 3 there.
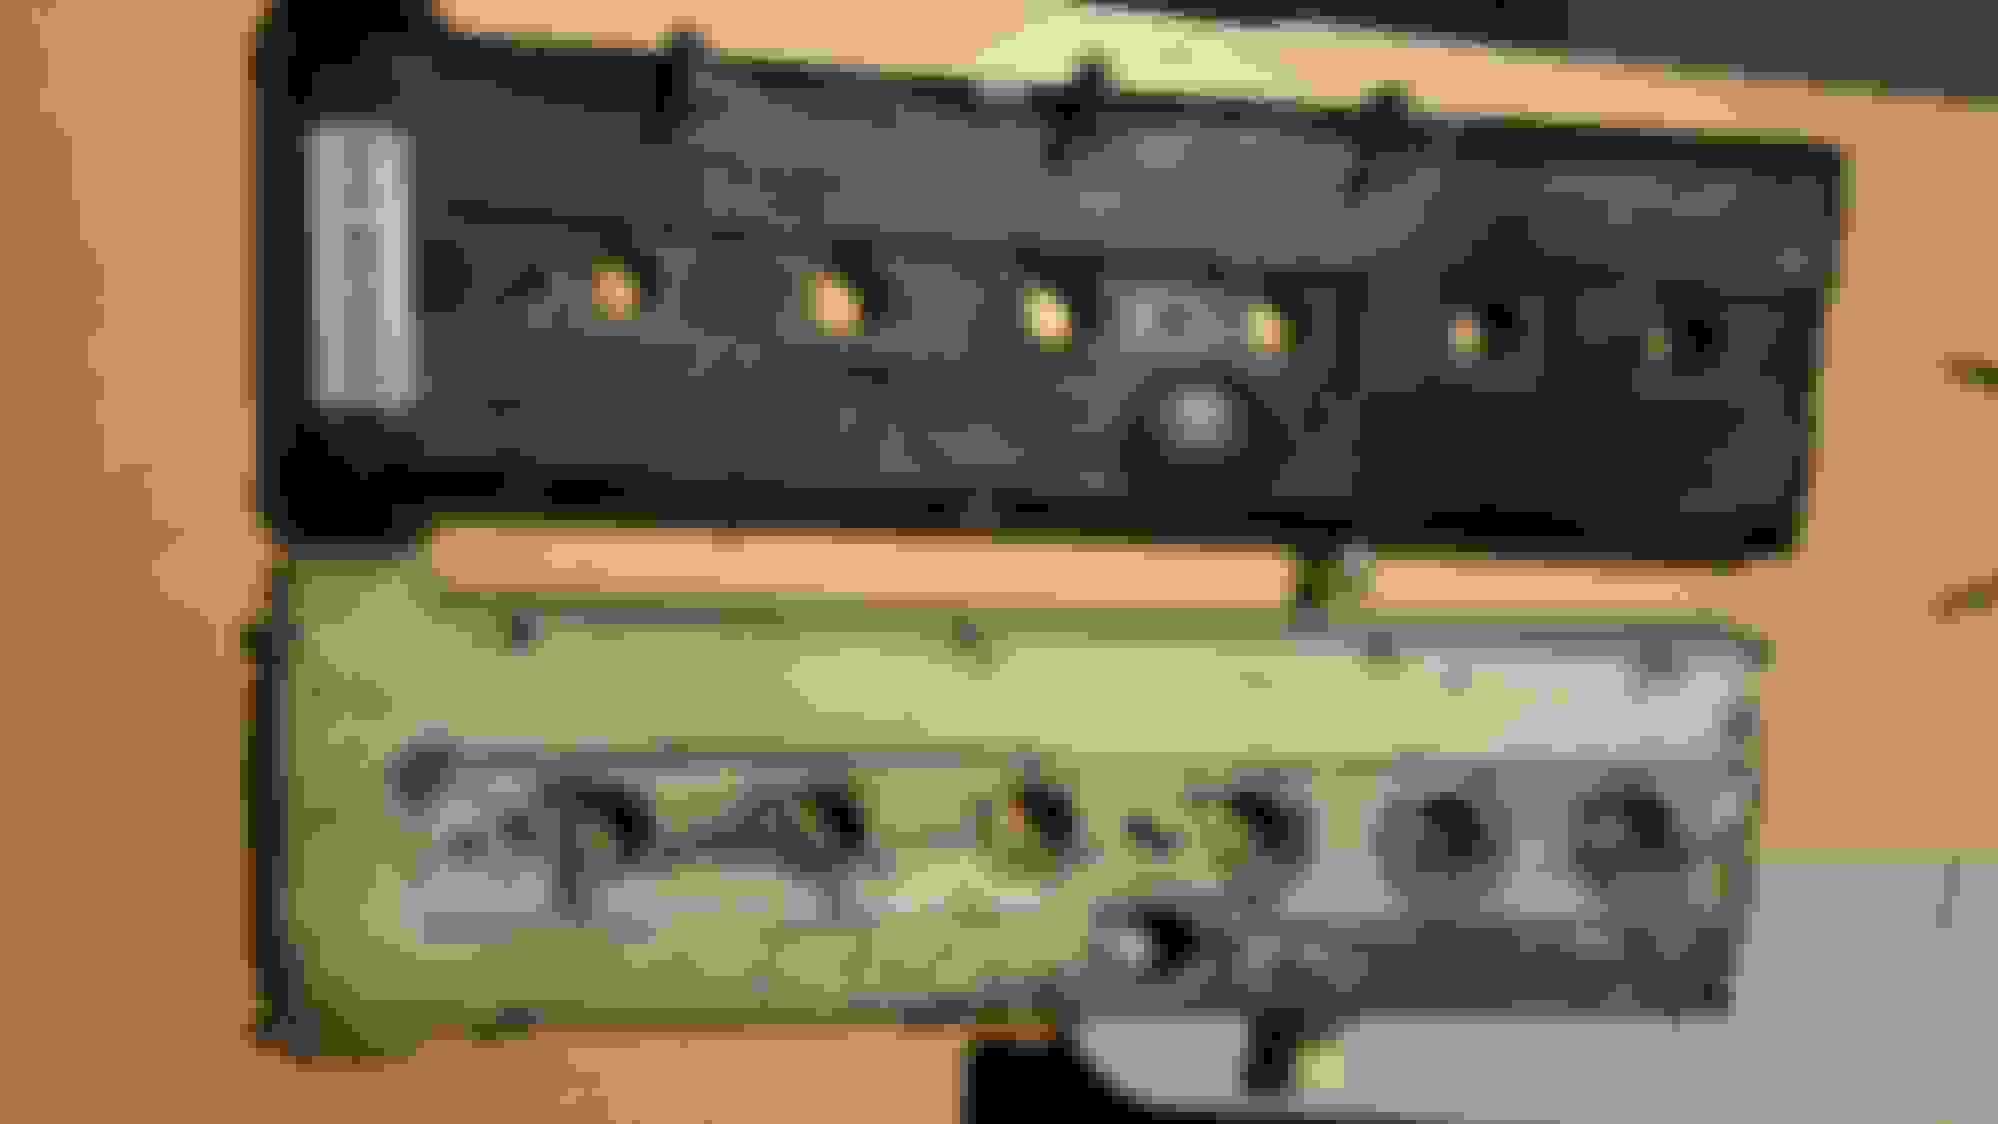
I laid the 1994 donor cover I have along side the 1995 cover I pulled.
The 1994 as smaller holes as the screws were not shoulder bolts as in the 1995 model (also no Isolator Washers).
I also laid the 1994 on top of the 1995 and the holes appear to be in line, which would make sense since the heads below would be the same.
The top wall thickness on the 1994 cover does not allow for tapping, perhaps Weld Studs for the coil packs may work instead. The coil packs do not create any load on the fasteners. All I may need is a gasket to use as a template to lay them out.
Cam Covers overlaid
Side by Side 1
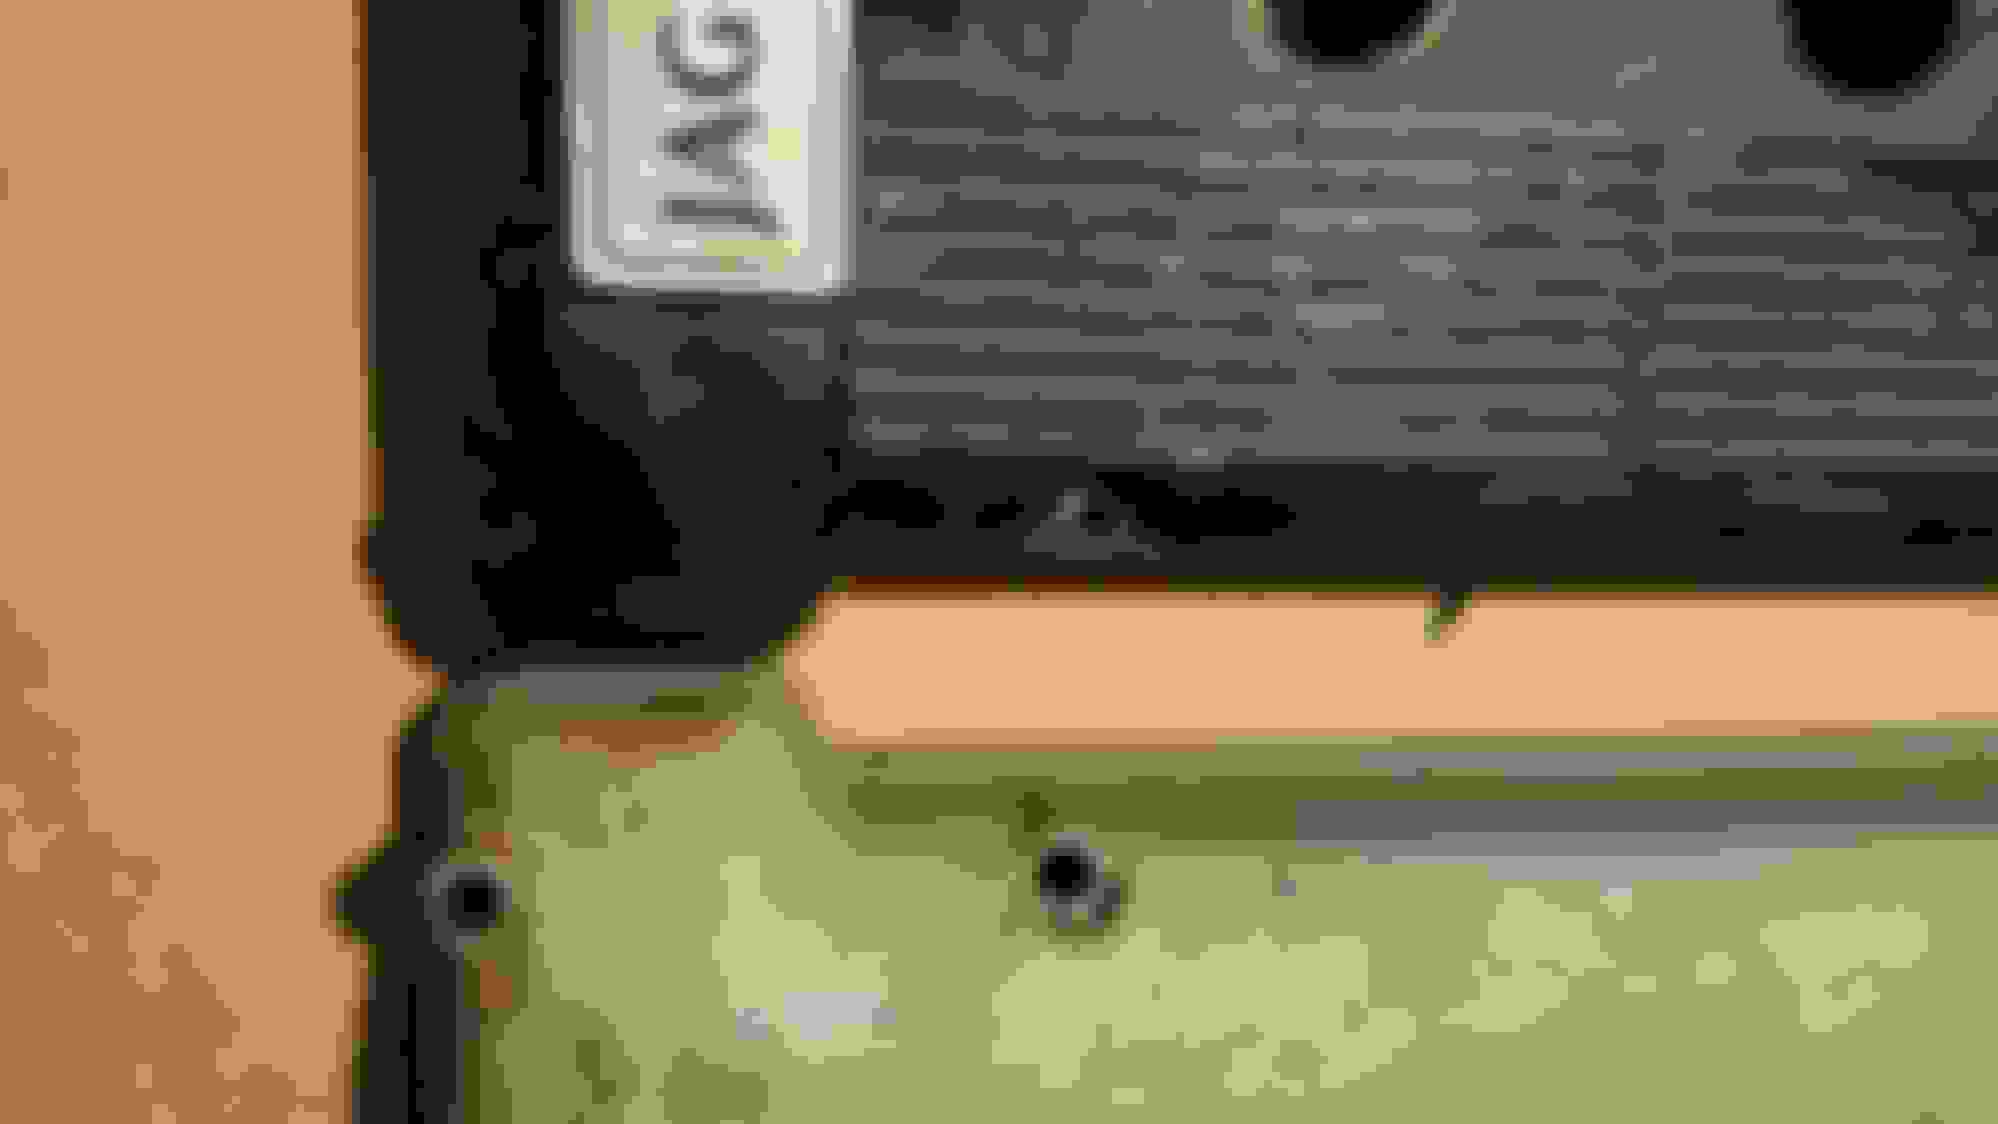
Side by Side Close up
EBC 11565 C is the part number on the 1994 over pictured.
One would need the gasket and seals and fasteners appropriate to the 1994 head.
When I first started this thread the 94 cover was considered. Grant did a measurement and concluded it was just enough different that it wouldn't work (see earlier posts). But keep at it and if I can find a late 94 cover I will get it and try.
What I have done is replace my original cover with a pretty good one that I had painted with a good epoxy primer and paint. It looks good but two of the plug well are starting to bubble the paint.
The idea of hogging one out of Al is the best idea yet. I think there would be a market for that.
What about the idea of (at least in the interim ) wrapping the boots and bottom of the coils in a rubber tube for extra insulation?
(Suggested by JTsmks )
I have had the warping and holes and have been using epoxy putty to try and fill -- still getting the oil pools.
So now I have a "gooder" one and am looking at options to refinish and protect this new (to me) cover.
I can go either way -- epoxy primer / paint or polish -- just want to be sure we protect the metal from warping.
What about the idea of (at least in the interim ) wrapping the boots and bottom of the coils in a rubber tube for extra insulation?
I've done this since I've replaced my cam cover. You have to keep a watch, though, since the heat can weaken the rubber sleeves.
Since my original cover went bad about 160k miles, I'll probably never know the benefit of using the sleeves for another 160k miles (plus I have no idea how many miles are on the used cover I bought).
The other thing that's crucial is inspection of the coils, ie., replacing any who's casing has cracked and "leaking" (thereby arcing).
I received a replacement Cam Cover, did a rattle can High Temp Paint job on it.
Pulled the old cover.
Installed the 1994 cover with screws to see what it did.
1994 Aluminum Cover on a 1995 Block. I only installed 9 of 13 screws. but feel safe in saying it would bolt up. p.m. me if you are interested in the 94 cover as I don't need it.
Installed the replacement and change plugs while I was at it.
Nice Alan! Was the replacement cover new? or just better than?
I've done one up in powder coat, shown in Post #24, and am currently working on one in POR15 (whatever that is)
I'm currently still cleaning it up while awaiting delivery of the POR15 Silver and "Metal Prep." and also still working on the post I promised was a week out back at the beginning of April...shoulda said "a month."
Incidentally, Dfieldsend, they make a two-part product in clear that they allege will free you from the weekly shine activities....have no notion of whether/how well it works, though.
Will be interested to see how the POR15 finish looks. Most of the POR15 coatings I've seen have been for "behind the scenes" like frames and undercoating, and as such didn't have a great presentation. But they are renowned for durability and heat resistance.
Yep, got that, will be trying it on other polished components first to see how it copes with heat (as they wont tell me if it can)
Originally Posted by aholbro1
Nice Alan! Was the replacement cover new? or just better than?
I've done one up in powder coat, shown in Post #24, and am currently working on one in POR15 (whatever that is)
I'm currently still cleaning it up while awaiting delivery of the POR15 Silver and "Metal Prep." and also still working on the post I promised was a week out back at the beginning of April...shoulda said "a month."
Incidentally, Dfieldsend, they make a two-part product in clear that they allege will free you from the weekly shine activities....have no notion of whether/how well it works, though.
I am with Al (again... ) Mostly for gas tank coatings and the like. Please post results.
Will do. I've decided the "Before" cover in post#24 can be salvaged, at least for the $200 car, even though I did find a replacement at the Dallas Pick n Pull. My first thought was perhaps to polish it like Dfieldsend's and maybe clearcoat over that to keep it from degrading. However, once I got past the flaking paint and down to metal, I realized how much material I'd have to remove for such a finish and immediately concluded I needed a new direction. So Al, it should probably remain in a hidden place or something, but it'll be right there, front-n-center! Not yet sure what I'll pursue on the replacement cover...still trying to divest it of grease and oil at this point. Just keep in mind whatever finish I get with the POR15....it is a pretty pock-marked base I'm starting with. Goods due here by Tuesday evening, not sure when I'll have a chance to work it....likely by Saturday following, doubtful prior to that.
I am not as concerned about the outside finish as I am the corrosion of the plug wells. When one of those corrodes through the cover is junk. I think it is entirely possible to make a plug well replacement out of a compatible material. This would involve a lot of machining. I know a good machinist and will toss out this idea to him. The plug well is where the greatest problem is due to the electrolysis being the greatest. I'll report back on this idea. I welcome any ideas along this line.
EZDriver - I was thinking along those lines, too. My worry is how to attach the new sleeve ? Maybe some sort of stretchy tube that grips the old magnesium "stub" .
One plus of doing this would be that if you have good "spongy" gasket to mate the two tubes, that should take care of any (small) clearance differences down at the head.
Did some google searching on "carbon fiber valve covers" or fiberglass and everyone says - why? no need because the aluminum ones are so nice and light! Arrgh....
 04-10-2016, 02:29 PM