The Definitive X300 Magnesium Cam Cover Thread
#22
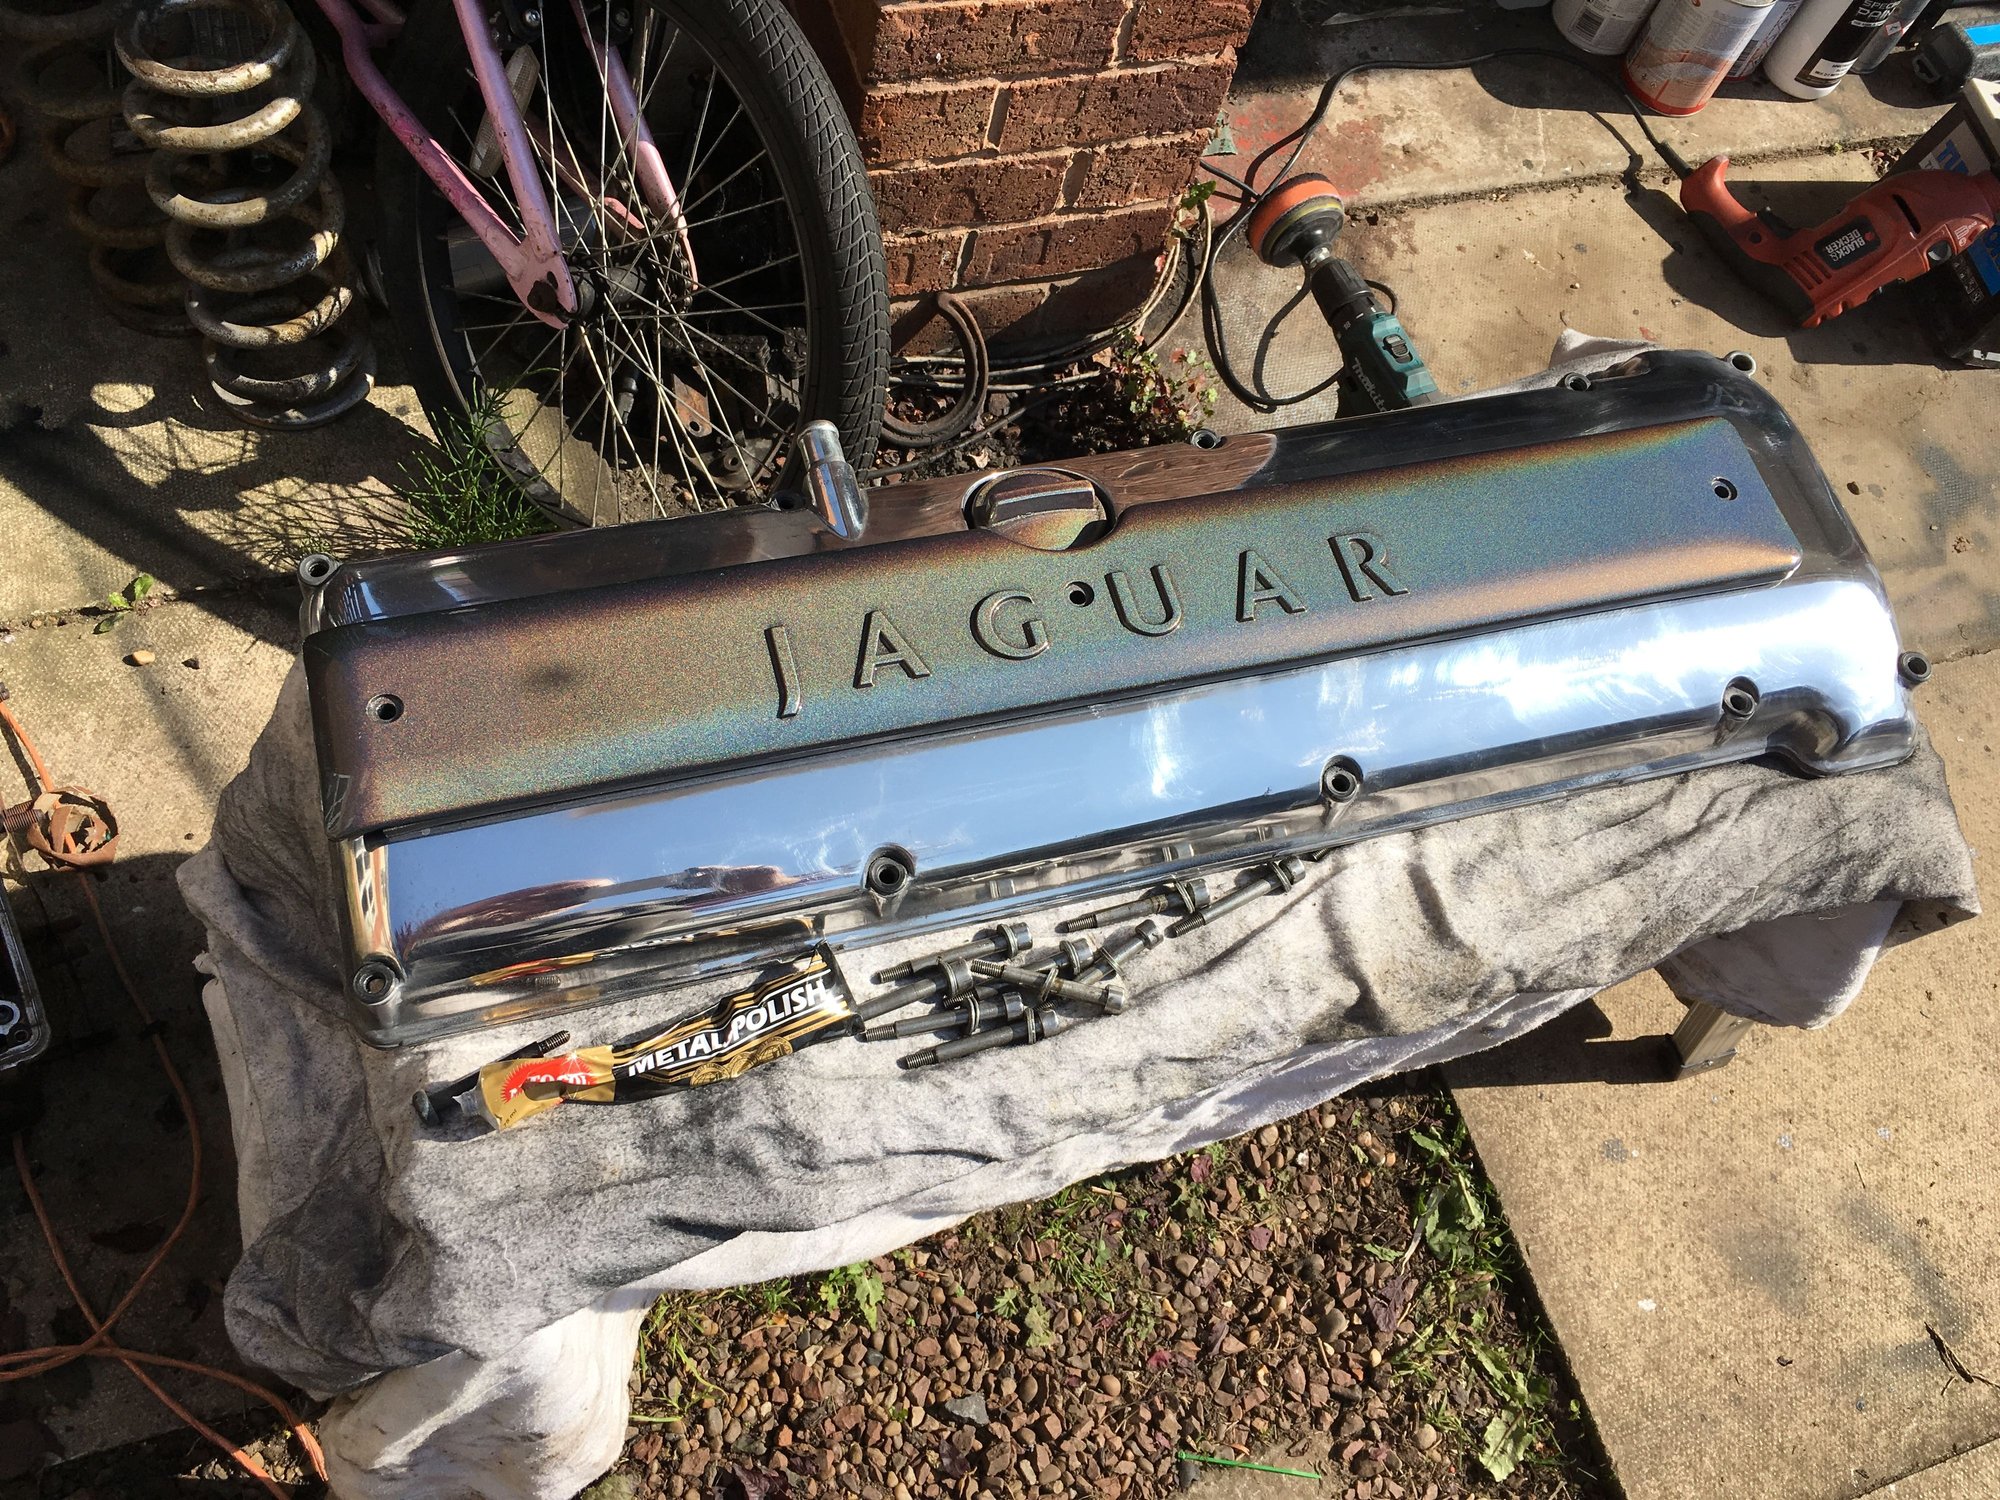
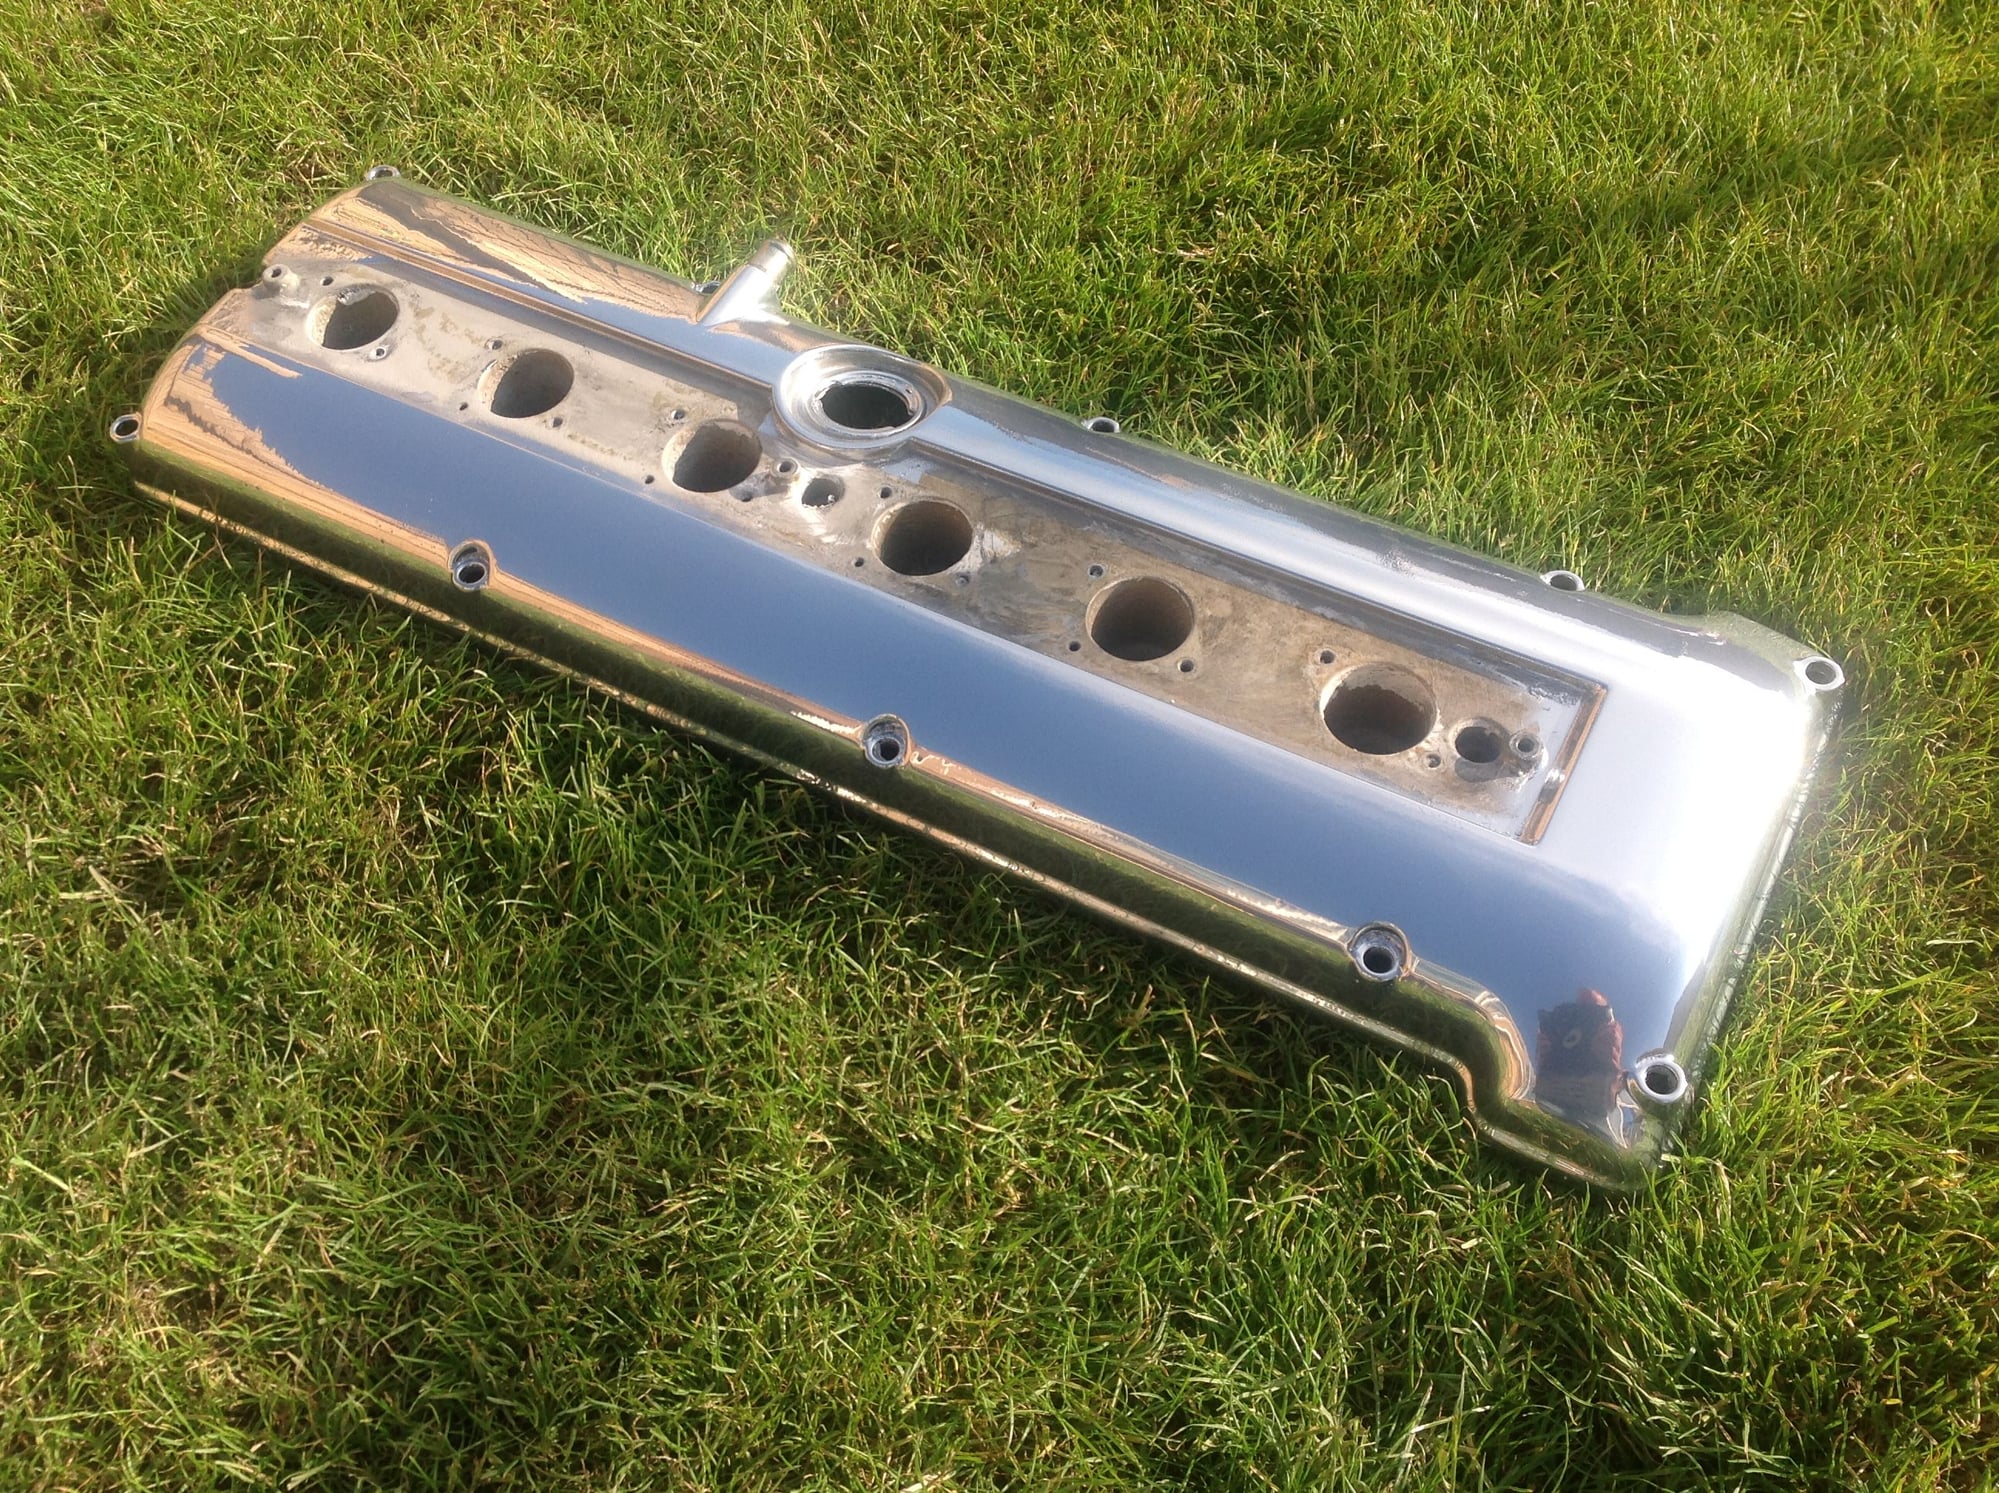
I bit the bullet, and bought a used camcover in the UK, and had it stripped and powdercoated by TPCS in the UK. This guy specializes in magnesium powdercoating.
Although I haven't received it yet, I have gotten some pics.
I opted to have the filter and cover removed since I have installed an oil catch can, rendering this stuff redundant and therefore useless. I opted to have the paint on the inside as well. I know some people are worried about paint flaking off, but I went full monty and got all of it coated.
I thought I'd share the initial photos and show you what it looks like. Will report later, when I receive it.
The following 5 users liked this post by Vee:
aholbro1 (05-08-2018),
Alster370 (05-08-2018),
al_roethlisberger (05-13-2018),
Don B (05-09-2019),
Lady Penelope (05-08-2018)
#23
That is a beautiful job Vee, im lucky to be in the UK so might give these guys a call. I notice there is some unevenness in the spark plug wells, do they not use filler before spraying? I thought about doing a 2nd hand cover, filling with epoxy and giving it a thin coat, so that it might be easier to spray.
#24
I saw that...not sure how to remedy, but thatís why we post here.
Ultimately I would recommend fixing the spark plug holes before sending out, based on my experience here. I never had that opportunity since I bought it in the UK and had it sent straight over. Now theyíre shipping it back to me in the US.
Everything else looks great. Iíll probably reattach that inside plate since I may need a splash guard for that breather hose, but I am not replacing that filter element.
#25
I want to add that I did end up tapping twelve #4-40 holes for 3/8" long stainless steel screws along with a larger #6 stainless washer and I re-attached the shield, without the metal mesh insert. That should prevent oil from splashing out of the outlet port.
The rivet-looking heads on the shield appear to be part of the magnesium casting! I'm guessing there was a column of magnesium cast which was then formed over after the shield was installed?
In any case, drilling the holes was easy, I didn't drill down extra to account for the tap head, but the screws made relatively short work of whatever it needed to do, making for a very snug fit. (I did break the tap in the 11th hole, of course it had to be at the end. I was able to extract the broken end.)
I didn't bother with a Loctite product, since the camcover probably gets hot enough to disable it. I'll keep an eye out on them and the paint, to see if anything loosens after a few thousand miles.
The following users liked this post:
Lady Penelope (05-29-2018)
#26
#27
The following users liked this post:
Lady Penelope (05-29-2018)
#28
#29
#30
#31
I decided that the cam covers on our 97 XJ6L and the 95 XJS needed to be repainted but it was not until I did research on the forum that I realized the concern with the magnesium covers are more internal than external. The XJ6k cover had more external damage and the one for the XJS - more in the plug wells. I have spent a lot of time with J-B Weld repairing damage (hoping this is effective) and using round files and sandpaper to restore the covers and especially the plug wells. I have painted the covers with epoxy primer paint followed by silver.
My question relates to the reassembly. Have members determined if an additional form of insulation around the coil assembly will give more protection to the plug well walls to prevent further damage? If so, what have they used?
Thanks.
My question relates to the reassembly. Have members determined if an additional form of insulation around the coil assembly will give more protection to the plug well walls to prevent further damage? If so, what have they used?
Thanks.
The following users liked this post:
Lady Penelope (06-03-2018)
#32
The addition of heat insulation on the coils may make the potting compound and winding wire individual electrical insulation worse in the department of heat generation as the current going through the windings to produce the magnetic field for it's operation could be worse then the well wall temp . The key would be the get acquitted cooling air in the well and reduce the coil heat generation by lowering the current by bringing the plug gap out larger without effecting engine performance .
There is the recommendation of wrapping the coils in high heat kapton tape to prevent electrical arcing ( as they degrade ) to the well walls but this keeps the heat in .
A testing procedure would be the use of a STC 1000 thermistor test probe on both the well wall and the coil as a before coil cover modification and after to see the coil temp drop for longer life and present time performance for the plugs .
I have been designing the ultimate , ultimate valve cover solution . Don't tell anybody .
Last edited by Lady Penelope; 06-03-2018 at 05:59 PM.
#33
#34
#35
#36
#37
#38
Al ,
I didn't mean to be offensive in my reply , but your idea was considered before but I came up with a elegant solution before that which uses the crankcase pressures already available in a 1930's devise to run the instruments on the planes . M'Lady P has her secrets .
I didn't mean to be offensive in my reply , but your idea was considered before but I came up with a elegant solution before that which uses the crankcase pressures already available in a 1930's devise to run the instruments on the planes . M'Lady P has her secrets .
No offense taken at all, thought it was funny.
I'll be interested to hear about your circa 1930s solution.
.
The following users liked this post:
Lady Penelope (06-03-2018)
#39
#40
The following 5 users liked this post by dfieldsend:
al_roethlisberger (06-04-2018),
Lady Penelope (06-04-2018),
Mkii250 (03-04-2021),
motorcarman (06-04-2018),
Scotlad (06-04-2018)


