Fixing the headliner
#1
 10-09-2012, 06:32 AM


Does anyone have tips/tricks to fixing or replacing the headliner in a car? Mine's sagging some - not bad, but it's viewable in my rear view mirror (doesn't obstruct much, but still...). I've got a friend who said he'd be able to help, but is out of town until next month and I forgot to ask him how he fixed the headliner in his vehicle.
#2
10-09-2012, 07:13 AM

Veteran Member
Join Date: Mar 2008
Location: Pacific Northwest USA
Posts: 24,817
Received 10,867 Likes
on
7,149 Posts
It's a DIY job. Plan on a full Saturday.
In a brief nutshell....
-Remove visors, overhead console, and all trim along the side.
-Lower headliner down
-*Carefully* fold headliner enough to *carefully* manuever it thru the passenger side front door without kinking the board. Recline the seat fully for more room.
-Remove old headliner and use stiff brush to remove remants and dried-out adhesive
-Use 3M spray adhesive to attach new headlining material. Work in small sections to avoid wrinkles and bubbles
I bought the materal from a local trim shop for $42 but there are outfits online as well
You'll want a second pair of hands to help
I didn't replace the sunroof section. Doing so may add to the complexity of the job.
Others will chime in with variations on all the above.
Cheers
DD
The following users liked this post:
jeronimojaxon (10-09-2012)
#3
10-09-2012, 07:35 AM

Or, if you're terribly cheap / in need of a temporary fix (delete as appropriate!), get some of these and plan on about 5 minutes... It's obviously not the 'proper' way of doing it, but if you have as little free time as I do, it'll do for now! Actually looks fine - although I was careful to plan and measure rather than just sticking them in at random.
#4
10-09-2012, 09:25 AM

#5
10-09-2012, 11:24 AM
Veteran Member
Join Date: Nov 2006
Location: Glasgow, Scotland UK
Posts: 47,302
Received 9,006 Likes
on
4,113 Posts

#7
11-05-2012, 09:04 PM

Junior Member
Does anyone have tips/tricks to fixing or replacing the headliner in a car? Mine's sagging some - not bad, but it's viewable in my rear view mirror (doesn't obstruct much, but still...). I've got a friend who said he'd be able to help, but is out of town until next month and I forgot to ask him how he fixed the headliner in his vehicle.

The following users liked this post:
RJ237 (11-06-2012)
Trending Topics
#9
11-06-2012, 12:03 PM

Senior Member
Or, if you're terribly cheap / in need of a temporary fix (delete as appropriate!), get some of these and plan on about 5 minutes... It's obviously not the 'proper' way of doing it, but if you have as little free time as I do, it'll do for now! Actually looks fine - although I was careful to plan and measure rather than just sticking them in at random.
#10
11-06-2012, 01:13 PM

I just used some small fabric, push-pins that can be found for a few dollars at most supermarkets or pharmacies. I laid them out in a grid across the ceiling and I haven't found a single one that's budged in about a year of driving so far. I did the entire ceiling up to the front visors just for consistency. Maybe its just me, but I think it actually looks really good and adds a nice touch to the plain headliner.
#11
11-06-2012, 02:06 PM
Veteran Member
It's a DIY job. Plan on a full Saturday.
In a brief nutshell....
-Remove visors, overhead console, and all trim along the side.
-Lower headliner down
-*Carefully* fold headliner enough to *carefully* manuever it thru the passenger side front door without kinking the board. Recline the seat fully for more room.
-Remove old headliner and use stiff brush to remove remants and dried-out adhesive
-Use 3M spray adhesive to attach new headlining material. Work in small sections to avoid wrinkles and bubbles
Doug, in my research (as our S Type liner is starting to sag) I have read more than once to use a "high heat" spray adhesive rather than the regular old 3M spray adhesive.
I have found the specialty spray adhesives online, but haven't gotten around to doing the fix yet.
Rick
#12
11-06-2012, 02:14 PM
#13
11-06-2012, 03:19 PM
#14
11-07-2012, 03:08 AM
I'd like to find some fabric caps for the twist pins (I'm assured that such a thing does exist!), but as long as they stay secure I honestly doubt I'll ever get round to doing the job 'properly'...
#15
11-07-2012, 10:12 AM
Senior Member
I've not taken one, but I can do! TBH the only people that have noticed them have been very complimentary
I'd like to find some fabric caps for the twist pins (I'm assured that such a thing does exist!), but as long as they stay secure I honestly doubt I'll ever get round to doing the job 'properly'...
I'd like to find some fabric caps for the twist pins (I'm assured that such a thing does exist!), but as long as they stay secure I honestly doubt I'll ever get round to doing the job 'properly'...
Hahaha, well, I don't have the time to do the job properly anymore, and budget for it is not there anymore either, since I purchased Andy's bracket
 That's why I'm asking for pictures of temporary fixes, to have an idea of the way it looks That's what mine looks like right now, like 2 giant buttocks!
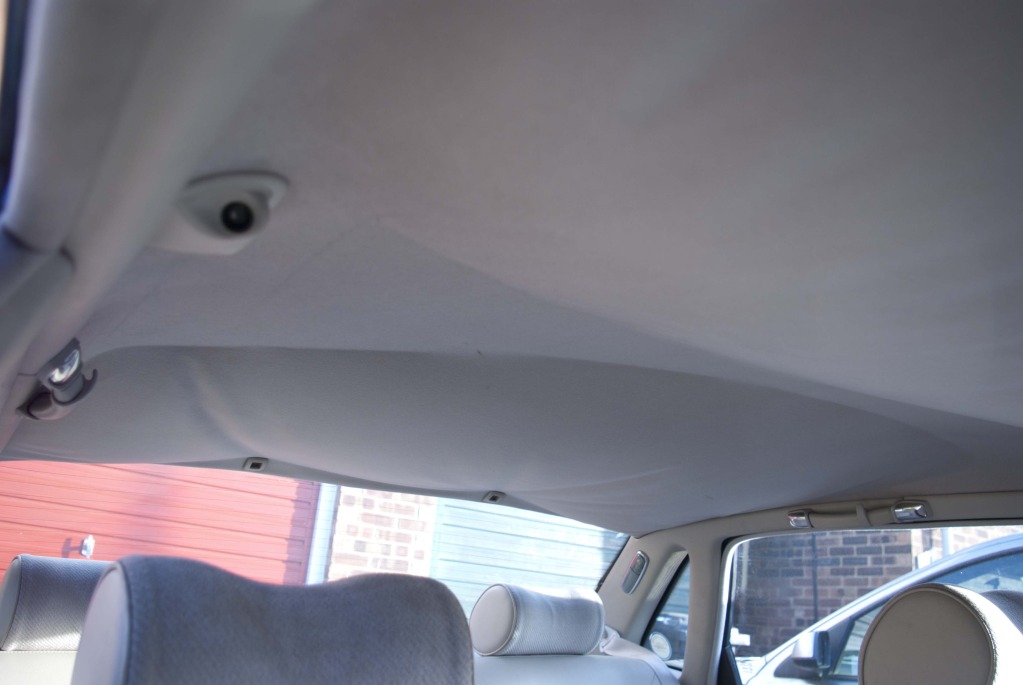

#18
11-09-2012, 08:24 AM
Here's the sewing pin method. I think I spent a whopping $4 and 15 minutes of my time, and I still have about 100 pins left over. I admit they could be a lot straighter. I just dove into it and didn't really plan it out. At some point I may line them up in a grid better and maybe do the part in the middle for show, but honestly i don't think anyone will really notice. The pins pull the headliner nice and tight, so you can still see the contours of the ceiling. I pinned all the way up the side, to and around the sun visors where it was also starting to sag. Mine looked a lot like your ceiling, but the butt cheeks had merged.
#19
11-09-2012, 08:58 AM

Veteran Member
 Guess I'll let her do it then, as she did a good job with sewing the seat back together
Thread
Thread Starter
Forum
Replies
Last Post
Jose
XJ6 & XJ12 Series I, II & III
31
12-18-2021 08:16 AM
Currently Active Users Viewing This Thread: 1 (0 members and 1 guests)