When you click on links to various merchants on this site and make a purchase, this can result in this site earning a commission. Affiliate programs and affiliations include, but are not limited to, the eBay Partner Network.
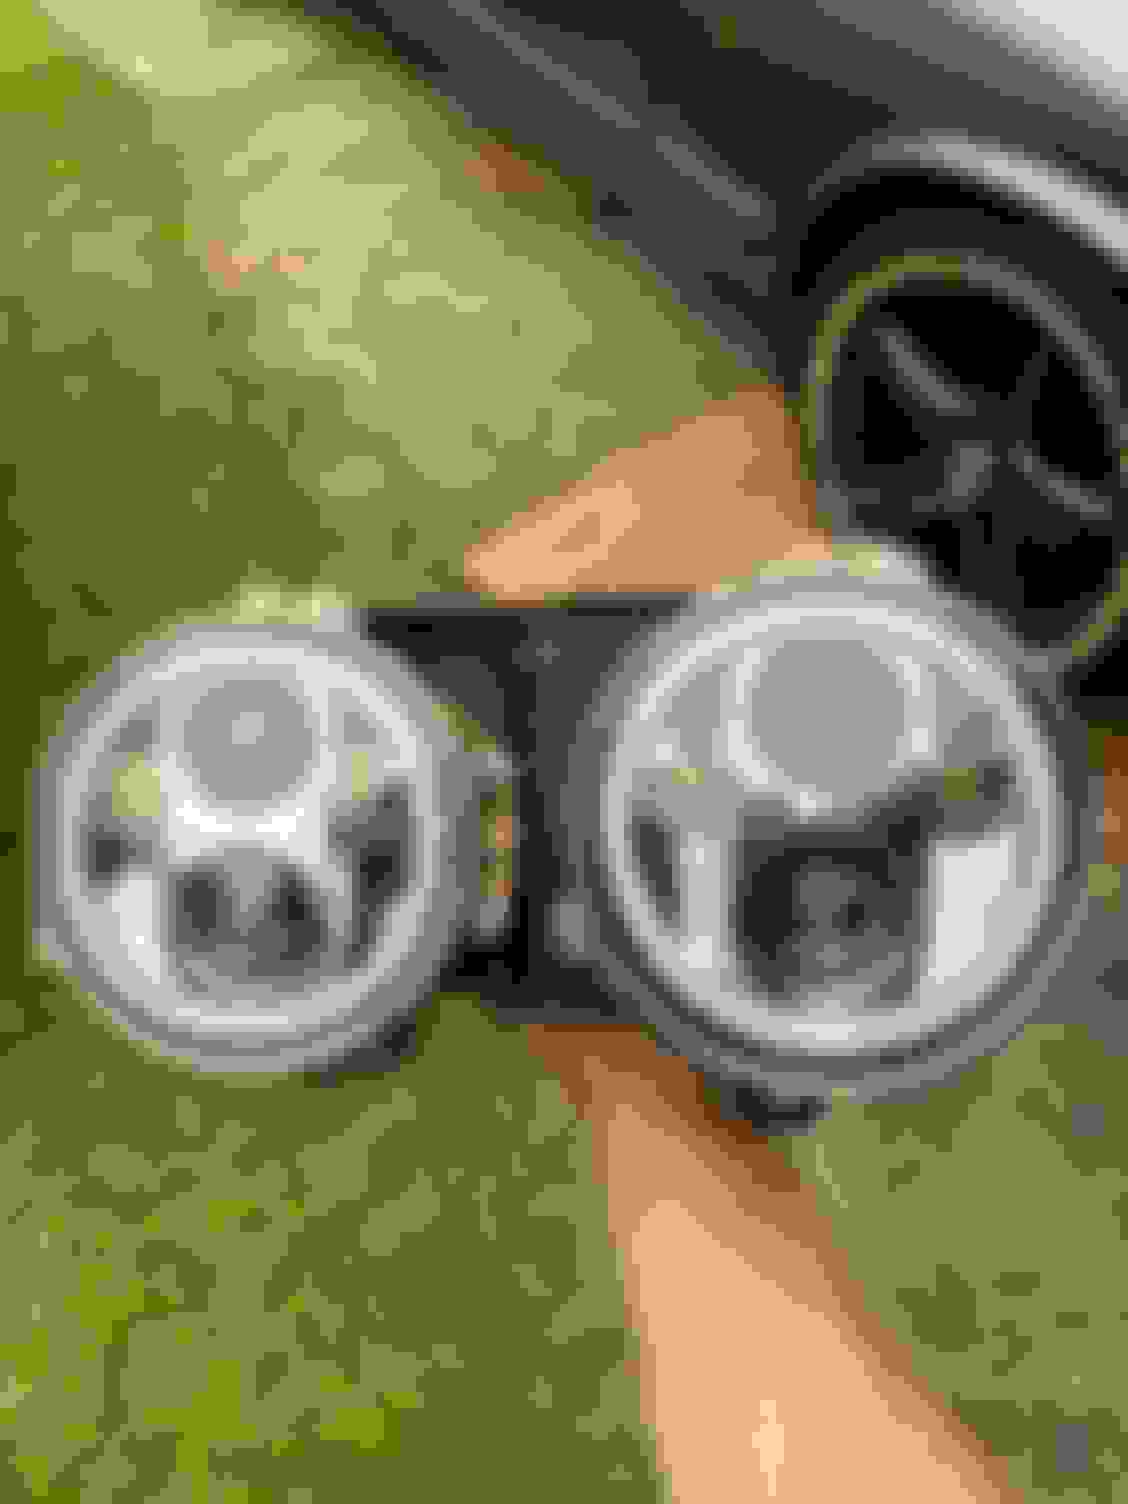
So i want to install these units inplace of the factory units.
they have led ring drls with switchback indicators, projector high and low beams.
modifying the wiring to wire them in is no problem.
but where i am stuck is how to actually mount them.
really not sure at all how to go about doing it.
The way I would do it is to remove the ball pin mount from the stock headlamps and epoxy them onto the new led housing so that they mount in an �oem� fashion. But my second though is that the stock headlamps have a slight bevel towards the top so they aren�t flat like your new led replacements. Given that, once you mount them to the trim rings they won�t fit snug against the tabs on the trim ring. If you didn�t use the trim rings then that�s not an issue.
-Luis
Yeah i was thinking about doing that but i was concerned about the potential strength of the epoxy.
wouldn�t want it to fail and have my headlight fall out�.
the chrome surround could still mount flush with the light but it sits a little lose.
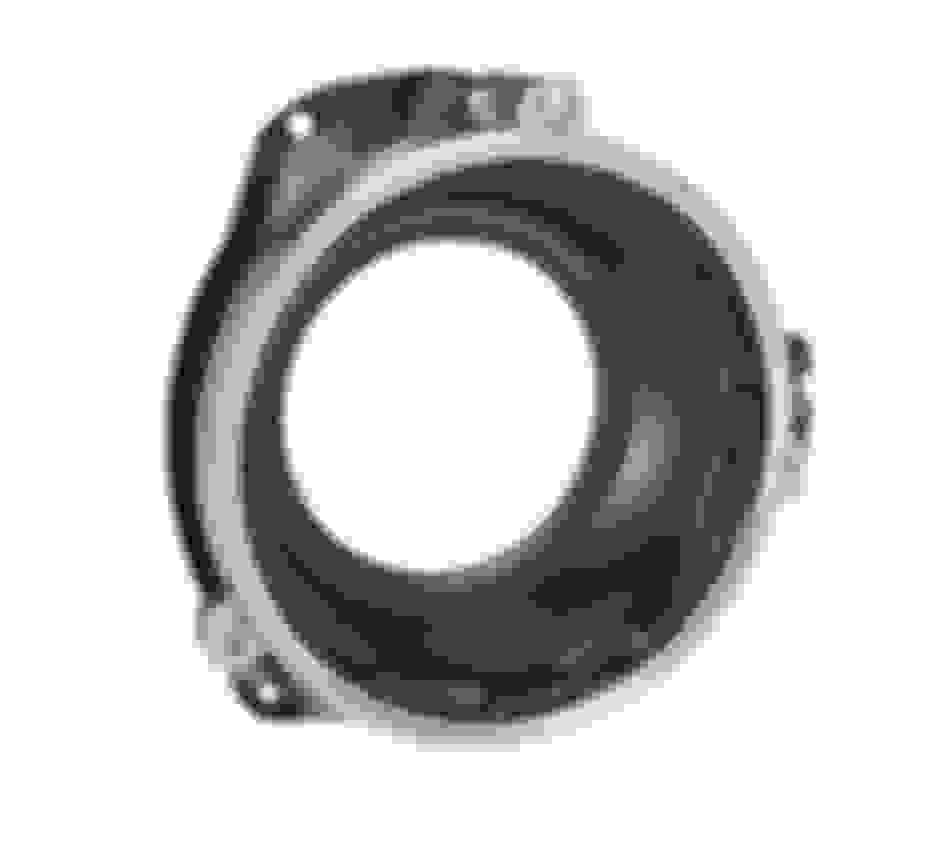
i came across these and think that maybe they will be best option.
mount these to the plastic housing. They have adjustment screws in them.
Wiring side of things done using adapters i made up.
(one side atleast)
So can easy return to stock also
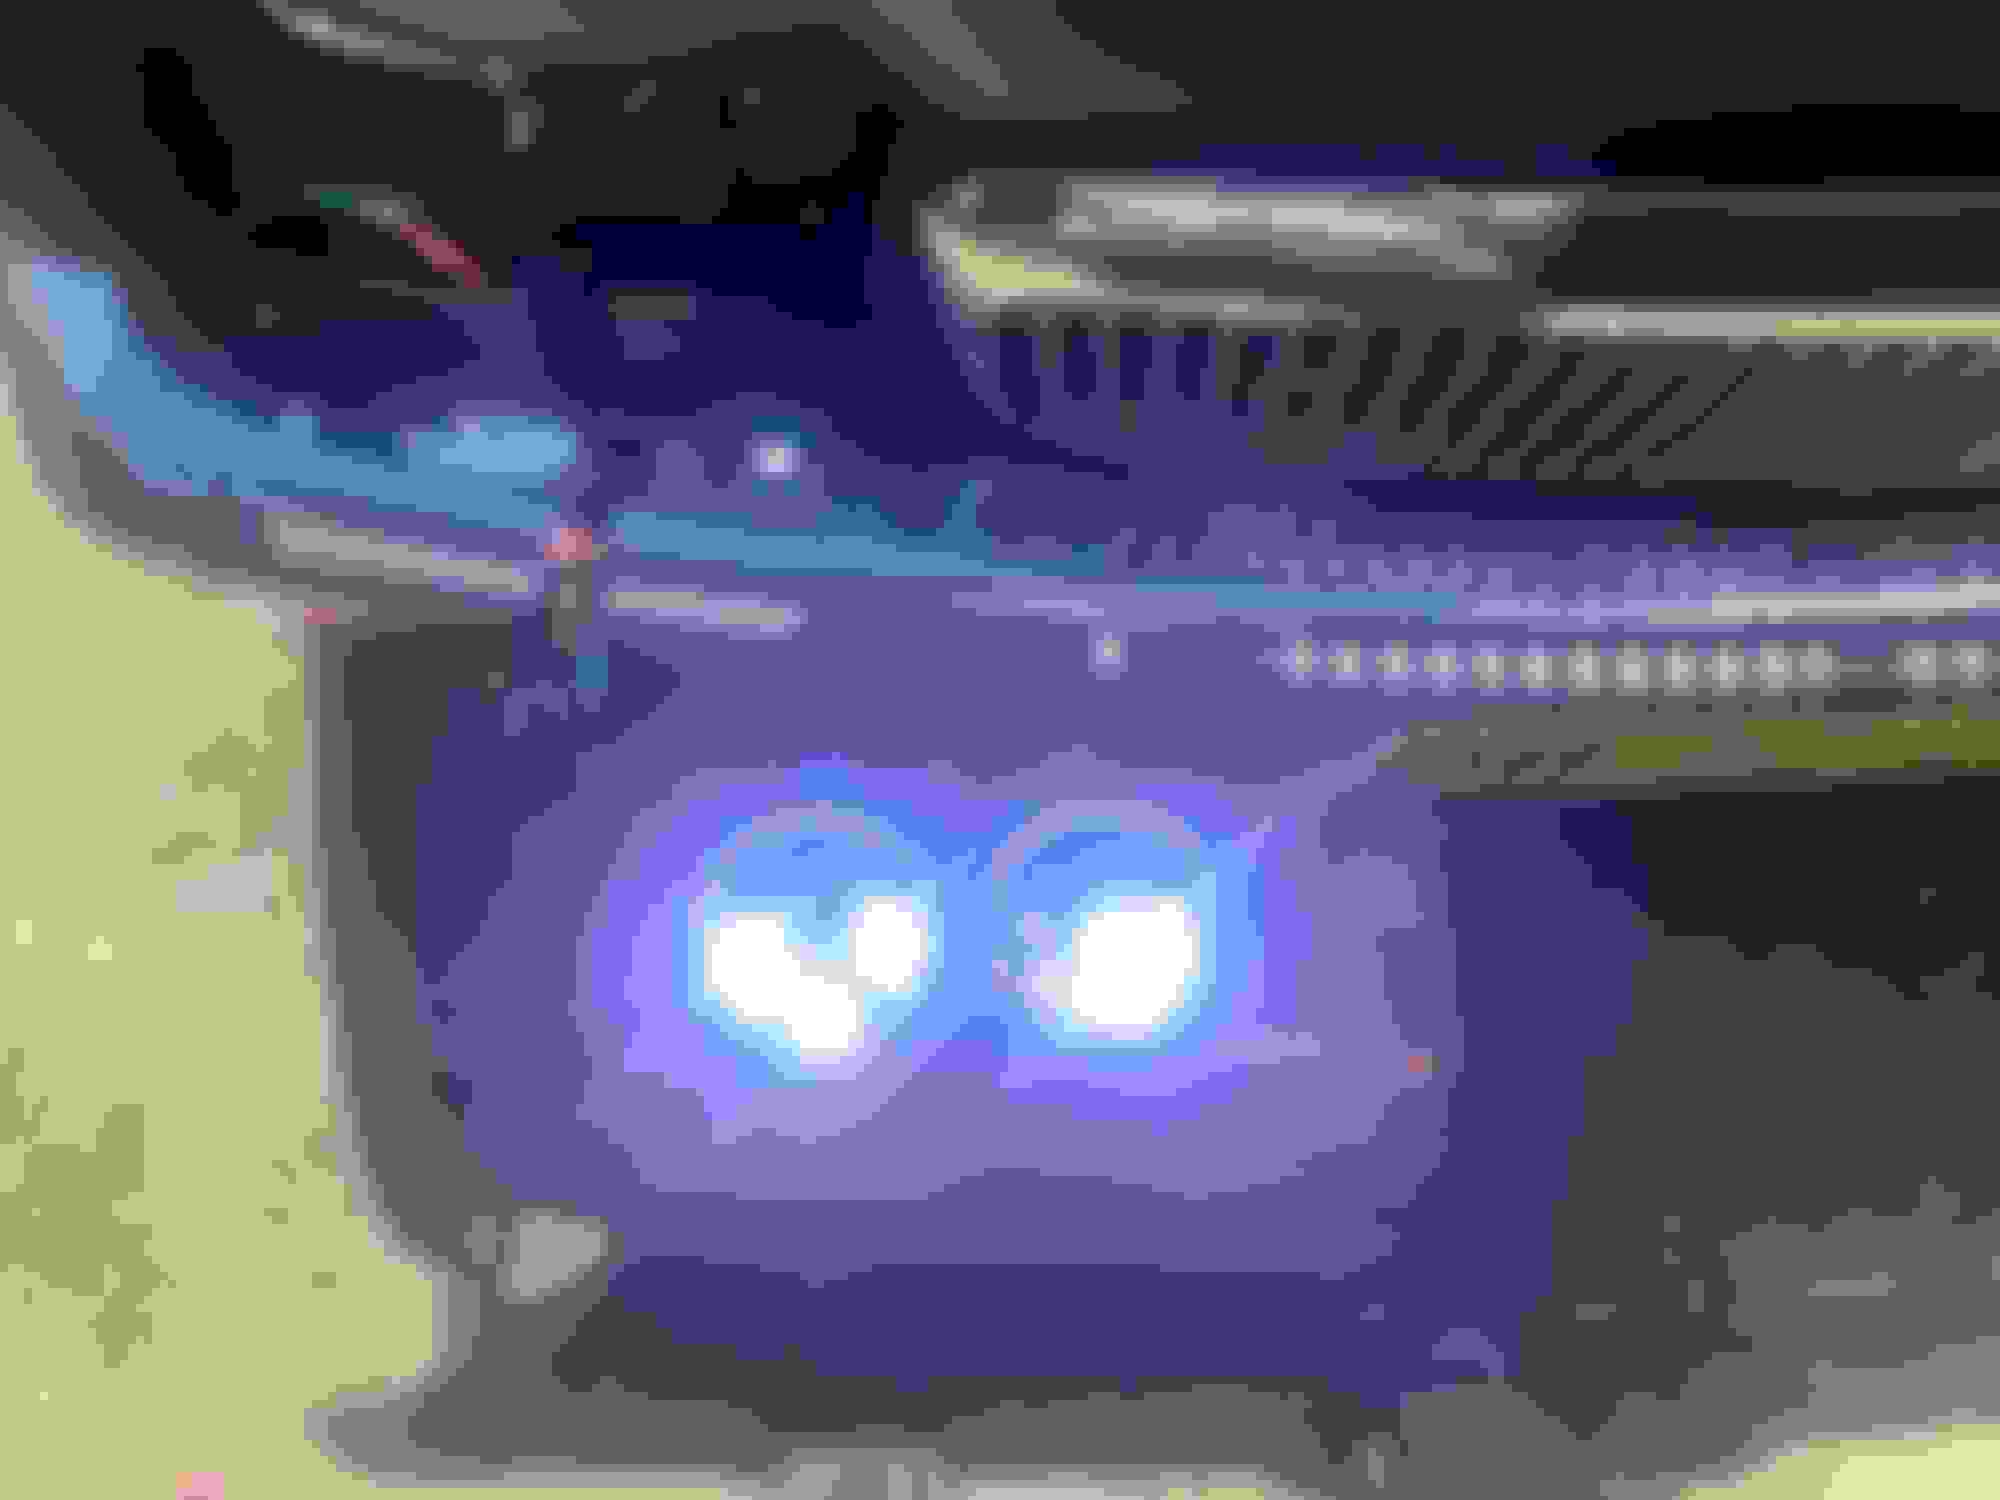
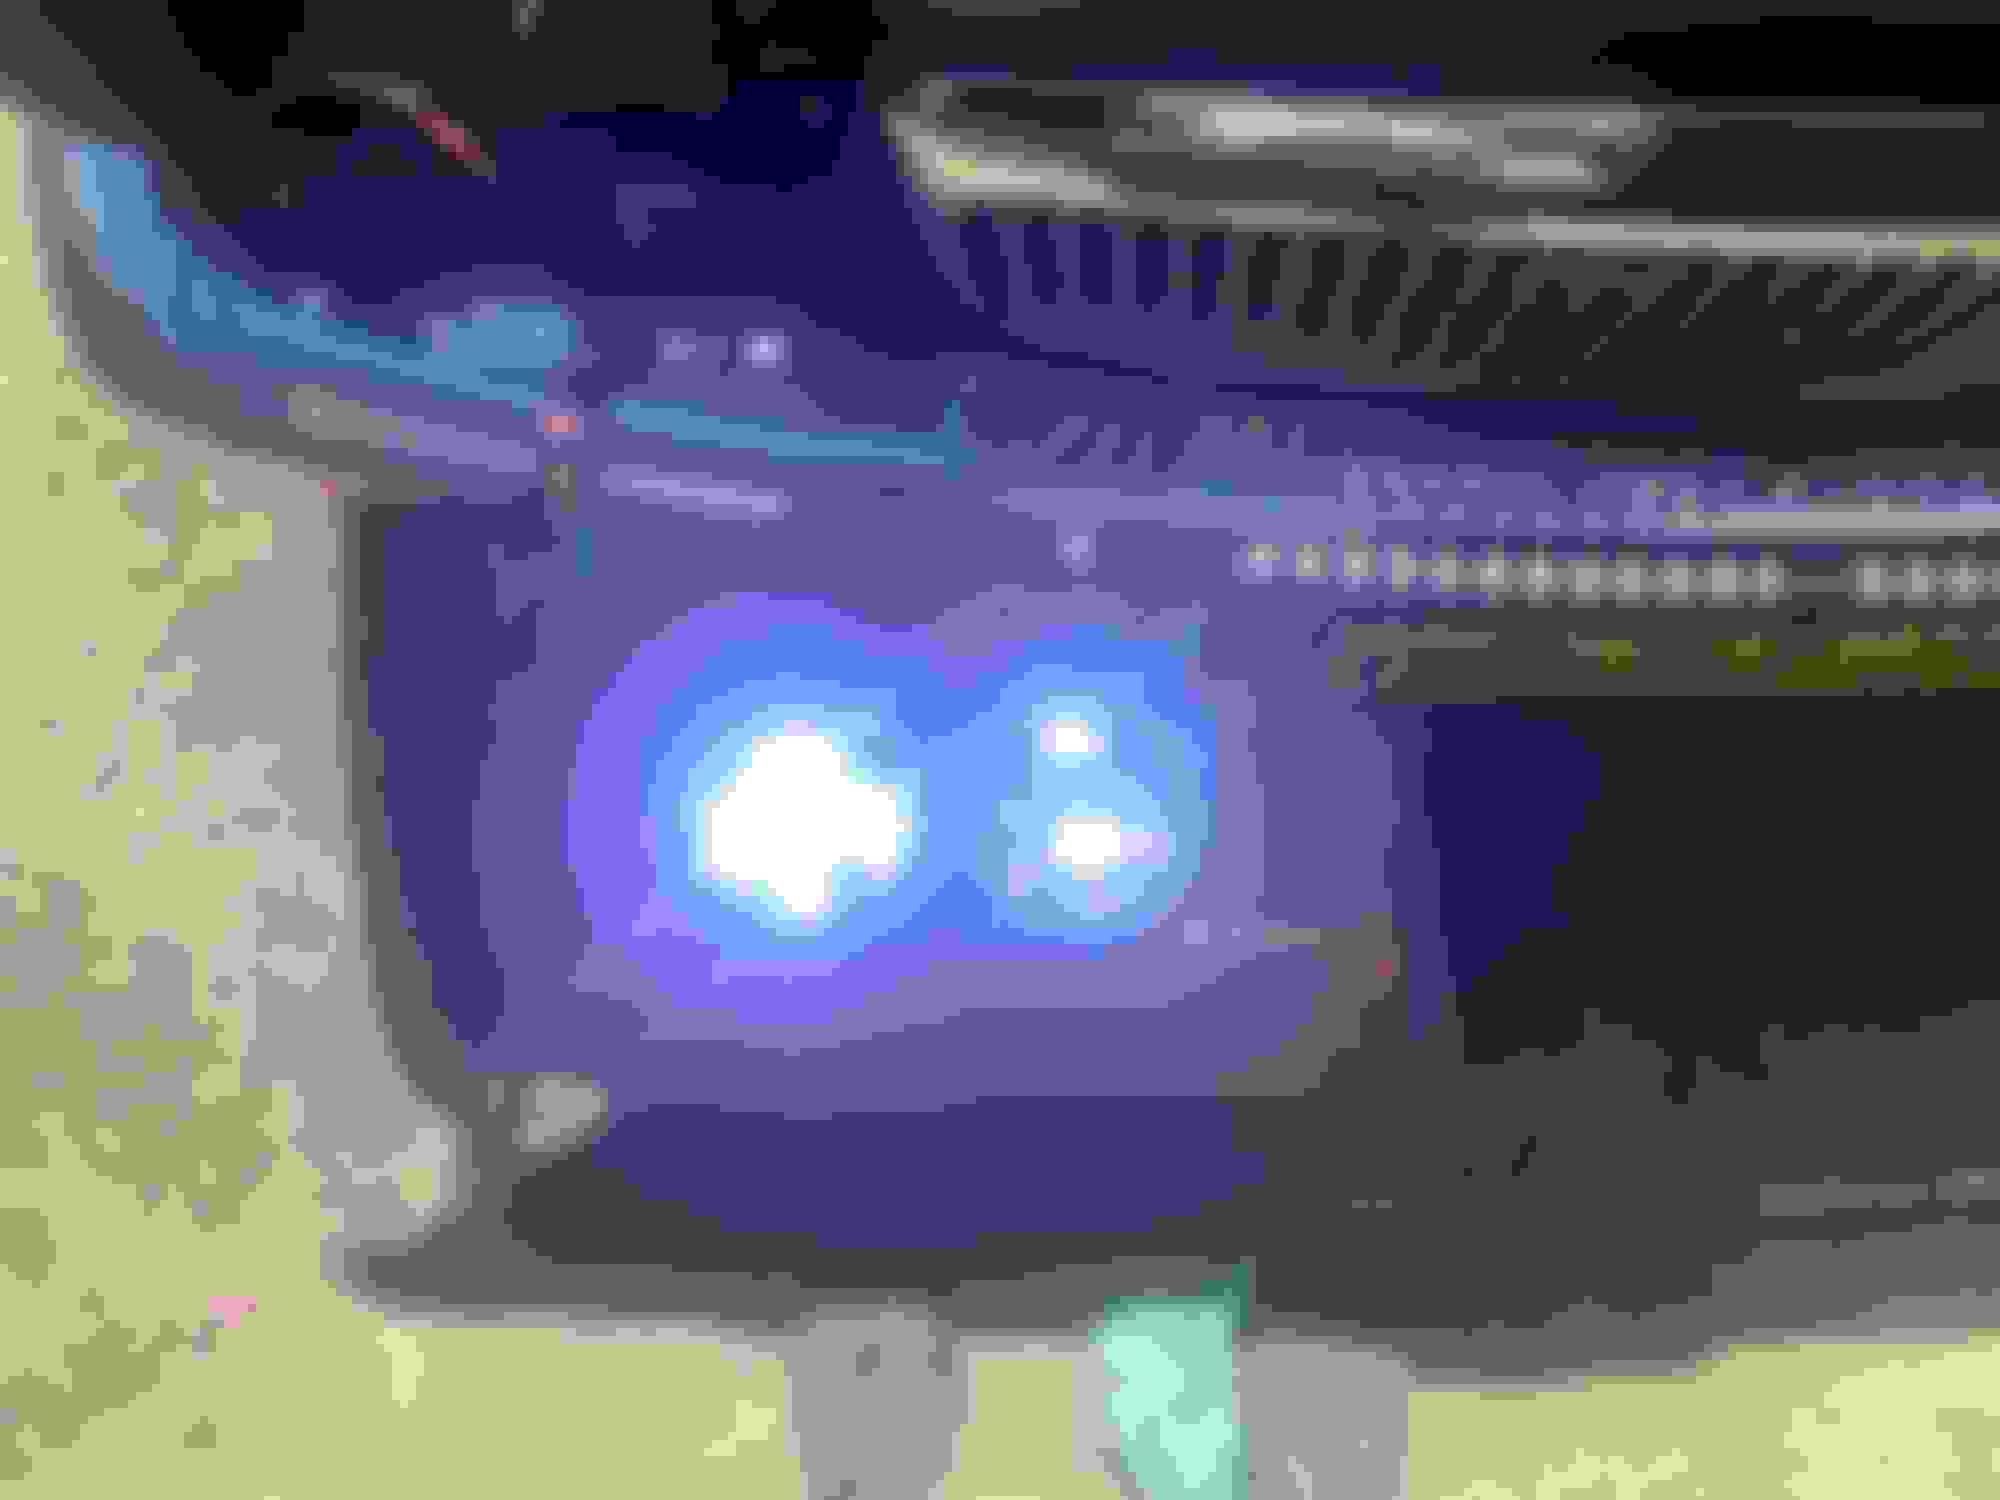
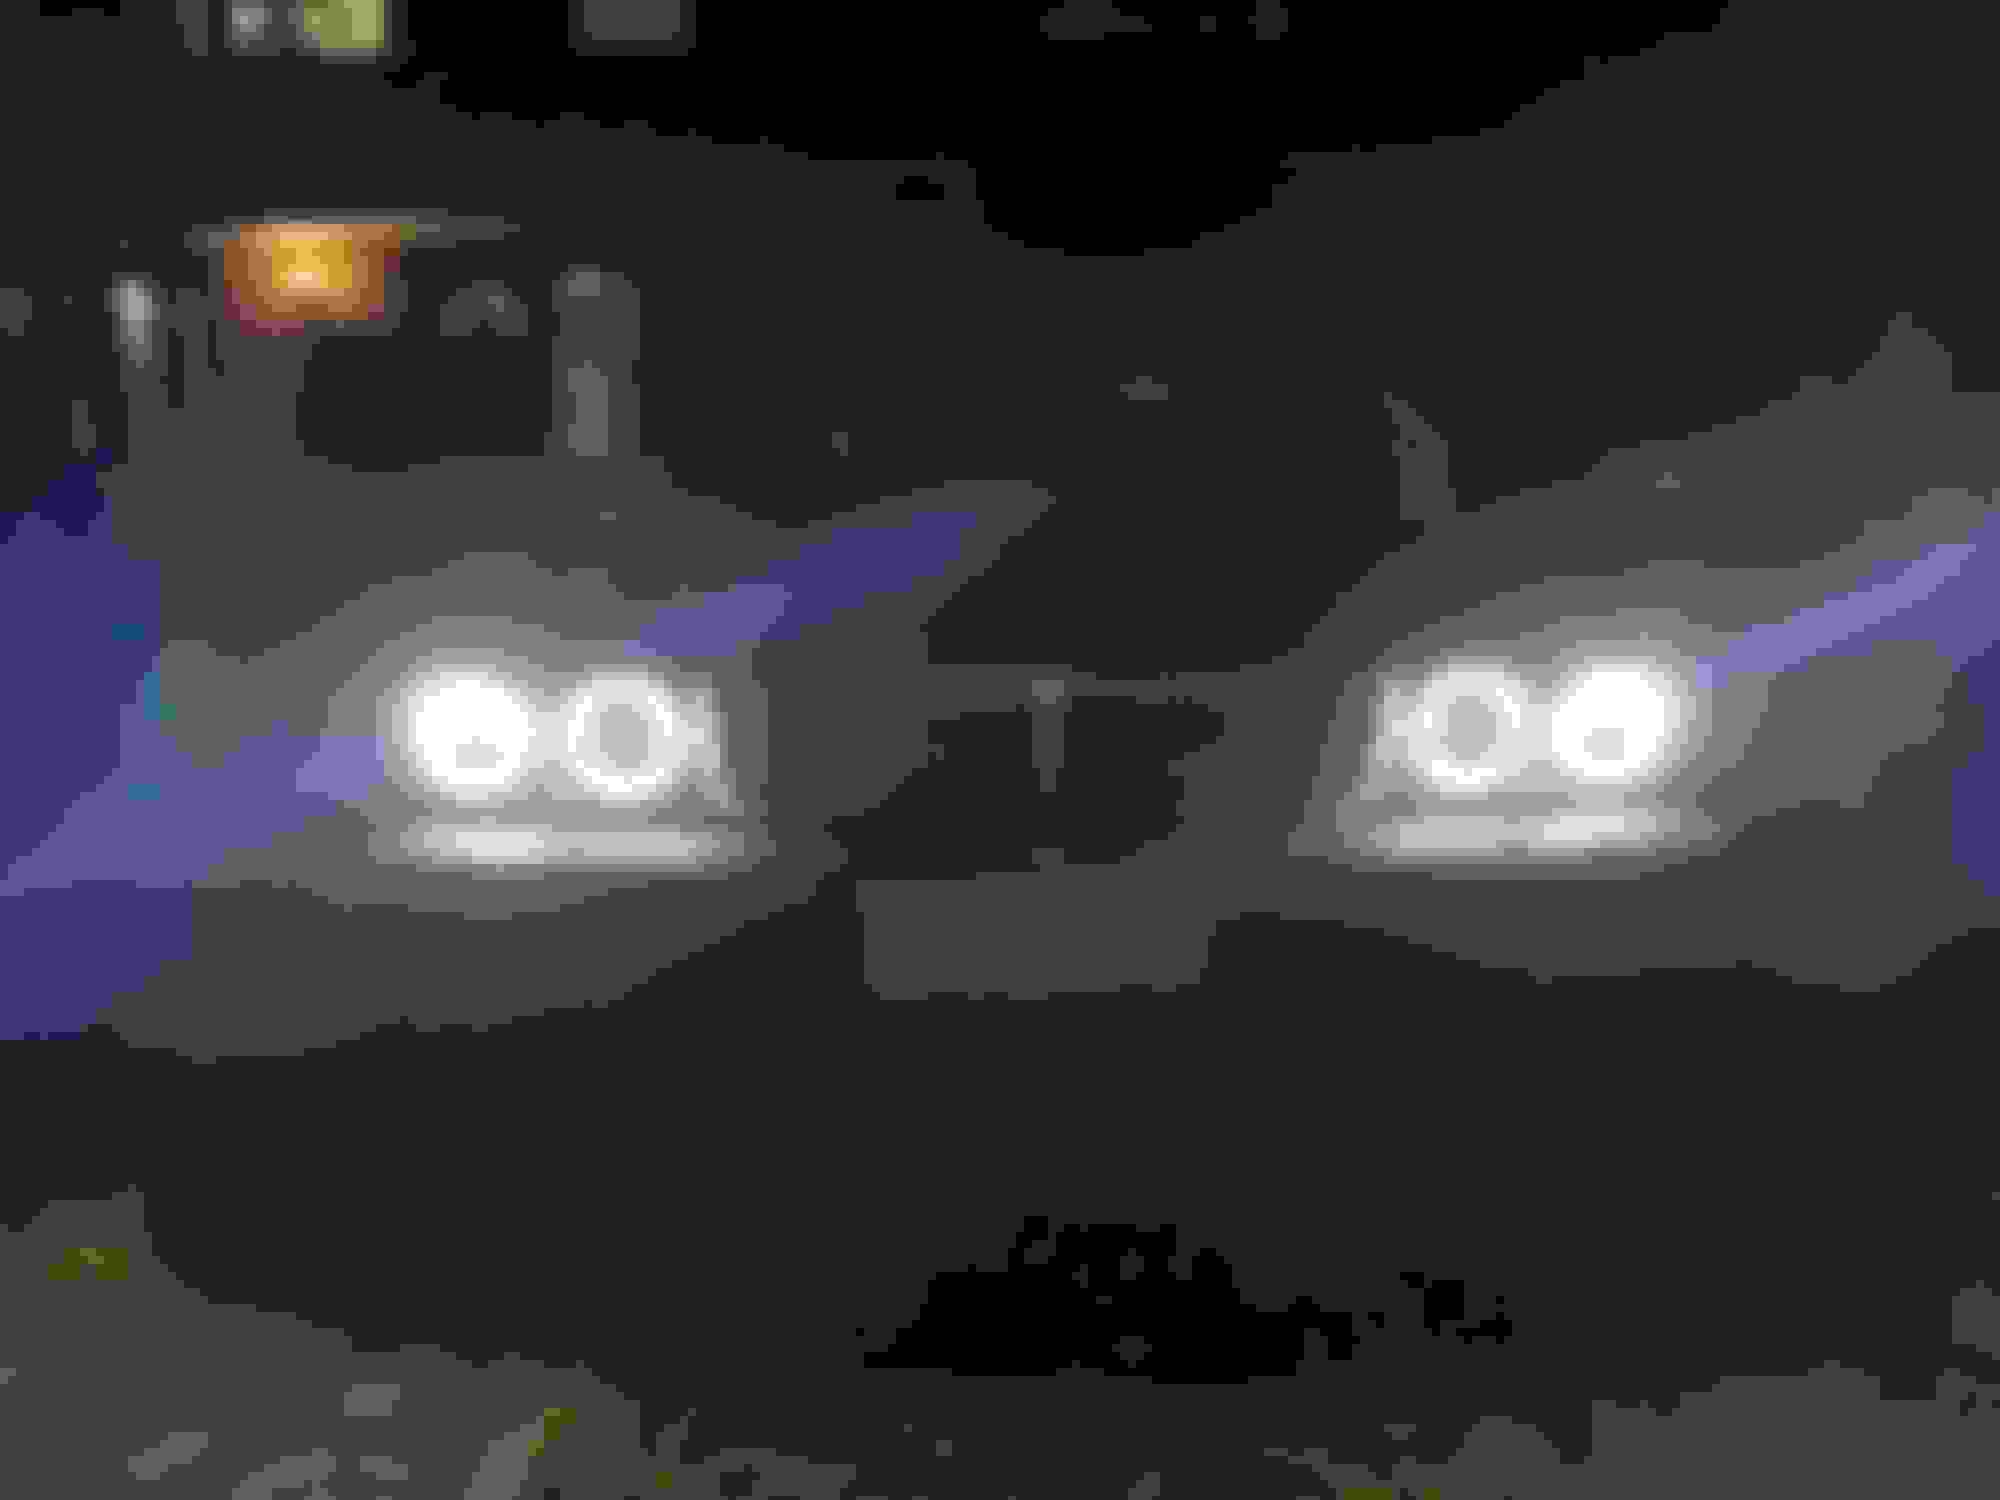
*note low beams and high beams do not show up best in the pics due to the reflections and angles.
Low beam has 1 projector and 2 rectangle reflectors,
high beam adds a 2nd projector.
1, off
2, park lights
3, low beams
4, high beams
5, indicators
I love everything about those headlights. I've wanted to change out those stock lights for years. My question is does anyone know if there is a company that makes a direct "bolt in" LED headlight replacement for my USA 95 VDP. Thanks, Larry
I love everything about those headlights. I've wanted to change out those stock lights for years. My question is does anyone know if there is a company that makes a direct "bolt in" LED headlight replacement for my USA 95 VDP. Thanks, Larry
everything i have seen is universal. And depending on the car different levels of work is needed. Some these would just bolt in.
but unfortunately on our cats there is a lot of work involved
I've always wanted to do this I think it would look awesome. Please keep us update on how you're going to end up mounting it and of course post pictures.
Also can you post the link from the one's you've bought.
Did you disable the lower factory turn signal?
Last edited by JezuzNoChill; 01-27-2022 at 01:54 PM.
I've always wanted to do this I think it would look awesome. Please keep us update on how you're going to end up mounting it and of course post pictures.
Also can you post the link from the one's you've bought.
Did you disable the lower factory turn signal?
waiting for these brackets to arrive, the supplier has messed me around and there is delays�
of course will post pics��
not sure if i will disable the factor turn signal or not. To do that i would need to replace each bulb with a load resistor as to not trigger the bulb out warning, but the biggest question would be what to do with the bumper holes? I could just wrap the indicator lenses same as the bumper bar so they sit and look like a blanking plate.
i could i properly fill and smooth out the hole, i could fill with
not sure exactly best/ way to do it so will probably leave them for now.
I think the combination of LED and regular incandescent bulbs is going to be very apparent when they are side by side, the difference in speed(the time it takes to turn on and off) would be very unattractive for me. No bulbs and resistors I think would be the best. Just leave the housing like it is. It looks like it could be a regular marker light.
Making some progress but still got a fair bit of work to do�..
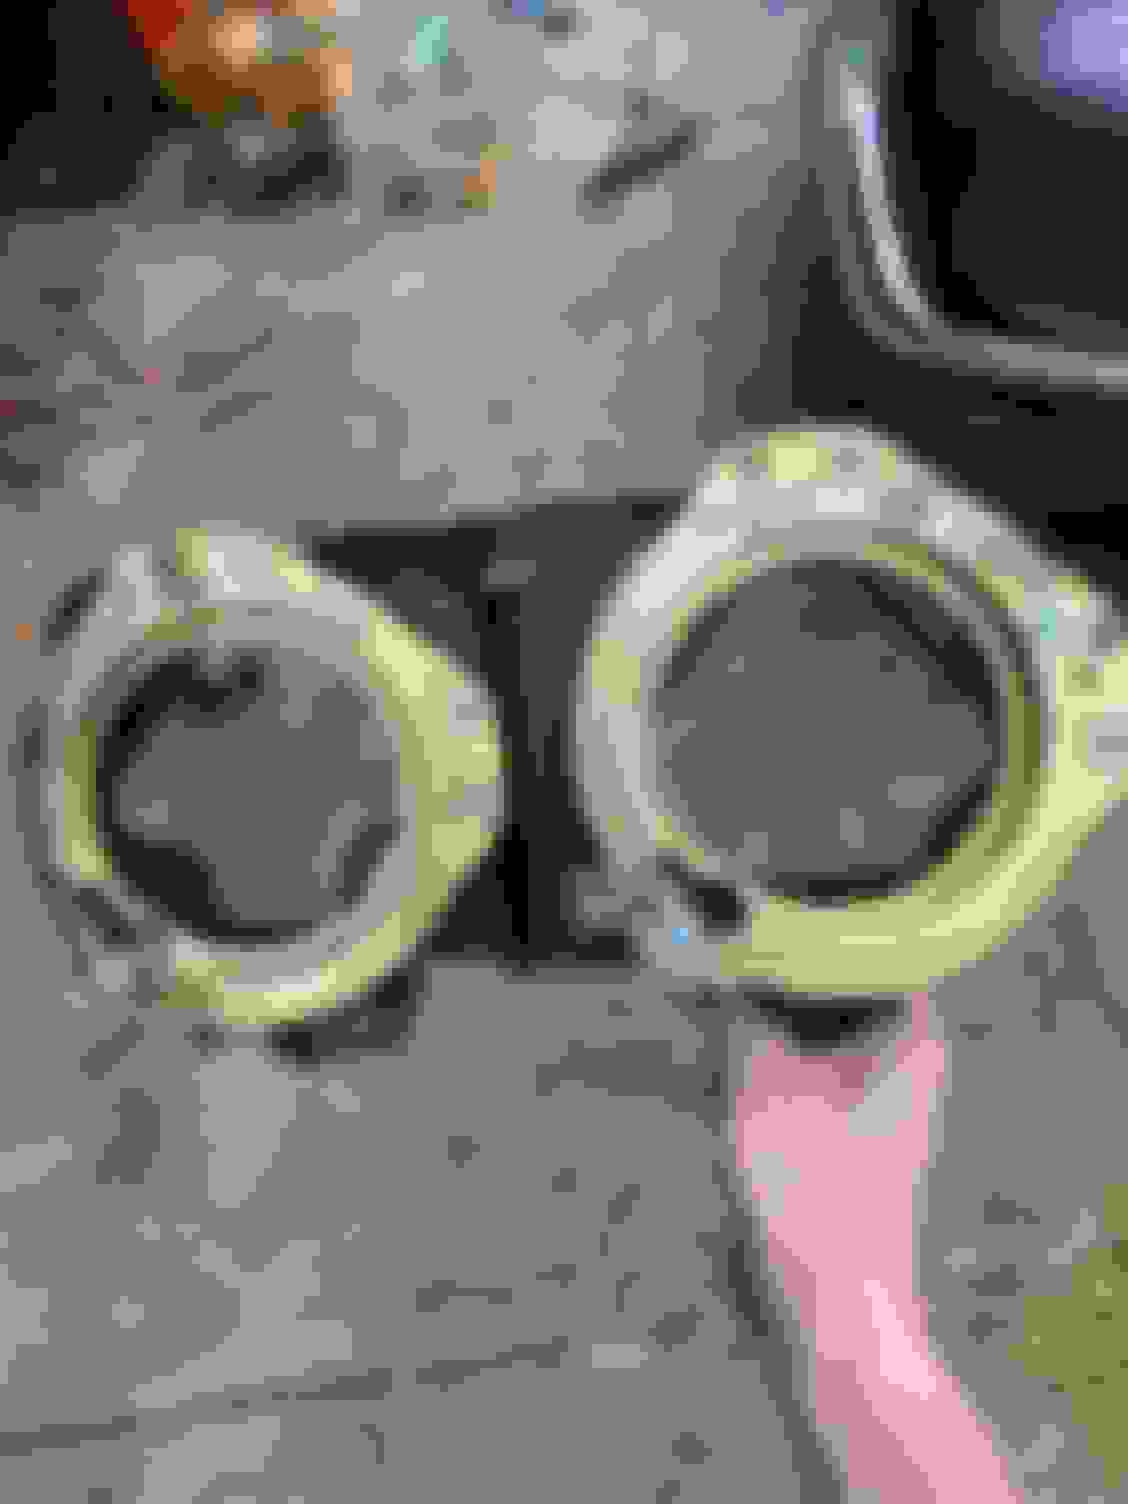
so this is the brackets.
had to start by grinding out the well to leave only a ring so the led unit would fit
removed the factory mounts from the brackets.
mounted them on using some screw head bolts and springs for spacers to also allow adjusting.
realised on test fit the lights are too low and need to come up.
so i need to remove them and drill new holes to re-mount them
up a bit higher.
hopefully then they will sit and look good and then i can move on to the other side.
Thats all i can do for the day,
hopefully i can finish it tommorrow.
it may not be the neatest job, may not be the tidiest job, may not be the easiest way, may not be the best way,
but,
there is a hell of a lot of work involved, and once it is finally done it should look great, and it should allow adjustment in, out, up, down.
i am not 100% happy about the panel gaps.
may play around with and cut back the original chrome shrouds to make them fit around.
but that is a job for another day
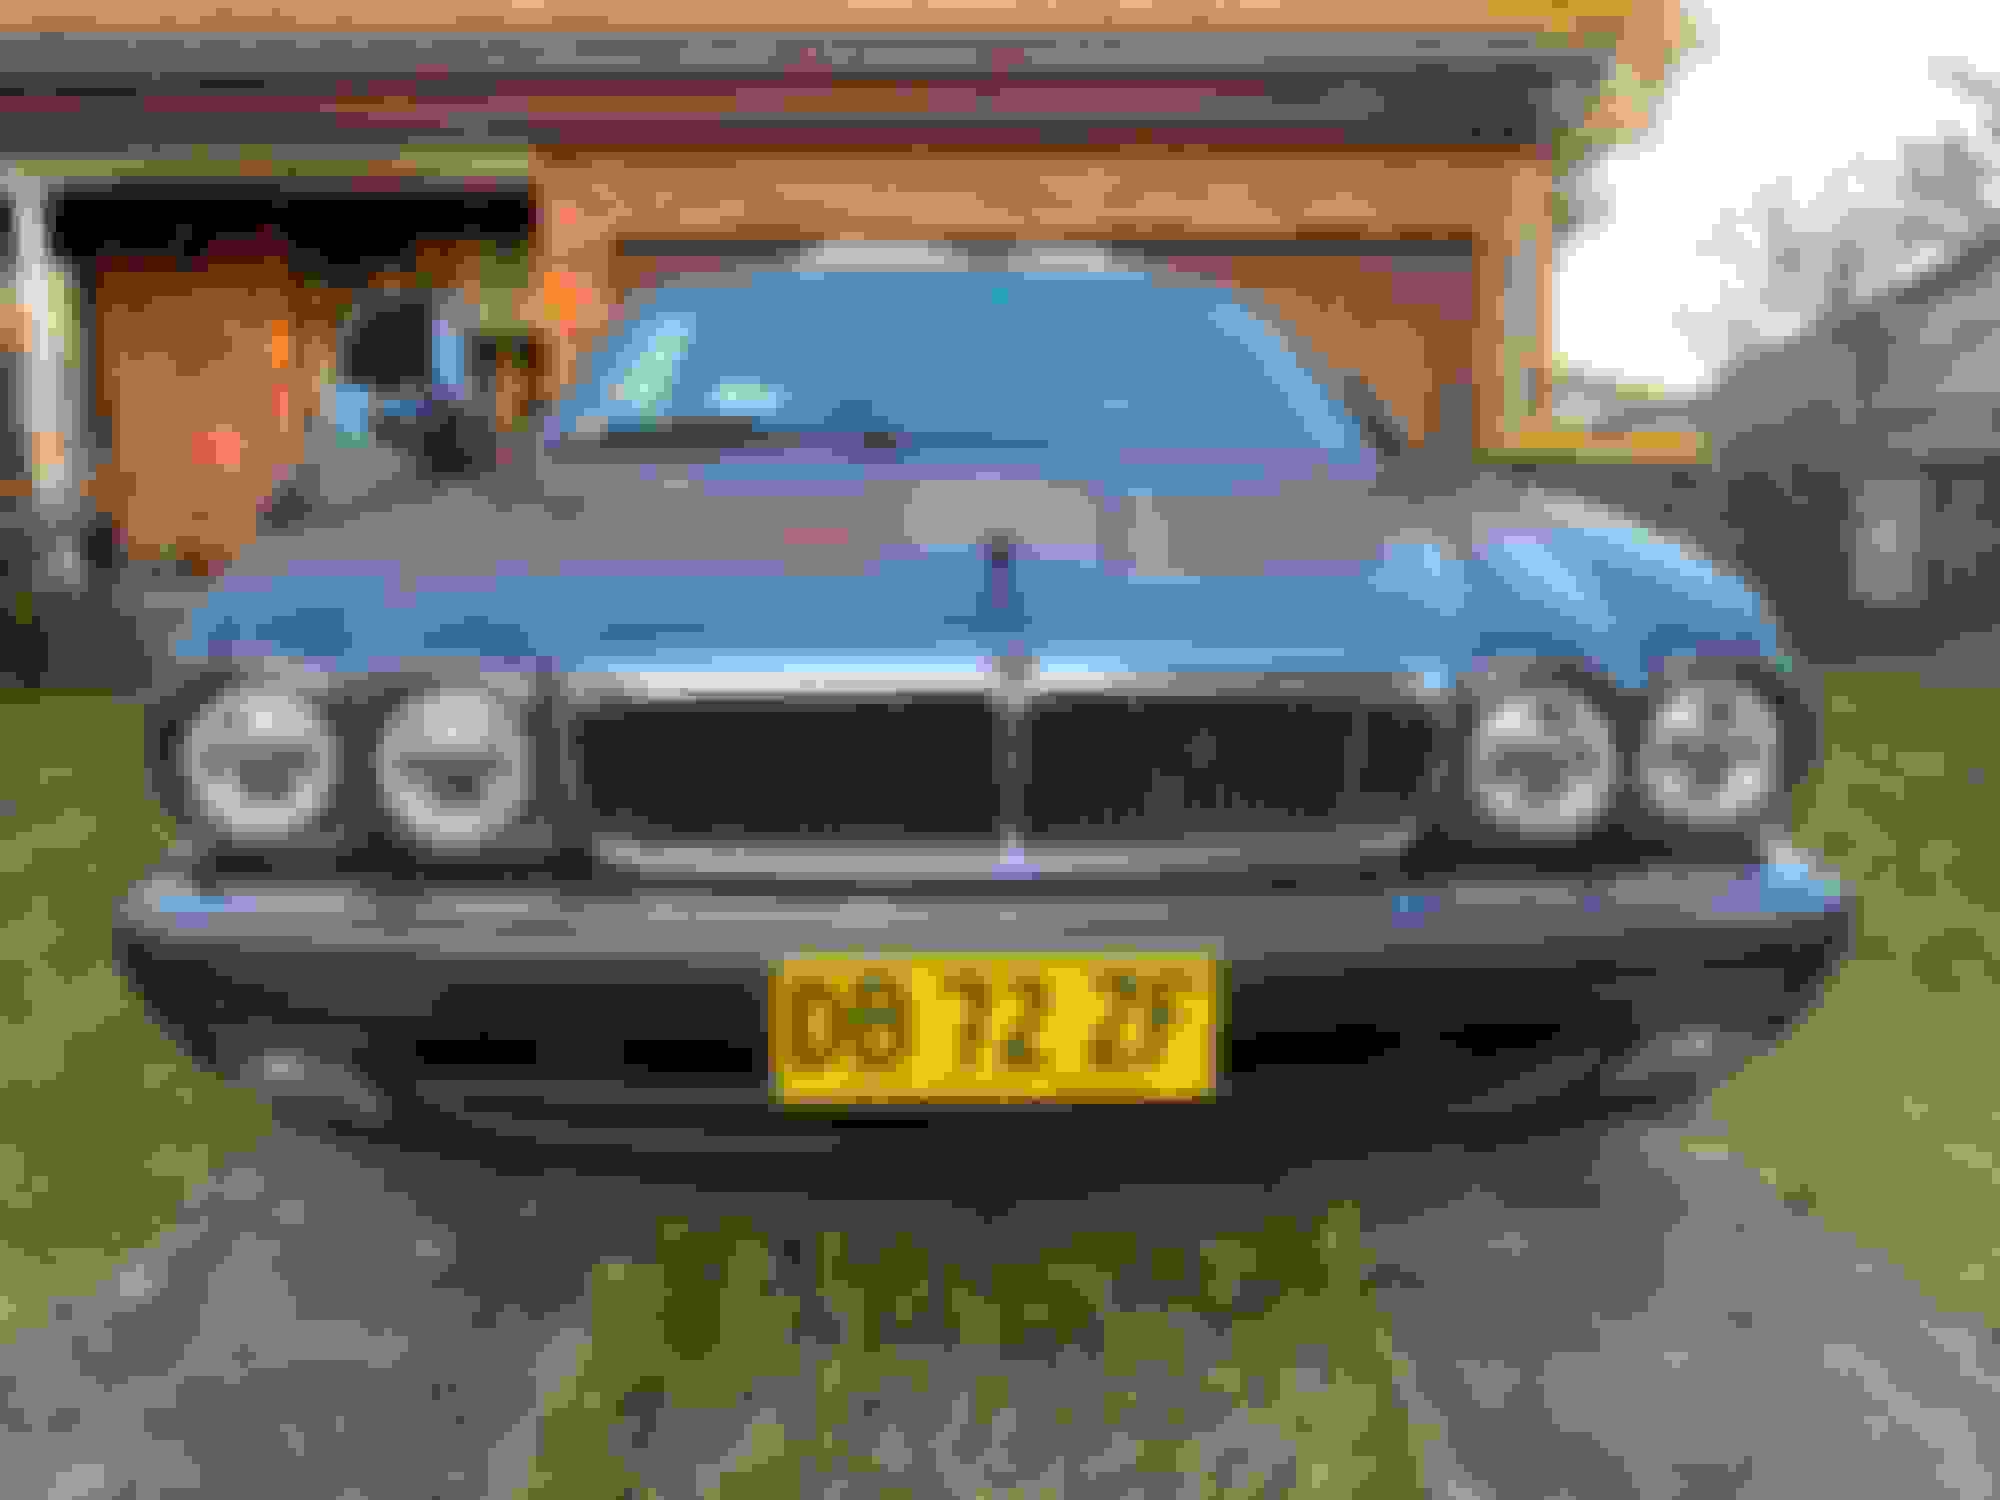
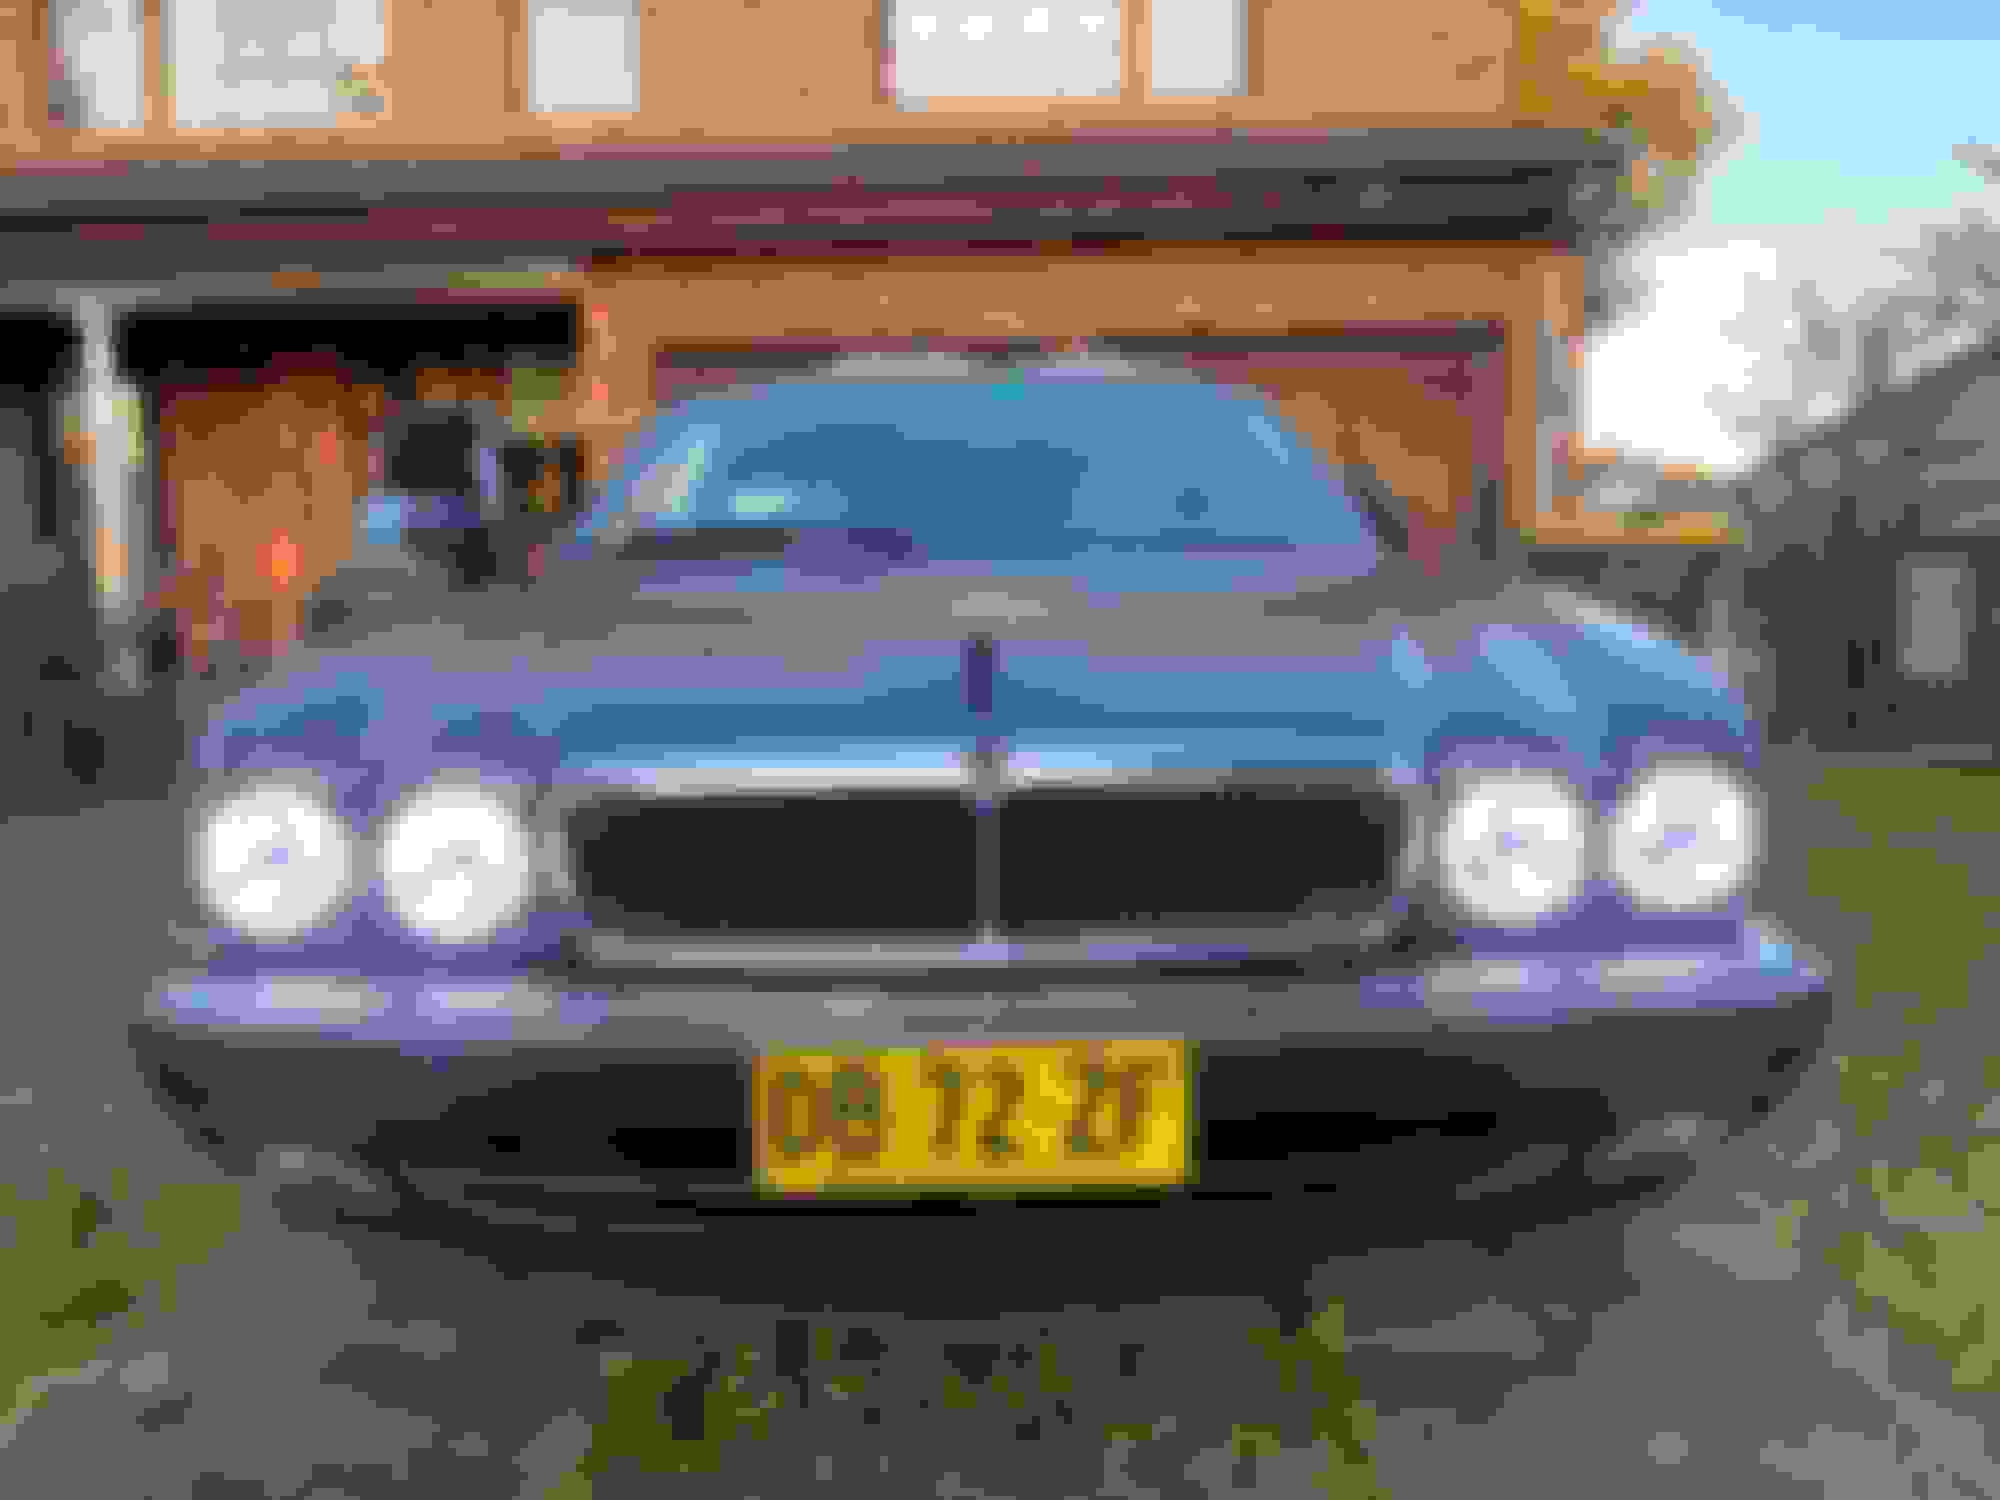
Ok so just thought i would provide an update after i have spent a bit more time and fine tuned the setup.
so i removed the globes from the front indicators and installed load resistors to not trigger bulb out warnings and keep the flash speed correct.
and i blanked out the indicator units to match the front bar.
i have also remounted the headlight brackets to better centre and position the lights so they look a million times better.
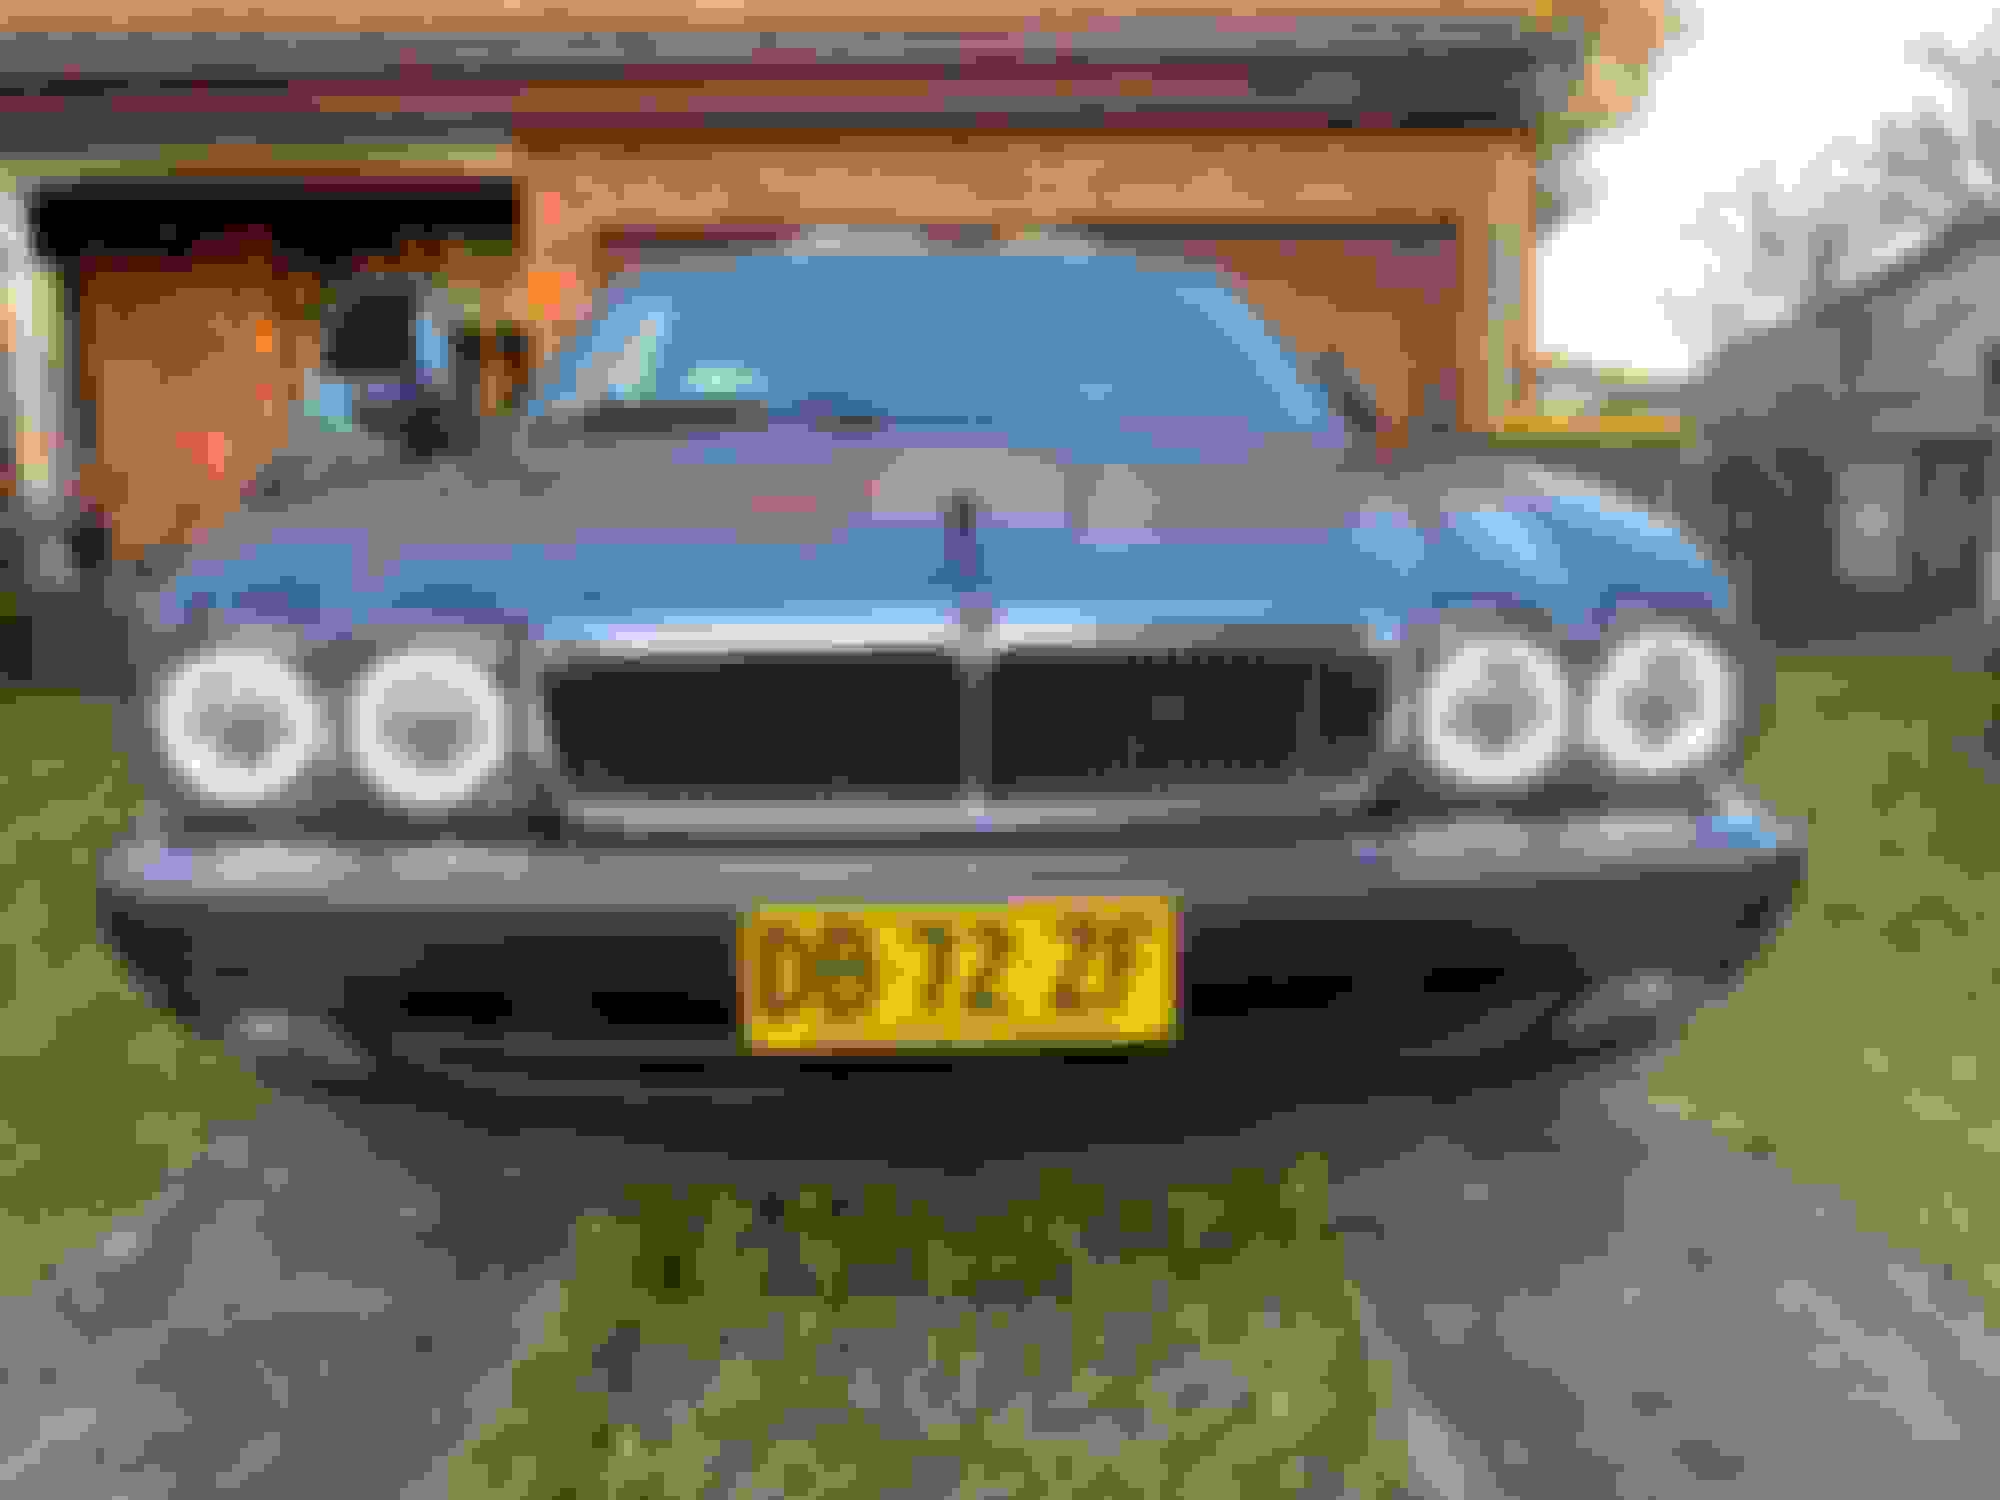
and i made some adapters to connect to the inner lights so they do not come on with the low beam and that the lowbeam and high beam component both only come on with the high beams.
i made them as an adapter so at any point i want i could change it back to have the inner ones working on lowbeam also.
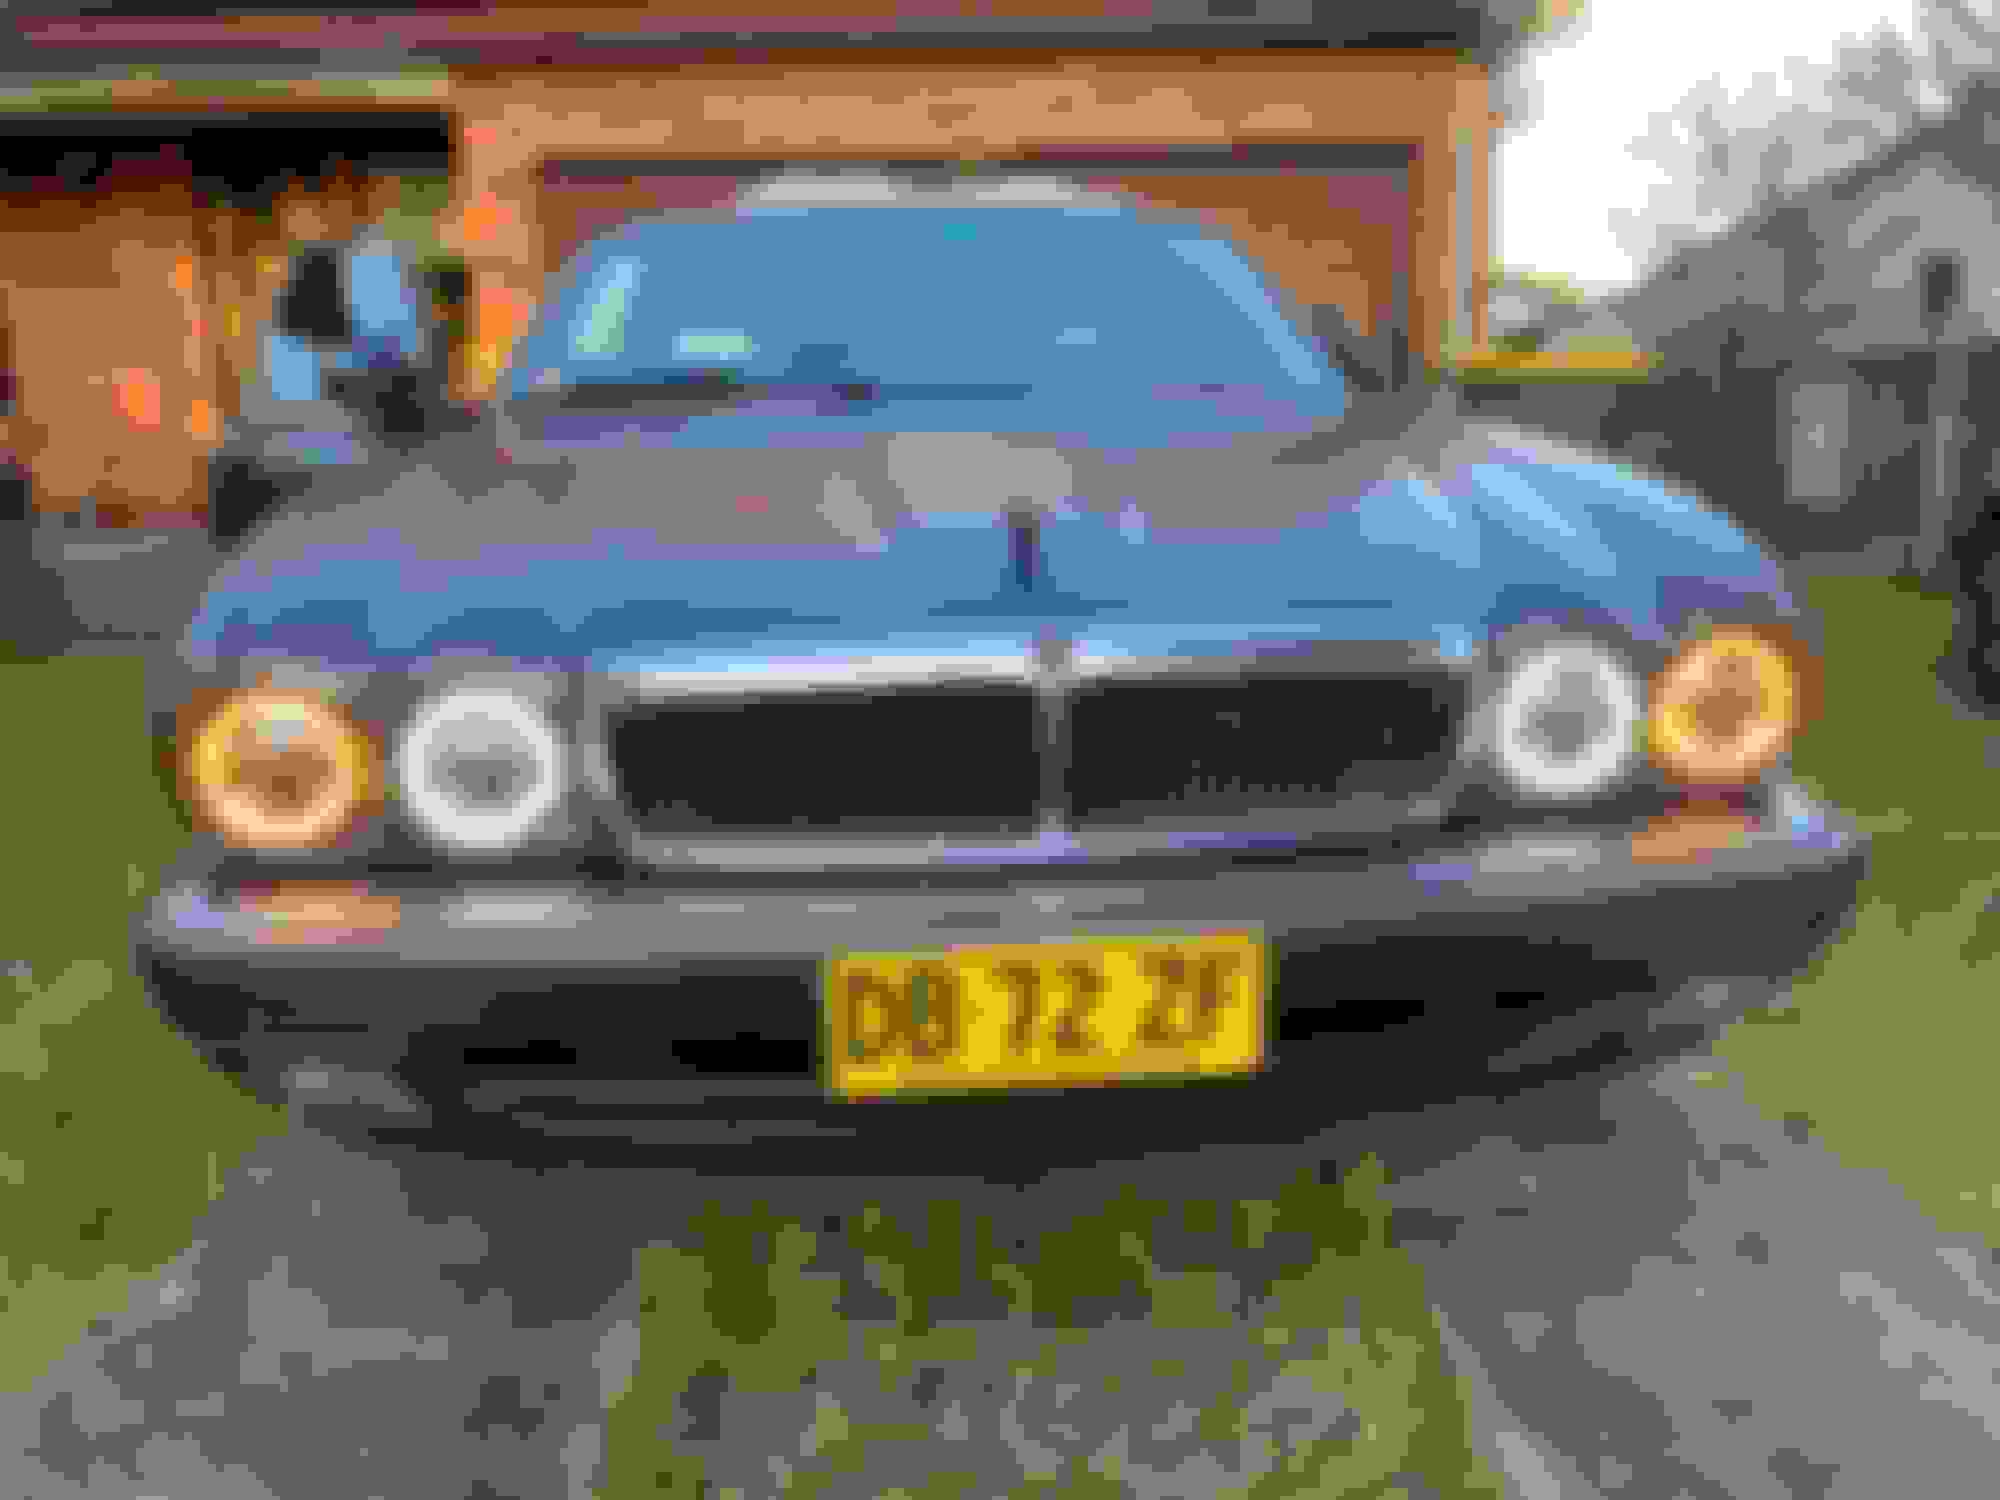
i did this for two reasons, i think it looks better andnit provides a bigger difference between low and high beam brightness which is nicer for me but also makes it easier for other drivers to notice if i flash my high beams.
Lights off. Nicely centered. Fairly eve gap around all sides. Park lights on Hazzard lights on with park lights. Only outer lights have indicators wired in Low beam headlights on. Only outer low beam globe is on. High beams on. Inner and outer low beam and high beam globes on. Park lights on at night Low beams on at night High beams on at night
That is some fine work. Best headlights upgrade I've seen. Unique and professional looking. No mistaking the equal size round quads as JAG. I appreciate the effort it took. Now put all those parts in a kit and sell them to us!
I'm not quite as ambitious, but I was thinking of sticking my extra OEM low-beam globes into the high beam positions and driving around with all 4 on to light up the road better.
Thanks.
It certainly was a big job and took a lot of effort, but was so worth it.
I absolutely love it. they look amazing and the difference when it comes to lighting the road is just crazy. there is no comparison really.
Hey mate, just out of curiousity what specific LED headlight product did you use, I've just had a bit of a browse and there seems to be quite a few out there. If it possible if you have a link that would be greatly appreicated.
Hey mate, just out of curiousity what specific LED headlight product did you use, I've just had a bit of a browse and there seems to be quite a few out there. If it possible if you have a link that would be greatly appreicated.
This is a link to the exact ones i bought. from ebay via a local supplier here in AUS https://www.ebay.com.au/itm/203500283943
There are many similar looking ones and some that are exact same looking.
some are cheaper some are more expensive. i am unaware of the quality difference from one to the next.
what i can say, is these have been in my car for 1 year now and are great.
Cheers mate, appreciate it! I was thinking of doing something similiar to my X300 and was looking around for anyone else who had done it (lucky I found this forum and another fellow Aussie as well).
In terms of the bracket used to mount it, did you find a custom one on the internet and mount that into the existing car or did you basically just make your own in the end? From what I have read from above it looks like you crafted your own mount?
 01-21-2022, 06:50 AM