When you click on links to various merchants on this site and make a purchase, this can result in this site earning a commission. Affiliate programs and affiliations include, but are not limited to, the eBay Partner Network.
I need a new valve cover. I got a used one that has minimal wear all things considered. I plan on having it soda blasted to clean it to bare aluminum, but aside from that I don't know if it should be painted, anodized, or even hydrographed (hydrographicsinc.com). From the sound of it hydro graphing is a solid bet, but is going to run about $125 without shipping.
I painted my old valve cover once upon a time ago after it had been sand blasted and I used paint from the auto parts store for valve covers. It has since begun to severely bubble, so I'd prefer to pay someone to do a proper job. I'd like this to be the last time I have to worry about the condition of the valve cover for the next two decades.
The valve cover is magnesium, not aluminium. For some bizarre reason Jaguar saw wisdom in dropping alum. after the XJ40 (I believe mag. is lighter weight). Sadly the XJ40 cover doesn't fit the X300 head.
Others may come in with more informed comment, but I understand that mag. doesn't take too kindly to "conventional" painting - anyway, whoever is to professionally finish it for you needs to know they are dealing with mag. and not alum. Like you, I'd like to find the best solution for refinishing the mag. cover!
Did you use primer first and allow it to cure properly? I used Dupli-Color 500* engine primer and enamel and put the cover in the sun for a couple of days between the prime and finish coats. It's holding up well.
There were some blisters in the original finish which I ground out and filled with JB Weld.
Every metal component was striped of paint and hand polished - mainly in situe apart from the cam cover which I bought a 2nd hand one and polished it separately.
Intake manifold was the worst to do, due to its shape and accessibility.
I love the idea of polishing it. What did you use to get such a strong shine? No issues with the enamel bubbling? It'd be a good bit cheaper to polish it than paint it over having it Hydro graphed. I just want something that will last for the next 300,000 miles and 30 years.
What all did you have soda blasted with regards to the underside? Or rather, how much of the underside did you have soda blasted? All of it, or just the groves where the seals sit.
The actual media used to blast it was of a silica type. Only the top and sides were done. There was still a lot of clean up necessary to rid the inside of the cover from all the residual leftover. There was some flaking on the inside of the cover so I did hand sand it a bit. Once everything was buttoned back up I drive it for some amount of kilometres then gave it a cheap oil change to wash any fine particles which may have been leftover mostly for piece of mind although I saw no debris.
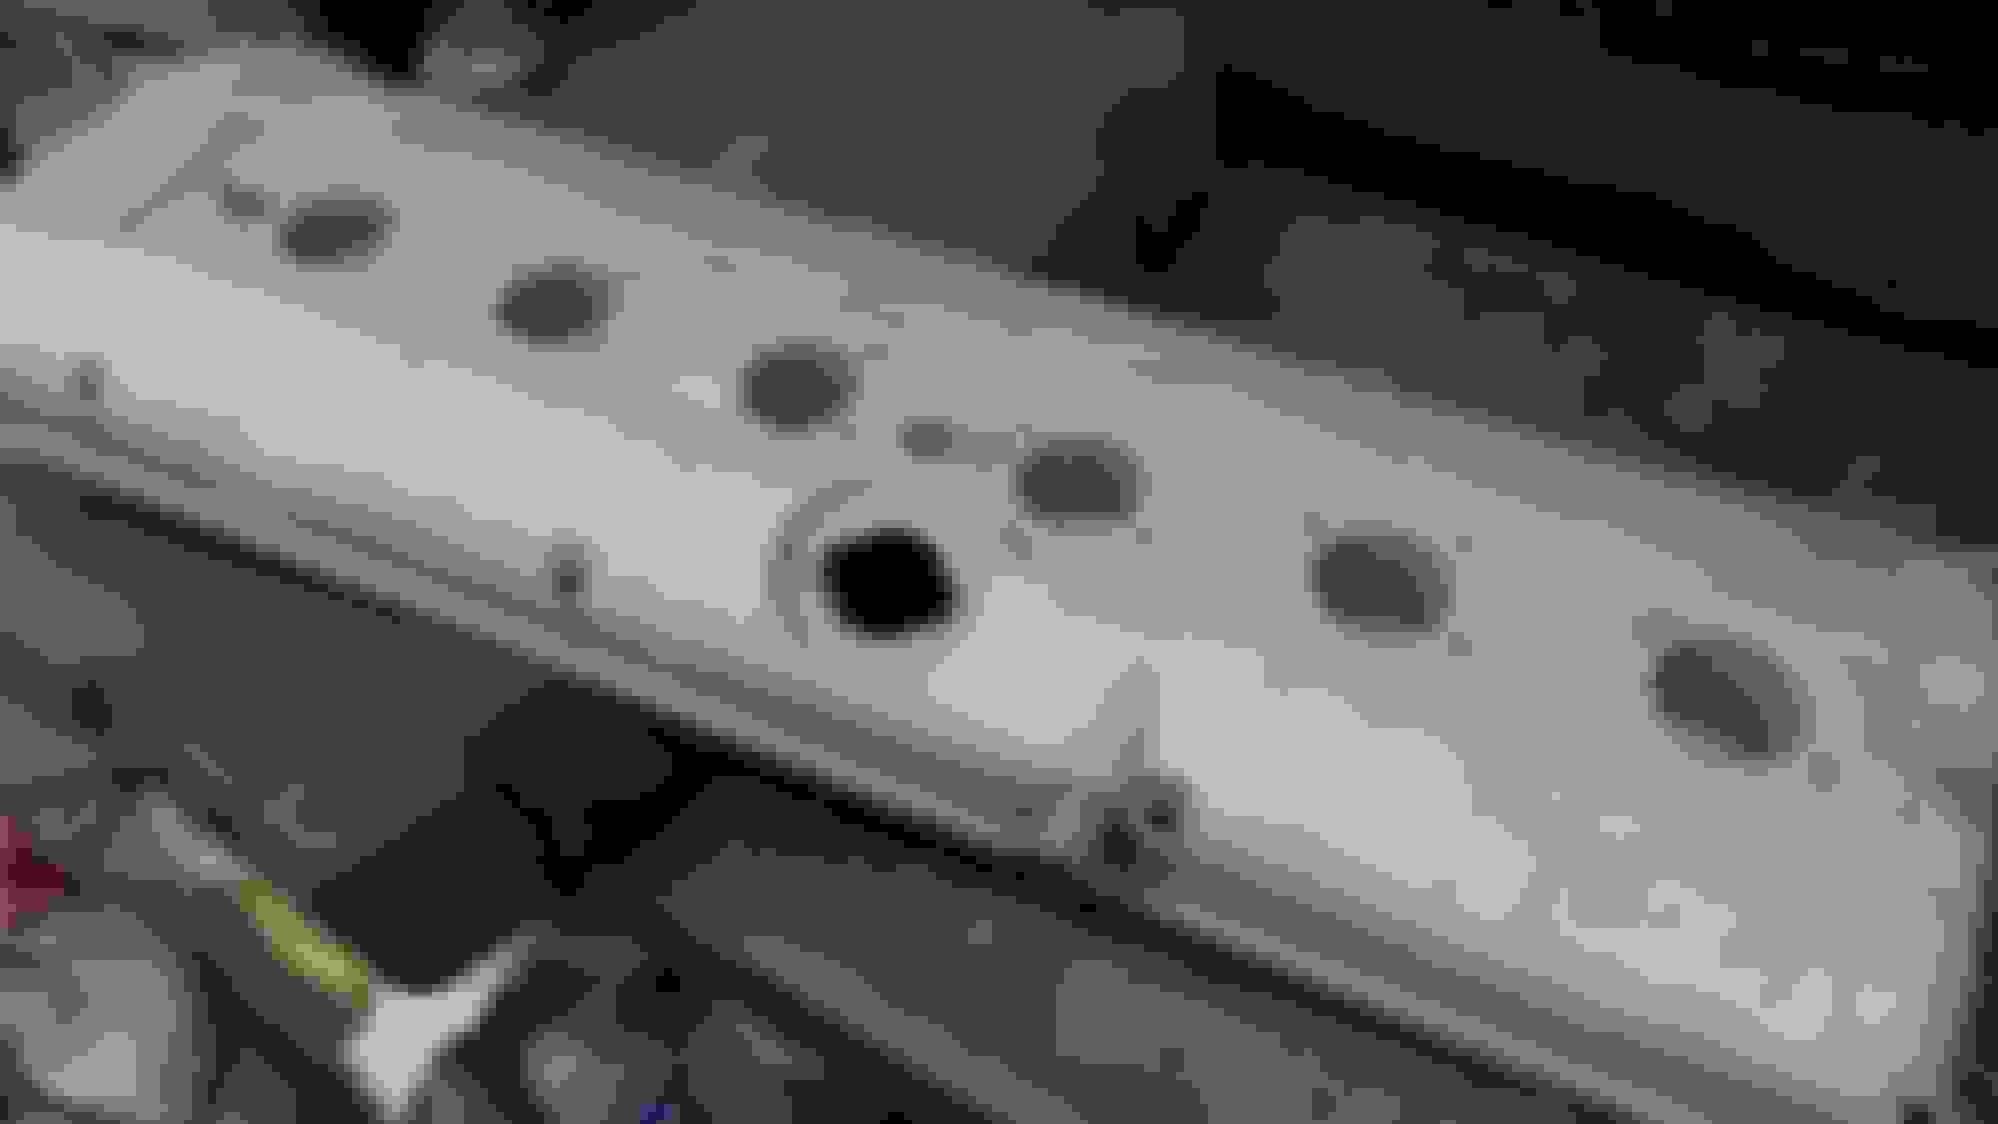
After Silica blasting and before powder coating coating
Last edited by shaune; 02-09-2015 at 08:58 AM.
Reason: .
Did you powder coat the underside or leave it bare magnesium?
Hi, Al,
I left the under-side untouched except for giving a quick hand-sanding on some protrusions I felt might eventually pose a falling-off risk. Again, I didn't sand the whole inside, just knocked off a few high spots and used air to give it a really good cleaning and a mineral wipe down inside the cover.
Feel free to ask any other questions regarding this process.
Last edited by shaune; 02-12-2015 at 05:25 PM.
Reason: .
Every metal component was striped of paint and hand polished - mainly in situe apart from the cam cover which I bought a 2nd hand one and polished it separately.
Beautiful, and very interesting approach dfieldsend! You mentioned that you didn't do the 2nd hand cam cover in situe. Can you explain the process you used for stripping, cleaning/smoothing, and polishing? I'm not knowledgeable of metal stripping/polishing, so don't think you'll insult my intelligence with simplicity. I am really interesting in trying to replicate what you've done, so am considering it for my 1995 XJR magnesium cam cover that all the sudden looks as sad and bubbly as all the other X300 cam covers I see out there.

 01-30-2015 | 01:45 PM