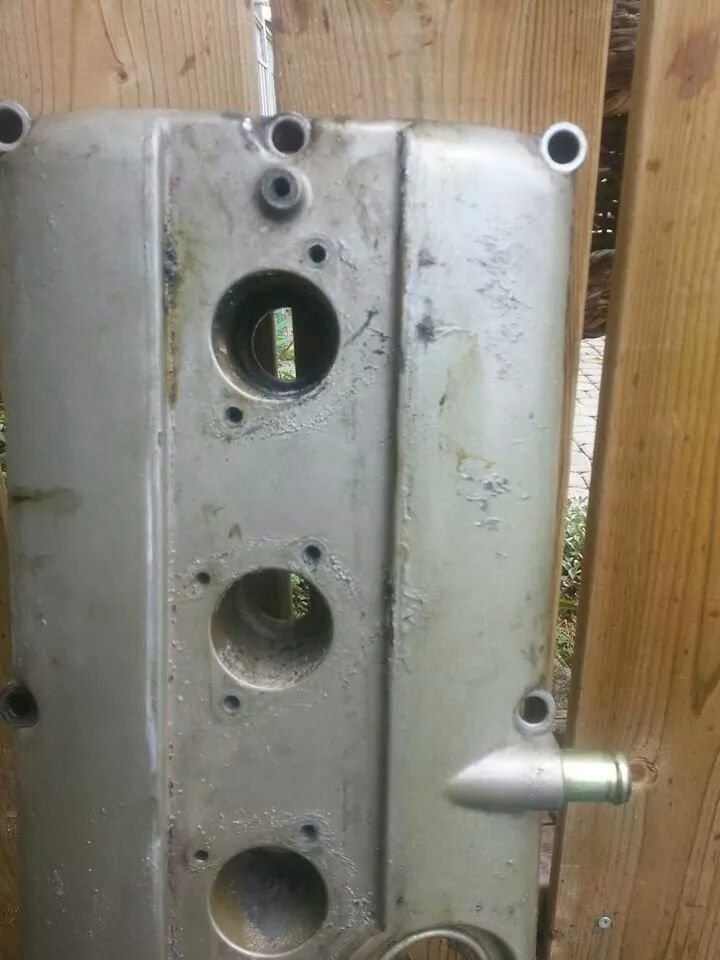
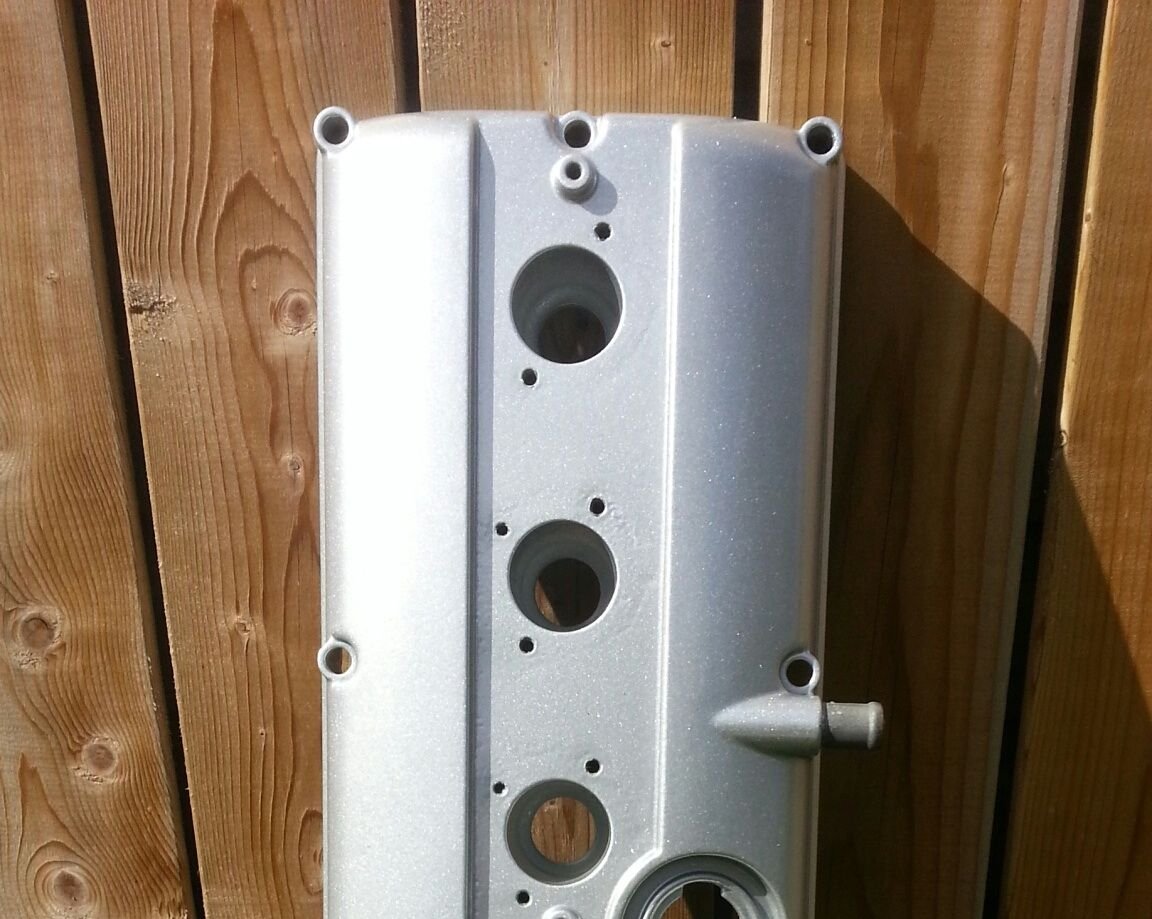
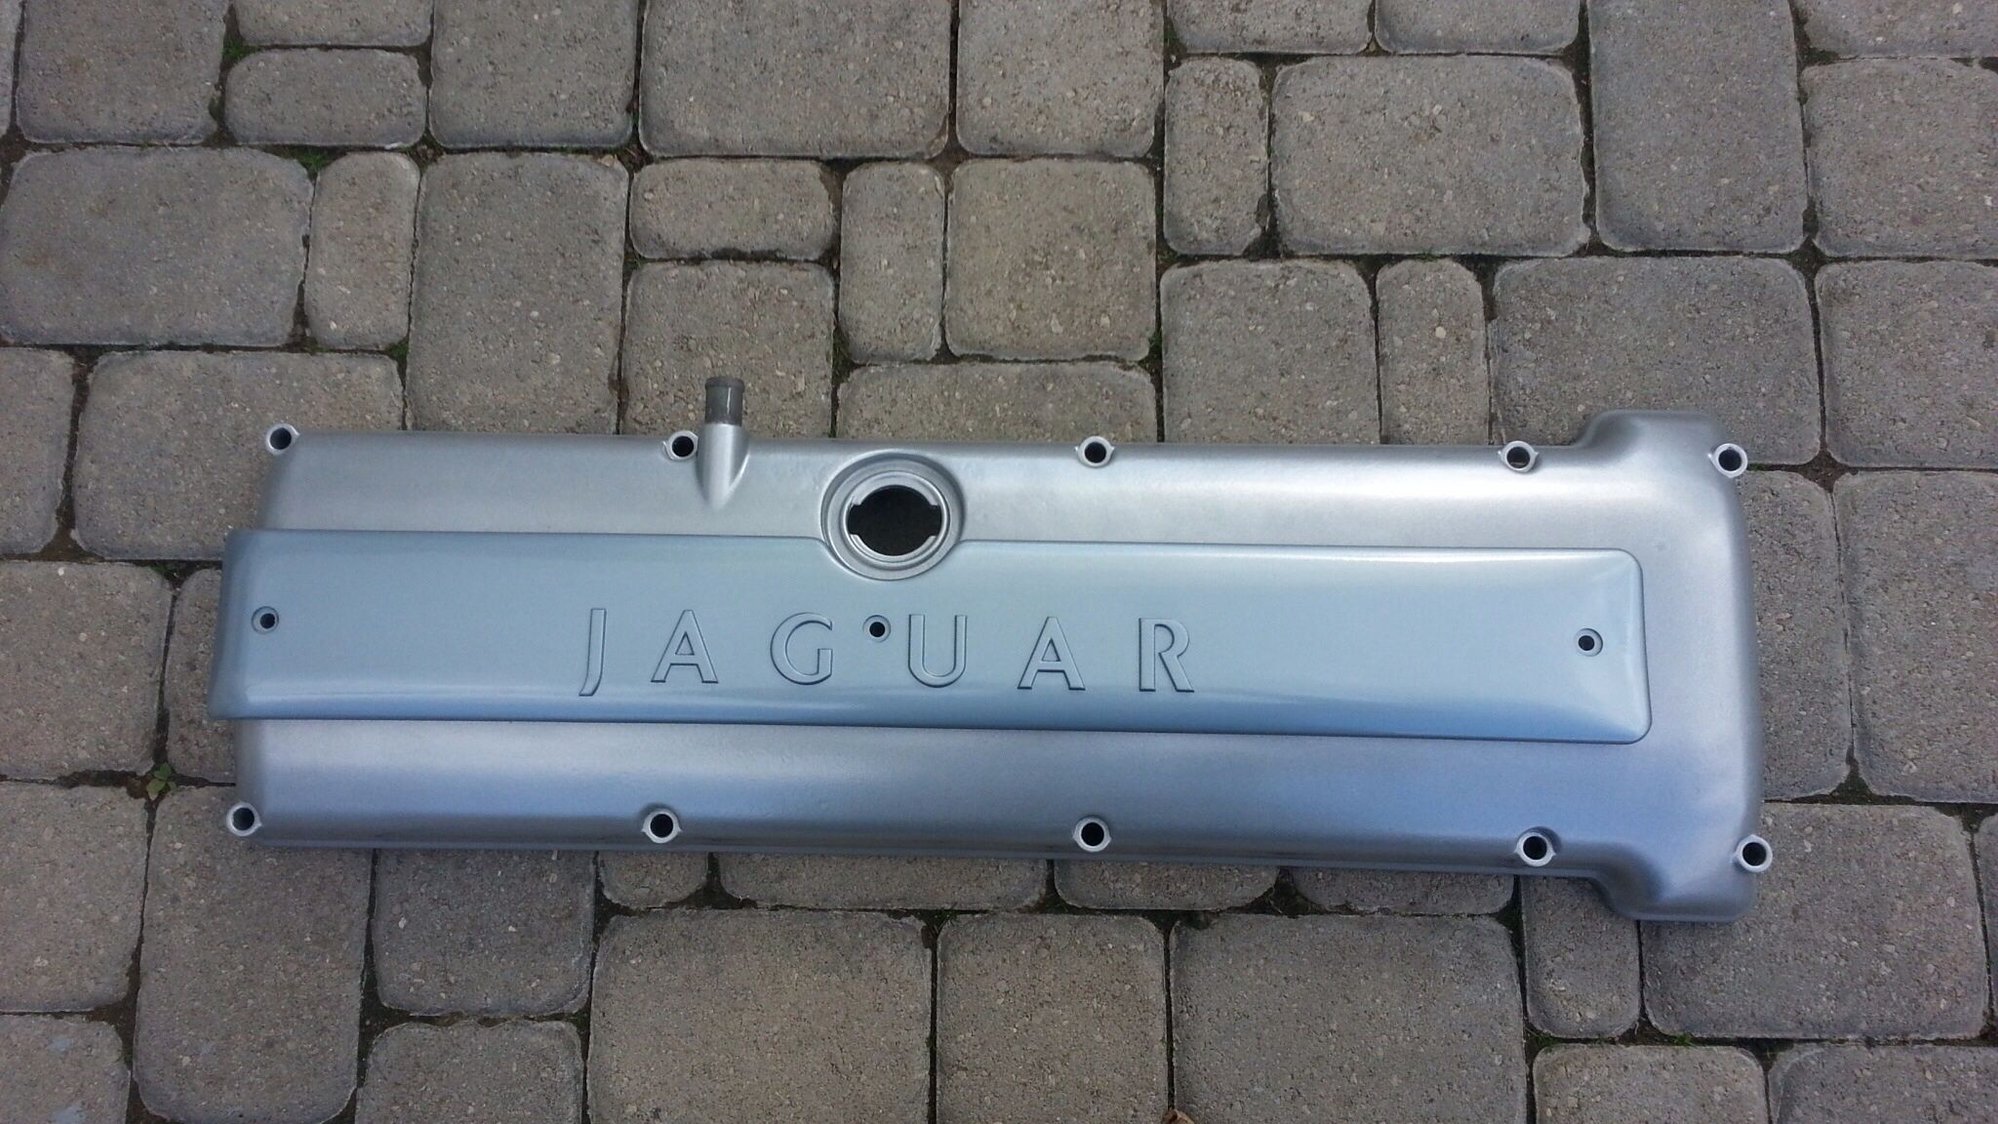
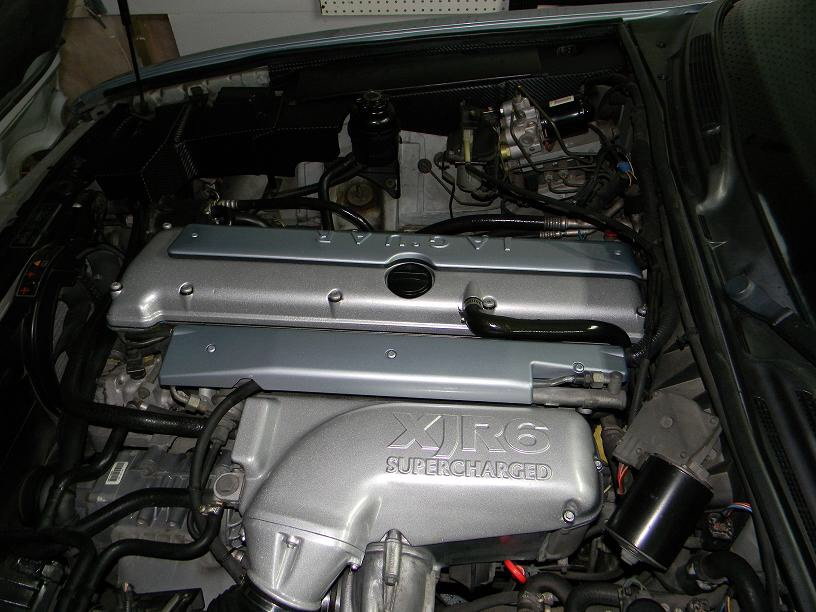
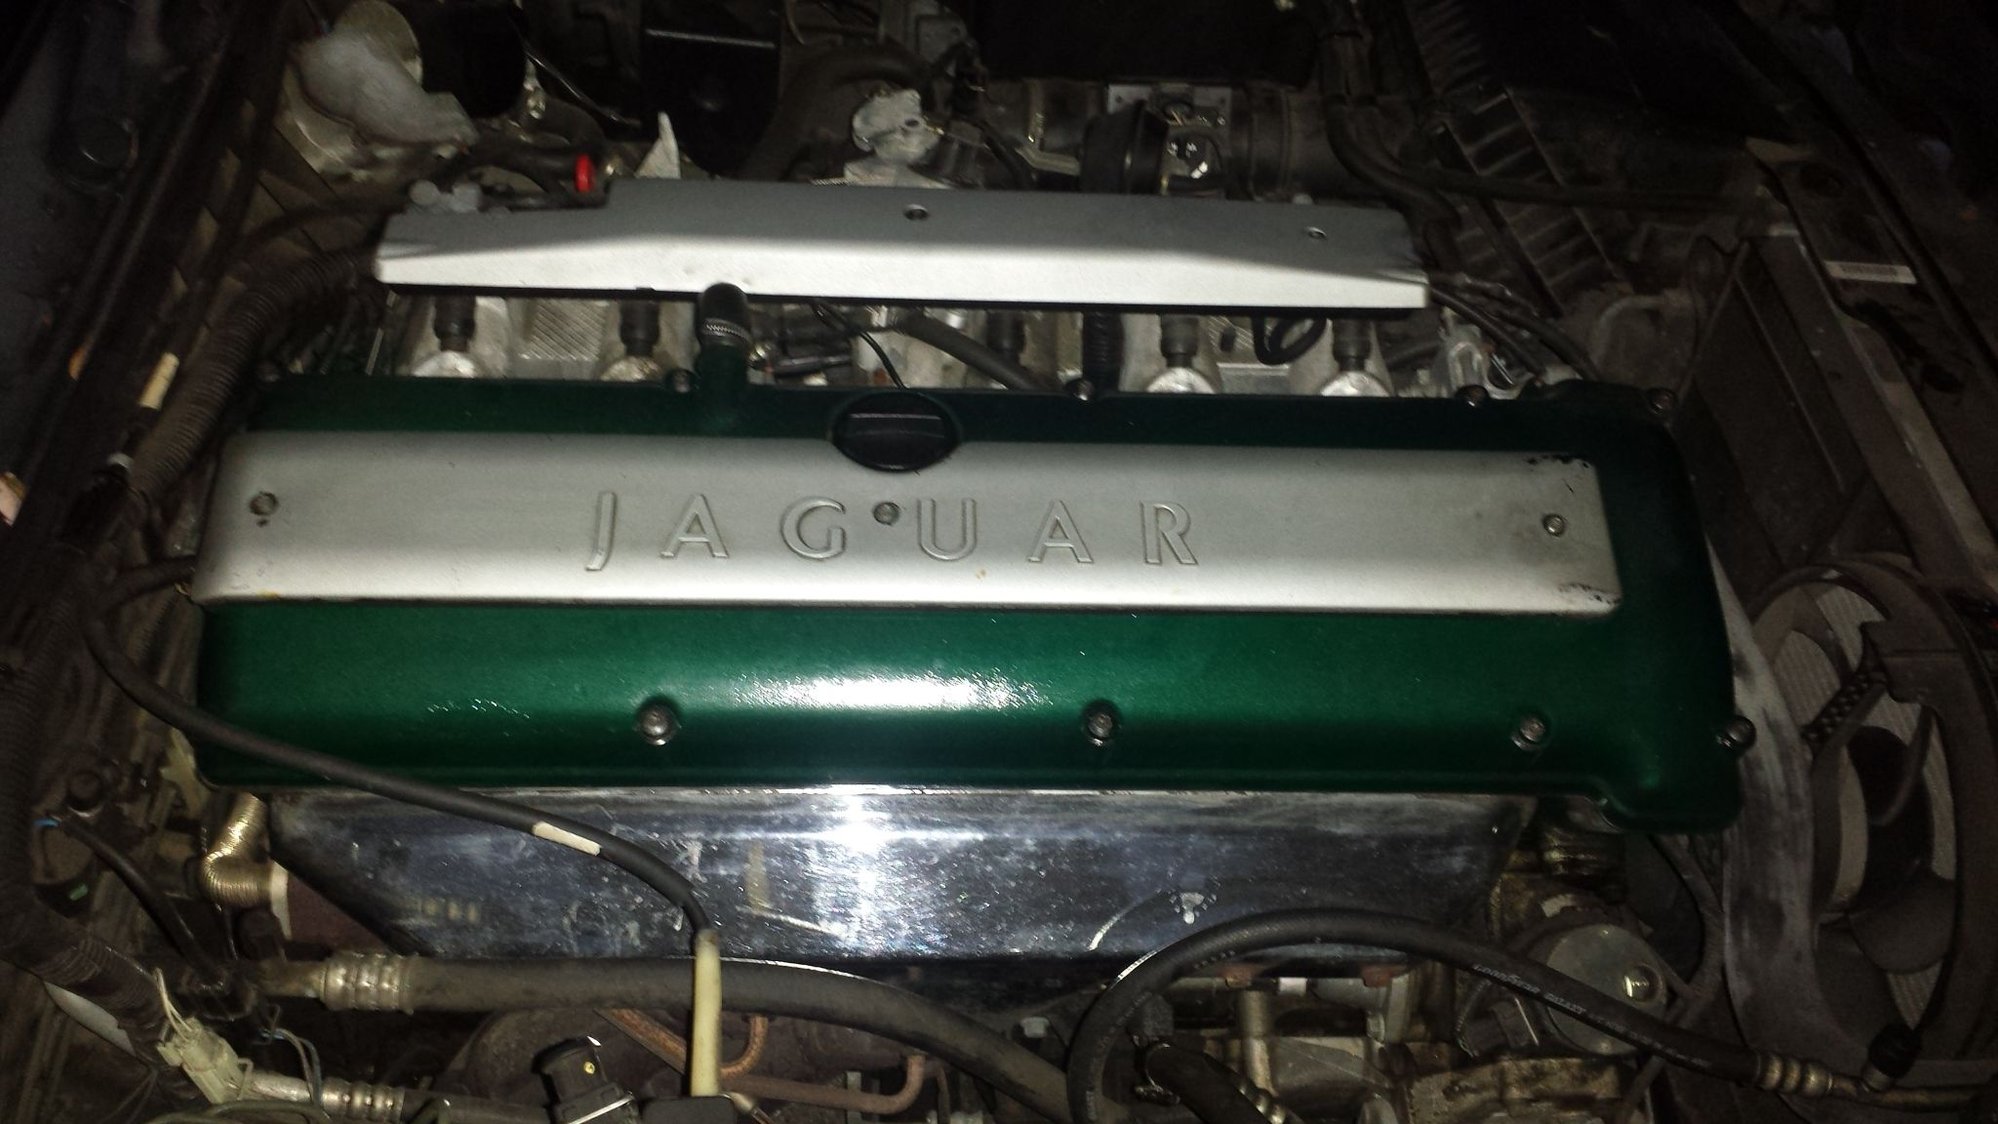
How would you refurbish a valve cover?
#21
That's proper beautiful. Good job!
Mine was peeling everywhere, so I took it off, cleaned it with iso, sanded it down by hand and then painted it as close to British racing green as I could--GM forest green, semi-metallic, a leftover from my dad's AMC Hornet sportabout (lovely car). I love how it came out, but I messed up some of the self-etching primer, and there is a small triangle where you can tell. Other than that, it looks great, and I plan to paint the coil cover and injector cover black or use silver mag wheel paint. I'll post a picture later if I remember.
Next time it calls for it, I might just polish it like you did! That is one clean engine!
The following 2 users liked this post by Malihide:
BigBossRadio (09-30-2015),
someguywithajag (07-18-2022)
#22
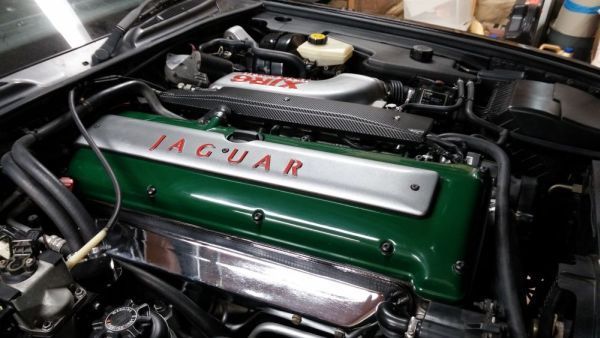
I did mine up in a "close as I could find" shade of British Racing Green as well. (I think it was "Hunter Green")
It was in good shape with no pealing or corrosion but I always thought it was a little "plain" under the hood.
So I stripped off all the old paint, sanded and etch primed the Cam cover and the Intercooler cover.
Painted the cover with the green, repainted the lettering on the coil cover and intercooler cover
(My Mrs did the masking of the letters) then painted them with a silver. Clear coated, color sanded,
buffed and waxed before installation. All the color and clear used was high heat paint.
I also wrapped the injector cover with simulated Carbon Fiber. Been holding up fine so far.


The following 4 users liked this post by BlackXJR:
#26
Curious, were there any issues with the filter media under the cam cover (for vapor recovery) and the heat of powder coating?
I'm not sure what the filter material is made from and wondered if it held up to being baked at 450F.
.
#27
Al, think of how hot that engine and the oil hitting that material can get, I think that'll provide the answer.
#28
It is hard to tell looking at it up in the baffle.
Also, did get a confirmation from Jet-Hot that they cannot ceramic coat magnesium due to the high curing temperatures required. They said that powder coating should not be a problem given the temps required though, and we of course have already observed that in the posts above.
.
#29
I'm in the process of stripping and painting one. I got it at a you pull it yard for $8, all the bubbling was paint bubbling not magnesium corroding which surprised me. ( the coils on the cover were only $9 each with warranty, jack pot!) I'm stripping it to bare metal and using high heat primer and paint.
#30
I'm in the process of stripping and painting one. I got it at a you pull it yard for $8, all the bubbling was paint bubbling not magnesium corroding which surprised me. ( the coils on the cover were only $9 each with warranty, jack pot!) I'm stripping it to bare metal and using high heat primer and paint.
It's in pretty good shape too, but it will probably be my experimentation subject

.
#31
The following users liked this post:
someguywithajag (07-18-2022)
#32
For now, I think I'll proceed with the soda blasting and continue researching what sort of finish I'll apply. FWIW, said powder coater has a $40 minimum, (assuming small parts are already blasted) so I may take the battery hold-down bracket as well as a collection of brackets and braces I've pulled off the Jeep and sand-blasted over for a trial run with them
Sure wish I could've found those sub-$10 covers you guys did....I paid $200 for my "spare." But then.....I also got an entire, running X300 LWB with 2 new tires...mismatched sizes...but still a fair bargain. In any case, I'll have 3 tries to get it right. This weekend I hope to pull the cover off "Spruce Bruce" for blasting and refinishing, and will fit it to my 95 daily driver, then have a go at that one. Probably fit it back to Bruce and give it a year or two to see which one holds up best (assuming different finishing techniques for each) before we attempt the kid's 96, which is still in fine nick, for now.
Last edited by aholbro1; 02-20-2016 at 09:07 AM.
The following users liked this post:
motorcarman (02-21-2016)
#33
All the pictures are real nice. And after refinishing mine it also looked like that. But the real problem is in the spark plug wells. There is where the real electrolysis happens. After about a year I went back in and looked at the wells. The finish is beginning to bubble a the finish up again. What about all you guys looking inside the wells and reporting how that area is doing?
#34
#35
I use a piece of bicycle inner tube around my coil boots, long enough to cover the plug to the bottom of the cool to prevent any arcing to the wall.
#36
All the pictures are real nice. And after refinishing mine it also looked like that. But the real problem is in the spark plug wells. There is where the real electrolysis happens. After about a year I went back in and looked at the wells. The finish is beginning to bubble a the finish up again. What about all you guys looking inside the wells and reporting how that area is doing?
Guess I won't know for sure until I have another cam cover leak which is how the 'makeover' started for me in the first place. https://www.jaguarforums.com/forum/j...keover-129647/
#37
#38
I have not taken anything apart since I redid my cover but everything on the outside does look as good as the day it was done 16 months ago.
Guess I won't know for sure until I have another cam cover leak which is how the 'makeover' started for me in the first place. https://www.jaguarforums.com/forum/j...keover-129647/
Guess I won't know for sure until I have another cam cover leak which is how the 'makeover' started for me in the first place. https://www.jaguarforums.com/forum/j...keover-129647/
Thread
Thread Starter
Forum
Replies
Last Post
xjrjag
XJ XJ8 / XJR ( X308 )
18
09-27-2015 01:53 AM
Currently Active Users Viewing This Thread: 1 (0 members and 1 guests)


