When you click on links to various merchants on this site and make a purchase, this can result in this site earning a commission. Affiliate programs and affiliations include, but are not limited to, the eBay Partner Network.
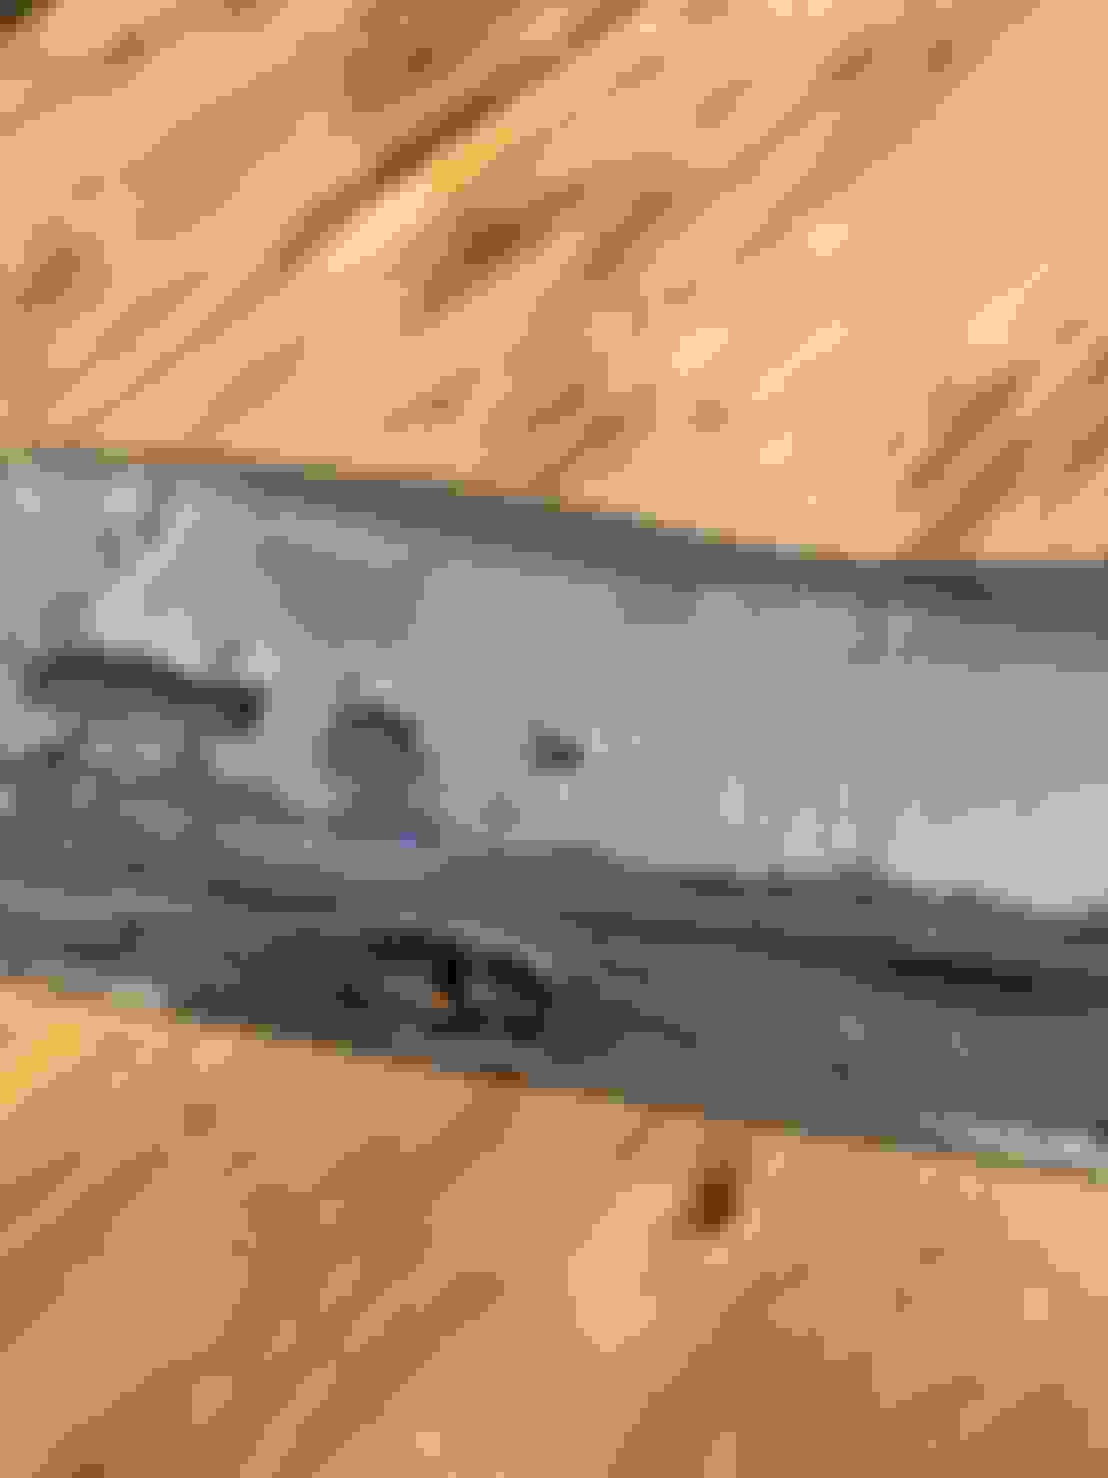
Well have found she is definitely leaky from the valve cover, around the back edge i can feel it. And atleast 2 other spots on the side.
time to look for a gasket and get out the gasket sealer.
easy to spot a leak when the oil begins to puddle lol.
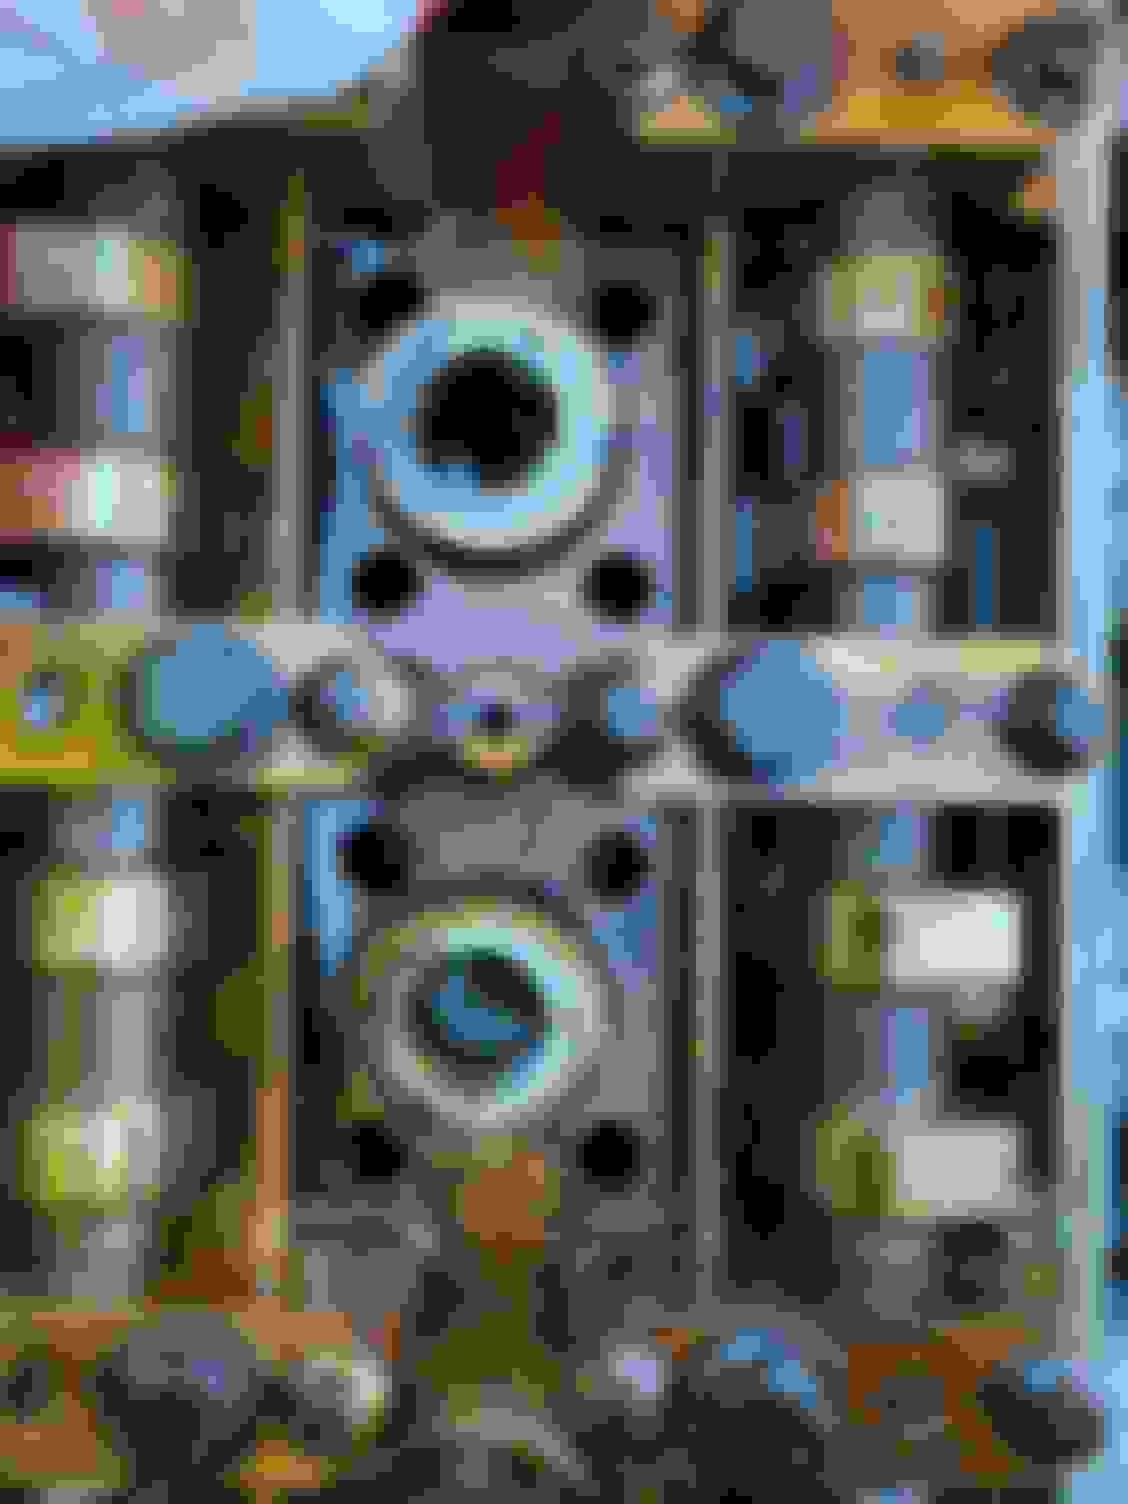
Looks like you have some corrosion going on that may have compromised the groove the valve cover gasket seats into
The valve cover is made from magnesium and not aluminum
Do not use a chemical manner of paint removal if restoring it at this time of your squaring up of things
The porous nature of the magnesium and absorbsion of chemical or reside effects the final finish on the option of clear or otherwise color powder coating to a bright finish
Sand paper only
I was fortunate to be able to swap one out at a salvage yard for a better one
My valve cover gasket was soft enough and reused but others have advice on a gasket manufacture
The problem area is the corner of the petruding Ds on the machining cutouts on the back as they transition to the majority of the flat shape all the way around and not so much the bead seal in the majority all the way around
Watch as you install the complete assembly that the Ds do not fall out of position by running your fingers on the aft edge of the assembled valve cover in place
The rear most plugs # 6 and 5 have a habit of being cross connected and there is a color code on the coil wires to keep it straight , a additional piece of black electrical tape on the # 6 can keep it straight for future tinkering
The plugs recommended by Jaguar are simple copper Champion # X and never any exotics like platinum or iridium
was planning to repaint it and would only use wire brush and sandpaper.
Liquid gasket stuff may well allow the proper seal to form. Will keep a look out for a better one, but unlikely.
Ok so, this is going to tale me a few arvos to do all as time after work is very very limited with sunlight, and i need to clean and repaint the valve cover.
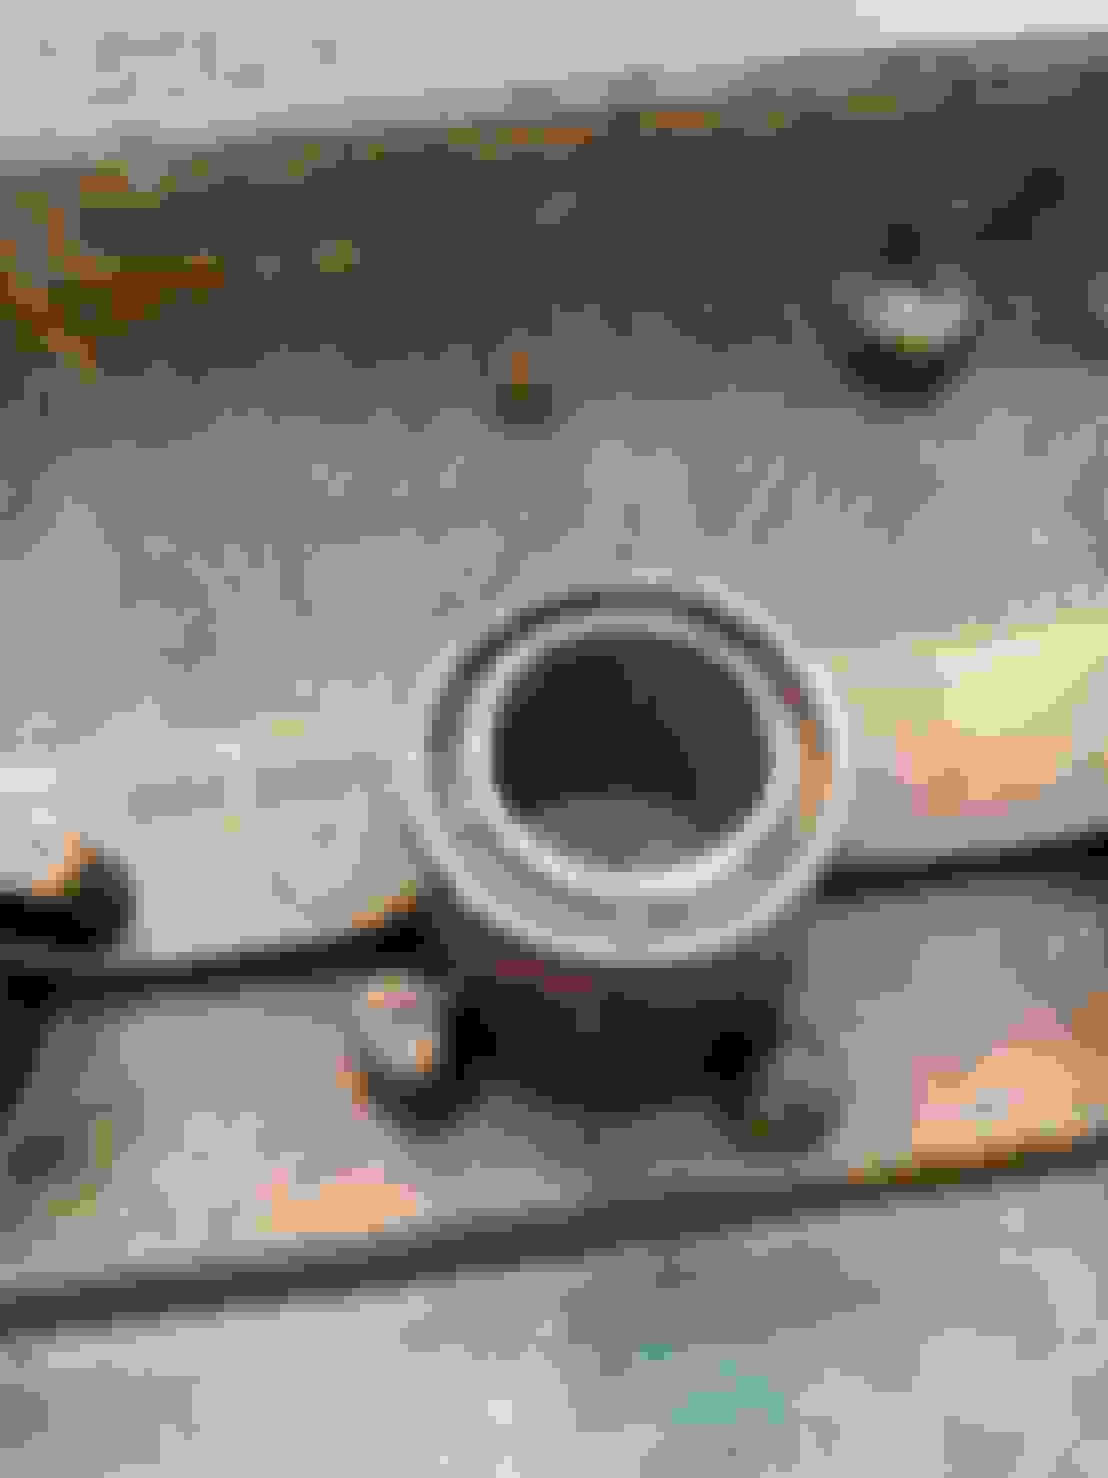
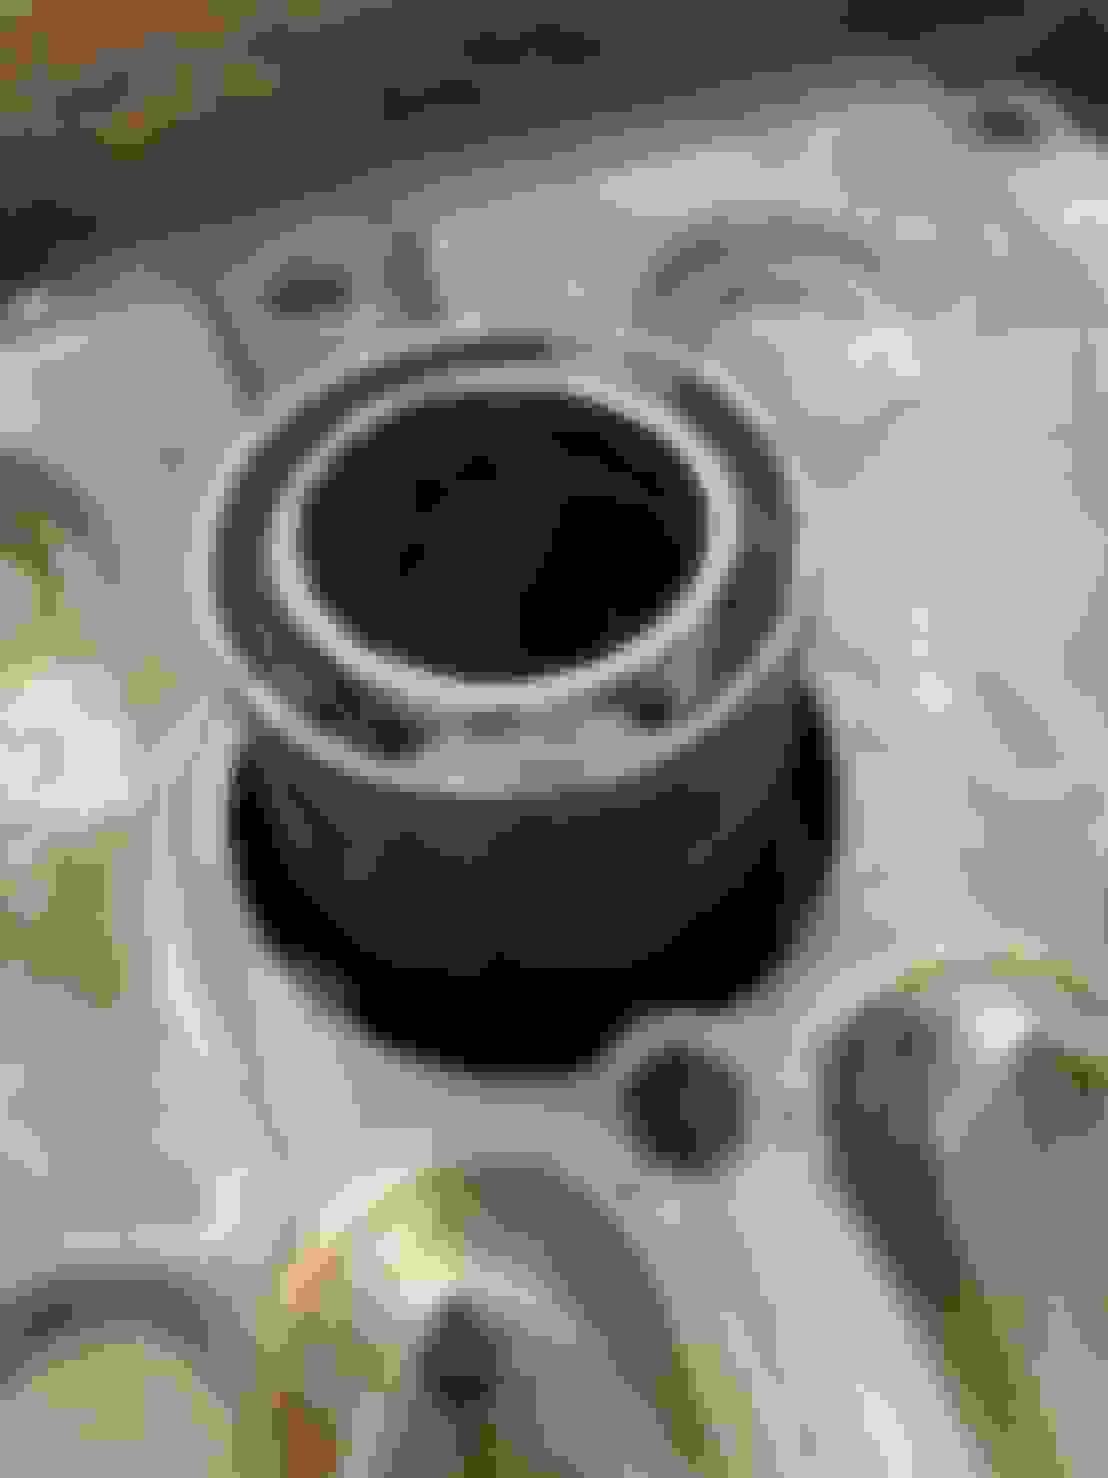
took the valve cover off today and my goodness the old gasket was so hard and dry it probably has not actually done its job for quite some time.
and the spark plug seals were all cooked also.
i am very very surprised by the amount of oil in the spark plugs. I am super surprised it was running smooth and nice with this much oil getting into the plugs.
the ignition coils were soaked and dripping in oil
Would expect with oil like this to be getting misfires like no tommorrow.
well thats it for today, next step i suppose is to take suck the oil from the plugs out, clean or replace them,
and clean and prep the valve cover for paint while i wait for my new gaskets to come.
Seeing how bad all this is leaking is making me (blissfully ignorantly) hopeful that this is the only oil leak i have.
I also found pools of oil around a couple spark plugs when I changed my valve cover gasket. Good thing the coil pack/spark plug boot is made of oil resistant material. When you ordered your gasket and oil seals, you remembered the little rubber grommets for the valve cover bolts, right?
I also found pools of oil around a couple spark plugs when I changed my valve cover gasket. Good thing the coil pack/spark plug boot is made of oil resistant material. When you ordered your gasket and oil seals, you remembered the little rubber grommets for the valve cover bolts, right?
damn it.....
i suppose they can be re-used along with some sealer tho?
did not think bout those cus when i read things before bout changing it i saw "don't worry bout taking the bolts out they will stay in the cover"
and crap, just checked and the supplier i got the valve cover gasket from is charging AU $7 a pop for those.
surely i can find another gasket from something else
Just like they say....you get what you pay for. If you are going through the trouble of changing out the valve gasket, do yourself a favor and replace the plug rings.....with new ones.
Yep, definitely change the bolt seals as well as the spark plug rings. I read somewhere (possibly this forum) that the seals have a 2nd function besides sealing: because the valve cover bolts are only partially threaded, the seals help keep the correct pressure on the cover.
Some vendors charge silly prices for them. I got URO brand aftermarket bolt seals from RockAuto.com for US$1.39 each. No idea about time and cost to ship to you though.
Time to learn of your local breaker yards that has Jags
no luck atm finding one in good shape.
they are not common here really.
rang a couple jag wreckers and all theirs are damaged too.
overall i think this is repairable
aside from trying to get my hands on a second hand cover in good shape, i am going to try the POR-15 route i have seen mentioned.
fill in the cracks with JB Weld, clean, treat and coat with POR-15, replace with new gaskets and silicone and hope for the best.
i am sure i will get a better result than i currently have, just a matter of how good and how long it will last.
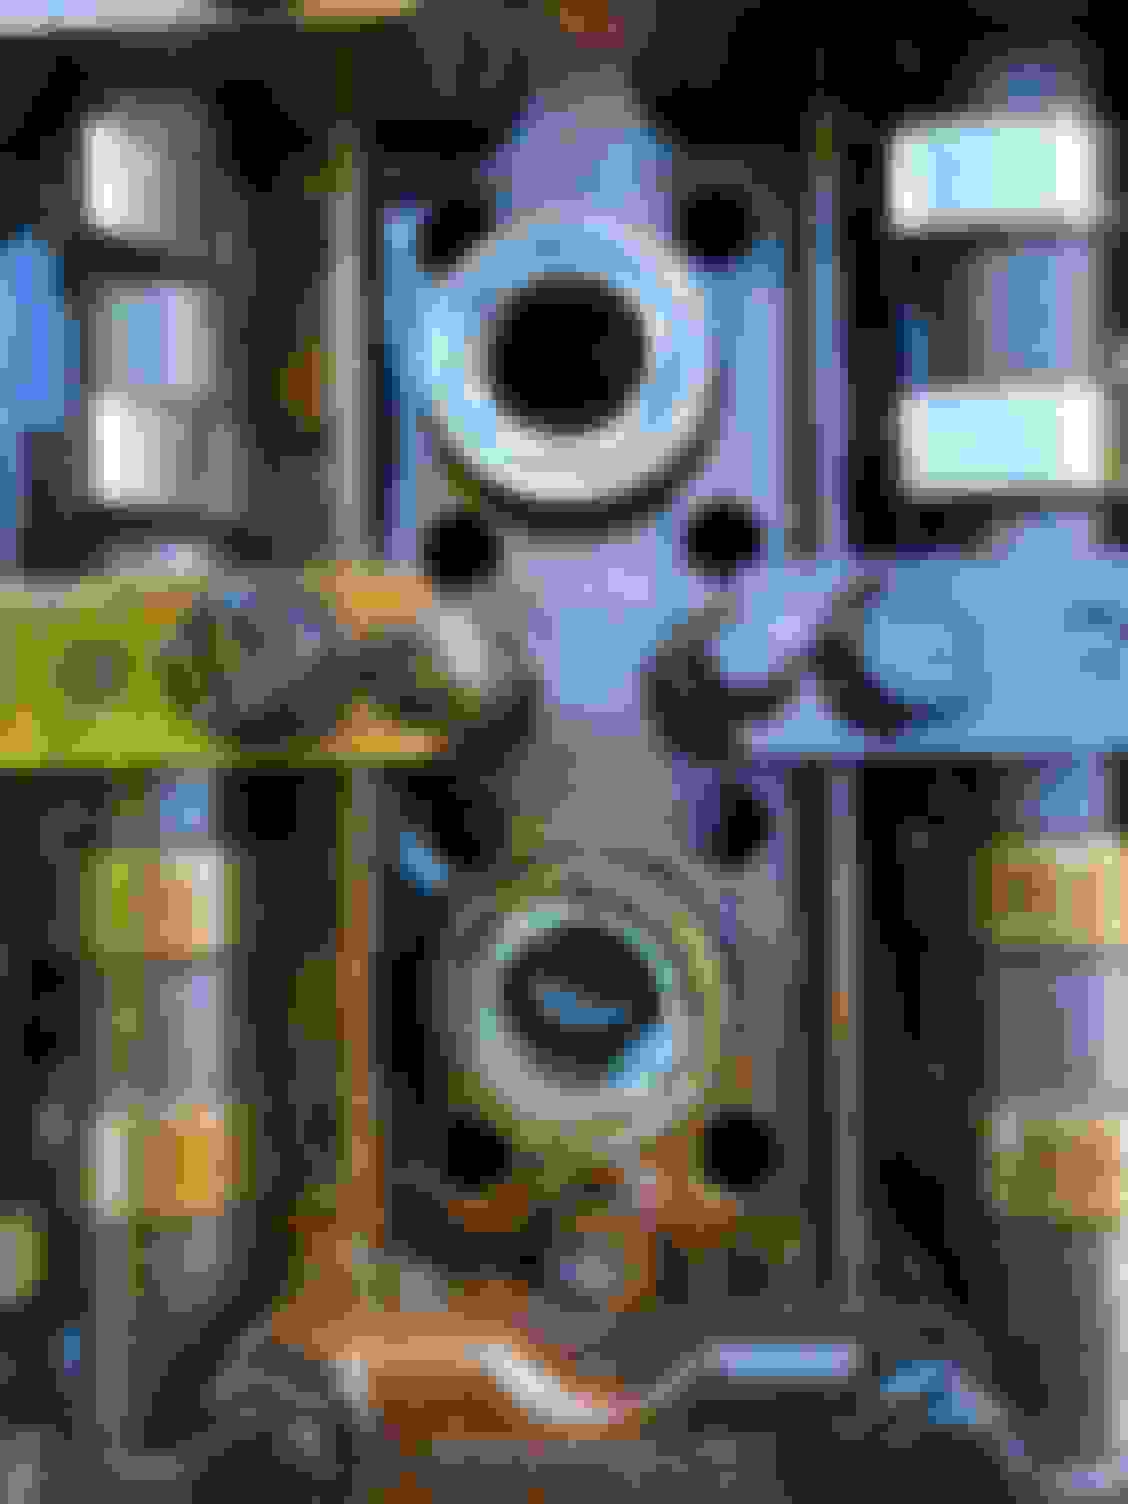
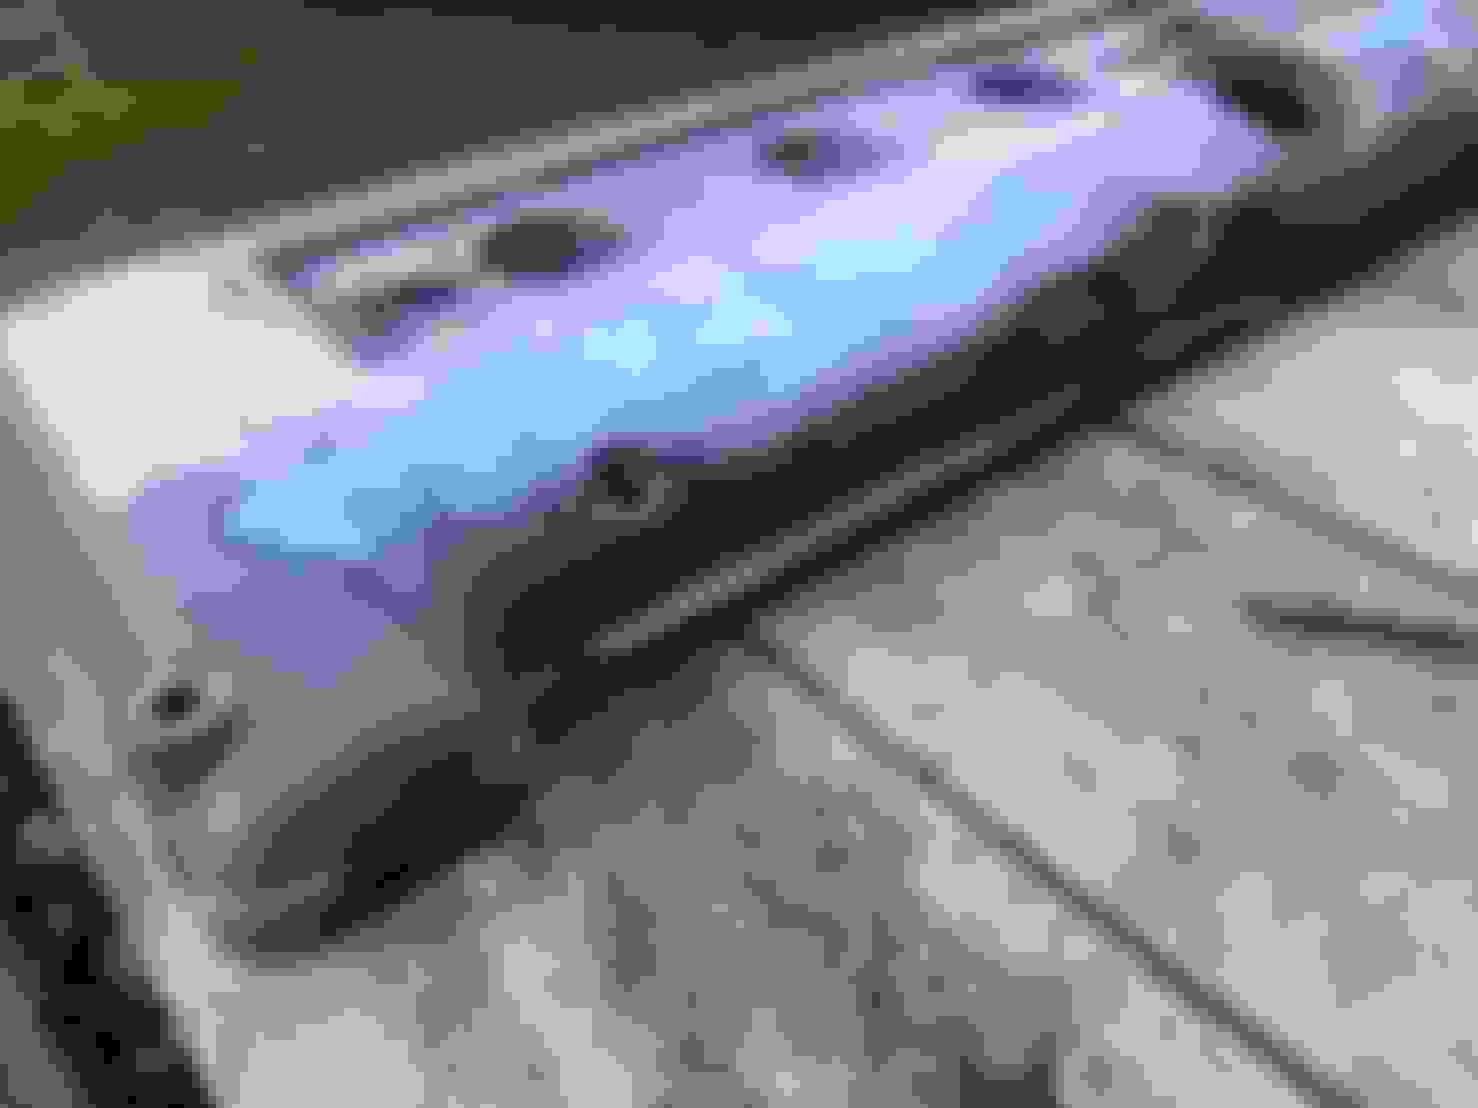
Ok so gave it a little more clean up when i got home from work today and the results are much worse than anticipated.
there is a small hole on the outer edge. not bad at all.
plug wells 1,3,4,6 are all good.
but 2 and 5 are shot.
so gotta get a wire brush, strip the paint off, clean up the rest as best as possible then grab out the jb weld and fill those holes and patch her up.
good thing is once coated with POR-15 it will create a nice hard outer coating that should ensure the epoxy does not fall out.
this is far from the recommended solution for this problem, which is get a new cover, but firstly so far all the other covers i have seen (which is not many) are also damaged, granted maybe not as bad as this, but i also like to see if it is possible to fix things.
I will continue to monitor this thread. I tried, in vain, to protect the inside of the camcover by powdercoating all of it.... the powdercoating on the inside has begun to crackle. POR15 should fare better....I hope. JB Weld as a filler with POR15 as a paint should do the trick. Certainly sounds like the last stop in terms of options.
I will continue to monitor this thread. I tried, in vain, to protect the inside of the camcover by powdercoating all of it.... the powdercoating on the inside has begun to crackle. POR15 should fare better....I hope. JB Weld as a filler with POR15 as a paint should do the trick. Certainly sounds like the last stop in terms of options.
i have actually found por-15 make a product designed to patch holes that is the same as the paint in regard to protecting the metal from further rust/corrosion so i will be looking at that instead of the jbweld.
not sire bout coating/painting the inside or leaving it bare tho.
progress report.
spent a good 1.5hrs after i got home from work stripping paint form the cam cover.
combination of chisel, wire brush drill bits, 80 grit sand paper and well its coming along nicely.
still got more to do but i am getting there.
should (hopefully) be able to put in some solid work over the weekend and finish the job.
lots of hard work and elbow grease, but the more i get done the more i can start to see the finish product.......
 11-04-2021, 12:51 PM