When you click on links to various merchants on this site and make a purchase, this can result in this site earning a commission. Affiliate programs and affiliations include, but are not limited to, the eBay Partner Network.
Are you doing anything to the inside? What about that ridge where the gaskets are accepted?
was going to coat the ridge where the gaskets go,
i don�t think the inside needs coating tho.
not sire if i should coat it or leave it
can�t coat under where the filter thingies are as the plate is riveted on
still gotta decide on the inside, i mean i have read a lot saying leave it bare so nothing flakes off (which should not be an issue with the por-15) and leaving it bare will be fine as oil will protect it,
and then i have read that you must coat it as the magnesium is soft and will be affected by oil migration and corrode from inside.
seeing as though it is coated from factory maybe i should coat it.
just can�t get under the metal plate
Ahh the metal plate. I removed mine, by drilling out the rivets. Then I tapped threads in for screws. I didn't replace the clogged up steel mesh in there, but perhaps I should have.
I ran the engine without the plate and too much oil was splashing out of there.
I'd recommend not to paint the inside. That never seems to be the start of any problem. The ridge is often a problem area.
my brother who is a mechanic reckons i should just coat the inside.
he reckons that seeing as tho the corrosion is cuased (seemingly mostly) due to electrical arcing that insulating it all would be a good idea.
he also reckos that the POR-15 should not chip/flake like paint would.
and then he also says that the flakes from any paint would be nothing compared to what he sees in sumps all time anyway.
so i dunno, seems there is a divide as to paint or not to paint.
i am leaning toward painting.
i will not be removing that metal plate, bit too much effort to reattach.
what i did do today was spend another 1hr sanding and removing paint (still got more to go)(takes a long time to do mostly by hand)
and i used the POR-15 patch to fill in the holes in the spark plug wells.
will upload some more progress shots tommorrow.
I plan to get up early tommorrow and get a good start into it and get a chunk done over the weekend.
So, couldn't get the job finished today it was really wet outside and no way i was going to be able to fit it back to the car.
looks like it may well be next weekend now before i can put it back on... sadly...
but i got it all coated up.
I did coat the inside,
and overall the finish on the outside looks pretty good.
there is one area on the top where i messed up the finish, but its ok....
not worth sanding back and coating again just to fix one area of imperfection on a part that lives under the bonnet.
so tomorrow afternoon job after work will be sanding down the bottom edge to ensure its flat and even, filing out a little on the cam bolt holes as there is one or two spots that have gotten a bit much coating that i didn't realise until it dried, and getting it ready to fit,
next sunny day will be fitting it. and i can't wait because i really just wanna be able to drive her.
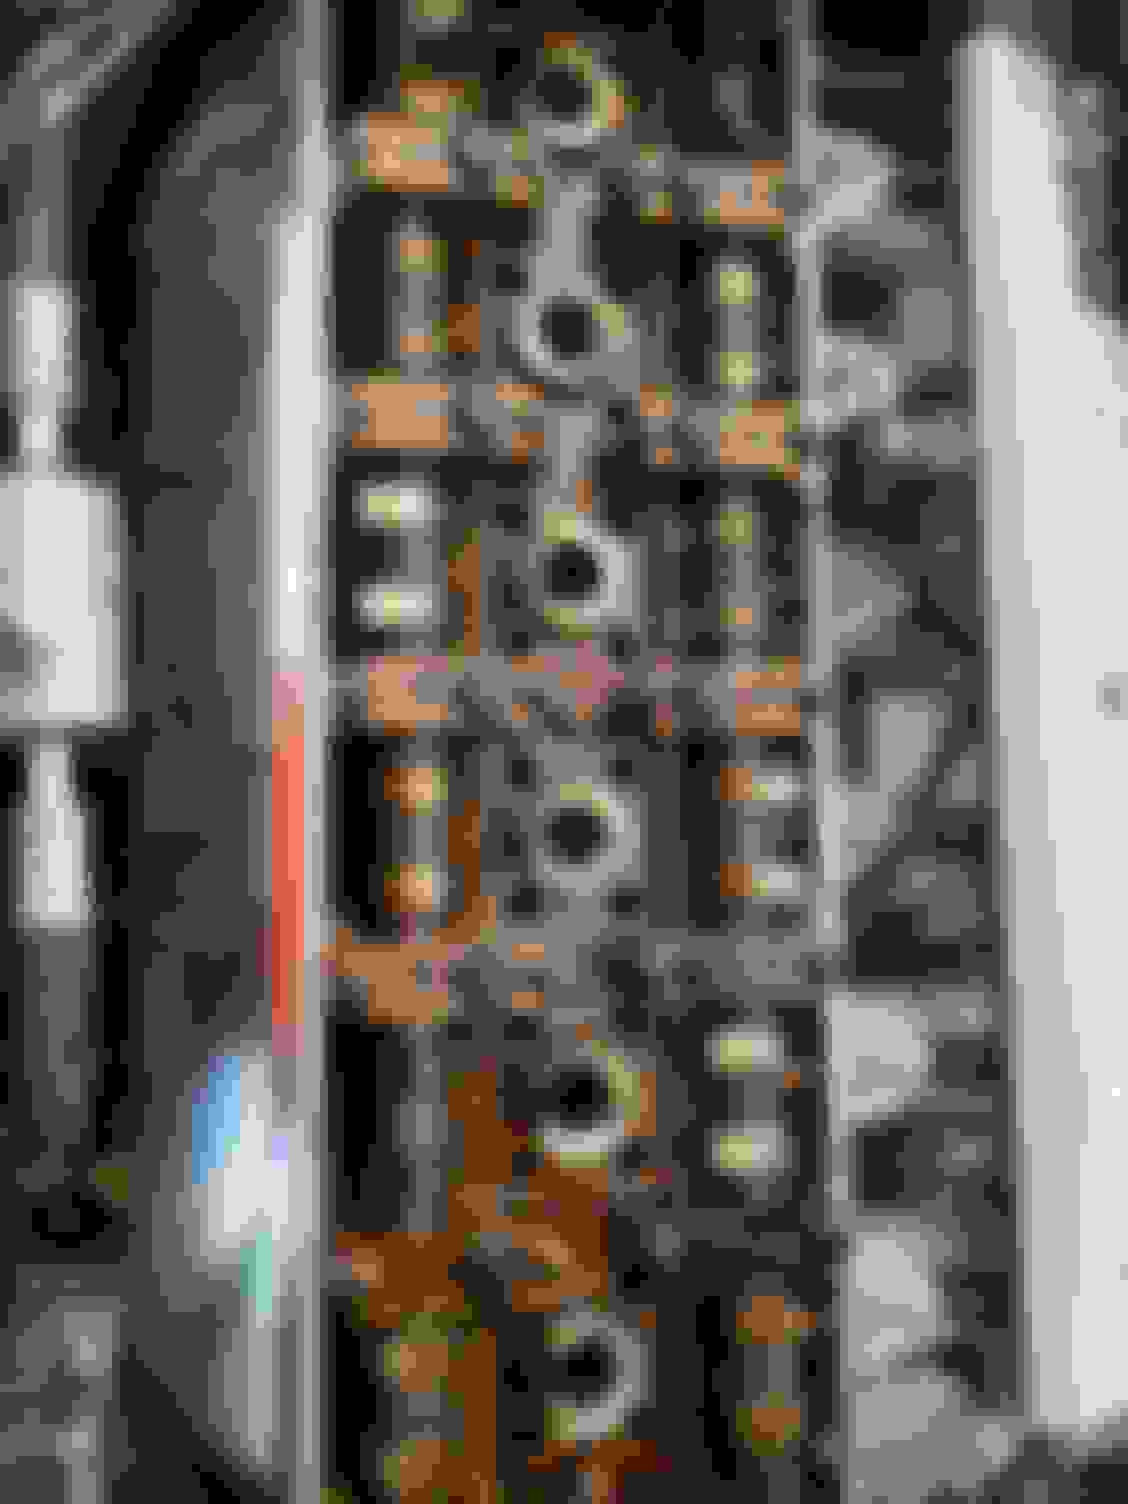
This was the condition of the spark plugs and the amount of oil in the spark plug wells.
hopefully it does not leak.
my concern is mostly that i torqued the bolts incorrectly.
so i tightened them up using the little ratchet i have above.
basically i tightened them until i felt the resistance.
then after doing all i went back and tightened them a touch more.
i hope its all good but i dunno
Good job saving that cam cover, make sure to check plug wells periodically. One thing you missed or at least it looks like you missed are plug wells. You see the corrosion there and paint flaking off the sides? This is from coils arcing to the cam cover when they crack and they all do. I strongly advise to cover the body of each coil in heat shrink sleeve and then in di-electric grease to stop further damage. If you don't, then arcing will continue to damage the cam cover to a point where it presumably go through the well wall.
Good job saving that cam cover, make sure to check plug wells periodically. One thing you missed or at least it looks like you missed are plug wells. You see the corrosion there and paint flaking off the sides? This is from coils arcing to the cam cover when they crack and they all do. I strongly advise to cover the body of each coil in heat shrink sleeve and then in di-electric grease to stop further damage. If you don't, then arcing will continue to damage the cam cover to a point where it presumably go through the well wall.
thanks, was a big job but worth it. Makes me feel good to achieve something.
i didn�t miss any of the spark plug wells, all were stripped right back to bare metal, holes filled and and coated.
not sure what picture you are looking at if you see any corrosion and paint flaking off.
The por-15 coating should stop any arcing also as it forms a hard epoxy coat and should insulate the cover so it can�t conduct electricity at all.
In theory the valve cover as original factory new parts are electrically isolated but ........
The coils are powerful thumpers
yeah seem to be. Good news is using a multimeter on the cover and connecting it to a battery i was unable to get any current to flow through it, so i think i can assume its currently non-conductive.
I HOPE IT IS
god damn it.
tried to drain the oil today.
can't get the drain plug off.
some malaka must have tightened it up too much.
need to get it up on a hoist or something so i can get in there with some more torque.
There is a concern of galling up or damaging or stripping the drain plug threads
So soaking with penetrating oil and some non flame heat finally broke it loose
In a worst case scenario would be removing the pan
I imagine you can suck the old oil out of the dipstick tube you would want the oil to be warm and stirred up to not have the sludge sink to the bottom of the oil pan
Speaking on sludge before changing the oil I like Rislone oil treatment that has toluene in the formula and once run for a while before draining will have some dissolved
sludge in the bottom of the pan
In the case of the AJ16 engine with the sliding timing chain tensioner piston this may prevent start up timing chain rattle
There was a Jaguar TSB on the matter with the tensioner revision part if upgraded having a big arrow cast in the tensioner
See illustration # 2
longer or shorted 2 mounting bolts are required on the upgraded tensioner so salvage them also from a donor car
thanks, was a big job but worth it. Makes me feel good to achieve something.
i didn�t miss any of the spark plug wells, all were stripped right back to bare metal, holes filled and and coated.
not sure what picture you are looking at if you see any corrosion and paint flaking off.
The por-15 coating should stop any arcing also as it forms a hard epoxy coat and should insulate the cover so it can�t conduct electricity at all.
will be checking them somewhat regularly for sure
As Parker mentioned, original is also coated and gets absolutely destroyed the moment coil cracks. Your POR15 coating will have some dielectrical insulation properties but that varies greatly for epoxies(no info that I could find on POR15 itself) and the coil is almost touching the well wall. Coil itself has an output of up to 40kV so coating itself might not be enough to stop it arcing, especially on a wet day. Its a Jag design flaw, for both coil and how little space they left between the coil and cam cover, hence why its so important to fill up coil cracks and protect cam cover from arcing by any means possible. Your little multimeter runs of 9V battery by the way so will never show and conductivity unless on bare metal
As Parker mentioned, original is also coated and gets absolutely destroyed the moment coil cracks. Your POR15 coating will have some dielectrical insulation properties but that varies greatly for epoxies(no info that I could find on POR15 itself) and the coil is almost touching the well wall. Coil itself has an output of up to 40kV so coating itself might not be enough to stop it arcing, especially on a wet day. Its a Jag design flaw, for both coil and how little space they left between the coil and cam cover, hence why its so important to fill up coil cracks and protect cam cover from arcing by any means possible. Your little multimeter runs of 9V battery by the way so will never show and conductivity unless on bare metal
of course and that's why i made sure to fill and coat everything as good as possible.
there is only so much we can do, and only so much we can do to test potential outcomes.
i did try and use it to complete a 240v circuit to power a light also and it was unable to do that. and thats about as much as i can test it.
beyond that all i can do now is periodically check it and hope it doesn't fail.
and yes of course i did use some dielectric grease. would not have dreamt of forgoing that.
not going to put all the hard work in and then cut out things like that.
but first i need to get my drain plug off so i can drain and refil the oil and get her on the road.
tried to drive her up onto my wheel ramps today... they are too steep.
tried to jack her up and put an axle stand under her, my jack does not go high enough.
trip to the auto shop on saturday to get some low profile ramps seems on the cards......

 11-18-2021, 10:48 AM