When you click on links to various merchants on this site and make a purchase, this can result in this site earning a commission. Affiliate programs and affiliations include, but are not limited to, the eBay Partner Network.
More what it did to me....pulled the gold '97 into the shop to have it nice and level for fluid check/top up for the weekly commute. Already knew PAS reservoir would be near empty and the quart I keep in the boot for daily top-ups would need a weekend refill. Inasmuch as I had recently shut it down, no point in checking crankcase oil for several hours....not really expecting anything, I popped the cap off the coolant reservoir. Level was "visible" but below the "add" step in the reservoir. Hmmm....pulled the flattened box from underneath I'd straddled when parking to catch the known crankcase and PAS leaks...and found significant watery-like substance over-running the oils. Already knowing....b/c A/C compresser siezed up a few weeks ago that it weren't condensation, a dab and a sniff confirmed it were coolant. Fairly late Sunday afternoon after futzing about with the 05 X202 all weekend with no improvement, I had no heart to hook up the pressure tester to confirm source, but based on drop location and inspection of the mill from above with an incredibly bright light, I'm 97.3% almost certain it's water rail gaskets. Have a set of those and an intake manifold gasket in inventory, so I guess that's a job for next weekend. Thought about throwing a couple three gallons of distilled water in the boot and trying to make it through this week....then thought, "That's stupid.....and blew the leaves off the Excursion cowl, installed the new (current) registration sticker, renewed the wiper blades, front and rear and cleaned the windscreen....I'm burning diesel instead of petrol this week.
Took the car out for a drive after changing the intake air hose (bellows before the throttle body) and the EGR gasket.
The old intake hose was worn and ripped at the TB end so I was pretty sure it wasn't sealing well.
The replacement is the URO (URO009009) from RockAuto. It came covered in a white waxy coating which I washed off, then prepped the rubber with some silicone.
The idle and return to idle when stopping is a lot smoother now and STFT's seem to be happier staying mainly near zero, but fluctuating between +/- 15%.
I think the car is now in great shape,
Apart from some minor bodywork dings, slight rattle from underneath, some leather re-finishing, fixing clunky window regulators, repairing the front AC vents, repainting both bumpers, fixing the right windscreen vent, possible O2 sensor or CAT replacement, (there is more) and a full detail it's awesome.
I really love the car, just wish I could get everything wrapped up at once.
Few little bits and pieces. Changed some of the interior globes over to nice blue LEDs (start of whole change over)
changed my odometer globes (was going to do the instrument cluster but realised i need neo wedge 4.7 which i have not enough of)
Changed the cruise control and headlight switch globe panels, including soldering leds into the switches. Maybe the globes are too bright for some but i love it. (They look brighter in the photos than in real life, and can be dimmed atleast a little) i do like them bright tho
used mostly blue, but used green for the Headlight ones. Had to solder in an extra smd into the cruise control panel to get it all lit up nicely. The one did not reach the bottom well enough.
put a blue led into the jgate also.
Hi Spud Maat,
Great work on the LED switch over, I have been considering this as I have a few failed bulbs on my switches and would like to get them all working and bright again.
So far I haven't taken the dash apart enough to feel comfortable doing it yet, but it's good to see that it's do-able.
Is this a tough job to get done and did you find any problem areas? It would be great if you could post a list of the LED's you used.
I have replaced the diff output bearings and fitted new bolts with low profile aircraft k-nuts from raceparts so they can be installed with a smaller spanner.
Kay lock nuts are a high strength deformed nut that provides locking . They are used almost exclusively on aircraft and the higher grades of single seater formula cars , GP2 , F1 ect .
The bearing kit I ordered had the incorrect radius so I had to machine them myself. While it wasn�t a big deal I�m quite annoyed the supplier didn�t respond to my email about the situation. However the parts are installed and the end float is back to jaguar specifications on the dial indicator gauge.
Hi Spud Maat,
Great work on the LED switch over, I have been considering this as I have a few failed bulbs on my switches and would like to get them all working and bright again.
So far I haven't taken the dash apart enough to feel comfortable doing it yet, but it's good to see that it's do-able.
Is this a tough job to get done and did you find any problem areas? It would be great if you could post a list of the LED's you used.
so far the trim and what not has come out pretty easy. instrument cluster is held in only by 4 screws underneath, cruise control and headlight switch panels are held in by a few screws. 2 on the trim and then another 2 on the PCB itself.
all the LED i have (and will) use are the SMD type.
Neo Wedge globes are required.
The bulk of the globes are T4.2 Neo Wedge.
The globes in the instrument cluster are T4.7 Neo wedge
and the globes in the aircon from what i know are a little larger than a T3 Neo Wedge. Apparently using a T3 results in a little bit of wiggle whilst using a T4.2 requires a bit of drilling/shaving the PCB (which i don't plan on doing) I plan on using the T3 and a dab of hot glue to hold them secure in place.
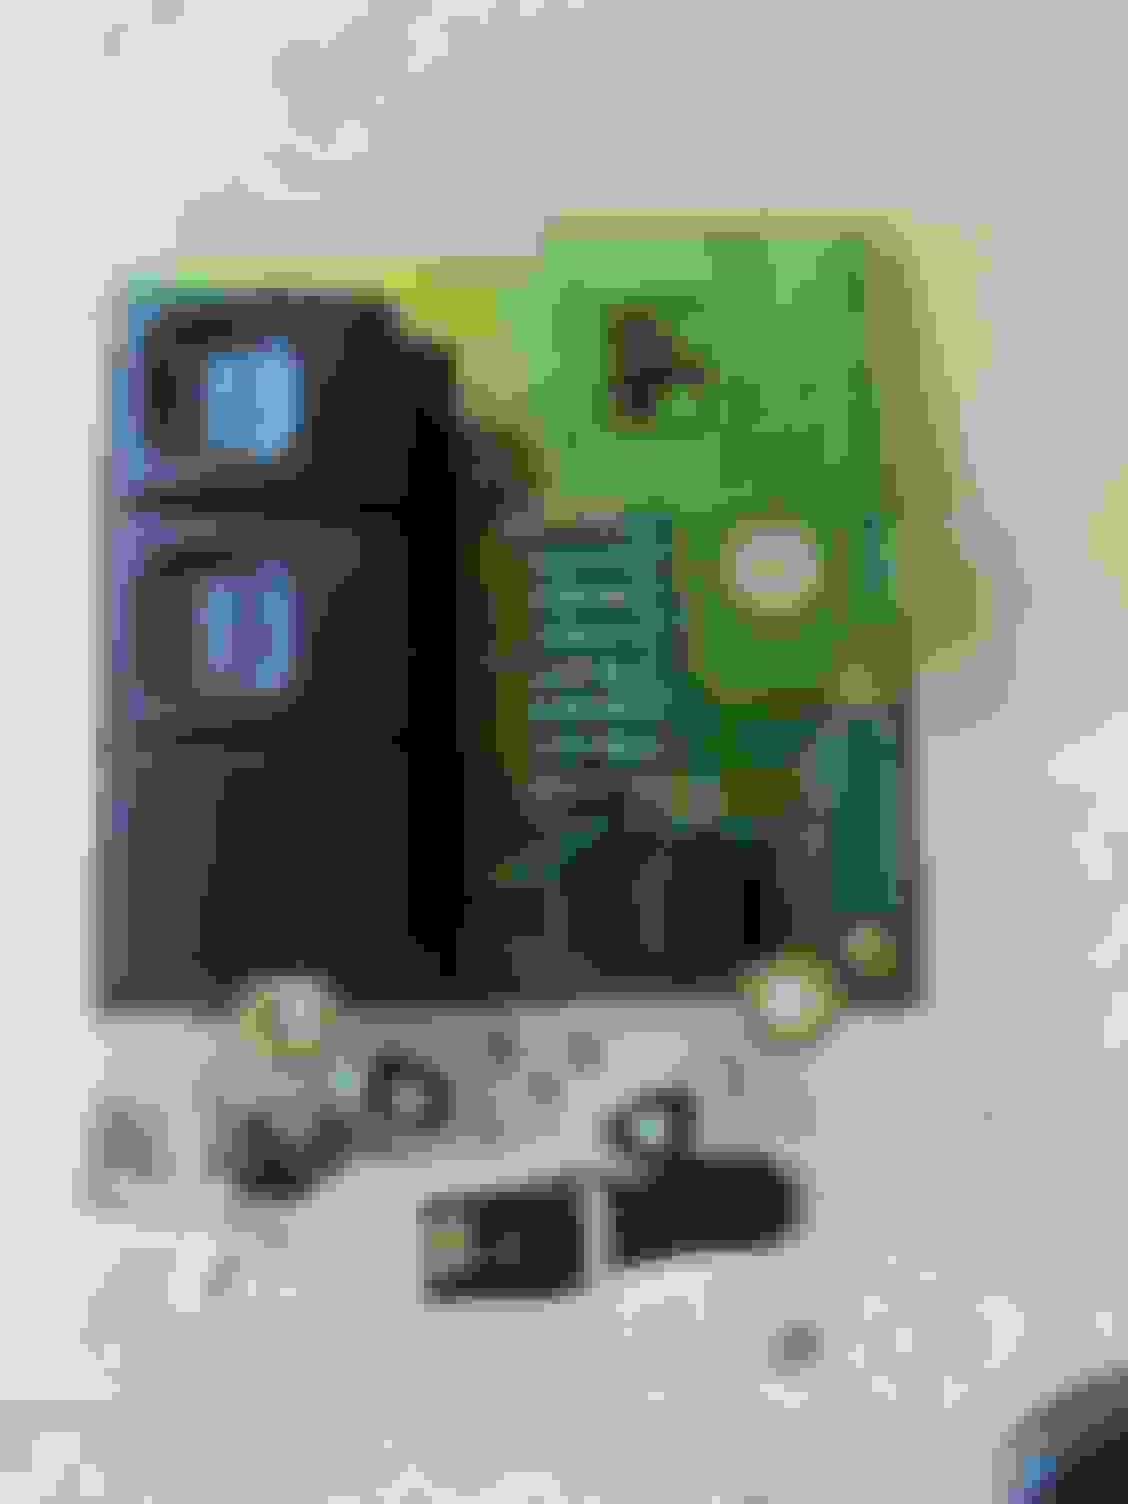
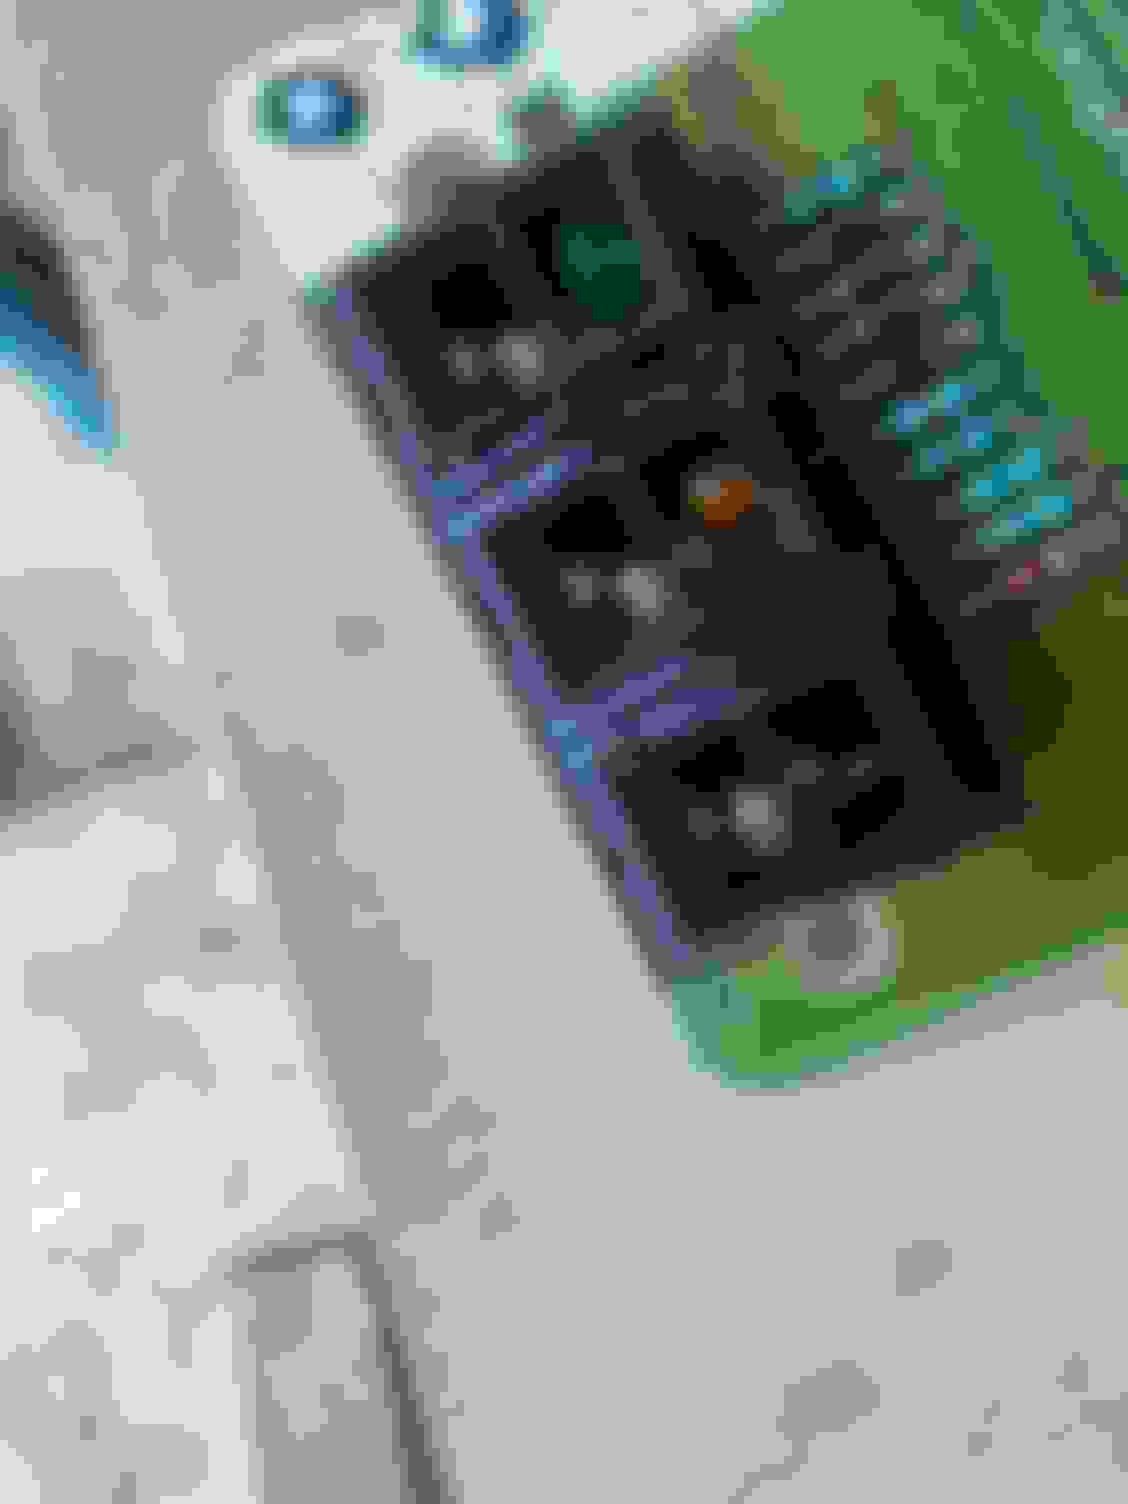
the globes in the switches themselves however was a bit more difficult. not hard if you are handy with a soldering iron (my skills are not great but adequate). Replacing these required removing a SMD from the neo wedge housing and feeding into the switch assembly via a hole in the back of the PCB and then soldering onto the contacts for the original globe.
the original globe can be removed, but i took the easy option of just pushing it out of the way as i figured the LED would just overpower it anyways.
for the Jgate was super easy for me as the previous owner has broken the clips on the wood surround so i was able to easily pull it out. will make it easy to also replace the A/C and clock LEDs.
had a productive day today.
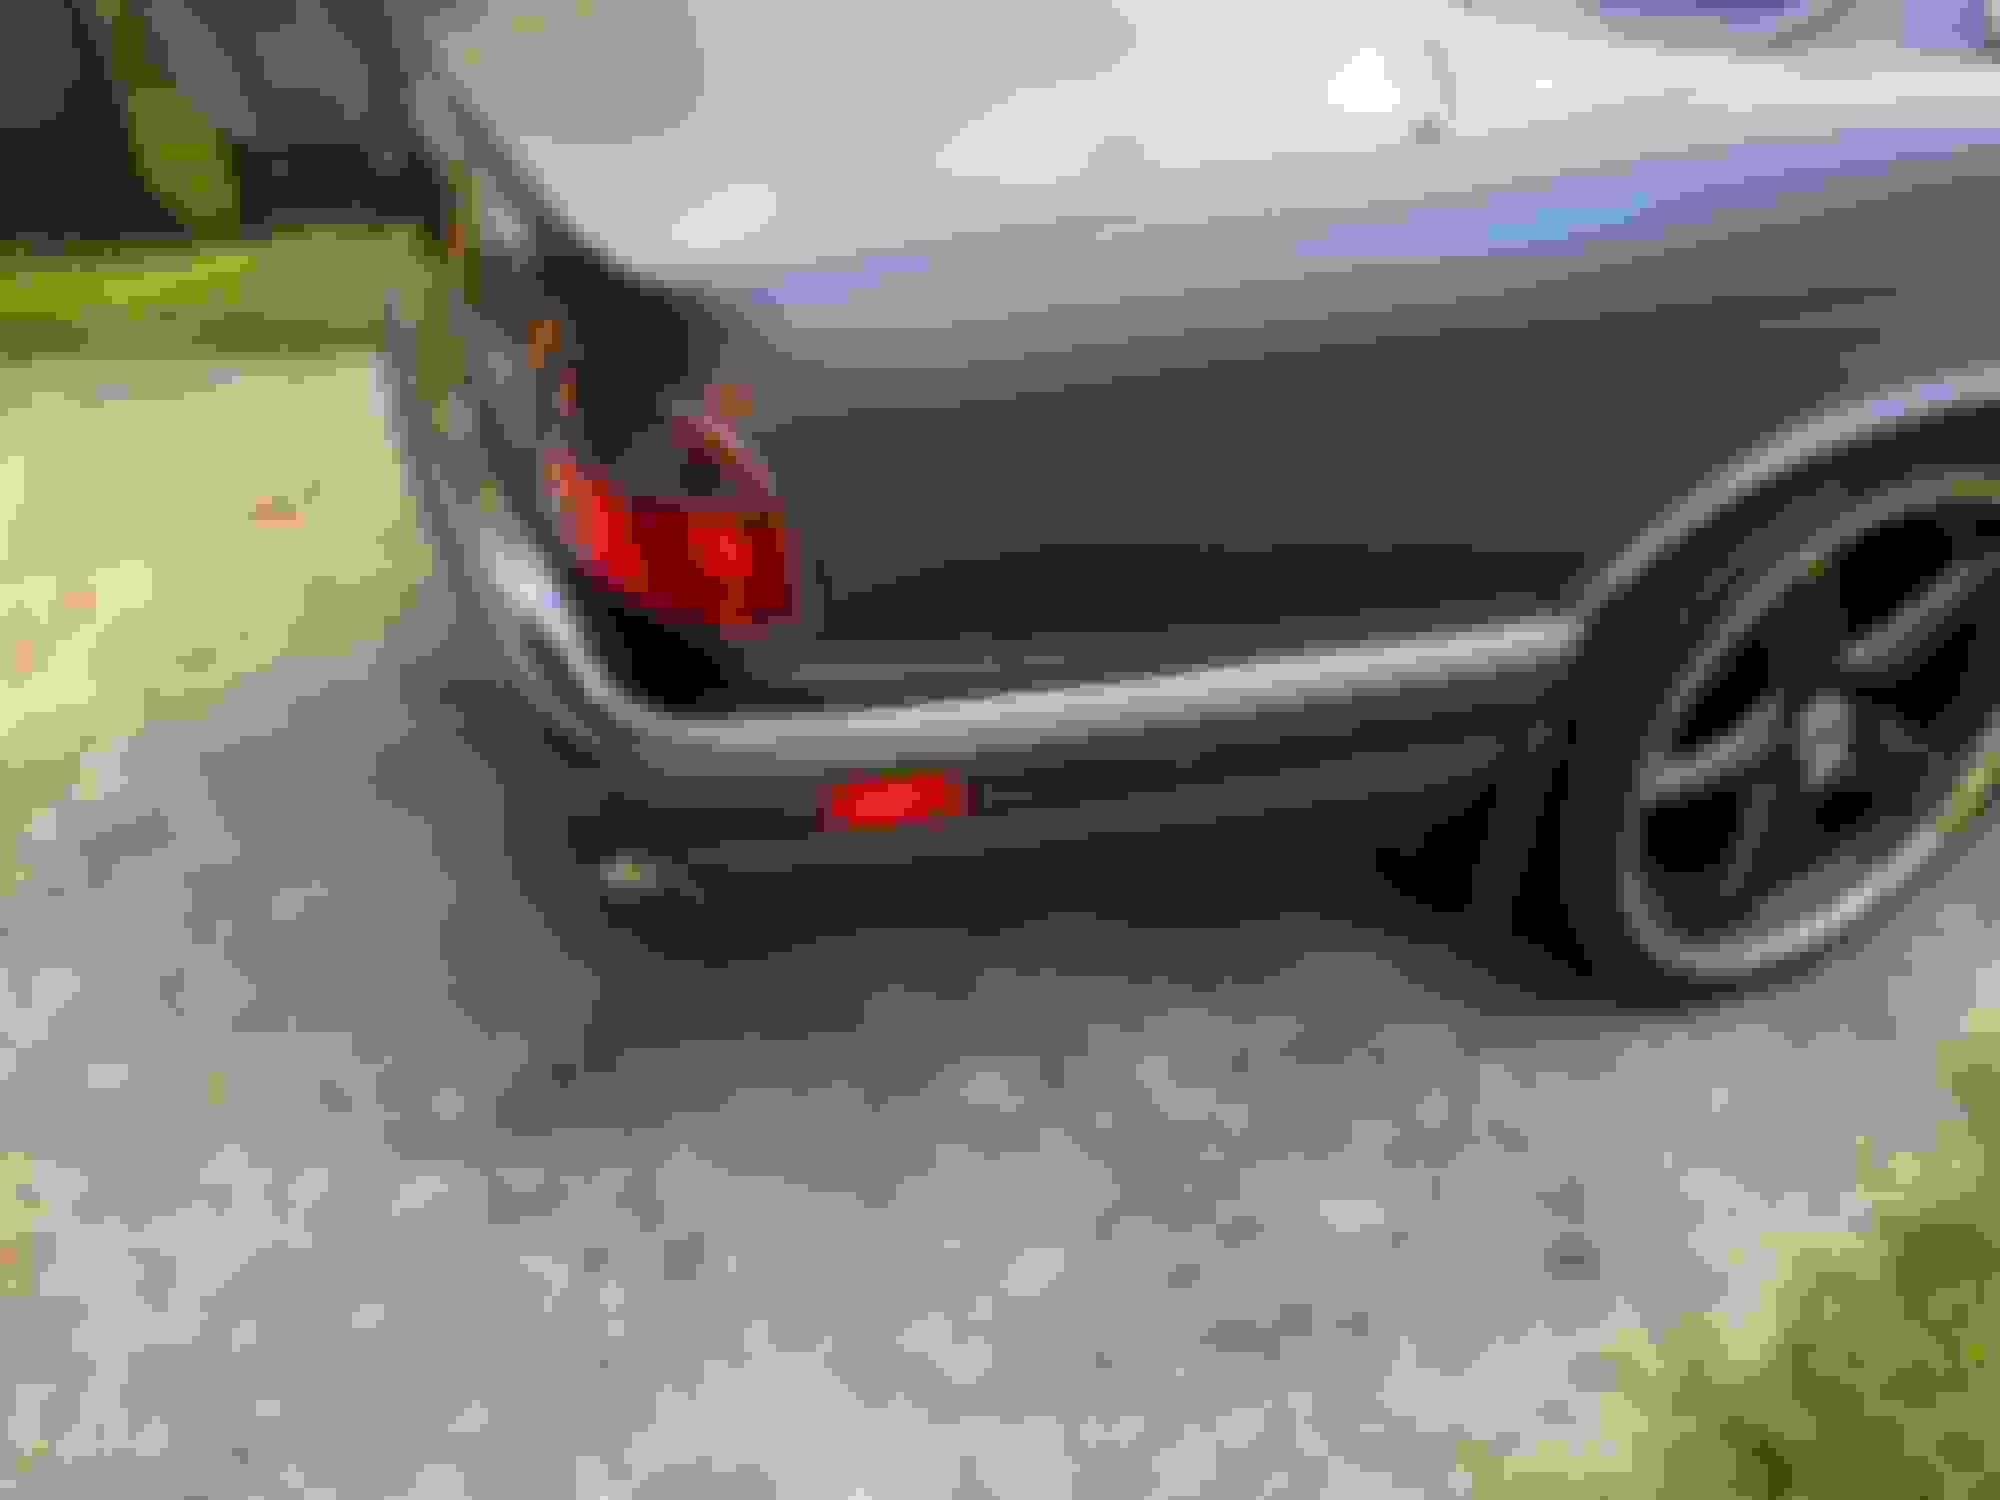
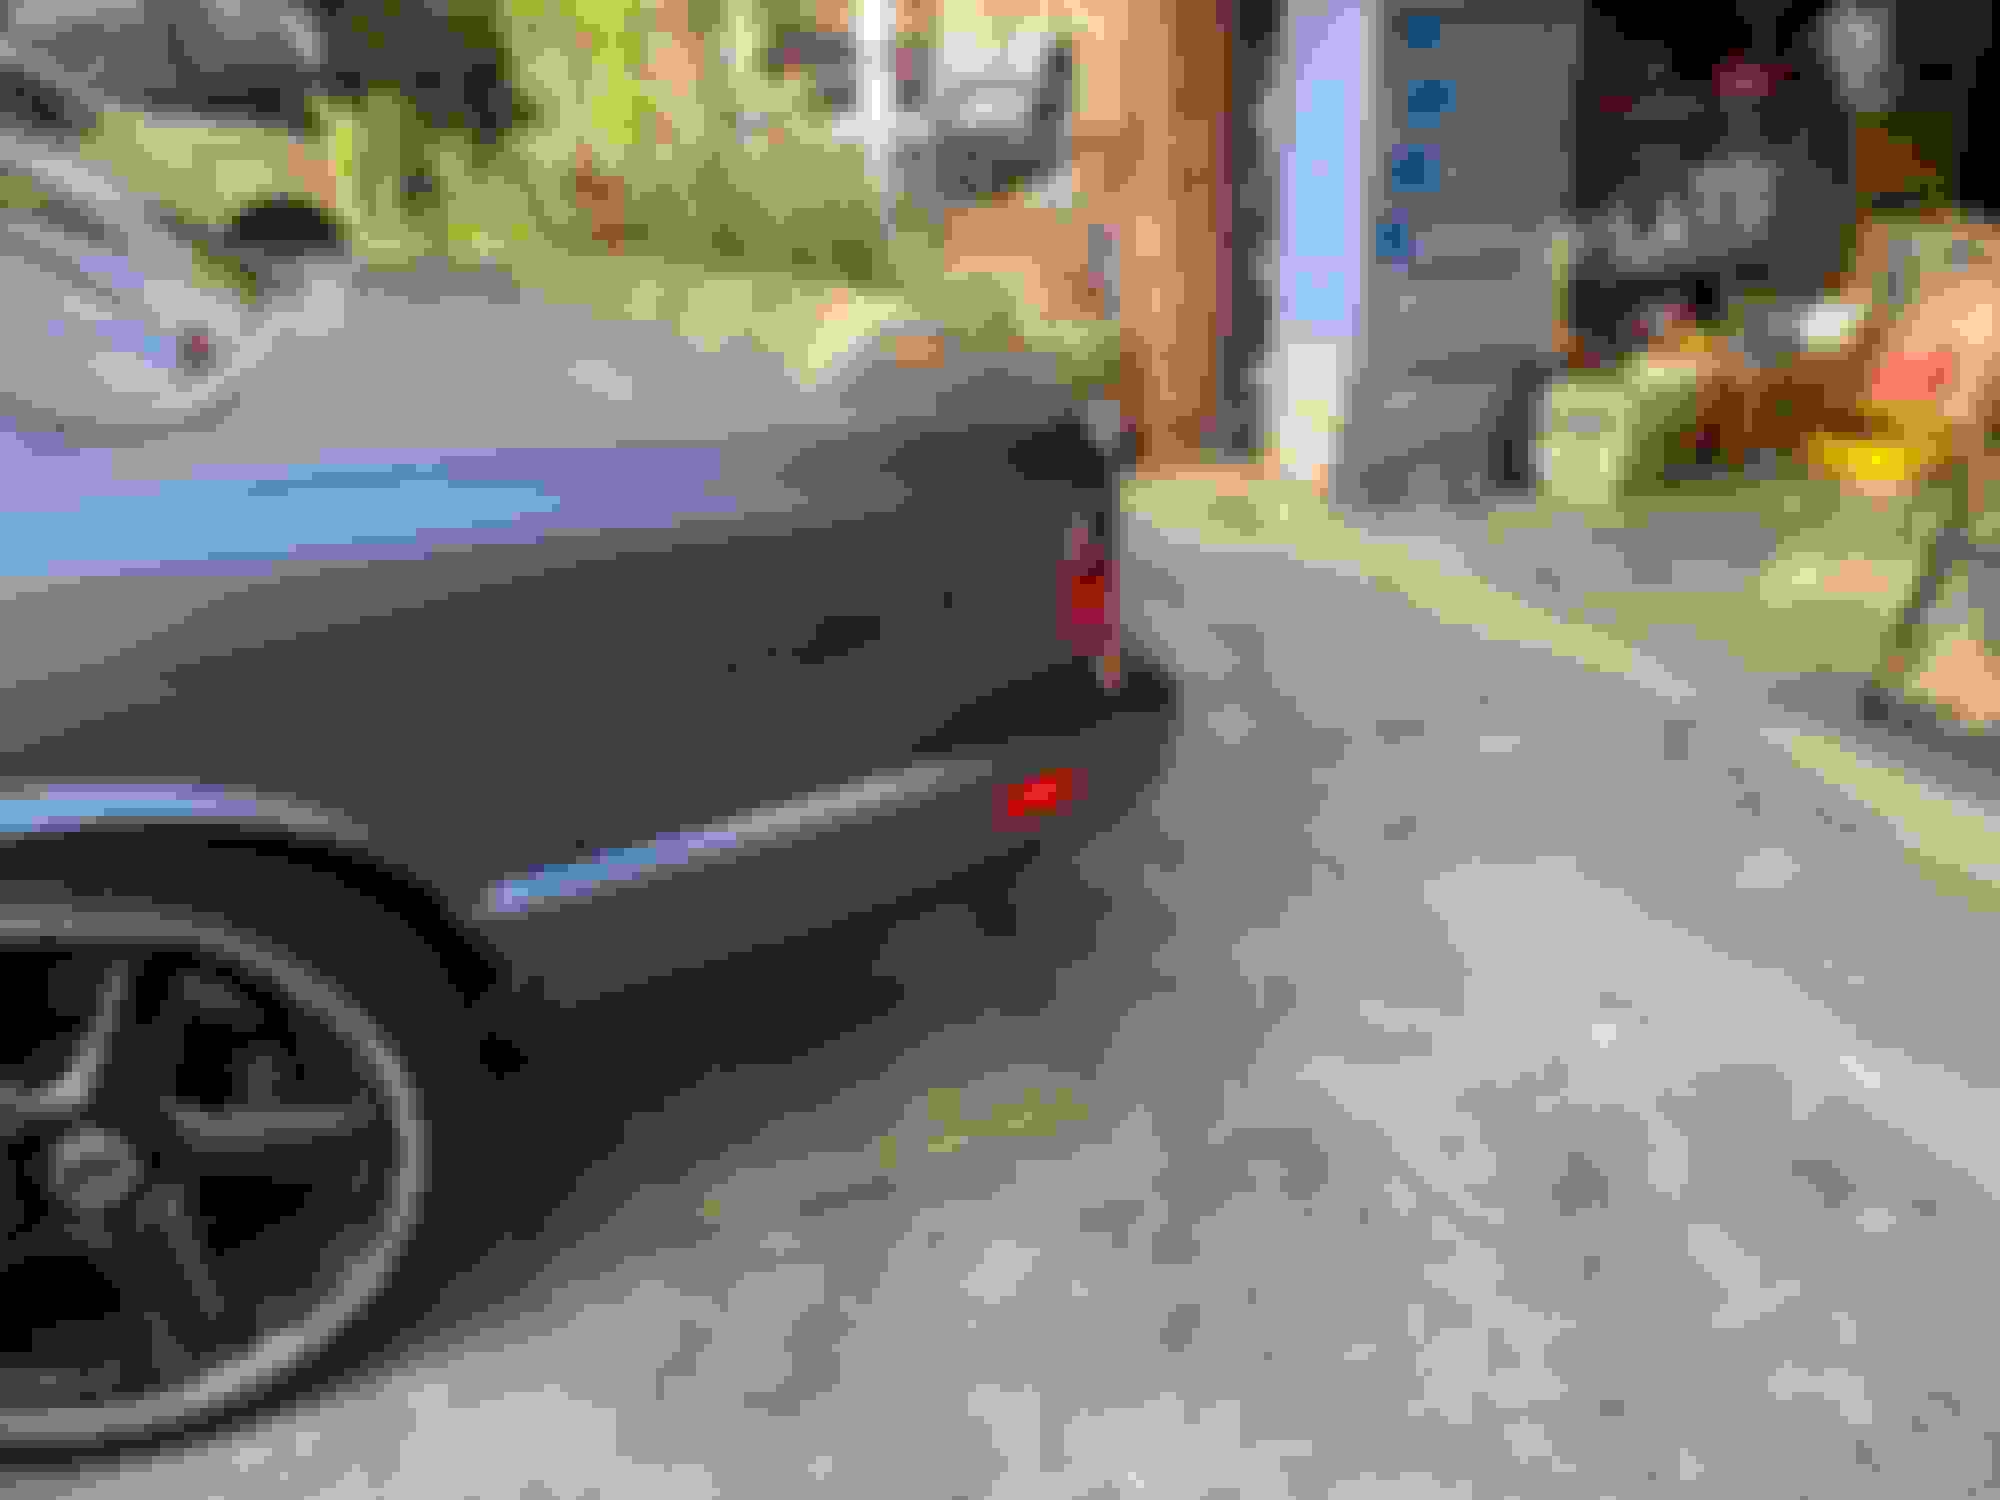
As the AU spec models do not come with side mark lights like the US spec does i wired in the rear ones today.
i drilled a hole in the back of the housing, slotted in a T10 connector, put a globe in, wired them into the side light wire (hanging near the tail lights) and tinted the orange reflectors red.
also took on a big job as my remote did not work and installed an aftermarket keyless entry kit (hooked into lock/unlock wires and SLCM) so that i have my remote entry back.
see page 3 (last few posts on this thread)
Air injection pump and hard lines are now removed . ( hard line removal went quite badly )
the engine bay looks quite a lot nicer without the air pump in the way .
The benefit of having clear visuals of all the water hoses is excellent.
I�ve also cut off the ugly intake resonator and blanked it up with a wee bit of carbon.
This isn�t visible so it�s a just a slug urethaned into the old bit of hose Looks much nicer I think Another discussion regarding air pump I found interesting.
changed the globes in my climate control and clock to ICE BLUE LEDs. attempted to get the clock working but realised that i do infact need to get a new LCD.
i was expecting the LCD of the climate control and clock to be a little spotty as i was using SMD LEDs and thought they may be too direct however they look amazing in the screens.
will take some pics once it gets dark outside.
i must say i am annoyed at 25YO plastic that likes to crack.
i wanted to try and upgrade the red leds for the shift light indicator but realised there doesn't seem to be enough room to add extras without removing the lights that are already soldered on. and i didn't wanna do anything that major unless i had a spare piece in case i mess it up.
also wanted to make the red LED for the cruise control indicator brighter as it is not that easy to see in the day time however i realised that none of my SMD LEDs were working. i assume it must be maybe only a 1.7v circuit or something. will have to see if i can get a bright low voltage LED
it�s always hard to get good pics of lights. They look much better in person and the light on the climate control LCD is much more even colour distribution.
Well it's not so much exactly what i did today but what i have been doing this week, see i am on a 2 week holiday from work....
I fixed my coolant level sensor, i am hoping to fix my handbrake switch (cleaned it all just need to test and reinstall) i changed allt the power window switches and the sport selector switch over to LEDs. only interior globes left to do are the dash globes and i am patiently waiting those coming from china.
i am in the process of an awesome LED headlight upgrade....
glove box is broken, took it out, realised that it looks like i cant repair it and will need to replace it, so used some hook and loop tape and viola atleast now i can open and close it.
i am realising that there is so much cracked / broken plastic . the PO seemed to break lots of bits of plastic trim, (and i am breaking my share also) 25 YO platic does b ecome brittle thats for sure.
will upload pics of the headlights once done
seat base reinforce, looks a little rough from the steel-weld epoxy but it is strong. Epoxy and screws so hopefully it ain�t going anywhere
.
very helpful diagrams, etc, and you can easily swap LED's into the existing (ie ones that fit!) bases that come from the factory.
seen it and almost complete with everything. Have only main instrument cluster globes left to do, have done all the power window ones which were the most finiky.
will upload pics once all is done
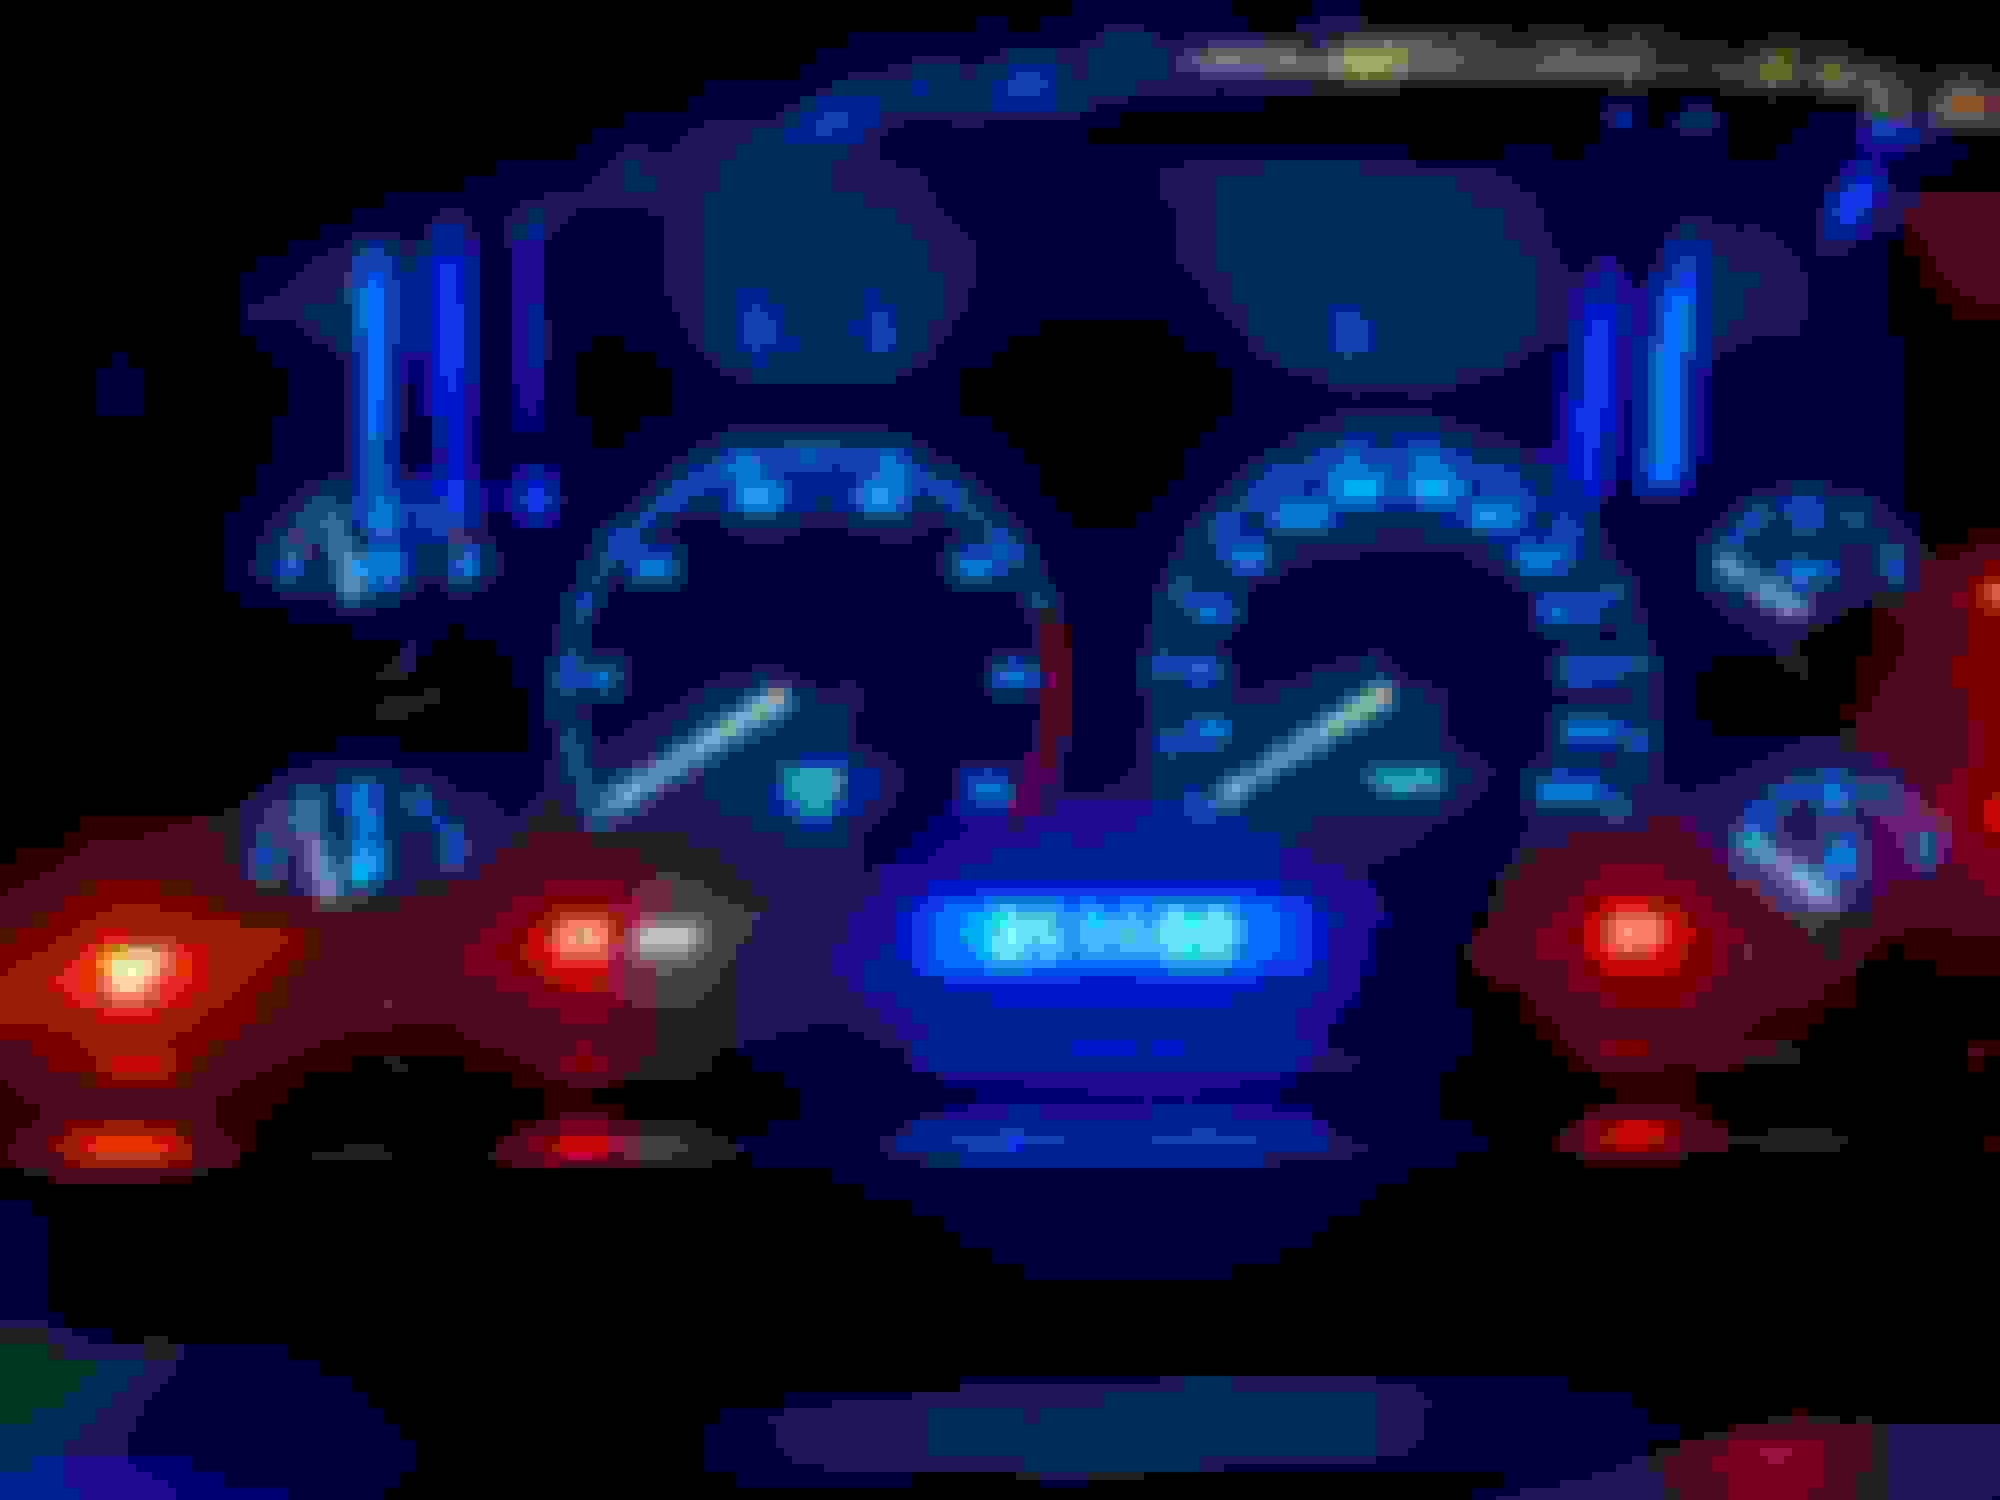
Completed the change over of all interior globes to LED. Instrument cluster was the last thing on the list.
would have loved blue background with red needles, but as everyone who has done this knows the tinting on the needles is very light and blue globes make blue needles.
but using white smd got a good result.
not what i was after initially but i do like it
Silver 1995 XJ6: tightened down drivers side sideview mirror (glass removed, cleaned things up, two screws w locknuts on backside were a bit loose), replaced the drivers side button cluster on the door with a salvage button cluster (CDMA to the rescue!) and now I can move the mirrors on both sides. Replaced the bulbs behind the buttons with LEDs, but they are not lighting up so... at some point I'll have to check to see if there is any voltage going into the plugs that feed the button cluster. Nice to get a few small things done today warm and sunny, nice to be outside for a change.
Silver 1995 XJ6: tightened down drivers side sideview mirror (glass removed, cleaned things up, two screws w locknuts on backside were a bit loose), replaced the drivers side button cluster on the door with a salvage button cluster (CDMA to the rescue!) and now I can move the mirrors on both sides. Replaced the bulbs behind the buttons with LEDs, but they are not lighting up so... at some point I'll have to check to see if there is any voltage going into the plugs that feed the button cluster. Nice to get a few small things done today warm and sunny, nice to be outside for a change.
maybe a silly question but did you check the polarity of the LEDs? Unlike incandescent globes they require correct polarity.
not a silly question - would be the same question I would ask Had the car running with the lights on (did this at night) and tried the LEDs in one direction and then the other, before the wood piece went back on... multimeter didn't show voltage either, on the old button console or the new one. I know I am missing something, but the wiring for the front and passenger doors needs focused attention, so I'll start there later in the year. Whoever owned the car before my father-in-law ran some wires directly from the passenger door to the driver door, maybe had a lock issue? No idea; will take some time to sort... on a warm sunny day with nothing else to do
 12-06-2021, 07:27 AM


 warm and sunny, nice to be outside for a change.