When you click on links to various merchants on this site and make a purchase, this can result in this site earning a commission. Affiliate programs and affiliations include, but are not limited to, the eBay Partner Network.
I struggled with one bolt and resorted to modifying this bolt with a unique pilot tip; the offset pilot engaged the threads better than a conventional centered pilot tip!
Success! I finally got it in. It took two people and a ratchet strap to get the holes to line up. I actually had it on jack stands but also made sure that the tires were sitting of two 4x4's to take some of the sag out. I tried every possible configuration from letting them sag to on 4x4's only and this was the best way for me. I started with one of the upper bolts. Then went to the other upper with a ratchet got that one in and then went to the last two on the differential. One tip. When you are using a crowbar to try to get it to twist......keep your head out of the way. Otherwise, you will get an indention on your head that looks like Gorbachev.
By the way, the bushings were a piece of cake to change out. Took me about 5 min per. Came out like "budda"
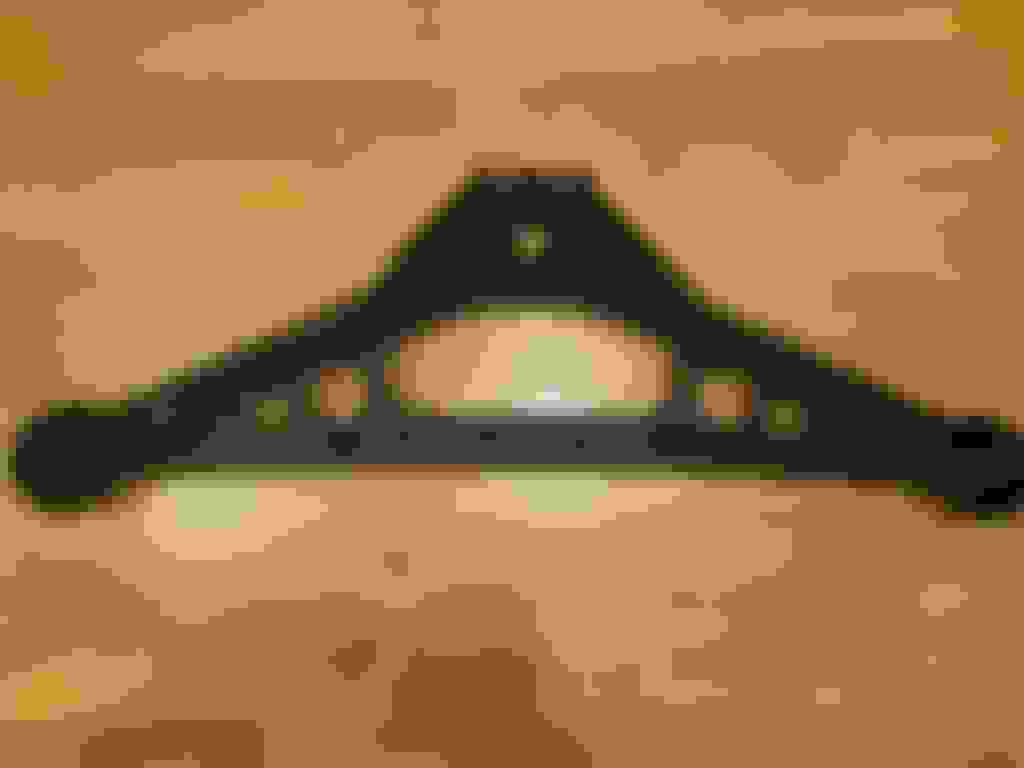
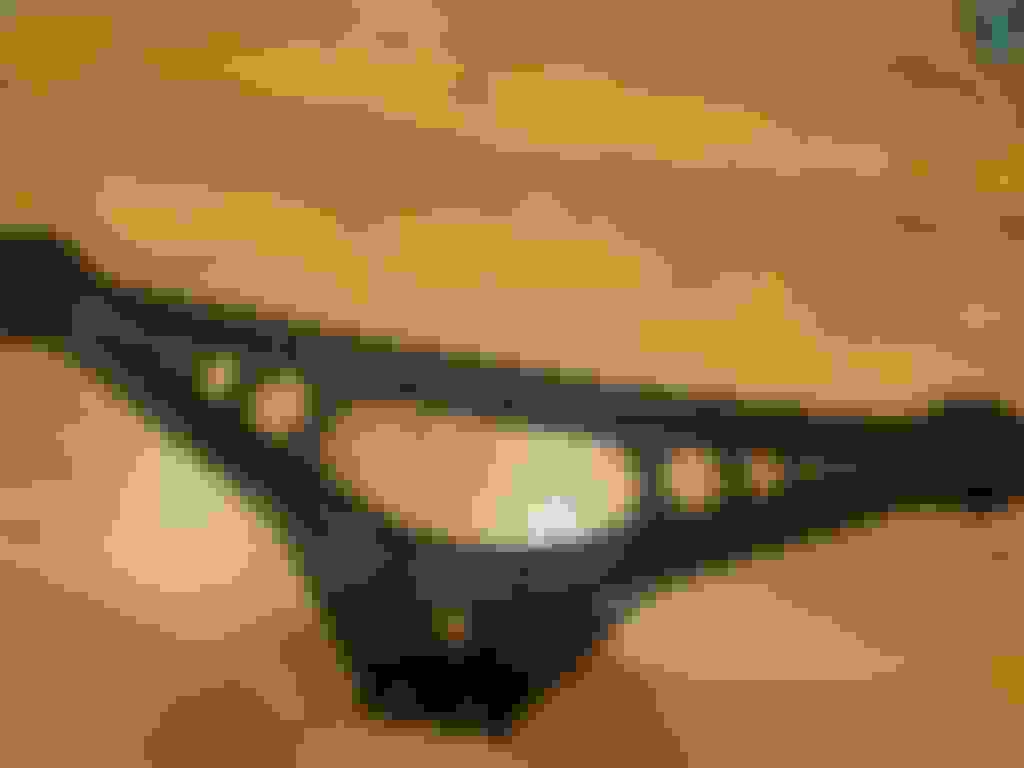
Got my monobrace out of electrolysis tank and its now primed and ready to paint along with a spare a-frame, got the wishbone tie too.
Apparently removing these big bolts are mission impossible and they need to come out to swap the wishbone tie. Anyone here ever removed these and can offer any advice? I was thinking that with the shocks/springs/a-frame removed, it should be possible, with the nut on the pendulum side loosened, to push the wishbone almost vertically and therefore freeing surely seized bolt in the wishbone and get access to middle section of it which is of course open to elements. With that section cleaned up and bolt turning I suspect it should be possible to hammer it out.
Also wondering what would anyone here use to paint a-frame, its primed in vactan atm, was thinking zinc phospate on that(because zinc is amazeballs for rust! ) and then either some sort of a chassis black or maybe even something thicker like tetraseal? That should never rust again.
It hammers right out. I would put something at the end and hit it a few times. I had to take them out while on the ground under the car and use some vice grips and a hammer. Worked well
Done mine, couple of weeks ago. Truly amazing upgrade. My LWB doesn't come with an anti roll bar so the monobrace added a lot of rear end stability and I can highly recommend it. Its right there with the front headlights from x308 as the best x300 upgrade you can do.
As always, everything that I didn't undo in the past was seized up solid and fought to the death but since the whole A-frame came off easily, it wasn't too bad, just a lengthy and awkward process at times as everything is super heavy.
So what I did?
Replaced springs and shocks and all the bushes
Replaced a-frame
Removed wishbones and replaced wishbone tie
Changed diff oil
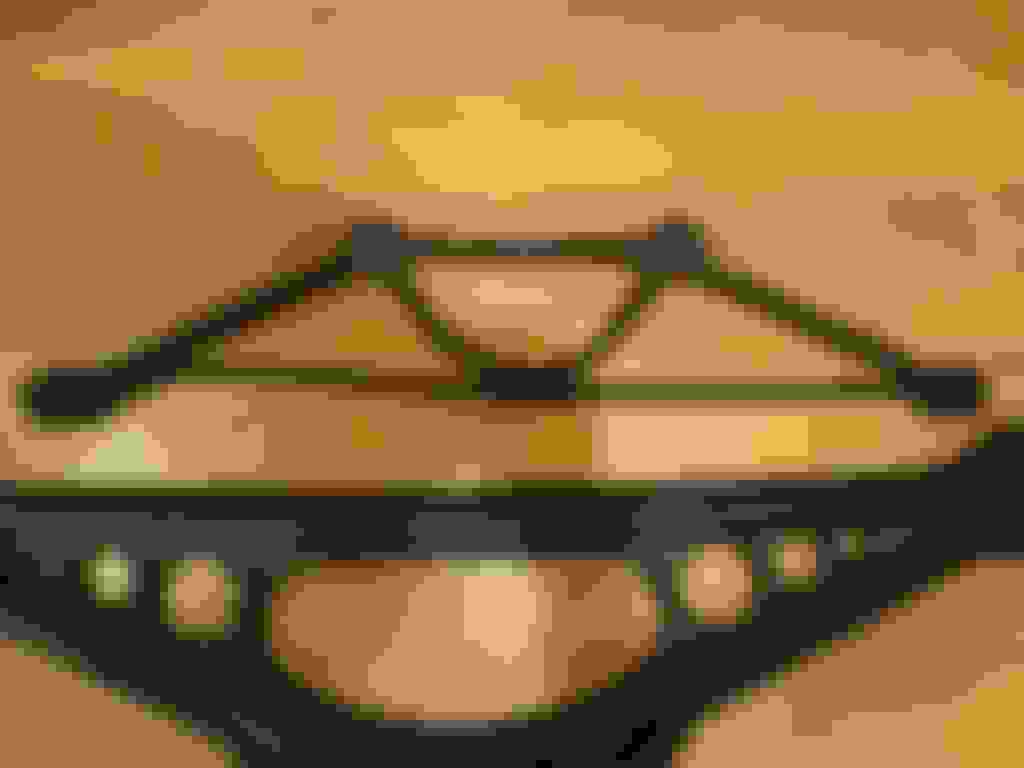
Fitted x308 monobrace instead of individual diff dogbones
Replaced rear right uni joint
Fitted new brake pads(old literally disintegrated on removal)
Now that I did the springs and shocks I can only suggest undoing the a-frame completely and moving the hub to the side, springs then can be fully decompressed and removed without using any spring compressor. That said, this is only possible if the bolt closest to the a-frame bush can be removed and that's not always an easy task.
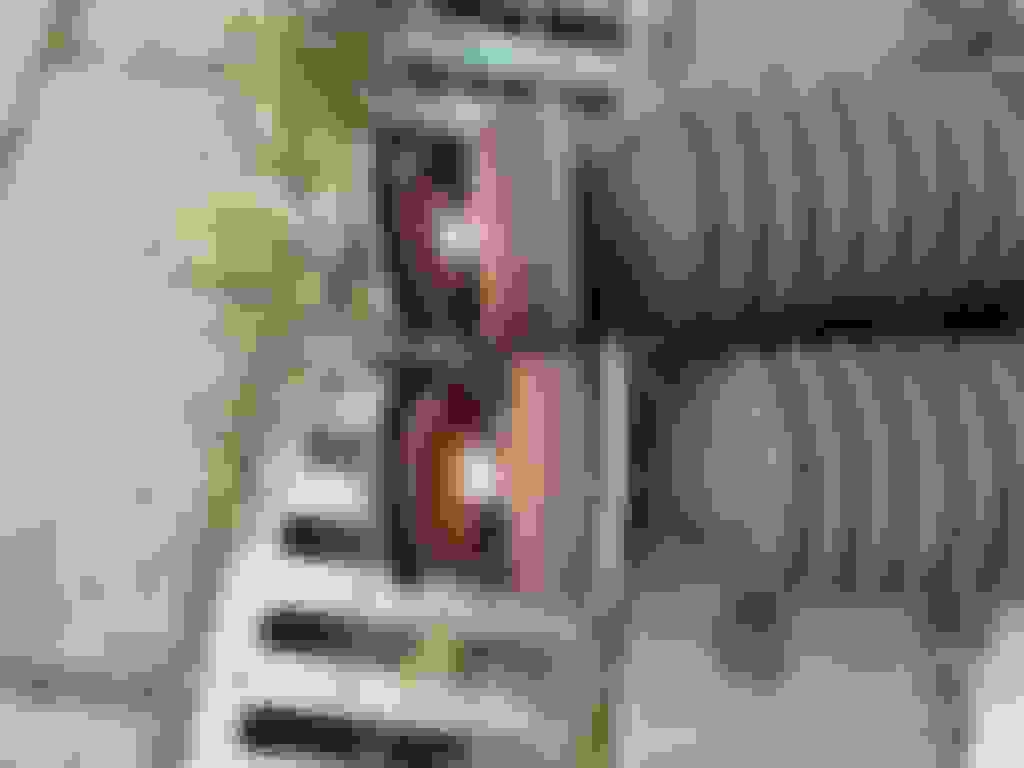
To fit in rear ARB to my LWB(they don't come with one) I had to change the wishbone tie to the sport model. This was pretty much impossible on the car as wishbone bolts were seized up for good and with the car on axle stands there was just not enough space to get wishbone low enough to crack the rust so I removed both wishbones still attached to wishbone tie(as per pic in the previous post) and only then with a help from two more 100kg+ people standing on wishbones I've managed to crack the rust and free them up. The trick here, is to not to try to turn the bolt as this will inevitably round its head, but to keep it in place with a breakers bar and then move the wishbone up and down until you crack the rust. There is just way more leverage by turning wishbones instead of the bolt. Only then the bolt can be turned and rust cleaned up in the middle and only then it can be removed.then it hammers out with no problems.
Replacing diff oil was easy enough and was needed as fitting x308 monobrace later pretty much blocks access to filling port. Good news was that despite diff being covered in oil, it was still completely full Lots of sludge drained and new and rather expensive oil used to refill it!
Fitting x308 monobrace was a bit tricky but with the diff pretty much hanging down didn't take long. I did grinded down some of the bolts(made them a bit pointy) to make it easier to catch the thread so that definitely helped.
Re uni joints, I highly recommend cutting it with a grinder on all sides, it makes removal much much easier and quicker. I think I did mine this way in approx 15-20 minutes.
Now just need to fit in an ARB and I'll have an LWB Sport
Pics:
By the way, this took 2 full days to complete, definitely not an easy weekend, took a week to recover
Was well worth it though, must be first time in my Jaguar ownership when I actually drive a Jaguar with a new suspension. It drives great!
Can anyone kindly confirm whether the actual monostrut is the always the same and only the fitted bushing determines whether it is "comfort" or "sport". I have an XJR but can currently only source one from an XJ8 with comfort suspension. Either way I would use the opportunity to fit new bushes.
 03-14-2019, 07:04 PM


 ) and then either some sort of a chassis black or maybe even something thicker like tetraseal? That should never rust again.


 Lots of sludge drained and new and rather expensive oil used to refill it!