When you click on links to various merchants on this site and make a purchase, this can result in this site earning a commission. Affiliate programs and affiliations include, but are not limited to, the eBay Partner Network.
Seems like it's now my turn. Right front wheel has a bit of play in it when its off the ground, left to right and vertical, steering is a touch off center and I'm hearing that growling noise, so its wheel bearing time.
Seems like its a relatively straightforward process, please let me know if I'm missing anything.
- Wheel off, brake caliper and rotor off.
- Tie rod end off.
- Support lower spring plate with jack and detach upper and lower ball joints from the vertical link, remove link with bearing, hub, etc.
- Put wheel back on and lie face down, use 2: 12pt socket and impact gun to (hopefully) remove the reluctor and allow the hub nut to be removed...is the hub nut and reluctor one piece? Looks like it to me from the diagrams I've seen.
- Little unclear on the hub if it needs to be pressed out or if it just slides out after it gets broken loose after the reluctor comes out.
- Take it to a shop and have them press out the old bearing and press in the new one. Possibly press in the hub as well.
- Put the reluctor back on and torque it to ???
- Make sure the grease deflector is intact, I'm not sure if this part is attached to the hub nut and it should likely remain intact or if I should order one up as a precaution?
- Reassemble the vertical link to the ball joints and tie rod end.
- Put the rest back together.
- Test drive and get an alignment.
Seems like general trouble spots for others have been very stuck hub nuts and bearings that are in so tight that even the 20 ton press doesn't budge them. What are the other problem areas I'm missing?
What else should perhaps be on my list of "while I'm in there" things? I'll examine my ball joints and either replace them if needed or just do the control arm/ball joint assy, depending on whats more viable and cost effective (looks like the lower ball joint is much more difficult to get out, but the lower rear control arm with a new ball joint pre-fitted seems available and reasonably priced and has the added benefit of a new control arm bushing in it too.
I know I need new front shocks as the lower bushings are really shot and the ride is pretty lousy now, but that will probably keep having to wait for funds. Wheel bearing will ruin my expensive tires and will eventually either seize or snap and I'll be pretty screwed then.
You need the special socket to remove reluctor wheel and to install it. It is torqued tight.If possible crack it open before removing anything else than wheel. Aligment is not needed after this job if done right and nothing is bent. If anything is bent, that needs to be replaced.
When bearing outer race is really tight to the housing. There is an old heat method. Remove inner race and bearing ***** from the bearig emptying it. Then weld with high current two beads. One constant bead to the where inner bearing ball groove is. Flip the vertical link otherway and weld another bead to the outer groove. Wait it to cool down and press the outer race away easily. It almost fells off. I've done this way so many stubborn bearings.
I took my spindle to a friend who has a custom motorcycle shop and had him press out and in the new bearing. He had a 20 and 50 ton press, he used the 20. The bearing is as Vauxi describes, to add to that description, its a straight collared, about 3" wide, self contained bearing, not tapered like US models.
The tool I believe he's referring to is the ABS ring socket....
Barring if anyone has been under your car for replacements in the past. I would be ready to also replace tie rod ends and/or bushings you come across. Those are as easy to replace as it gets on these machines.
2 inch 12pt socket did the job well on mine, using an impact to spin it off helps a ton, much less risk of applying force crooked and camming off like with a breaker bar.
Been able to press mine out with a harbor freight 12ton press. High quality internal snap ring pliers are your friend on these, I got some knipex ones for the appropriate size and the make these (as well as rear diff output bearings) much easier than futzing with needle nose pliers, screwdrivers etc.
When you press the hub flange out of the old bearing, the outboard inner race will come with it. I've just used a bearing race puller without issues, heat may be your friend if it's really stuck on.
For installing the new bearing I had an aluminum tube machined on either end - one end for clearing the inner race and only applying pressure to outer (for step 1 pressing new bearing to v link) and the other face to support only the inner race, and to clear the snap ring (step 2 pressing the hub flange to vertical link). It's in my posts somewhere years ago, otherwise I'll probably share photos later this week. You have to support the inner race when pressing the hub flange into the new bearing, otherwise you'll press your inboard race out, and put strain on the outboard bearing set.
Ok, so it took forever for me to line everything up to do the bearing, between busy at work, spare vehicle on loan and more dire vehicle problems with other vehicles, but I'm now working on the Jag finally.
I opted to buy a 20 ton press, the cost wasn't really much more than taking the hub somewhere to have the pressing done and it'll come in handy later when i have to do u-joints and such. Bonus is in a few years when I realize it's in my way and I don't need it, I can sell it for close to what I paid.
So i got the vertical link off the car, (those ball joints are VIOLENT when they let go, holy crap) put the hub into the wheel and got the sensor ring/nut out with a 2" socket, cordless impact and some penetrating oil. I now need to press out the hub, but first have to remove the dust shield, which seems like its slightly smaller than the hub, so I'm not sure how to go about that yet.
Can someone confirm the the bearing is sealed and should be properly greased and ready to use out of the box? I should not need to disassemble and grease it before assembly, correct? Does it go in dry into the knuckle or is it ok to use some grease or wd40 or some other lubricant on the outside of the race or inside the bore to make things a bit smoother?
Thanks. Should have it wrapped up this weekend so long as other people stop having crises with their cars and need my help.
Got the brake dust shield off, just had to pull harder than I thought I really should.
Fiddled with the press a bit to get the thing to sit squarely on the arbors, but got a nice straight push on the hub and it popped right out. Nilanium, 100% correct, the race came out with the hub, so I'll see about getting that off. Inner snap ring came right out, outer one has some corrosion on it and doesn't want to release so I'll soak it in some PB and see if I can get it out. I suppose if itss tuck its not the end of the world, right? Just push the bearing out the other way and press the new one in from the same direction...the bore looks straight to me, so I don't see why this wouldn't work.
Nilanuim, I looked and couldn't find the photos you've referenced above, would you mind sharing again?
Got the outer snap ring out, just needed a bit of shock persuasion from a hammer and chisel and it worked its way out intact. Old bearing came out without any fuss. Bore cleaned up nicely, I think I'm ready for assembly now.
My car is not fitted with the grease deflectors and I'm not sure where to acquire them. How critical are they? Is it worth having the car down for another few business days while I l9cate and have one shipped or is it less of an issue since i didn't have it in the first place? Or is that why the bearing went in the first place?
Last question (maybe). Is the bearing mountable in either direction or is there a definite inside and outside? I don't see an obvious marking to indicated one or the other.
There�s no maintenance needed inside the actual bearing prior to pressing it into the knuckle. I will say that having the surfaces throughly clean, using a thin engine oil (not PB or WD40) on the outer circumference of the bearing, the inside of the knuckle will make work a lot smoother. The same goes for hub install. Just reinstall both C clips and brake backing plates prior to installing the hub. Another thin coat of oil on the hub shaft and inside diameter of the wheel bearing. **Just make absolutely sure** that you support the innermost diameter of the backside wheel bearing as you press the hub in.
The job is now complete, having the press really makes it easy, but I'm also fortunate that I picked up a bearing and ball joint kit when I saw them for sale over the summer on Facebook marketplace, the steel collars and discs made all the difference here as I had the right sized collars to press on the outer edge of the bearing on my first push in and then a much smaller collar to hold the inner race in place while I pressed in the hub. All in all, despite my paranoia it was a relatively straightforward job and I now have a nice new timken bearing in there. I was unable to locate the grease deflectors, so if anyone happens to know where they're for sale I'll probably grab a pair for the inevitable other front bearing and if not having it shortens the life of the new one, then I'm prepared with the new one a couple years down the road.
Ball joints took a bit of fiddling to get the nuts on far enough that the bolt would stop spinning. I finally clamped the control arm to the knuckle with a big c-clamp and it was tight enough to put pressure on the bolt and keep it from spinning. Torqued everything down to spec and it rides very nicely, no trace of the vibration that I've been noticing getting slowly more and more pronounced. Still have some growling, but I think my passenger side rear bearing is next, though it might be one of the output bearings on my differential too. A problem and diagnosis for another day.
Sorry I meant to upload details on this when you asked, and then got distracted by life and forgot...
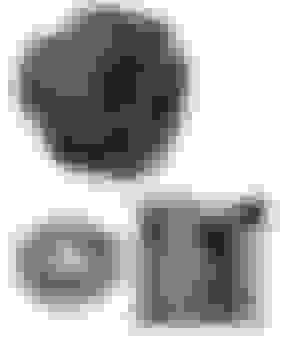
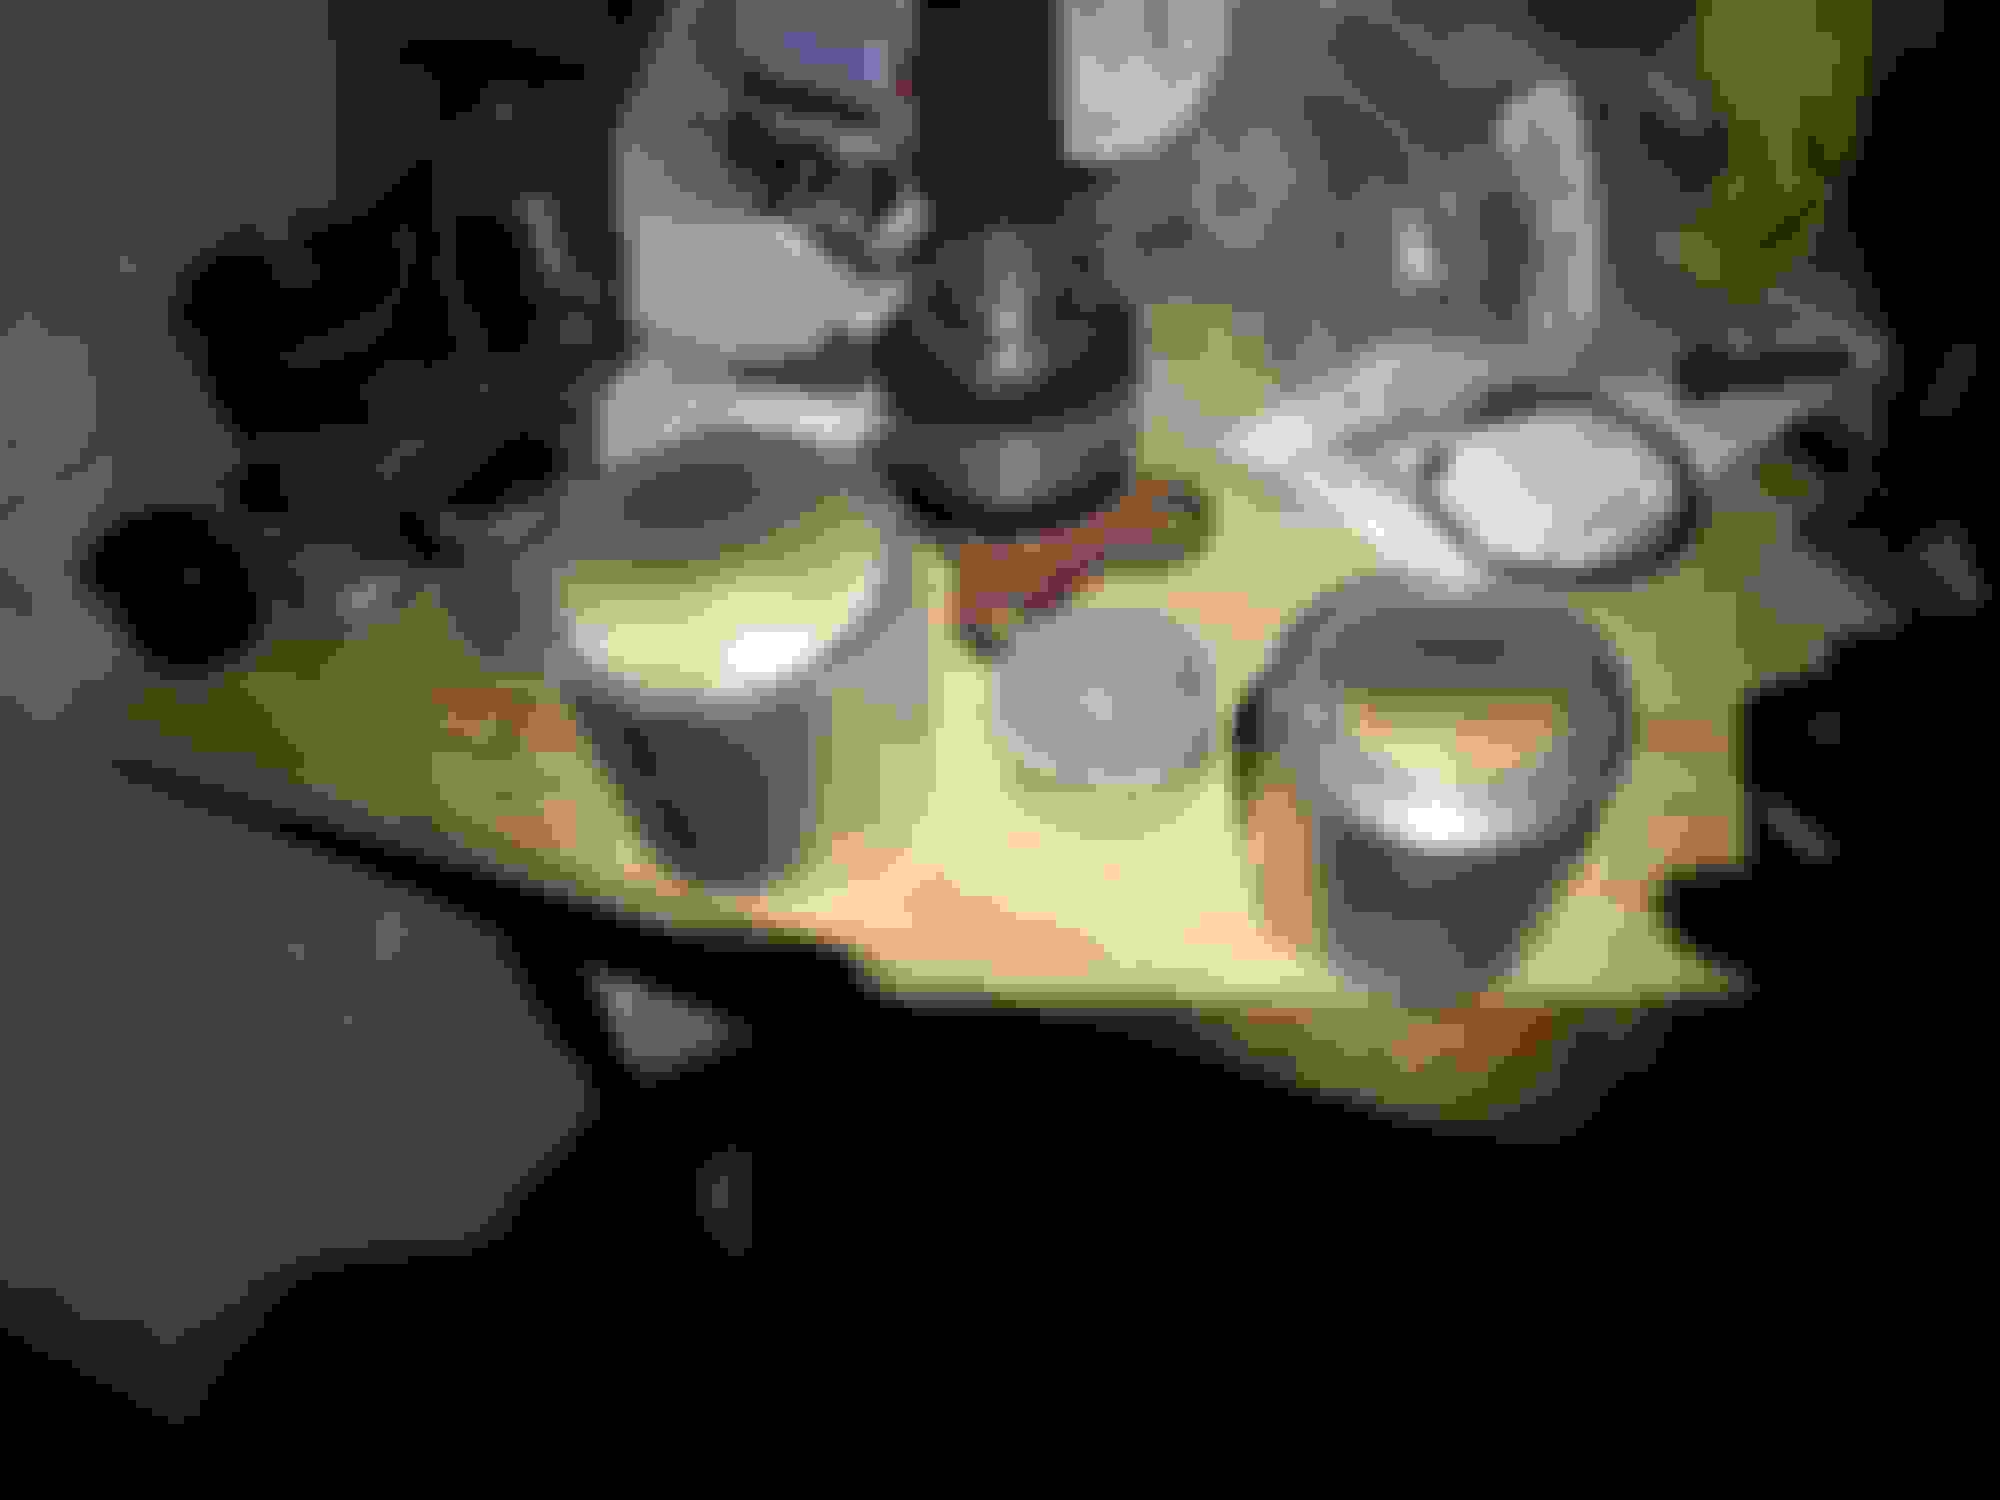
I tried to find my old posts and couldn't, fortunately found the wheel bearing press tools in old photos... and attached a PDF of modifications to a 3"OD x 2"ID 6061 aluminum tube off Mcmaster to make it fit this application. The 3 aluminum pieces front and center of the photo are the ones that made a huge difference in front bearing replacement, particularly the one modified part following the drawing
 10-30-2023, 11:30 AM