When you click on links to various merchants on this site and make a purchase, this can result in this site earning a commission. Affiliate programs and affiliations include, but are not limited to, the eBay Partner Network.
Dakine, I found the passg side to be easy after some trial and error. So the driver should be the same.
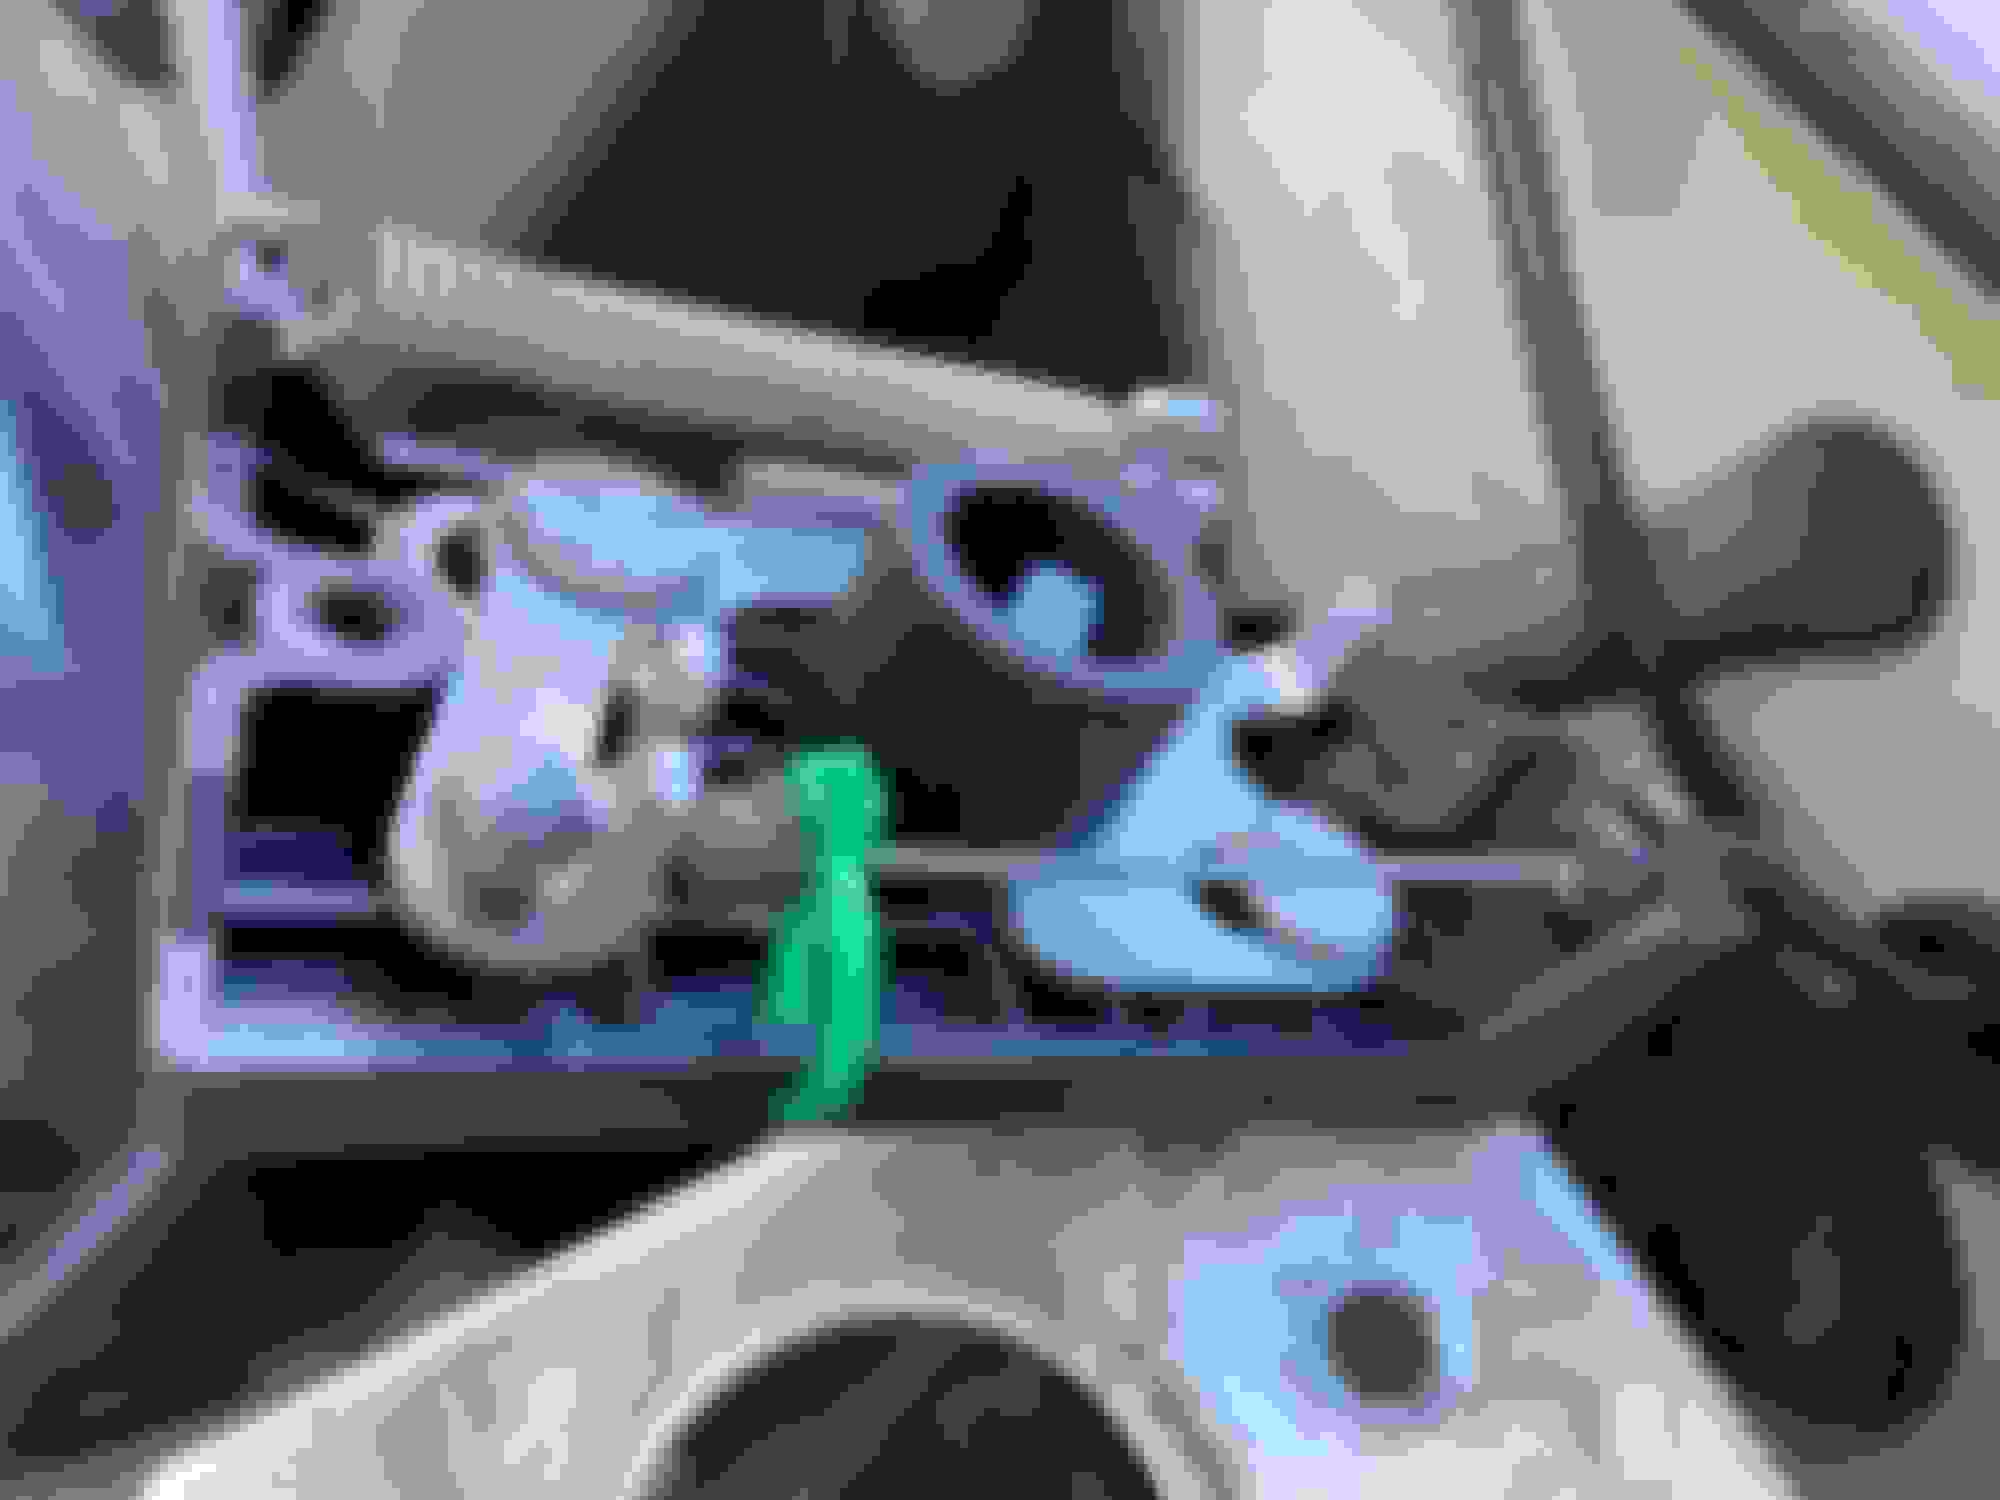
Look at post #61, Looking at the 3rd photo, I found it easier to push with a flat head screw driver at the aluminum protrusion right next to the screw that holds the latch apparatus in place. (that protrusion will move the whole latch backwards releasing the bonnett)
Finally did it! Thanks to everyone here. I used the hole that was already there and pushed on the aluminum post that was holding the spring (picture#3 on post# 79). Looks like there are many different ways to pop the latch.
I just did this today. The passenger side hood latch would not release. I followed the directions here, took the wheel off, took the plastic liner off, the hole between the panels already had no sealant. It took quite a while to pop the latch. I kept coming back into the house to look at the photos on this thread. The only thing I would add is that the latch is just inside the hole, you do not need a long screwdriver. Just feel around with the screwdriver for the spring. The reason mine was not working was the small plastic grommet at the cable lever had disintegrated with age.
Many thanks to all that contributed to this thread.
I had to find a way to open the hood on my 98 after I completed a repair to the locking mechanism then reassembled it "without reading the corrections" as my daughter once observed ~30 years ago on another too rapid attempt at repairing something.
In my case it was the drivers side that failed. I didn't need to drill the hole as I had feared, but was able to open the hood by inserting a short screwdriver through the gap between the fender and engine compartment sheetmetal - the same as some other posters have reported.
To add to what they said:
the screwdriver should be fairly short. Mine was about 6" (10cm) including handle. The latch assembly is only a couple of inches from the insertion point
insert the screwdriver so it points starlight in towards the the engine, and is roughly horizontal until it hits the assembly
You should know you are in the correct place when you hear the tensioning spring making a noise as you move the screwdriver.
Get the screwdriver "engaged" in the spring coil and force it towards the firewall. This will move the lever arm that opens the catch
If you are doing this in the right spot, it should pop open easily. It took me about 5 minutes of working with the screwdriver.
If for some reason this doesn't work on your car, a hole drilled about 1" toward the centre of the car from the gap should work. NB that I don't see it in other posts, but I think that the hole will go through 2 pieces of metal - an inner liner and the fender liner.
As FYI the reason I was there in the 1st place is that I found the latch wouldn't hold closed. I found that this was because the fixed and of the tensioner spring connects at one end to an "arm" which is part of the molding that projects from the plastic housing the latch assembly mounts on. That arm had fatigued and give way after years of use. I repaired it by epoxying a piece of plastic onto the bracket and drilling it for the spring to attach to.
My error on reassembly was not making sure the cable was properly seated into the ears that hold it in place, so it popped off when the lid closed. If I had spent another 60 seconds instead of rushing, it would have been obvious I hadn't connected it properly. That added a couple of hours work to correct......
Replying to Post #61. Ditto - did the same crimp to both sides even though I was not having a problem with the driver's side. Tested fix and all seems well. BTW I used a dremel to cut a hole in the fender well to gain access to the latch. Saved $216.00 by not buying a new cable. Jaguar Forum rocks!! Thanks to many contributors on this thread.
My car, 2000 XJR.
Pictures of opening a hood on a 2001 Jaguar XJ8 when release is broken and the hood.
Originally Posted by Ozone240
I had to do this a few weeks ago and I did NOT have to drill a hole. It does take some time and patience to get it. I read all the posts about where and how to poke and prod and after about 20 minutes of fiddling it finally popped open. I used a 8 inch phillips screw driver and a flashlight.
Thanks Ozone for your posting. I have a 2001 Jaguar XJ8. The hood will not open when you pull the latch release inside the car. Please send pictures of the procedure that you described. My email address is (removedby GGG)
Last edited by GGG; 11-20-2019 at 09:18 AM.
Reason: Remove eMail address and unlock post
Thanks Ozone for your posting. I have a 2001 Jaguar XJ8. The hood will not open when you pull the latch release inside the car. Please send pictures of the procedure that you described. My email address is (removedby GGG)
Welcome to the forum Arlene,
Your post was automatically locked for moderation. I've removed your eMail address and unlocked it.
The idea of the forums is we exchange information here - not by direct eMail. If Ozone240 chooses, pictures can be posted in a reply.
I went through this as well. Opened up the drivers side wheel well, and found out I was not the first to go there:
So it is clear that you do not need to drill, you can just attack the sheet metal.......
After opening the drivers side, the passanger side failed. Drilled a hole there instead of making a mess like the last person did:
Looking from above.
So that was great, but after closing the hood, it would not open again. To make a long story short, the end of the cables on my car fall out of the latch. That plastic collar may have been for that, but it does not stay in the latch. So I drilled a hole in the plastic of the latch and used a zip tie to create a carrier for the cable, so it should not fall out.
Since then, I have not had any trouble opening the hood.
Last edited by studeb; 03-22-2021 at 12:11 PM.
Reason: Typos
When I collected my new XJR this weekend I found the hood locked shut. I'm hoping this isn't a sign for what's ahead with this car.
I completed this repair yesterday. I used a cut down wall anchor to replace the broken fitting on the cable that locates it in the eye and stops it falling out. Added some mechanics wire to hold it in place just in case and I'll probably go back in and add the zip tie shown above at the weekend.
The original set of instructions I found didn't mention disconnecting the battery, found out about that step with a large spark, don't skip it.
One odd thing, there are 2 drain hoses - one from the scuttle, the other from the sunroof? - but only one hole to exit into the wheel arch. Seems like it would be better to have both hoses draining out that way. I checked the other side and one hose doesn't make it out.
Imagine my dismay when this happened to my new 2001 XJ8 the 2nd time I tried to open hood on Day 1. Followed instructions and it was maybe easiest Jag repair I have ever performed. Following those instructions above (apparently from manual), you can see the 1/2 in. hole I drilled 1-3/4" behind the pre-existing 11 o'clock grommet hole as described. That's the black fastener poking up after reassembly. You don't need to plug your new hole w anything, as the plastic fender liner is hard up against it. How people kept these cars before the internet I have no idea. Thank you Jagforums.
 06-30-2015, 05:29 PM


 . The passenger side hood latch would not release. I followed the directions here, took the wheel off, took the plastic liner off, the hole between the panels already had no sealant. It took quite a while to pop the latch. I kept coming back into the house to look at the photos on this thread. The only thing I would add is that the latch is just inside the hole, you do not need a long screwdriver. Just feel around with the screwdriver for the spring. The reason mine was not working was the small plastic grommet at the cable lever had disintegrated with age.