When you click on links to various merchants on this site and make a purchase, this can result in this site earning a commission. Affiliate programs and affiliations include, but are not limited to, the eBay Partner Network.
This is exactly my thinking. The engine and trans from the '01, plus the good trans from the '00, and whatever is good on the engine from the '00 will go a long way for someone who wants to keep their XJR/XKR of this era on the road. I'm happy to help them do it!
Had a bit of a setback this weekend with (then current) plan to use the 2001 XJR for the swap that has taken it out of consideration permanently... Will be using the 2000 XJR instead.
The '01 has a jammed right front passenger seatbelt and while trying to take passenger seat out to replace the seatbelt, the captive bolt in the floor at the right rear of the seat came loose. When I got under car to explore options, I noticed several small soft spots in the floor that I'd not noticed previously. The factory undercoating is completely intact, with no floor damage whatsoever that might have allowed water to enter. With some light poking I created a hole (conveniently in the shape of a rubber plug I had on hand) and got that bolt out. I then moved to the front seat bolts and the outer one was crusty with rust inside the car. Although penetrating oil was used with gentle ugga-duggas, that captive bolt broke free in the floor as well. Without cutting a hole in the floor to access it, I have no way of removing that seat bolt. In total, there are three areas, two the size of a 50-cent piece, one the size of a dime and one which, if opened up, would be about 1"x2". That's not counting whatever is drilled to access the remaining bolt.
So, as I hate rust in all its forms, don't have a welder and am not inclined to find someone to cut out and patch these areas of the floor, I've decided the 2000 XJR will get the transplant. The 200 XJR has less miles on chassis (109k versus 129k) and ZERO issues like those I just experienced. (I checked several times). As the 2001 runs so well, with not a sound out of place and no warning lights of any kind, I'll drive it while doing the swap and will then part out the entire car. The 2001 engine, transmission and cats alone are worth more than I paid for it, and there are a lot of very nice other parts on it, even after I scavenge what I might want for the 2000.
I'm a bit mystified about how the floor came to be like this. The rust is from the inside out, and liquid of some sort clearly sat in the bolt recesses in the floor, only affecting the outermost layer of the floor structure. The inner layers are all solid and clean. But - the car isn't a flood car and I bought it from original owner. It's been in Houston and/or North Carolina its whole life. No evidence of water intrusion anywhere else and none of the expected electrical issues that would have resulted from it as well. Maybe a Super Big Gulp was spilled and allowed to sit there for years? Who knows...
Nonetheless, I placed an order with Andrew at Jaguar Specialties on Friday afternoon for his "deluxe" kit, which should be here in a couple weeks. Things are going to get moving now!
This is directly under the right rear seat bolt. Poked it and opened it up to get that captive nut out. Capped this one with a plug that fit perfectly. Additional soft area visible next to it. Bolt and captive nut. Debris is what was sitting in that recess. Dime size hole after tapping at another soft area... And the last ones, showing the 1"x2" area that will need repair as well.
After stewing on the above post for a bit, I decided to swap the front seats from the '01 XJR to the '00 XJR as they're in slightly better condition. In doing so, I was able to unjam the front passenger seatbelt in the '01 while the seat was out. The inner floor is very solid, the soft spots are limited to the outer floor layer. Will be very easy for someone (not me) to fix. Actually, I could do it with JB Weld but the car deserves better. So, I've put it back together and will be listing the '01 XJR for sale. It's got some quirks but - for now - it's too good to be parted out with 129,750 miles on it. And - on the way home from work today in the 2001 XJR, I got a flat. Good thing the spare has a 2003 date code. Not. Have to deal with that now before I list it for sale locally. Interior shot of 2001 XJR with seats out and unjammed passenger seatbelt. It was all twisted such that the retractor wouldn't, well - retract... Seats from the 2000 XJR now in the 2001 XJR. Everything works, just more worn than I want for the LS-swap. Cushions are good, leather seat cover is a bit rough.
The last few weeks have been busy with travel for work and such but this past week has led to a big jump forward for the project. Both the conversion kit from Jaguar Specialties and all of the LS upgrade parts from Texas Speed and Performance arrived.
The kit from JS is impressively complete down to supplied nuts and bolts, is very well documented via the supplied manual and the fabricated parts are extremely high quality. I'm currently chasing down various "user supplied" items but would say everything I need to actually "do" the swap is now here.
As for the Texas Speed items, as the engine/trans combo is from an automatic Camaro SS, the 6.2 LS engine has GMs version of VANOS, which technically makes the engine an L99 and not an LS3. The LS3 came with manual transmission Camaros. Power/torque is the same for both versions though. I'm doing a conversion to proper LS3 specs, which includes AFM/DoD delete, single bolt to 3 bolt camshaft, new lifters/pushrods, upgraded valve springs, LS2 style timing chain damper and TSPs Stage 1 cam (225/236, .629/.615), which will wake up the engine quite nicely and allows me to keep the stock convertor from the 6L80E. Power and torque will be much more than the original XJR setup, with a power curve that aligns with how I plan to use the car. (No drag racing in this car's future - that's for certain)
This weekend's plan is to get the LS engine ready for the LS3 upgrade and Texas Speed part installation, and start the disassembly process on the '00 XJR to pull the drivetrain.
The '01 XJR has been shunted to a storage lot up the road for the time being, after picking up a key in the left rear tire. I am in no rush to do anything with that one at the moment, it's too nice to part out. Will probably sell it once I'm farther along with this project. Two sizable boxes with all the conversion components including an oil pan, exhaust manifolds and Jaguar Specialties-designed brackets, plates and the like. Goodies and upgrades from Texas Speed & Performance. Given I am local to them, it's a nice knowledge tidbit that my specific camshaft was actually machined on 10/17/23.
Busy weekend prepping the donor 6.2. Separated engine from transmission and removed all the accessories/etc to get to the basic long block. Working on a low mileage, well maintained engine is so nice. Next weekend is set aside for L99 to LS3 conversion and camshaft installation. New oil pan has been sent off for modification per Jaguar Specialties specs.
The '00 XJR also got one final "pre-swap" wash and was repositioned in the garage to maximize space for the drivetrain removal. Before I start the removal of that engine, I will film a cold start/idle for posterity in the event anyone wants to buy all or part of that engine. I'll also shoot some film of it driving to evidence that the transmission is good as well. It will all be listed for sale once I get it out. The aluminum 6.2, ready to get stripped down. Getting there... Ready for LS3 conversion and performance parts install.
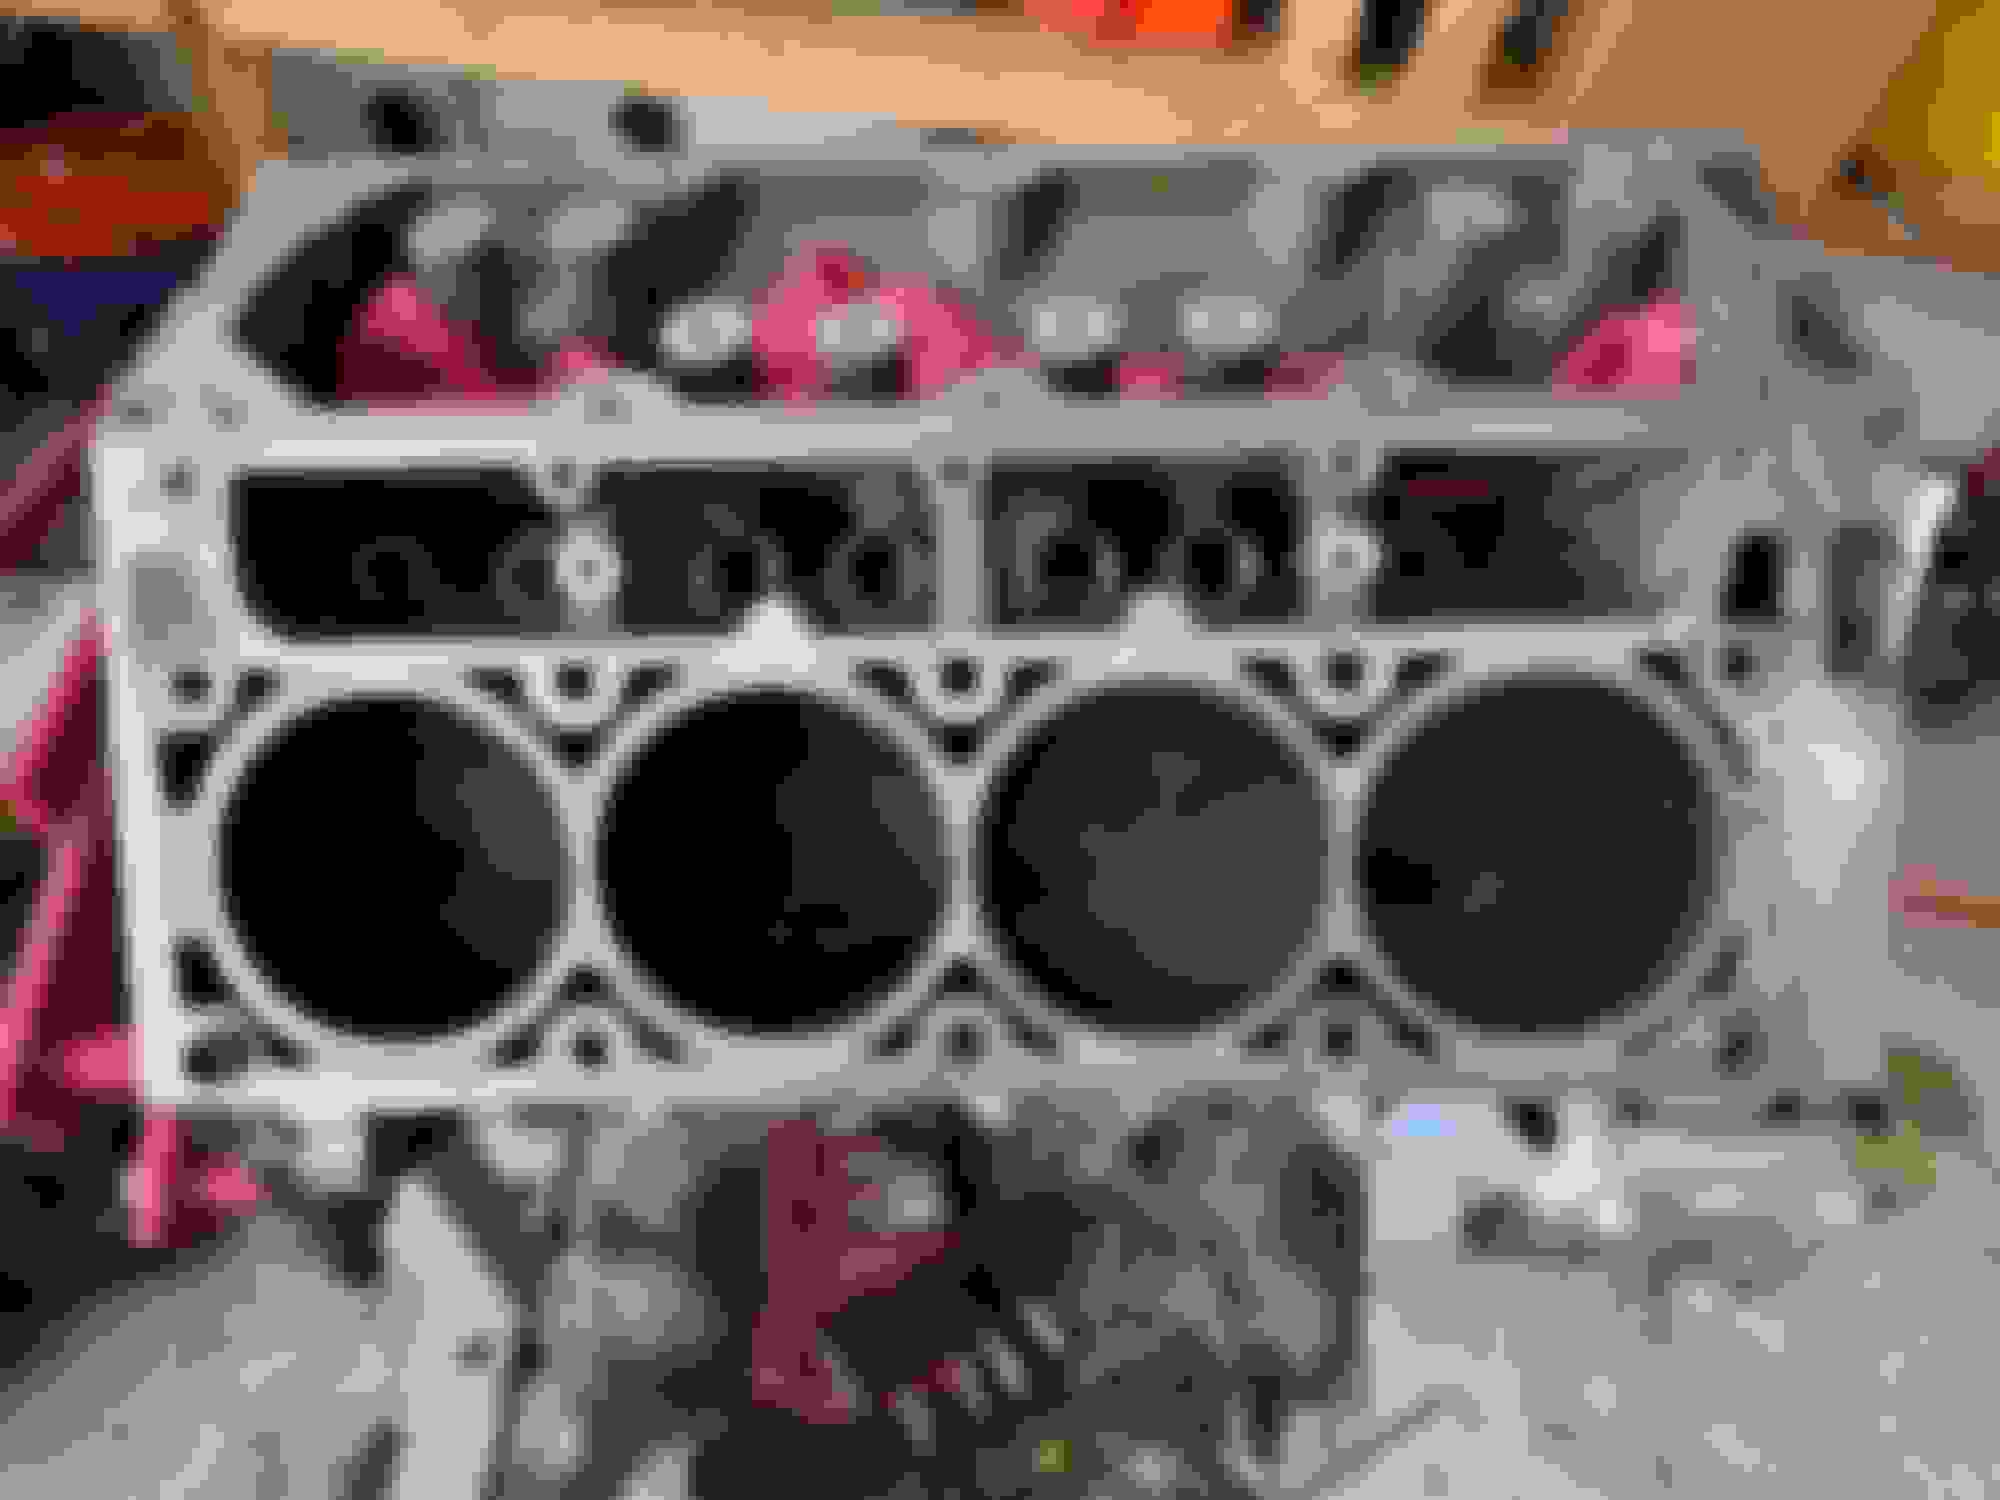
Last weekend was spent doing the LS3 conversion to remove the factory "displacement on demand" that automatic trans versions of the 6.2 v8 have. This makes it a "proper" LS3 and removes all the associated complexity. That this engine was well maintained from the service records is supported by the condition of things once I opened it up. Everything looks great, even still has nice cross-hatching in all 8 cylinder bores. Windage tray is super clean. Upper gallery essentially spotless. Valvetrain looks like new. Clean block, pistons and bores all in good shape.
This weekend the heads go back on. They've got the new valve springs, seals and retainers. It is said that if one looks at cam bearings in LS engines, they will almost always be bad. Well, we looked and these are near perfect. Nice Stage One cam ready for installation All buttoned up and with a proper 3-bolt cam gear instead of the DoD single bolt mechanism. Batwing tensioner replaces the old DoD setup with its plastic guides. Heads are ready...
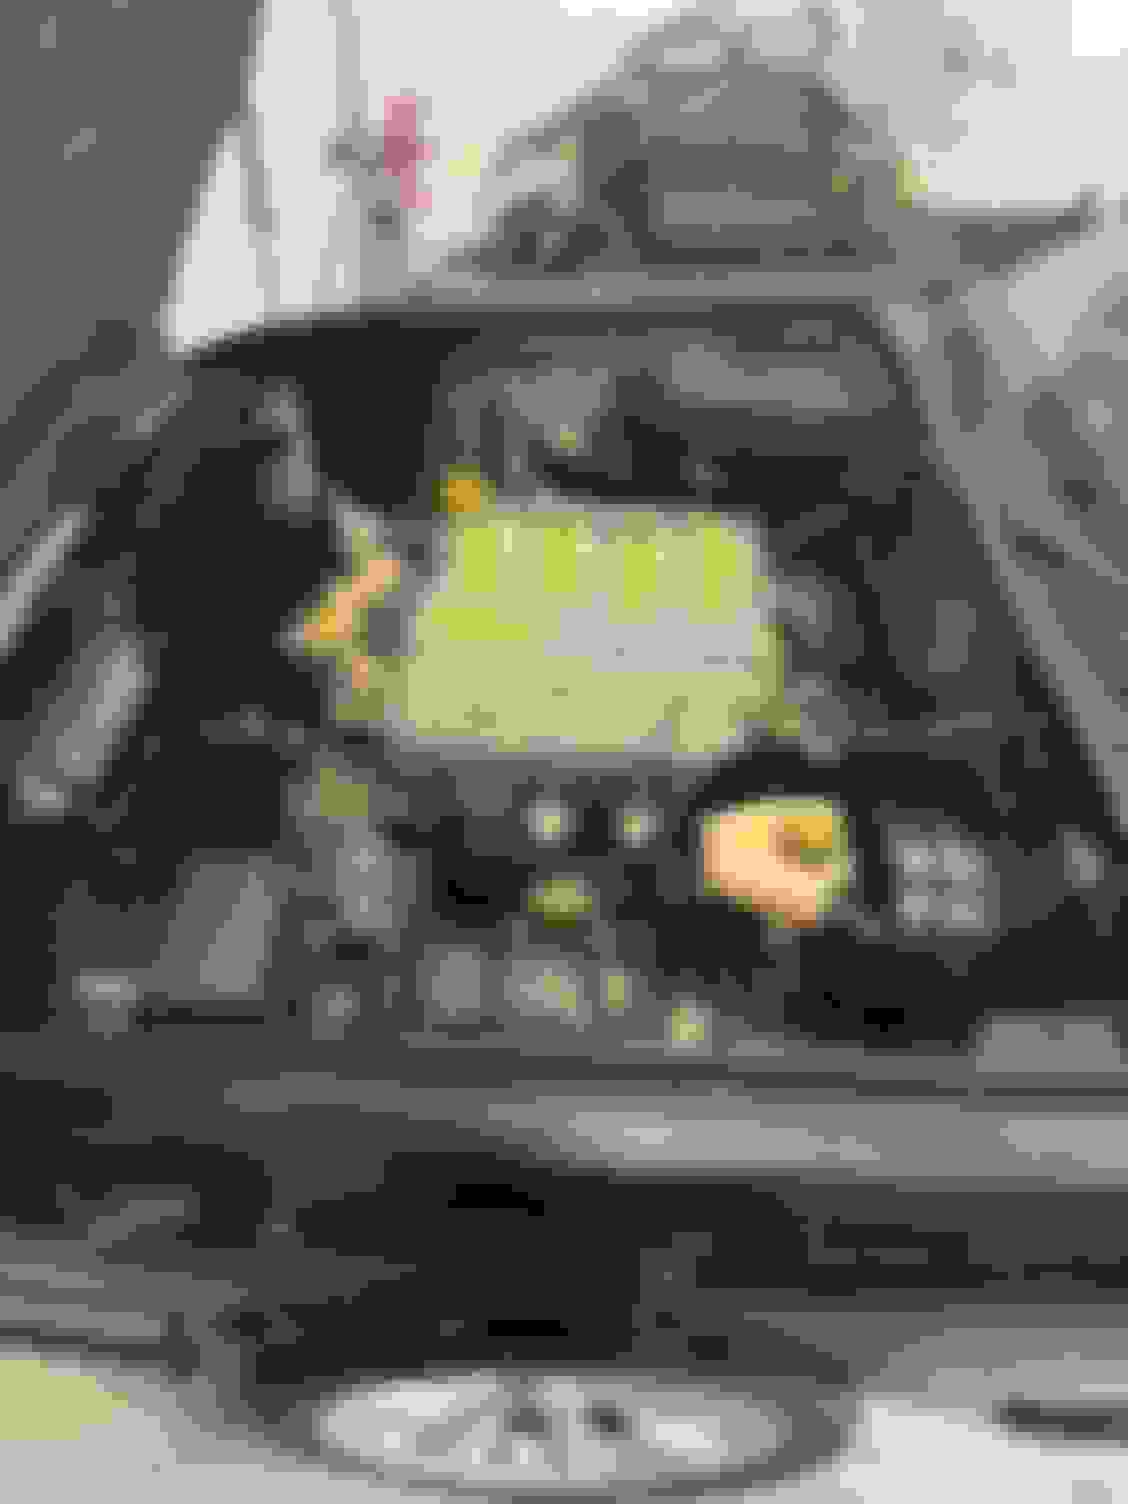
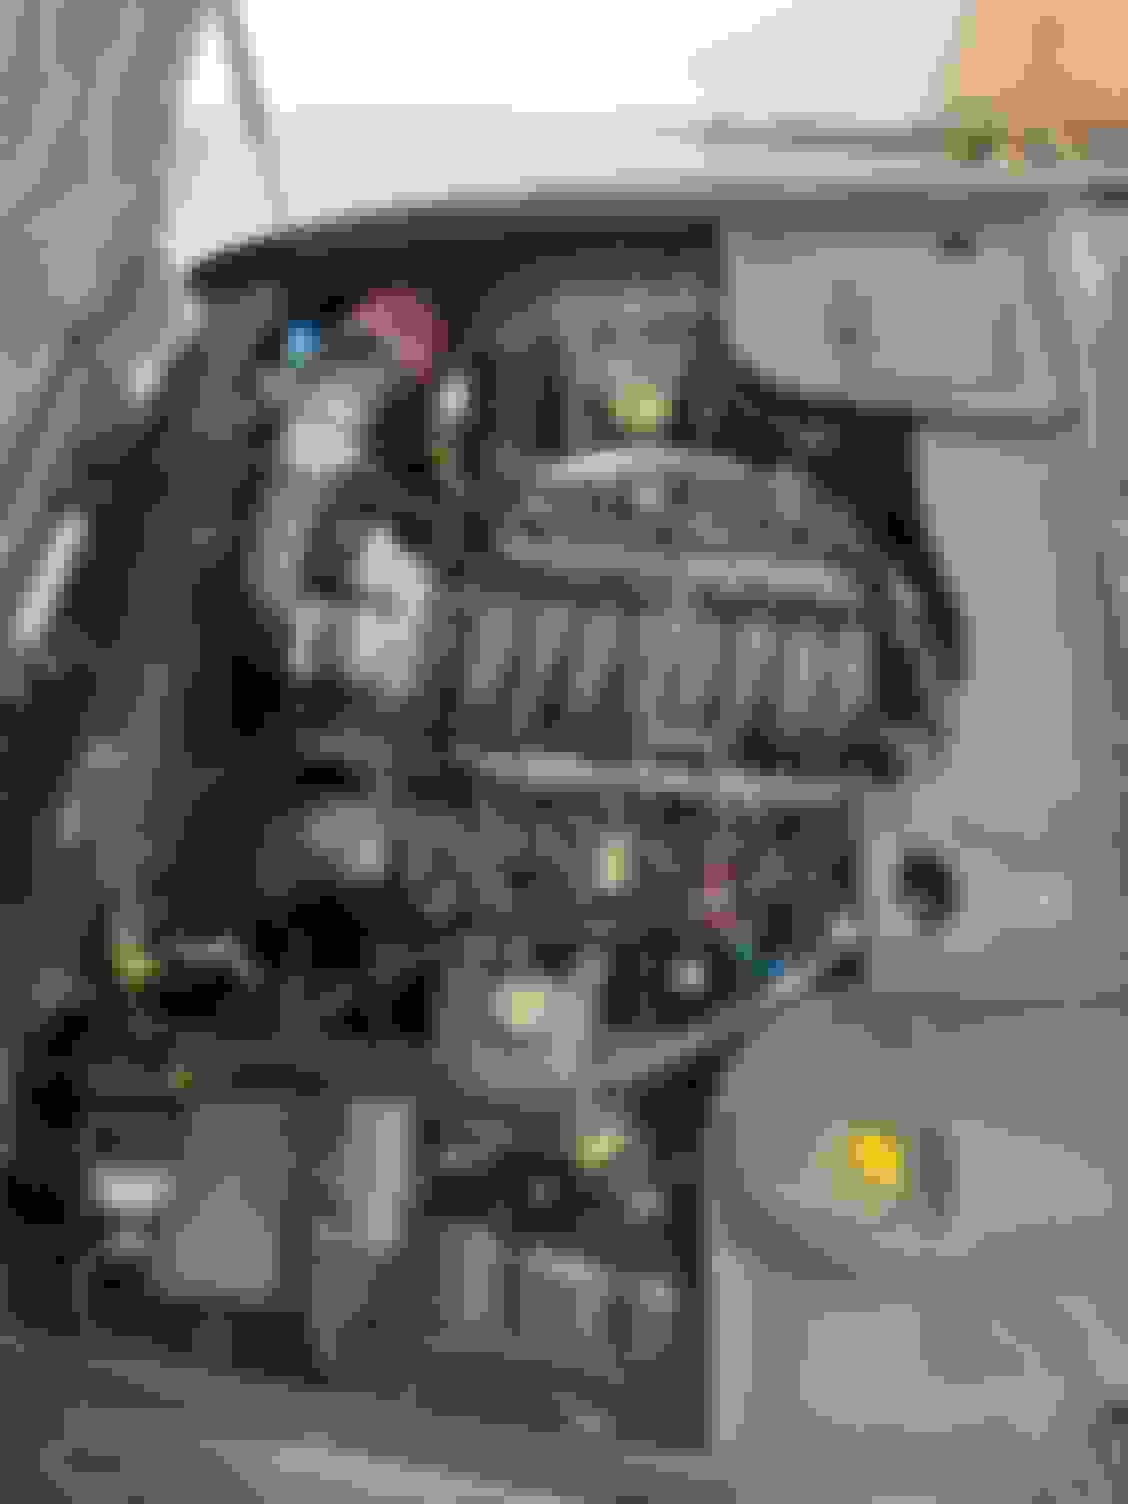
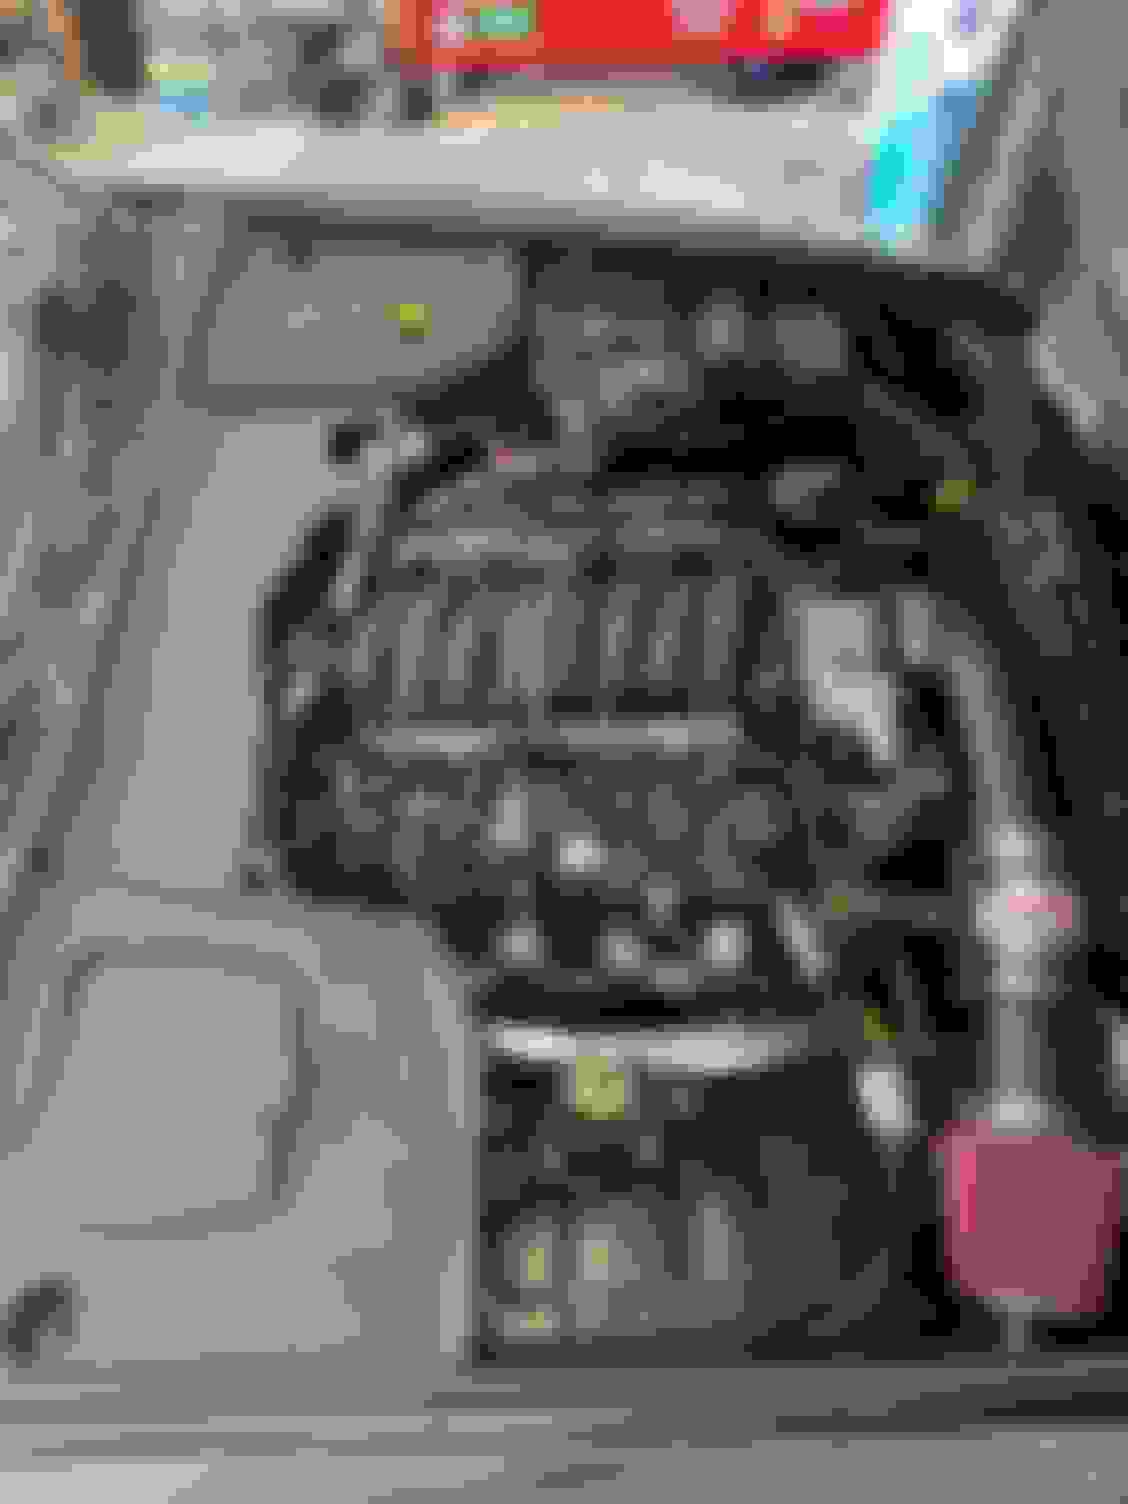
After a bit of a hiatus due to holiday visitors, etc., I finally got around to pulling the engine from the 2000 XJR this weekend. Some may recall from earlier posts of mine that this car had what was supposed to be a bad supercharger, and based on the sounds it was making, it certainly sounded like that (and would only go 18-20 mph at most). Well, when I disconnected the supercharger belt, the engine ran the same so I'm quite sure now that the engine really needs a full timing chain/tensioner upgrade. Anyway, it took about 4.5-5 hours to pull the drivetrain as a unit. Hardest part was getting it tilted enough to lift over the radiator support.
Next was to get all of the "extra" stuff not needed out of the engine bay. This included the heater pumps/hoses, intercooler pump and intercooler itself and factory oil cooler. I'll be using the original PS cooler and adding an aftermarket oil cooler. Stock radiator is in great shape and will be reused as it's quite big enough for the LS requirements.
After the end of year holidays I'll get started on putting things back together. I still have some ancillary stuff to do to finish the LS (steam port connections, all new sensors, etc) and then that will be ready to go. After the break, I need to figure out what to do with the original engine and transmission now from the 2000 XJR. I suppose doing the timing work could be easier out of the car, but I'm not sure I want (or need) to do that. One last view of it with the original engine/trans. About 4 hours in, lifting it out in one piece. The Jag engine is so much bigger than the LS. Transmission is smaller than the 6L80E. A quick powerwash removed 23 years of Texas dust and such. Will go over it again with Simple Green to finish up. Lots of room for the LS3/6L80E in here.
With the drivetrain out, the easiest and most effective way to determine just how good or bad the engine is, is to remove the oil pan and look up inside the pickup tube. Pulling both valve covers would be next to see if the secondary timing gear shows any failure.
With the drivetrain out, the easiest and most effective way to determine just how good or bad the engine is, is to remove the oil pan and look up inside the pickup tube. Pulling both valve covers would be next to see if the secondary timing gear shows any failure.
That's a good idea. Both are sitting on a dolly/pallet right now and when I get the LS into the chassis, it will free up my engine stand for that.
I'd have thought a documented fresh chain etc fitted to the engine would make it a lot more saleable & reclaim some funds this project has used up too.
So, the last couple weeks have been busy with finalizing bracketry mods to allow the flexible dipstick to route the way I want it to. Yesterday's project was to install the engine and transmission. Overall, a pretty easy step given the quality of the Jaguar Specialties hardware. Everything lined up exactly as it should and is solidly in place. Need to get the driveshaft made, trans cooler lines installed, coolant and fuel plumbing, shifter mechanism and then the wiring. Going to try to get the car shipped to exhaust shop this week to have exhaust made. Will be reusing the Camaro cats, plenty of room for all four of them.
I need a plan for the original powertrain. It's only got 109k miles, the engine needs tensioners and water pump showed signs of leaking at some point. Easy fixes, especially with it out of the car. Transmission shifted beautifully. Maybe I'll bundle the whole thing with the 2001 XJR (130k miles) when I list that for sale in the coming weeks...
Lokar flexible dipstick in place with a longer bolt and spacer to position it and also hold manifold heat shield in place properly. Prepped and ready to go in... Making room for the crane and assembly. Looks lovely in the Jaguar engine bay. So much room compared to how big the OEM Jaguar engine is.
Focus has been on the many, many little things now that engine is in the chassis. All but the AC compressor and starter are installed on engine, all new sensors, o-rings, etc for the fuel system and trans cooler lines in place. Custom one-piece driveshaft arrived Saturday and will get put in this evening. Once the bulk AC line arrives I can make up the new AC lines. I chased down replacement AC manifold fittings yesterday as I'd inadvertently thrown away the stock AC line I should have kept and in doing so found a very nice 2002 XJ Sport with good Pentas at Wrench A Part Austin. Anyone local may want to go and check it out. It's in Row 110 and arrived within the last couple of days. Hadn't even hit their website inventory listing yet. Few of these chassis show up around here and this one looked well maintained until it was hit in the front center/left.
Looks more and more like a proper LS3 is in there... Braided 8AN lines for the trans cooler
February has been a very busy month for the XJR... Biggest effort was getting the wiring sorted, which was a 2.5 day session. That was done after the car had the exhaust installed (I wanted to know where that would be before finalizing routing of wires and coolant lines, etc. Local shop that's done tons of custom work did a great job and all 4 of the Camaro catalytic convertors are in place. Thanks to friends who are electrical wizards, know the LS harness architecture and the Jaguar Specialties manual, it came together very well. We used Deutsch connectors to make future removal of the engine easy and eliminating the need to ever have to disconnect anything within the Jag harness itself. Fuel lines, coolant lines all in place, fluids topped up and then it was time to give it a go. And - - it started on the second crank! I can't post video here but two clips from the startup are on my IG page for this: "txlsjag". It sounds amazing. Big thanks to Keith (pcolapacker) who helped with numerous "what did you do for..." questions I had, and will undoubtedly still have. His swap isn't too far behind. Driver side downpipe is an interesting shape. Comes out of the manifold, turns towards the engine to go over steering shaft and then down. Passenger side downpipe much more straightforward, but it's a close fit between starter and subframe. LH pair of Camaro cats fit as-is, no need to separate. Just added a new downstream O2 sensor bung as the primary one is now in the manifold, ahead of the first cat. RH cats were also used as-is. View looking to the rear. 2.5" tubing throughout. No, I didn't go with an x-pipe. Right out to the back...larger tips look quite good. View of engine compartment with all connected. Passenger binnacle is open because I still need to wire in AC signal box and wideband O2 so that we can complete the tuning. Once AC module is in, it goes to AC shop to get the lines I need made. With it in, and running, it was time to do a little badge engineering.
Congrats on leaving me in the dust both literally and figuratively. Hopefully I figure out my computer/wiring issue and catch up. Those red 6.2 LS badges are a bit gaudy. Black much more eloquent.
Ha! Needed a pop of color on the otherwise black on black car, with fully tinted side and back windows too.... And epic patina on the edges and flat surfaces.
57, just out of curiosity, what�re you using for gauges? What about ABS?
Great question! I'm using the stock gauges/dash setup. Nothing changed there. The kit from Jaguar Specialties includes an optional (standard for XJR kit config) CAN module that ties into the Jag dash and instrumentation. The tach is driven from the LS ECU based on a specific LS configuration via the CAN module, the temp gauge uses the original Jag sender and is tied into the CAN module (LS engine now using 2 temp sensors: one for itself and one for the dash), warning lights as well.
There is a second OBD2 connector for the LS ECU diagnostics (and in my case, emissions testing for one more year). The original Jaguar OBD2 is still present and connected and can only read body codes, SRS, ABS, etc. Jaguar engine ECU and trans control module are removed from the car entirely. Only two wires from the great big connector in the engine compartment are used: one for Jag temp sensor and another for the battery/charge light on dash. All else is ignored/left behind.
Will be interesting when test station plugs into the "correct" OBD2 port and tells the sniffer the car is a 2012 Camaro SS.
Here's the engine compartment in "final" form. I say final only in that it's all in, connected and the car is running. I may fiddle a bit more with the final placement of the coolant tank (I made a bracket to attach it to the fuse box), but it's good for now. Was supposed to do the tuning this weekend but lack of correct cable (female DB-9 with chipset to USB), we couldn't connect to HP Tuners. Has pushed things off a week or so due to other time commitments. Nonetheless, the cold start music it makes is wonderful. Once it's tuned, I will be having the AC lines fabricated using the Camaro AC compressor manifold lines as the foundation. Found a local shop that specializes in all sorts of custom AC work for creations like this.
Last edited by 57loboy; 03-11-2024 at 09:38 AM.
Reason: typos
 09-15-2023, 05:30 PM


 Have to deal with that now before I list it for sale locally.


 I am in no rush to do anything with that one at the moment, it's too nice to part out. Will probably sell it once I'm farther along with this project.