When you click on links to various merchants on this site and make a purchase, this can result in this site earning a commission. Affiliate programs and affiliations include, but are not limited to, the eBay Partner Network.
It took me a while to finally write this up, as I had to write a lot of other threads first, so that I create here in this thread links to all the other threads, as it all belongs together - links are at the bottom... (Also: Some torques are on the bottom).
To swap the timing chains, a lot of other things need/should be done at the same time - that many that it would be way too much to fit into one thread - thus I wrote a lot of other threads already, to which I will link from here... (all the links are below all those pictures).
As always: Don't hold me responsible, if you get inspired by my thread and cause damage or injury next...
A timing chain-swap is that complicated that there is a good chance that something might get damaged in the process.
And it could be even more complicated, if you have VVT (variable valve timing) - I don't.
X308, 3.2L, 1998/99, AJ27, no VVT.
General good advice:
As you will have to �dig down� several levels to finally get to the timing chains, I strongly recommend that you prepare a lot of plastic cups/trays (and best even label them) for all the different bolts, which will have to be removed along the �long and windy (meandering) road� Might help during re-assembly to know, which bolt goes where....
Here we go:
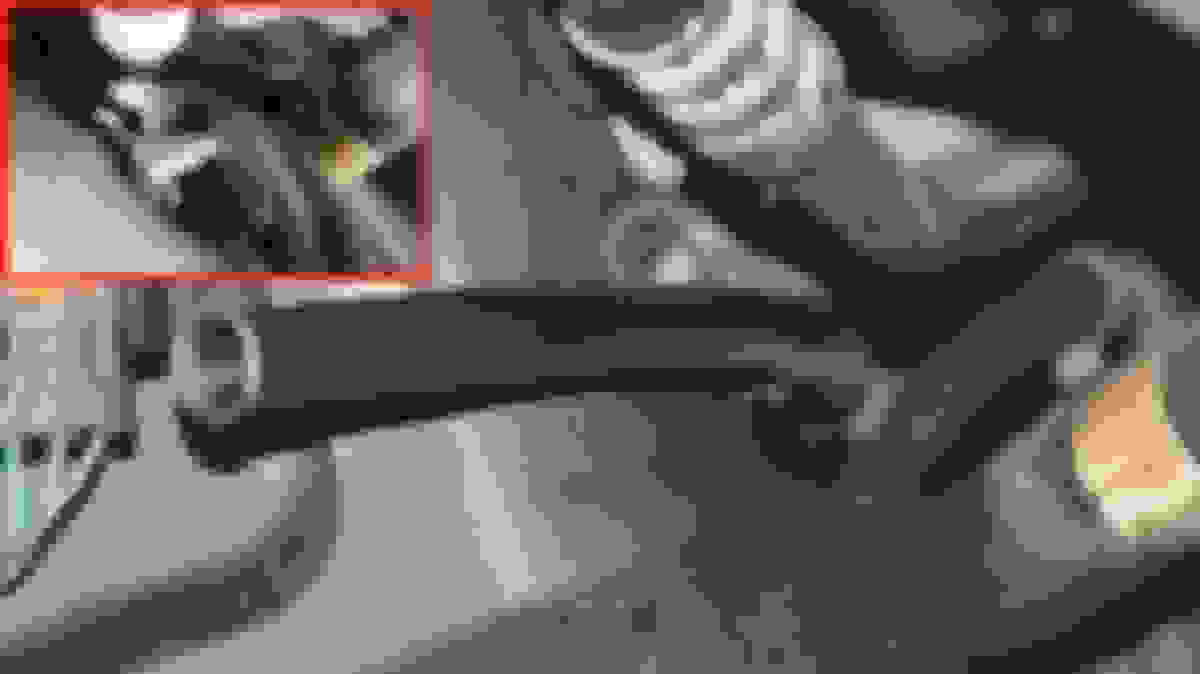
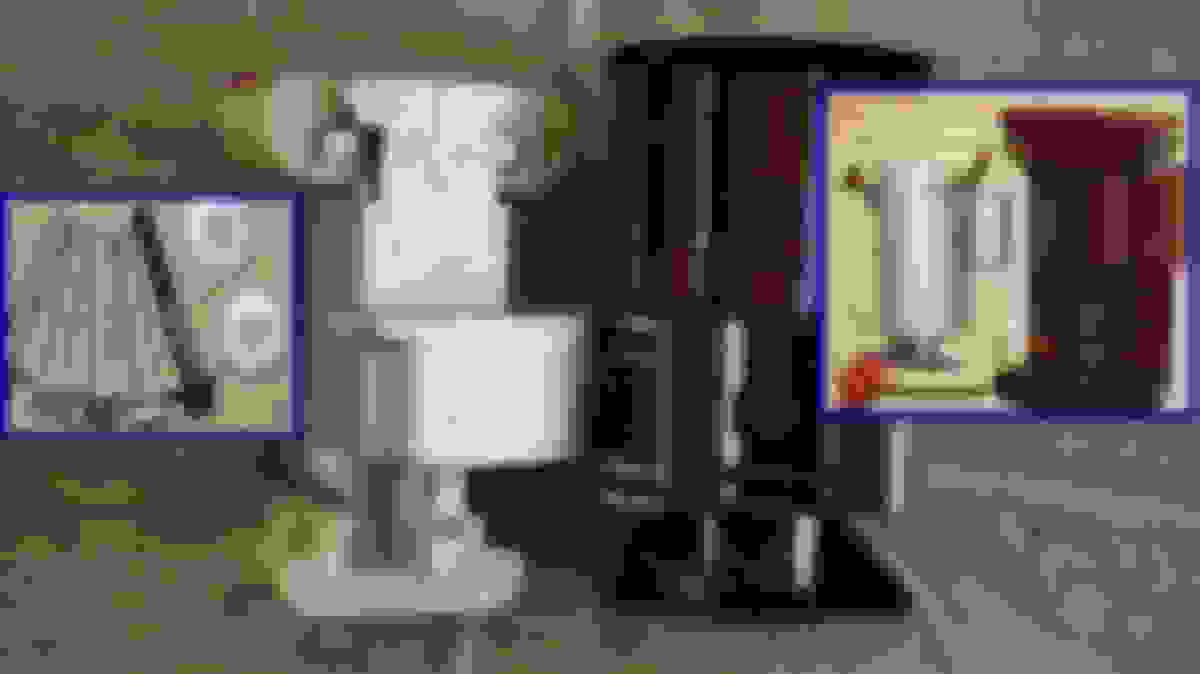
This job will take a while! Thus, place your bonnet (hood) somewhere, where nothing can "kill" it - no wind and nothing. To get the bonnet off, start with the 4 bolts thru the grille to remove the grille. After that you will have access to the big bolts of the hinges of the bonnet. I think it was 3 on each side and pay attention, what else "falls off" when removing those bolts - definitely the 2 horns, but I think there was also an electric ground-lug. Don't forget to reattach everything later again. So I removed the bonnet WITH those hinges. After removing those bolts, a bit of wiggling around is required.
That's my magic trick... I removed the main radiator (by pulling it up after removing the bolts, which connect those 2), but left the A/C radiator in there (for obvious reasons!). It is possibly also an option to remove the radiator from underneath, but only if you have a big car-hoist. I was able to move the A/C radiator (without disconnecting the 2 pipes) up and down to wherever it was least in the way.
Don't try this at home! I did this now on the third car, no damage caused, but it is hairy and risky and therefore I would not recommend it - especially as I welded myself the required special tool anyway to be able to tighten the balancer-bolt back on again - which means, I could have used this tool just as well to remove the crankshaft bolt. So what I did here was that I wedged the big ratchet in position against a solid part of the car body and carefully and briefly activated the starter-motor to let it do the Hard Yakka (hard work). I think I had to do 3 attempts, and I was just about to stop those attempts and to weld that special tool, when suddenly I realized that the last attempt actually did loosing that bolt...
But after the bold is loose, it may still be stubborn enough (as in this case) so that I would have problems without that special tool (which I welded later), if I don't come up with a contraption like the one shown above to stop the balancer from turning.
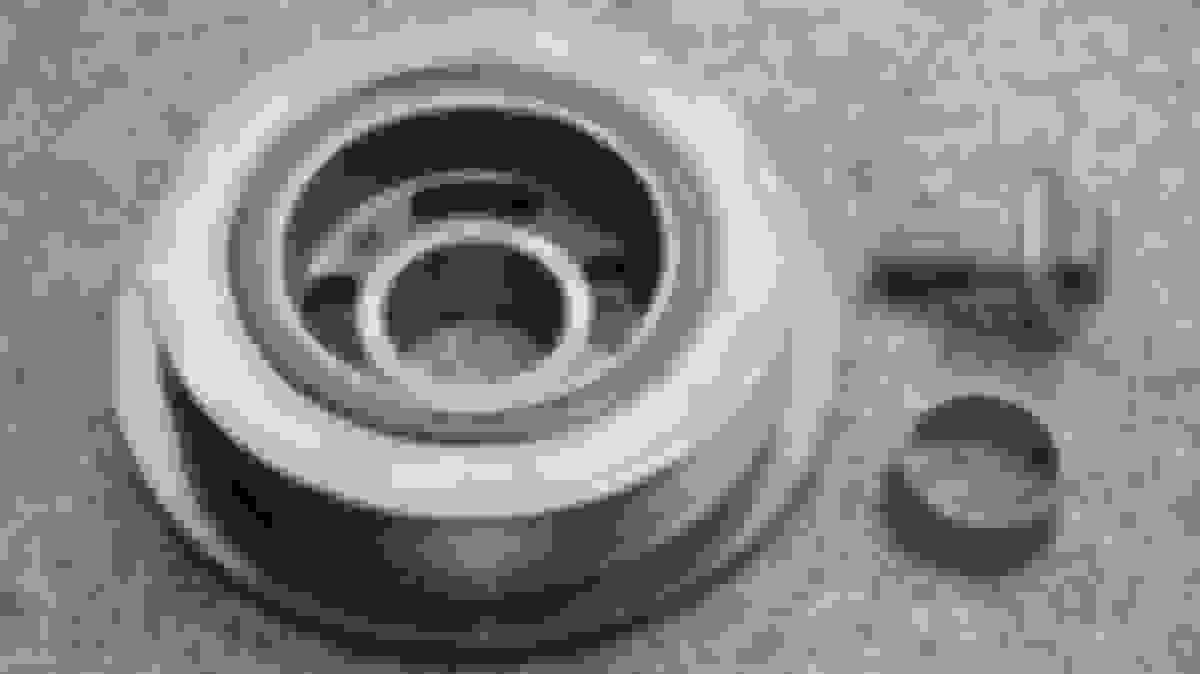
So this is the "alternate position" of the A/C radiator... Now there is access from the front to let the balancer-puller do its work. It's the correct puller for that purpose, but it was mad: I applied immense forces, the balancer moved a wee bit, but then refused to move on. I then learned that this is kind of normal. If that happens, remove the puller, maybe hit the balancer softly with a rubber-mallet, and start again with the puller (you may not even have to remove the puller entirely, which helps, because it is hard to get those two bolts into the difficult to access threads in the balancer...
That is the only unsolved problem on my journey - but I found a solution: To get the timing cover off, you have to remove the cam-covers first(btw.: to remove all those wiring X-mas trees from the cam covers without breaking the X-mas-tree-fasteners, I heated them up with a heat-gun first). Back to the problem: The oil-stick-tube is fitted onto one of those cam-cover bolds, and this bolt remains non-accessible with that tube still in place. I could not move the tube out of the way. I cut a little slot with a row of tiny drill-holes (using a drill as a metal-saw - so to say) and then I created this cap, which allowed me finally to create access to the cam-cover bolt. Buy the way: This whole thing is not issue at all on the Ford Fairlane NL: You just pull that tube out after removing that nut. But there was no pulling possible here...
Well, there is a big coolant removal plug on the left rear of bank 2. Would have been nice to be able to open it, but I think that is possible only if the engine is removed from the car. So I pumped at least a wee bit more out of there with a transfer pump.
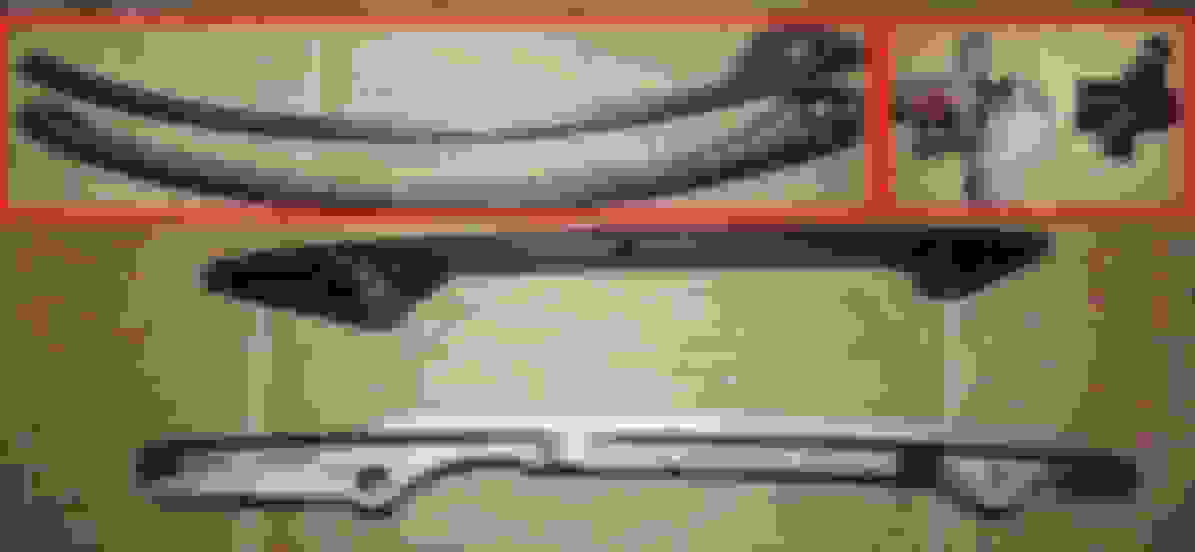
The Jag is 25 years old. The timing chains obviously have never been replaced, which was advised by Jaguar (or in the forums) a long time ago, as those plastic tensioners and guides break (wrong parts used by Jaguar!). And as you can see, they are broken, but they could have been in a worse condition still...
After the balancer and its bolt have been removed to be able to remove the cover, there is something missing now to move the crankshaft clockwise to get the cam shafts into the desired position. Rather than spending ages to turn the long long thread of that bolt back in (without balancer), I used 2 old damaged bearings as spacers to make life easier.
To be seen here are the old plastic secondary tensioners: Again: not the best condition, but could be worse... But more important: Turn the crankshaft until all four camshafts present their "flat part" on the top: See small picture on top. You can also see, that those two are not both flat in the exact same position, which they should be - they just shift a bit in the last 25 years, which is possible, because there is no system here, which stops that from happening...
Before you can go on, the camshafts have to arrested. There is a special bridge tool. It is about $100, but it is "cheaply" made: It features only 2 holes. 3 holes is way better. So I quickly cut aluminium strips to my liking with 3 holes. I used 2 strips on each side, each strip 2mm thick. If they can only offer CHEAP for $100, then I do CHEAP without paying money for it! I bought the required bolts and washers - the alu-stips were leftovers - so use whatever you can find.
You may notice that I have two different designs - both work.
This is something I highly recommend: I have not seen this anywhere, but isn't it obvious??? The timing chain MUST be in the very same position afterwards as they were before. If you are just one tooth out, the engine does not run perfect anymore, if you are out 2-3 teeth, you are likely to kill your engine, as the X308 has an interference engine, i.e. pistons and valves occupy the SAME space, just not at the same time - unless of course - you mess up the timing. The result would be bent valves. Thus I used all those marking, because without them you would forever doubt yourself, if you did it right during the re-assembly....
I took this picture to show, where the little plate goes, which probably fell off, when you removed the tensioner, so that you do not forget later. But as it turned out, the new tensioners are of a different design and do not need those plates. I removed tensioners and guides. Big drama regarding one of those bolts of the guide on the bank 2 side. I did a special thread about this - link at the bottom. So be careful when removing those bolts - if you can...
With my 2 DIY bridges installed, all sprockets and chains marked up to identify the required exact position, it was time for an Allan-key and a massive lever-extension to get into action opening the bolts of the camshaft sprockets and secondary sprockets.
Thus, all the chains, sprockets and guides are "on vacation now" - or better: "They are in retirement now", and the next generation will take over...
I placed all the parts on the ground in the EXACT position they were on the car - because if you first mark everything nicely up, but then mess or mix up the parts, you gained nothing from the marks.
I replaced the idler pulley and the drive-belt-tensioner pulley both with the same generic pulley from a local general automotive shop - big improvement anyway: Metal instead of Jaguar-plastic. The tensioner pulley is tricky! Left handed thread!!! Read my special thread about it (link below). In picture: I measured the exact offset of the OE pulleys and pushed the bearings (with the hydraulic press) into the desired position, and measured again.
Yes! ADOS! (Attention deficit... - Oh! Shiny! ) and new timing-cover-crankshaft-seal.
Again: ADOS! and the rusty cross-bar below painted black with clear coat topping.
And - yes: Shiny! Shiny! Shiny! ...the engine oil pan. Btw: If you want or not: You need to do and engine oil change including removing the pan (as seen above), as there will definitely some kind of dirt be falling into the pan - maybe even metal filings - while you work on the timing chain. You would not want to have that in the engine oil.
All the contact surfaces for the timing-cover seal nicely prepared (with isopropyl alcohol). Cheers! Seen here: Still the old water pump...
But the water pump does not cost the world, so I threw a new one in. The old seal was still perfect, I would have loved to re-use it, but the new pump was of a different design, thus I had to use the provided seal. Note, that frequently the seal for a water pump is not much cheaper than the pump and seal together.
Comparison: Old and new. Oh any by the way: The timing chain kit for my 3.2L X308 was ridiculously expensive, but I did some extensive research and I ended up buying the kit for a 4L X308 in the US. No problems. Btw.: Not only the pin of the secondary tensioner wants to be pulled - see small pic on top (after you tightened everything up), but also the red pin in picture above, the primary tensioner... And do not touch/move that "chain link".
And in case you wonder what sense it makes to mark up the old parts, since they are not going back in anymore...: I "transfer" the marks to the new parts! Bit by bit.
Since the kit came without instructions: When I noticed that the OE bolts for the secondary tensioners were too long, I initially intended to sponsor 2 washers for each bolt, until the penny dropped as to why there were 4 bolts in the kit: Those are the shorter bolts required...
Other guides - reg. timing chain swap - put a lot of emphasis onto arresting the flywheel with a special pin, which however - as I see it - can only be put into position, if you have the complete engine removed from the car. With the engine sitting in the car a pipe (probably a brake-line) and cables block access to that sensor, which needs to be removed to put the pin in. Thus: All bollocks! I marked all the chains and sprockets and even the crankshaft-position. That did the trick for me. Note the first new guide mounted in above picture...
Witht he aid of my markings...: No worries!
OK, when I removed the sprocket-bolts, I simply put a lever-extension onto an Allan key to get to those 4 sprockets. But now the name of the game is to apply the exact torque to tighten those sprocket-bolts. The Allan key can't connect to the torque wrench. So either you buy an expensive special 10mm hex-socket, or you do it like me and harvest a bit of the Allan key and stuff it into a 10mm socket... And there is also a lot of excitement and hipe regarding a very special sprocket-key or whatever - I could not grasp the idea of that. So maybe I am doing something wrong here, or I did not really need it, or it is only required when you have VVT. Anyway: I went without and I tightened the bolts just the same to their required torque. Sorry, I do not know the torque by heart anymore. See workshop manual.
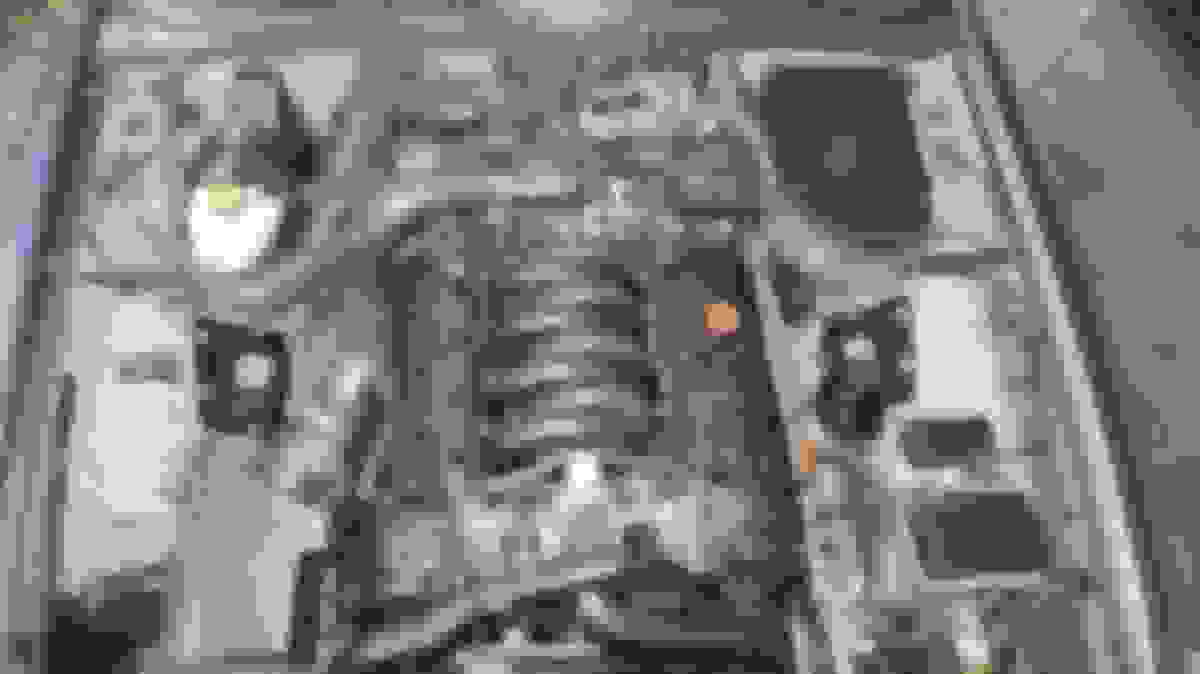
Happy campers! The chain-gang's smiling sprocket-teeth moment... Note: I did not forget to pull all four red tensioner pins. Don't forget to apply gray gasket maker onto those obvious spots on the new timing cover gasket. - The torque setting for the 24 bolts holding the timing cover is 12Nm and observe the torque order...:
Above: The torque order for the timing cover...
Shiny, shiny, shiny!
This is the special tool I welded together. Normally the bit on the bottom would be round, but I was trying to think outside of the box and ended up with a box - a square... I welded two metal tubes for the bolts offset onto the square. The required torque is something ridiculous - way above what a torque wrench can measure. I think my torque wrench went to 220Nm, The required torque is 375Nm. I did not use my working torque wrench for that (to avoid killing it), but used an old broken torque wrench.
Two massive levers - one held by the body of the car and with both hands I moved the other one a bit further from the 220Nm position, not too much - I am sure that was tight enough.
...and yet another pipe, which is happy to see new seals - they were in one of my kits.
If you have read my thread (linked below) with the drama reg. that left handed bolt on the belt-tensioner-pulley: After I was lucky enough to find a left handed bolt in a mower shop, it turned out that that bolt would not sit tight. I probably did not only break the old bolt, but also killed the thread with over-tightening. Thus, I cut a new thread for a right handed bolt, and bought a longer right handed bolt and nut and used locktite. Jaguar charges an arm and a leg for this "non-serviceable" complete replacement of the tensioner. It would have been no drama at all, if I had known that that pulley bolt is left handed threaded.
Now it became clear, WHY that bolt of the belt-tensioner was a left-handed threaded bolt: So that you can grab it with a spanner in the situation above when wanting to install the belt!!! Well then - so for that short moment I just have to come up with another way to release the tension to avoid damage to that new bolt... Shown above is one way to get the belt back on...
The belt was on, but I did not like the OFFSET of those 2 new pulleys, thus I took the belt off again, modified the offset and...
...and used this time a different method to release the tension from the tensioner... (I was careful...)
So all good.
Looks "whole" again...
Bonnet back on. I placed towels all along the watchtower - er - fenders...
Complete.
Note: I was fairly sure that I had not disconnected the connector from the "hood closed?"-switch... So the previous owner had pulled it. That switch, if not pressed (i.e. when bonnet open) is electrically closed, and electrically open when the bonnet is closed. Thus, when the plug is pulled, the bonnets "seems" to be closed always. Thus, with the bonnet open, and the plug pulled, the car can be locked, but with the plug connected, the car can only be locked, when the bonnet is closed...
And here a question: Do I have to worry about those cracks (one here and more on the other air-intakes) or are those normal?
So here are all the links, partially mentioned above already:
To get the timing cover off, the cam-covers need to be taken off - and they were in a disastrously condition - well, what do you expect: Unsuitable use of plastic in a hot environment! I fixed the cam covers.... https://www.jaguarforums.com/forum/x...covers-266148/
To be able to remove the radiator, you have to remove the two hoses between radiator and transmission anyway. And I expect that this may not even be possible without major spillage, if you do not drain the ATF, thus, have the suitable transmission fluid at hand and the filter. ATF change: https://www.jaguarforums.com/forum/x...-flush-265900/
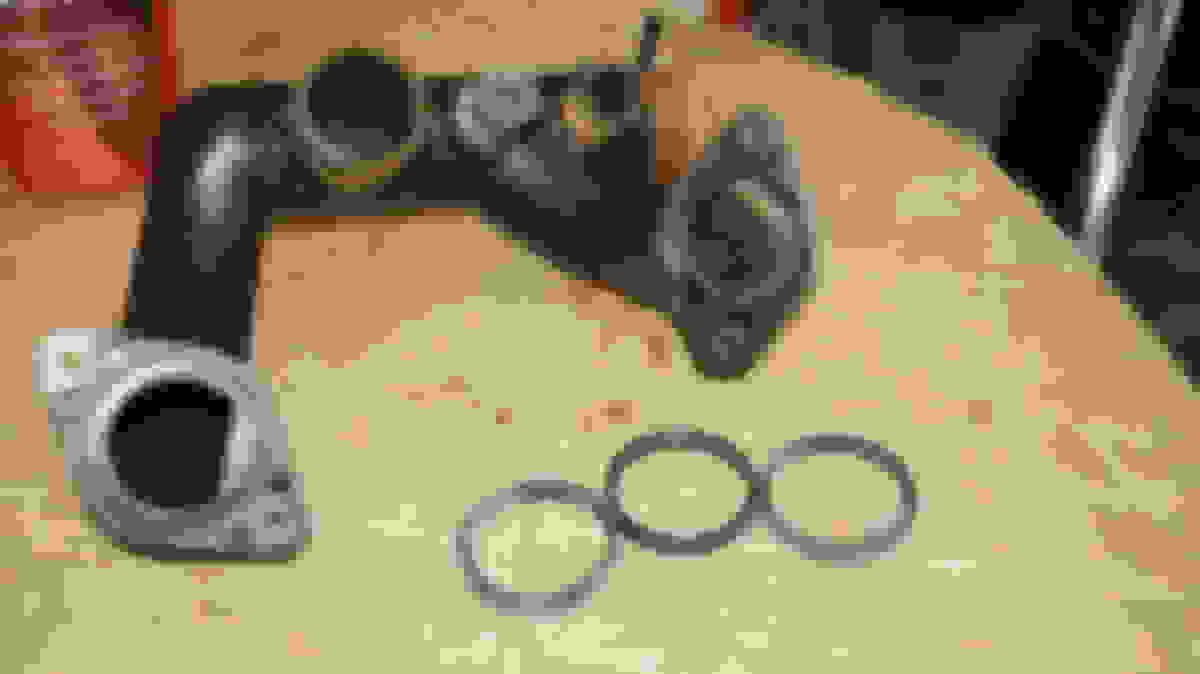
Air intake removal and new air intake gaskets...: This is only connected to the timing chain swap in so far as it is a little bit easier with the cam-covers removed (more space), which needed to be removed for the timing chain swap: https://www.jaguarforums.com/forum/x...eaning-265990/
As most things need to done anyway, when digging your way to the timing chains, I can just as well to the few remaining things, like: Change power steering fluid: https://www.jaguarforums.com/forum/x...change-265754/
I did this timing chain swap, because since I bought the X308, it always had a 5-10 second rattle at first startup of the day. I know that timing chain issues would behave that way, hence I never tried to locate the source of the noise. I was simply biased into that timing chain idea. And as it showed above, it was about time anyway - BUT: The rattle has not disappeared after fixing the timing chains. Thus I asked the question here on the forum, I tried to locate the noise, and I am convinced now, that it is the catalytic converters...: https://www.jaguarforums.com/forum/x...-chain-266206/ https://www.jaguarforums.com/forum/x...proved-266604/
PS: I found my notes with torques...:
Belt tensioner 43Nm
Idler pulley 61Nm
Cam cover 10Nm
Crankshaft bolt / balancer bolt 375Nm
Chain guide straight 12Nm
Chain guide curved 14Nm
Primary & secondary tensioners 12Nm
Timing cover 12Nm (also: Observe the torque order)
Water pump pulley 12Nm
Sprocket bolts for the primary and secondary cam-shaft sprockets: I found two different torques for all of them: a.) 115-125Nm or b.) 20Nm plus 90�
Last edited by Peter_of_Australia; 01-28-2023 at 06:47 AM.
Reason: torques added
I've only done the secondary tensioners on mine so far, so it's good to see what the rest involves. You've convinced me to farm it out to a garage, I could do it as I build bike engines from scratch but that looks way too much bending & I'd need a helper to deal with the bonnet etc.
@ Hooli: Well, as you can see, I did it - and I would do it again. It takes a massive amount of time, yes - but doesn't that mean also, that you would have to pay a garage for all that time, if you don't do it yourself? Plus, if I do it myself, I know, that it is done properly, including a proper ATF change (full flush with the correct ATF rather than a fill-up with the wrong ATF). And I know that I changed the engine oil, which a bad garage might not do - and the crap, which falls into the pan might then kills the engine. And for carrying the bonnet to a save place: Invite a friend for a chat and ask for his help, while he is there...
I am glad that I taught myself meanwhile everything that is necessary to fix Jags. Sometimes I hear stories, how people get ripped off (and their cars "killed" in the process) by scamming garages. Plus, about 35 years ago, that happened to myself:
I gave my car to a garage in Germany for a repair. About 1 month and a few hundred km later I found myself stranded in the Austrian alps, the snow about 5m high on each side of the road (the snow plough built it up like that, and absolutely nowhere to stop except for in the middle of the road, when my engine cut out. But huge luck: Just there the snow plough did cut out a small parking bay at the side of the road. What happened? I had lost the engine oil drain plug!!! This just cannot fall off like that! Obviously the German garage did not tighten up that bolt, I lost it (and my oil) in the alps and was driving without oil... - A snow-cat pulled me into their repair-shop, welded a stud together for me, which could be used as drain plug, filled oil, and I could drive back home. But a few month later the engine was totally shot (well driving without oil back then would do that). I just made it home from 180km away. From there I had to push it a few hundert meters into a VW shop to get a replacement engine. Obviously, the other garage refused any kind of responsibility.
Thus, I do everything myself, so I do know that it is done properly. I am not a car-mechanic, but a Electro-mechanical engineer (Masters). I.e. I can think sufficiently to teach myself what has to be done...
There's always only limited time to complete/correct a new thread, which I made. I used the time wisely, eg by adding the torques and the cam-cover-torque-order. plus other tiny detail.
But now the time did run out. I just realized that I forgot to mention the type of engine oil I used. I used CASTROL EDGE 5W-30 A3/B4, which is think is the best possible engine oil for X308 and S-Type and X-Type in most US states. Since I live in Australia, where some days are on the crazy hot scale, something like 5W-40 would probably be better, however, I just accepted that for those few extreme days the engine oil would be not perfect. For us however, this is acceptable, as we rarely drive mentionable distances, just to town and back.
So I have 10 cars, 4 registered, soon even 5 for a short time, but nowhere to drive to... I need my time to fix the Jags...
Reason for buying the 5W-30 rather than 5W-40 was that there was once an irresistible special offer: It was close to 70% off...
Thus, I do everything myself, so I do know that it is done properly.
I get that & am the same myself for everything I can do. I'll build bike engines from scratch & no one else ever works on my bikes except to change the tyres. But I've got to the point I'll farm out some car jobs to places I trust as I don't have the space, equipment or desire to do them all myself anymore.
The amount of times I've had to redo jobs I've paid for is crazy, hence I farm out as little as possible.
Hi mobile1,
Can you give me more information? I never heard of wide/narrow guides nor of silent chains...
I have to admit, I cannot remember, if I compared the width, when I had both parts in my hand, but I would have thought, I would have noticed, if they had been different. Actually, I am very sure, I would have noticed, as a wide guide would require different bolts... Looking at the pictures of my thread above (and other pictures I took back then), I cannot see a difference between the width of the old and new guides.
I bought the kit with guides, chains, sprockets and tensioners on US ebay - thus, this kit was sold as a kit for the 4L X308 (a US seller would not think of offering it for the 3.2L, as that one is not available in the US, and they would not even know about the 3.2L version), but after some research I was simply sure that it is the same kit - and I had no problems... - I still have no problems.
(The only problem I had after swapping the chains, was that I STILL had some rattling noise for a few seconds after first start-up of the day, but it turned out that that rattle came from one of the catalysts (all the inner honeycomb-like guts were loose), and I swapped both cats.)
NCA1998AB
NCA2025AB
Those part number are the wide version of guides however your car will be fine but this version much better wider and better built I have primary chain rattle because it's stretched not big deal
I got those guide separately and bought eBay Lincoln LS kit I believe I paid 80$ took the tensioners and used wide guides
ebay tensioners working fine as the Ford OEM
and run cooper denso honestly better than ngk iridium just my experience also I remember the fel pro valve cover gasket was garbage I got mahle victor reinz better by far
Great post, the previous owner of my xk assured me the tensioners had been done prior to me purchasing it. Im just going to go dig through his service records to see if it is in there after seeing this.
Hi Canuckster,
Compared to removing the timing chain cover it is child's play to remove the cam cover(s). If I am not mistaken, you can see the secondary timing chain tensioner after removing the cam-cover. If it is brown plastic (which I assume is bakelite), it is the old tensioner. And if that is old you can be fairly sure that everything is old. However, if that one is new, you cannot necessarily be sure that everything had been replaced - I think you can replace the secondary tensioner without removing the timing chain cover, but you can't replace the other parts without taking the timing chain cover off.
Obviously, if you find in the service records that it has been done, it is easier than taking the cam cover(s) off.
He's right in the post above. You can do the secondaries by just removing the cam covers, it's how I did mine.
yeah I've had the valve covers off already and changed the gaskets, I've seen pictures of the replacement ones and they do look like them, light, tan colored, not a darker brown, so I'm going to try and get a boroscope down there soon and have a peek at the primaries,
Last edited by Canuckster1169; 05-02-2023 at 10:16 AM.
Reason: Autocorrect corrected my non corrected typing
 01-27-2023, 08:01 AM