When you click on links to various merchants on this site and make a purchase, this can result in this site earning a commission. Affiliate programs and affiliations include, but are not limited to, the eBay Partner Network.
Eurotoys Lower Supercharger Pulley Upgrade: Removal and Installation Guide
I bought my 2003 Jaguar XJR in November 2019 with 60k miles on it. This is my 4th R-Type and, while the first two (98 XJR and 05 XKR) were kept stock, I modified the 2007 XJR I owned a couple of years back and I intend to modify this one. With that being said, I never attempted the supercharger modification on the 07.
After reviewing the previous posts on the topic of superchargers, I decided to go with the larger diameter lower pulley. I went with Eurotoys over Powerhouse simply as a practical matter because the former is located in the U.S. and the cost of sending the harmonic balancer/pulley back and forth to the U.K. can be costly. Plus, there is a customs charge for anything over $800 U.S. and this would fall into that category if Powerhouse includes a balancer/pulley (as opposed to shipping your own over and back).
I contacted Mike with Eurotoys and he told me that the build time was about two months. This was acceptable to me because I wasn’t in a hurry but if you are thinking about this modification, you should definitely take note (it was also around the holidays). I acquired a used harmonic balancer/crank pulley on eBay so that my car wouldn’t be down for two months but, of course, this did add to the cost by $150. I have to say that the new balancer/pulley that I received from Eurotoys looks really good.
Since the car was going to be down for this install for a couple of days, I decided to go ahead and do some preventative maintenance while I am in there. First, I did hear just a slight bit of noise from the supercharger, especially when cold. Despite having three of these cars, I can’t remember if that was
“normal” but my instincts say no. It definitely isn’t “coffee can rattling” bad but I think I hear it.
So, given the increased boost and the noise, I decided to rebuild the supercharger snout. Now, after watching a couple of youtube videos, I felt that this was something that I could do myself. However, when I did the math in buying quality bearings, Eaton coupler, and oil PLUS the cost of buying a press, I decided to go with a rebuilt snout from Quality Superchargers ( https://www.ebay.com/str/QualitySupe...p2047675.l2563 ).
The cost for a rebuilt snout with a stock upper pulley was $499 +$15 shipping but half of that is a core charge. Rebuilding it myself would have come in about the same price because I would have had to buy a press @$125. They do offer snouts with larger pulleys but after reading the various posts on this topic, I decided to just stick with the stock upper pulley.
I also decided to change the supercharger coolant pump and upgrade it with the Bosch 010 pump that so many have recommended. I decided to use the process to make the plug that @xjr2014_de described in this thread (https://www.jaguarforums.com/forum/x...t-pump-199158/) I ordered the parts from my local Mercedes dealership and they were surprisingly expensive for what they were. If I were to do it again, I would try to source them elsewhere.
In addition, I am NOT a great solderer and I ran into a problem. When I soldered the wire onto the terminal shown in figure 8 of that post, the capillary action pulled a little solder into the female portion of the metal terminal and I just couldn’t get it back out. The solution would have been to put something like a pin needle in the female part of the terminal to block the capillary action but I didn’t think of this beforehand so I had to source another one…and they aren’t easy to get. I have seen that others have directly soldered the wire onto the terminal in the 010 pump and then filled the cavity with silicone but I like the idea of a clean install using the Merc terminal. I won’t go into details on this portion of my project as it has been covered before. The pics on the above thread show you exactly what you need to know with the caveat to pay attention when soldering (and maybe have an extra terminal on hand : ).
Finally, since I am going to need to pull the supercharger to change the snout, I think it makes sense to go ahead and change the coolant valley hoses at the same time. I sourced the needed hoses from RockAuto at a reasonable cost (URO brand) and the other various gaskets from Terry's Jaguar Parts, etc (I like them, BTW). I view this part of the project as really complicated so I won’t be covering it in this write-up here.
Preparation for Pulling the Crank Pulley
For this project I purchased what I thought was a generic version of the Jaguar crankshaft holding and removal tool on amazon (
). It looks the same but, as I will explain below, the crankshaft holding portion wouldn’t work. This is a pic of the puller....which I liked!
For this part of the project, I put the car on 4 jack stands to give me enough room to work under the car. I have two jacks and when I do this, I use the two jacks to jack up the front and place the jack stands. I then move to the rear and do the same. I also removed the wheels for better access.
I disconnected the negative terminal of the battery.
I then removed the fan. This involved cutting the cable ties holding the harness, unplugging the two connectors, and then removing the two bolts at the top of the fan unit. Once you do that, it lifts right out and this will give you enough room to work on the crank.
Took the picture too late but you can see the two bolts that hold it in.
I then removed the supercharger belt and then the accessory belt. This is straightforward…I used a spare �” drive torque wrench to move the tensioner enough to remove the belt.
I put a piece of cardboard on the radiator to protect the fins.
I tucked the cardboard over the radiator support. It stayed put the entire time. Locking the Crankshaft
The next thing you need to do is to lock the crankshaft. As mentioned above, I thought I would use the generic Jaguar tool but it didn’t fit (the body of the tool wasn’t long enough and once I looked at the case it became clear that it was for NA engines). So, I used a back-up method to lock the torque converter.
Go back to the bottom of the transmission and remove the square-ish rubber plug to reveal a window for the torque converter bolts.
It's on the front side of the bellhousing....looking from underneath.
Then use a 24mm socket and breaker/ratchet to rotate the crank until you see a bolt in the window. Remove it using a 15mm socket (I found it easier to remove the plastic tie holding the rack and pinion fluid line to the rack and pinion to give me just a little wiggle room….do not remove that line, though!). 3/8" ratchet with normal sized 15mm socket.
To lock the crankshaft, I used a grade 12.9 bolt sized M10-1.5 bolt that is 50mm long. While that worked, I think I could (and maybe should) have gone up to 55mm in length. I then threaded three nuts onto the bolt leaving enough thread exposed to fully thread the bolt into the torque converter. I put the nuts on to serve as a kind of boss to sit on the metal housing. Thread the bolt onto the torque converter and double check to make sure it is long enough to hit the sides of the housing of the window. If it checks out, you are good and the crank should be locked.
Here you can see the bolt sticking out through the window. When you turn the crank, it hits the housing and locks it. I wanted to make sure it wouldn't break or bend so I used the strongest bolt I could get....grade 12.9
Removing the crank pulley bolt
Once the crank was locked, I have a 24” breaker bar so my first attempt to remove the crank bolt was to use it with a 24mm socket. I put a significant amount of strength on it but it didn’t budge (it is torqued to +250 ft-lbs). I thought that might happen so I had been researching compact impact wrenches….most of which usually have 450 ft-lbs of torque. I ended up going with this one: https://www.lowes.com/pd/Kobalt-0-5-...nch/1000179683
Model 840781
I used a 24mm deep impact socket combined with this impact wrench and it fit right in between the crank pulley and the radiator.
Looking up from below the car.
Note: I first tried loosening the bolt using a lower powered compressor that I have and had to switch to a stronger pancake compressor that puts out 150 psi. Once I did that, a couple of hits on the impact wrench and the bolt started to move. I backed it out a little ways, once the torque wrench got close to the cardboard on the radiator, I switched to a short impact socket combined with a stubby extension (make sure you have a variety of �” socket extensions for this job).
The bolt was surprisingly difficult to remove. I ran it back in and then back out a couple of times during this process. Ultimately it came out just fine.
Removing the crank pulley
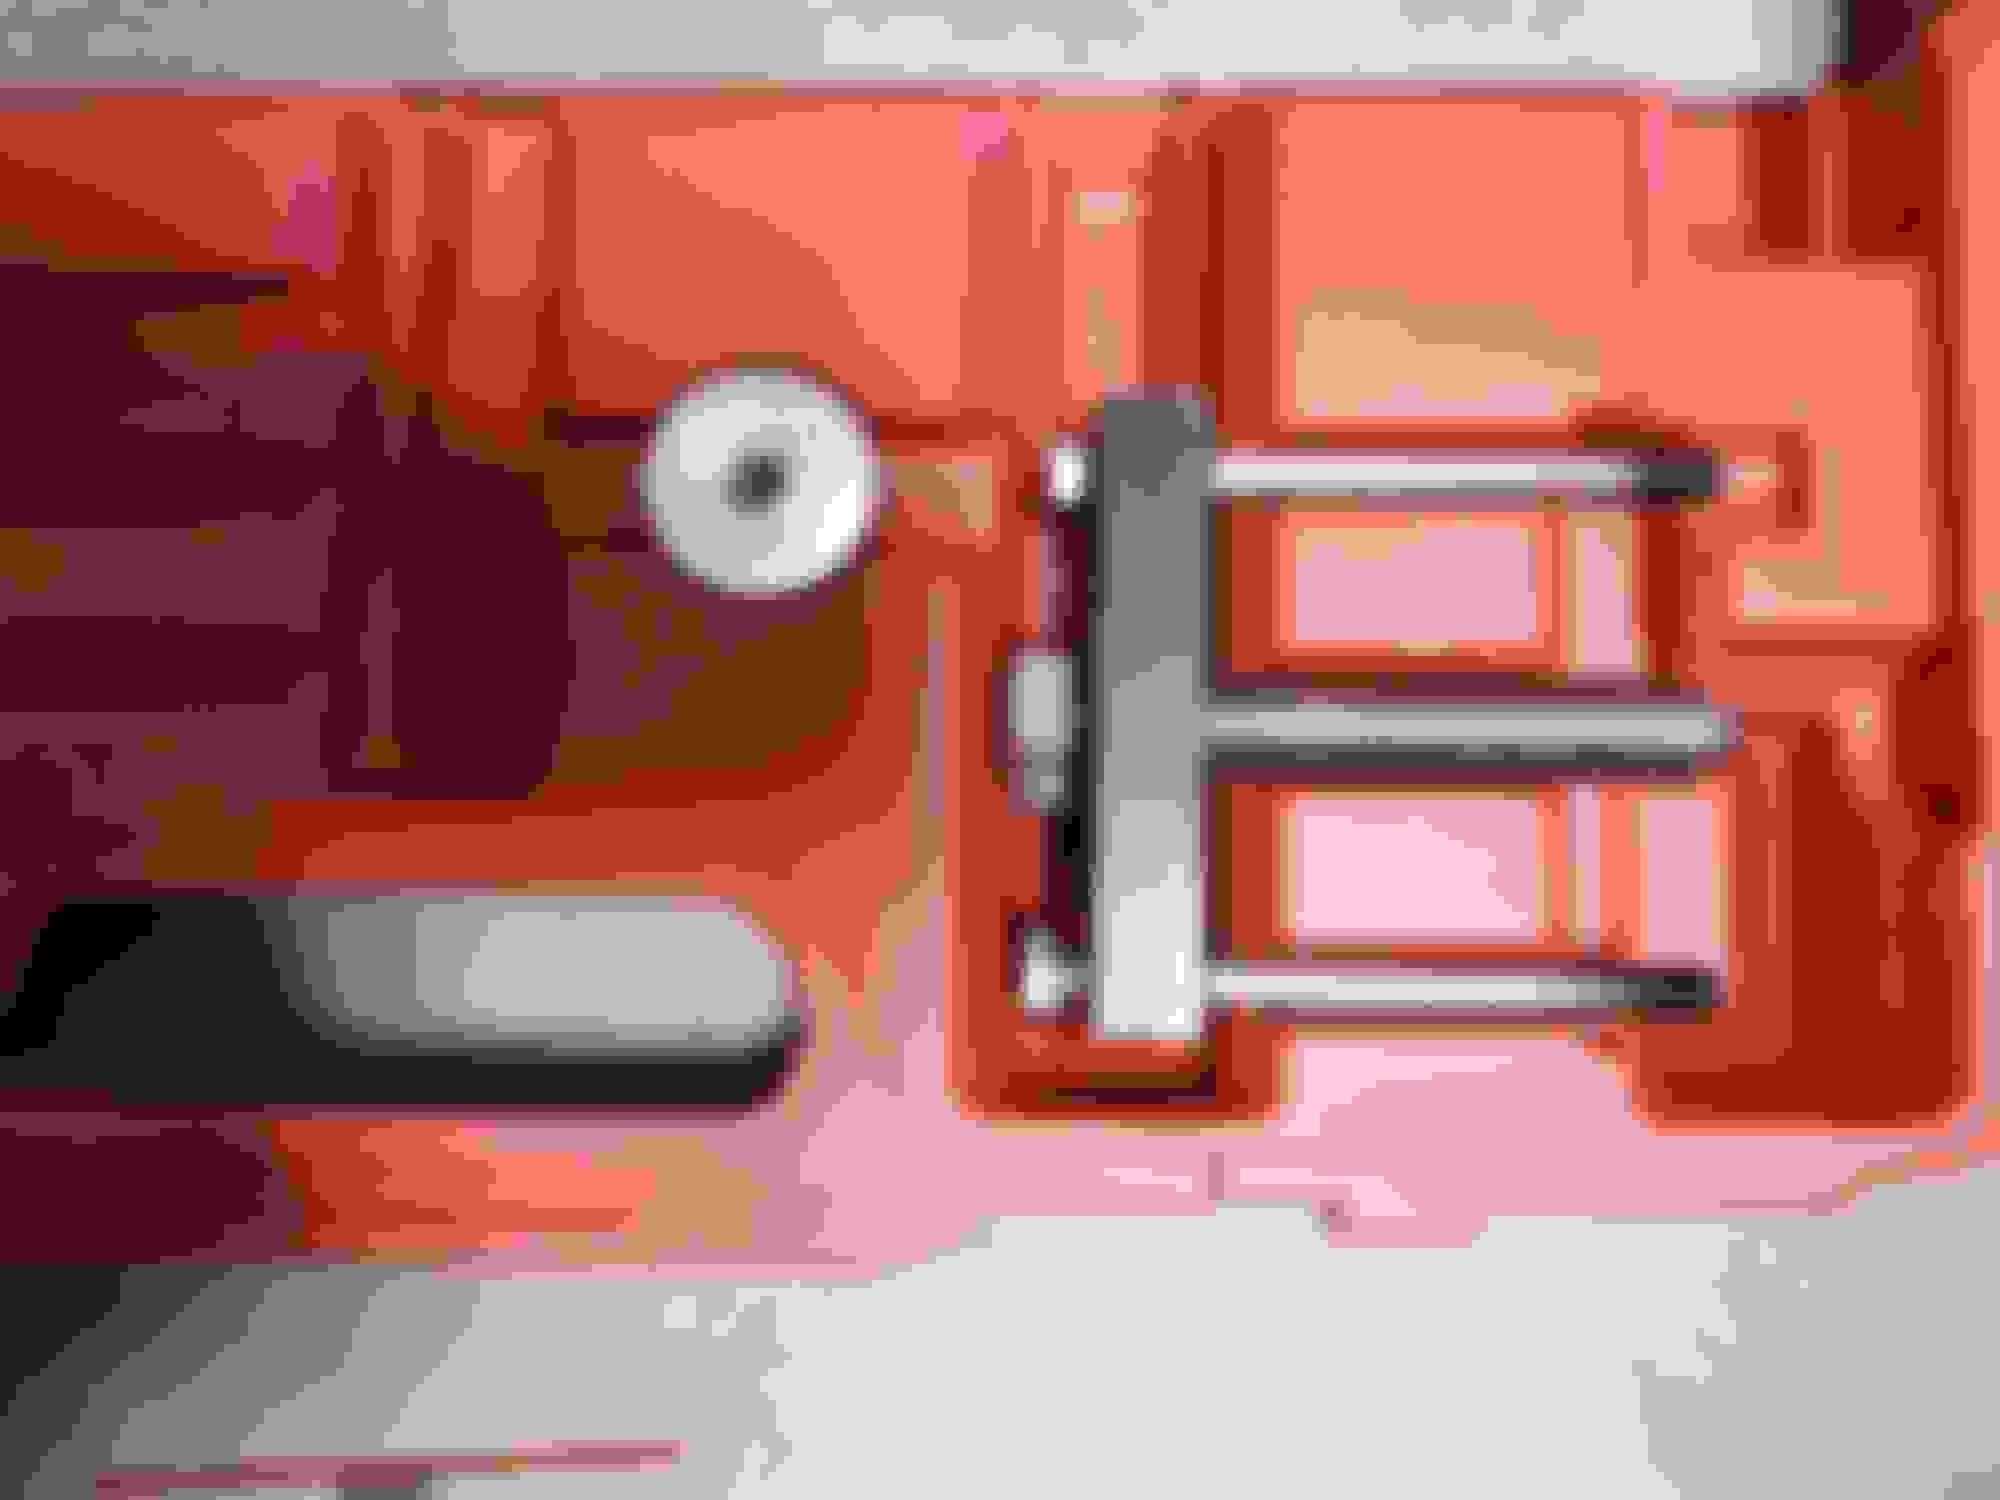
The crank locking tool that I purchased did include a puller and I have to say that it worked great. I forgot to take a pic of it while it was on the car but here is a pic off the car.
I used the new pulley to count the number of turns it took to fully seat the puller bolts (you want them in far enough to be secure but you don’t want them to hit the timing cover) and it came to 15 half turns.
To attach the puller, I went under the car and used the selfie portion of my phone to find the two holes where the puller bolts attach (there are actually three holes but this puller only connects to two of the three).
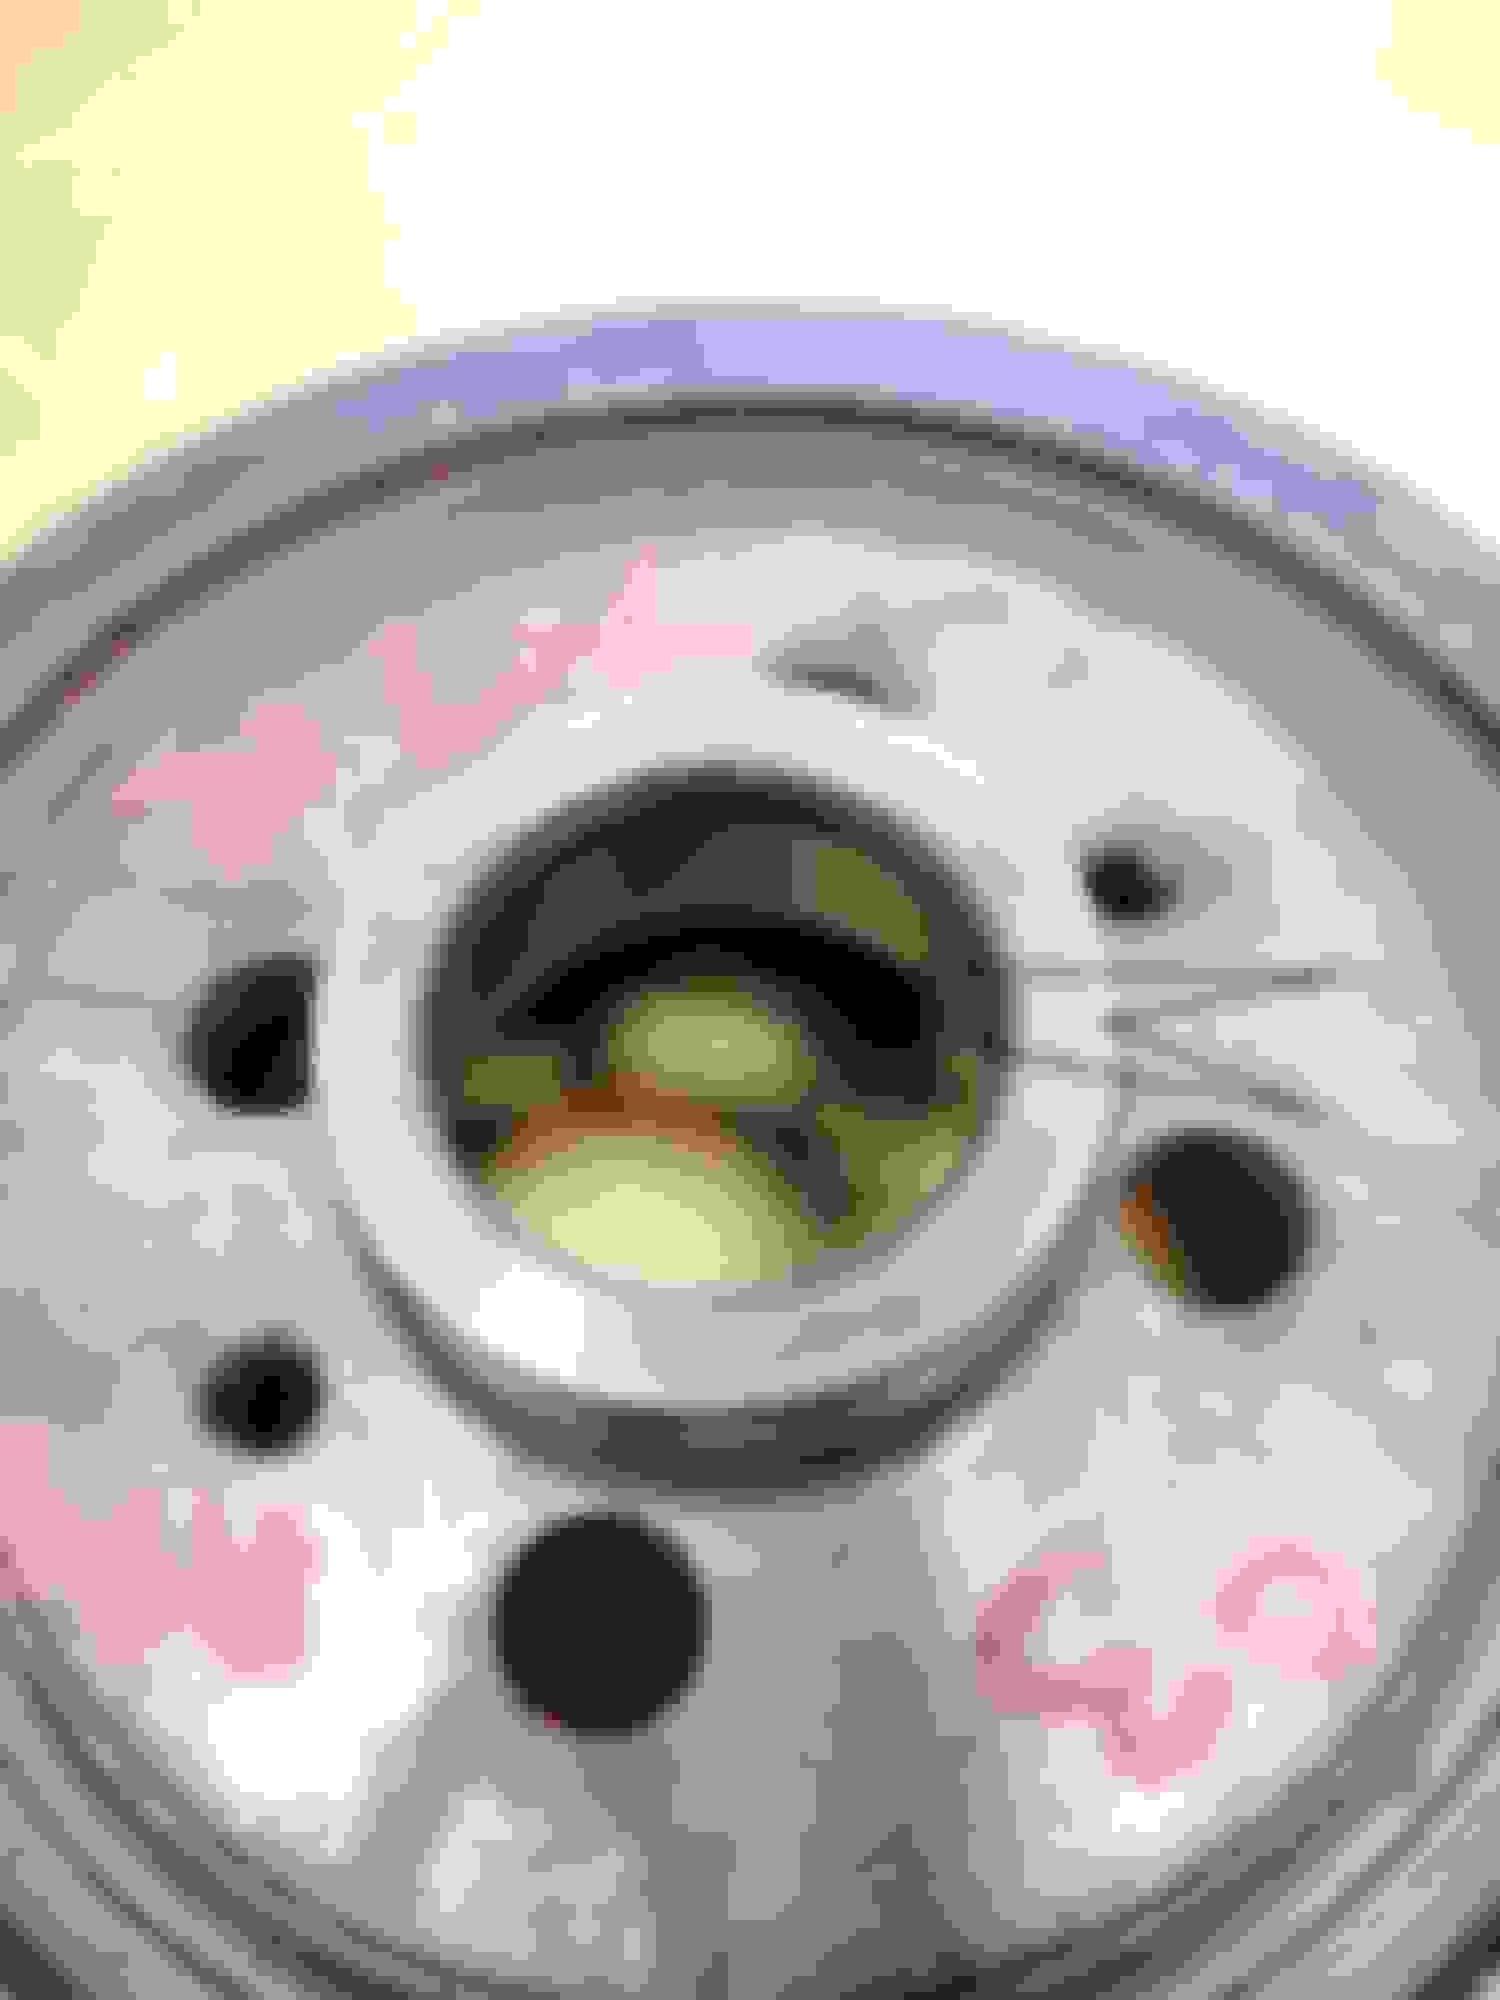
One of the things that was cool about the puller is that it included a button that fit into the hole for the crank bolt.
The button even had a little o-ring to keep it in place.
I put the button in and attached the puller. Once I knew the approximate location of the bolt holes, it was pretty easy to find them by feel working from the top. As noted above, once I had the bolts barely threaded, I counted 15 half turns in. As an aside, if I had it to do over again, I would have gone to the hardware store and upgraded these bolts to 12.9 if possible or at least 10.9. The ones that came from the set were 8.8.
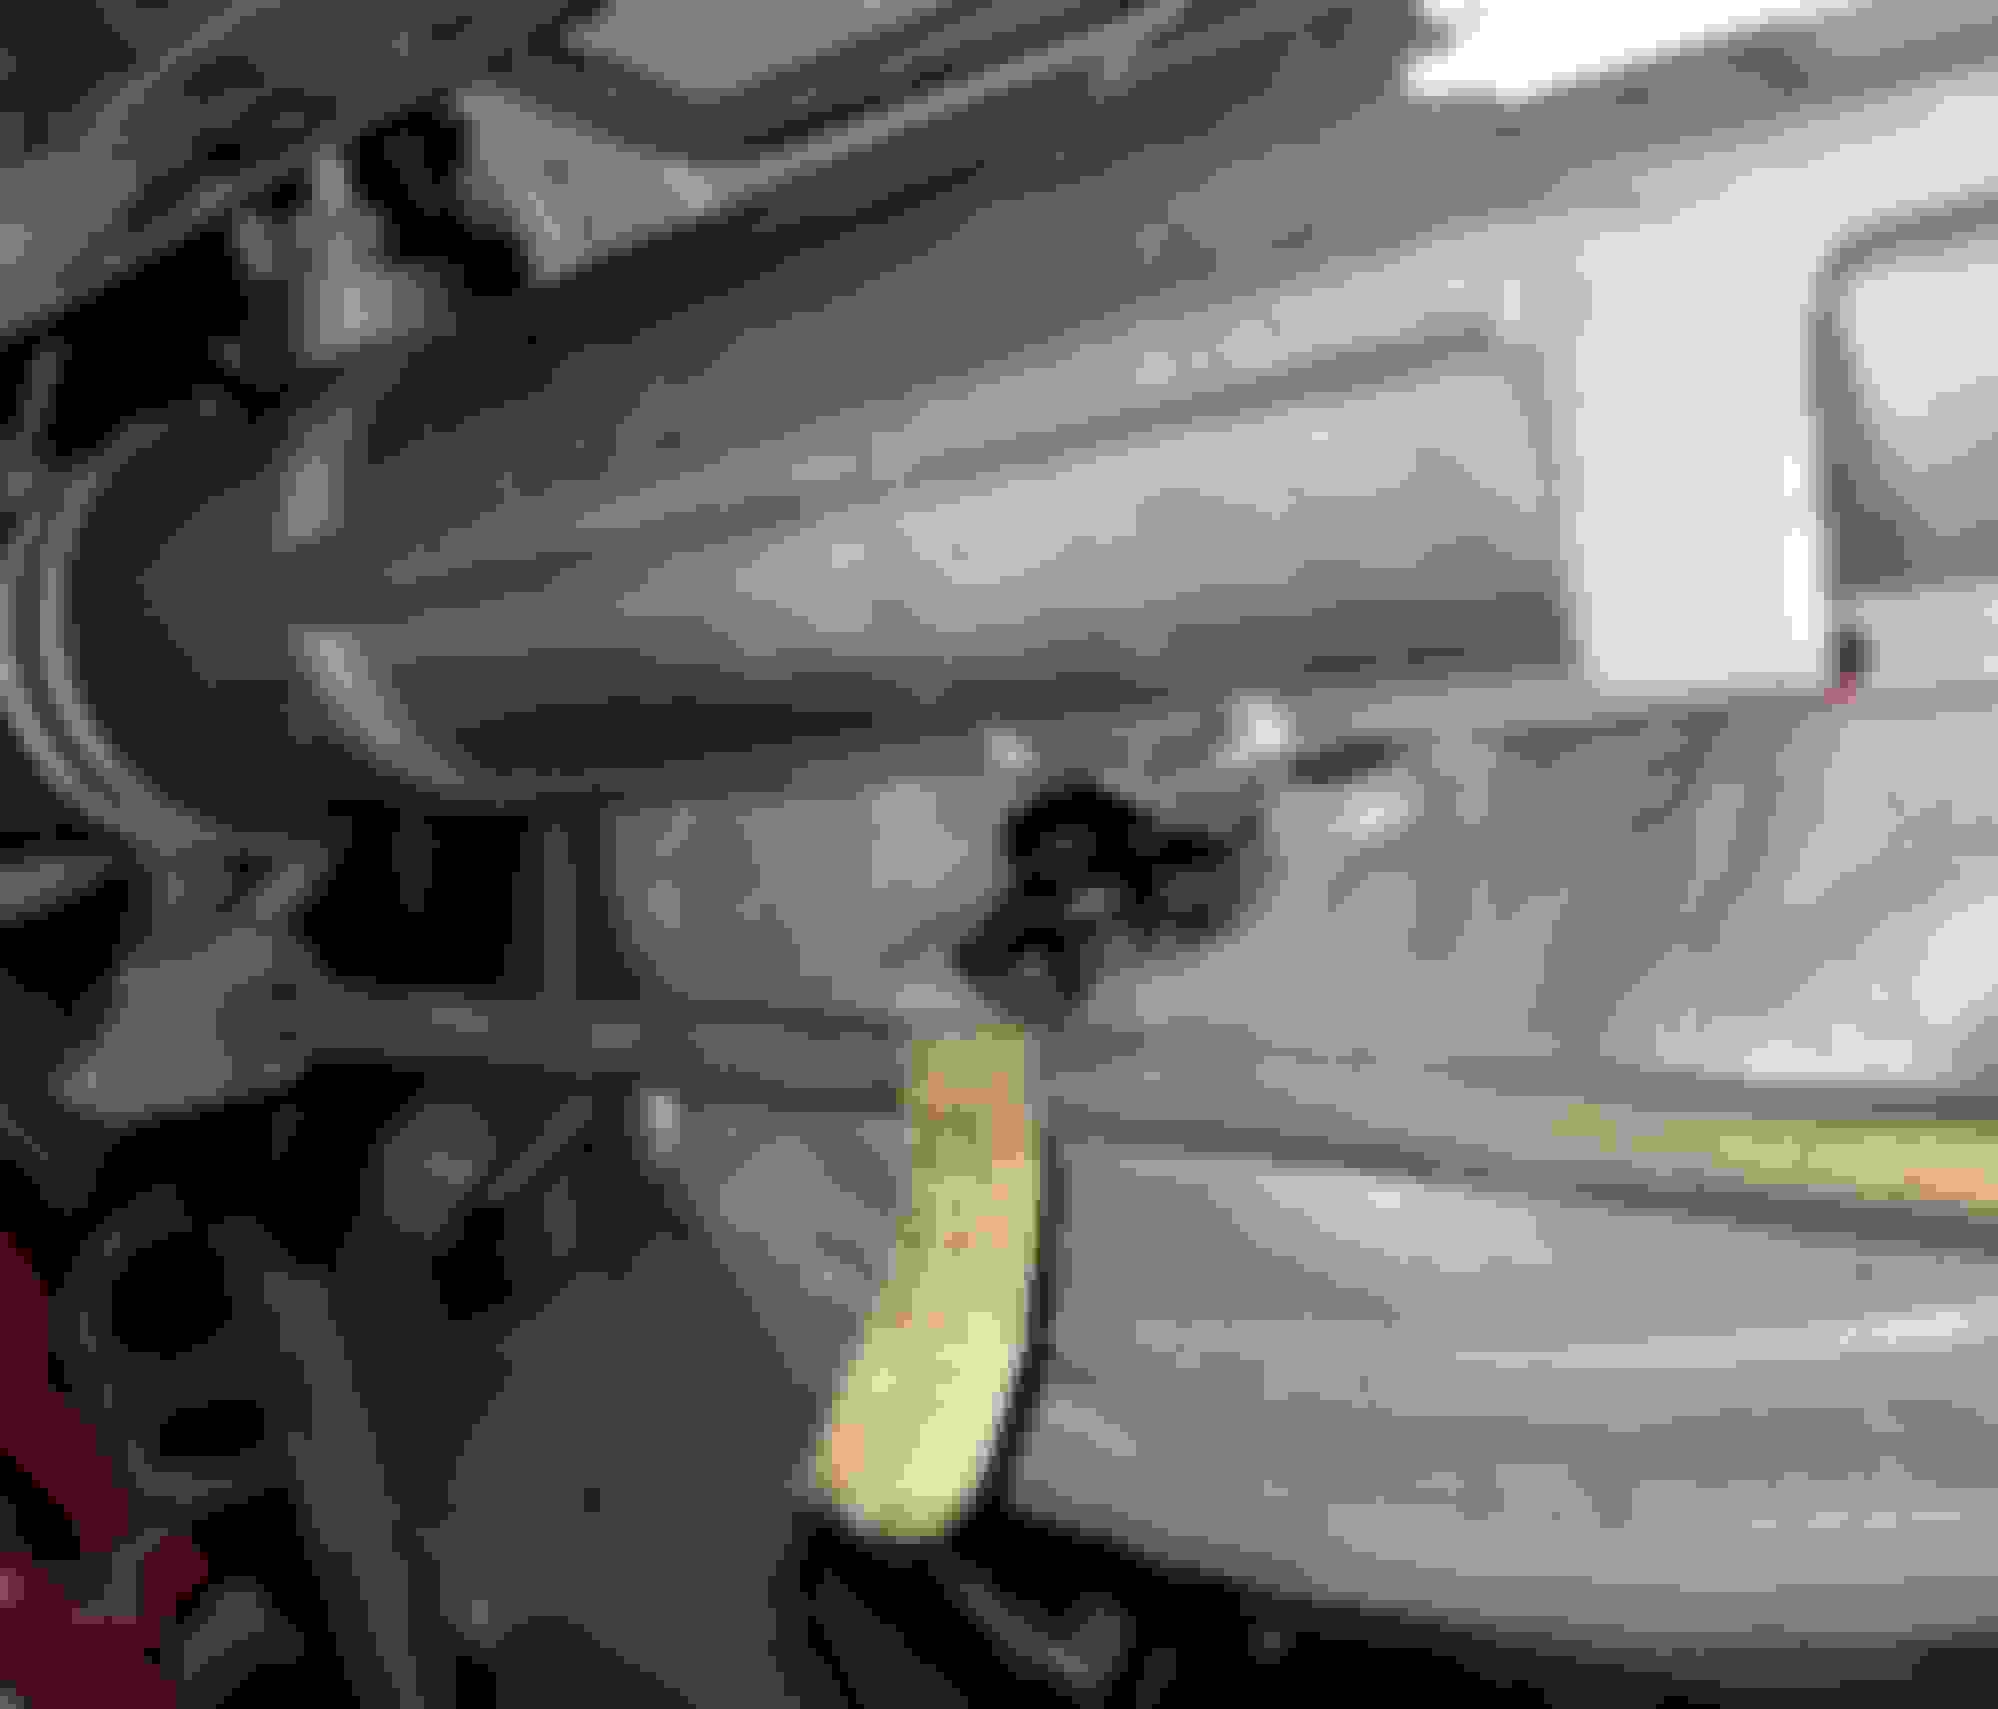
Once the pulley was attached, working from the top of the car, I tightened it and then took a rubber mallet and hit the crank pulley a couple of times (as has been described elsewhere). Nothing. So I backed it off and tightened it again putting a bit more torque on it. I heard a loud “pop” so I stopped, removed the puller, and checked. No damage (just wanted to make sure) but the crank pulley still wasn’t ready to come off.
I put the puller back on and slowly tightened it down. This time it was obvious that the “pop” I heard was it breaking loose and the puller started working the balancer off with very little force needed. I was able to grab the puller by hand, wiggle it loose, and lift the crank pulley right up through the top of the engine between the radiator and the coolant pipe.
R & R Front Crankshaft Seal
The instructions for the front crankshaft seal call for a special Jaguar tool. While I know that others have used generic seal drivers, I liked the idea of using this tool because it was set up to seat the seal flush (as it should be). I did some research and found that Ford tool 303-646 (for the Lincoln LS 3.9 engines) was pretty much the equivalent to the Jag tool. I ordered on eBay for $18 including shipping but it didn’t come with the bolts used to tighten it. My feeling was that was ok and that I should be able to drive the seal in using a rubber mallet.
This view is the part that slides in. The front crank seal slides over the smaller part of the tool and the outer portion of the seal sits on the shoulder that you see.
Once the crank pulley/harmonic balancer was off, I used Lisle tool 58430 to pull the old crankshaft seal. I then took the Ford 303-646 tool and put the new seal on the shaft (as has been noted elsewhere, you remove the plastic ring from the seal as it is just there to hold the shape).
This worked great to pull the old seal.
Once the seal was on the tool, it slides right over the crank snout. I made sure it was lined up and then just lightly tapped it in using a rubber mallet. The shoulder of the tool ensures that you don’t put the seal in too far. Here is a pic of it right after I tapped it in. You can see how the tool fits. All it took was a light tap using a rubber mallet and the seal slid right in.
It worked great.
It's a little hard to tell here but it's flush.
Installing the Crank Pulley/Harmonic Balancer
Note that there is an o-ring that fits into the shaft of the harmonic balancer. It is part #XR81139 and you should definitely change it while you are there. If you look closely, you can see it in this pic.
In addition, you will need a new crankshaft damper bolt. It is part #AJ89909.
Putting the crank pulley back on is fairly straightforward except that it requires a LOT of torque (236-295 ft-lbs). Interestingly, TSB 303-10 (attached) provides an alternative way to measure this if you don’t have a torque wrench that goes up that far. It says that you torque the bolt to 59 ft-lbs and then turn it an additional 80 degrees. That is exactly what I did. I used my torque wrench to get to 60 ft-lbs and the switched to my 24” harbor freight �” breaker bar to go the extra 80 degrees.
I have read horror stories of loose crank pulleys so the truth is that I probably went a little further than 80 degrees. Once I did that, I set my torque wrench to its highest setting (150 ft-lbs) and confirmed that I was much tighter than that. For good measure, I then put the breaker bar back on and put quite a bit of strength on it. Overkill, I know.
Putting it back together
As noted above, my project continued but the process to close this portion out would have been to reinstall the accessory belt, followed by the supercharger belt.
You then sit the cooling fan unit back down into its slots and tighten the two bolts. Finally, go underneath the car, plug the harness plugs back into both fans, and use cable ties to secure the wiring as it was when you removed it.
WHILE YOU ARE DOWN THERE, DON'T FORGET TO REMOVE THE BOLT THAT IS LOCKING THE CRANK!
So, that's it. I have gotten a lot of help from various forum members over the years and I hope that this is a useful contribution to the excellent body of work that is on this site.
LOL, I am still waiting for a couple of parts to finish the valley hose project. I plan to update with a performance assessment once I get it back together.
Major major thank you for posting this! Very very detailed pics and instrcutions also. I am planning on adding more boost as well. Still have a lot of questions, but I won't hijack this one. Can wait to read your impressions with the lower pulley.
Now that you will have more boost, you will have a lot more heat...but... this simple addition makes a world of difference, like shockingly a lot of improvement in preventing heat soak: Electric Radiator Fan <---make this a pusher fan in front of your intercooler. This is "THE" best bag for the buck you will ever spend on a supercharged x308 $30 and you will definitely notice.
Also a water injection kit helps a lot, but definitely inject before the blower, not after, and just 100% water is fine. I gained +1 full psi of boost injecting before rather than after the blower. I tried it both ways.
Here is a video of a 0-100 mph run. https://www.jaguarforums.com/forum/j...on-%3B-174583/
This car would run back to back to back without heat soak. 18-19 psi max.
I had lots of other mods too of course, water injection, and even water mist spraying on the intercooler with the 10" pusher fan.
My point is these blowers are cheap and make a lot of heat, but can be improved quite a bit with extra cooling at not much cost.
The +4 lower pulley makes the car a lot more fun.
PLEASE use EXTRA lock tite on that crank bolt- I had problems with mine coming loose.
Last edited by WaterDragon; 03-04-2020 at 03:17 AM.
@WaterDragon Thanks. When I was thinking about doing this, I definitely paid attention to your experiences via some of the other threads, although I had forgotten about the pusher fan until you just reminded me. As I mentioned, I did add the 010 pump but the fan is something that I will definitely do.
I'm almost finished putting it back together...ended up needing a couple of EGR gaskets after doing the valley hoses that had to be ordered. Should be here today and I hope to have it back up and running tomorrow.
A quick correction, I actually used the 12" fan and not the 10" fan and if fit perfectly (though I attached it with metal zip ties to hold it securely in place)
I also upgraded the intercooler pump, but noticed zero effect.
The fan made a HUGE difference in reducing heat soak. It doesn't matter how good the intercoolers are if there is no air flowing over the intercooler radiator.
Did you wire the fan to come on automatically @ temp or run all the time?
Did you wire the fan to come on automatically @ temp or run all the time?
I wired mine on a manual switch so I could turn it on only when I was planning on doing repeated runs in quick succession as it only really helps when you have come to a stop after a run, and then you are preparing for another immediately.
I wanted to be able to get it as cold as possible on demand. As you may have read, I also added a few misters to spray on the intercooler radiator which I believe adds quite a bit more cooling power-these were wired to a boost control switch which I had set to come on above 5 psi. Of course this should not be used at the dragstrip, else you could create dangerous conditions for others on the track, but clearly up to your own judgement when to use the extra water spray. Evaporative cooling can be very effective.
The next step would be to add a 30 hp shot of NOS into the intake, but I was never able to find a good RPM signal to use so I abandoned that idea....that and I thought I was at the limit of blowing up my rear end if I added any more power.
Last edited by WaterDragon; 03-10-2020 at 10:54 PM.

 02-22-2020 | 07:58 AM