When you click on links to various merchants on this site and make a purchase, this can result in this site earning a commission. Affiliate programs and affiliations include, but are not limited to, the eBay Partner Network.
Hi seasoned jaguarians - needed some advice replacing the fuel filler bowl on the x308.
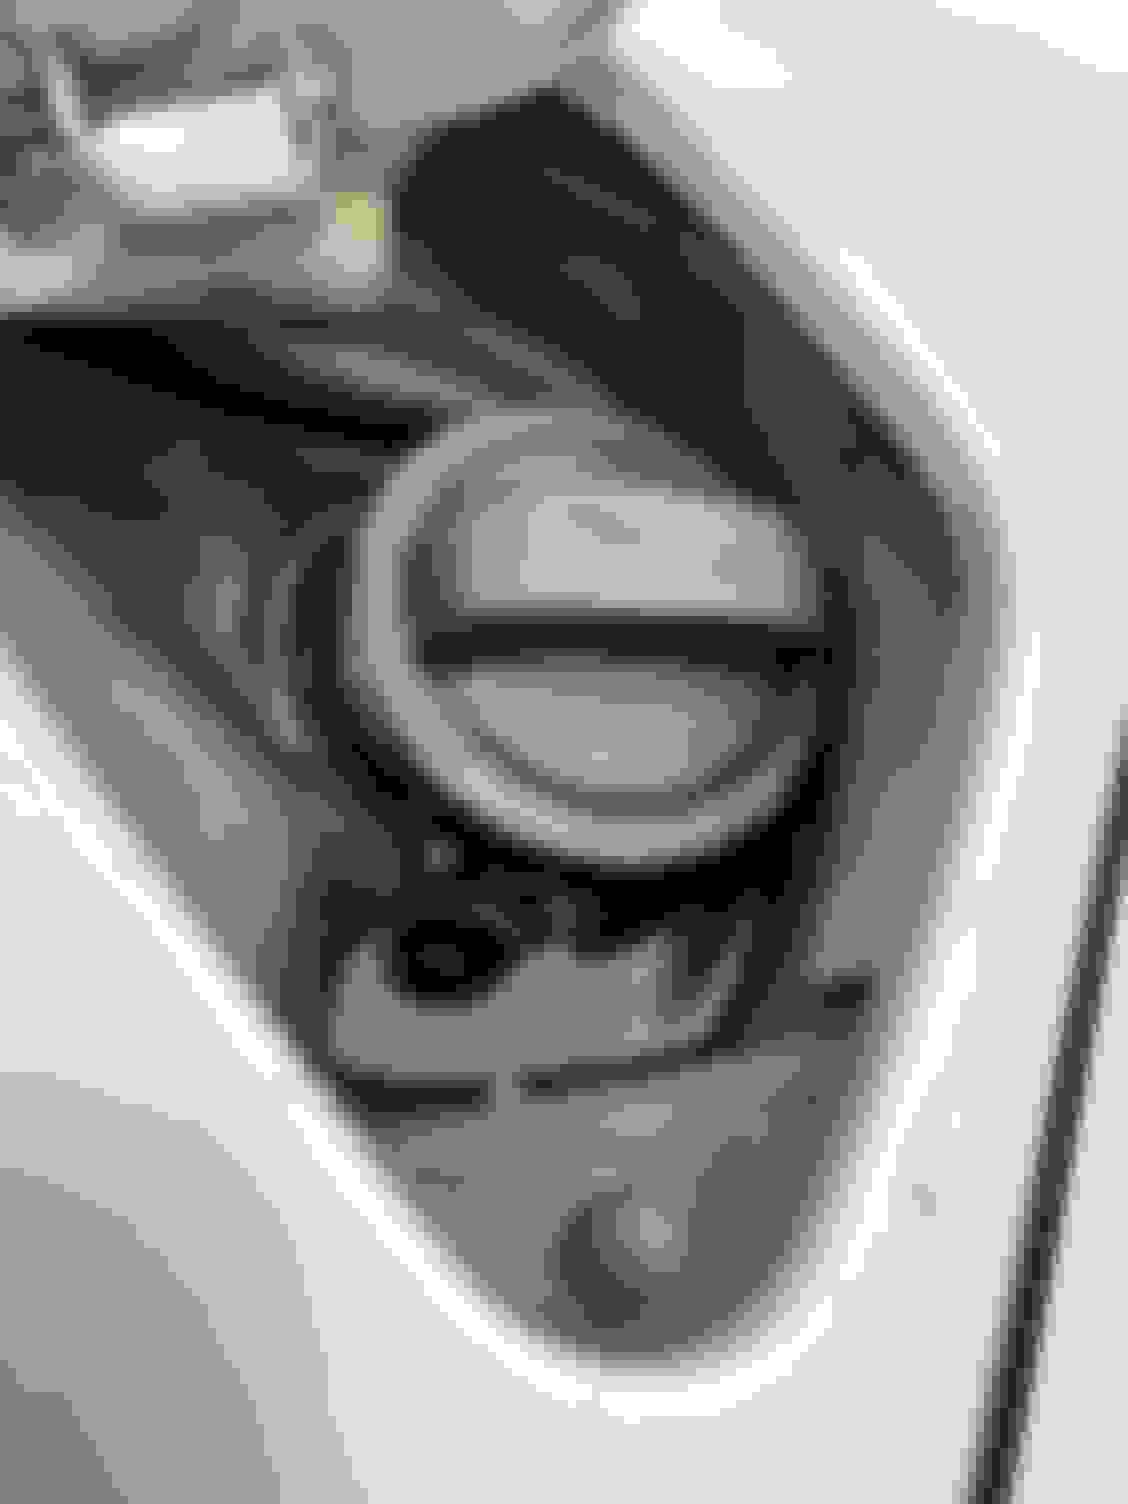
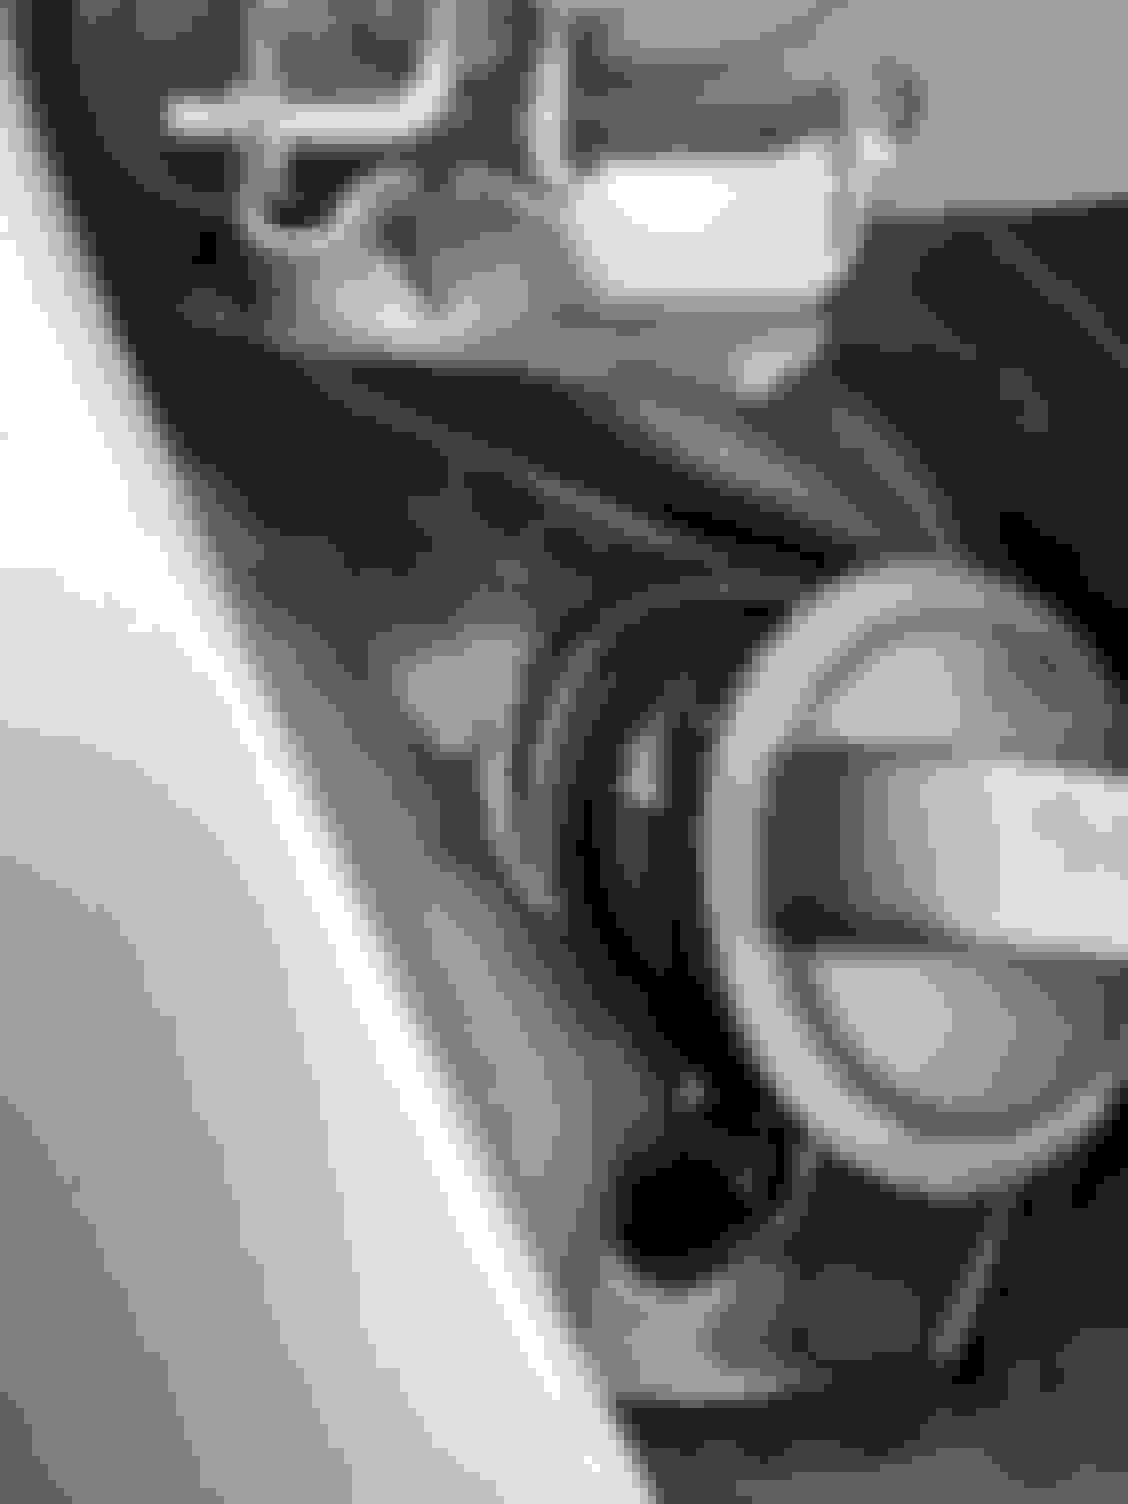
I recently changed my fuel pump and someway somehow the fuel filler bowl looks like this (see attached pictures).
I am tempted to change the fuel filler bowl because it is lopsided and I feels like the drainage area is sitting higher than before (concerned when it rains, because I misplaced the filter that goes on top of the drainage port) + the rubber seems to have hardened, maybe it�s because its 30ish degrees in my area but Ive tried stretching the plastic into place but no luck
Looking at it, I feel like maybe the filler pipe isn't sitting quite right underneath. I've never had to fiddle with mine, is the pipe maybe not clipped in all the way or something?
Looking at it, I feel like maybe the filler pipe isn't sitting quite right underneath. I've never had to fiddle with mine, is the pipe maybe not clipped in all the way or something?
it definitely seems off from the original position which would be more centered. Because the filler cap currently almost touches the side of the bowl, when before it did not. Is it possible the fuel tank is a smidge too far right? I wonder if i can move it to the left half an inch?)
Jag specialist changed my fuel pump - wondering if i can do this myself
I agree with Mayham. You need to gently pry the filler neck back. I�d suggest removing the left rear inner carpet and the wall carpet. You can sit in there and take a block of wood and a hammer to it. I�d also have someone on the outside of the car looking at it to see if it�s straight as you adjust it. Don�t go too crazy as you don�t want to crack the tank where the filler neck meets the tank.
I would not try to adjust it any other way as you could potentially damage the flange that the gas cap sits on and cause evap leak codes.
I haven't had to do the pumps myself, so I'm not speaking from experience, but I'd have a look at the placement of the tank and the filler pipe for sure. Given that you had it done I would be taking it back and have the specialist take care of this as I bet they moved the tank to change the pump and maybe just didn't set it back in quite correctly.
The answer to the original question of, "... is it hard to replace?" is YES. I've had my tank out three times over the 19 and 1/2 years I've owned my beloved XJR-100. Thinking back of all the work that I've done, the fuel tank is #1 in the GIANT PITA list, and fitting that rubber gasket around the filler neck is what makes this job so much fun. The plastic cup is held in place with nuts that attach to studs welded in place. You can see the nuts/studs on the inside of the boot part, but the outside (fender side) ones are all done by feel. And, you have to be a contortionist to get in there with a 1/4 drive ratchet and about a 6-inch extension. The filler neck is welded to the tank, so to replace the cup, the tank has to come out.
The first thing that I would do is what Mayhem suggested. If your specialist won't do it, then try what A2B suggested; however, if you have a way to empty the tank, it's a lot easier to move it around.
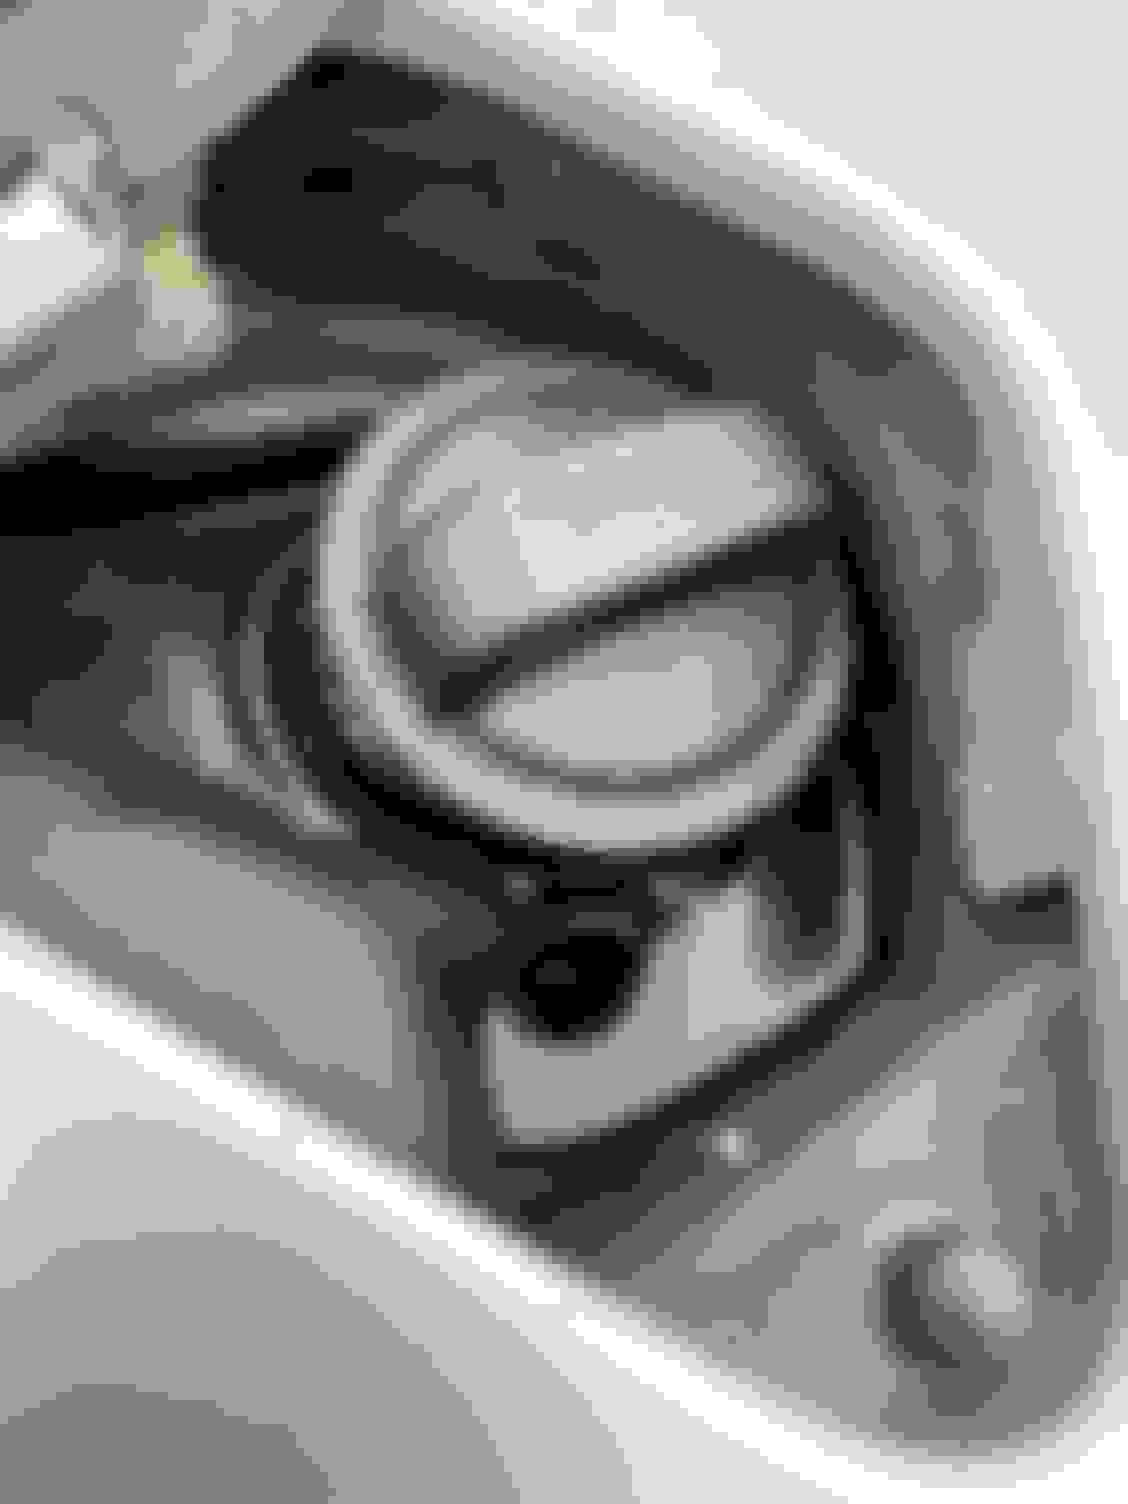
Mark, there�s no need to remove the cup from under the filler lid unless it�s being replaced. If you remove the fuel cap, you�ll see a small, metal, spiral wound, tension O ring (not sure what to call it) to hold a weather tight seal of the cup to the filler neck. If you need to pull the fuel tank out, just remove that metal o ring and take a small flathead screwdriver and maybe some WD40 to spray around it and using the screwdriver, put it between the filler neck and cup seal to release its hold. Once you�ve released its grip, (assuming there�s next to no fuel left) you should be able to slid the tank out and the neck pulled down and tilted back with the cup still bolted to the body.
Great information from everyone, just want to say thank you for the replies, this forum has been a blessing.
- so i was able to move the gas tank to the left (it was a bold attempt that would make anyone cringe. I used a long torque wrench on the right hand side and used it as leverage to push against the right side thereby moving the tank left) It made a difference but I think the fuel filler bowl is still a bit off.
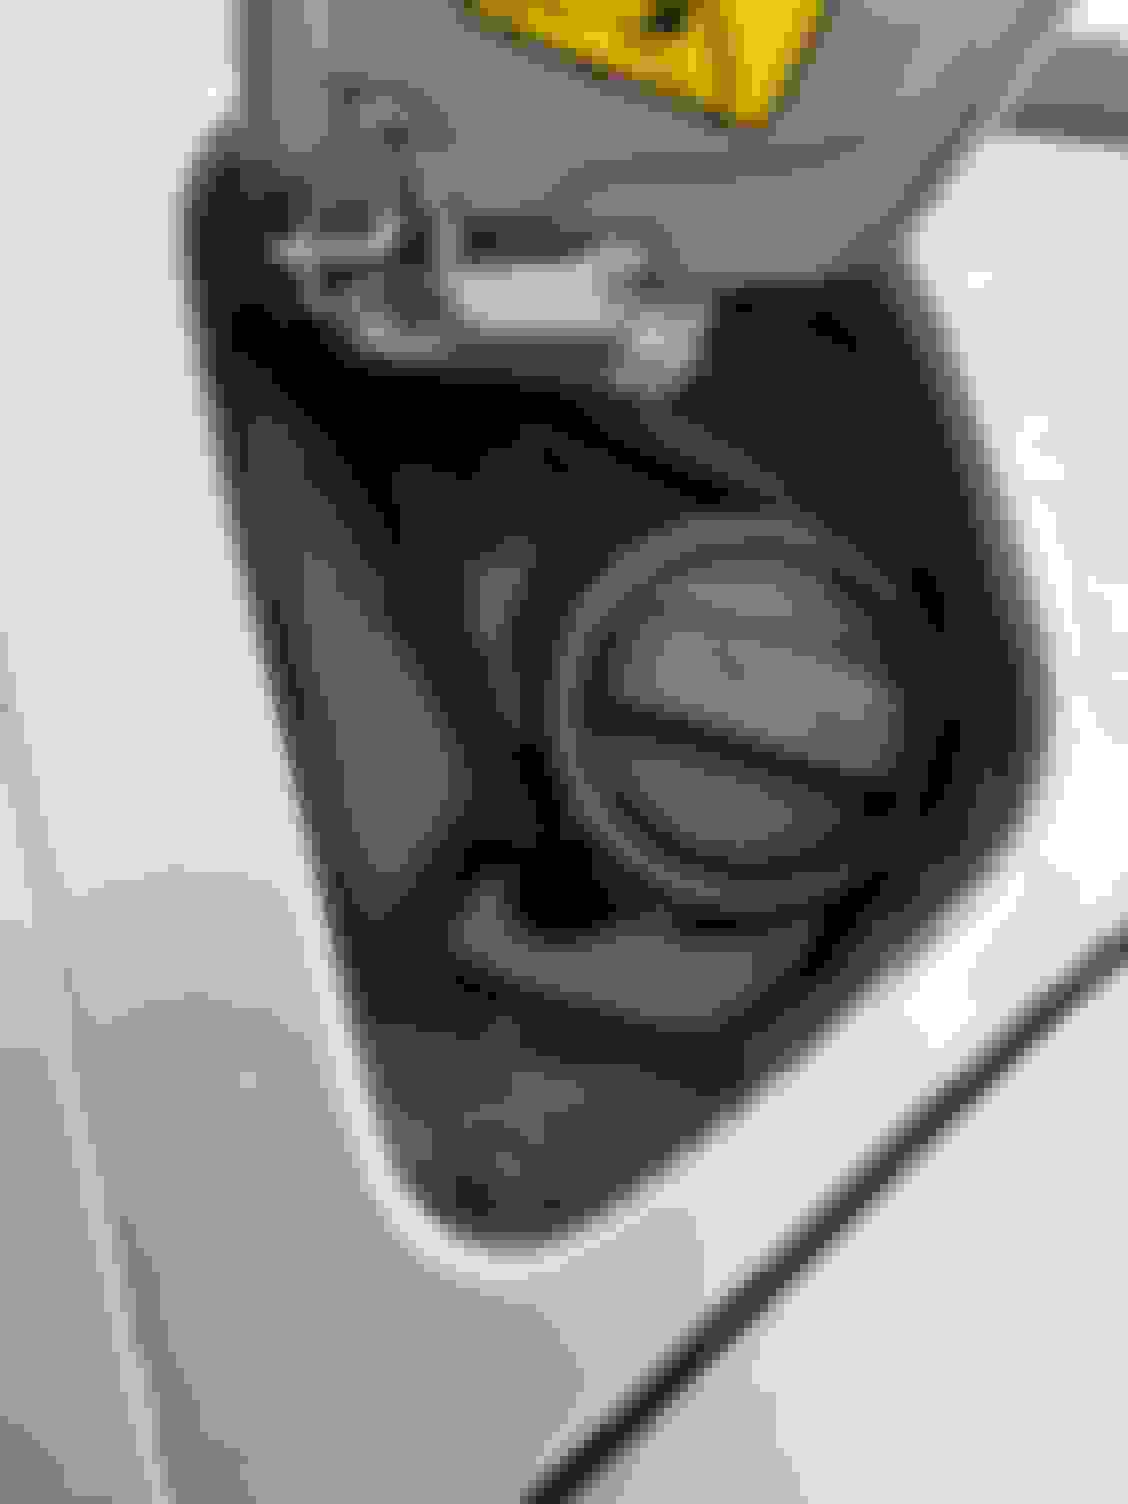
is it safe to say I can remove the spring clip on the fuel filler, take of the 2 nuts holding the bowl (circled in yellow in pic) into place, and then sort of shimmy/position the bowl properly? what about the other holes (highlighted in green) are those functional? Are there screws that hold it into place?
After reading this post yesterday it did prompt me to check out the situation with mine as it definitely wasn’t sitting correctly. The fault was the drain pipe hadn’t been refitted or routed correctly and was causing the rubber bowl to deform. I rerouted it the correct way and it was fine.
Went back to tackle the task and it turns out it is a filler neck placement issue and since it isn�t centered it is warping the plastic. As much as I pushed the tank towards the left the filler neck was not as center as it should be. The little that i was able to center it has made a difference so for now I will leave it alone since the drainage flow seems much better and wont pool as much which was my original concern, but thanks for everyone�s input!
Mark, there�s no need to remove the cup from under the filler lid unless it�s being replaced. If you remove the fuel cap, you�ll see a small, metal, spiral wound, tension O ring (not sure what to call it) to hold a weather tight seal of the cup to the filler neck. If you need to pull the fuel tank out, just remove that metal o ring and take a small flathead screwdriver and maybe some WD40 to spray around it and using the screwdriver, put it between the filler neck and cup seal to release its hold. Once you�ve released its grip, (assuming there�s next to no fuel left) you should be able to slid the tank out and the neck pulled down and tilted back with the cup still bolted to the body.
Well, that sounds like it might be easier; maybe I'll try it the next time I need to go in there. It usually takes me at least two, if not three screwdrivers to get the rubber gasket on the neck, and I lost the tension O-ring during the second time I had it out. I didn't bother getting a new one since the gasket is tighter than a (fill in the blank). And, I've got a 15 gallon roll-around tank to store gas with a neat little gadget of an electric fuel pump in a carry case to pump the tank out, so I'm always empty for the job.
But, I do have a current problem that I'm dealing with. Had to replace the driver's door outer handle. What's the trick to getting that anti-theft shield back in there?
Great information from everyone, just want to say thank you for the replies, this forum has been a blessing.
- so i was able to move the gas tank to the left (it was a bold attempt that would make anyone cringe. I used a long torque wrench on the right hand side and used it as leverage to push against the right side thereby moving the tank left) It made a difference but I think the fuel filler bowl is still a bit off.
is it safe to say I can remove the spring clip on the fuel filler, take of the 2 nuts holding the bowl (circled in yellow in pic) into place, and then sort of shimmy/position the bowl properly? what about the other holes (highlighted in green) are those functional? Are there screws that hold it into place?
The studs in yellow are where the locking mechanism bolts up. The holes in green are where the studs are to hold the cup in place.
But, I do have a current problem that I'm dealing with. Had to replace the driver's door outer handle. What's the trick to getting that anti-theft shield back in there?
Patience is a big factor. It�s been a little while since I�ve done one but, I seem to recall the locking assembly (not referencing the key lock cylinder) needs to be all hooked up but the 3 torx holding it to the door needs to be out so you can move the security plate up inside. Also if the rearmost metal window guide is loose, that will also help. Lubricate the entire lock assembly prior to buttoning it up.
Yea, patience is it. I've had it out before and that was a few years ago. I do remember it being a PITA to get in there; messed with it for about an hour then all of a sudden it went in, somehow. Don't remember if the door latch was screwed down, so I'll loosen that and the window channel and see what happens.

 12-11-2023, 12:40 PM