When you click on links to various merchants on this site and make a purchase, this can result in this site earning a commission. Affiliate programs and affiliations include, but are not limited to, the eBay Partner Network.
I spent several hours with a buddy today trying to get a Jag 1998 VDP running, narrowed it down to needing a new fuel pump, and so we’re close to getting the tank out, but we can’t find the fuel lines to disconnect. We jack the car up well and still just can’t see where the connectors are. What gives? We spent a long time looking and I’ve searchd and can’t find any really helpful advice for this, and we’re stuck now.
Can anyone give some advice on how to see and reach the fuel lines? Do I have to have that plastic disconnect piece or will something else work?
Just behind the differential (which makes the work that much more fun), use A/C quick disconnects to remove them. You'll need to disconnect the filler neck to slide it back. The connections on the top will come off rather easily, but you may have to slide it back touch to get to them.
I simply used a couple of 2x4's to span the spare tire well and battery well. The 2x4's (cut to length) make it easy to slide (roughly said) and I didn't need to remove the tank when I did my pump's a few years back. A friend is very helpful, but not impossible by yourself when moving the tank.
Make sure you don't have any type of residue in tank either.
Make sure to replace both filters ... the main filter is a common GM filter (get an good one)
Think I remember a video showing some of it.
Go slow .. don't force anything ... be careful of the wires.
Also -- some cars can have a problem with the wire harness connector if the pump was failing and drawing too much current. Inspect the connections to the pump.
What you'll also want to do is Search and download the x308 Workshop manual. Its too large for me to load, but there's a link to download it in the thread for it.
The great thing about that manual is you can prompt the area in the Table of Contents you want and it will take you there instead of scrolling through 2500 pages.
Thann you guys so much for the advice! I downloaded the manul but still couldn’t find that marker, and now I think the problem must be that we have the fuel tank wiggled toward the trunk of the car some (fuel filler tube is disconnected, and everything else), and it sounds like we need to push it IN to the car to be able to see the fuel lines. I’ll give that a try!
Yes, it needs to be pushed back in to remove the lines. DO NOT PULL ON THOSE LINES WITH THE TANK, if you bend them, you'll regret it, because they can kink.
...btw, look under Table of Contents, section 310 Fuel System.
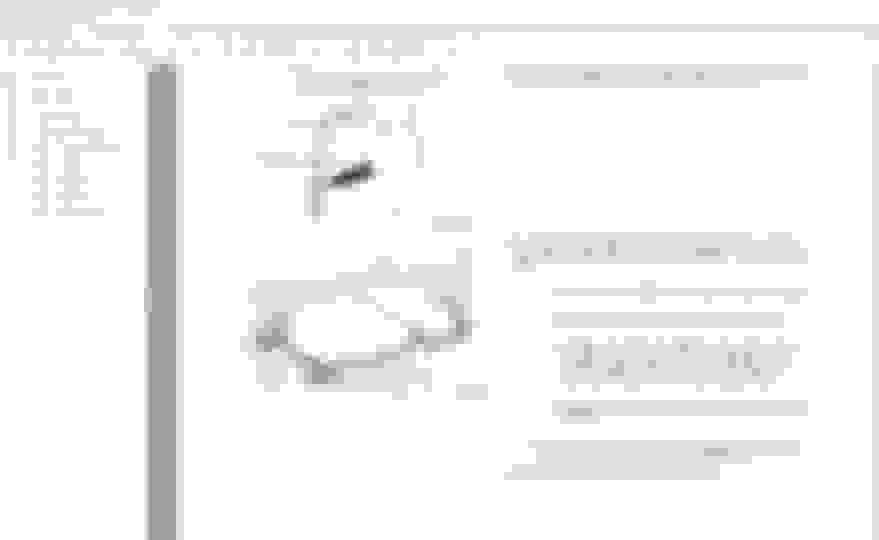
The sketch E34254 of the lines entering the fuel tank is really just a cartoon created by the service manual dept. That is the view you have after removing the differential! I was really P.O'd when I took first look.
You can get eyes and/or fingers--probably not both concurrently--into the area by mirrors, slender arms and maybe really biting the bullet and lowering the differential slightly.
The sketch shows some truth of a persistent problem with releasing the QDs. The lines are shown passing through conical entry holes in a nicely placed heavy sponge pad that helps support and seal the line opening at the tank. Many guys here have had no luck releasing the QDs with the A/C service tool 310-054 because the 'pushing flange' on the tool hits and stops against the conical entries long before the QDs let go.
You can find recent earlier threads on this procedure--for fuel pump replacement--that show a nice modification of a long plumbing fixture hookup line that is cut way on one side to slip over the fuel lines and into the QD. If these hookup lines aren't available to you because they're being phase out, Lowes used to--and hopefully still does--carry cheap, 10 ft lengths of 1/2" OD schedule 40 PVC pipe whose ODs and IDs are perfect for releasing these QDs, It's pretty flexible stuff so just split the tube open at the end and remove about 90 degrees of a 1 1/2" length, deburr it then decide how you'll push it in--maybe with the 310-054-- or more of the 10' piece for the release after you snap it onto the line. After you have the lines released and pulled out, you can leave these make-shift releases in place until the tank is out. Then you can reach right down from the trunk side and remove them. BTW, I did the release from behind the right tire with long rod tools for placing the release, clamping onto the line, then prying the release away from the clamp and into the QD. Except with use of a mirror, I never saw the QDs before removing the tank
Suggest you practice with the fashioned up releases on a 5/16" before going after the real thing. Follow Highhorse' advice and TREAT THESE LINES LIKE YOU LOVE THEM!! Better off to not remove any of the tank securing straps until the lines are released--avoid temptations. If you bend, kink, scratch, or damage them in any way, they may be leakers which you will find out only after the tank is back in and filled. There's more: Be sure you keep the line ends free of damage and dirt. If the QD seal in the tank is damaged, I don't even know if the seal is replaceable short of replacing the the tank. G.M.oil line kits NEVER reuse the QDs--it's just too risky
So, go slow!!--- And Enjoy!!
Wow, sounds like hell. Thanks for all the advice guys.
So this tank is over a quarter full of gas—will that all drain out through the fuel line then? Because there’s an anti-siphon piece in this fuel filler tube and a hose is blocked from going down that way, so we have no way to get the gas out. At the fuel sender part on the tank, we can see the gas sloshing around and it’s half way up that round piece, so I don’t dare pull that off to drain it.
Hi Matt. "Sounds like hell" says you have the picture!
Hope this is timely enough to do you some good. There are some wise facts in a current thread about "Removing Stale Fuel From a 5yr. stored XJ8" Suggest you have a look at it bearing mind they were fortunate enough to have an operable pump so siphon wasn't needed. Still some good points, including:
1) Consider use of stiff tubing like coiled nylon--about 3/8"--to get past the anti-siphon gate then twist and turn down into the tank past/through the surge baffles. I got the fuel down to about 2 gal. this way.
2) As Highhorse tells, you can't drain, at least not on the supply line because the stalled vane pump won't pass the fuel--UNLESS yours happens to have a rare turbine type aftermarket pump. Suggest you disconnect the fuel filter. Even if tank gas doesn't flow out, you'll have that line free to move easier as you release it from the disconnect.
3) On my 2001 VDP, after the return line was released, the last 2 gal from the tank dribbled out over a differential frame member, into a plastic pan. Risky, but, I held my breath and got away with it. Remember to start the job with the battery disconnected!!
4) Why does the pump need to be changed? Does it fail to run even though it gets enough voltage? It is getting operating voltage, isn't it? The thread mentioned above tells how to get power to the pump by jumping the contacts of the pump relay. Before doing that be sure there's voltage coming into the relay contacts. On mine, I didn't see pump power at the relay when I wanted it so I got ballsy and ran a wire straight from the battery to the pump side relay contact to check both the inoperative old pump and the good, new one.
5) After things are buttoned up--pump in, tank in, lines on--suggest you connect a tire pump fitting to the Schrader Valve on the engine fuel rail. Place the Schrader line into a receiver jar and run the pump until clean gas flows out--won't take long. Before you remove the Schrader line you have a good chance to put a pressure gauge on it to see if if the 2.5 bar is there.
That's all I remember for now. The car's fun---it'll be worth all this!!!
remove the fuel line to the filter, (have a gas can ready for run off, last one was over half full jerry cans help) remove the fuel line clips to the return line running along the bottom of the sill. Now the tank straps can be released, and tied to the trunk panel with the carpet removed.
Rock the tank forward, and have some sort of support like a ply board to slide it onto for access to the pump hatch, don't over do it and damage the tank connectors or lines into them. Once you've knocked the ring out inspect the link leads and pump.
Please don't cut the parcel shelf open, some have!
I spent 6 hours trying to remove the fuel lines yesterday, and I was still unsuccessul. I tried the PVC trick, I had the fuel line disconnect fittings up in there, I used all sorts of long tools to push hard on the disconnect piece and it just would not release the fuel lines. I’m done. Six hours for one, single task is too much. I called a mobile mechanic and will pay him the $75 to get the fuel lines off, then I’ll do the rest. I spent $50 in tools alone!
Hi Again, Matt,
Regret that this such a tough one. Been there!! I even looked at cutting an access under the rear seats to get the lines, but, would need to cut through two layers of unibody--no way; one would be a stretch. Wasted another two days!
With a good tech coming--and at an attractive price--you're probably on your way with the job. Once the fuel is out, the instructions in the book are pretty good.
For you and anyone else who has the need, here are some concept pics of the tools that did the job for me. Pretty simple stuff needed only a drill press and lots of small machine screws, taps, rod stock, tubing, springs, fishing leader cable--that's mostly it.
These are all made at about 28" long to reach the lines from behind the right wheel. At the time I didn't even know of this website and all helpful advice, so, I didn't have the guts to get under the car on jack stands for really good access.
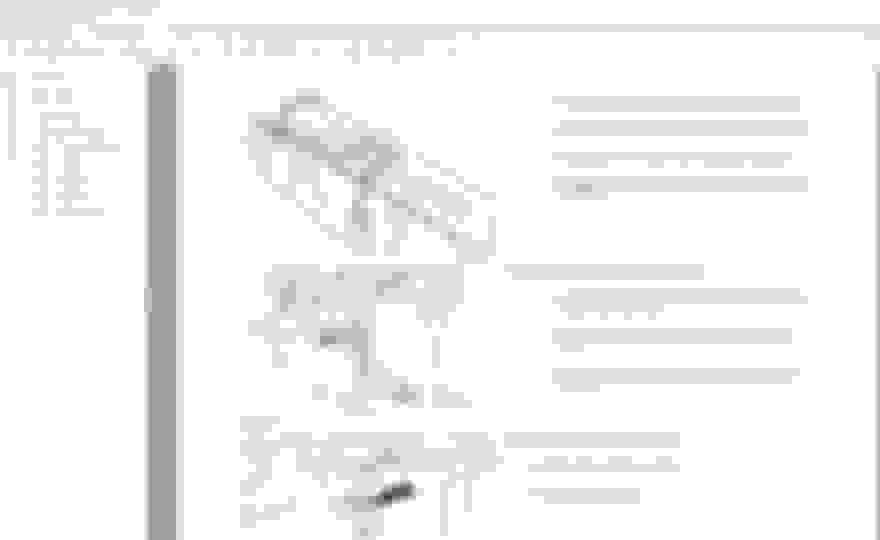
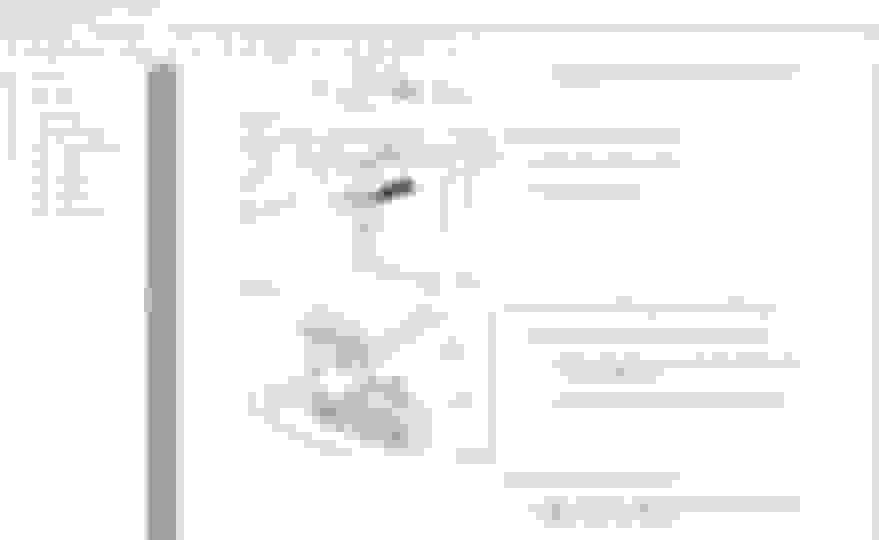
The whole idea was to get a release sleeve on the line, then push it in--this time by putting clamp on the line then prying the sleeve away from the clamp and into the QD. 100_1437.JPGThe first of the pics shows the key parts: the PVC sleeve, a sleeve holder and installer to reach in and snap the sleeve into place, the clamp, and finally the prying fork that drives against the clamp to push the sleeve in. The saddle on the sleeve holder has a very short 2-56 screw that pushes into a slightly too small hole in the back of the sleeve to 'stick' the sleeve in place. With the contoured split in the sleeve it easily snaps in place--once you find the place!! Mirrors help. 100_1443.JPG 100_1446.JPG 100_1447.JPGThe clamp is pretty obvious, but, it does have to swivel/turn on two axes so the head is a little squirrely. A simple cable and binding clamp pull the clamp halves closed on the line. 100_1449.JPGA piece of rubber tubing is pulled up toward the cable clamp to further tighten the cable with terrific mechanical advantage. As it is, the radii in the clamp faces have to be about .001" smaller than the fuel line--which is 5/16" dia. If you get too large they won't work, but, bending the bars closed(like I did!) might save them.
The last piece is the prying fork which used a rubber tubing prying bumper/fulcrum that's not shown.
This stuff starts out easy the takes some tuning and redo to make it work. I don't want to say how long I spent getting the lines free. But, some good thinking and some good help will get them free.
Good luck!
Last edited by NEECAPR; 03-16-2018 at 04:43 PM.
Reason: lost actual pictures
Got back out to the Jaguar today, and the mobile mechanic got the fuel lines out for $75. Best $75 I ever spent on a mechanic. It wasn't easy for him either, I helped him by lifting up on the gas tank.
Installed the new fuel pump; the plastic nipple to the new pump actually broke off as I was tightening the hose clamp down onto it, but O'Reilley's swapped it out without a fuss. Then got everything fitted back together, and the Jaguar roared to life! I aired up the incredibly-flat tires and drove it to a gas station a couple blocks away and filled it up with fresh premium gas. First time I've driven it—it felt great.
A few problems, of course.
1. After a long time and a lot of serious struggling, I was able to snap the first fuel line back in, and felt the click. The second fuel line was a no go. I couldn't get it all the way back in no matter how many tools I used, angles I pushed the fuel line. It's pretty tight, and it went in a ways, and I can tug a little on it without it coming it, but it definitely didn't click into place yet and if I were to pull really hard it would come out. There was no leaking after turning it on, or while driving that I noticed, but I know that's definitely not a permanent solution. I had been working eight hours up until that point and my family was waiting on me, since we were at my grandma-in-law's house and it was getting late, so I had to wrap it up. I'm just not sure how I'm going to get that fuel line reconnected though, or what I can use to really push it in better. I used 11 inch 45 degree and 90 degree pliers, with a pretty good grip, and shoved and shoved and nothing; a 14 inch flat head screwdriver, pushing against the lip around the fuel line, and nothing.
2. The two wire brackets that connect to the left back speaker came off while removing the fuel tank. Can I pull the speaker up from the back seat to reconnect the wiring?
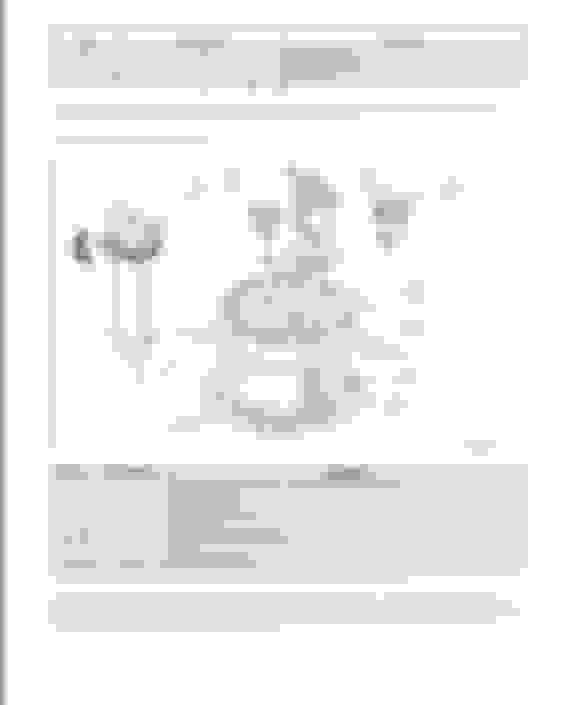
3. The rubber hoses were so stuck on the evaporative/vapor valve thing on top of the fuel tank that even with my hose removal tool, they tore coming off. I cut new strips of fuel line hose to length and refitted them. But in the process of trying to take off one of the rubber hoses, a blue nipple that was on the vapor valve side broke right off at the base. It was the small one that connects to the line that winds over to the fuel filler neck. I just want to clarify—the sole purpose of that line is to send fuel that spills over during gassing up into the tank, right? I'm assuming it connects to those two tiny little holes that are an inch above the gas hole in the filler tube? I'm trying to think of a solution to that broken piece that does not involve buying a whole new vapor valve and, subsequently, disconnecting the fuel lines again to take the gas tank out, once again, because I will not be doing that again any time soon. So maybe I can plug up those two holes and if I overfill on gas, use a rag to soak it up?
Those are the most significant problems that happened during this job. What a mess. Somewhere around 30 hours to change out this fuel pump, and that's with a mechanic helping to get those two fuel lines off. And the trim's still not all back in place.
NEECAPR, what a set of tools! Thanks for the ideas and pictures, I'm sure that'll help quite a few strugglers out there. Thanks for all the tips and advice.
Thanks everyone for all your help and encouragement, it was tremendous in helping me get this Jag running again.
After fighting to get my lines to release a few years ago, I was utterly amazed they simply popped in without a fight. Of course the thought was, "...why didn't you come out that easy...", but like yours my first one clicked, the second not so much, but was solidly in place.
You may want to check that speaker, if original is almost guaranteed to be toast. So hooking it back up may be moot. If you have the powered amp, you can chase the wiring from the amp to get it to reconnect.
#3 you'll have to review this (is this what your speaking of?) and/or someone like Bob or Sean can clarify.
So your second fuel line never officially “clicked” into place either? And it’s been ok?
I’m not too worried about that back speaker, just thought it’d be nice to fix it. I’ll see what I can do.
So according to the diagram, it’s the small, left nipple of the two on the first diagram, number 1. And it leads to number 2 in the second diagram, the pressure relief pipe. If that’s true, then pressure can still be released from the snapped connector, it’ll just release into the trunk?
Like I said, that was a few years ago and no issues....just monitor it. You'll know very easily if its not locked.
As for the broken piece, is there a possibility of putting in a threaded barbed fitting (see example, but preferably a plastic one) in place (since you say it broke flush) and overlaying a semi rigid rubber elbow so you can make a union on the 2 lines? I'm pretty sure you don't have the room to put a barbed elbow.
Pulling it out with a light tug isn't good. Try spraying some solvent cleaner in around the opening to clean out crud. These work identically to AC system connectors and clamp around the collar as seen in post #4.
 03-10-2018, 10:44 PM