When you click on links to various merchants on this site and make a purchase, this can result in this site earning a commission. Affiliate programs and affiliations include, but are not limited to, the eBay Partner Network.
worked! used two nails as suggest....will continue on my day off for now work calls....
still in process of removing the elbow.
These bolts can sheer so use a penetrating oil and flood them, small turns, more oil & wind them back in if they go tight.
You don't have to remove the charge coolers to remove the supercharger.
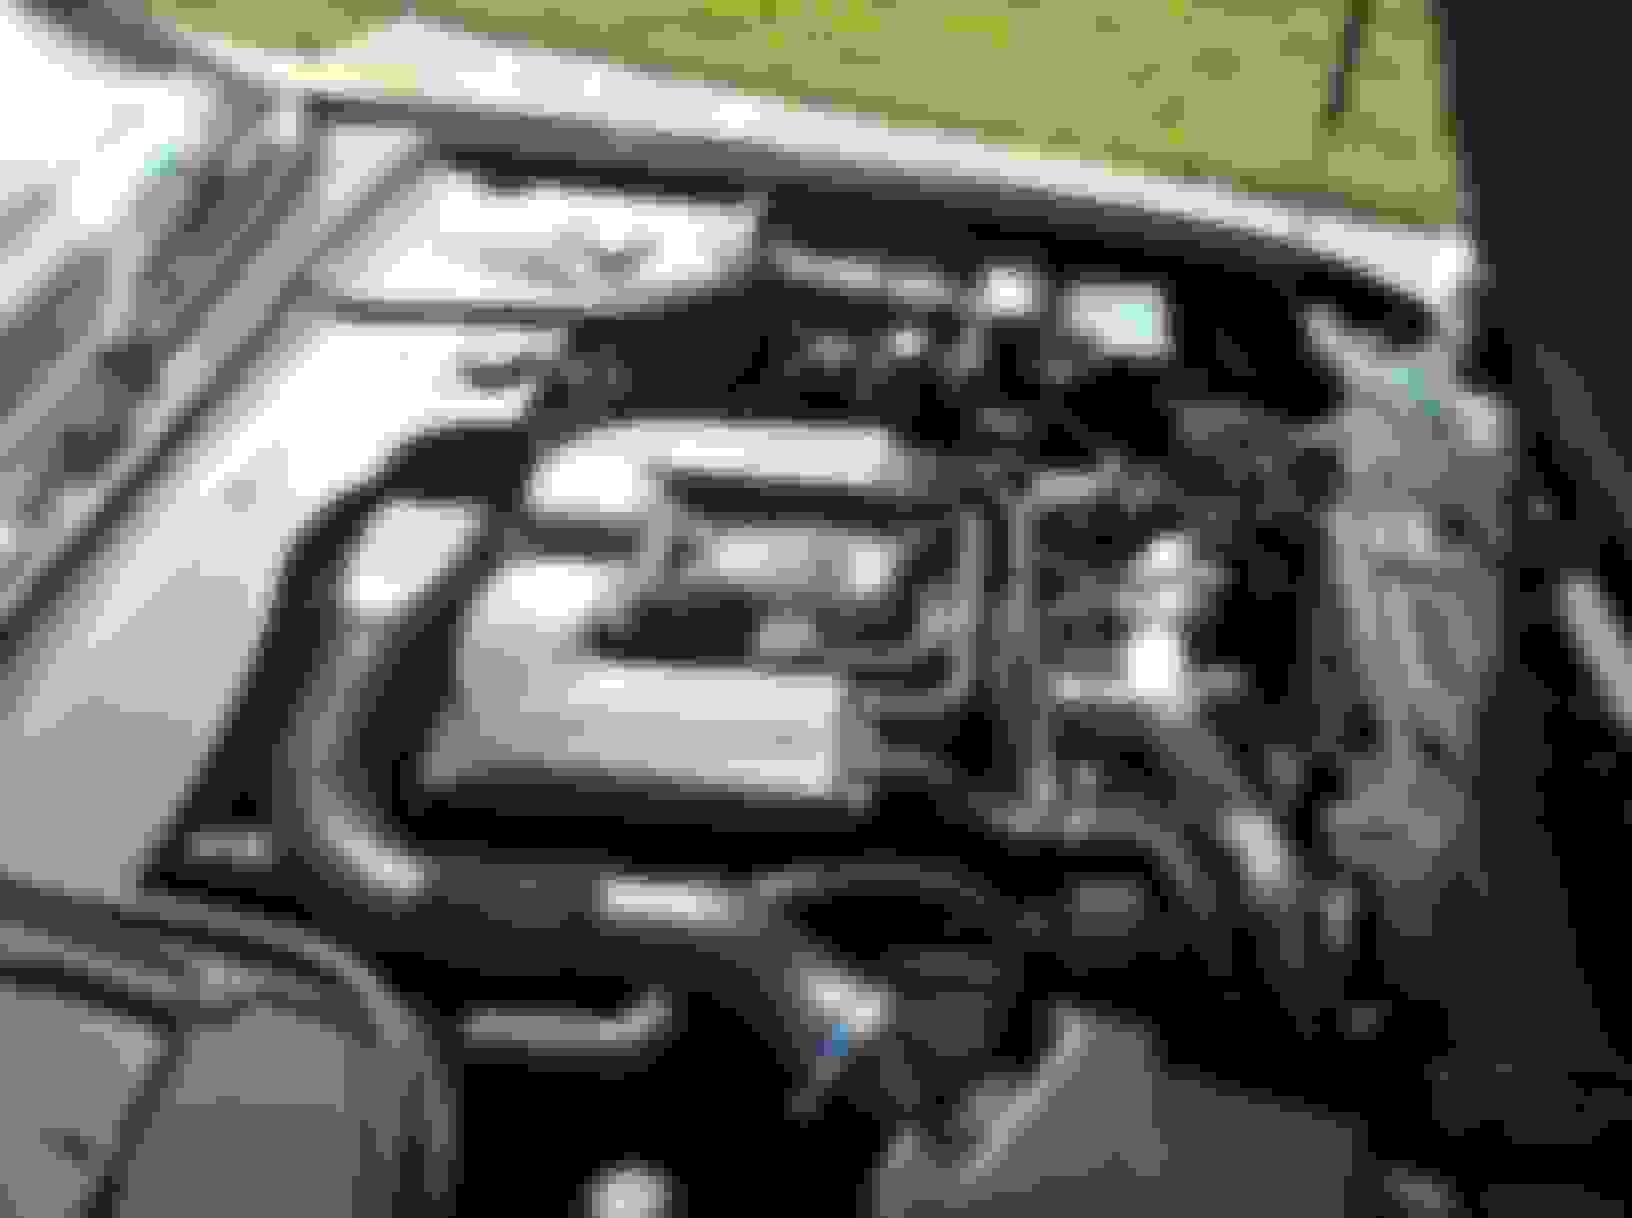
okay finally was able to remove the elbow...here are pictures...all the parts are very greased up i will do a well needed cleaning on all the parts. this was just as soon as they were removed pictures.
Elbow with yellow mounting screws 4 in total (2 each side) green is master brake line
other side of elbow...
Supercharger removed....also move the wiring harness in front out of the way...
SC is out! going to degrease it and clean it up once i start reassembling
Coolers are out...
will paint and degrease them as well
what does this do?? its mounted with in between both coolers.
now those legendary hoses!....
one connection point
okay read online this is some valve...wondering if this could close and not let coolant pass...or is it only open when heater has coolant flowing through it? just wondering if its worth replacing if it can block the coolant passage.
only thing that broke...
hoses out...
end result...
okay now all that is out of the way... i have begun to order parts...
here is a list...
1) valley hose #1 ...online $15 Dollars part number #NNE3946CA
2) valley hose #2....online $18 Dollars part number #AJ87634
3) 10 count norma connectors...online $13 Dollars part number #PA6-GF30
*reason for norma going to redo most of the top coolant tank hoses with flexible high temp and high pressure hoses wit the correct diameter where normas can fit on both ends
4)40pc hose clamps different sizes for coolant hoses ranges from 1/2" to 1 1/2" with 6 sizes between..total of 8 sizes...online $15 Dollars.
5) Aluminum foil heat shield tape 2"x 26FT...online $5 dollars...
*reason for the new hoses going to wrap this around to prevent heat damage.
6)Water pump OE quality online...$30 dollars... part number #4575902 or PO837
*figured might as well change that too while i am at it.
7)Coolant tank cap 1.0 Bar online...$ 25 Dollars. (carID) OE specs.
8)going to order a bunch of coolant hoses and redo any hose that seems sketchy to me (smaller ones) including vacuum hoses.
also i will be ordering a supercharger rebuild kit...with coupling and oil and all...
but came back to ask a question...is there any way i can check my coolant pumps if they are working...already going to change the water pump...but the aux pump...do 2001 xjr have aux pumps? if so how can i check if it is working correctly...hoping everything pays off...also since the car will be sitting well over a month..would i have to drop a few spoons of oil in to the piston chambers before its first start after about two months? thank you
Ok, this is just my opinion regarding painting the intercoolers. They are designed to dissipate heat, painting them will retain heat. I myself was going to do the same and thought long and hard about it even though it would have looked cool. That's why I only painted my inlet.
3) 10 count norma connectors...online $13 Dollars part number #PA6-GF30
*reason for norma going to redo most of the top coolant tank hoses with flexible high temp and high pressure hoses wit the correct diameter where normas can fit on both ends
4)40pc hose clamps different sizes for coolant hoses ranges from 1/2" to 1 1/2" with 6 sizes between..total of 8 sizes...online $15 Dollars.
Have you got links for #3 and #4, if #4 are the original spring type.
Ok, this is just my opinion regarding painting the intercoolers. They are designed to dissipate heat, painting them will retain heat. I myself was going to do the same and thought long and hard about it even though it would have looked cool. That's why I only painted my inlet.
glad you are here Highhorse! something i over looked...i will just clean them and do the same with the inlet thank you and your engine bay is clean!! i like i like!...
Thank you Plums! will do sir; i remember when she was all back together and i was filling coolant ...early stages of diagnosis when this problem occurred.... i could hear humming on the far passenger side next to the headlights. that was probably the aux pump for the intercoolers working. also herd a clicking noise next to the throttle body. in all honesty biggest fear is doing all this and put everything back together and still having the a overheating problem with coolant overflowing. but i am going to cross my fingers and hope this fixes it and she can be back on the road
Make sure you find a picture of how the pipes connect at the
coolant reservoir. They cross. If they are put back so that they
do not, coolant *will* be pushed out of the tank leading to overheat.
I use the auxillary pumps to my advantage when filling, they pull
the coolant level lower by circulating into passages, so first fill is
with the ignition at position one. Then start and keep filling.
Look for my thread on filling using a tight fitting funnel found at
walmart. It lets you get a perfect fill in one go. It involves keeping
the pump going afterwards to cool and shrink the coolant to get
the max fill possible.
is this something that can completely block coolant passages to the engine...or is it just when the heater is on....i would love more information about this valve please...its located on the rear near the EGR attachment to exhaust passenger side (US).
okay read online this is some valve...wondering if this could close and not let coolant pass...or is it only open when heater has coolant flowing through it? just wondering if its worth replacing if it can block the coolant passage.
Copy:
[QUOTE=Gopi Hira;1444240]
okay read online this is some valve...wondering if this could close and not let coolant pass...or is it only open when heater has coolant flowing through it? just wondering if its worth replacing if it can block the coolant passage.
if anyone is still keeping up with this thread lol new hoses came in and i wrapped them...
here are pictures...
newer hoses are a lot thicker...
new hose on the left; older hose on the right...the thickness
also used this heat reflective tape...its like foil paper (does not tear as easily) with a sticky side....
also bought a coolant temp sensor (about $8 dollars online)
also degreased the elbow and s/c ...
next is norma connectors which came in the mail but going to the store and finding proper hose size to fit and replace some lines.
i also took a hose and flushed out the radiator and coolant lines from water pump to internal of the engine...just to see if anything was clogged old coolant (orange) came out until it was clear water running through...i will do a through flush once i get the car back together with proper water and coolant...
Looks like its coming along nicely GH, yeah those hoses are thicker, which should allow for longer life...I did the foil thing myself. Also, now that you have thicker hoses, those older clamps will be a whole lot tighter than before, you'll need to completely clamp open them to get them on the hose and the hose on the lead. As opposed to their removal, which should had been fairly easy. Reinstall can be a fight, so be tactical on replacement...be sure you don't install something where you may need to get on that clamp before your done. The short elbow coming off the back of the bypass is a lot tougher going on. Its short and more rigid now, so be aware. I cleaned all the hose connector leads with a wire brush and light sanding to ensure a smooth install. I also used white lithium grease around the lip to ease install because of the thicker more rigid lines.
Looks like its coming along nicely GH, yeah those hoses are thicker, which should allow for longer life...I did the foil thing myself. Also, now that you have thicker hoses, those older clamps will be a whole lot tighter than before, you'll need to completely clamp open them to get them on the hose and the hose on the lead. As opposed to their removal, which should had been fairly easy. Reinstall can be a fight, so be tactical on replacement...be sure you don't install something where you may need to get on that clamp before your done. The short elbow coming off the back of the bypass is a lot tougher going on. Its short and more rigid now, so be aware. I cleaned all the hose connector leads with a wire brush and light sanding to ensure a smooth install. I also used white lithium grease around the lip to ease install because of the thicker more rigid lines.
appreciate it! worked like a charm i took a little bit of engine oil on my finger and ran it on the inside of the hoses before install helped a lot! not over added oil either just enough to coat the inside and clamps did the older clamps and had new screwdriver clamps installed both to make sure they would never leak... going to post a new update
Check your rotor bearings on both sides of the rotors while you're at it , it looks like you have some scuff marks on them
thank you popeye! i will rebuild the snout shortly once parts come in...bought a m112 rebuild kit with oil and all...will rebuild the snout for sure...but for the rear bearings im not so sure... as i herd they are pressfit
new hoses! yayy! used older spring clamps and right after them used screwdriver clamps so they will never leak!
i also made sure there was enough room on the metal pipes to hold both clamps so they have something to rest on...
also bought a waterpump im glad i decided to change it because the older pump was plastic! no fins missing but still 30 bucks for a metal one and a peace of mind...thats priceless!
next up norma connectors and new hoses
also guys and gals! please pray to the Car-Gods! that i did not warp the heads or gasket...pretty please! loll that is what keeps me up at night lolll
i did a compression test they all tested within 115-120psi range with 5 crankovers....but it did reach 228-230F in temp...that is the monster im afraid of :/ but doing some research online aluminum heads dont warp until 245F or above...im praying our jags can handle a little bit of heat! didnt abuse it either just drove it home and cut her open. (about 8-10 mins)
 04-09-2016, 12:13 PM


 thank you and your engine bay is clean!! i like i like!...