When you click on links to various merchants on this site and make a purchase, this can result in this site earning a commission. Affiliate programs and affiliations include, but are not limited to, the eBay Partner Network.
Once in a while we see threads about a hood latch that is stuck or broken, and the hood won't open. There are lots of useful threads on how to get the hood open, but that's not my question. I'm thinking about preventive maintenance to avoid the issue if possible. Is the problem normally that the cable itself breaks, or that the cable end falls out of the clip? Is there something that can be done ahead of time to help prevent this from happening? Thanks
It should just be a simple matter of removing the locking mechanism and keeping it lubricated.
I am not aware of any maintenance required for the cable.
My cable came undone from the forked insert. So I modified the application to hopefully prevent that again. It's been quite awhile, but think I drilled a hole in the actuation arm where the cable insets and used a 1/16" zip tie around it to secure it.
Make sure your hood and latch are properly aligned, to where when you set it down you can easily push it down to latch. Your only tension should be the spring load. In that, when you release the latch, it should be smooth and spring up easily.
Yes, I thought of that scenario, yet it seems that would only happen if the spring was not taught enough
to keep the cable end engaged. It looks as though allowing the hood to hit the mechanism in a rapid
closure could also cause the cable end to dislodge. Such as, just allowing the hood to fall into position.
Yeah, you never know what any PO's did with them. To simply drop the hood can only mean a for sure, over time, loosening or breaking of some part. Corvettes are notorious for this since they are fiberglass and morons usually abuse them and GM doesn't make the best cars.
I swear sometimes I jinx myself! Not even joking here…..today the latch on the driver’s side won’t release! I actually laughed out loud because the odds of it happening a few days after posting this thread are absurd! Anyway, I found a thread describing an already existing passage in the wheel well that you can supposedly get a long screwdriver in, so I’m going to go down that path before I drill anything. The OP indicated that it was a pain, and took time to get it popped, but it worked for him. We’ll see.
Hopefully I’ll get to it next weekend, and I’ll report my findings. I wish I’d have done the maintenance right away!
Hello there aquifer. We are feeling your pain with the hood latch dilemma. Personally I would really like to know if you discover the cause behind it�s failure.
A relevant side question: what is the proper way to close the hood? Or any hood for that matter? I normally set it down gently, then raise it up maybe 8-12” and let go. It provides a nice solid click to indicate it’s latched. I have done it that way forever with every lid I close on my vehicles. Some vehicles require a bit more of a “slam” but even then, I try to minimize how hard I slam it.
Edit: I’ll post here again with what I find and what I did to fix it. Squeezing the tabs together as Bob suggested makes sense to me.
I like to use a towel in hand to lower the hood then use the towel again near the middle rear to press it shut. The towel prevents any oils or grease that may be present on my hand from transferring to the paint.
I drop mine from about 4" ,,and if need be, press whichever side didn't latch. Sometimes I just set it down and press both sides down...like Randy does, using a terry towel. I spend too much times buffing it not to clean it off.
Ok I got it open. Here is a quick rundown of my findings. Keep one very important thing in mind: mine is an early 1998 XJR. There are many various differences in my car that I have found over the years compared to the later built ones, and access to the hood latches might be one of the differences.
I am talking about the driver’s side (left side) in this case.
I found other threads that described a way to access the latch through an existing hole in the wheel well, without the need to drill. I first attempted to do the task without drilling. I found the outer hole, but after I got the outer hole pried open a bit, I stuck my bore scope in there and realized that my car does not have a second hole through which to slide a screwdriver. I confirmed this once I did get the hood open. I had to deploy Plan B.
Here is what worked for me:
Obviously removing the wheel and the fender liner is first no matter what you do. I drilled a 7/8” hole with a hole saw about 1.75” behind the existing hole at about 1:00 in the wheel well, where one of the push pins goes to hold the liner. Here is a picture from inside the wheel well looking up, and a picture from the engine compartment looking down. I purposely drilled the hole a little bit to the outside, so that the liner will cover the hole. I will plug the hole with a 7/8” body plug. The fender liner should protect it pretty well.
I decided on a 7/8” hole for two reasons: first, because I had that size hole saw, and second because I wanted to be able to get the bore scope in there along with the screwdriver. It probably wasn’t necessary, as it turned out. The latch is RIGHT THERE inside the hole, and it was super easy to give the arm a little push with the screwdriver. But having the bore scope in there with the screwdriver turned it into a 10 second job.
The cable had fallen out of the slot, just as you all suspected. Here is a picture of what I found:
I plan to squeeze the slot together to keep the cable in place as Bob suggested above. With the hole in place now, I’m not overly concerned should I ever need to do this again.
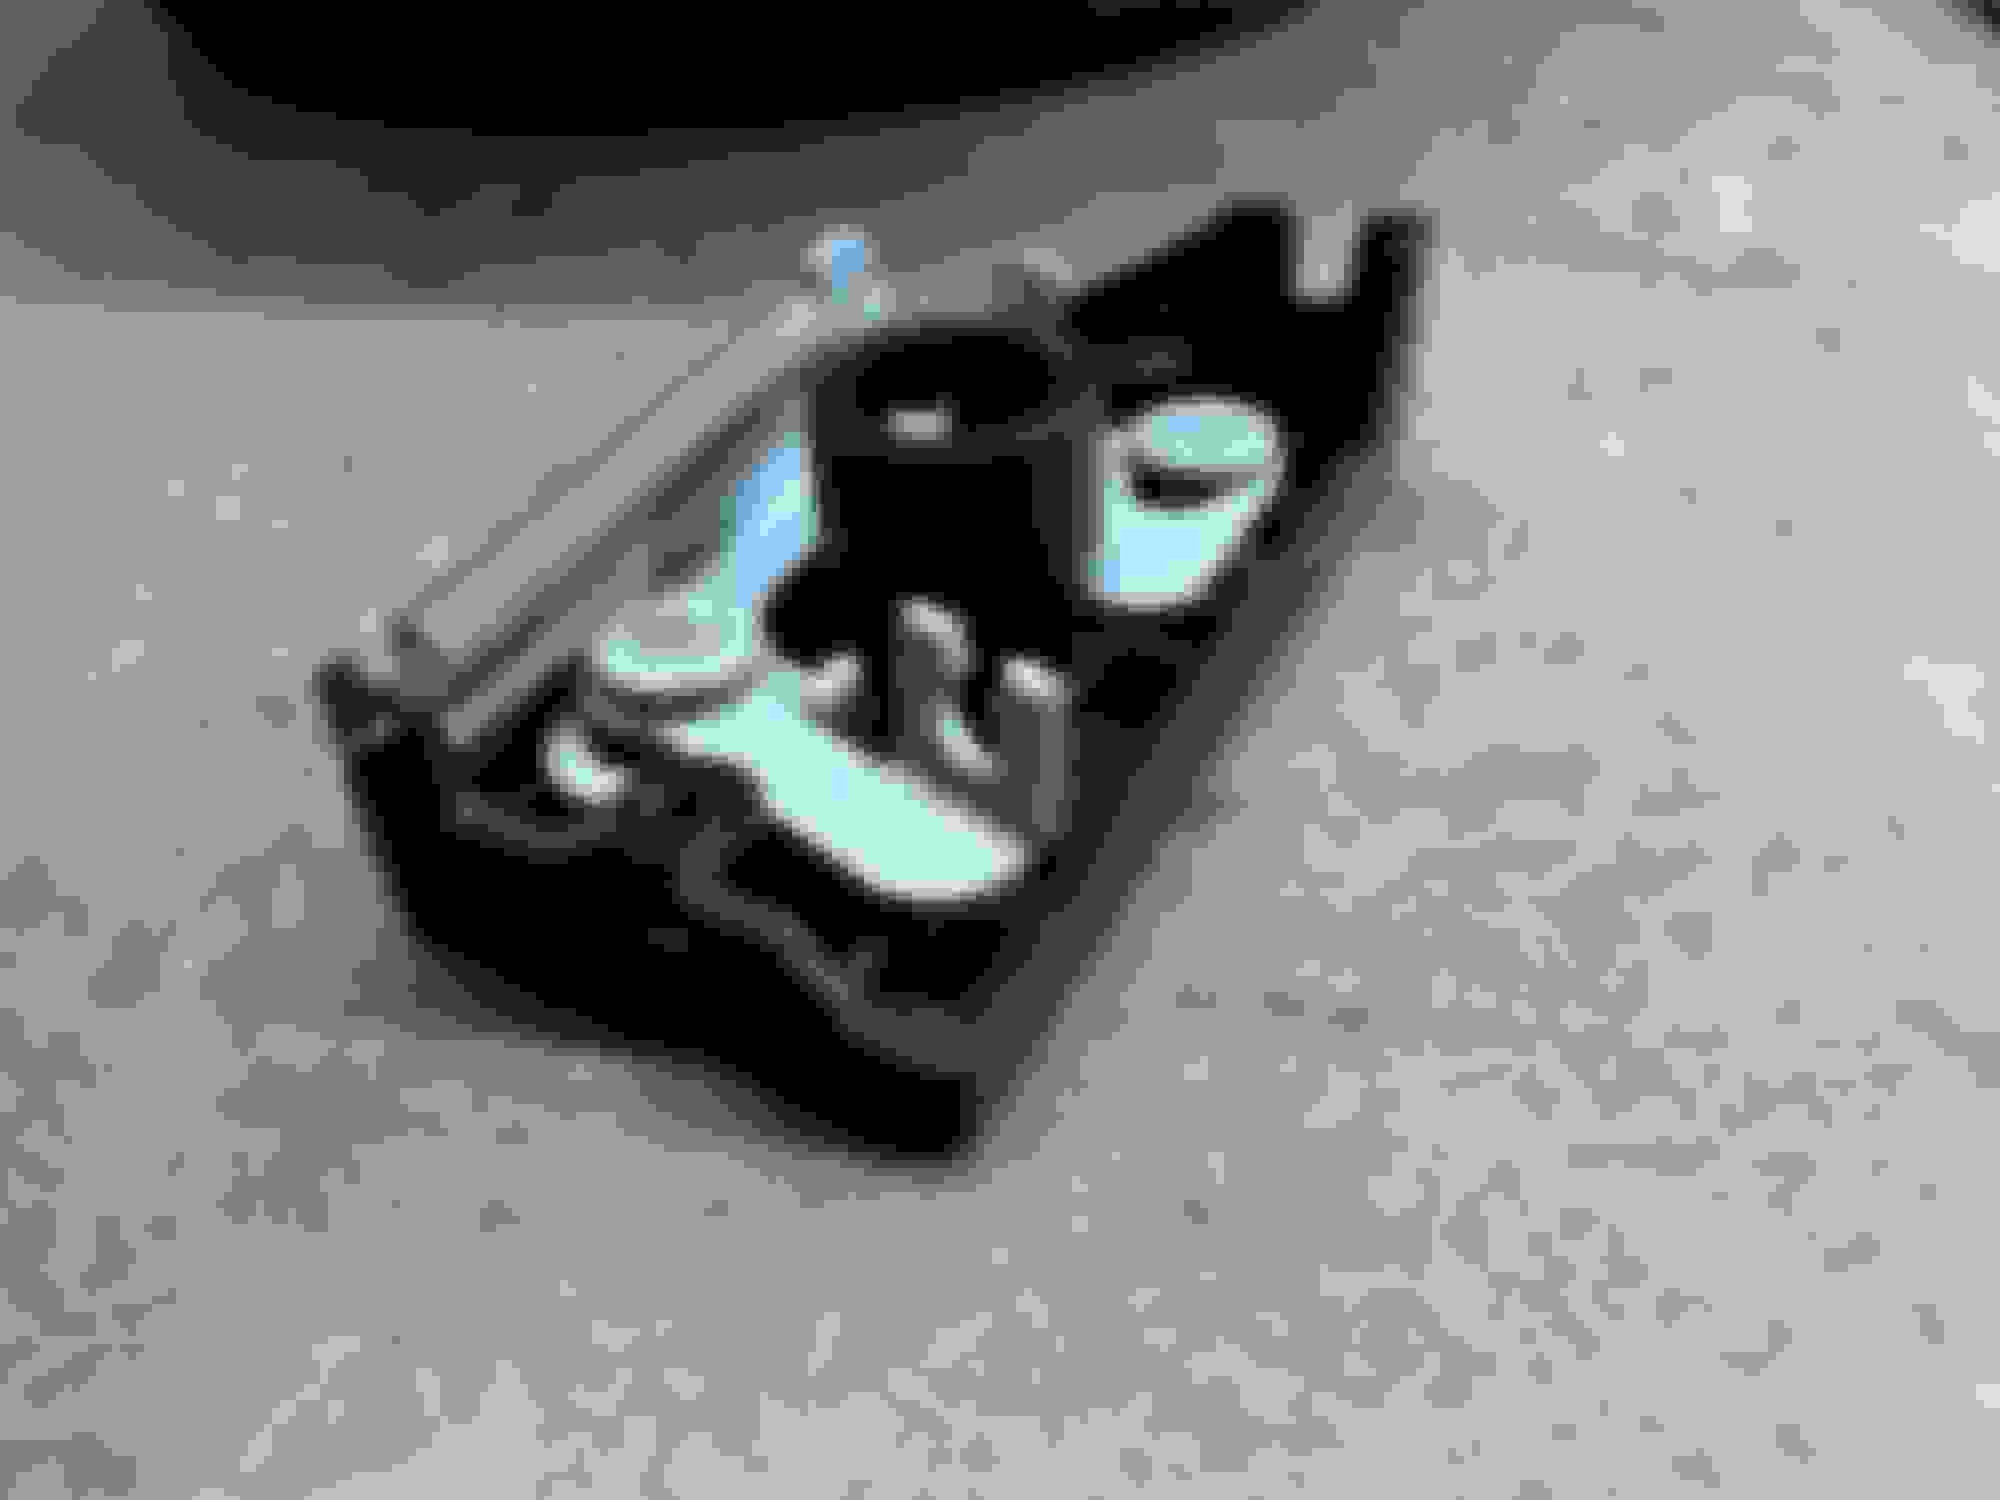
Here is the latch, all cleaned up. Pretty much looks brand new.
Would you spray a bit of white lithium grease on the moving parts? I plan to do the passenger side next, and I will likely squeeze the slot shut so the cable can’t fall out. Most likely I will drill the prescribed hole on that side too, and plug it with a body plug in case I ever need to access it.
So I guess it was pretty simple in the end. I would recommend everyone who has not done so, to go ahead and pull the latches out and squeeze the slots together as a preventive step. If you’re really into it, drill the holes and plug them with body plugs so you can see what you’re doing with the hood open!
I'd tape off the drill area and spray it with some primer and/or rust inhibitor to seal the metal. Then as you say, pop in the plug and maybe a light bit of silicone around the seating lip to prevent help seal it and prevent vibration from making it fall out.
If I recall, I believe I did spray a light coating of white lithium on mine. Thus, if you do this, the silicone sealing would be recommended to eliminate dust build up and drying of it.
Good info here...I might as well pop my latches out and check them whle I'm waiting on my gasket kit. Little PM to prevent an annoying issue is always a good idea.
It is easy to see that dropping the hood would cause the mechanism to slide faster than the cable can react.
The result would be the possibility of the ball to "jump" out of alignment while the latch closed. The obvious
fix is to close the open fork and be mindful while closing the hood. Good lubrication of the sliding surfaces
is also advisable.
I'd tape off the drill area and spray it with some primer and/or rust inhibitor to seal the metal. Then as you say, pop in the plug and maybe a light bit of silicone around the seating lip to prevent help seal it and prevent vibration from making it fall out.
If I recall, I believe I did spray a light coating of white lithium on mine. Thus, if you do this, the silicone sealing would be recommended to eliminate dust build up and drying of it.
Good advice here, thank you. I'll brush some rust inhibitor paint around the edges of the hole, and I'll put silicone on the plug when I pop it in.
The liner will help protect the plug, so it should be good. I'll put a little white grease on the moving parts, and I'll change how I latch the hood from now on as well. I'm going to install the plug from the wheel well up, not from the engine compartment down. The liner fits pretty snug against the inside of the wheel well, so it will help hold the plug in place. If the plug was installed the other way, the liner might try to push the plug "up" and pop it out of the hole. I tend to overthink simple things like this sometimes...... There's probably no risk that the plug will pop out of the hole!
I took a look at this today. I attempted to squeeze the "fork" ends together and was able to get them closer together, but even with a sturdy and somewhat long set of lineman's pliers, they did not want to bend any further in order to meet. I didn't want to start reefing on stuff with more torque so i left well enough alone. The cable could theoretically still get through there I think, but the little rubber/plastic grommet would need to be completely gone for that to happen. Not sure if any of you guys have had better luck. Easy enough job with the hood open, so no sense not doing it.
I took a look at this today. I attempted to squeeze the "fork" ends together and was able to get them closer together, but even with a sturdy and somewhat long set of lineman's pliers, they did not want to bend any further in order to meet. I didn't want to start reefing on stuff with more torque so i left well enough alone. The cable could theoretically still get through there I think, but the little rubber/plastic grommet would need to be completely gone for that to happen. Not sure if any of you guys have had better luck. Easy enough job with the hood open, so no sense not doing it.
Important safety tip: you might break the forks by attempting to squeeze them together. I just broke mine. Fortunately I found a latch on eBay, but I�m now searching for a better solution. Any ideas? I don�t recommend trying to squeeze the forks. You won�t know if it was a bad idea until it�s too late! I�ve seen a couple of threads with ideas, but nothing has hit home with me yet. All ideas are appreciated!
I may have found a solution. It’s tight, so I think it will stay put, but I’m still thinking about it. I think these were dust caps for something I bought years ago. Good thing I kept them.
Hey Aquifer, I like the simplicity of that fix. I also worried about stressing the forks to a point of failure
but find that your "insert" solution to be better. I doubt the ball could jump out with a tight cap.

 07-22-2022 | 11:25 AM


 There's probably no risk that the plug will pop out of the hole!


