How To Change Spark Plugs - '03 XJ8
#1
The process was actually quite easy, but time-consuming.
Tools:
7mm socket (nut driver would be handy!)
10mm socket (again, nut driver would be nice to have!)
5/8" Spark Plug Socket
8" extension
Ratchet
Torque wrench/rachet
Supplies:
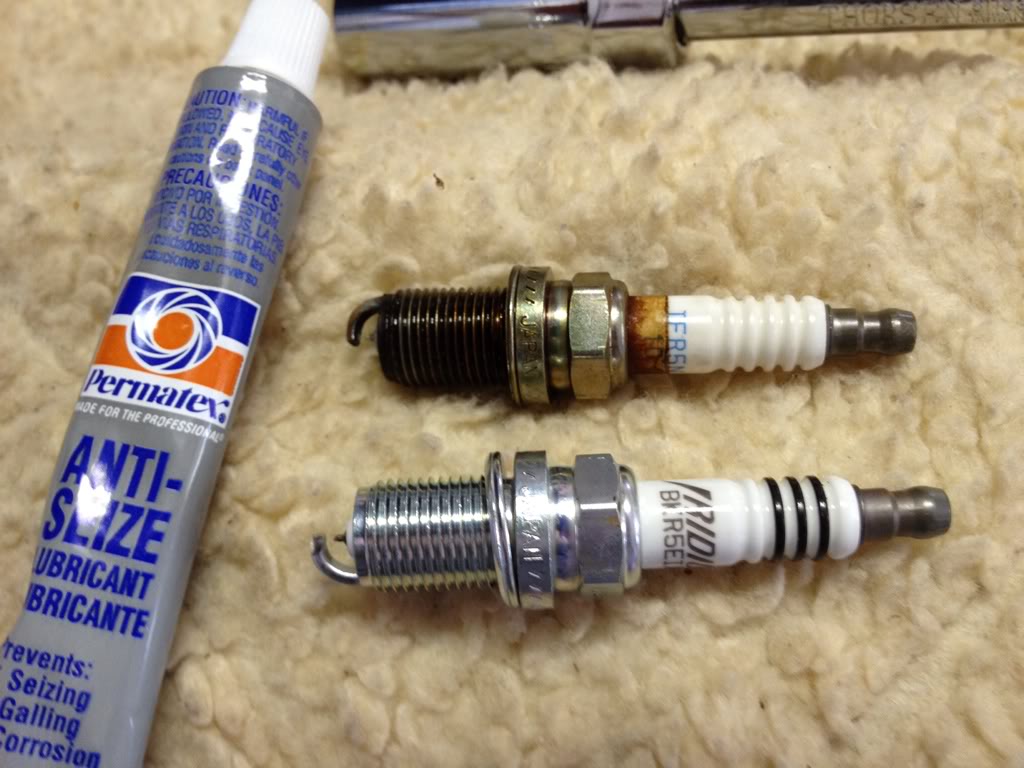
NGK BKR5EIX-11 Spark Plugs (8, of course) - pre-gapped
Permatex Anti-Seize Lubricant (couldn't find nickel/silver)
Process:
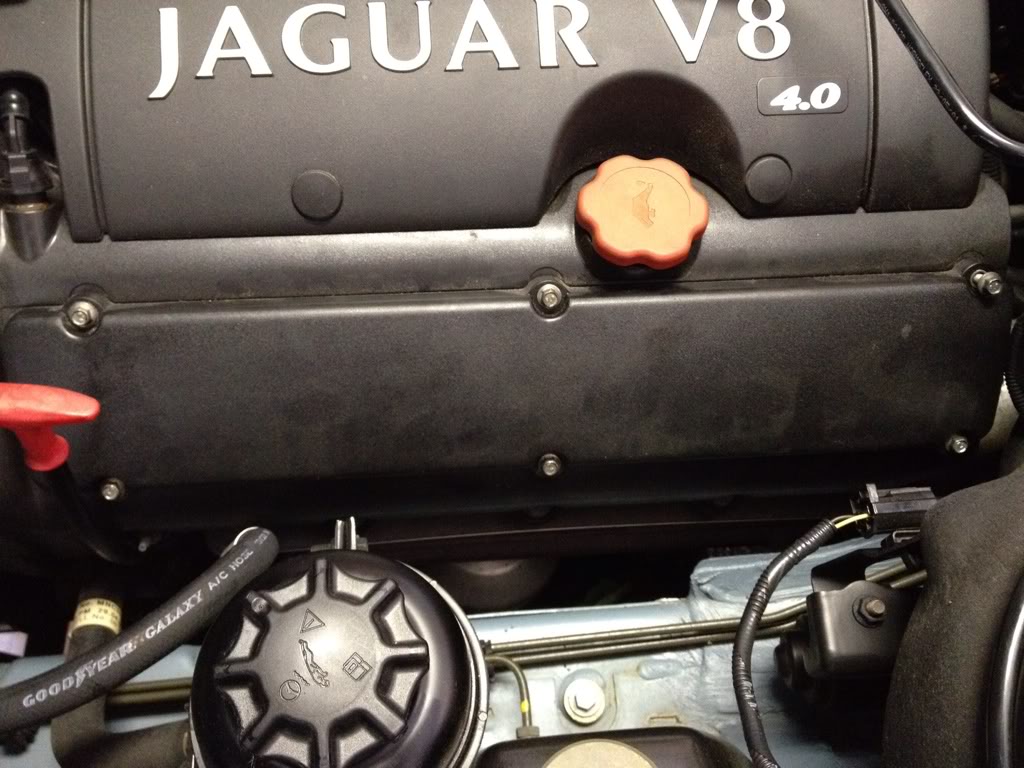
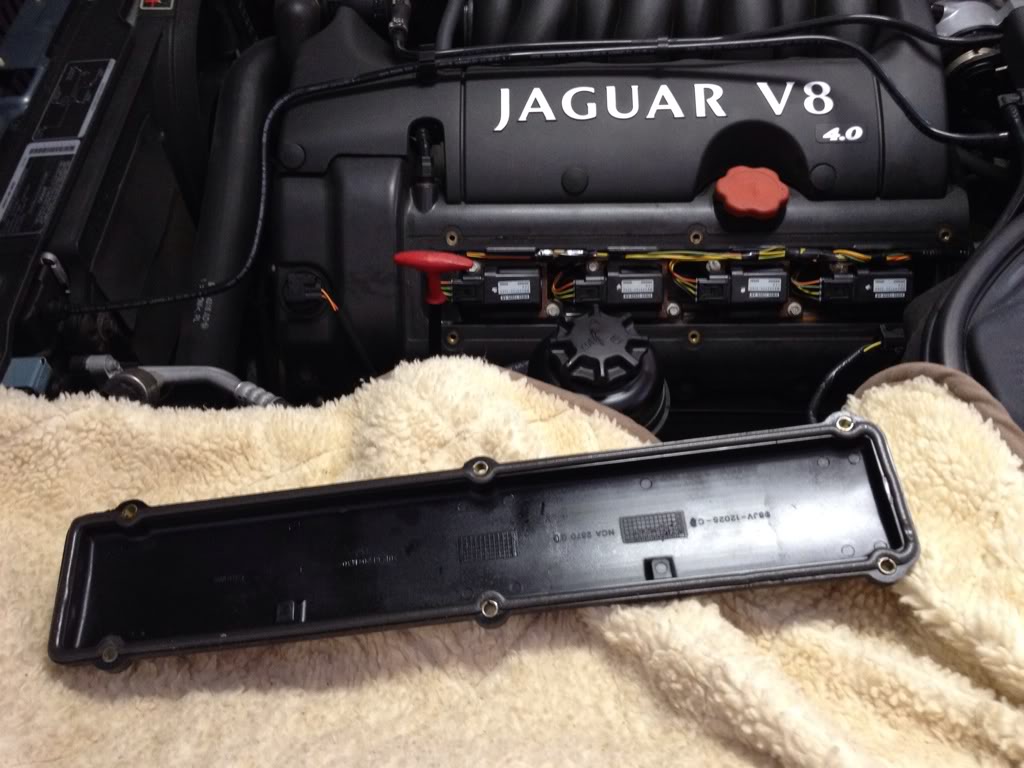
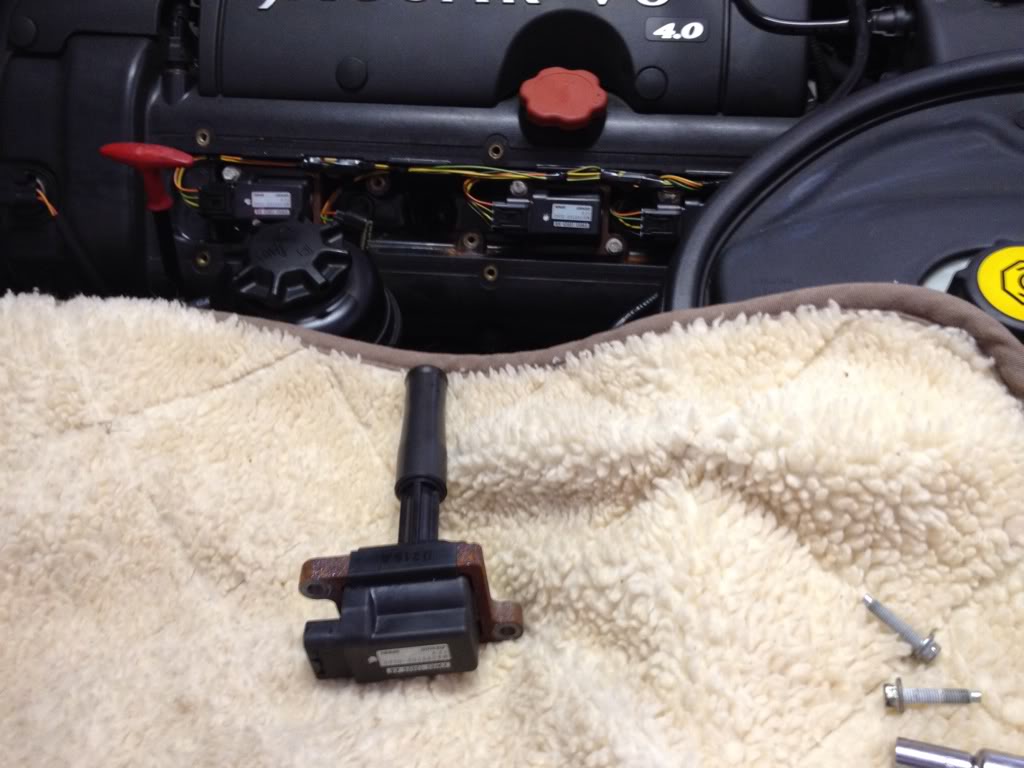
Left Side: Remove 6 screws with 7mm socket, take off cover. Starting from front of car, disconnect wire connector by pressing tab and carefully wriggling it off. Remove 2 screws with 7mm socket holding in ignition coil, pull out coil -- some wriggling might be needed. Remove old spark plug, carefully screw in new plug so as to not cross-thread. Tighten with torque wrench to 18 ft/lbs. Replace coil with 2 7mm screws, plug in connector. Repeat for all four plugs on left side.
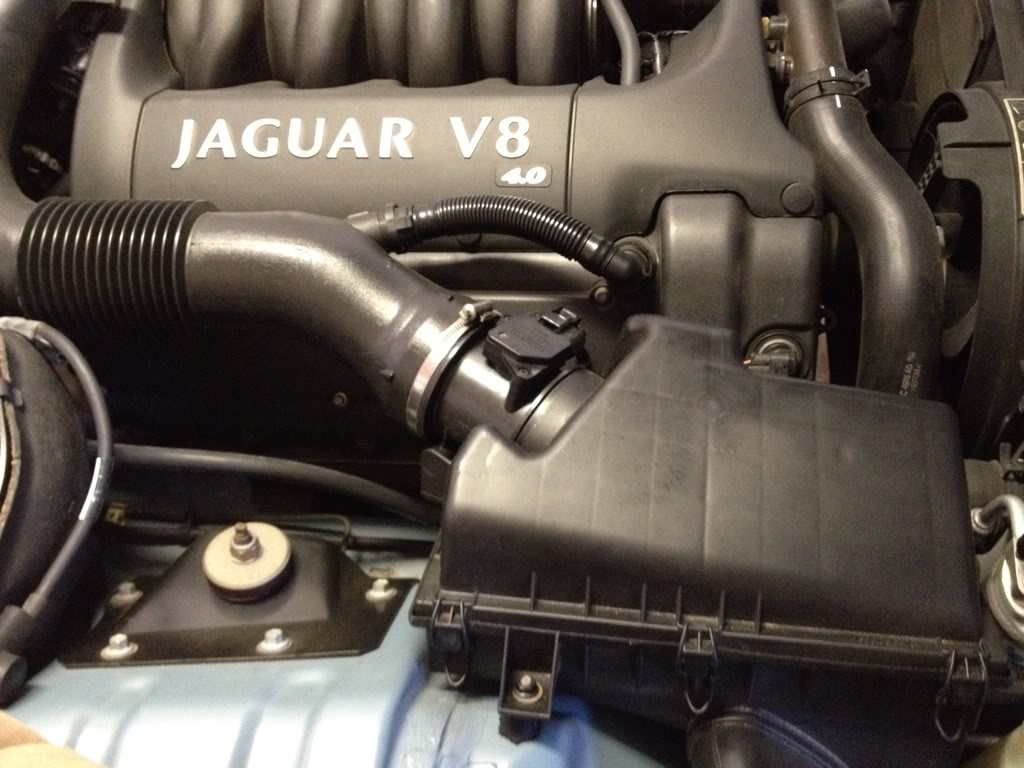
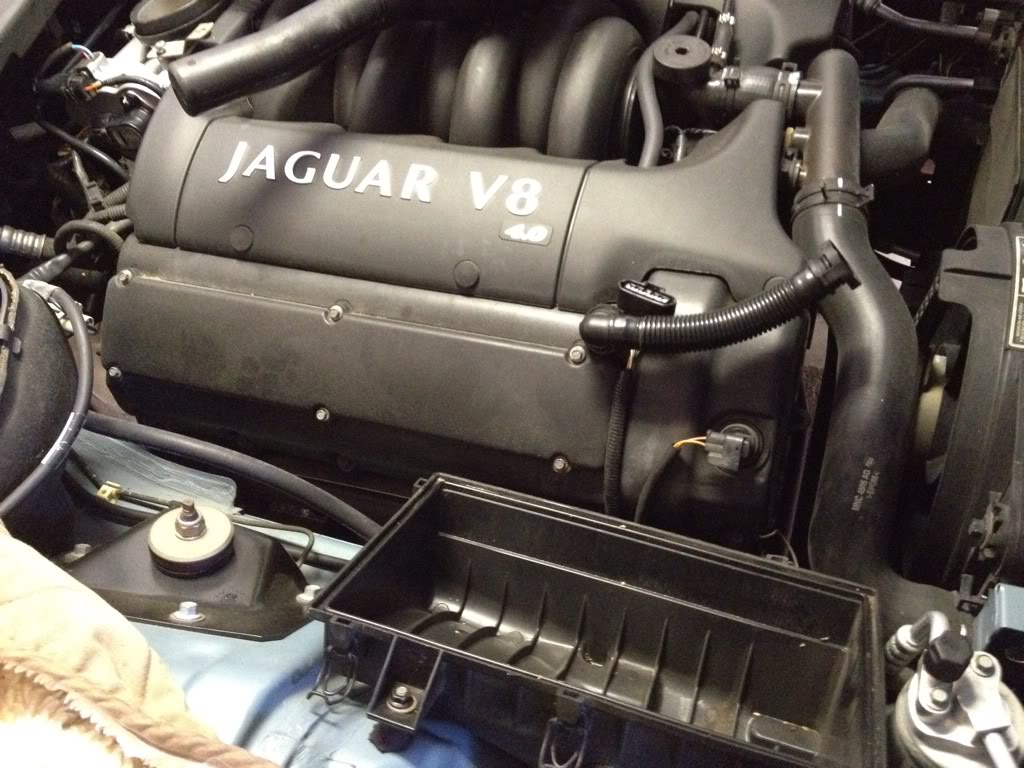
Right Side: Remove air filter cover (might was well take filter out), disconnect hose and electrical connector from tube near MAFS, remove 2 10mm screws from throttle body (I read somewhere that there's supposed to be one 8mm and one 10mm, but both of mine are 10mm) - place entire contraption far enough away to be out of your way! Now you can access the panel and follow the same procedure as left side.
I'll post some photos below.
The following users liked this post:
capnandy (10-25-2017)
#2
This is the panel that you take off -- couldn't be easier!
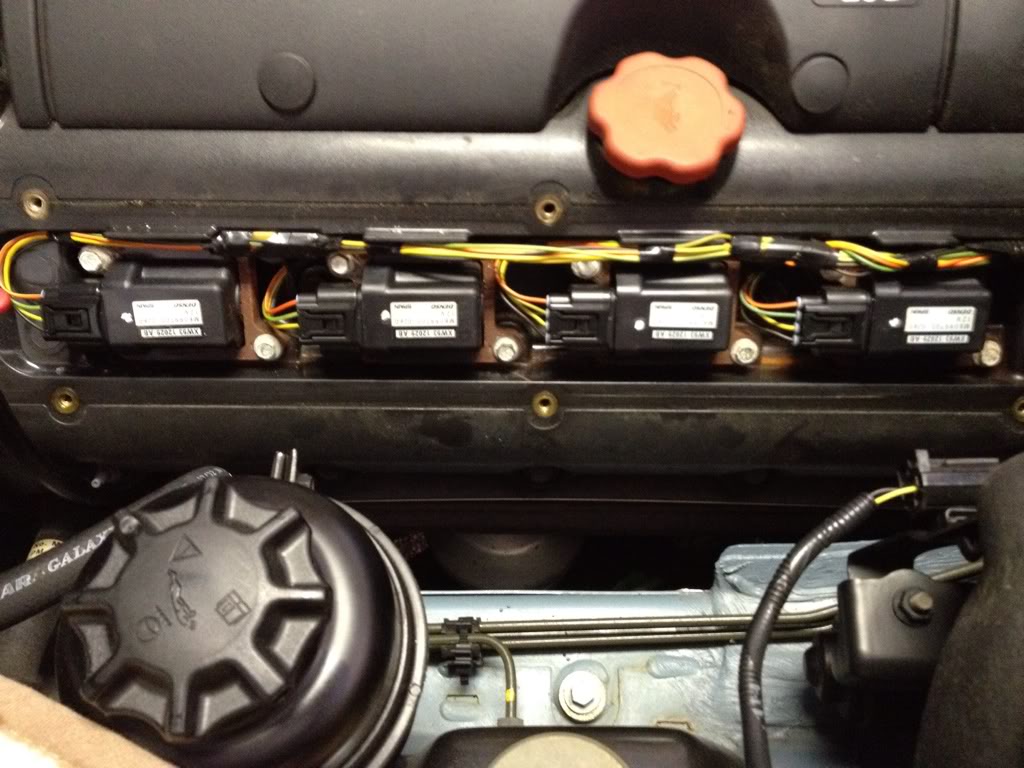
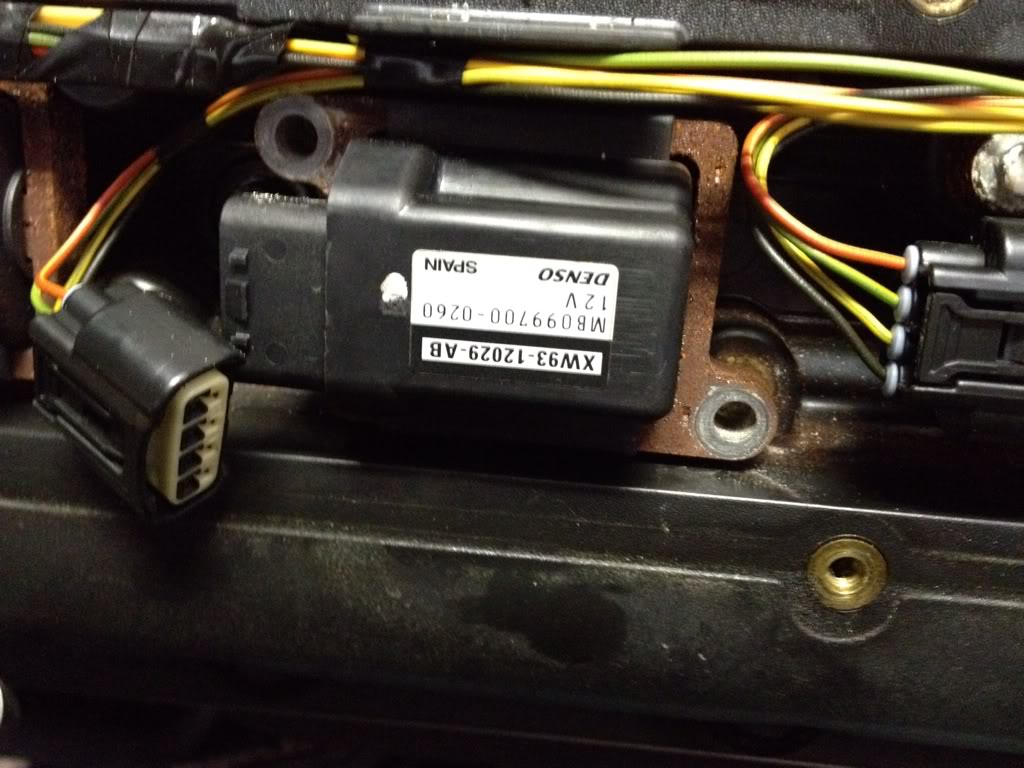
Close up of connector and coil on left side.
Coil removed.
My old and new plug, and the anti-seize that I used.
On the right side you can see what's in the way that has to be removed.
Once removed, the panel is easy to access.
Then the process is the same as on the left side.
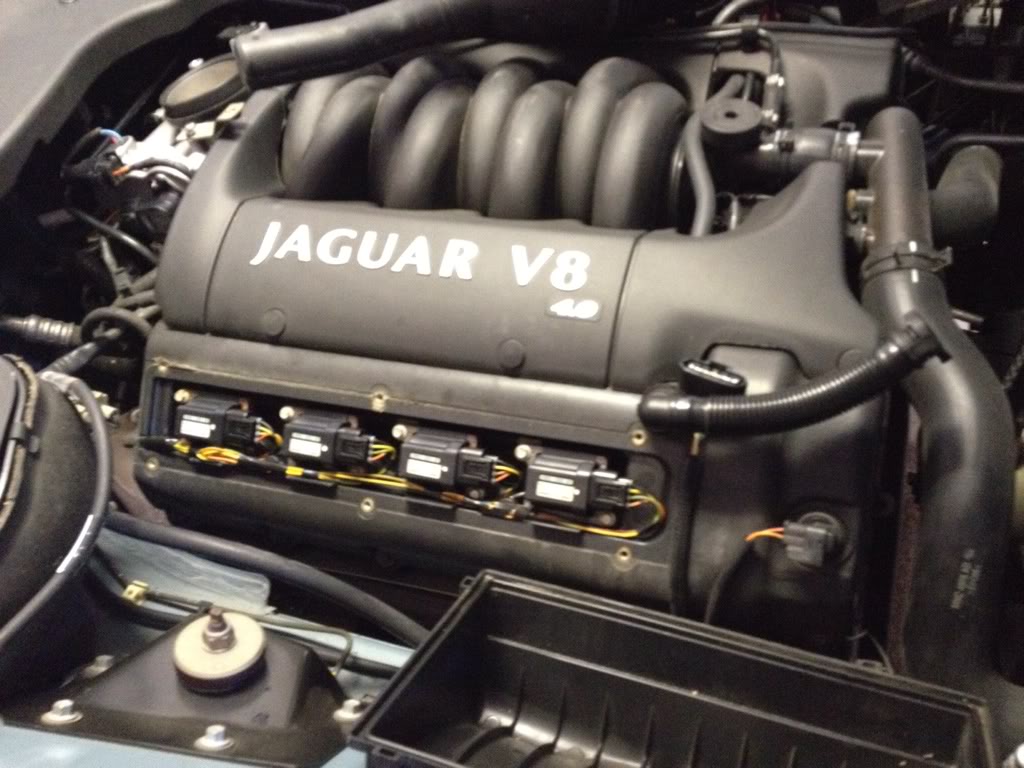


Close up of connector and coil on left side.

Coil removed.

My old and new plug, and the anti-seize that I used.

On the right side you can see what's in the way that has to be removed.

Once removed, the panel is easy to access.

Then the process is the same as on the left side.

The following 9 users liked this post by OldMike:
adriaxj8 (05-12-2012),
Alvin Burns (05-20-2012),
capnandy (10-25-2017),
Catenaccio (01-05-2014),
D. Fite (05-06-2012),
and 4 others liked this post.
#3
There is no need to disconnect the wiring from the coils.
On each side, just undo all eight retaining screws. partially unseat all coils, lay a cloth in the area to the rear near firewall and throttle body, then scoop them all up carefully like grabbing a double handful of spaghetti and lay on the cloth out of the way.
When done, just pop them back in. The wiring will easily tell you which one goes where.
It's faster, easier and no chance of breaking one of the connectors.
In lieu of an air hose, a can of compressed air can be used to blast the junk from around the plugs before removing them.
The torque spec is: 25-29 NM REDUCE BY 0.5 for LUBED THREADS.
If you are working without a torque wrench, for new plugs, tighten the sparkplug using only the extension until finger tight. Turn an additional 1/3 turn (120 degrees) using the ratchet. That should get you dead on the money whether lubed or not if you are good at visualising the degree of rotation.
Last edited by plums; 05-06-2012 at 09:54 PM.
The following 4 users liked this post by plums:
#4
#6
I am one of those "weirdos" who claims that he can tell a difference in the way my cars drive before and after an oil change! LOL I think my car runs better (stronger) and smoother now that I've changed the plugs -- but I'm sure there's no "real" discernible difference. I changed the plugs only because it was easy to do and I figured it had never been done before - my car had around 65k miles on the ODO when I did the plugs.
#7
65k on one set of plugs, that is nothing! My friend's Camry is pushing 150k+ on the factory-original plugs. In Cuba, they have cars from the 1950's with the originals still sparking away (mind you, I am sure they removed and cleaned them a number of times by now...)
What is the recommended X308 (non-SC) plug schedule?
What is the recommended X308 (non-SC) plug schedule?
Trending Topics
#8
OldMike, I must be a weirdo too. Same SOTP conclusion after oil changes, etc. Nice write-up w/ pics. I need to change my plugs.
JTIS states 70,000 miles.
65k on one set of plugs, that is nothing! My friend's Camry is pushing 150k+ on the factory-original plugs. In Cuba, they have cars from the 1950's with the originals still sparking away (mind you, I am sure they removed and cleaned them a number of times by now...)
What is the recommended X308 (non-SC) plug schedule?
What is the recommended X308 (non-SC) plug schedule?
Last edited by mechelement; 05-23-2012 at 11:53 PM.
#10
I have a slight mystery to solve -- The Case of the Missing Rubber Insert...
When I was replacing the sixth spark plug, I noticed that the rubber insert in my spark plug socket was gone!
I thought maybe it stuck to the plug when I did the fifth plug because I remember it being there when I did the fifth one -- without the rubber insert, the plug simply slides out of the socket when you try to install it, so it's very obvious if it's gone! I removed the fifth plug, no rubber insert.
I finished the job without it and looked all over the place, inside the engine compartment, on the garage floor, under the shelves in the garage, everywhere I could think of and then some!
I never found the rubber insert! It has always bugged me -- where the heck did it go? LOL
I've never had this happen before.
#12
My local tool shop was out of stock of 10mm spark plug sockets with thin enough walls to fit down the deep, narrow tunnel that leads to the XJ8 spark plugs.
For some reason that escapes me, 10mm plugs take a 16mm socket.
I bought a 16mm thin wall socket and used a short length of rubber petrol pipe to reach in and fish out the loosened plug. It worked for putting the new plugs back too.
I read this tip on the forum somewhere, but I can't find it now to credit the original author. Whoever it was - thanks for a great tip!
#13
#14
#15
This is one of the best write-ups I have seen on changing the spark plugs on a modern XK/XJ V8 engine. I would like to add a few more observations that hopefully will help folks. It has been written that this entire operation will take a novice only two hours the first time. I don’t believe that is realistic if one is meticulous and cleans off all the mating surfaces – so don’t despair if it takes you longer.
It has also been written that you do not have to disconnect the electrical connections to each coil to change the spark plugs. That may be correct, however, I have seen misfiring and error messages (such as P0301-8) that were due to corroded and poor electrical connections to the coil. So I recommend that you disconnected each coil connection, inspector contacts and spray them with electrical contact cleaner prior to re-installation. I also spray the spring that contacts the spark plug with contact cleaner.
I have seen cases where the electrical clips securing each coil contact break off when only slightly lifted. I’m not sure but I think this may be related to engine overheating – so be very careful when you do this. Also the breather connection from the throttle body intake manifold (near the air cleaner) to the top of the engine Can easily be damaged when attempting to remove it. Gently squeeze the securing ring and rotate it slightly to remove. I carefully clean all mating surfaces and lightly coat them with silicone or machine oil prior to reinstallation.
I have not seen it mentioned, maybe it’s common sense, but one should always spray off surfaces of any engine areas with a compressed air (a compressor or aerosol spray used to clean computers) prior to removing or opening anything to prevent contamination. I use blue towel segments in the spark plug openings and a plastic coffee can lead to cover the throttle body.
I have noticed bad corrosion on the coil laminations in a number of vehicles that did not have any water damage or anything unusual with the engine. In one case it was severe enough to adversely affect the spark magnitude. I gently wire brush any corroded coil laminations and coat them lightly with machine oil prior to reinstallation.
Just some additional thoughts that might help people. Keep up the good work.
The following users liked this post:
capnandy (10-25-2017)
Thread
Thread Starter
Forum
Replies
Last Post
FS[Western US]: XJS Wiper Motor Upgrade- 76-88 - Electrolux Style
XJsc-guy
PRIVATE For Sale / Trade or Buy Classifieds
0
09-02-2015 12:43 PM
Currently Active Users Viewing This Thread: 1 (0 members and 1 guests)


