How to tap into built in mic?
#1
 02-19-2013, 06:50 PM


I'm "improving" the HK system in my 99 XJ8. I've decided to leave the OEM head unit installed and just do the CD Changer hack to add an AUX port. The plan is to plug in a bluetooth receiver into that AUX port and pair it with my Android phone to play music. I'd also like to use the built in microphone to make/take calls. Can anyone point me to where the wires for the mic go, their color, and if I could splice that into the AUX cable Mic wires. I don't see why it can't be done but If someone who has done it could offer some advice It would be greatly appreciated.
Thanks
PS, I've already removed the rear "subwoofer", if you can call it that, and added 2 10" subs running at 500w
Thanks
PS, I've already removed the rear "subwoofer", if you can call it that, and added 2 10" subs running at 500w
Last edited by Bug Splat; 02-19-2013 at 06:57 PM.
#2
02-19-2013, 11:45 PM
Think I found it. Is this right...
Basic Connections
The factory stereo system in the 1998 through 2002 XJ can be easily adapter for an aftermarket Bluetooth car kit now. Other years and
models are similar. Several have been successfully installed making full use of the mute when a call comes in, the line input to the
factory stereo for the phone audio output, and the factory mic. All the required wiring exists under the center console. Look on the
schematic for connector RT2 (a white 10-pin 2-row connector). The pinout is as follows:
RT2-1 = Purple/Red Audio input from phone to stereo line level negative
RT2-2 = Purple/Pink Audio input from phone to stereo line level positive
RT2-3 = Purple/Orange Ground this wire and the radio will switch from music to the phone audio through the cars speakers. Most car
kits have a wire for this that does ground to mute so you can connect directly to this wire.
RT2-4 = Yellow Factory mic positive lead
RT2-5 = Braid Factory mic negative lead
RT2-6 = Black Ground
RT2-7 = Blue/Yellow ACP network positive.
RT2-8 = Brown/Purple Battery positive at all times fed from fuse #5 (5A) in the RH heelboard fusebox.
RT2-9 = Light Green/Yellow ACP network negative. Note: the ACP network is used for the radio button features for the phone.
RT2-10 = White/Green Key switched power fed from fuse #10 (5A) in the RH heelboard fuse box.
If you look into the face of the 10-pin connector, pin #1 is at the top left and pin #10 is at the bottom right. The pins are numbered
from left to right, top to bottom.
Link: http://j.roal.home.mchsi.com/X308Bluetooth.pdf
The following users liked this post:
nilanium (01-19-2017)
#3
02-20-2013, 10:33 AM
Senior Member
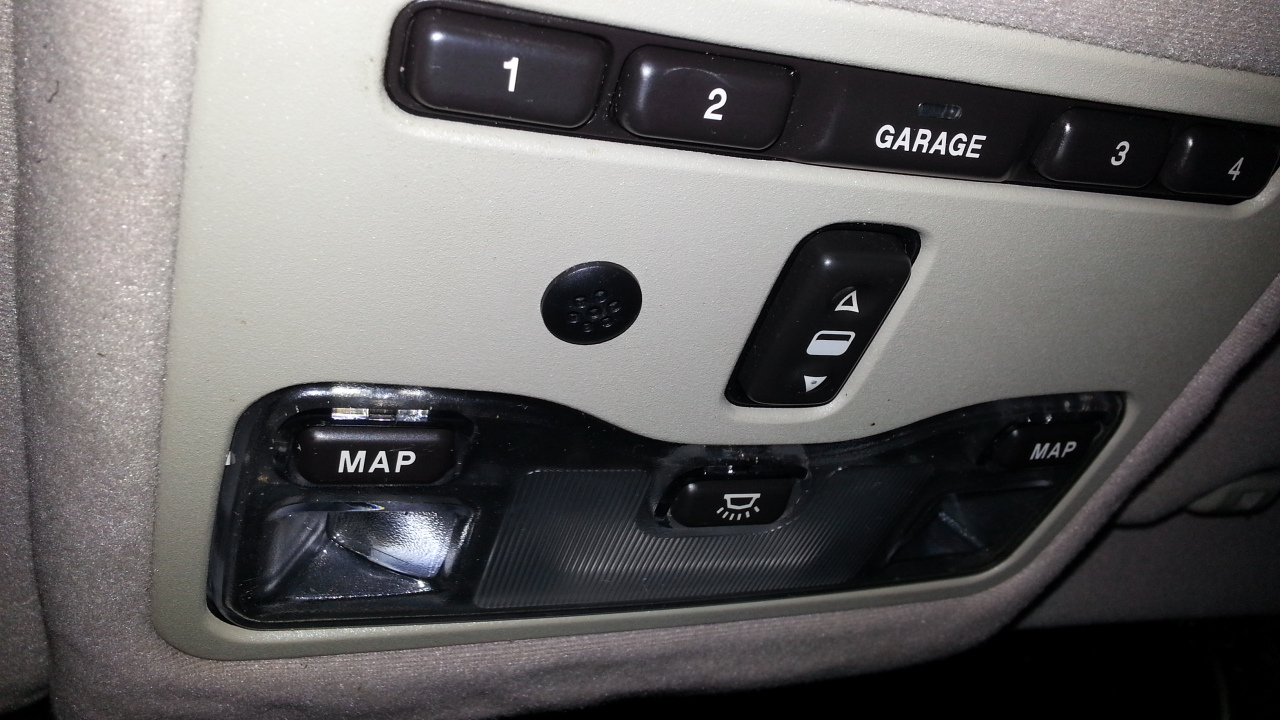
I just did this same process with a Motorola T605 but I used the supplied mic, very easy to integrate though. I put mine in the overhead
Edit: Some great info in this thread: https://www.jaguarforums.com/forum/x...-r-last-11943/
Edit: Some great info in this thread: https://www.jaguarforums.com/forum/x...-r-last-11943/
Last edited by Probesport; 02-20-2013 at 11:45 AM. Reason: updated with link
#4
06-23-2014, 01:57 PM

Senior Member
Thanks, Probesport, for the link, which contained a critical post by QuadManiac confirming that, for my 2002 VDP, the RT2 wire colors differ from J. Roal's fine document, but that the pin functions are consistent.
I'm also quite impressed with the picture of your microphone installation in your roof console. I have my microphone coming out the side of roof console pointed at the driver, but yours looks so much cooler! I am not sure how you mounted it there, though. First of all, my microphone from my T605 pack appears to have uniform diameter, so I'm wondering what's keeping your mic positioned where it is (meaning, not slipping down or pushing up in to the roof). Also, at the position yours is mounted, on my car, it appears that the sunroof motor would be in the way. Do you recall how you mounted the microphone?
I'm also quite impressed with the picture of your microphone installation in your roof console. I have my microphone coming out the side of roof console pointed at the driver, but yours looks so much cooler! I am not sure how you mounted it there, though. First of all, my microphone from my T605 pack appears to have uniform diameter, so I'm wondering what's keeping your mic positioned where it is (meaning, not slipping down or pushing up in to the roof). Also, at the position yours is mounted, on my car, it appears that the sunroof motor would be in the way. Do you recall how you mounted the microphone?
#5
07-16-2017, 07:19 PM
Senior Member

Thread
Thread Starter
Forum
Replies
Last Post
FS[MidWest]: 2001 Supercharged Vanden Plas
Col. Sandurz
PRIVATE For Sale / Trade or Buy Classifieds
1
09-28-2015 07:29 PM
Currently Active Users Viewing This Thread: 1 (0 members and 1 guests)