When you click on links to various merchants on this site and make a purchase, this can result in this site earning a commission. Affiliate programs and affiliations include, but are not limited to, the eBay Partner Network.
I didn't have any problems with major bolts being hard to undo, (except the small nut on the top of the damper on the driver's-side) but that's maybe California climate for you.
I'll agree that the job is not "easy", and even if you do everything right there is only just enough room to squeeze the spring/damper unit out. The one thing I would recommend is, as per forum member M. Stojanovic's suggestion, of the use a scissor jack to stretch the half shaft down to gain that precious clearance to remove the unit. It definitely makes life so much easier and gives you that extra clearance..
I used this method to remove a shock a couple of days ago, The picture shows the jack on the rubber bump stop, I placed the jack on the metal frame right behind it. This worked great and I did not have to use a spring compressor. The vehicle was a 96 X300.
Scotlad, I agree about the placement of the jack, I also placed it against the metal frame. Just have to be a little careful on the left/driver side to avoid the fuel lines.
The biggest crap shoot on the whole rear shock change is the bottom bolt fixing the shock.
One was welded to the sleeve and then the old worn out rubber surrounding the sleeve rips and the whole thing spins in place and wont come out.
Fire, Force, Foul language all failed to remove it. There is enough space in the pocket under the control arm for a sawszall blade to cut the bolt and it is not a harder grade so cuts like butter.
Both the bolts of the salvage yard car I harvested to replace mine came out perfect. No idea why one locks up solid and one doesn't.
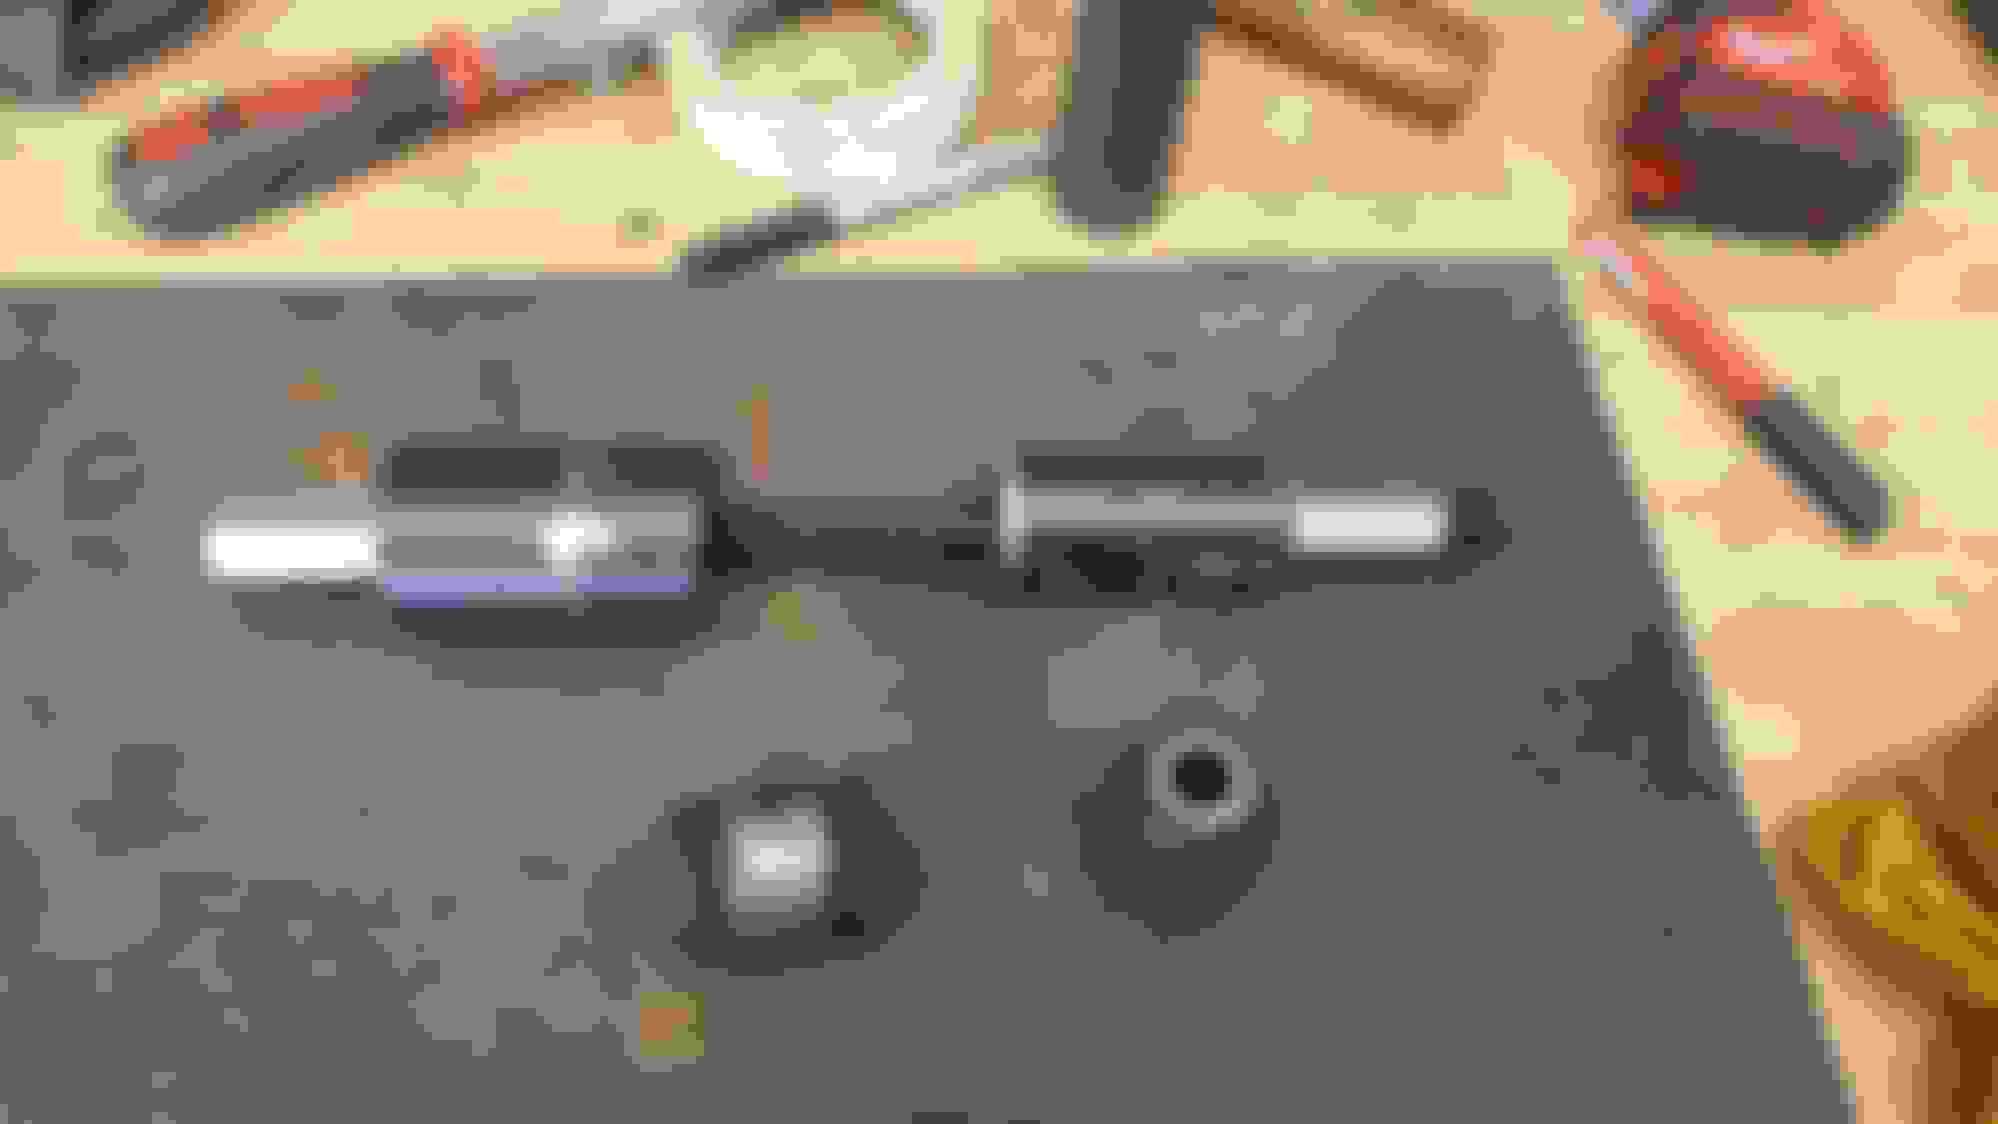
Hi eveyone. Ive just completed lower rear shock bush replacement on my xj8 x308. I read about the issues l and time needed to removing the rear shock and spring as well as needing to press out the old bushes so i decided to make my own tool.
It consits of 2 home made cups each 3mm thick. The stud is a m14 which is the biggest bolt that can physicly fit. And 2 extra long nuts to stop thread stripping. I did paint it but scatched off during the job.
The origanal bushes had been in there for a very long time maybe from new and were very tight to get out. Useing my tool I could of got them out with spanner and breaker bar but i decided to use the lazy aproach and used a impact gun that got them out in about 10 seconds. And with no damage to the threaded stud.
Removing the gator on one side of the new buses was required before fitting as the 3mm thick cup would cut into it. Fitting the new bushes was even easier athough had to watch how far i pressed because of centering the bush in the shock absorber.
It was just a case of fitting the gator ,bolting the shock and job was done. Whole job compleated in about 45min with no hassle. Hope this has helped some of you thinking about doing this job yourself. These bushes are the same as the lower front shock on a xjr so would be the same method.
Thing is, dropping the entire diff assembly gives you access to the entire exhaust, which you can then remove whole.
(The exhaust might be rust welded together).
This then allows you to "easily" remove the drive shaft, replacing the bad u-joint which will appear shortly after any significant work in roughly the same area! :-)
At least, I think that was my final sherlock holmes type assessment. :-)
Just replaced my rear shocks on a 1999 XJ8L and this thread was very handy. Thanks to all for the commentary and recommendations. And, can confirm this was a tough job. It took me 5.5 hours and I am tired. Was not expecting to be this worn out considering it was only a about dozen bolts to turn...
Originally Posted by robertjag
I will give a little feedback on my experience working on my 2002 XJ8. First, I did all the things listed above to get better clearance. Even with doing those things the springs on my car still had some tension in the lower cup where they seat. So I used a long handle screwdriver with a broad blade to coax the spring out of that bottom mount. It was not a major snap when it cleared but enough to make me think it a little dangerous. I also became concerned on how I was going to get that spring safely back on..
I had same experience as robertjag and used the long handle, broad blade technique to get the spring out. I too did not like the pop. Gets your attention. I used the scissor jack method. Does anyone have any advice on how far down the half shaft can be pushed? I felt like I was stressing the subframe and had a really tough time getting the 4 bolts back in the frame. I think the subframe was flexed or torqued enough that it no longer aligned with the holes in the frame. I had to fight and use my floor jack to put pressure on the subframe directly so that it "flexed" back enough to allow the bolts to go in. I didnt take pics and am probably not explaining the issue very well. Anyway, I think it would be nice to know how far down the shafts can be forced.
J Does anyone have any advice on how far down the half shaft can be pushed? I felt like I was stressing the subframe and had a really tough time getting the 4 bolts back in the frame. I think the subframe was flexed or torqued enough that it no longer aligned with the holes in the frame. I had to fight and use my floor jack to put pressure on the subframe directly so that it "flexed" back enough to allow the bolts to go in. I didnt take pics and am probably not explaining the issue very well. Anyway, I think it would be nice to know how far down the shafts can be forced.
If you make sure you have the half shaft in its most "flexible" position (i.e. in an "X" position not a "+" position so that it doesn't hit itself when the axle is leveraged down) there is plenty of flexibility for the half shaft to angle-down sufficiently for the shock/damper unit to be removed and replaced.
The upper foam insulators and lower spherical bearing on my shocks were completely shot. The rear shocks seemed fine but after 170k miles I figured a full replacement was in order.
The replacement of my rear shocks was on the, "more difficult" side of the spectrum. All the suggestions here were extremely helpful and nearly got me there.
Removal was tough but I finally worked the assembly all the way out.
For the life of me I just couldn't get the new shock and spring back into the upper mount as a unit. After a few hours of struggling I got a beer and slept on it.
The solution came to me to separate the assembly into two steps: First install the shock assembly into the upper mount, then slide the coil spring over the shock and properly place it into the lower mount.
To do this I compressed the shock and held it in placed using zip ties that I ran up to the top hat plate. (I drilled two small holes (5 mm) in the top hat plate, just beyond the foam insulators OD to accomplish this).
I drilled the holes so the zip ties were completely within the ID of the coil spring and I could slide it all the way up into the upper mounting plate (versus attaching the zip ties on the outer part of the top hat. There, the coil spring hit them on assembly negating this approach).
Thankfully the rest is history. Installation was a breeze and the second shock was a piece of cake. Note: I put some RTV on a wire and tried to seal the holes I drilled in the top hat...think it worked.
Thanks for your collective input and best practices!!
all you need to do to get the spring back in is rotate the wheel until max travel and gorilla the wishbone down with your arm or a jack
 09-18-2018, 03:11 PM