
My Seat Bracket Repair 1999 XJ8R
#1
 05-21-2016, 08:08 AM


Hi All
I am new here but have been using the great information on this Forum for my own use in the past
Amongst other things, I will write up when I get the time, I have a broken seat mount on my drivers seat - There are two reasons for this 1) They are very thin and IMO - Not fit for purpose and 2) I am a 130 Kilo lardy ****, who plops into the seat rather than with the grace and elegance my Sapphire lady deserves
A couple of weekends ago I whipped out the drivers seat and discovered the issue - I decided I could do the job myself (the N/S mount had been done before), dug my Arc welder out and you tubed my memory on the Arc welding pitfall, of which there are many
Now, I have not welded for many (many) years AND I was pretty rubbish at it then - Anyway my 20 year old welded was....,well dead - Not to be put off, I bought one off the bay for �50.00 along with all the other nonsense one needs
So today was the day - Slightly overcast with a hint of drizzle - (must be the cricket season) - Up early like a child at Christmas
So the first job was seat out
As the previous owner had rewelded the O/S mount obviously they had not replaced the rail covers (which slip between the rail and the carpet) so these were missing - A T50 Torx soon puts pay to these bolts with the seat in the fully forward position

Next is to remove the front ones with the seat in the fully back position - An extension bar is useful
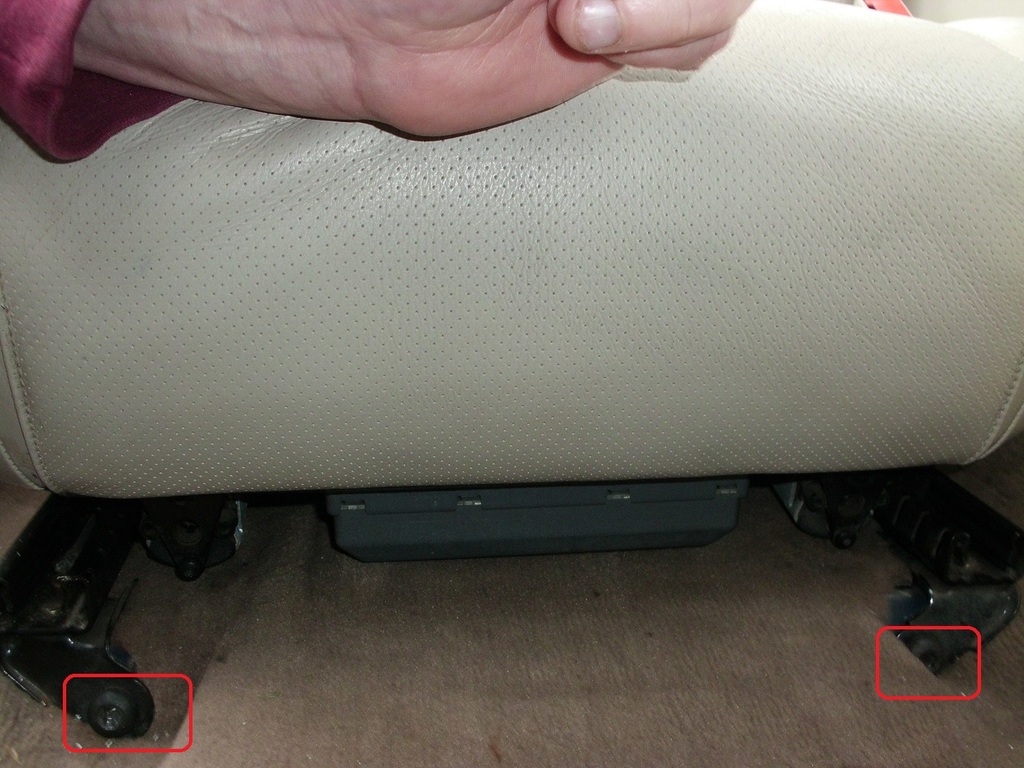
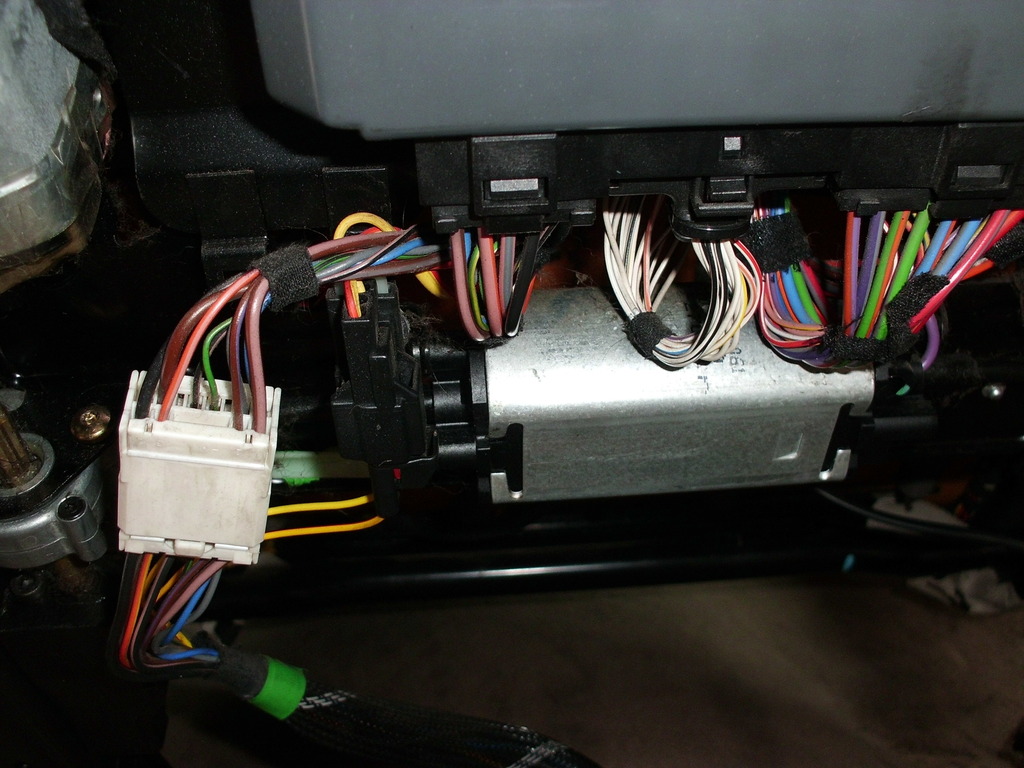
Then, importantly put the seat base right back and raise the rear of the lower squab to its highest position - I also reclined the seat to about 45 degrees to assist removel - Rock the seat backwards so that the two multiplugs can be undone
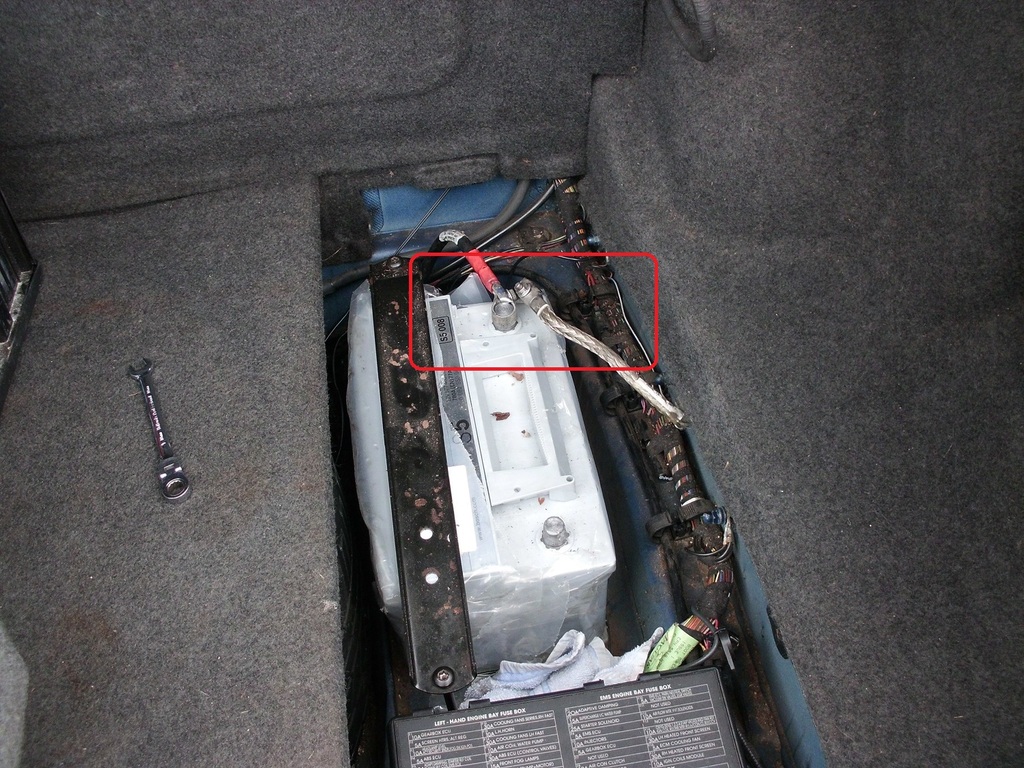
Before undoing the plugs, remove the battery negative cable and place it on the positive to effect a hard reset, which is a bonus
Undo the two connectors and remove the seat to a bench/table or whatever you consider appropriate
Here is the previously welded O/S mount

Spin the seat around and here we have the N/S mount after I had cleaned it up a little to ensure a clean tack

My first welding effort was a little hit and miss

But after a couple of better efforts, some slag removal, grinding, a rust proof undercoat and metal painting later, I got to here

Which I was fairly satisfied with
A couple of notes to make:
Ensure the weld you make does not sit too proud - The mount does go up into the upper seat frame as the squab goes down so bear this in mind
Do not allow your weld to drip below the mount face or you run the risk of welding the mount plate from the rail to the flange from the actual lifting arm (See above)
Whilst waiting for the paint to cure I spent some time cleaning the seat, especially in the hard to reach areas and vacuuming the carpet under where the seat was to go
Re attach the connectors, offer up the seat, re connect the battery, hand tighten the rail bolts the torque to 40NM rear then front. Then test
Tools Used include
1 Arc welder, E6013 Rods @ 80 Amp
2 Torque wrench set to 40NM
3 T50 Torx with ratchet and extension
4 Angle grinder with metal disc
5 Dremel with wire brush and metal grinding bits
6 Black Metal paint and brush
7 Rust/Primer liquid
And a couple of hours
Regards
XJR 308
I am new here but have been using the great information on this Forum for my own use in the past
Amongst other things, I will write up when I get the time, I have a broken seat mount on my drivers seat - There are two reasons for this 1) They are very thin and IMO - Not fit for purpose and 2) I am a 130 Kilo lardy ****, who plops into the seat rather than with the grace and elegance my Sapphire lady deserves
A couple of weekends ago I whipped out the drivers seat and discovered the issue - I decided I could do the job myself (the N/S mount had been done before), dug my Arc welder out and you tubed my memory on the Arc welding pitfall, of which there are many
Now, I have not welded for many (many) years AND I was pretty rubbish at it then - Anyway my 20 year old welded was....,well dead - Not to be put off, I bought one off the bay for �50.00 along with all the other nonsense one needs
So today was the day - Slightly overcast with a hint of drizzle - (must be the cricket season) - Up early like a child at Christmas
So the first job was seat out
As the previous owner had rewelded the O/S mount obviously they had not replaced the rail covers (which slip between the rail and the carpet) so these were missing - A T50 Torx soon puts pay to these bolts with the seat in the fully forward position

Next is to remove the front ones with the seat in the fully back position - An extension bar is useful

Then, importantly put the seat base right back and raise the rear of the lower squab to its highest position - I also reclined the seat to about 45 degrees to assist removel - Rock the seat backwards so that the two multiplugs can be undone

Before undoing the plugs, remove the battery negative cable and place it on the positive to effect a hard reset, which is a bonus

Undo the two connectors and remove the seat to a bench/table or whatever you consider appropriate
Here is the previously welded O/S mount

Spin the seat around and here we have the N/S mount after I had cleaned it up a little to ensure a clean tack

My first welding effort was a little hit and miss

But after a couple of better efforts, some slag removal, grinding, a rust proof undercoat and metal painting later, I got to here

Which I was fairly satisfied with
A couple of notes to make:
Ensure the weld you make does not sit too proud - The mount does go up into the upper seat frame as the squab goes down so bear this in mind
Do not allow your weld to drip below the mount face or you run the risk of welding the mount plate from the rail to the flange from the actual lifting arm (See above)
Whilst waiting for the paint to cure I spent some time cleaning the seat, especially in the hard to reach areas and vacuuming the carpet under where the seat was to go
Re attach the connectors, offer up the seat, re connect the battery, hand tighten the rail bolts the torque to 40NM rear then front. Then test
Tools Used include
1 Arc welder, E6013 Rods @ 80 Amp
2 Torque wrench set to 40NM
3 T50 Torx with ratchet and extension
4 Angle grinder with metal disc
5 Dremel with wire brush and metal grinding bits
6 Black Metal paint and brush
7 Rust/Primer liquid
And a couple of hours
Regards
XJR 308
The following users liked this post:
plums (05-21-2016)
#2
05-21-2016, 08:16 PM
Veteran Member


#3
05-22-2016, 03:52 AM
Ha - I did do this a couple of times when I first took the seat out but forgot to put the seat back and found with the base rails protruding from the seat base they fouled on the centre tunnel - Which meant reconnecting the battery, the seat plugs and man handing the seat back to its default positioning, moving the seat back and then doing all the nonsense again - Which was a pain TBH
I suppose "more haste less speed" is a lesson I should learn
Regards
XJR 308
I suppose "more haste less speed" is a lesson I should learn
Regards
XJR 308

Thread
Thread Starter
Forum
Replies
Last Post
exexpat
X-Type ( X400 )
28
04-04-2013 03:23 PM
Currently Active Users Viewing This Thread: 1 (0 members and 1 guests)