When you click on links to various merchants on this site and make a purchase, this can result in this site earning a commission. Affiliate programs and affiliations include, but are not limited to, the eBay Partner Network.
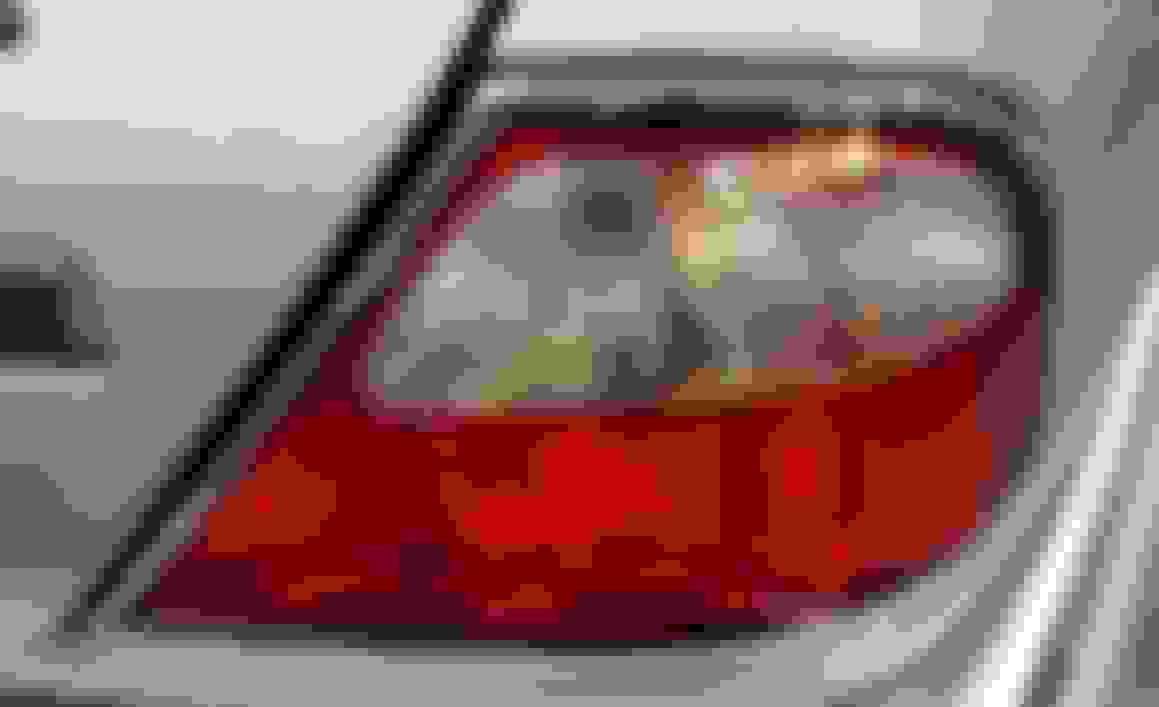
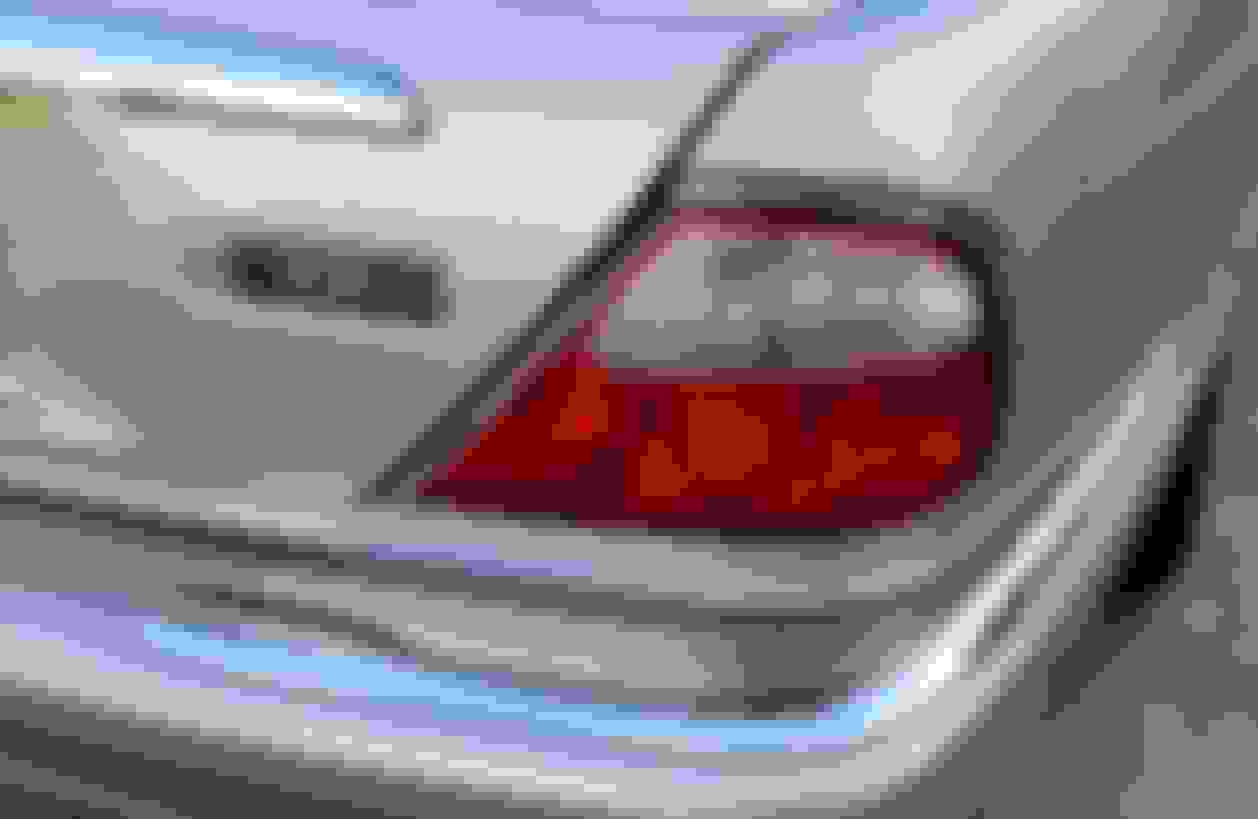
A neighbor’s child broke my Rear (Right/Passenger side) Tail lamp plastic.
All the bulbs still work.
I said I’d DIY & they will pay for the part.
I have a chrome Bezel & I think the part# is:
LNC4900CB
Even though it is only the plastic that is broken it seems the assembly comes with all the bulbs & the separate plastic bulb holder piece (according to images I see online).
It seems my broken plastic with chrome bezel is a separate piece.
Also I searched this forum & Did Google searches & found no videos Re how to replace. (for X308)
I think I remove trunk liner & pull off that black plastic piece to expose tail light assembly & then remove 3 bolts & that should release the entire assembly. Probably a clip or 2 & must disconnect a wiring harness as well.
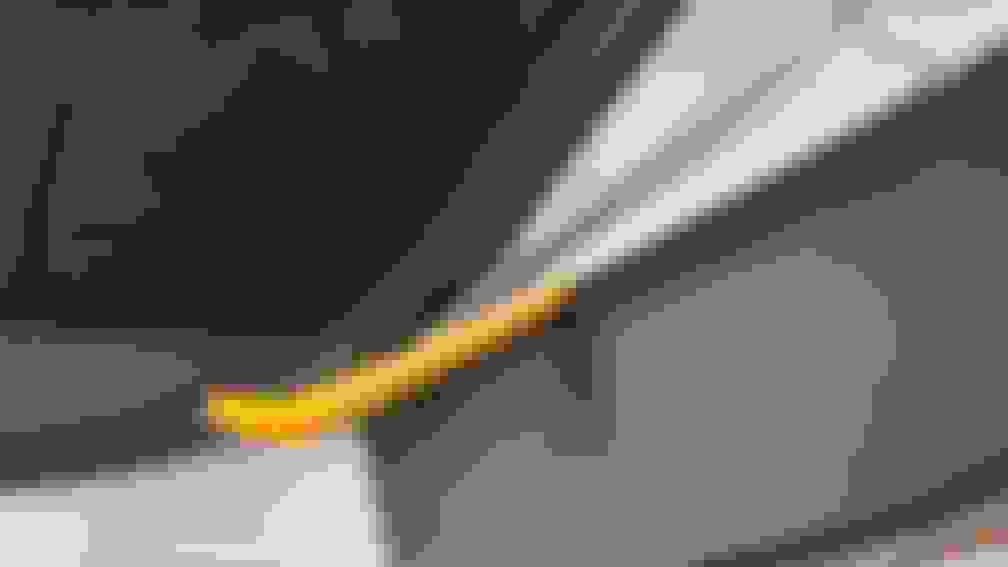
Hard to see in this picture
Easier to see in closeup
Last edited by Iconoclast; 11-29-2019 at 10:44 PM.
Thanks for the replies!
I added 2 photos to my post.
I know I can get a used part from a junkyard for much less.
My concern would be once I see it in person it will look weathered or slightly damaged, scratched, marred or faded compared to my undamaged, L/driver side tail light which has been garaged.
Am I correct that I cannot purchase a replacement plastic lens with chrome bezel… NEW, w/o also buying the entire assembly, which includes parts I do not need; bulb holder & bulbs?
Carnival Kid, thanks for the tip on not needing to remove the trunk liner.
I assume I reuse the original bulbs if I bought a used part which comes w/o bulbs. Jag part guy told me the new one comes with the bulbs, which of course I don’t need.
King Charles, I will email Coventry west & ask if they sell new OEM parts & get a price.
Replacing the rear light is extremely easy, takes less than a few minutes. The lens and the bulbs holder are two separate units, both easily removed. The black plastic guard is held in by a simple gray colored blade, simply bend the blade down and the guard comes off. Then there is a small black plastic catch that you turn counter-clockwise to release the white plastic bulb holder. Then the lens itself is held in place with three 10mm nuts.With the nuts removed the lens can be removed........there may be some resistance from some original "glue" that will have to be broken free, but it is easy to do this.
If you purchase a new unit, it does look as though it comes as a complete unit, lens and bulb holder, and can be purchased with or without chrome bezel (LNC4900CB is right hand with chrome bezel, LNC4900BB does NOT have the chrome bezel)
Unlike some other plastic components on the XJ8 the rear light lens do seem to be of a very high quality and do not appear to deteriorate or fade with time under normal circumstances, so I wouldn't be afraid of purchasing a used item if it comes from a reputable supplier who describes it as "good condition". After all, the driver-side lens you will be matching is already approaching 20 years old. I have two spare light units I picked up for a few dollars at a scrap yard in case I ever need them and they look like brand new.
I know I can get a used part from a junkyard for much less.
My concern would be once I see it in person it will look weathered or slightly damaged, scratched, marred or faded compared to my undamaged, L/driver side tail light which has been garaged.
So let me see if I have the perspective correct....
The concern is that the part will look old? Not like yours is 17 yrs old or not?
So you don't think a brand new, very shiny, non-weathered part, will stand out? ...ok, got it.........No, seriously j/k.... but seriously, like CK said, they weather little to nil.
I replaced one of the chrome boomerang caps a couple years ago with used and noticed no difference. Mine has been garaged the past 15 years itself.
Excellent point re my 19+ year old existing undamaged tail light! A very good condition used one may actually be a better match as well as saving $$$!
I sent an email yesterday to Coventry West & am awaiting a reply re cost.
I think they sell new parts so, probably will cost hundreds for complete assembly.
Thanks Highhorse, I bookmarked site. I think they are in FL based on 305 area code. I assume they sell used parts. That $85 R tail lamp looked like it had damaged black or darkened chrome on the Bottom in 2 different photos with different angles.
I have messages out to Coventry West & 2 Marketplace sellers.
One MP seller had $80 for 1 & $150 for the pair (+ shipping) but it had expired > 1 yr. ago. Hard to tell condition from the photo since expired & I think Forum then blurs it.
Another MP seller had great photo & 2 for $40.00 ~ 1 month ago & seller replied & said he would take them but, seller dd not reply for 2 weeks & just said "PM sent."
Listing still active so I PM'd seller.
Got a reply from the 1st MP seller & he has the R side still available. I'm trying to get a photo since $80 is high for 1 used taillight from what I have seem so far. I may still buy it.
My concern would be once I see it in person it will look weathered or slightly damaged, scratched, marred or faded compared to my undamaged, L/driver side tail light which has been garaged.
If you get a good used one, you can polish the lens using Autosol (Blue, for Paint & Plastic) or "scratch off" type paint polish and the lens will look like new, possibly even better than your other lamp.
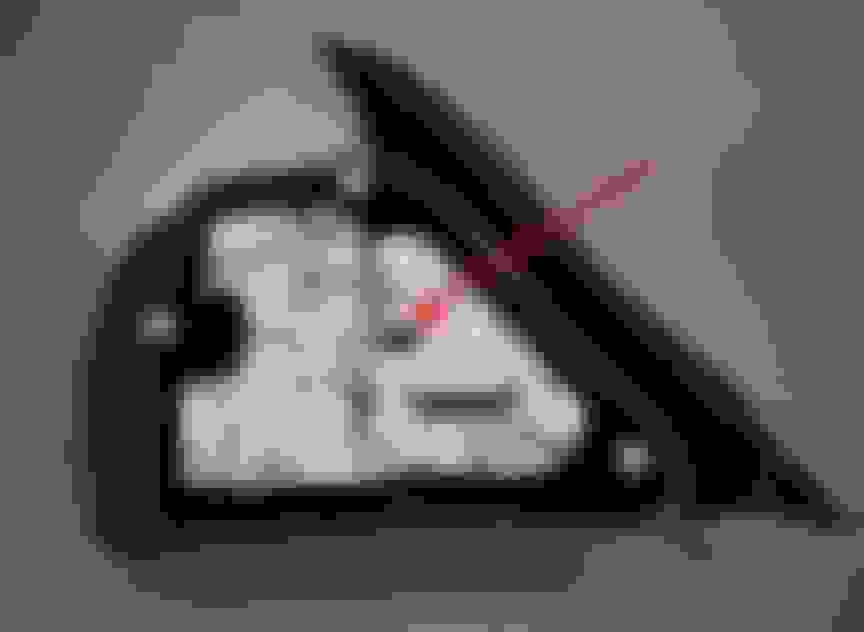
Opened trunk & Pressed tab upwards at top of back cover to remove.
Twisted black tab, counterclockwise, from a horizontal to vertical & Pulled off. This is the bulb assembly, which has all 4 bulbs and is connected by a wiring harness. I kept my old bulb assembly and bulbs so did not need to disconnect the wiring harness. Note: the harness wire length was short so, had to place the bulb assembly right next to where I was working.
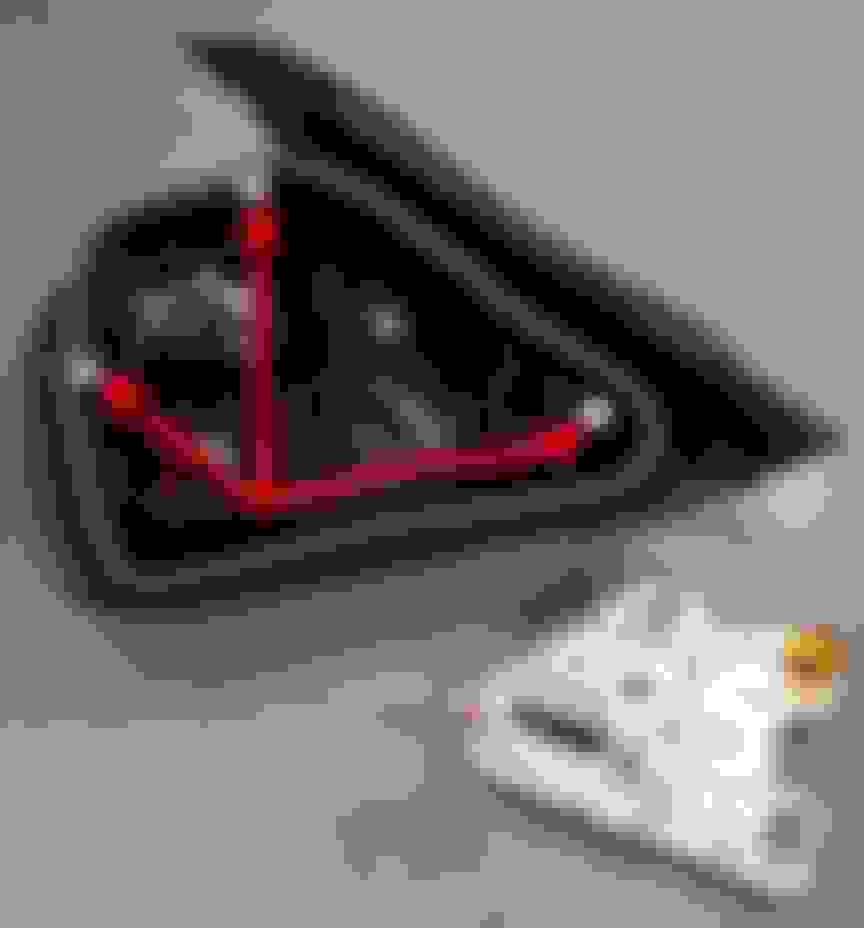
I removed 3, 10 mm nuts which were only ‘snug.’ and worked out the large, old, broken tail light assembly containing the lens. There is also a male, pointy, black, plastic part attached to assembly, that goes through a hole just next to lateral bolt hole. I assume it is to help hold the assembly in place while you attach & secure the 3 nuts. (See photo) There was some “glue" holding it in place, as mentioned earlier by Carnival Kid’s very helpful post. I had to peel off the large rubber ‘flange’ that is visible only with trunk open. See photo. Using a hammer, I gently tapped the 3 bolts & the pointy plastic, in order to facilitate removal of the old assembly.
Placed the new tail light assembly & did not over-tighten the 3 nuts. Reattached the bulb assembly easily! I twisted black tab from vertical to horizontal, clockwise to secure bulb holder in place.
Tucked in the short wires & replaced the back piece, setting the bottom in place first before pushing up and snapping the top. See photo showing the female clips that must line up on the bottom R&L with male parts to secure that rear cover in place. Note: it fits fairly loosely so, you may think it is not properly secured when, in fact, it is.
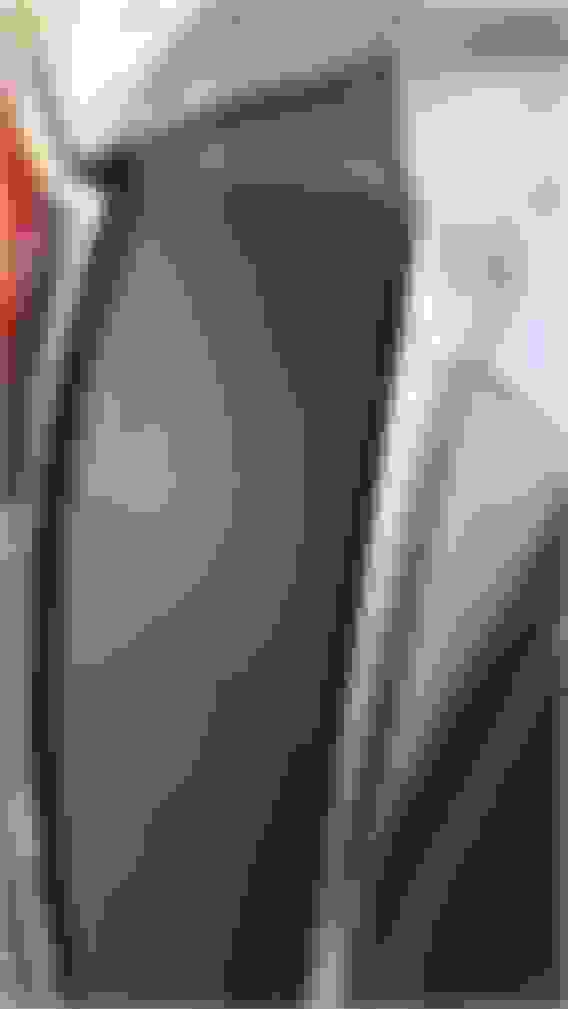
Note: When positioning new assembly, that large, rubber ‘flange’ end was not in correct position… compared to other side light. I had to use a trim tool to work the edge of the rubber out in order for it to lay against the metal body edge, to match the other side. Probably important for water resistance! (See photo.)
Tested that all lights function. Need another person or at night, DIY, using a closed business plate glass window
BTW, when looking at the bulb holder with all 4 bulbs in place, you can see there appears to be a circular 5th spot for a 5th light bulb! However, there is no corresponding hole in the back of the assembly for a 5th bulb to “poke through.’
Anyone know what that extra hole’s function might be?
Storage for a spare bulb? But, which bulb? Would any such spare bulb stick out too far to allow placement of the bulb holder?
Photos:
My tail light back in place
My tail light back - release clip push up
My tail light back - note 2 bottom clips for securing it
My tail light - back cover removed
My tail light - bulb holder release in locked position
My tail light - bulb holder release in unlocked position
My tail light - bulb holder removed
My tail light - black pointy plastic secures assembly
My tail light - large flat black rubber flange
My tail light - other side - rubber flange edge correct position
My tail light - use trim tool to position new flange edge
My tail light - new one repair completed Back in place push up 2 bottom clips must align Back cover removed
locked unlocked Bulb holder removed
black pointy plastic Pulling large rubber 'flange' -some glue holding it Other side proper position of rubber flange edge
Using trim tool to position rubber flange edge Finished!
Good detailed report Iconoclast, and good to see that you are back to two good rear light lenses.
Like you I don't know what the 5th bulb holder is for, it supplies the "square" area that is blanked with a plastic "plug" (as per your "bulb holder removed" 7th picture). I must assume that in different countries there is a required use for this bulb, and an associated "lens" to go with it that is blanked off for the US market.
The 5th bulb appears to be for the Singapore market. The parts diagram shows same part numbers for all countries "Except Singapore" and different part numbers for "Singapore".
I bet it is correct that that is a 5th bulb socket for some other country & then the assembly would have another hole instead of the blanked area described by Carnival Kid.
But, other than tail light, brake light, turn signal & reverse light… what other rear light could there be? Strange.
Makes me wonder how many other modifications that are country specific, need to go into the design & manufacture of cars.

 11-29-2019, 05:16 PM