When you click on links to various merchants on this site and make a purchase, this can result in this site earning a commission. Affiliate programs and affiliations include, but are not limited to, the eBay Partner Network.
Finally got around to replacing the secondary tesnioners. Used the cam hold down tools and removed hte exhaust cam sprocket, very easy job. I'm 90% sure everything went smoothly, but I don't want to take any chances on destroying the engine so just a couple of questions:
1) On the passenger (right) side the tensioner goes upside down (or what looks like upaisde down to me), is that correct? I had to pull the retaining pin on this one before it was installed to get it in there, didn't seem like an issue.
2) All of my marks (sprocket to cam & sprocket to chains) lines up perfectly when I was done and torqued everything down. I rotated the engine over twice after the job and the cam flats line up perfectly still which I'm pretty sure is all that matters, but my sprocket/chain marks are off. I was worried at first, but I wouldn't think the marks would line up after rotating the engine, correct? Really just want to be 100% sure here before I put the cam covers back on and start it up.
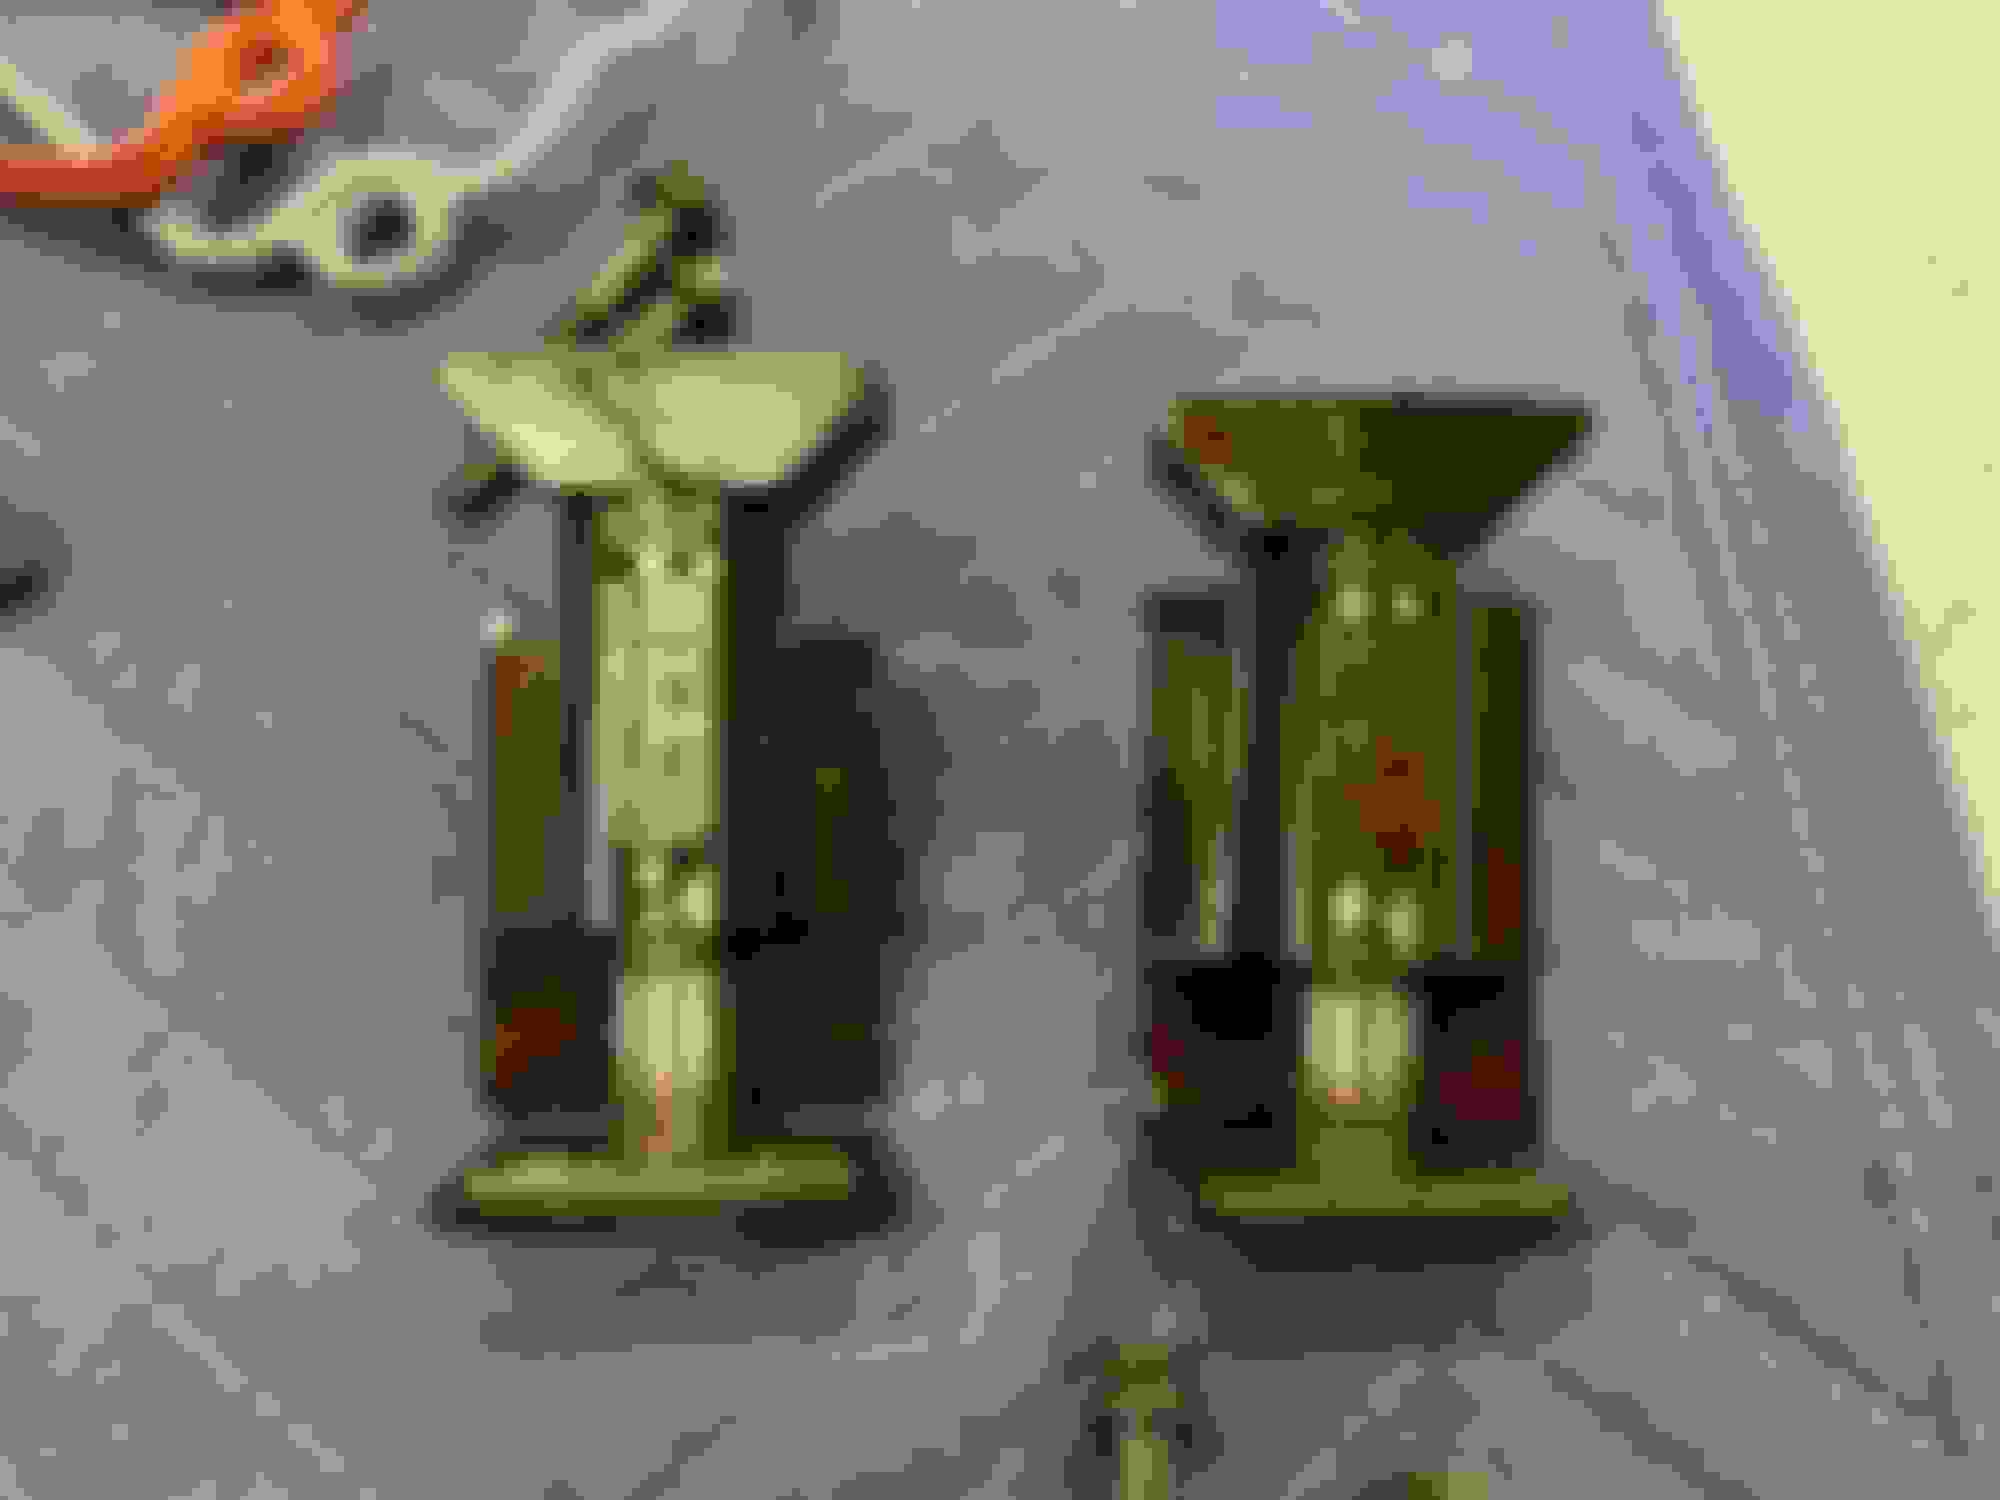
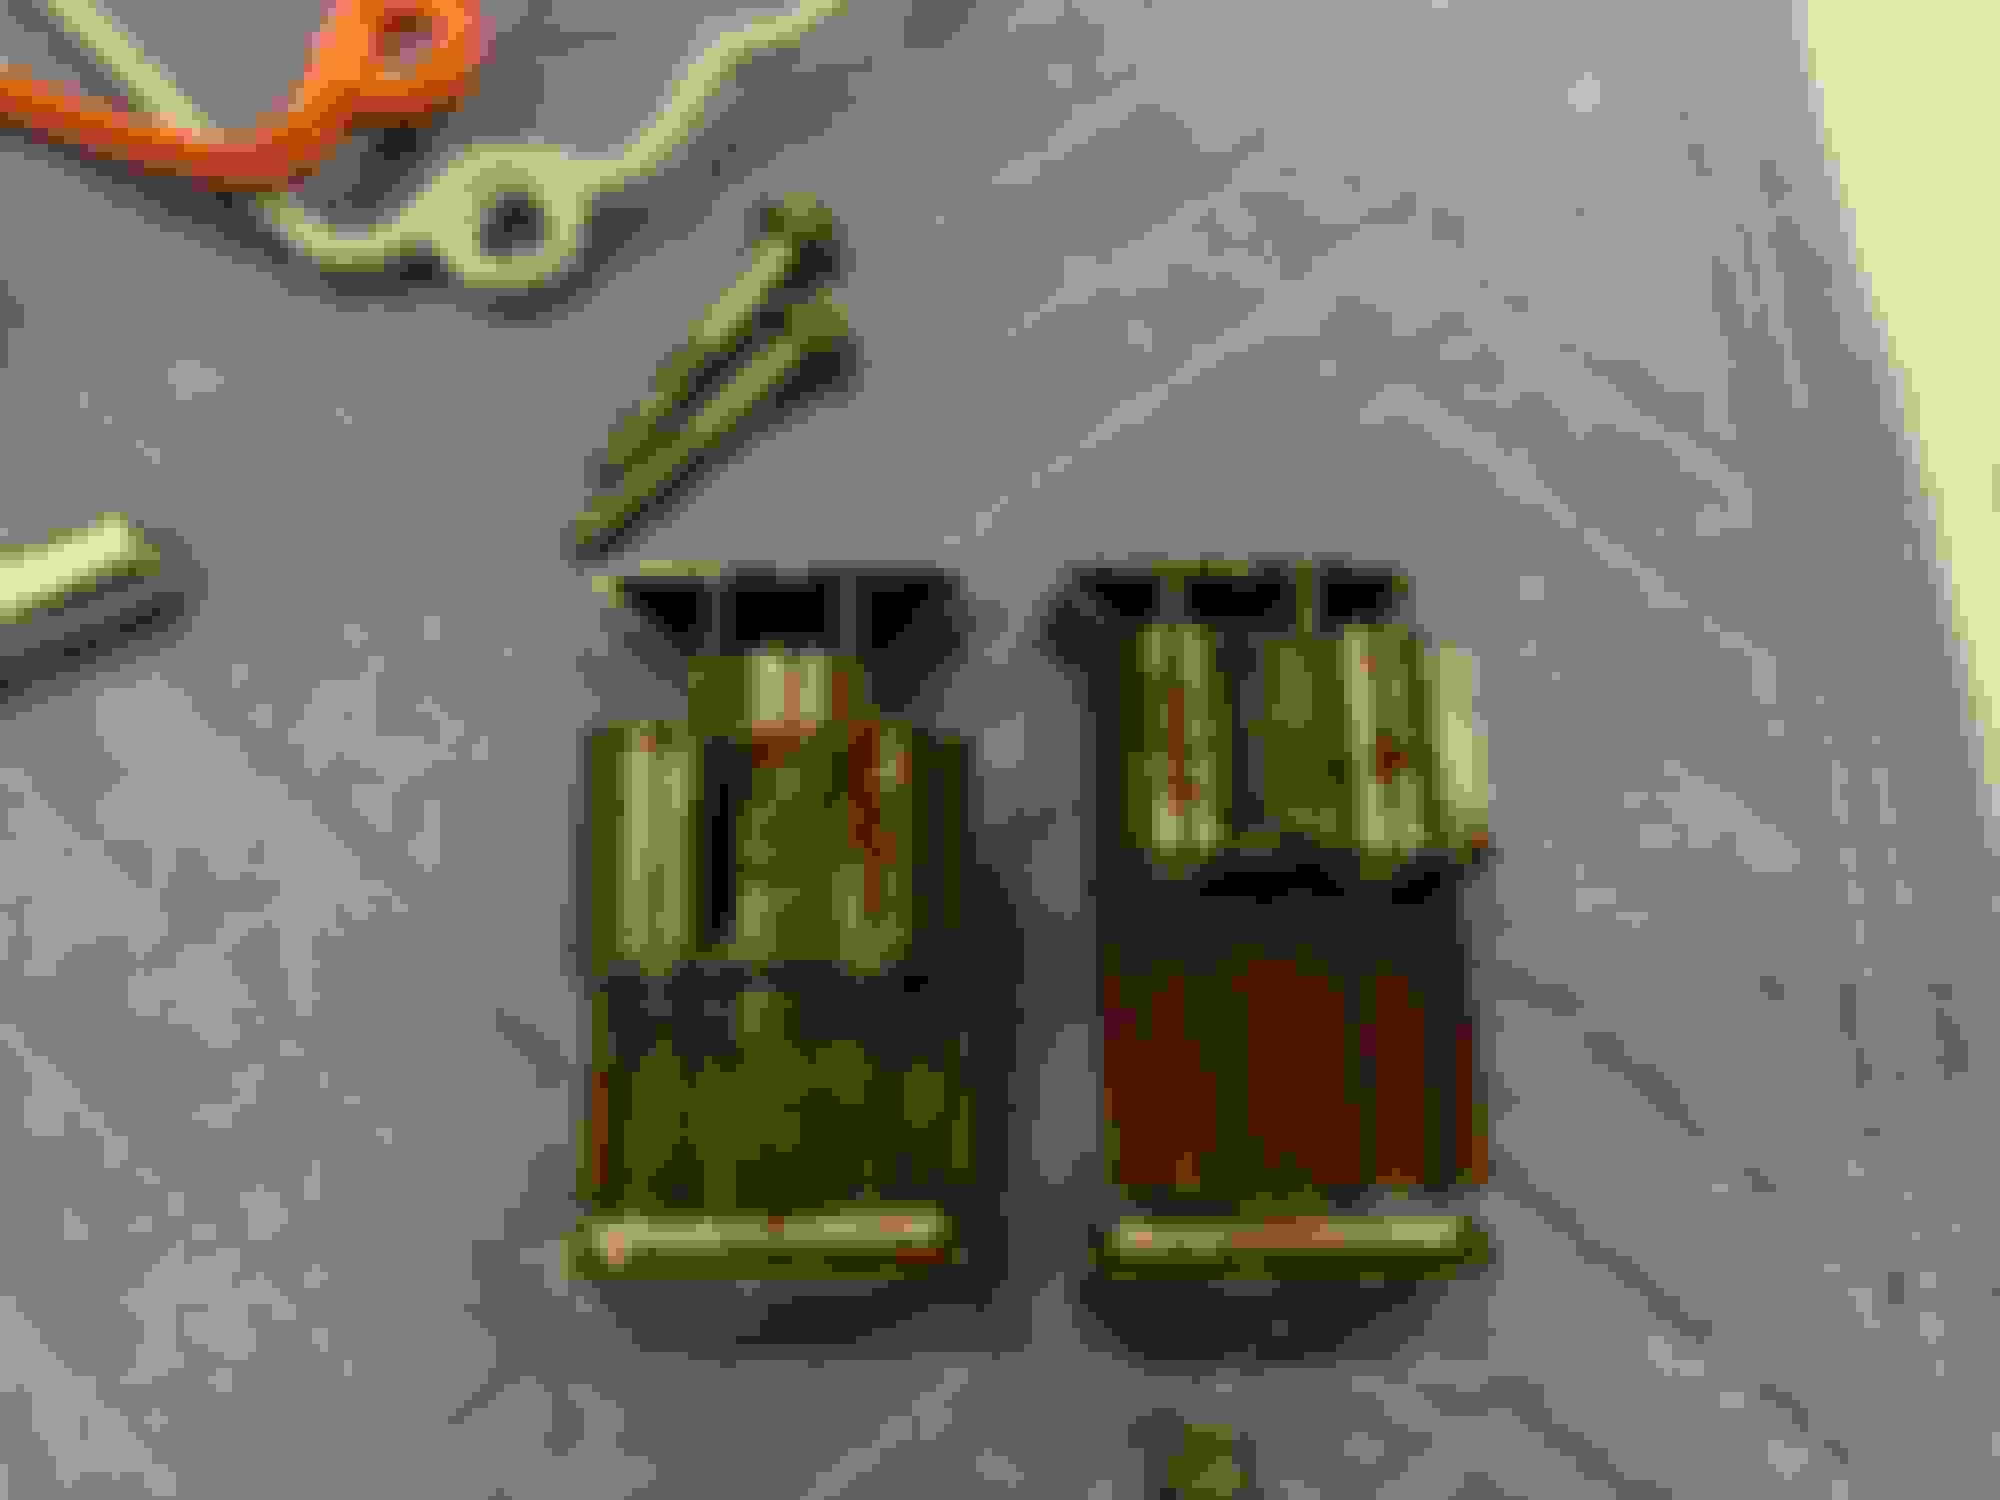
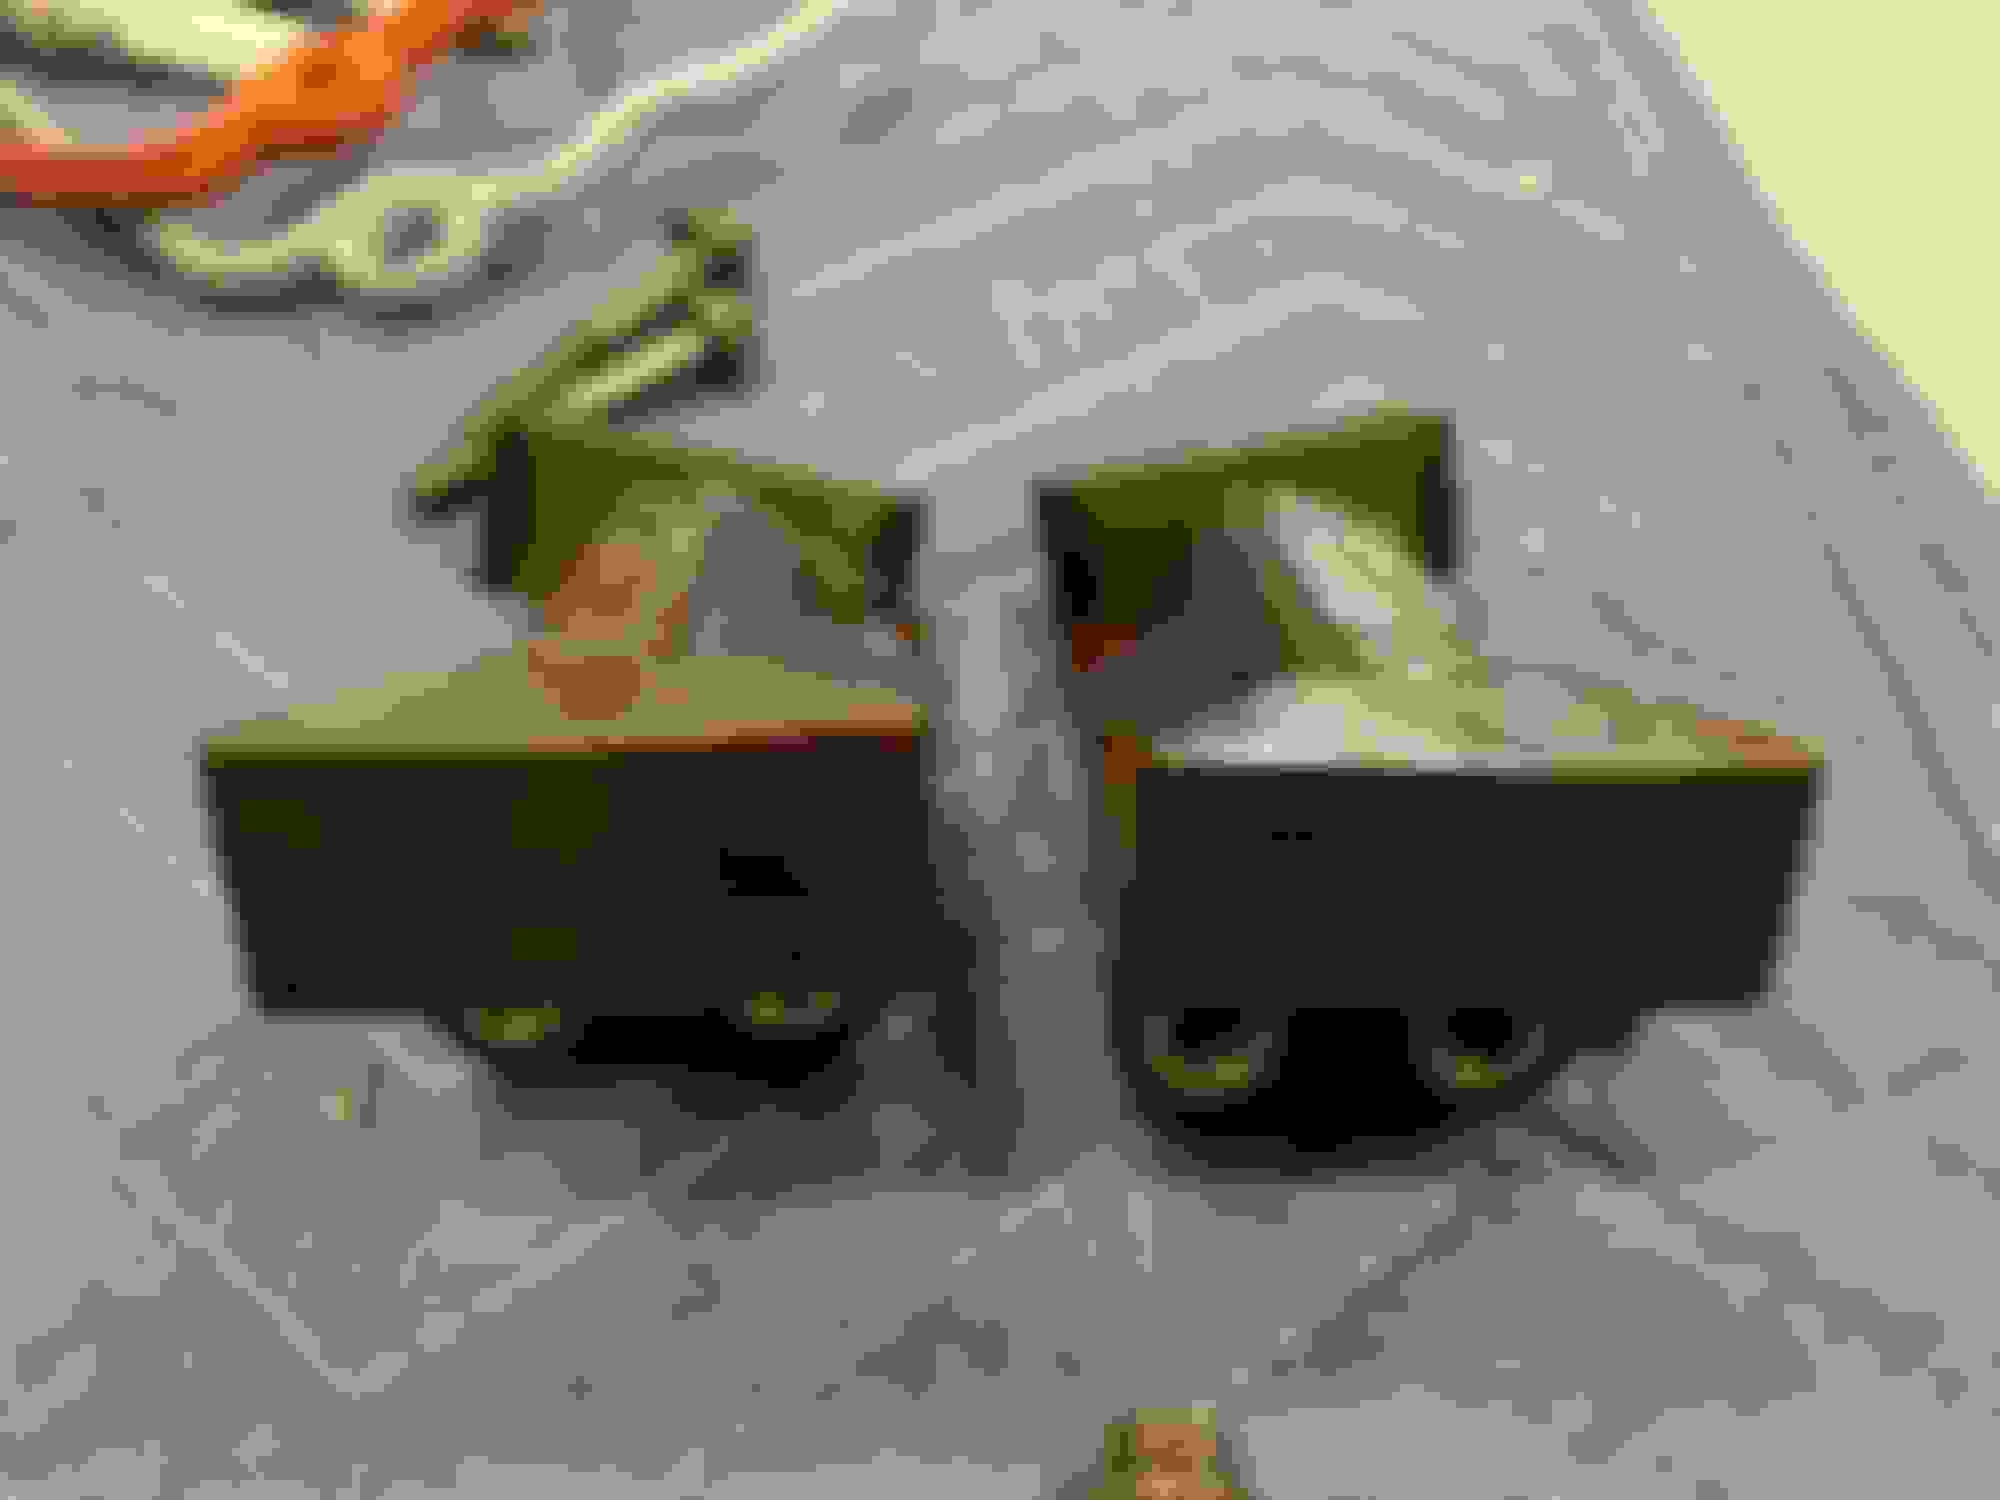
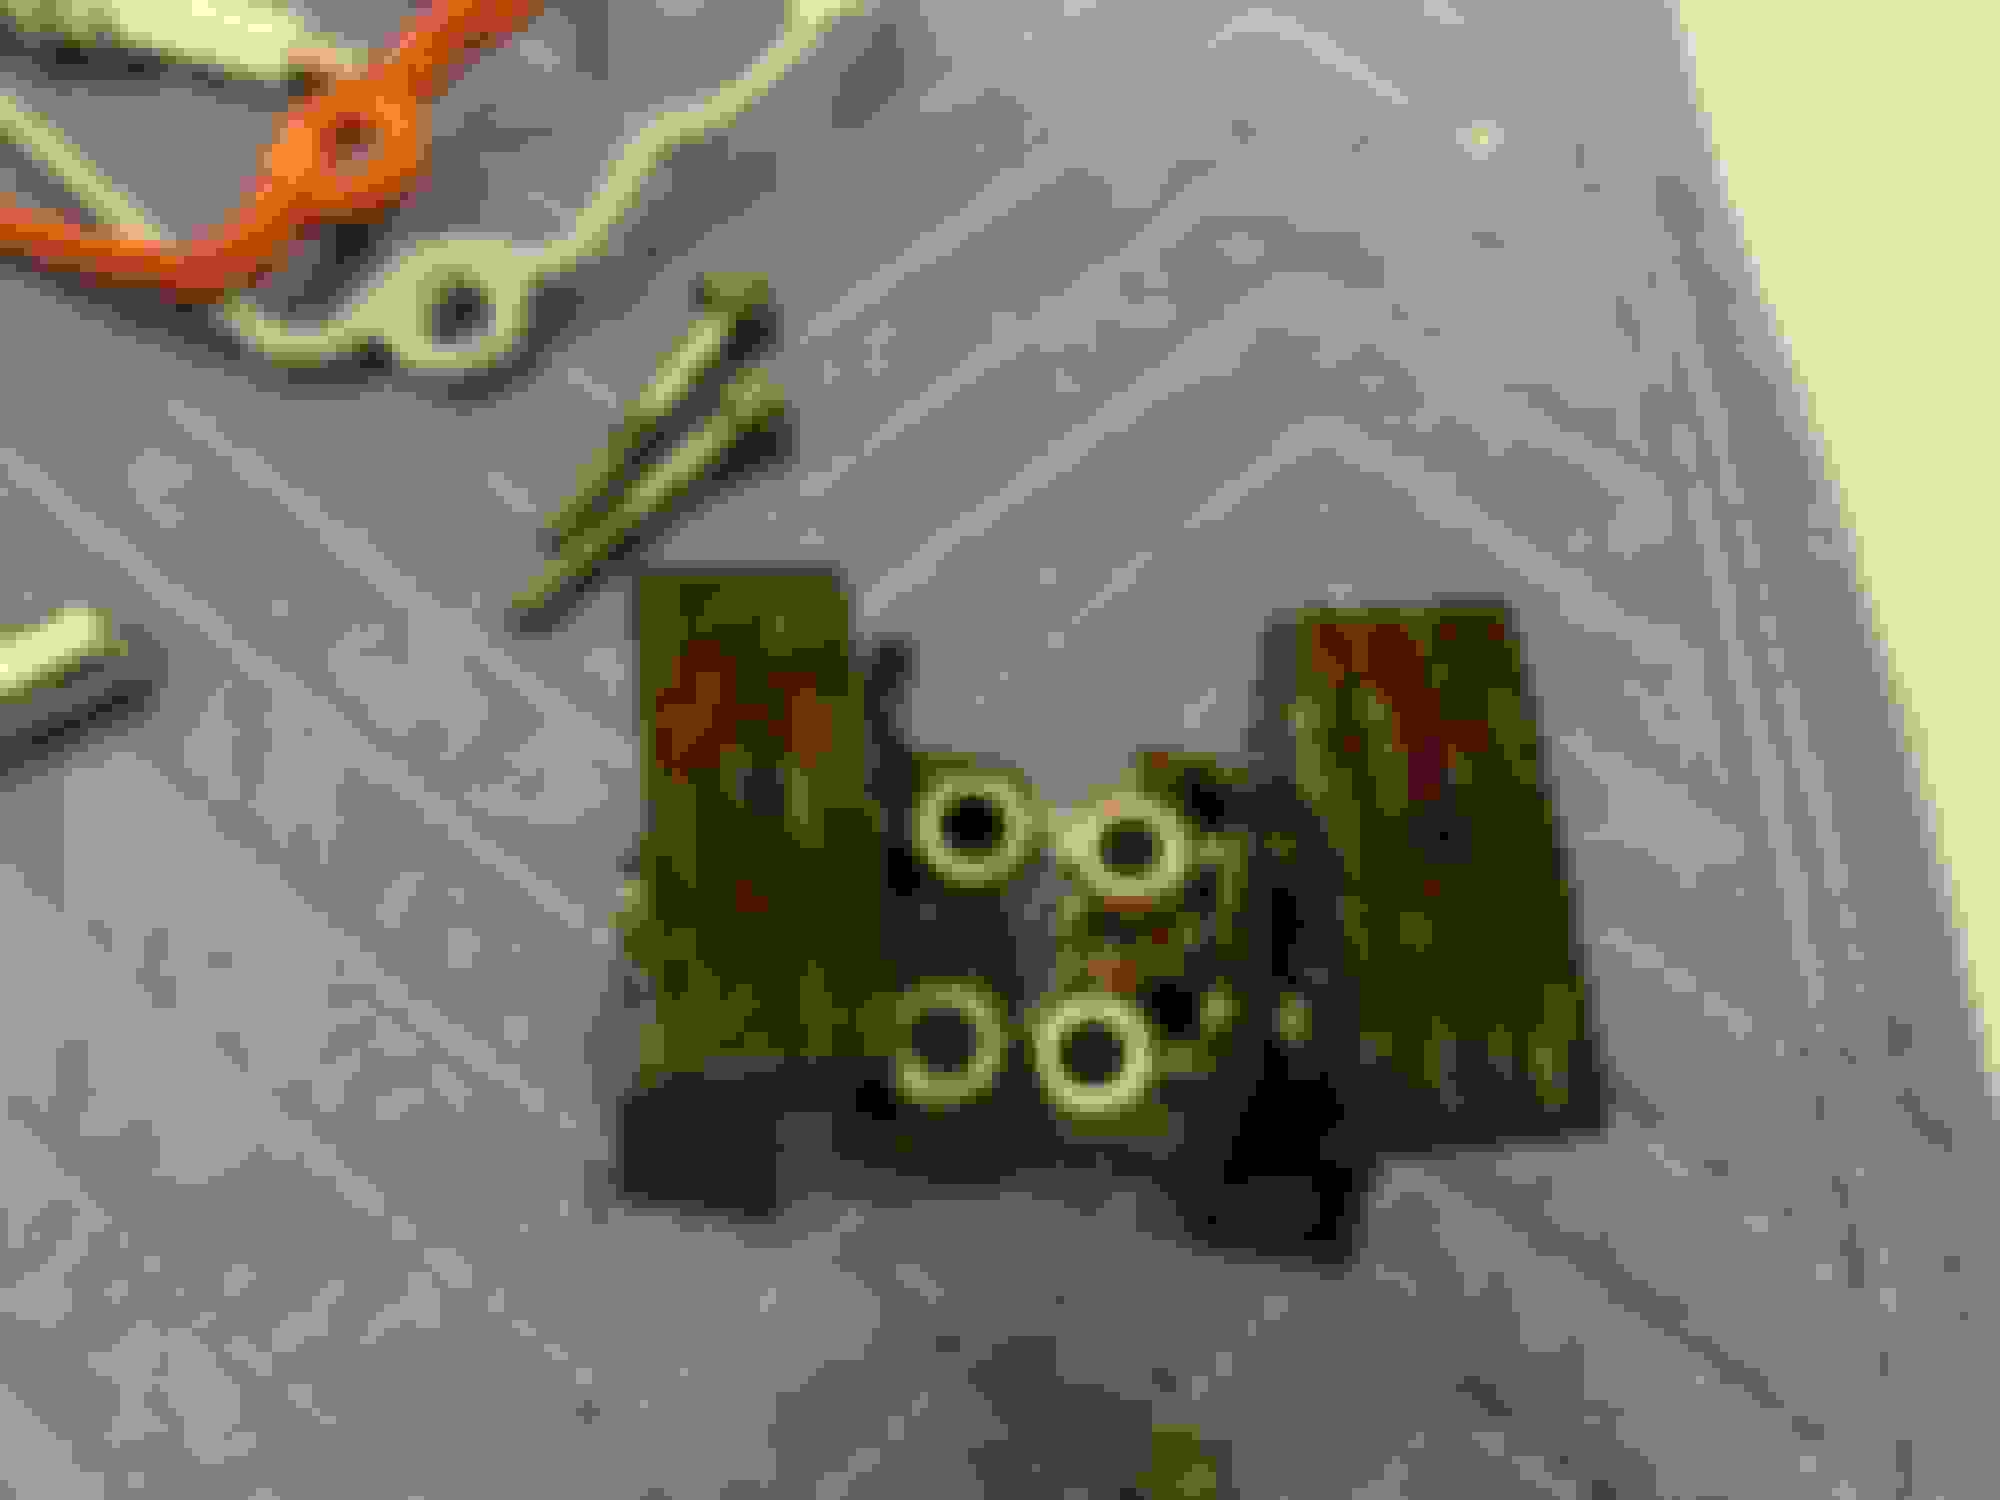
The original tensioners had 66k miles on them and seemed OK, see pictures below. This is not to say you shouldn't change yours if they haven't been done, its a simple job and will provide peace of mind.
I had the same question about the tensioners but there is no choice of installing one upside down. That said, I had no issues pulling the pin after installing.
If you haven't reassembled, spin it over a few more times and see if the dots align. I think they should align but its been a long day so maybe I'm not thinking about this properly.
Thanks guys. Pretty sure the tensioners are installed properly, they both have a "leg" on the base that is in the same spot on both. Really no way they can be installed incorrectly after looking at them a bit more.
As far as the dots lining up, I spun the motor over two full rotations and they dont align but the cam flats are even on every rotoation so figure that's good news.
The tensioners/chain are a bit loose, but not loose enough to cause an issue before they fill with oil on startup. Going to install the cam covers as soon as I get a chance, hopefully everything's OK. Any other input on those dots realigning would be apprecaited and ease my mind.
Starting to think the alignment dots I made would never line up, nor should they. Rotated the engine about 10 times and they never lined up. Put new marks on the exhaust sprocket and chain with silver sharpie so I could distinguish from the white and they did not line up in 4 revolutions and that was with nothing else touched. Going to have to assume any marks I made are just for initial re-assembly and don'tmean anything after the engine is moved. If someone knows for sure that is incorrect please let me know so I don't cause any damage.
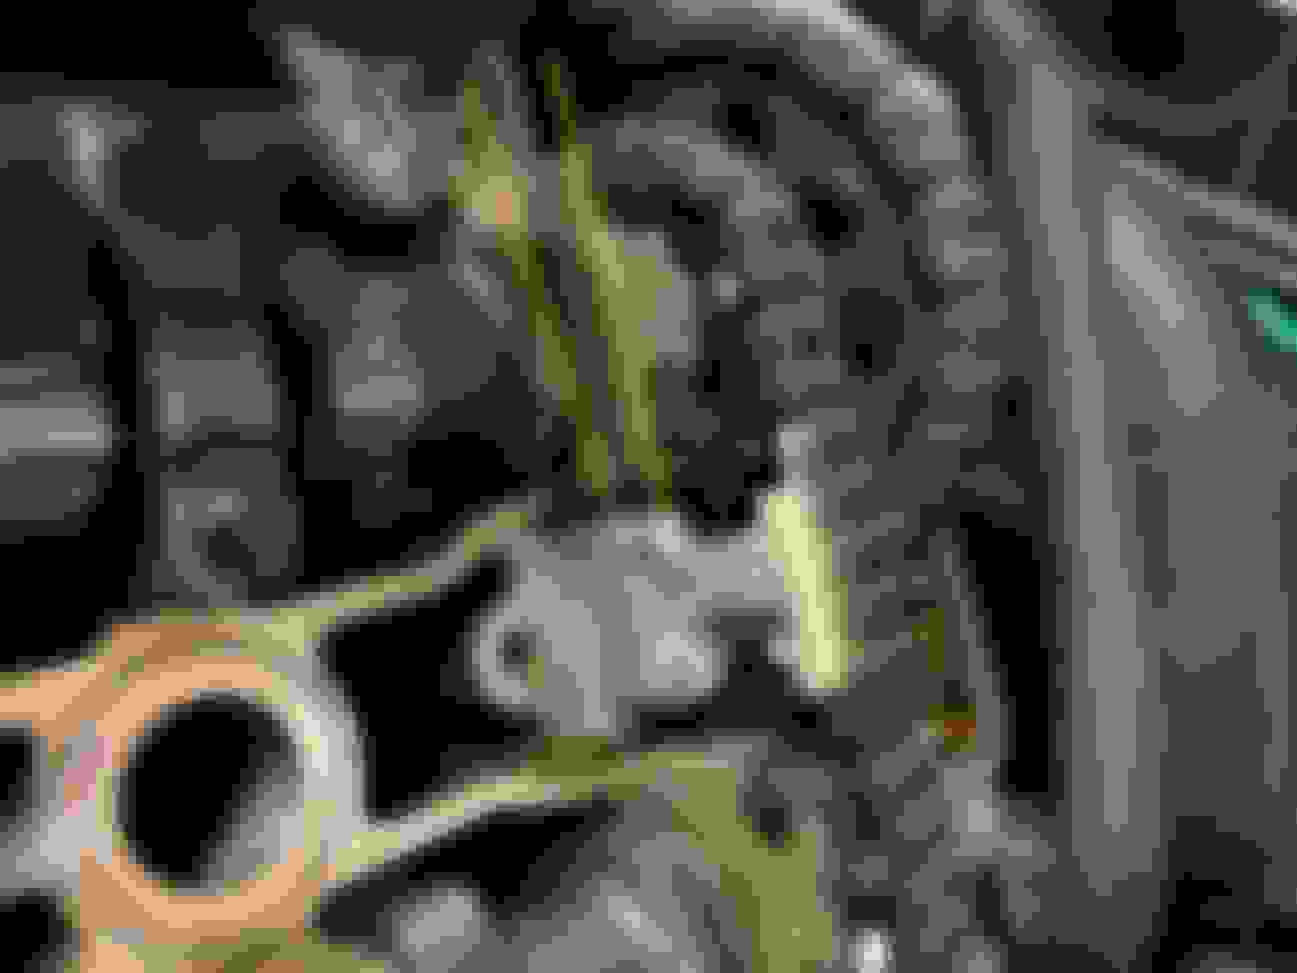
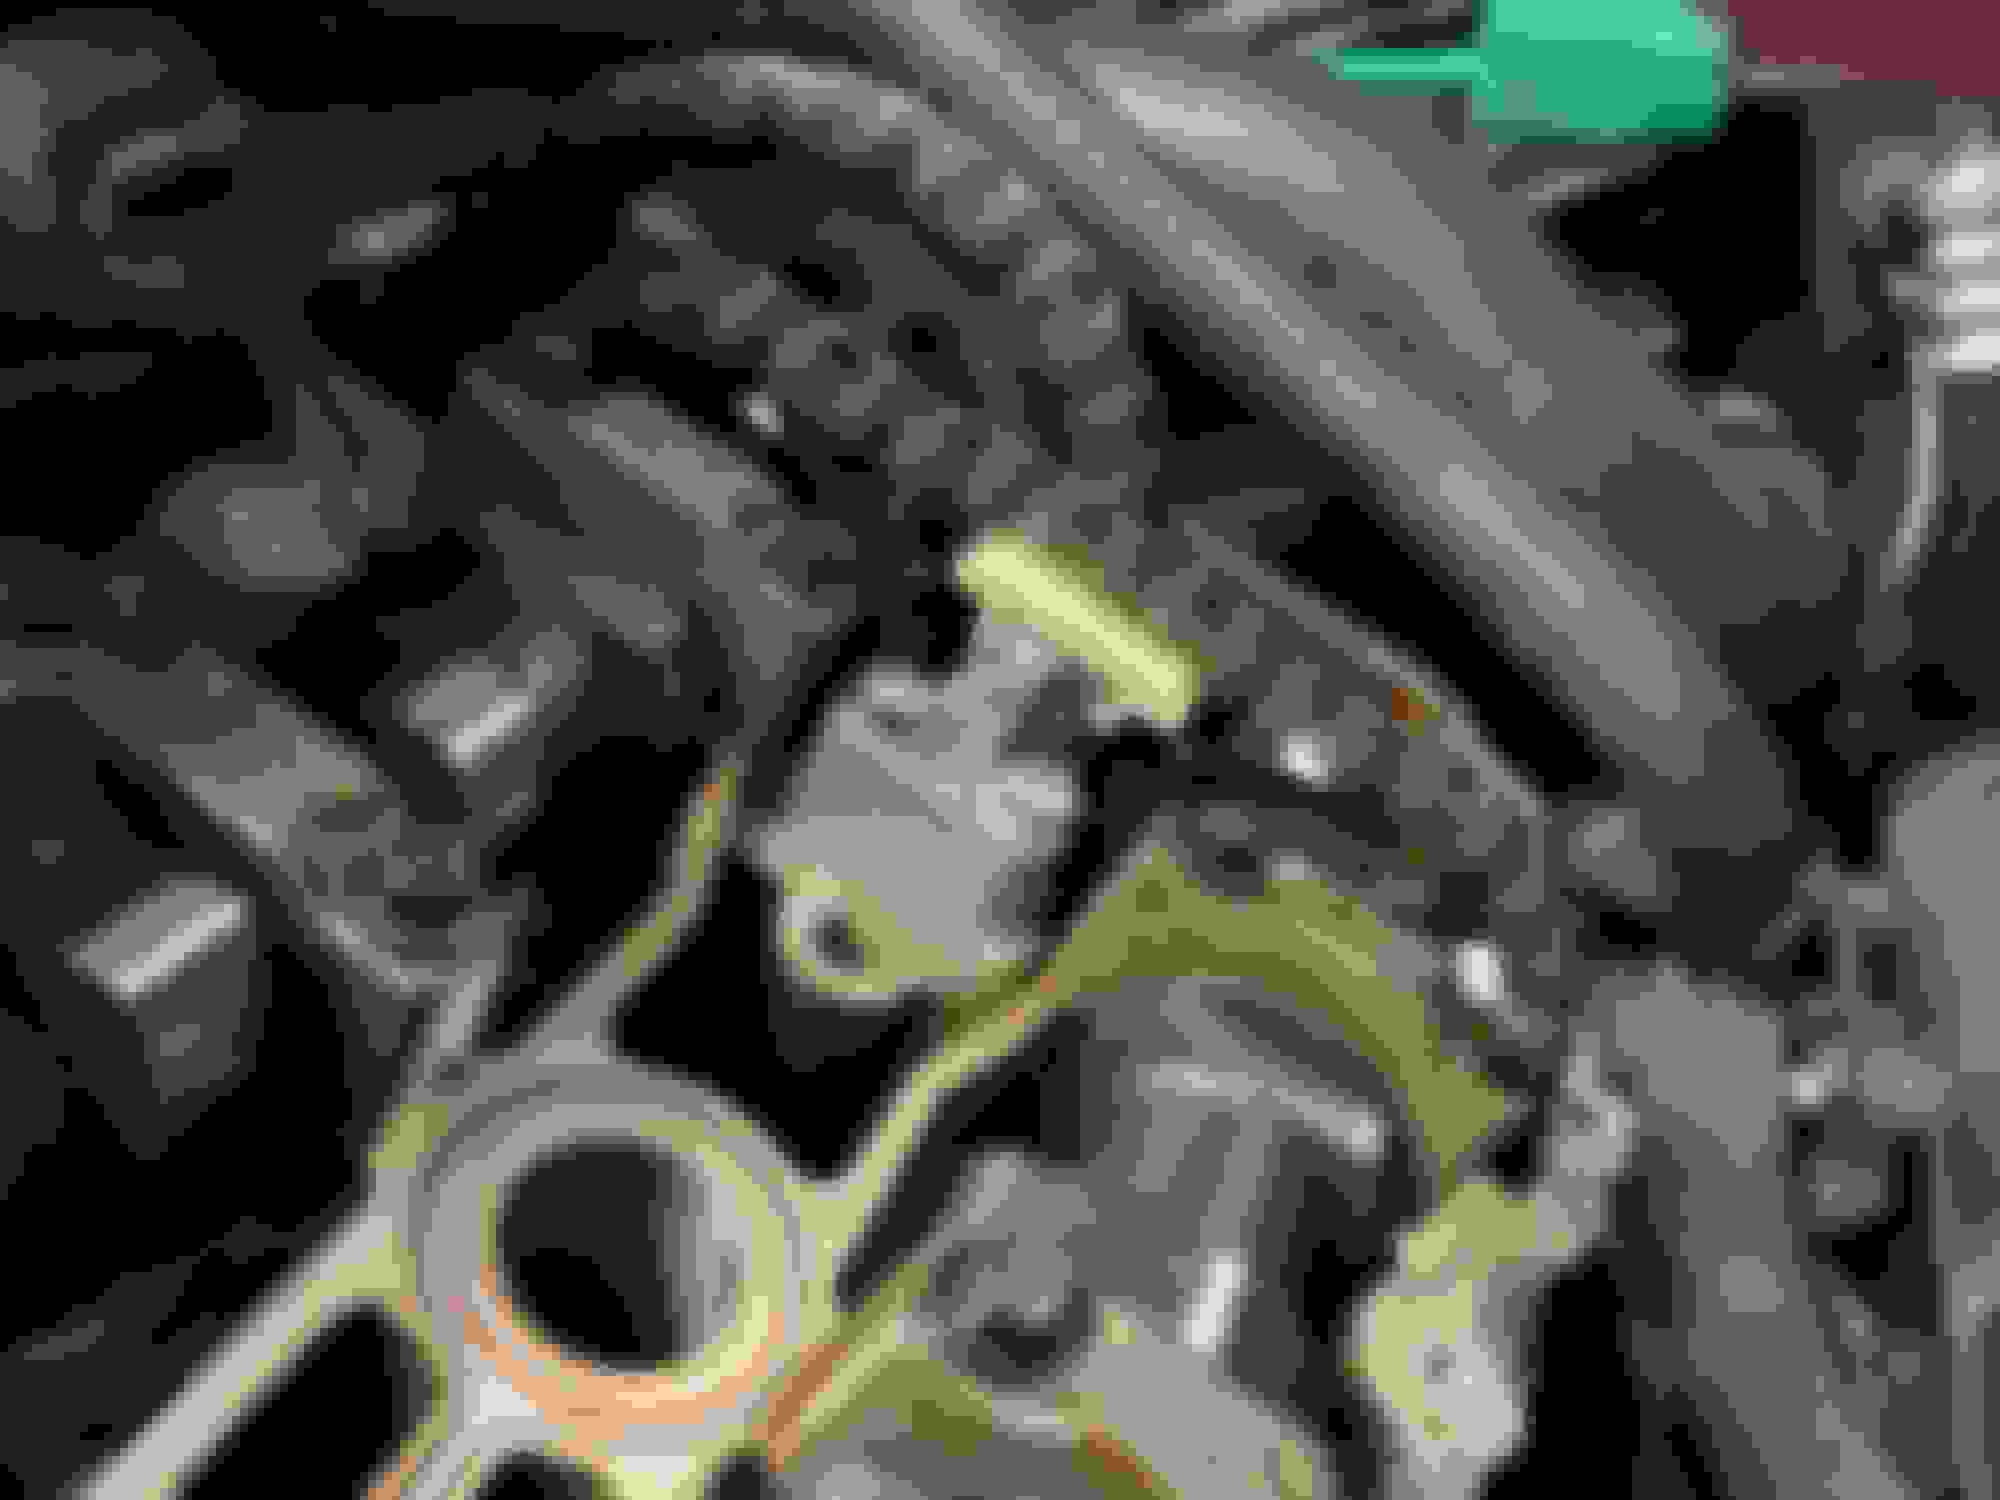
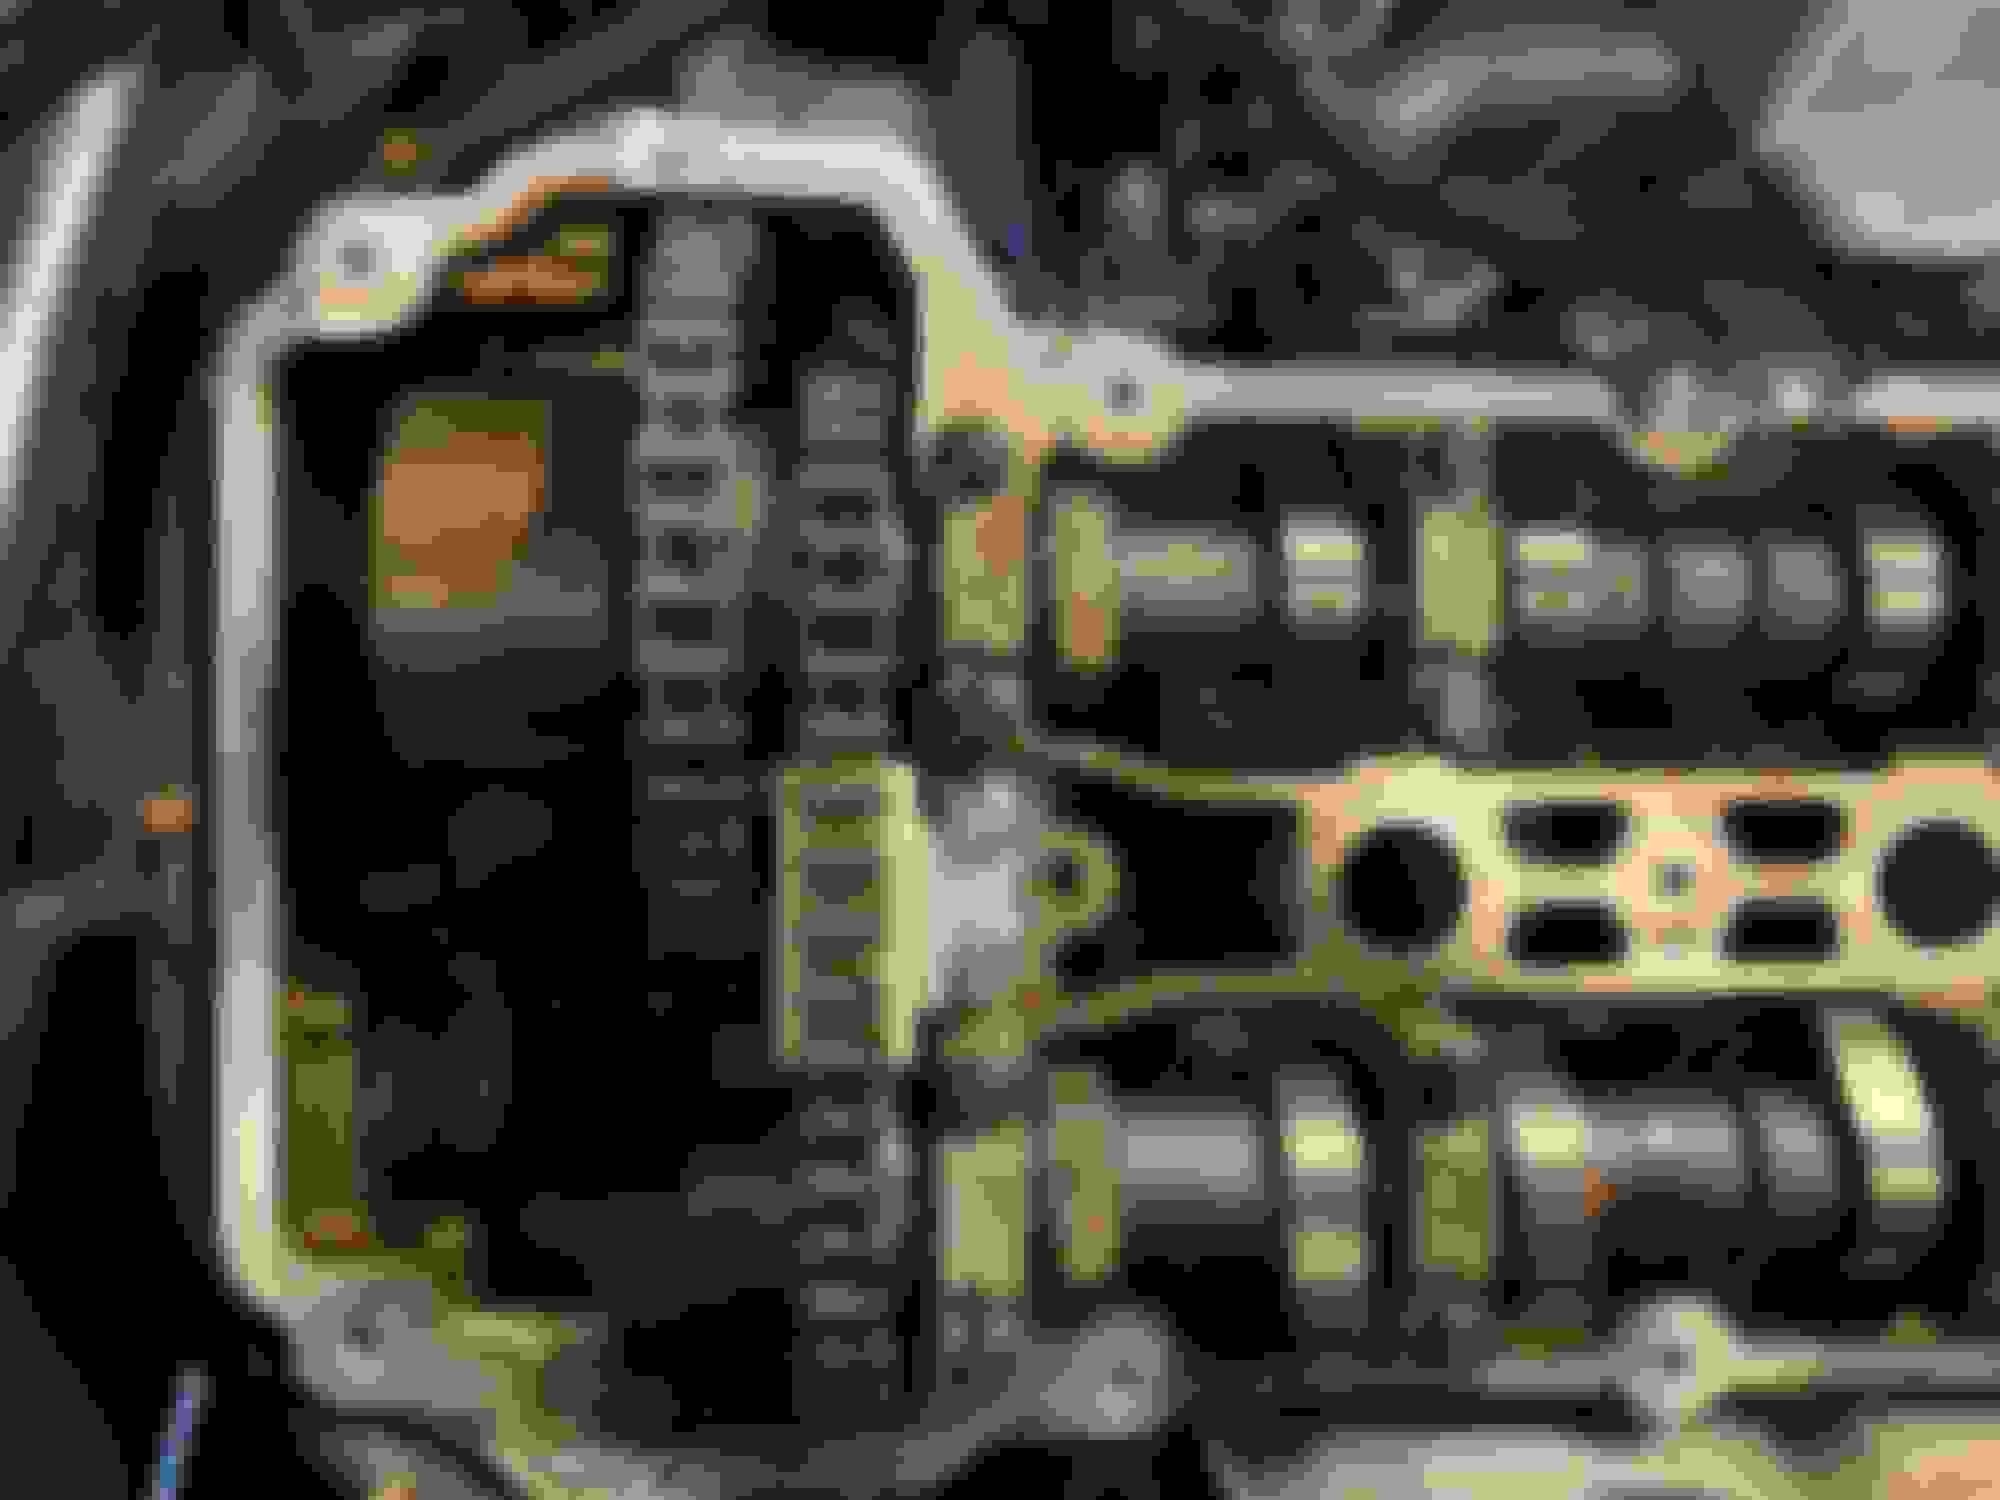
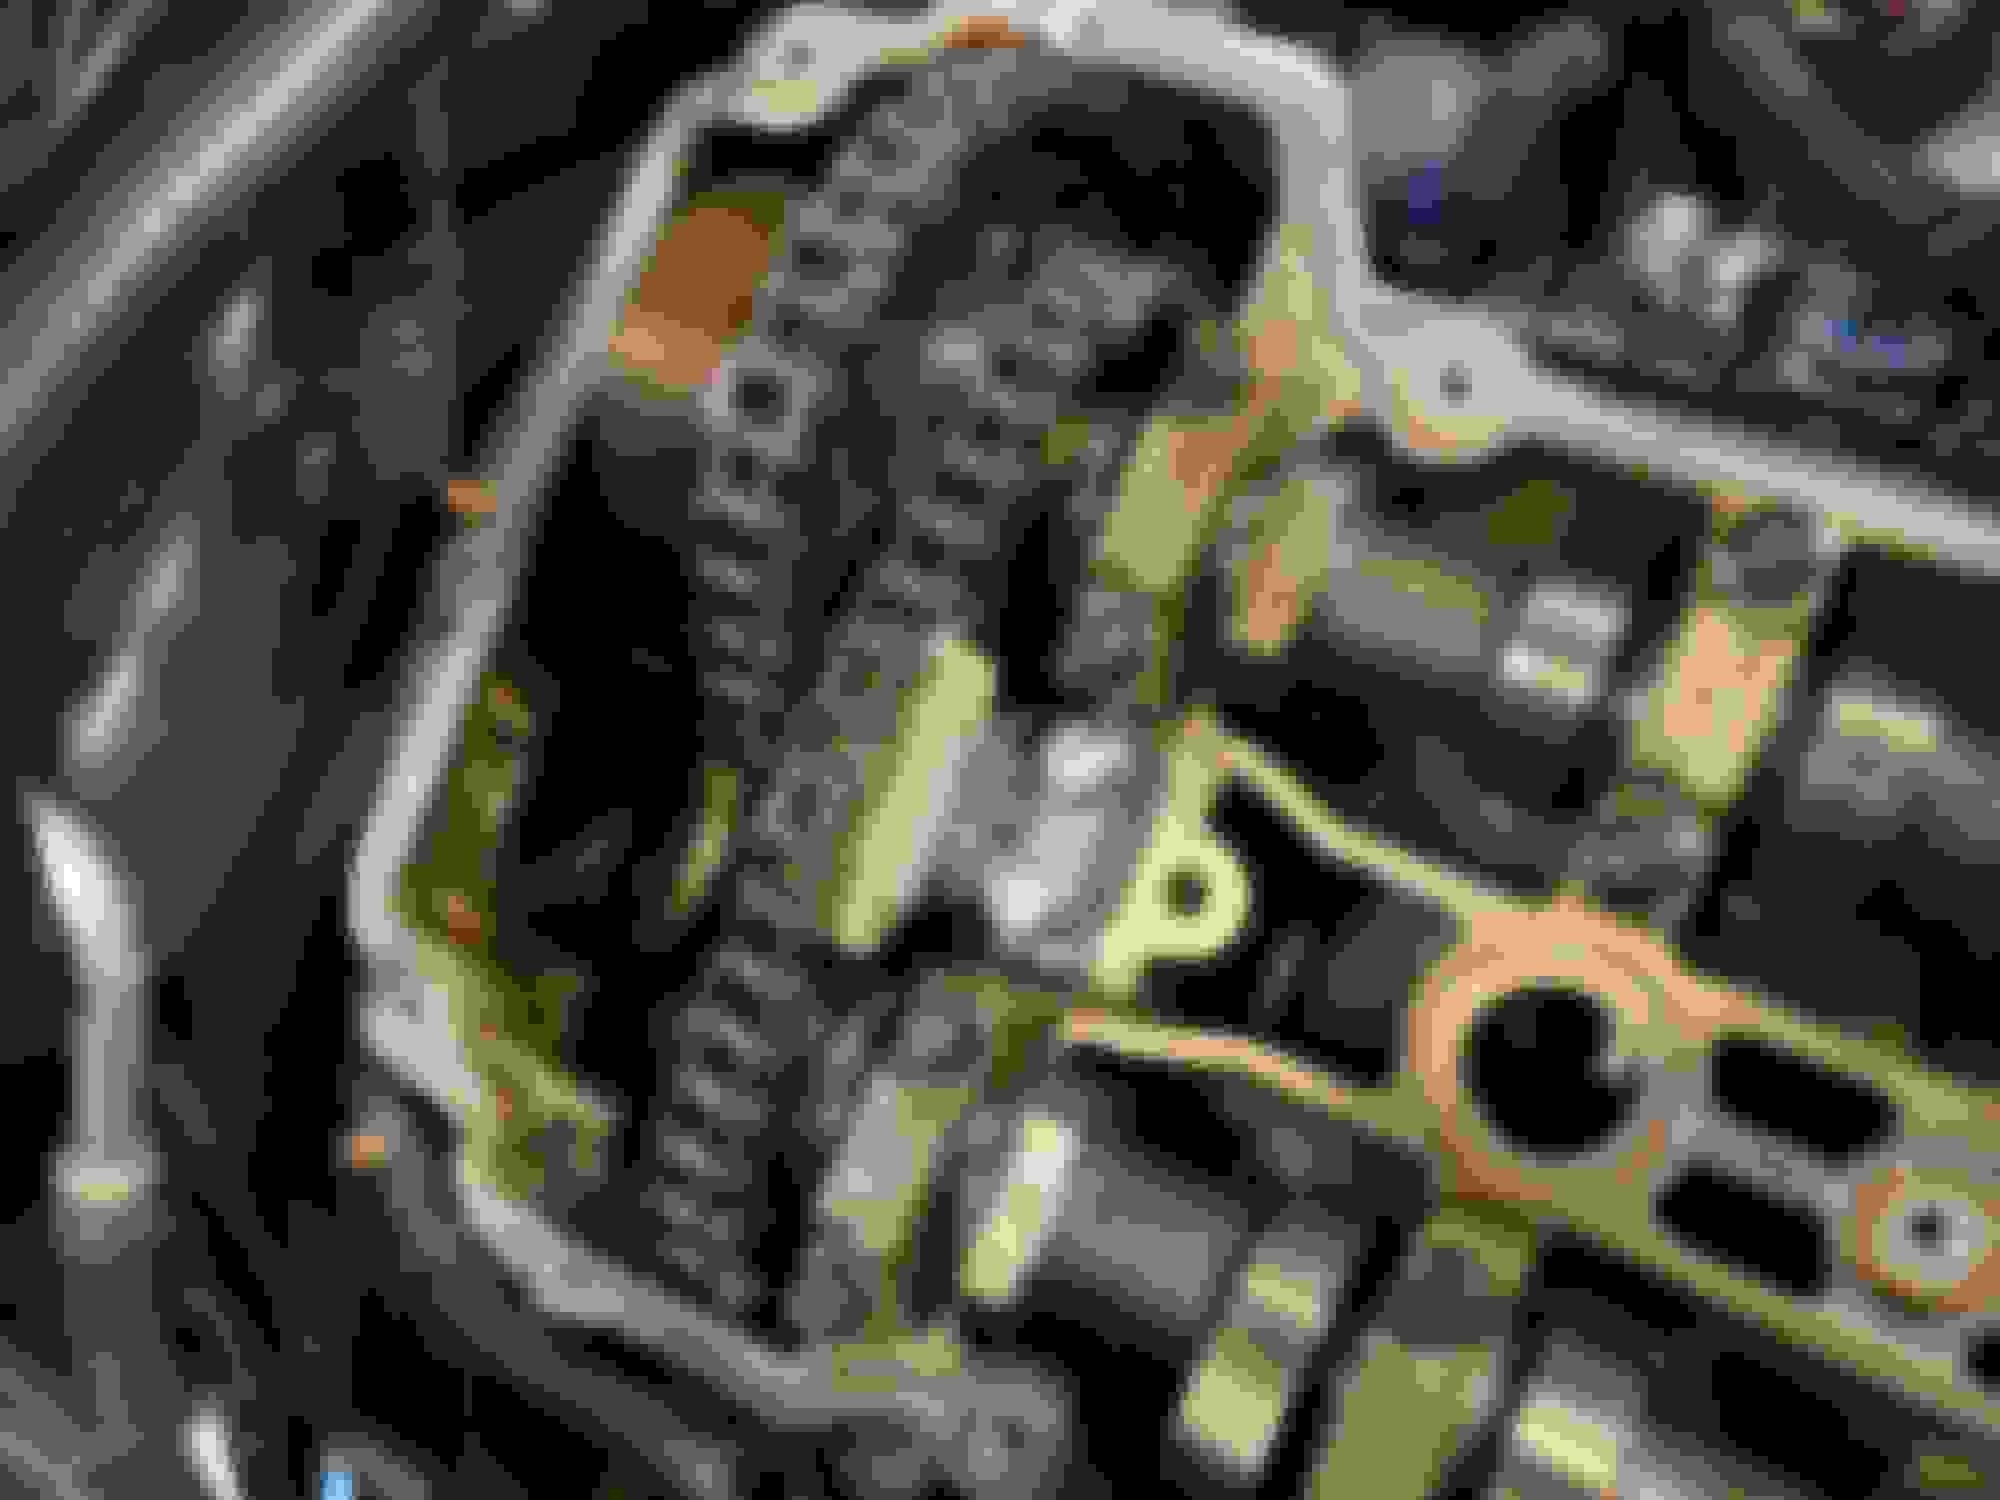
The only other concern was the loose chain on the passenger side, see below pictures. It does get tigher at points in the rotation but at this particular spot its pretty loose. Is this a problem? The driver side never gets this loose at any point.
Any opinions on the chain slack I'm seeing on the right side? Haven't gotten the car back together yet since I've been so busy, but would be nice to hear if anyone thinks I have an issue. I'm sure once its running the slack will be taken up, but odd that it's only on the right side, left side chain as nice and tight.
If it is an issue I can't imagine what it would be or what would have caused it? The cam sprocket lined up with the marks on the cam upon reassembly so I don't think there's any reason to loosen and adjust the cam sprocket. Even if I did it would just move the slack to the bottom side of the chain. Before I removed the old tensioners both sides were very tight (filled with oil obviously). Since these new style tensioners are spring loaded I beleive even without oil pressure they are full extended, or is that incorrect? Will the plunger side extend even further once the engine is running and filled with oil?
Mine acted exactly the same way. Passenger side chain was a bit loose at rest. I asked the same question on the forum, and basically was told that it's fine. I believe it, because I think where the slack comes from is the camshafts move "back" ever so slightly at rest due to the valve springs pushing back on them. Once the engine starts turning, everything is tight, and the tensioners take up any slack on the back side of the chains. You don't see this on the drivers side, because the springs are pushing the cams in the "tight' direction. At least that's what I came up with for an explanation! I put mine together comfortably with that reasoning, and I haven't had any issues.
Mine acted exactly the same way. Passenger side chain was a bit loose at rest. I asked the same question on the forum, and basically was told that it's fine. I believe that, because I think where the slack comes from is the camshafts move "back" ever so slightly at rest due to the valve springs pushing back on them. Once the engine starts turning, everything is tight, and the tensioners take up any slack on the back side of the chains. You don't see this on the drivers side, because the springs are pushing the cams in the "tight' direction. At least that's what I came up with for an explanation! I put mine together comfortably with that reasoning, and I haven't had any issues.
Thank you very much for the response @aquifer , I feel much better now...It's funny, the job was so simple and went so quickly I figured I had to have screwed something up Now the fun part of cleaning up the cam covers and getting them re-installed. Thanks again for the reassurance.
Thank you very much for the response @aquifer , I feel much better now...It's funny, the job was so simple and went so quickly I figured I had to have screwed something up Now the fun part of cleaning up the cam covers and getting them re-installed. Thanks again for the reassurance.
That was my thought exactly when I noticed the loose chain. Everything SEEMED right, but then I noticed the loose chain! What did I do wrong??! So yes, you're fine.
P.S. Don't forget to scrape off the dabs of old silicone where the new gaskets will lay across the timing cover seam. Put a dab of fresh silicone on there so it doesn't leak. Your tensioners were definitely original, which means your primaries are likely original too. But I think you have a lot of life left in those before you will need to replace them. My car had 180k + on it when I replaced them, but the job needed to be done before that, as I learned. I'd say you'll want to do it before 150k miles for sure, if you still have it that long.
Thanks again for all of your help. Yes, I will be cleaning that old silicone off and applying a bead of grey RTV where the timing cover meets the head before I put the covers back on. Still trying to figure out how to lay those covers on the motor cleanly - those wiring harness clips that come out form under the intercoolers really get in the way of an otherwise simple install.
As for the primary components, I will get to them eventually, maybe this winter. I took as good a look as I could and did not see any of the cracks or missing pieces that I've seen in other threads so they're probably OK for a while longer, especially with how the secondaries looked. I probably could have let them go for a while but no regrets on replacing them. I would have thought about them constantly anyway every time I drove the car wondering if they would let go.
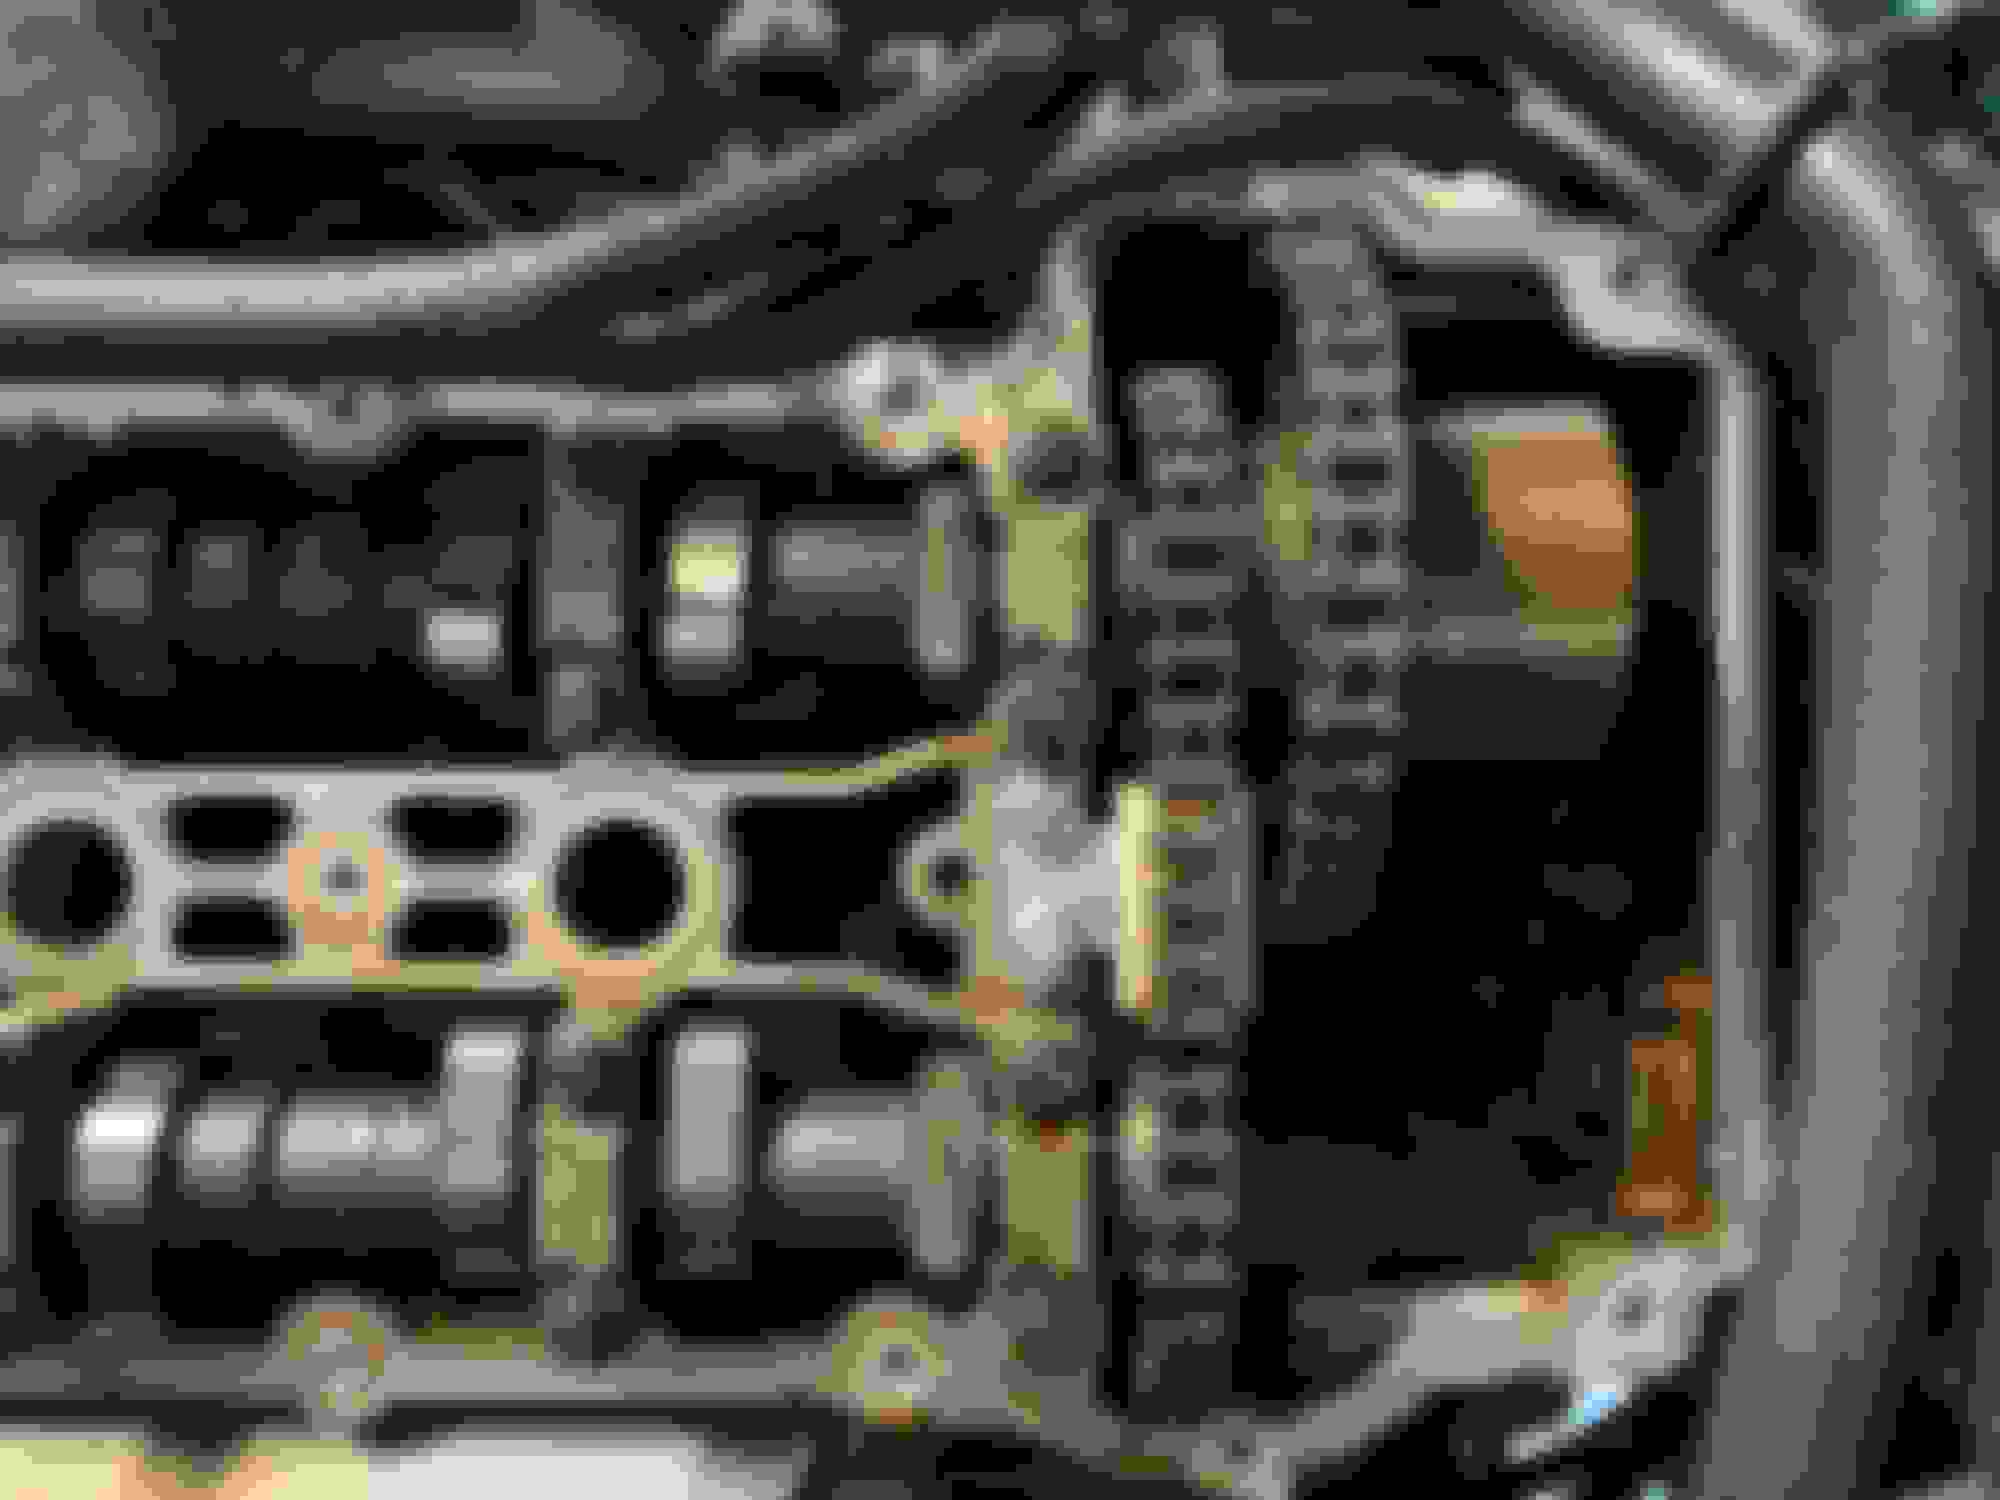
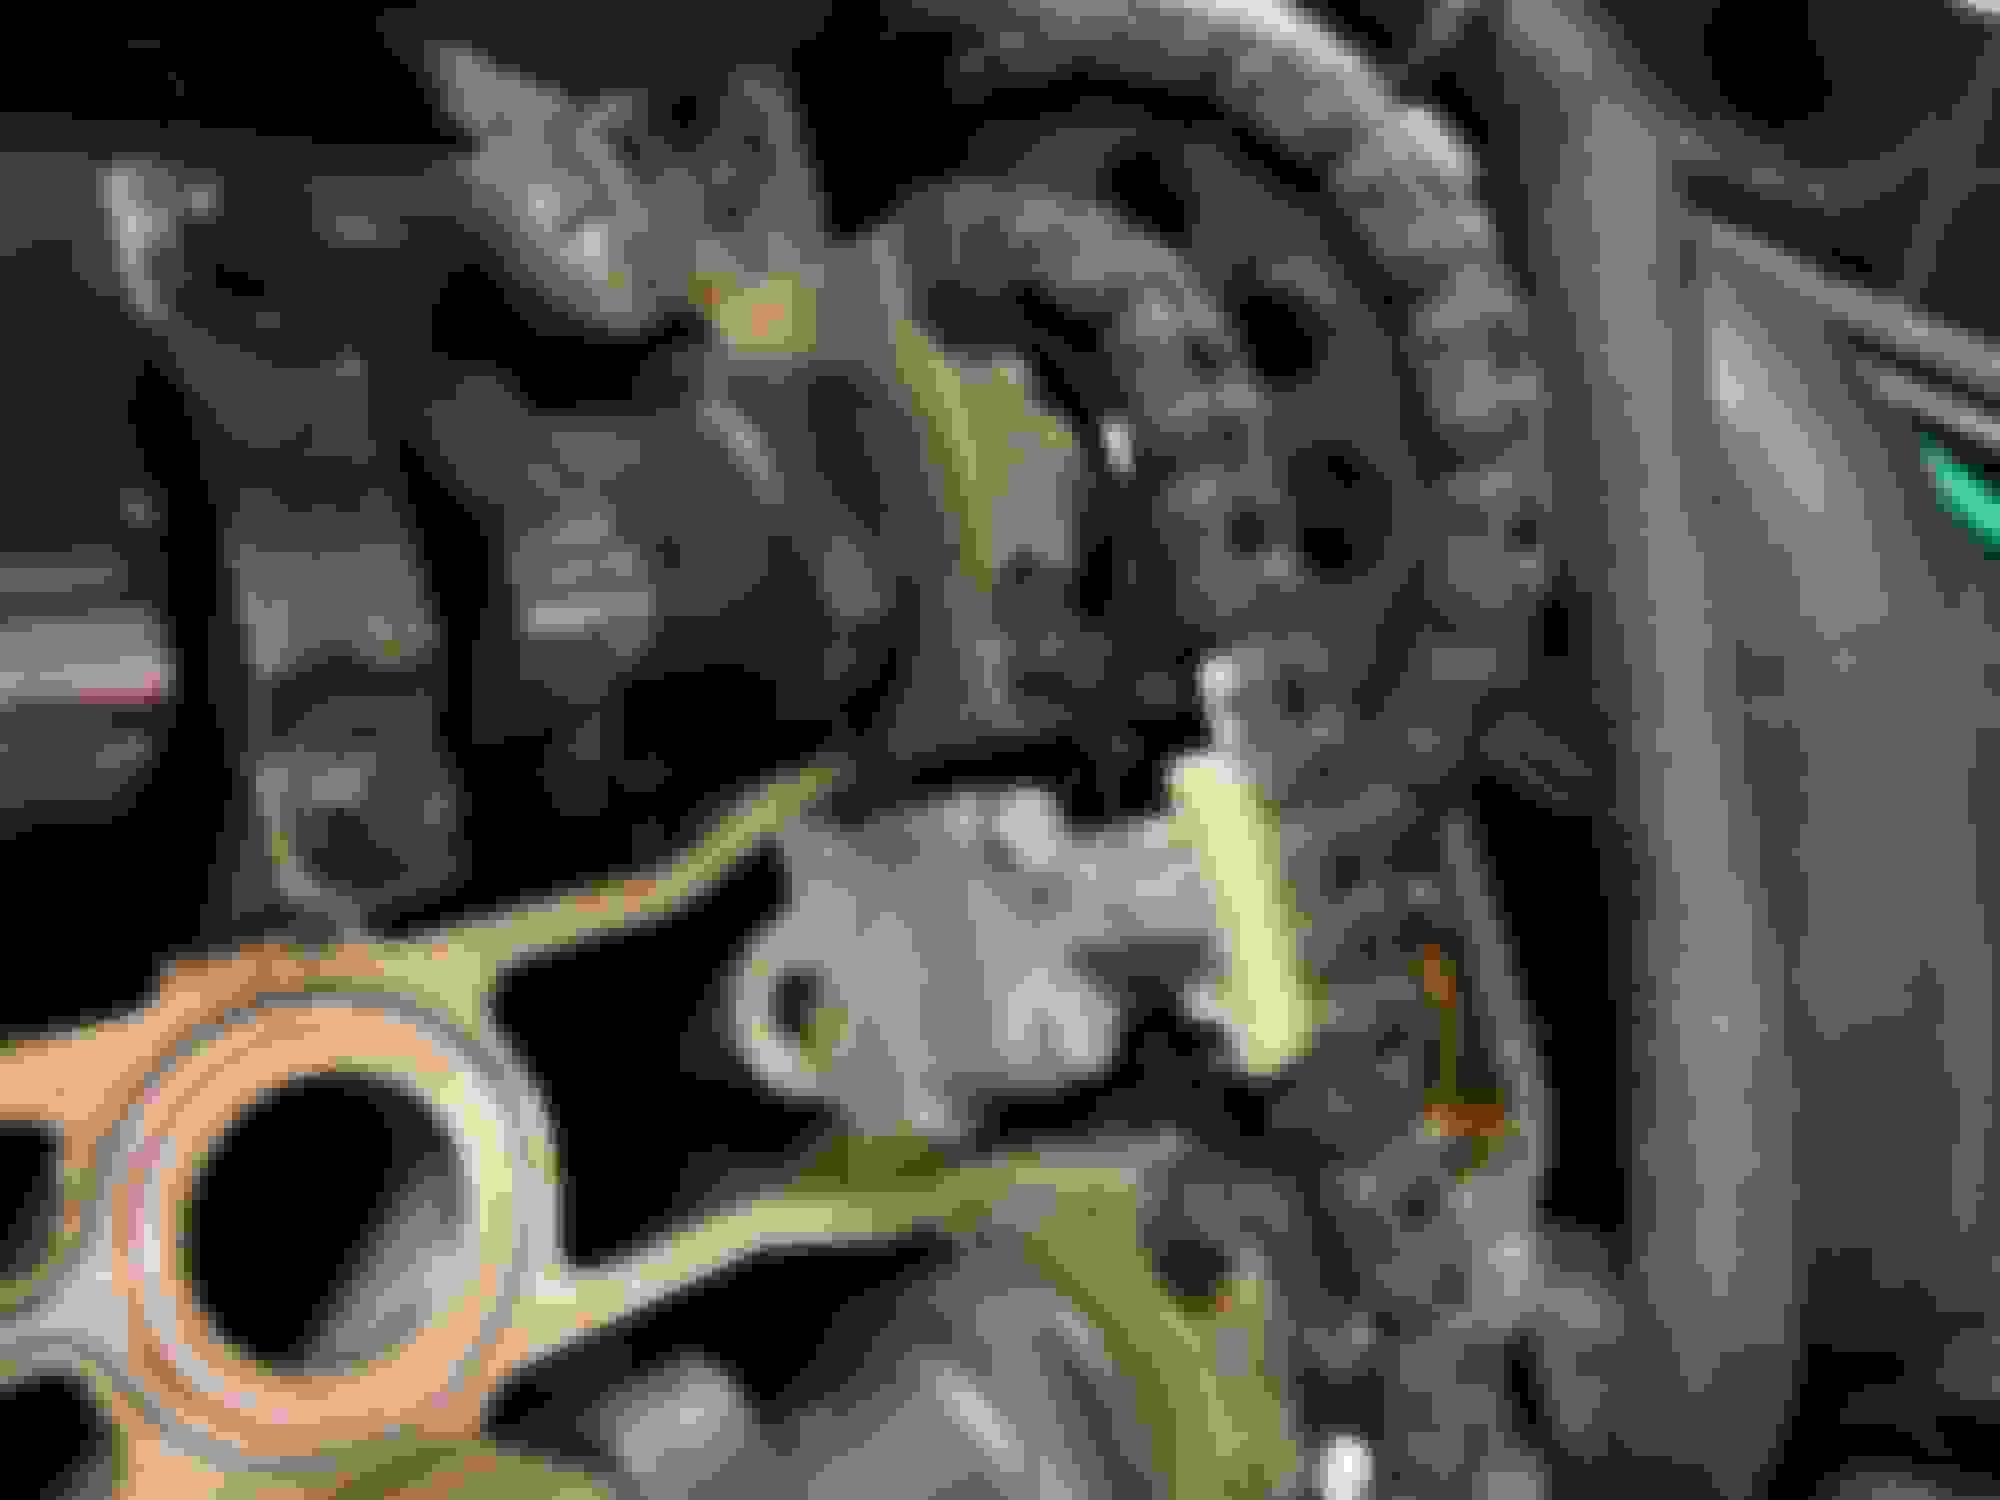
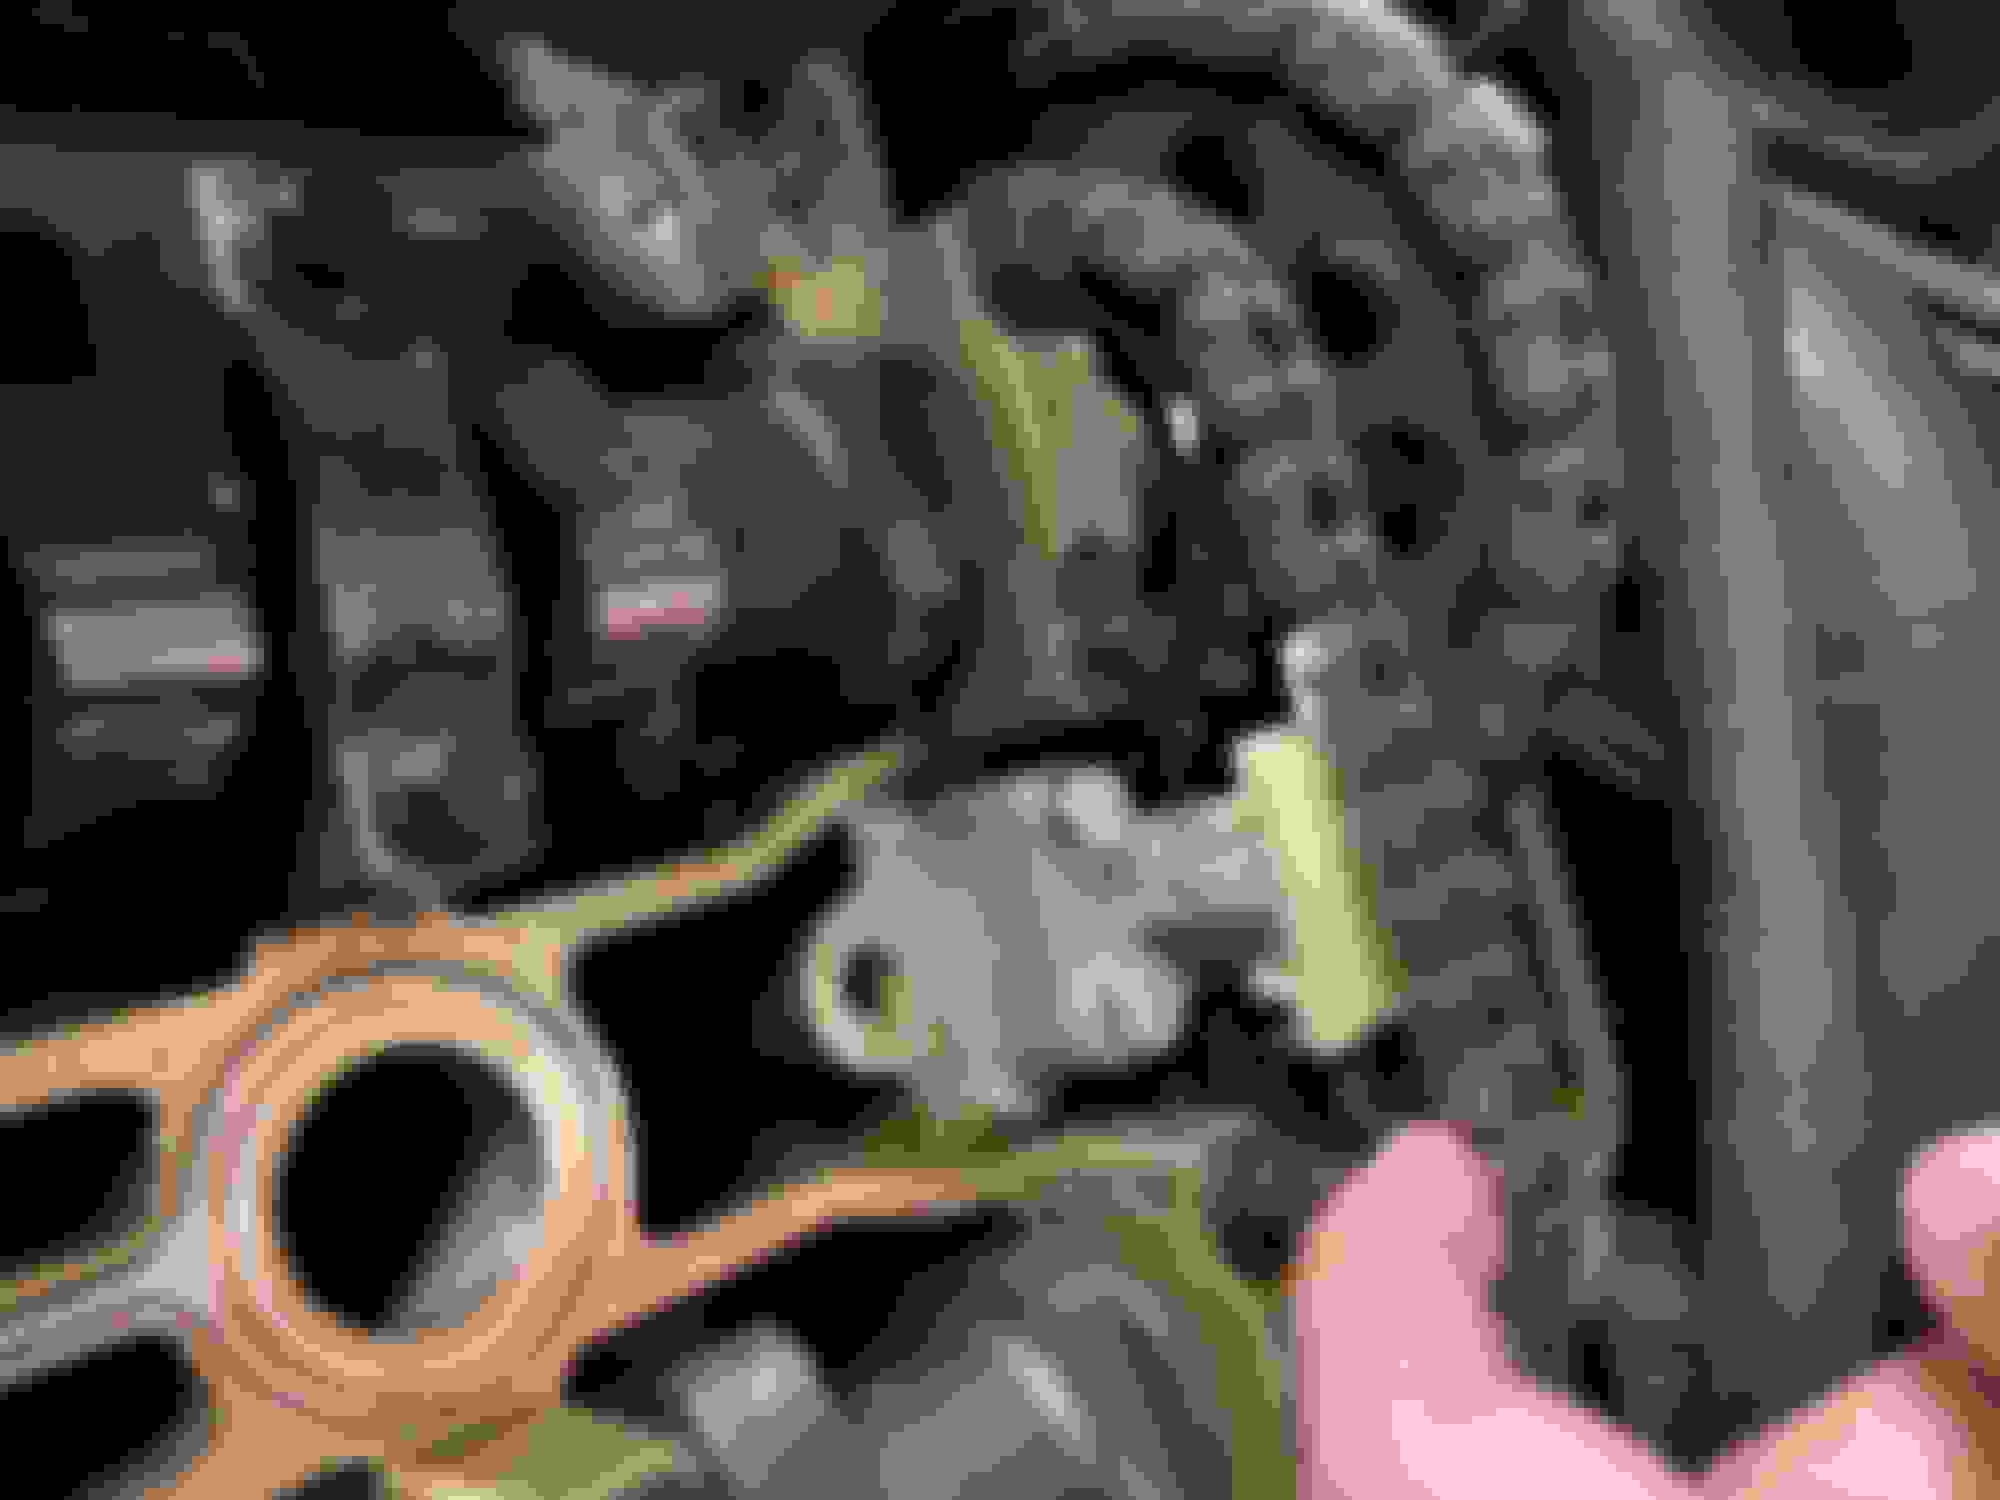
Looks like your RH exhaust cam is out of alignment. You can do a quick approximate check if you position the RH intake cam to have its flat parallel with the cam cap (see the yellow lines on the picture) then turn the exhaust cam back until the top side of the secondary chain is tight. The position of the exhaust cam flat will then show you how much it is out.
Once you remove any of the sprockets from its camshaft, you have to attach it back and properly tension the secondary chains while tightening the sprocket bolt using the tools and the procedure shown in the manual (see attached pdf files). Otherwise, marking of the chains to sprockets is completely unnecessary. The chains will "walk" over the sprockets because the number of links of the chains is not a multiple of the number of teeth of the sprockets.
Thank you for the input @M. Stojanovic That picture was after rotating the engine a bit, not after I removed the cam hold down tools. It's basically a random position I ended the rotation with. I did check the cam flats with a straightedge and they are level on both sides, but I will check again. I guess its possible something moved, but I paid close attention when removing the hold down tools and everything stayed put.
I did use the chain tensioning tool as shown in the manual when tightening/torquing the sprocket bolt, but maybe its worth doing the procedure again before I re-install the cam covers just to be sure. To confirm, are you saying that secondary chain should be tight? I was able to find a few other threads on this and other forums about the same issue and most feedback was that it was normal. Either way I guess its worth double checking, dont want to have any issues.
If it turns out the exhaust cam is out of alignment, how do you adjust the position of the cam? Loosen the sprocket bolt and simply turn the cam before installing the cam hold down tool again?
With the cam flats locked in position with the tool, at the time of tightening the exhaust sprocket centre bolt, the top section in the case of the RH chain and the bottom section in the case of the LH chain should be kept at tension with that pin-spanner. The slacks at the other sides of the chains, bottom on the RH and top on the LH, will be taken up by the tensioners.
If you find any of the exhaust cams somewhat out of alignment, just loosen the sprocket centre bolt and, making sure that you are holding the appropriate side of the chain at tension with the spanner (keeping some pressure on the spanner in the anticlockwise direction, same for LH or RH), tighten the centre bolt.
Excellent, thank you @M. Stojanovic That's exactly what I did when tightening the sprocket bolts, held tension with the pin spanner and had the cam flats locked. I will still double check, but that explanation makes perfect sense. I guess its possible I let the RH exhaust cam move a little at some point, just not sure when. Also possible that it was out of alignment before, but I did check with a straightedge and everything lined up. Although I assume it if was out before I started the car would not have run so well.
Anyway, I'll get back out to the garage at some point today and take a look. Thanks again for the input.
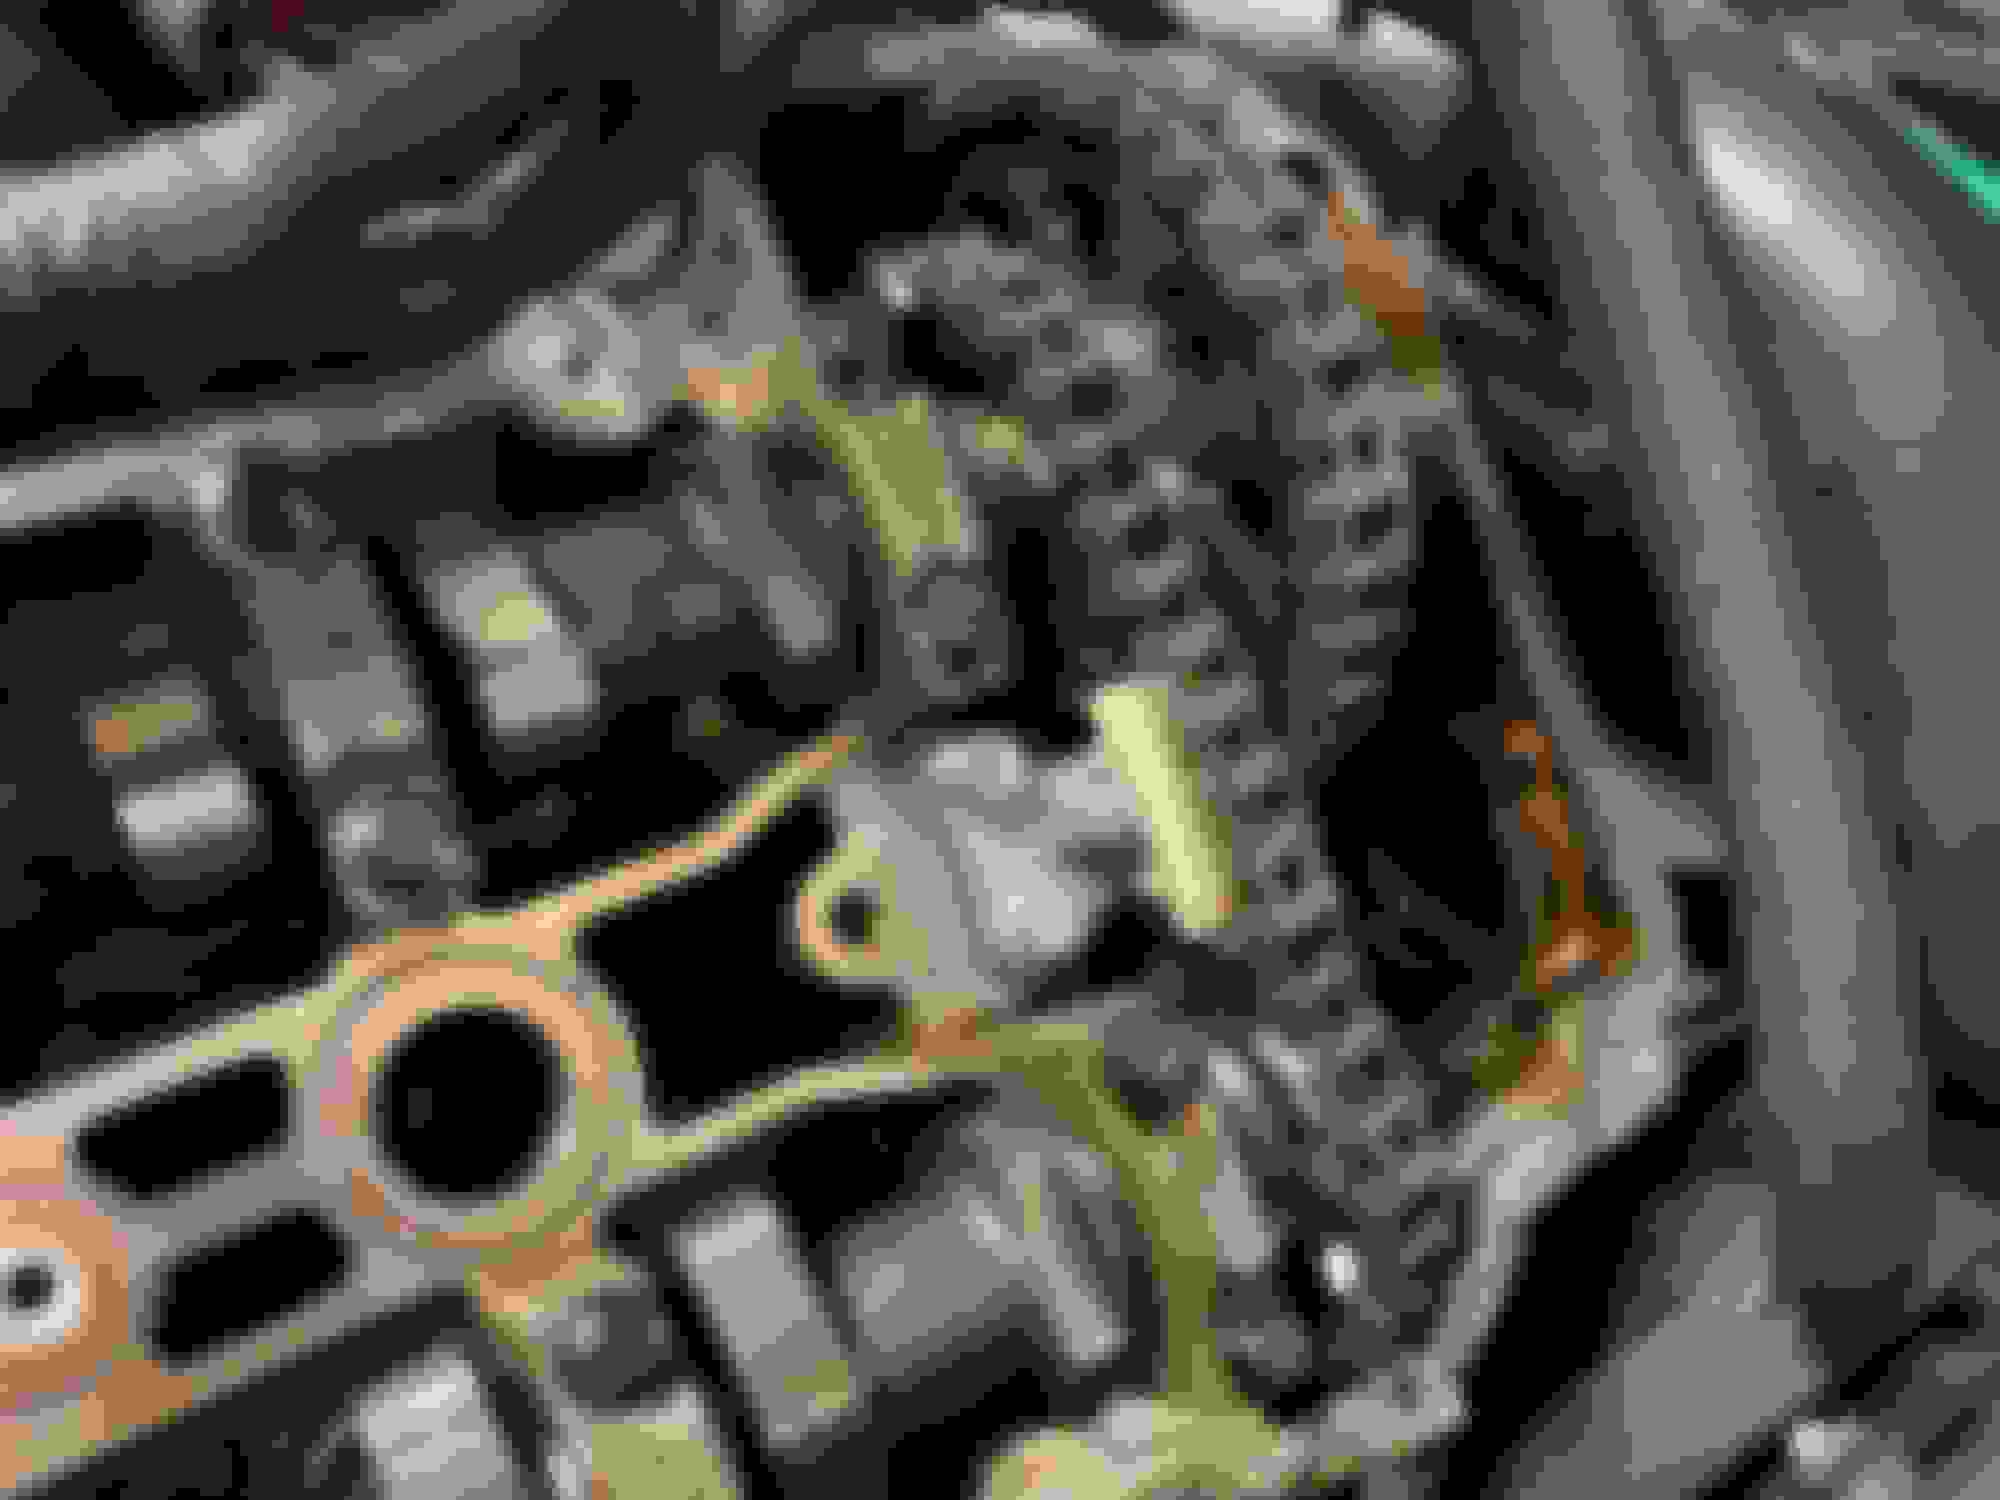
Was able to get out in the garage early this morning before work. Rotated the engine until the cam flats lined up on the RH side and they are dead even (verified with straight edge), see pictures below. The chain is loose with the cam flats up (as you can see), but rotating the engine the chain gets nice and tight at certain points. LH side is the same (a bit loose at points), but not as pronounced as the RH side.
I'm pretty certain that I tensioned the chain properly. Even if I were to do it again and move the sprocket a bit wouldn't the slack just go to the bottom side of the chain? It looks like at certain points the cam provides pressure on the sprocket and at other times not, which would make sense. The fact that is gets tight st points leads me to believe the chain is not stretched so that is good. I did move the plungers on the tensioners by hand on each side and they move the same amount, was starting to think the tensioner on the RH side was defective but seems OK.
I think you are good to go. Button it up, pull the fuel pump fuse, fire it up to get oil pressure, load the fuse and start 'er up!
Thank you. I thought about pulling the fuel pump fuse to build pressure but hadn't heard it mentioned. I think that's a great idea. Since the XJR has two pumps, do both need to be pulled?
Thank you. I thought about pulling the fuel pump fuse to build pressure but hadn't heard it mentioned. I think that's a great idea. Since the XJR has two pumps, do both need to be pulled?
 07-18-2022, 01:36 PM


 Now the fun part of cleaning up the cam covers and getting them re-installed. Thanks again for the reassurance.