When you click on links to various merchants on this site and make a purchase, this can result in this site earning a commission. Affiliate programs and affiliations include, but are not limited to, the eBay Partner Network.
I was the poster: "just swap upper tensioners?" a while back.
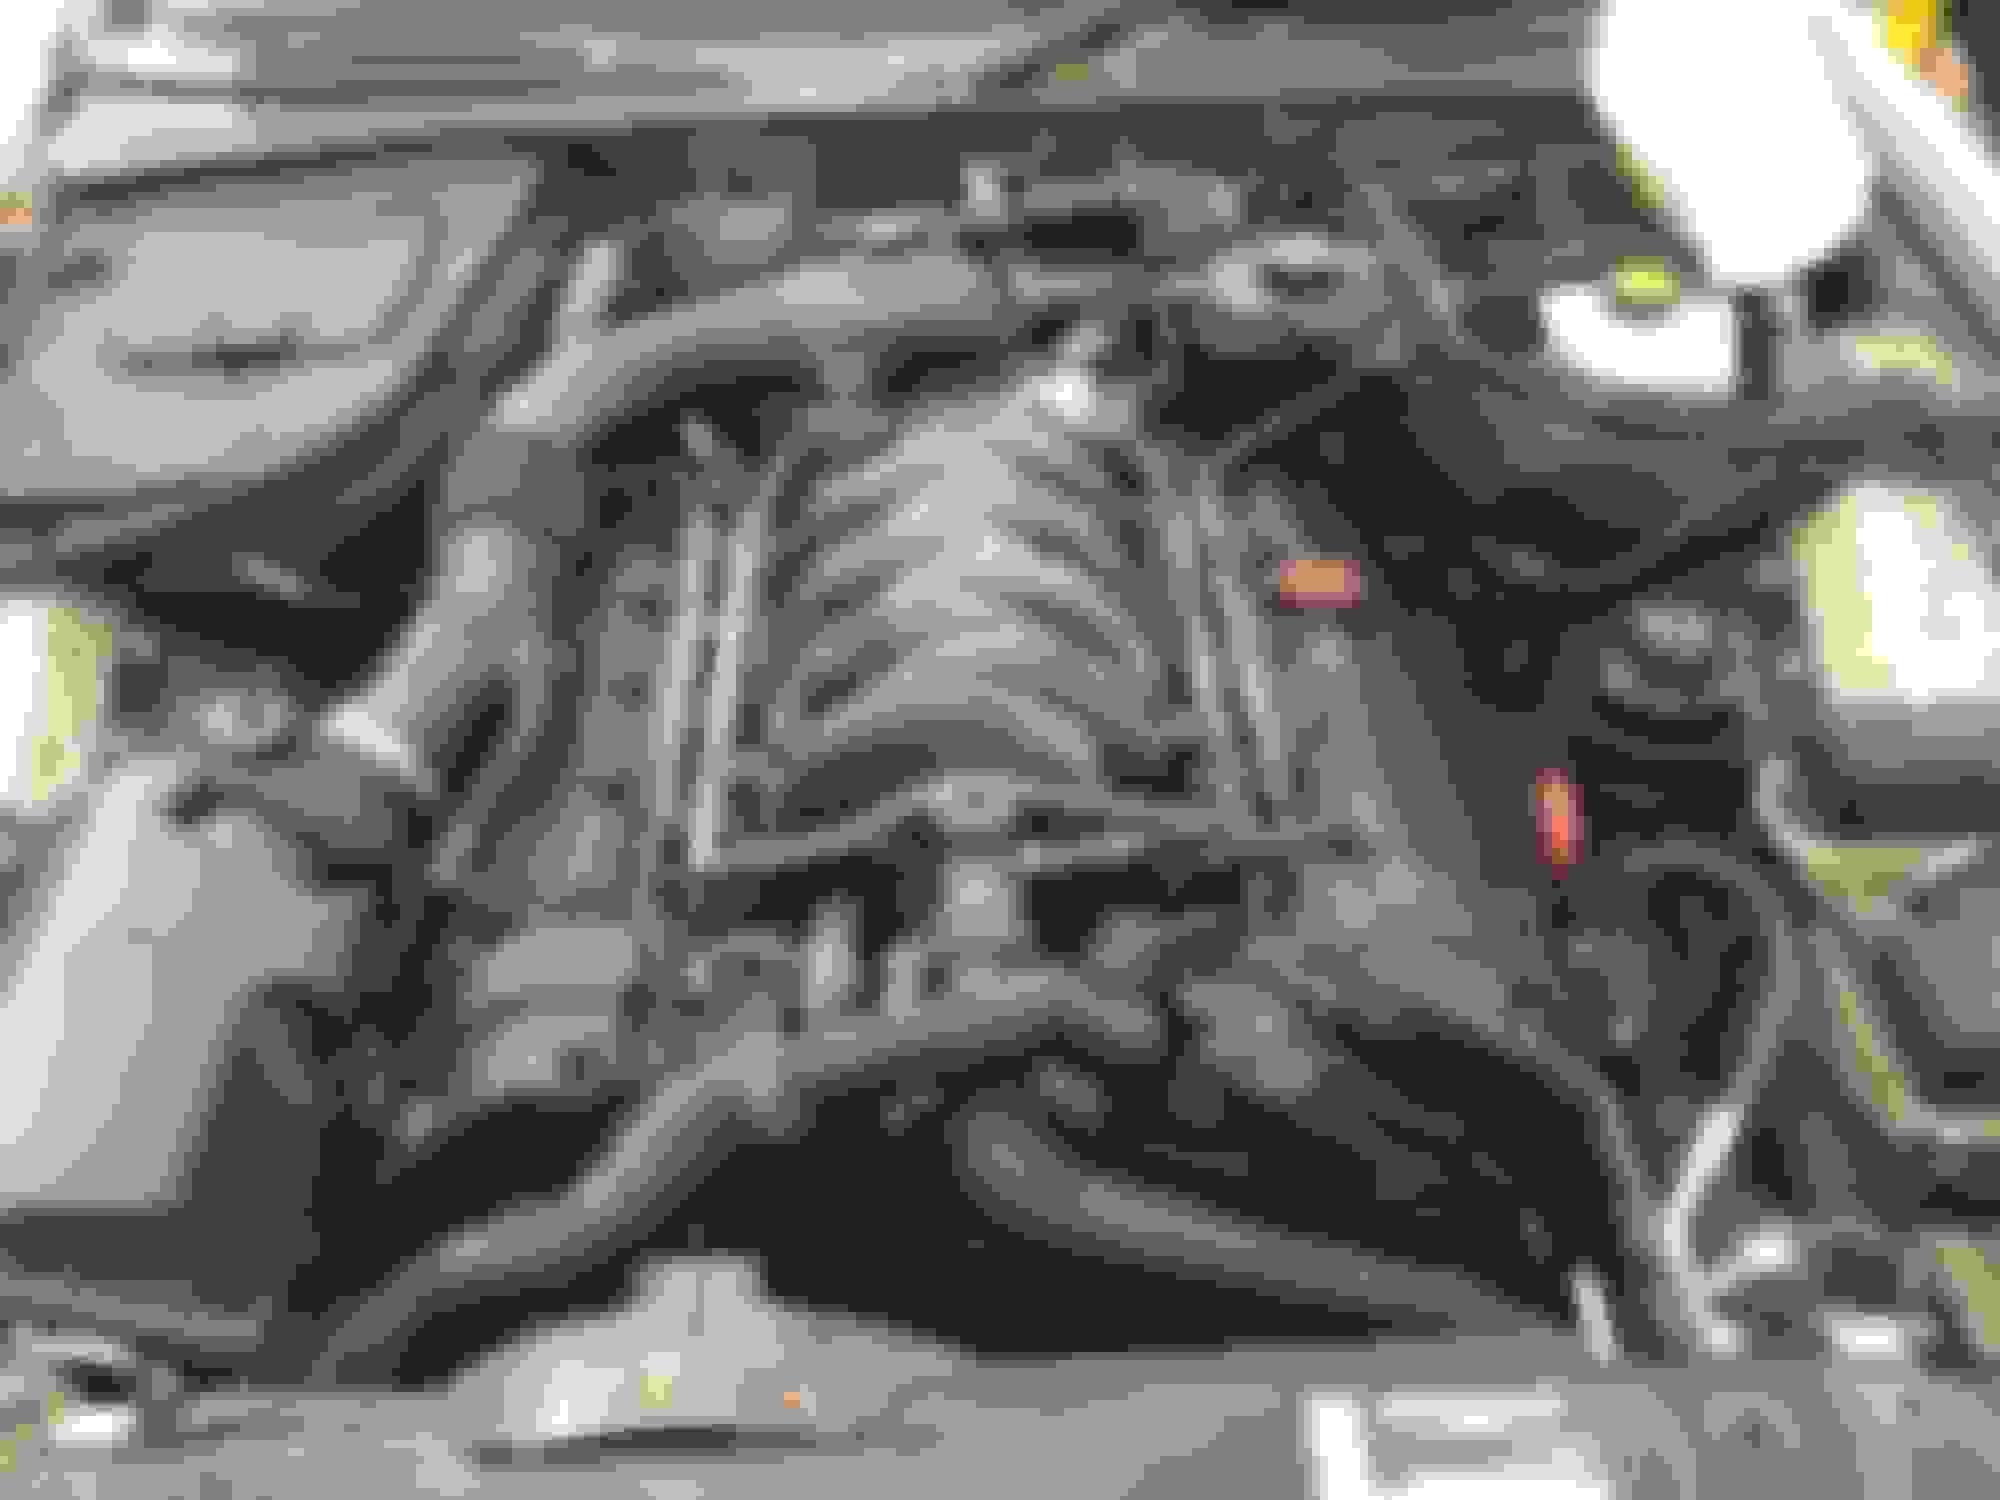
The parts came in from Christophers, and I am in as far as I can go at the moment.
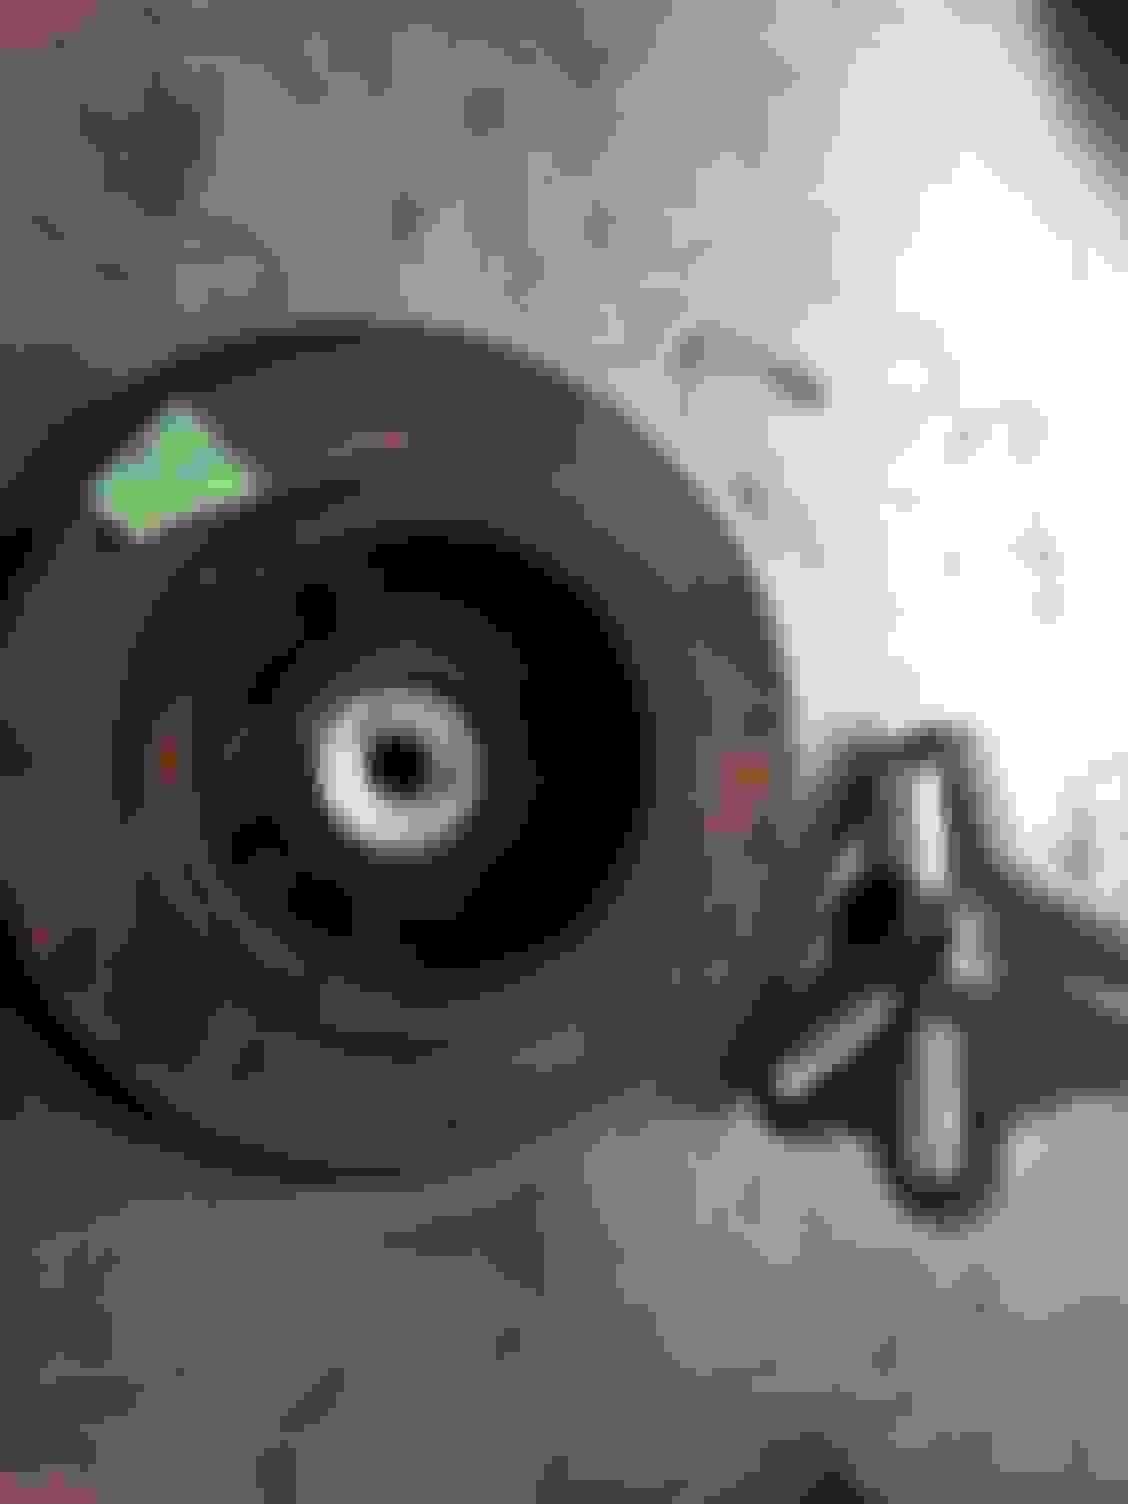
I've got the puller as tight as I dare, using a Johnson bar.
I thought about heating the damper nearest the crank, but thought I might ruin the seal behind. If I never get the damper off, and have to abandon the job, the front seal will now leak.
I tried hitting the inner damper part with a hammer to shock it free.
The best pullers are the ones like this one because it has "centering button" which helps align the puller.
I don't think you need to use heat, there is a very small seal on the balancer itself, and you also don't want to damage the crank seal either, even though you will eventually replace both of them, and more importantly the balancer itself has a rubber insert.
Hitting the puller with a hammer in an effort to send a shock wave through to the shaft is recommended, although in the confined space you cannot get much of a swing........but the best thing I have found is that getting the puller as tight as you possibly can, and then leaving it overnight usually works.
Once again, once the balancer does come free, do not continue to wind the puller and pull it off because there is a "collett" on the balancer that has to be freed by pushing the balancer back on a little to free it before pulling it all the way off.
Thanks for the quick reply.
That amazon kit is out of stock.
I got the bolt out using the starter. The bolt came out likely due to it's original, no lock tight.
I used one like this https://www.canadiantire.ca/en/pdp/h...-0250145p.html
Thanks for the note about the collett...I didn't know.
I'll let you know,
Rob
I've got the puller as tight as I dare, using a Johnson bar. I thought about heating the damper nearest the crank, but thought I might ruin the seal behind. If I never get the damper off, and have to abandon the job, the front seal will now leak. I tried hitting the inner damper part with a hammer to shock it free.
If you heat the damper excessively, you may also damage its rubber segment. Just keep on hitting the damper many times, not necessarily very hard, alternating the sides. Then, add a bit of tension on the puller after the series of hits and so on. Also, try with hitting on the puller bolt. If it still does not start moving out after many iterations, loosen or remove the puller and hit the pulley back then continue with the puller. The problem here is that, until the pulley's tapered cone starts moving out over the crankshaft, the harder you pull the pulley the more it is wedged tight over its cone. So, you have to pull and hit back many times.
You should be replacing the seal behind the damper anyways because the gasket kit for the tensioner cover should have one and even if it didn't, it should be replaced. There is no sense in doing such a repair only to have a $7 piece being reused only to have it leak and have to remove the damper again.
If you are going to run it back and re-pull it again, apply some engine oil (preferably, since its going back to the oil reservoir) on the exposed crank and on inside of the pulley (you could use spray lube here since its not going back into the oil reserve) so when it goes back you'll have less friction to deal with when you pull it back. I used a 3' helper bar on my 3/4" breaker bar (with an impact socket) and it came off rather smoothly...but then again, mines a Florida car, not a winter salt ridden area like Ontario where heavy metal scaling occurs.
Not really, but it was the only length pipe I had with the ID to fit over the handle....you also lose about 18" covering the length of the handle... I can say, it was easy with that much leverage.
My puller did not go deep into the crank, so I put a washer over the end of the crank to protect the threads. I had removed and installed the puller several times, but the last time got the washer off center, so that the collett edge was under the washer. Doh!
Luckily I stopped applying more force on the puller, and removed it to check. It fell off.
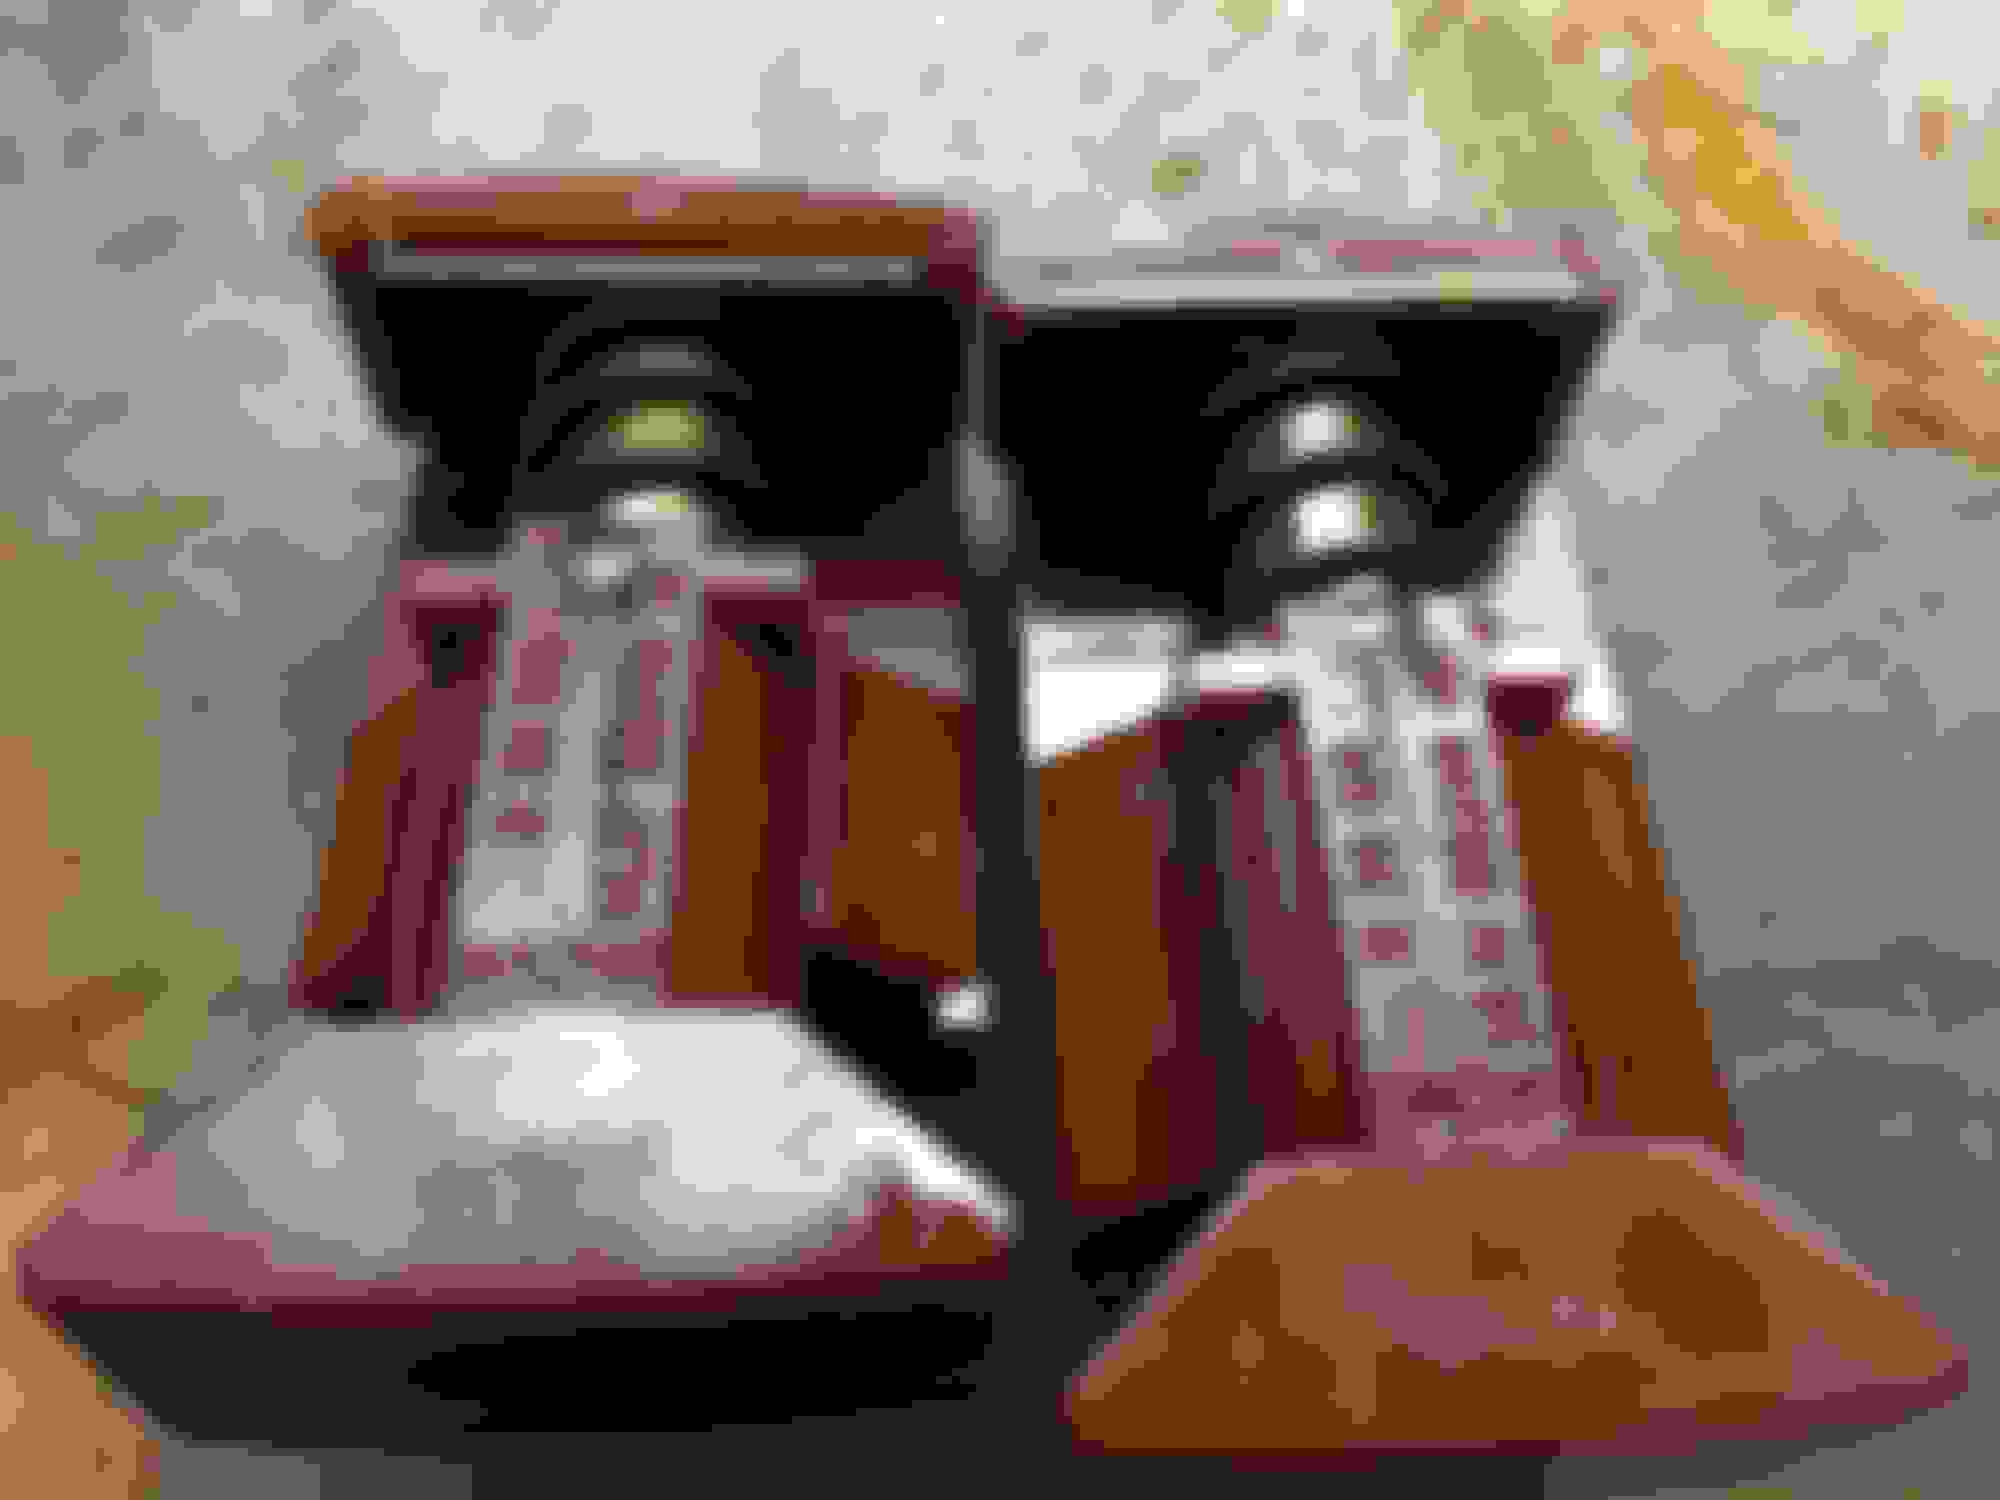
With cover off and parts removed, there were 2 broken guides, and both tensioners have cracks. Another one saved!
Good going! I've been there too, even with the center cap puller it seemed like the torque was too high for comfort. While you are tearing the engine down I would upgrade the plastic thermostat tower to aluminum, as that will eventually degrade and crack as all plastic does.
There are always a couple of amateur mistakes: 1) when tightening the crank damper bolt, I noticed that the engine didn't turn as the bolt got tight. Then I remembered the flex plate insert tool was still in. 2) after it started it smoked a lot, as expected, so I backed it out of the garage, expect the steering rack was not bolted back up after releasing to access the flex plate position tool/ CPS. At least I didn't scrape the car up backing out without steering.
Instructions suggested cranking the engine without fuel pressure upon initial start, to raise oil pressure and extend tensioners before starting. I tried a few times, but the light would not go out. I had drained the oil, and removed the pan to make sure there were no tensioner bits in the screen. I experienced this when rebuilding an older XK engined XJ6, that no matter how I tried the engine would not prime, so I just started it. It both cases, it was fine. It seems there's not enough suction unless you start. In the case of the XK engine, I think I did more damage with repeated low pressure tries than a just-start.
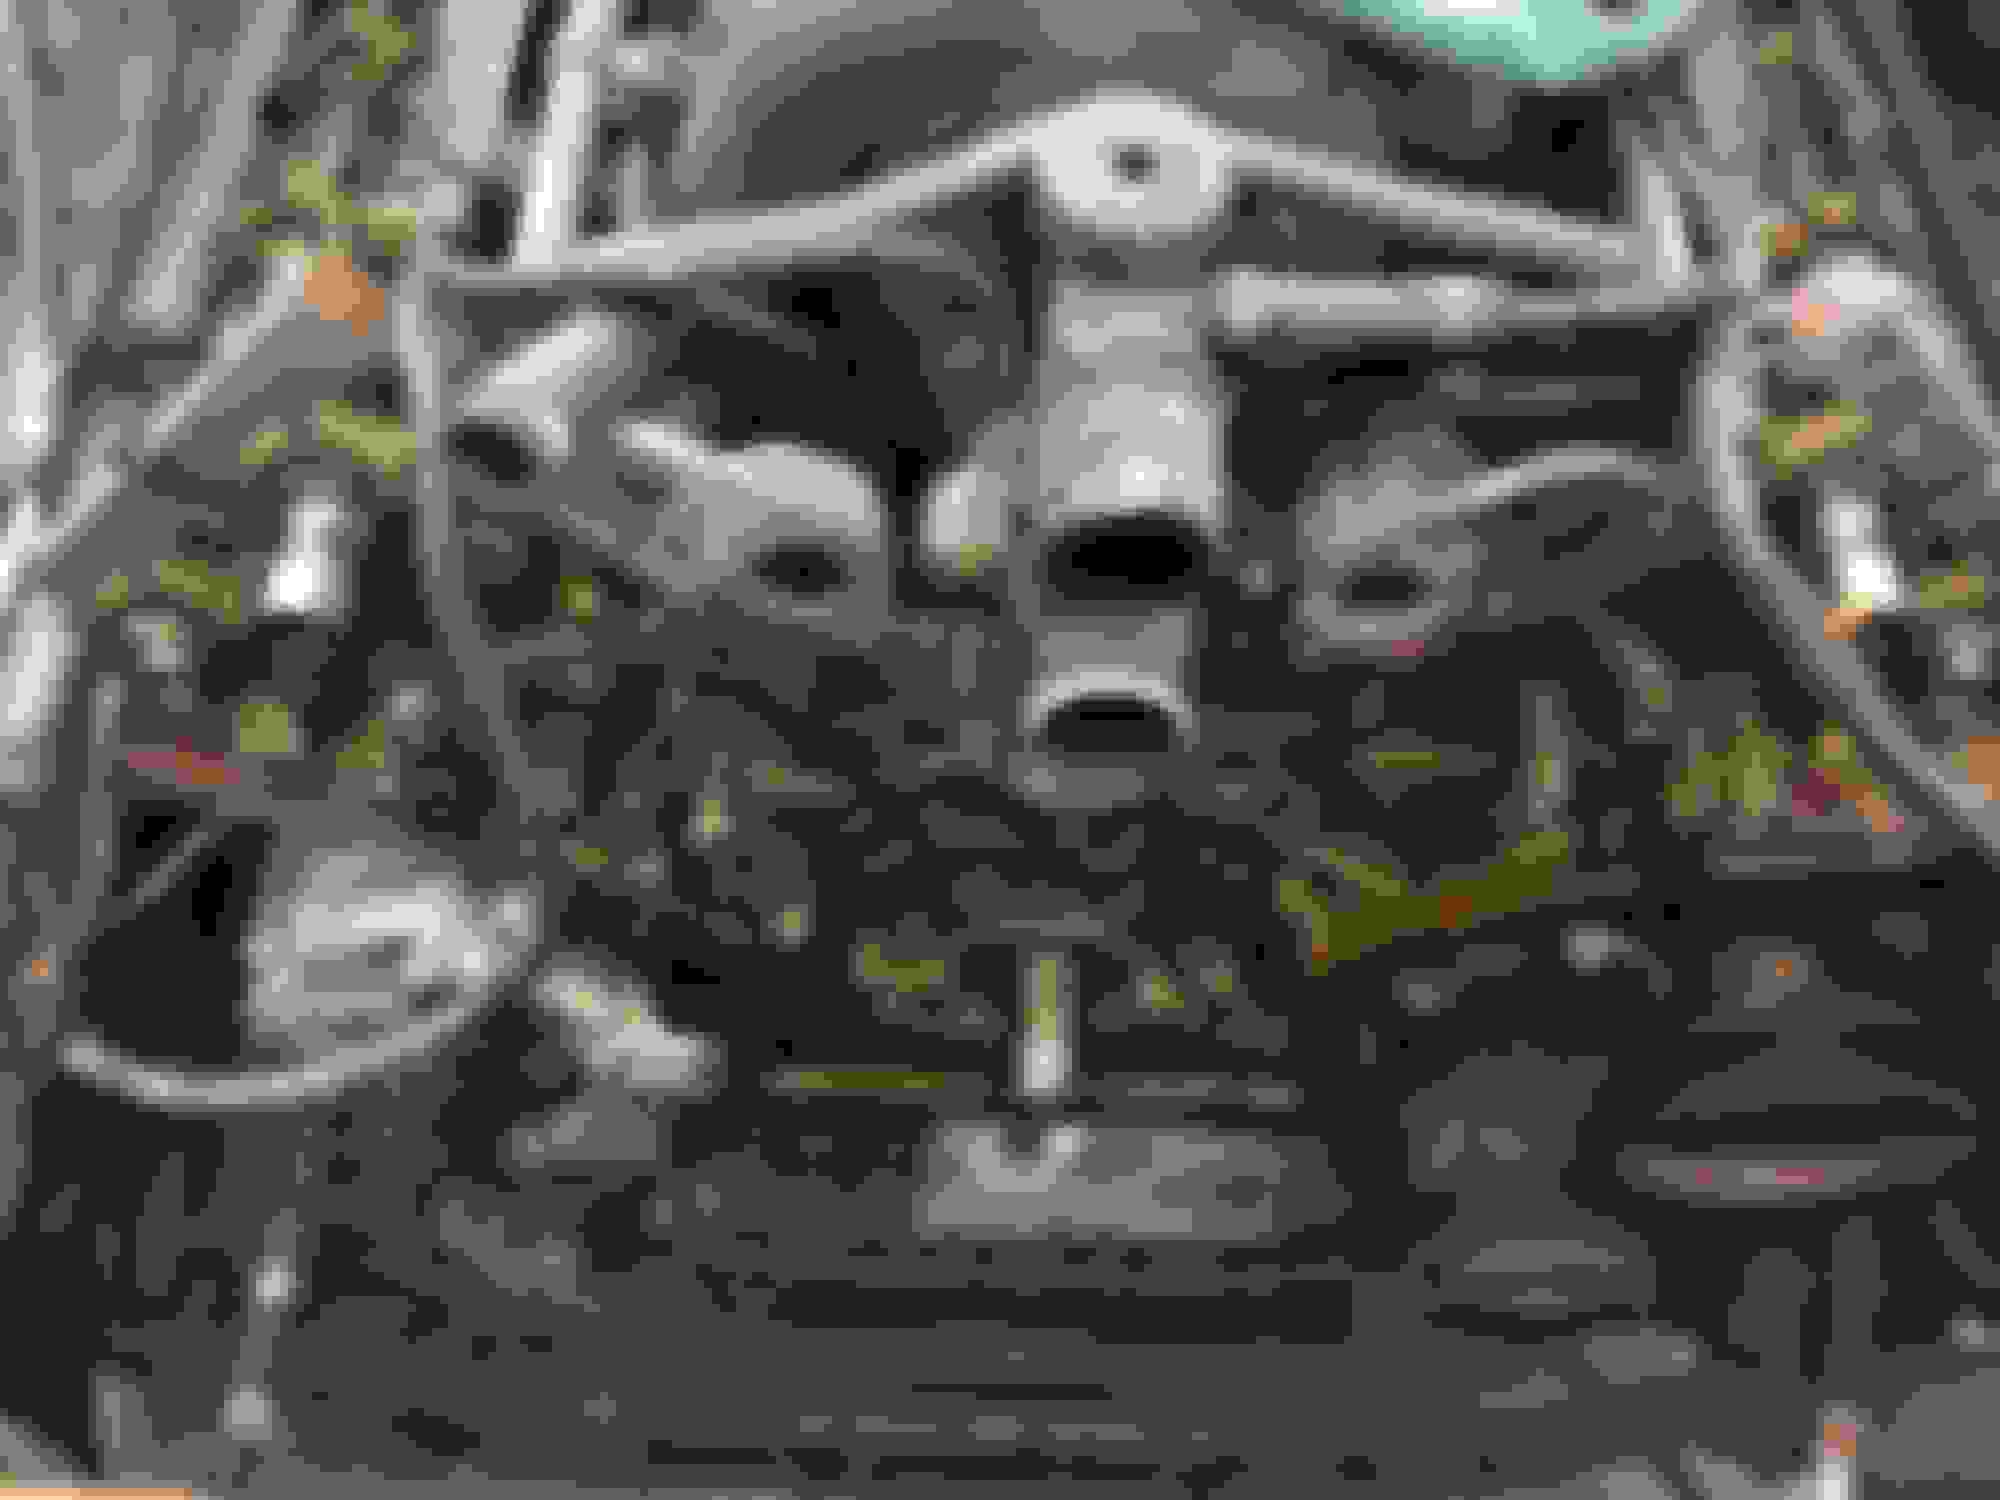
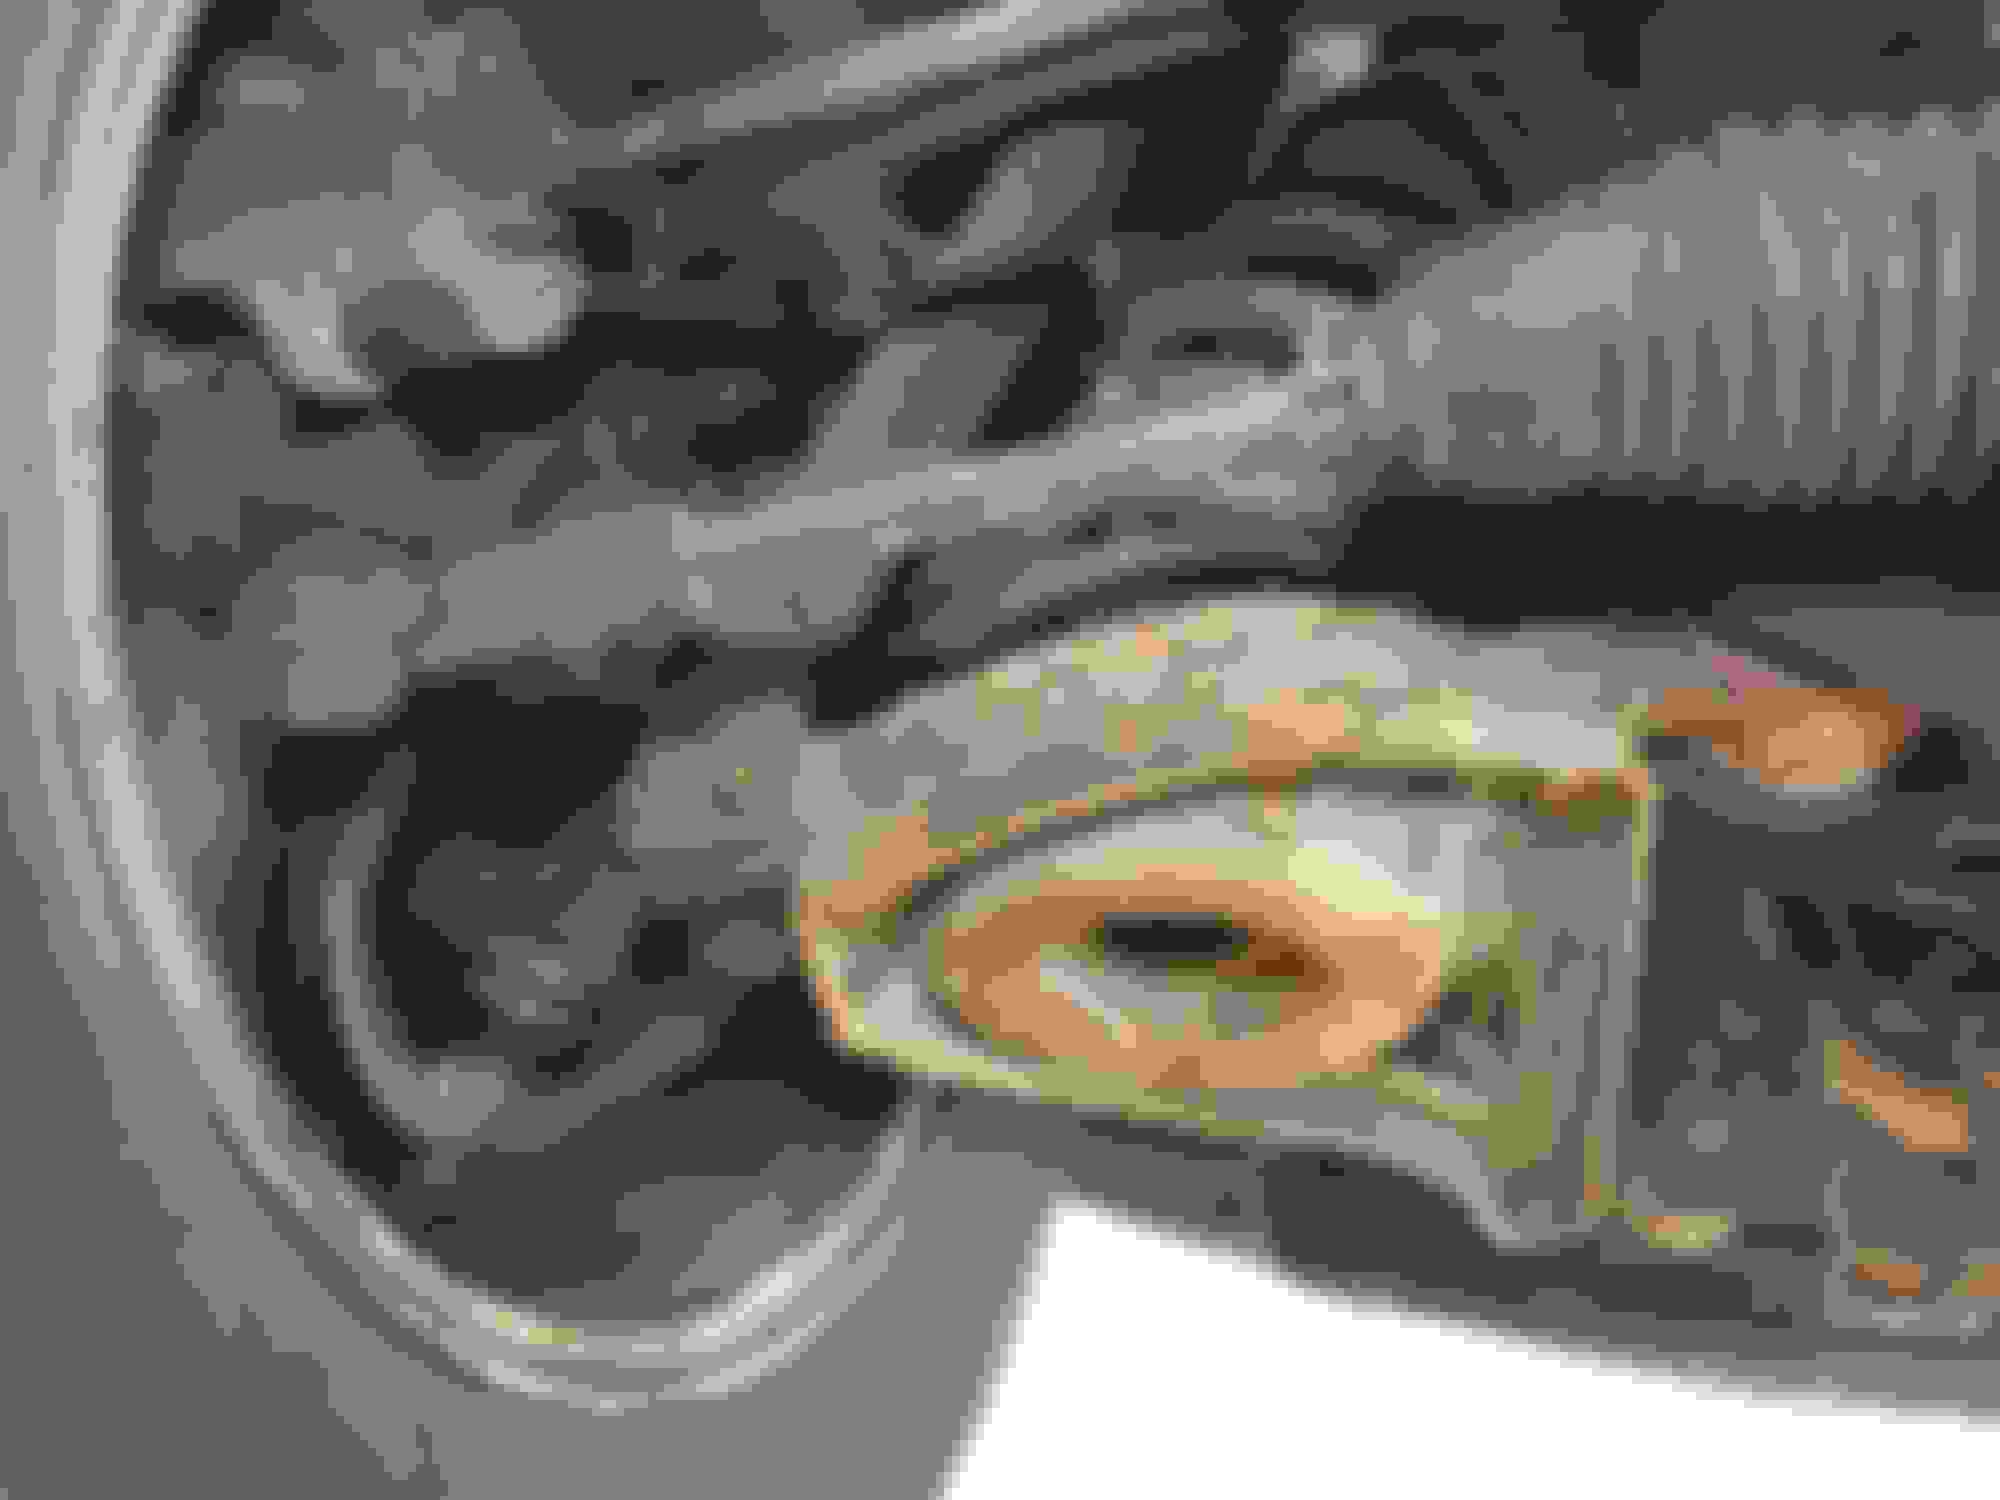
So, tranny's swapped out, tensioners done, the last thing is lower ball joint boots are gone. The joint has no play, so I was hoping just to install new boots. I borrowed the spring compressor tool my local tech, but I'm not sure how to proceed. I was thinking: remove disc and caliper, and use pickle fork to release the ball. Sound right?
Only I was replacing the bearings not the ball joints and I didn't want to damage them so I only used a pickle fork briefly. Funny thing (not so funny at the time) the first separator I used was supposed to be Jaguar specific but broke on the second joint. I tried a universal aftermarket tool like the one above and no problem, worked great.
I am sure there are a few threads on here with more details, sorry I don't have the links.
You could run into a different scenario than I did when I did mine but my ball joint separator was able to get the stem out of the knuckle (bearing housing) without much fuss. You're thinking just the boot needs to be swapped so that should get you to the point where you can do that. Taking the ball joint out was left to a shop as my ball joint press was not even close to making that budge.
The shop that took them out in their press said they made a pretty loud bang when they let go!
 02-28-2019, 10:25 AM