When you click on links to various merchants on this site and make a purchase, this can result in this site earning a commission. Affiliate programs and affiliations include, but are not limited to, the eBay Partner Network.
Have to say this forum is one of the very best I've been on for documentation and experiences, good work guys! I just picked up this 2002 XJR base model a few weeks ago. I had a 99 XJ8 about 10 years ago and always wanted to try an XJR. Well, as you all understand you have to want it real bad because it is certainly no Toyota.
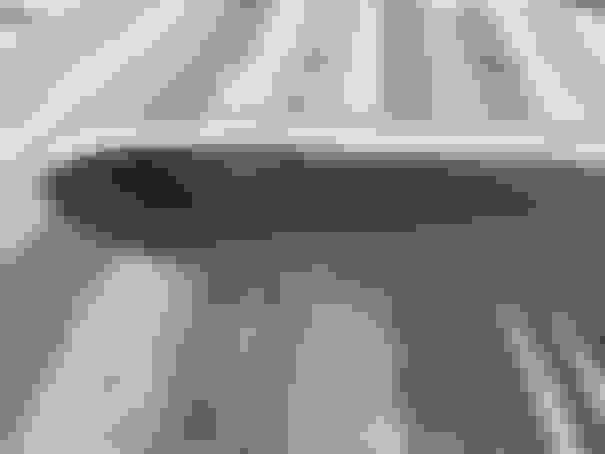
One of these ehh.. character traits(?!) on my XJR is the third brake light. It was basically in a pile on the back shelf, and it sounds like they all are from what i'm reading on here. New one is 200+$ something and for my money that is better spent making it go. They will go eventually, right?!
First the shroud, big crack along one side and most of the tabs missing. I used two part epoxy to cinch it back together. I don't have any ecru paint so I'll finish this up later this week.
Next up the light housing. This was in about 3 pieces, most of the tabs snapped off in disassembly. Thankfully not the bottom tabs. After the epoxy set i hit it with some kyrlon fusion satin black as it was faded and stained. That epoxy ran pretty bad but I had to become the clamp to hold all the pieces together and ran out of hands.
The tabs and window had about 1/4" of what looked like bathroom sealant stuck to them. I got all that off with a razor and some sandpaper and some alcohol (on the tab , not in my mouth- though that would have helped with the insane greenhouse that is the back seat/window area). I put them back with two part epoxy after reading the 127 posts on this subject. Nothing seems to work for very long according to said posts and that oem F263 or whatever is impossible to find. I miss marked the window the first time and had to get it off, quick. And it really wasn't easy at all , so I think two part epoxy is probably the way to go. I hope I got that spacing right!
I Think I'm going to make some kind of spacer up close to the window to put pressure on the housing once its all assembled and installed.
This is just one of the many adventures I'm experiencing with this thing but I thought I'd share.
I wound up using lexan to make patch point layovers and JB Weld. The JB Weld sands nicely, like bondo, and paints easily. I can't find the thread I detailed this in, I had the paint color and all.
The only thread pic I can find is this one....that's rebuild and both pieces sanded. I think I used Velspar spray can paint. The tan a semi I think and the light case I'm pretty sure I used a hammer finish.
That is some top notch work there, it looks 100% stock. I hadn't thought of JB weld, If it falls off again I'll give it a shot. The fixer in me is tempted to fit an LED bar here bypassing the need to get into it again but I think originality is pretty important with these cars.
I have LED's I replaced the originals with (https://www.superbrightleds.com/) ...there's a thread in the XK section from back somewhere around 2013, I think where a member put an LED strip in place of the bulb bar.
 09-02-2019, 04:55 PM