When you click on links to various merchants on this site and make a purchase, this can result in this site earning a commission. Affiliate programs and affiliations include, but are not limited to, the eBay Partner Network.
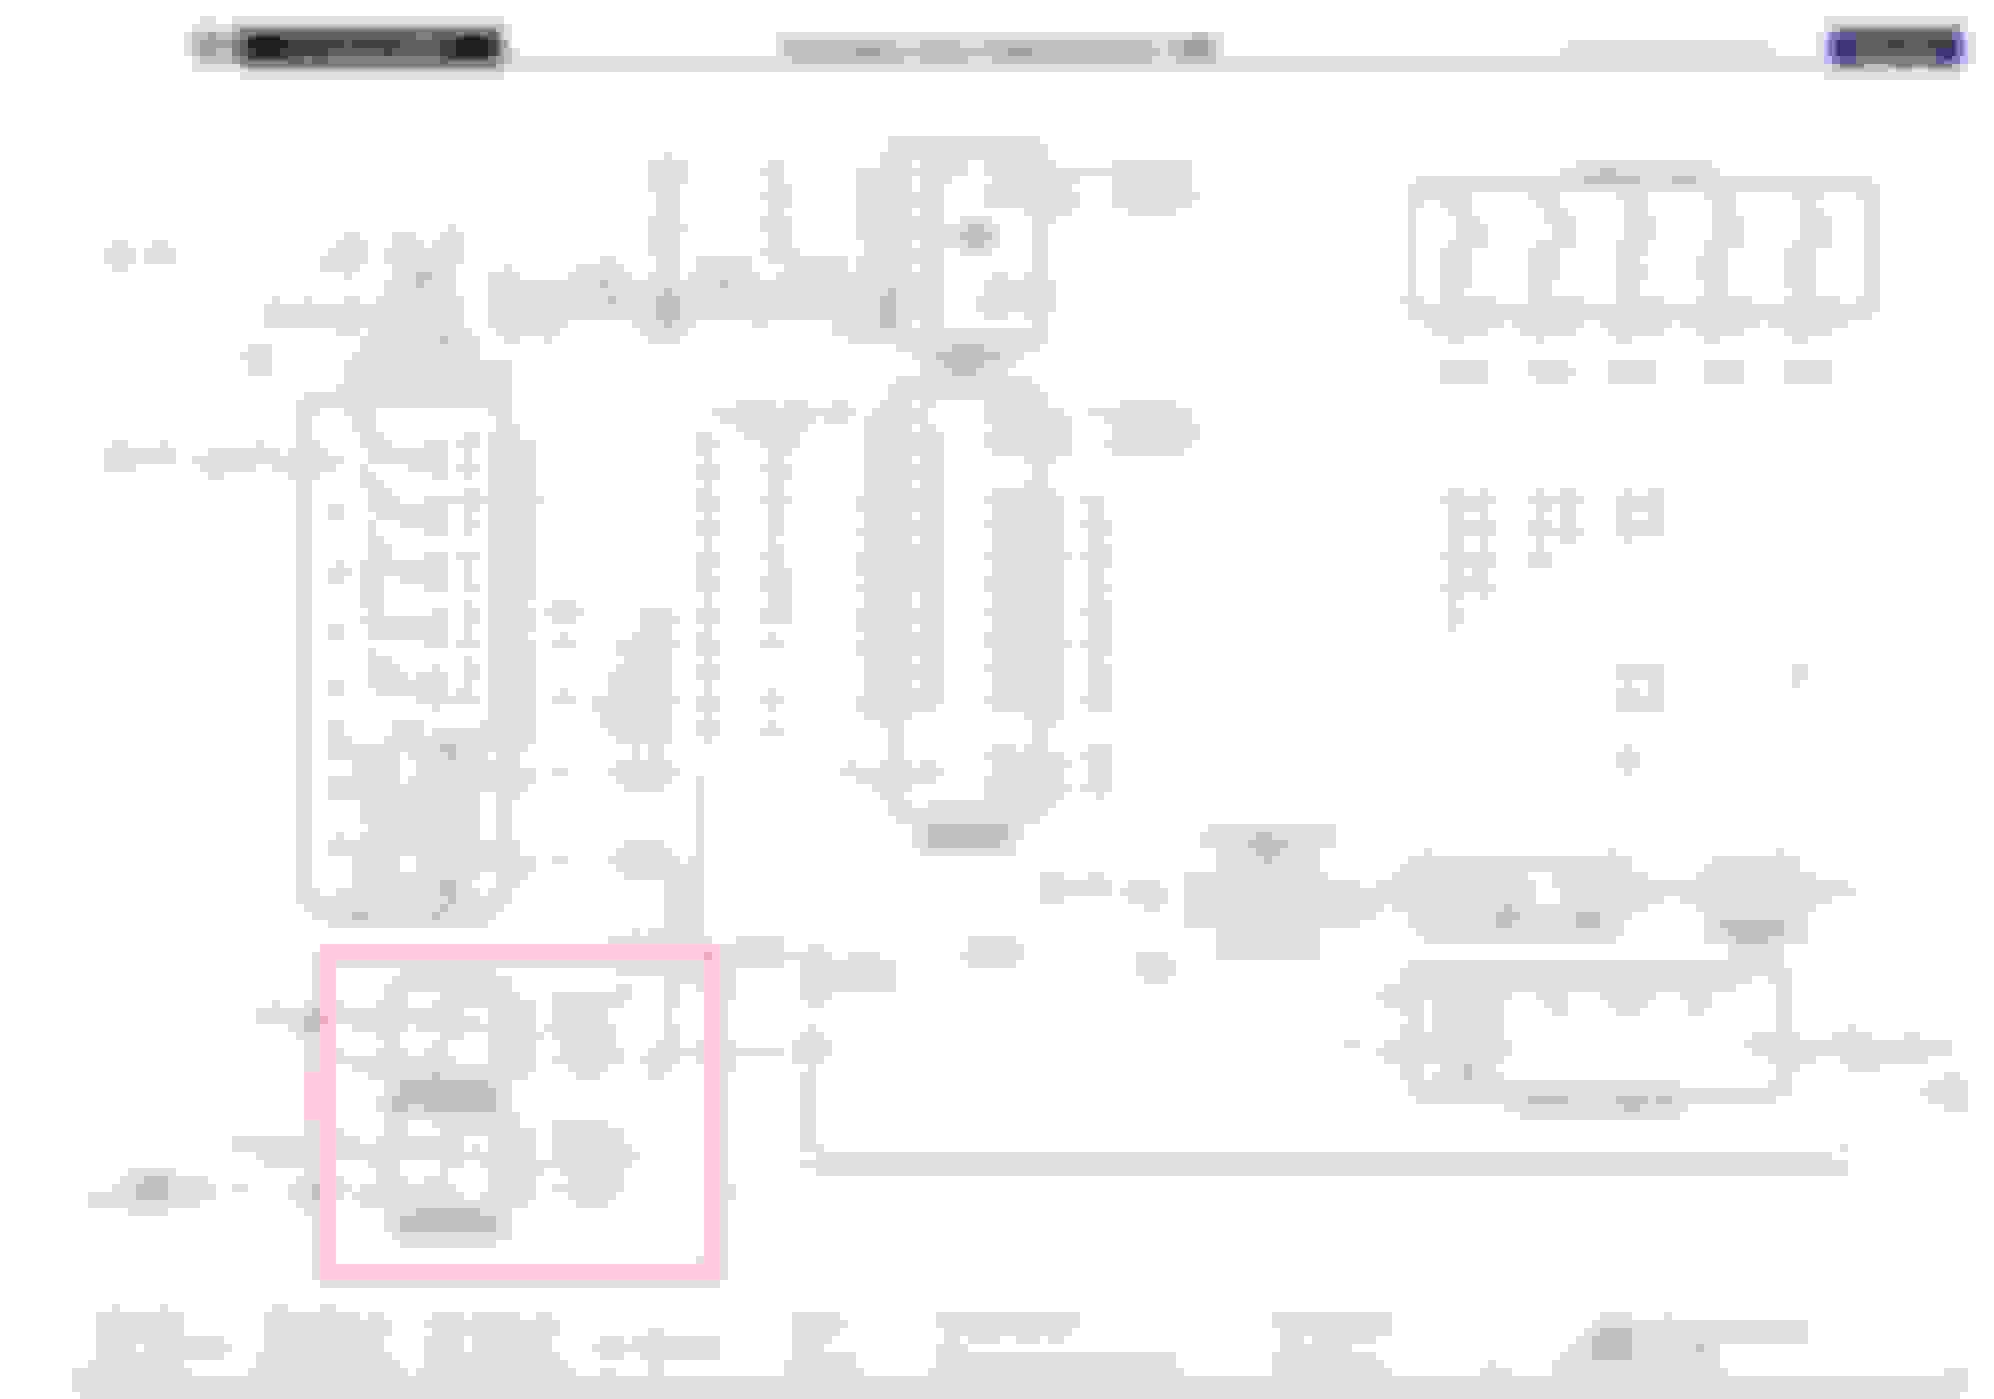
Hey guys, I'm planning to swap in some VDP seat backs with tables into my 2000 XJ8L. I would like to splice in the passenger seat rear switch and have been looking at the wiring diagram from the 2000 Jaguar electrical guide (http://www.jagrepair.com/images/Auto.../jagxj2000.pdf).
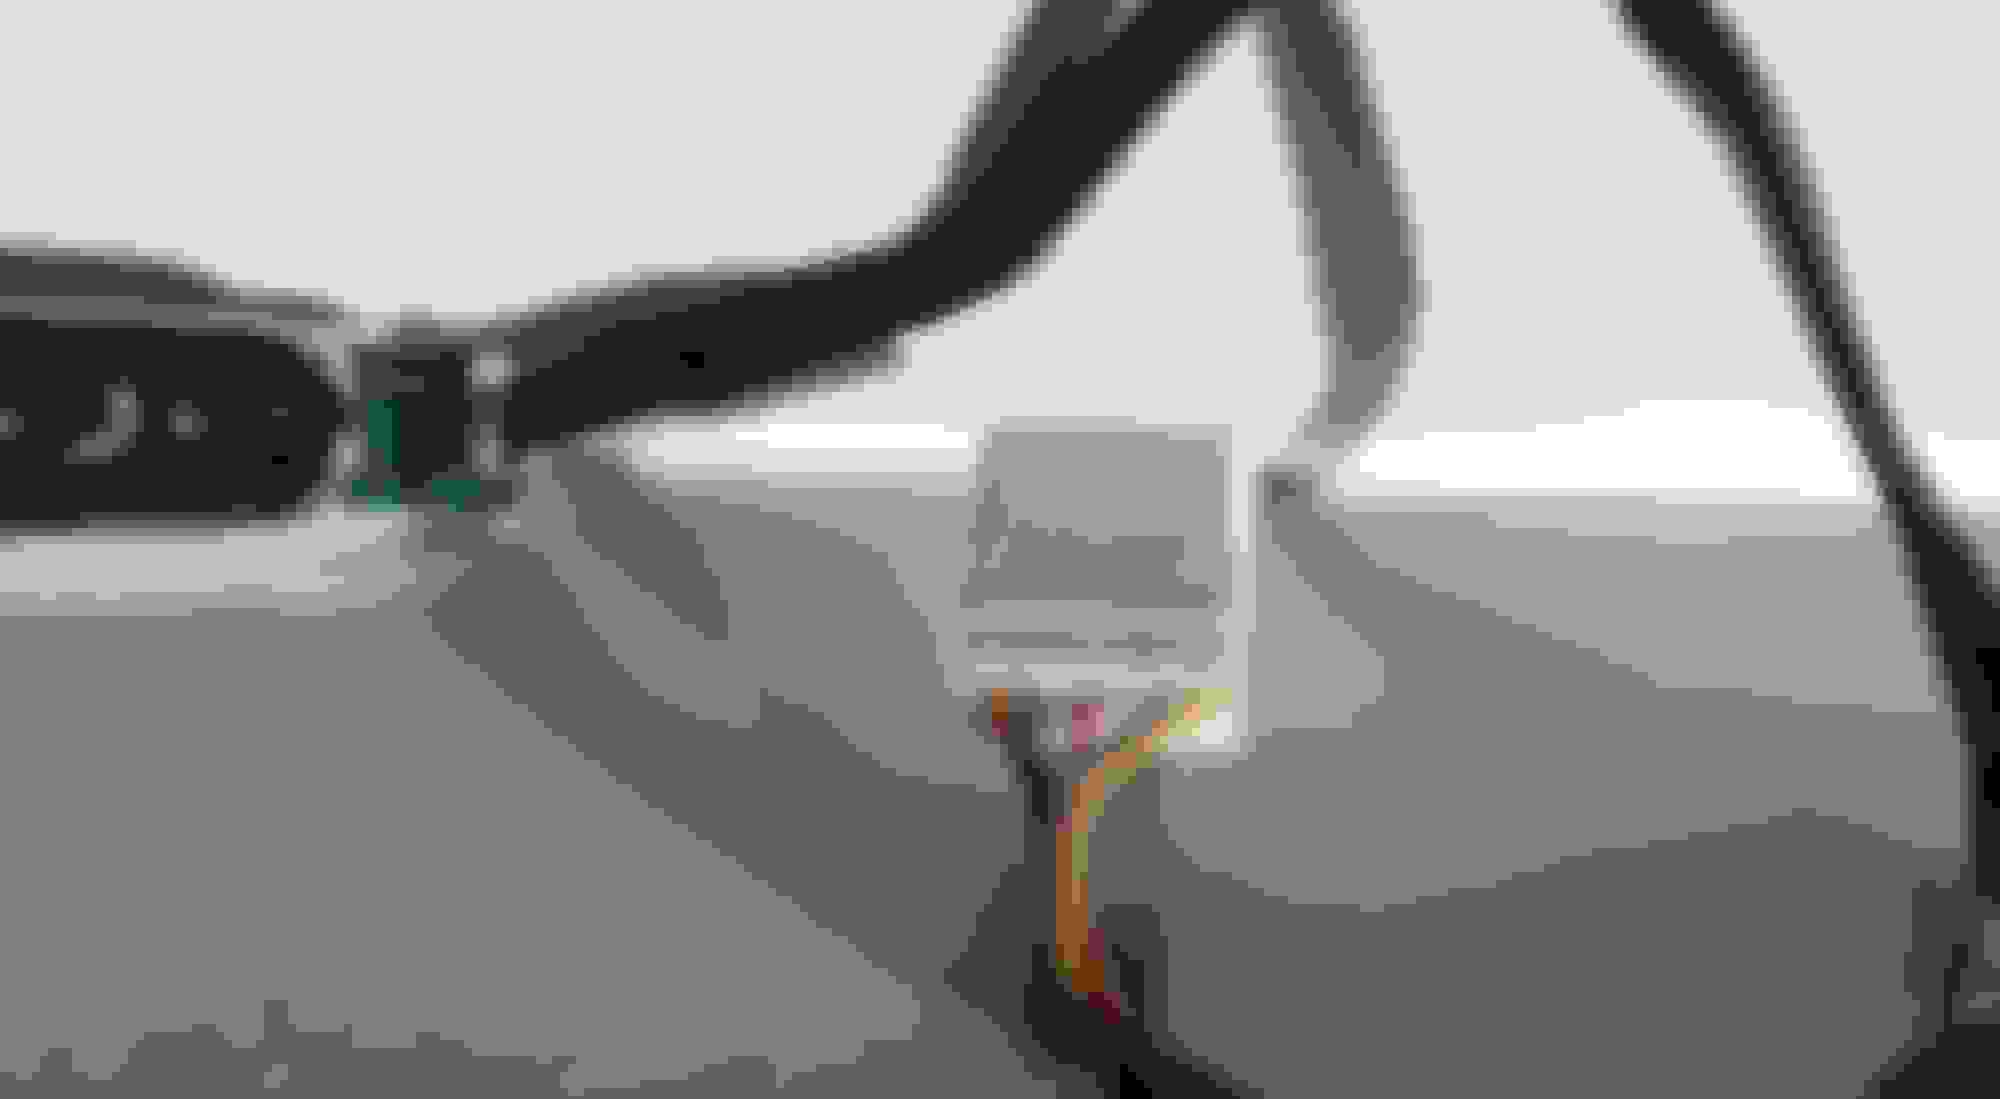
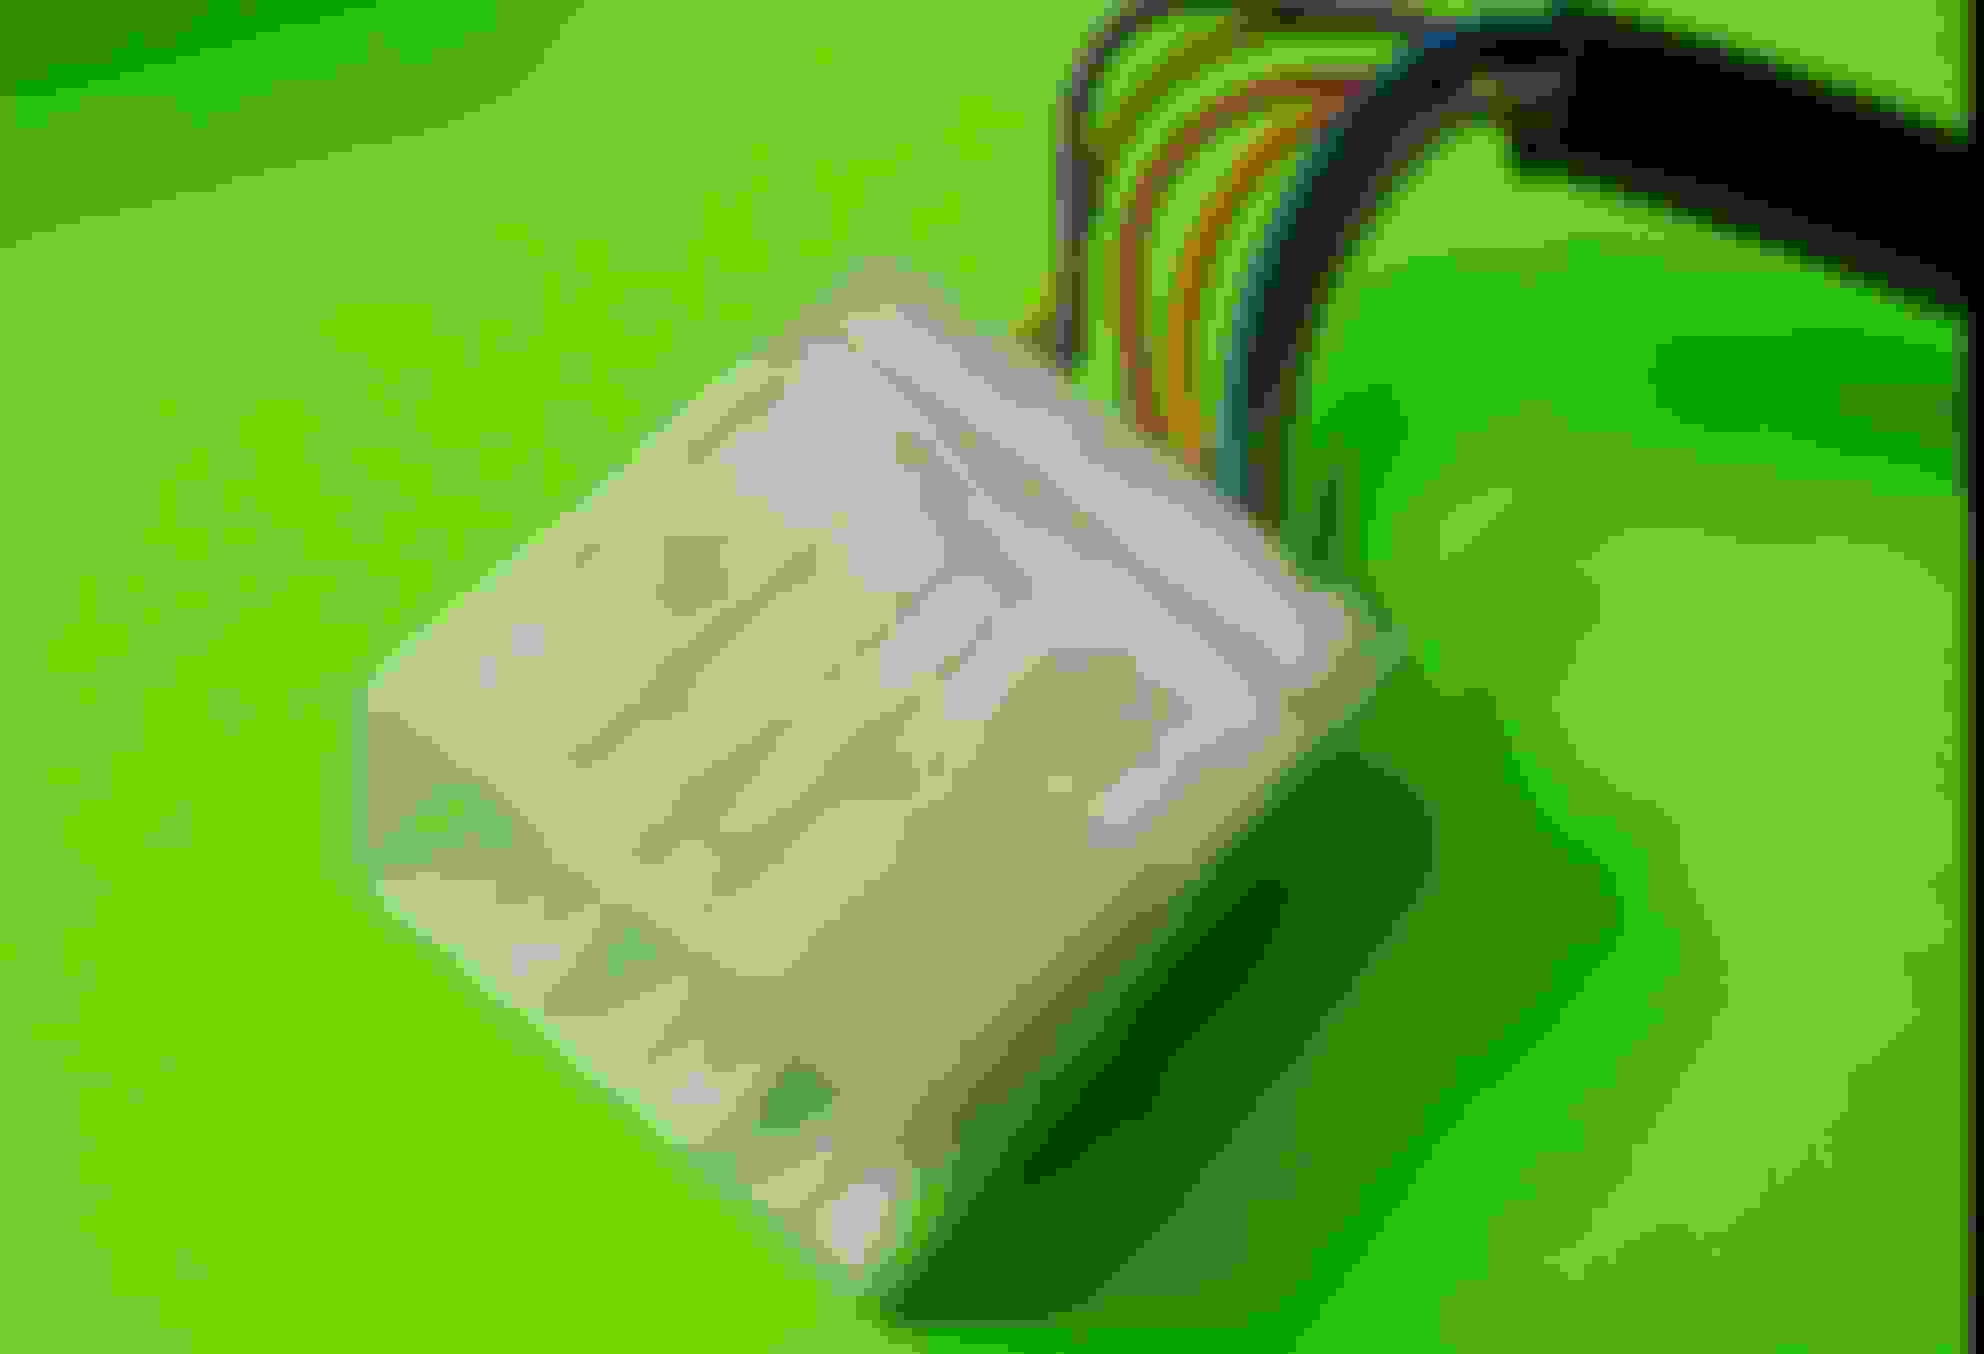
Looking at the switch, it appears there are 7 wires (purple, yellow, red, blue, grey, black, orange)
Based on the color code, the electrical diagram does not show several of these colors coming from the switch.
The wire colors coming from the switch (from the diagram above) are the following:
NG - Brown / green
R - Red
N - Brown
Y - Yellow
B - Black
G - Green
RW - Red / White
It looks like they simply splice into the passenger seat control for the recline and fore/aft movements.
Has anyone done this retrofit or have any input for the wire color confusion? Maybe I'm reading the wiring diagram incorrectly.
I'm doing a similar mod to my 98 XJR right now. Without having dug into the wiring questions yet, my plan is to find the wiring diagram for the donor car, and then try to match up where the wires go based on the diagram for my XJR. That probably doesn't help you very much, but I don't know how many people on the forum have done this modification, so you might be on your own! Hopefully someone will know the exact wires to splice to make it work quick and easy!
Yeah, I'll have to take a look at everything once I get the parts in. Hopefully it will be straight forward. May have to break down the switch and trace each wire individually.
An other member here intended to do the same, I even send him a left over original switch.
He met the same problem, as we were expecting a hidden connector somewhere (as on the VDP), but there isn't.
I checked my VDP passenger seat when it was out, and that plug is indeed just spliced into the seat-switch wires.
If it was me, remove the 4 floor bolts of the passenger seat, move the seat-back forward, and flip the whole seat backwards.
That will allow you to peek underneath, then trace the wires to the seat switches on the side.
That will give you the correct colors on your particular car.
I have recently performed this task on my 98 XJR, the best way to do this is remove the seat so you have full access to the wiring. From what Ive found the wiring diagram Incorrectly calls out the wire colors on the seat. I used the harness from my donor seats but if you do no have this it can be achieved by hard splicing wiring so you can have enough to run to the bottom of the seat. The brown/ blue wire is the power in to the switch and I ohm tested each color to determine the function, same on the seat side. Drew up a simple wire diagram and used basic splice crimp connectors. I will say for the illumination to work on the switch an add pin will be required on the seat side (floor/ body side connector already has the illumination power pin)
Heres my hand drawn wiring diagram colors for the 98� seat wires. Not sure if it matches yours but its not difficult to determine.
Last edited by Blown Income; 11-24-2019 at 06:00 PM.
This is amazing! I'm currently doing the full timing chain swap but once that's done, this is my next project. May have a question or two once I get in there. Thanks for posting.
I would just perform a simple Ohm test to determine the wire function as it does look like the wiring colors are different than mine. Im pretty sure the red (was on mine) is the power for the illumination of the buttons themselves but there should be a brown with green tracer wire which is the power input to the switch. Reassemble the switch and Ohm test each wire with the brown with green tracer wire as one side for all function control and make a simple wiring diagram as I did. You will need some wires though to run from the seat back to the seat bottom for the connection points.
Thanks for the reply. Forgive me, I am fairly competent with mechanical things but I have a very basic understanding of electrical stuff. I can solder and can do other basic things like splicing, but I�m not sure how exactly to do an ohm test with this switch.
I can pick up a basic multimeter but can you tell me where exactly I should place the 2 probes to get a reading for each wire. And this would be done on the bench, not in the car powered by the battery, correct?
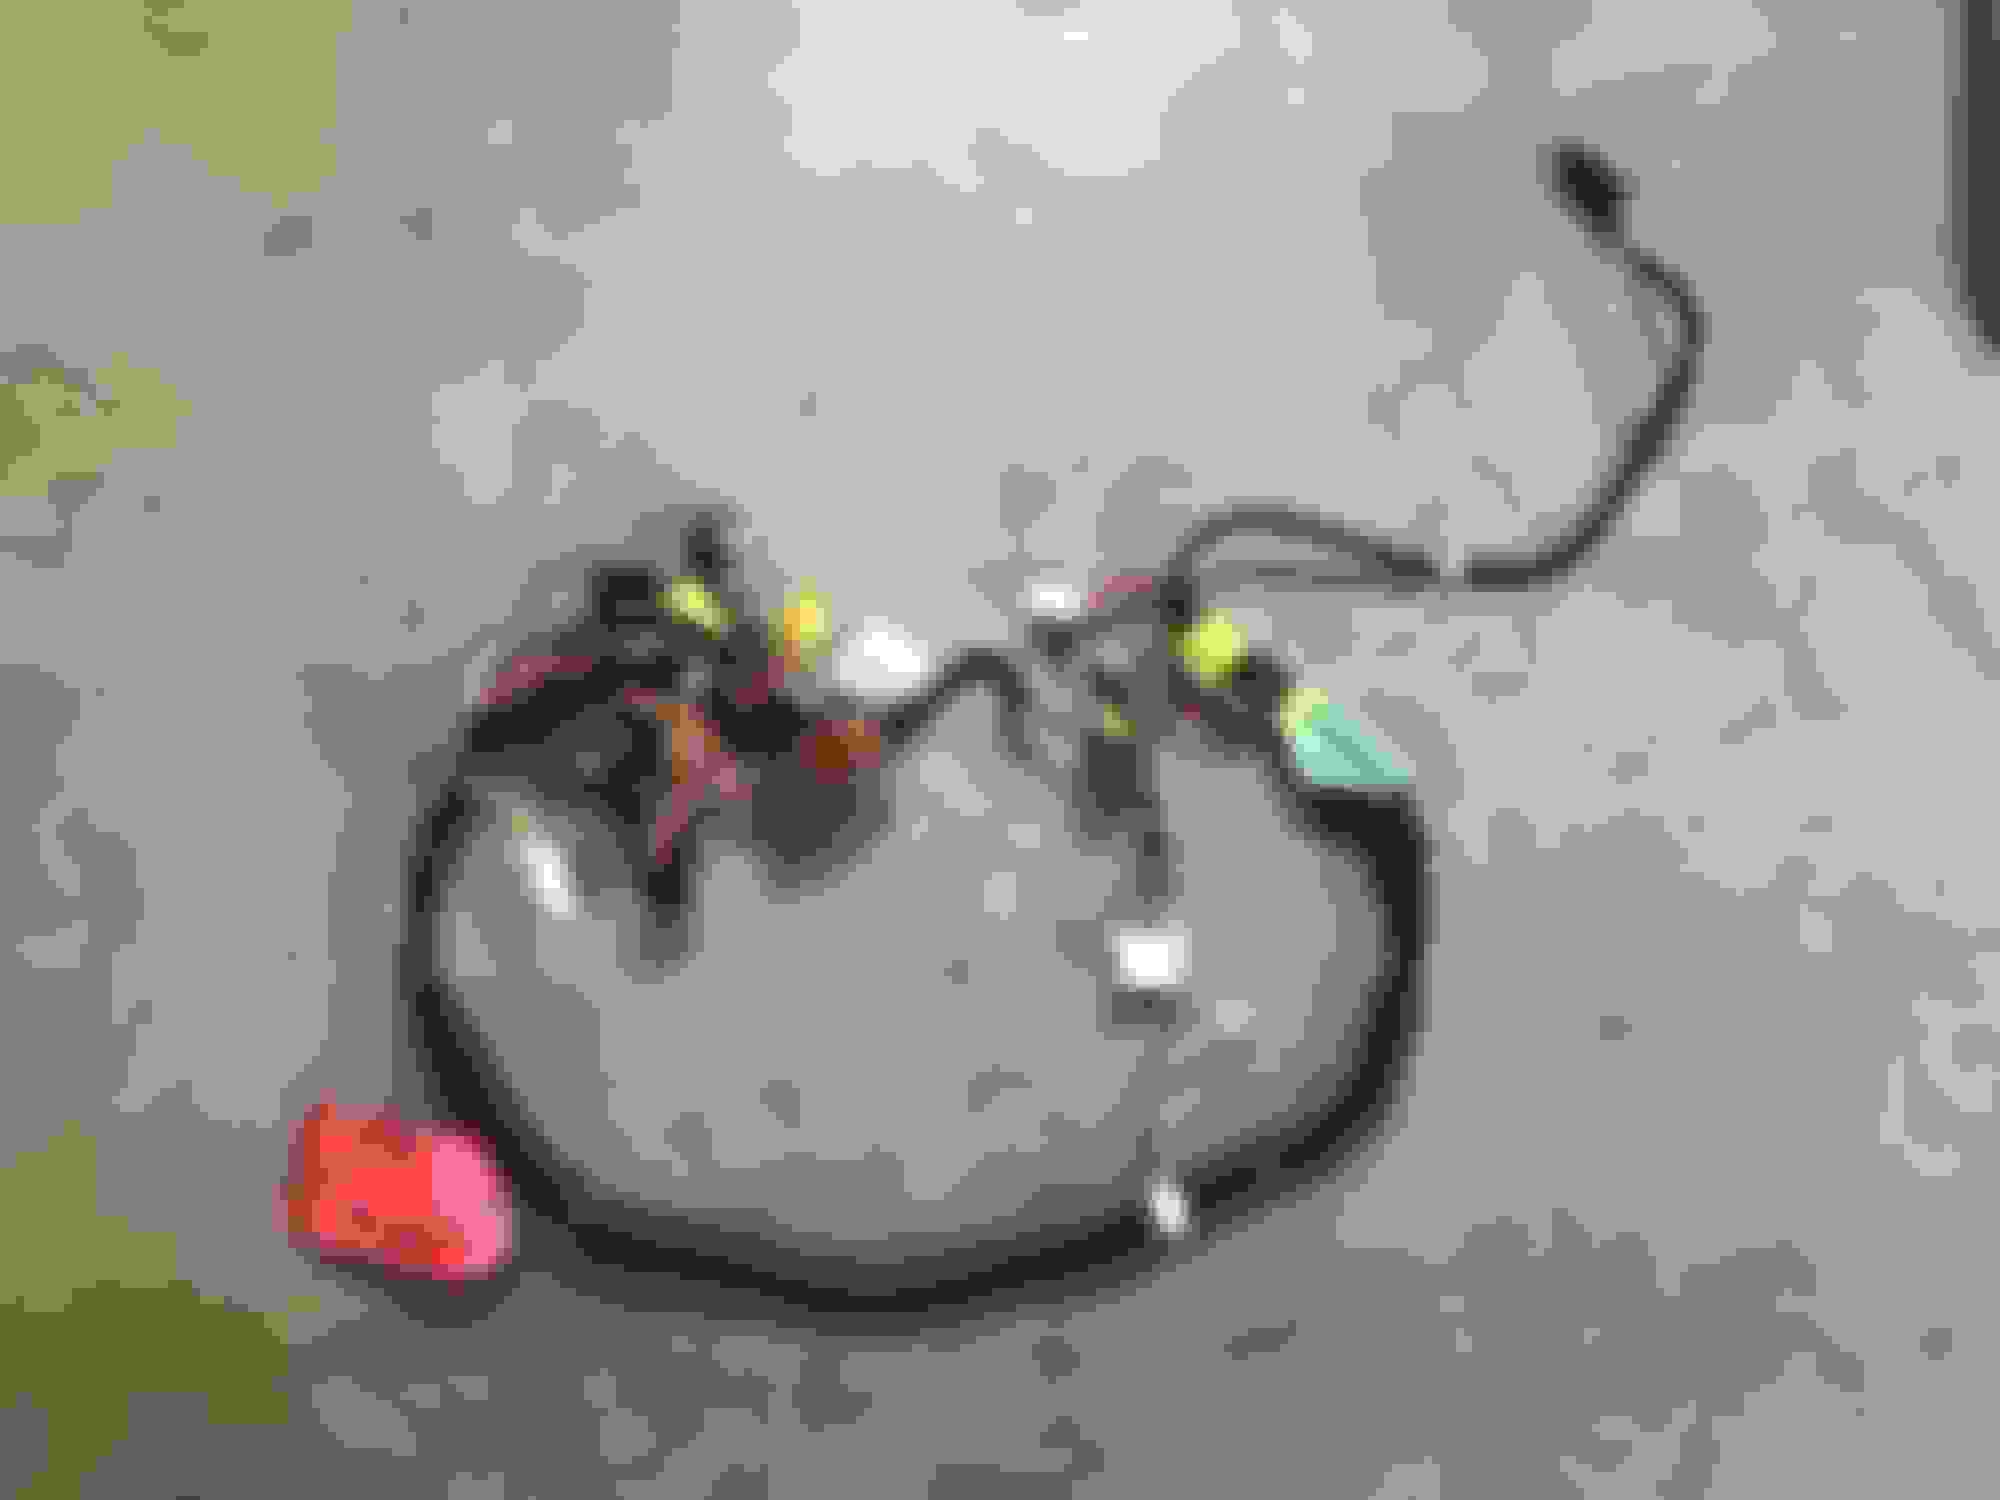
Ended up buying a 2000 VDP passenger seat wiring harness to incorperate the rear passenger switch, with minimal splicing.
I moved the seat to its most forward and up position, disconnected the battery, then removed the 4 floor torx bolts. After removing the rear seat back, I tilted the seat backwards for harness access...
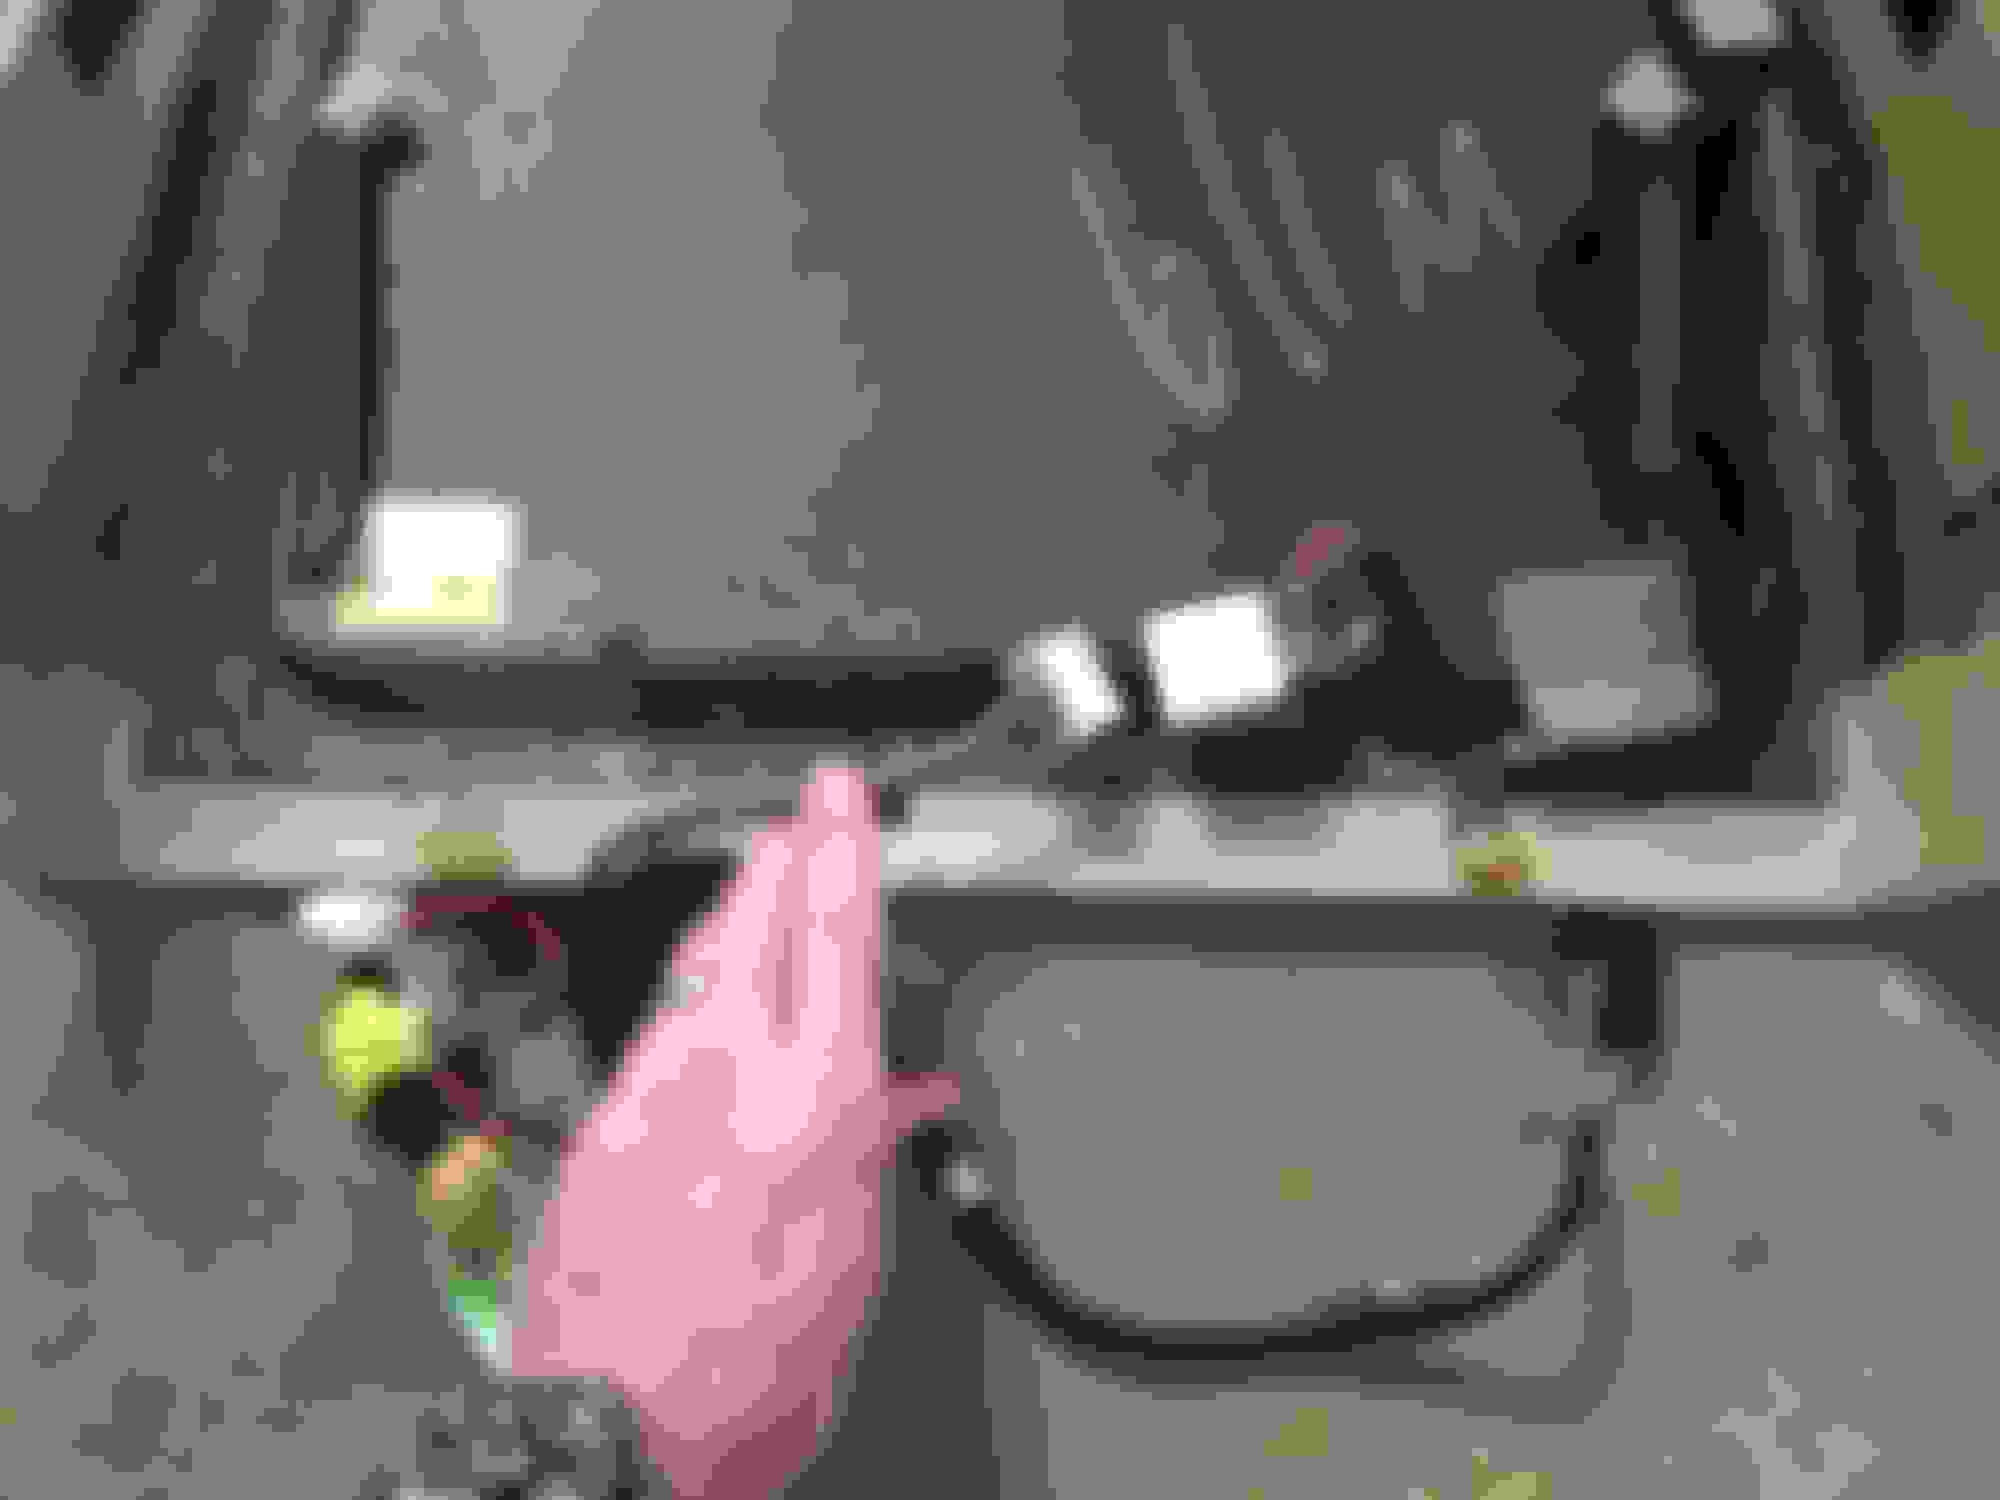
The only splicing I had to do was with this connector, which I think is the airbag connector. It was buried in the seat and would have required a significant amount of disassembly. So I stripped the wires and soldered them together. Then heat shrink wrapped and taped back together.
After it was all swapped, the tables work great! The rear passenger seat switch illuminates and dims too.
I am going to finish the same retrofit project in my XJR this fall. The seatbacks were "donated" from a VDP, and the switch is exactly like the one shown in pianoman90's pictures. Here's my question regarding the wiring: Pianoman90 said that the switch lights up and dims as it should after he plugged in the harness out of the donor VDP. By simply plugging in the VDP wiring harness, will that make the switch lights work? I'm trying to determine if there is an unused wire in the existing connector plug under the seat that controls the light once the correct harness is plugged in. Otherwise I'm not seeing how the switch "knows" that you turned the lights on. Thank you!
I am going to finish the same retrofit project in my XJR this fall. The seatbacks were "donated" from a VDP, and the switch is exactly like the one shown in pianoman90's pictures. Here's my question regarding the wiring: Pianoman90 said that the switch lights up and dims as it should after he plugged in the harness out of the donor VDP. By simply plugging in the VDP wiring harness, will that make the switch lights work? I'm trying to determine if there is an unused wire in the existing connector plug under the seat that controls the light once the correct harness is plugged in. Otherwise I'm not seeing how the switch "knows" that you turned the lights on. Thank you!
Harness should have everything needed, multi plug on the regular harness might just be blank on those pins. I know there�s an incan light hidden under there that burns out since my 99 SV8 doesn�t light up at night
I am going to finish the same retrofit project in my XJR this fall. The seatbacks were "donated" from a VDP, and the switch is exactly like the one shown in pianoman90's pictures. Here's my question regarding the wiring: Pianoman90 said that the switch lights up and dims as it should after he plugged in the harness out of the donor VDP. By simply plugging in the VDP wiring harness, will that make the switch lights work? I'm trying to determine if there is an unused wire in the existing connector plug under the seat that controls the light once the correct harness is plugged in. Otherwise I'm not seeing how the switch "knows" that you turned the lights on. Thank you!
All I had to do was plug in the VDP harness. You will have to snake the old harness out of the seat and reinstall the VDP harness but it wasn't too complicated. Once that was done, the switch works and lights work without any other work.
Not sure if different year VDP harnesses had other functions but that part number harness worked on my 2000 XJ8L.
All very helpful, thank you. I am looking for a harness using the same part number. No luck so far, but I have a call in to Jaguar Heaven and they will call me when they find one.
 11-13-2019, 09:47 AM


 ...
...
