When you click on links to various merchants on this site and make a purchase, this can result in this site earning a commission. Affiliate programs and affiliations include, but are not limited to, the eBay Partner Network.
Richy, that's probably what it is. I just didn't go through the extra steps of disconnecting the outer handle, with the (likely improper) assumption that I could at least get an idea of how easy it would be to remove without. It was probably the resistance from that which was giving me pause. For the time being, I'm going to leave it as is. Not that the door cards are hard to remove or anything, but there's nothing more I can do from inside the door, unless I need to replace the actuator, so I might as well button it back up until I find one to order up.
Will be nice to get the new cups in the doors tho:
Door cups before
Door cups after
Unfortunately, as expected my epoxy didn't work on the door handle itself for the passenger side, so time to order one of THOSE too.
But, going to pick up another one of the M16 Scows (like I did before) later today, so that'll give me some towing to look forward to.
Richy, That could very well be. I never disconnected the outside handle, since I wanted to get an idea of how they came out before trying to get my hands that far in. That was probably what was holding me back. I think for the time being, I'll leave it be until I'm ready to replace the actuator if that's actually the issue (if some WD40 doesn't clean up the lock).
My epoxy didn't hold on the door handle, figures, but I got lucky and just found one on e-bay, with a cable in better shaped than the one I just got, for under $20 so ordered that. Finally my passengers won't have to feel like they're going to break the door when they need to get out!
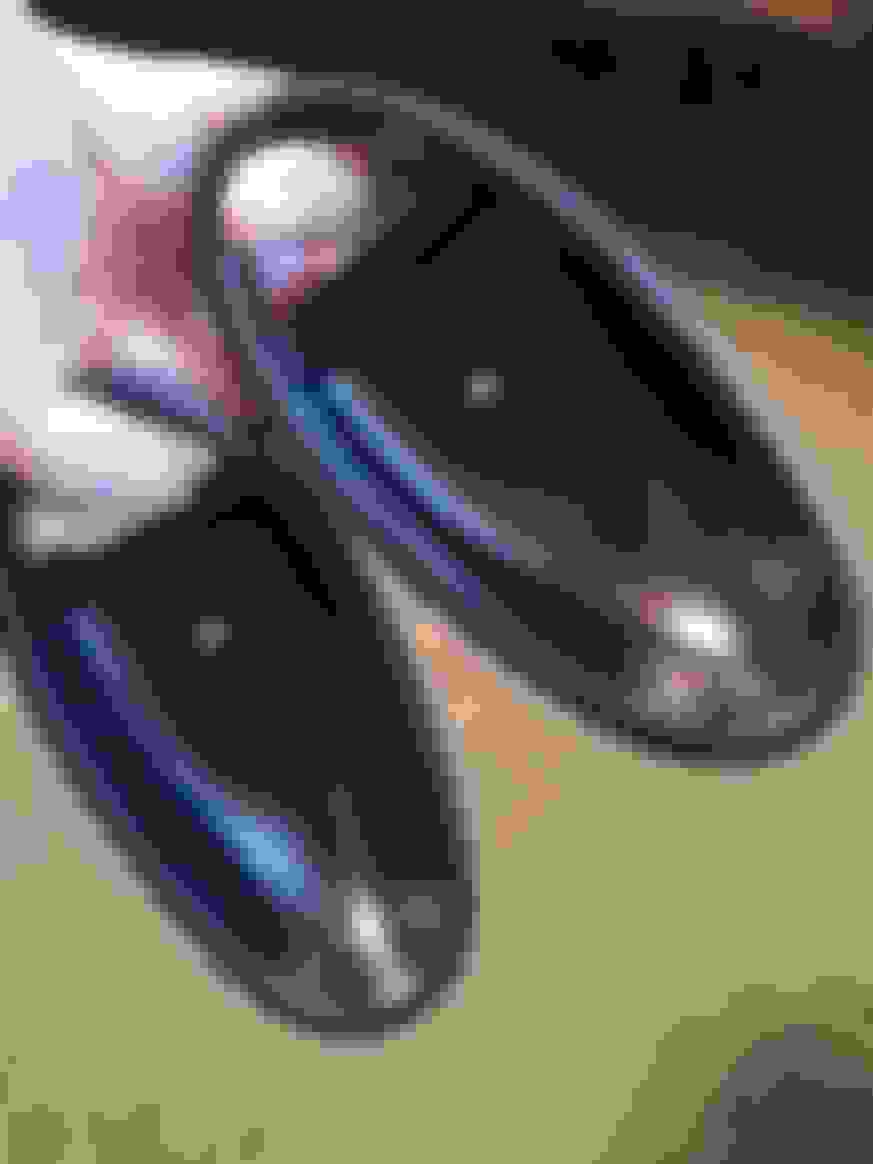
On a bright side, the handle cups are going to look a lot better:
I really wasn't going to bother putting the rest of the day's events up, but then I figured some of you might cringe/laugh, so here goes:
Some might remember that in the beginning of last year, I put a tow hitch on the car and brought back a little 16' Scow from a road trip I was on (pics in my progress thread I think? or this one, I forget). Anyway, so today I went and picked up another one about an hour away. So the doors were put back together, went to get the boat. The ground for the trailer was junk and the lights were questionable but I had brought new wire and lights with me, so all will go smooth, right? So I back my car in their driveway up to the trailer and start working. I was standing by the trunk facing away from the house when I heard something that I couldn't tell, and felt a drop of water hit my neck. No big deal, since they were working on their house. It wasn't until two minutes later when I hear their door open, his wife comes out with a full roll of paper towels and a look of embarassment. I'm thinking 'it was only like, a drop.' to myself.
At which point, she points to a couple paint spatters on the trunk lid, and apologizes profusely. At which point I realize what had happened - her husband had dropped his paint tray apparently, right on the sidewalk about 6 feet from the car. So I peek over the quarter panel and it's got some spatter, but they're doing their best with water and stuff, and I tried to play it nice, told them that I need to polish it anyway, so if it's being tough, it's not the end of the world.
I should note that I didn't actually walk around that side of the car AT ALL until I stopped to get something to eat fifteen minutes later on the way home. To say my car was speckled, would be a VAST understatement. That's when I decided it was less of an annoyance than I originally made it out to be, and more a royal "Are you serious...." vibe.
So, what did I do tonight? Spent an hour and a half scraping paint spatter from my passenger side, followed up with compounding to knock down any marks from said scraping. There's still a few here and there, but they come free with a fingernail and towel so I'll deal with them in the morning. I was going to take pictures originally, but I figured it would come clean with just some good scrubbing so I didn't bother. It wasn't until mid-way that I realized I really should've.
I finally got the replacement fans and installed them. I am a bit concerned that the lower fan is only about 3/16ths of an inch from the crank damper. Also both fans start as soon as the engine starts, indicative of a bad thermostats?
Tried desperately to replace the front brakes. ordered new brake pads but the pad thickness was too wide to clear the rotor. So now I will need to talk to a different parts house to see about a different set of pads. Any suggestions? I compressed the caliper piston as far as it goes to no avail.
Tried desperately to replace the front brakes. ordered new brake pads but the pad thickness was too wide to clear the rotor. So now I will need to talk to a different parts house to see about a different set of pads. Any suggestions? I compressed the caliper piston as far as it goes to no avail.
Which car? If it's an XJR, the 325mm rotor/pad kit on RA worked for me. Not high end, but it fits. if it's a 98 XJR you need the smaller 305 or whatever. Don't know about XJ8's. It's worth checking if the rotor thickness is above spec, by a lot, though that's pretty unlikely... If the pads are only slightly too thick you could machine the pads down a bit, also not a great solution.
Originally Posted by Daim
This:
Looks like the makings of the classiest hot rod/buggy ever. If only.
Which car? If it's an XJR, the 325mm rotor/pad kit on RA worked for me. Not high end, but it fits. if it's a 98 XJR you need the smaller 305 or whatever. Don't know about XJ8's. It's worth checking if the rotor thickness is above spec, by a lot, though that's pretty unlikely... If the pads are only slightly too thick you could machine the pads down a bit, also not a great solution.
Looks like the makings of the classiest hot rod/buggy ever. If only.
stick sized rotors. Just pad depth was too thick to get the caliper back on with the new pads. Like the pads are 2-3 mm to thick
Got my replacement door handle in the mail today, in perfect shape, so five minutes later, my door works better. I also sprayed some lithium in the mechanism to help out, and it seems to have made it smoother. I then tried spraying some in the driver's side. Action is still butter smooth, but it seems to be rather picky about when I can LOCK the door. Unlocking turns fine and perfect. But trying to turn it to lock, works once, then stops. And then after opening and closing the door a few times, and lock/unlocking with the fob a few times, it might work again, once, and then stop. It's weird.
I also pulled the intake off and cleaned the throttle body. It needed it. Then I turned my attention to the connector on the TPS, since I've been getting p1121 on and off. I can go a week with nothing, and then one day I'll get it religiously after driving twenty minutes. So while the Saab waits a new windshield (thanks, Deer..), I thought I'd at least clean things to see if I can sneak by until I can send it out for a rebuild. I pulled the connector off, and was surprised to see what looked like black sealant caked around the plug / TPS joint. And then I realized why. The clip was broken. Not on the connector, but on the TPS end. I don't know if that's been causing anything, if maybe it's jiggling every once in a while and causing it to trip, or what. But since there's really no way to fix that without replacing the TPS (on the lookout for a used one, if I can score one cheap, it might buy me some time), I zip-tied the plug up to the harness on the back of the charger cooler and tied it tight, after spraying with contact cleaner. Whether or not it helps, we'll see. I just make it a habit of running Torque full time when I drive now, just in case I need to clear the codes in traffic to keep moving.
EDIT: Well, that did nothing at all whatsoever. After everything today, the only thing that's changed is my passenger door opens easier now. Failsafe twice on the way home from town ( a ten minute ride). So as soon as the Saab gets the windshield replaced tomorrow, I'll start planning to get the TB pulled off and sent to ASI for rebuilding. Bah.
Main bypass pipe has cracked, nothing that bad, new one ordered. Front left vee mount is slowly delaminating. So ordered two new ones. The rear bishes are fine...
I finally got the replacement fans and installed them. I am a bit concerned that the lower fan is only about 3/16ths of an inch from the crank damper. Also both fans start as soon as the engine starts, indicative of a bad thermostats?
Engine is prepared ro be installed now. But needs some welding first... The right side main frame rail thingey hasn't rotted through but it needs sorting.
Car's ready for pick-up tomm. he had to take it down to bare metal as apparently we mixed the paint experiment so badly. Been a while, looking forward to getting it back !
Engine is prepared ro be installed now. But needs some welding first... The right side main frame rail thingey hasn't rotted through but it needs sorting.
Yes, definite weak point on these cars and often forgotten about. Mine was just starting to go when I bought the car, but caught it just in time. Had new metal put in anyway, better to be safe than sorry. Dirt builds up behind the shock absorber and retains moisture leading to corrosion. Another weak area is the sill ends behind the front wheel arch liners.
I've not done anything with my XJ since I returned from my holiday, she's just sat on the drive looking good. I've actually turned my attention to my little Triumph which is in need of some TLC. I've dropped the Diff out to have that overhauled and I'm in the middle of replacing the overdrive solenoid. I've got a list to work through on that car, so that's where my focus will be in coming months.
Mine hasn't rotted out yst, but the surface has somd major damage. The drivers side is better but a little rusty on the surface. So I'll clean that side up, put some rust convertor on it and give it a good coat of paint and underfloor sealant.
The sill tips look fine. Just stone chippings. The passengerside corner in front pf the jacking point (section wheel well to floor pan) looks crispy. Nothing awkward though. Might end up just cutting the rot out and glueing a shaped panel over it.
 06-02-2017, 11:12 AM