When you click on links to various merchants on this site and make a purchase, this can result in this site earning a commission. Affiliate programs and affiliations include, but are not limited to, the eBay Partner Network.
Good news is they found the damn coolant leak that 2 other "shops" couldn't locate. Was losing 3-5 ounces of coolant every 500-600 miles with no visible clues. It was a hose on the bottom side of the engine.
Anyone have a large printable diagram of the rear hub/spindle/knuckle I can take & get them to elaborate better. As I think terminology w/ them being lifelong southern guys is adding some murk to the picture. "Bushings & knuckle" threw me for a loop over the phone.
Glad the nuisance coolant leak's being addressed though.
Spoke too soon, got the "low coolant" light again, not even 100 miles later. I don't mind paying $300+ for labor on a $25 hose, but I do expect it to fix the damn problem, looks like I'm calling the shop back early Monday morning.
Last edited by King Charles; 08-30-2019 at 09:27 PM.
Installed my front and rear led turn signals. No hyper flash, no resitors installed either. Attempted to replace my front rotors. It is my understanding that xjr (non Brembo) and xj sport use the same brake rotors. So I ordered slotted brake rotors from R1 Concepts. The rotors they sent me look like the same size as XJR's with Brembo brake pack. I looked at my 03 xjr r1, and yup. Very identical size wise.
I already replaced all the climate control and odometer bulbs with LEDs so I decided to do the master window control panel yesterday. Pretty much every old instrument bulb has burnt out and I will get to the other doors in the future.
It is hard to find bulb replacements that have the correct plastic holder so I just buy some generic LEDs, pull them out, and put them in the previous plastic holders. Unfortunately I could not salvage the old holders this time so I just decided to solder them directly to the circuit board. Worked out pretty well.
I was less than impressed with the stock speakers that I saw when I had the door cover off. So buying all new speakers from Amazon. Another weekend, another project. Fun hobby and great way to spend money!
Inspected my front suspension to try and track down the knock. It sounded very similar to the bad upper shock mount I had just replaced less than a year ago(and has been making noise for some time...). All of my ball joints, control arm bushings, etc. looked good, and had no play when checked with a pry bar... so I checked out the new upper shock mount and though it wasn't dry or broken apart, there was play when i pushed down hard on the fender.
So I pulled out the shock mount and sure enough, the bushings were quite loose, as if they were too small for the assembly. It was one of the Meyle shock mounts that people seem to think are the best option, short of OEM. No real way to tighten things up and nowhere to get a replacement in Hawaii, so I took a spool of twine and wound it between the bushing and the mounting plate, like winding up a yo-yo. Then used a rod to lever the other side just a bit and did the same on the top. The fit for now is plenty tight and the knocking is gone. I don't know how long the hemp solution will last...
Any recommendations for good bushings that will fit the Meyle mounts?? I quite like my car quiet!
I also went to the creepy car wash while I waited to pick up my wife...
Last edited by Colin Cross; 09-02-2019 at 02:22 PM.
Took her out of the storage, washed her, polished her, and took care of the 1/2 yr treatment of all leather.
She got the competition from the XK8 for the last 9 months, but I actually love this car more.
Will pick up a friend from the airport tomorrow, this will be the Super-Uber for him ...
I spent a little time this morning replacing the trunk liner in my 2001 XJ8 VDP after having the fuel pump replaced.
As per a previous thread describing an intermittent problem it was finally deduced that the problem was an intermittently-faulty fuel pump. Having read many reports of what a PITA it is to disconnect the feed-and-return fuel lines located above the rear axle/differential, and seeing as I don't have a lift, and also as I am too old to be lying on my back under a car on jack stands, I decided to let my local independent shop do the job.
The mechanic at my independent shop did have a lift, and is a lot younger than me, but still commented on what a PITA it was to get at those fuel lines!
Because the car had taken to the habit of just quitting due to the faulty fuel pump I was sweating it a little when I drove the 12 miles to the shop to be fixed, I was dreading it quitting half way there and having to pay for a flatbed tow truck to get it the rest of the way……..but all was well and the car managed to get all the way there without stopping.
My independent shop is very compliant and let's me buy my own parts, it makes it cheaper for me, and I get to have the make/type/style of part of my choice installed. The advantage to the independent shop is that if the parts fail in any way they are not responsible and I would have to pay to have the job done over if this was ever the case. I also helped save some time by removing all the paneling/carpeting in the trunk, and replacing it all afterwards.
Anyway, I purchased a new fuel filter for $16 and an AC Delco fuel pump on eBay for $34.95, which was (correctly) reported to be a direct fit, and came complete with a new strainer and hoses etc. So $50 bucks for parts, and the independent shop charged $350 labor and now the car runs perfectly again.
I spent a little time this morning replacing the trunk liner in my 2001 XJ8 VDP after having the fuel pump replaced.
As per a previous thread describing an intermittent problem it was finally deduced that the problem was an intermittently-faulty fuel pump. Having read many reports of what a PITA it is to disconnect the feed-and-return fuel lines located above the rear axle/differential, and seeing as I don't have a lift, and also as I am too old to be lying on my back under a car on jack stands, I decided to let my local independent shop do the job.
The mechanic at my independent shop did have a lift, and is a lot younger than me, but still commented on what a PITA it was to get at those fuel lines!
Because the car had taken to the habit of just quitting due to the faulty fuel pump I was sweating it a little when I drove the 12 miles to the shop to be fixed, I was dreading it quitting half way there and having to pay for a flatbed tow truck to get it the rest of the way��..but all was well and the car managed to get all the way there without stopping.
My independent shop is very compliant and let's me buy my own parts, it makes it cheaper for me, and I get to have the make/type/style of part of my choice installed. The advantage to the independent shop is that if the parts fail in any way they are not responsible and I would have to pay to have the job done over if this was ever the case. I also helped save some time by removing all the paneling/carpeting in the trunk, and replacing it all afterwards.
Anyway, I purchased a new fuel filter for $16 and an AC Delco fuel pump on eBay for $34.95, which was (correctly) reported to be a direct fit, and came complete with a new strainer and hoses etc. So $50 bucks for parts, and the independent shop charged $350 labor and now the car runs perfectly again.
Do you know what the Indie would have charged... if you let them buy the parts & did not remove the trunk carpeting?
I would guess that most Indie shops would pad the price of an aftermarket pump, maybe up to $99, maybe $150 or more (An OEM pump is $400+).
Removing the trunk liner isn't much work, but it does take maybe an extra 30 minutes to remove and replace, so add another $50-$75.
I think the specified time by Jaguar is 3.6hrs for the fuel pump replacement, getting at those fuel lines can be a struggle, I bet some shops would charge as much as 4.5-5 hours, plus pad the parts, so could be anywhere from $400- $750 depending on the shop. I suspect a Jaguar dealership would charge as much as $1,200.
Great job to get it done for $400. ($350 labor + $50 parts)
I wish I knew a local, competent, honest Indie shop.
Yes, I am very lucky to have found this local independent shop, one of the reasons he is Jaguar oriented is his wife (who also works at the shop) owns an S-Type Jaguar, so he has several Jag customers as well as some Audi, BMW and Merc customers even though he is not one of those "Specialist European Shops", so his prices are very reasonable ($95 an hour) and he is expert, knowledgeable, versatile and a great guy!
Installed my front and rear led turn signals. No hyper flash, no resitors installed either. Attempted to replace my front rotors. It is my understanding that xjr (non Brembo) and xj sport use the same brake rotors. So I ordered slotted brake rotors from R1 Concepts. The rotors they sent me look like the same size as XJR's with Brembo brake pack. I looked at my 03 xjr r1, and yup. Very identical size wise.
What brand/model LED's? Been interested in LED turns for a while but never got to it, didn't want to deal with soldering in load resistors.
Brembo - 355mm rotors, non-Brembo XJR - 325mm rotors up front, if I remember right...
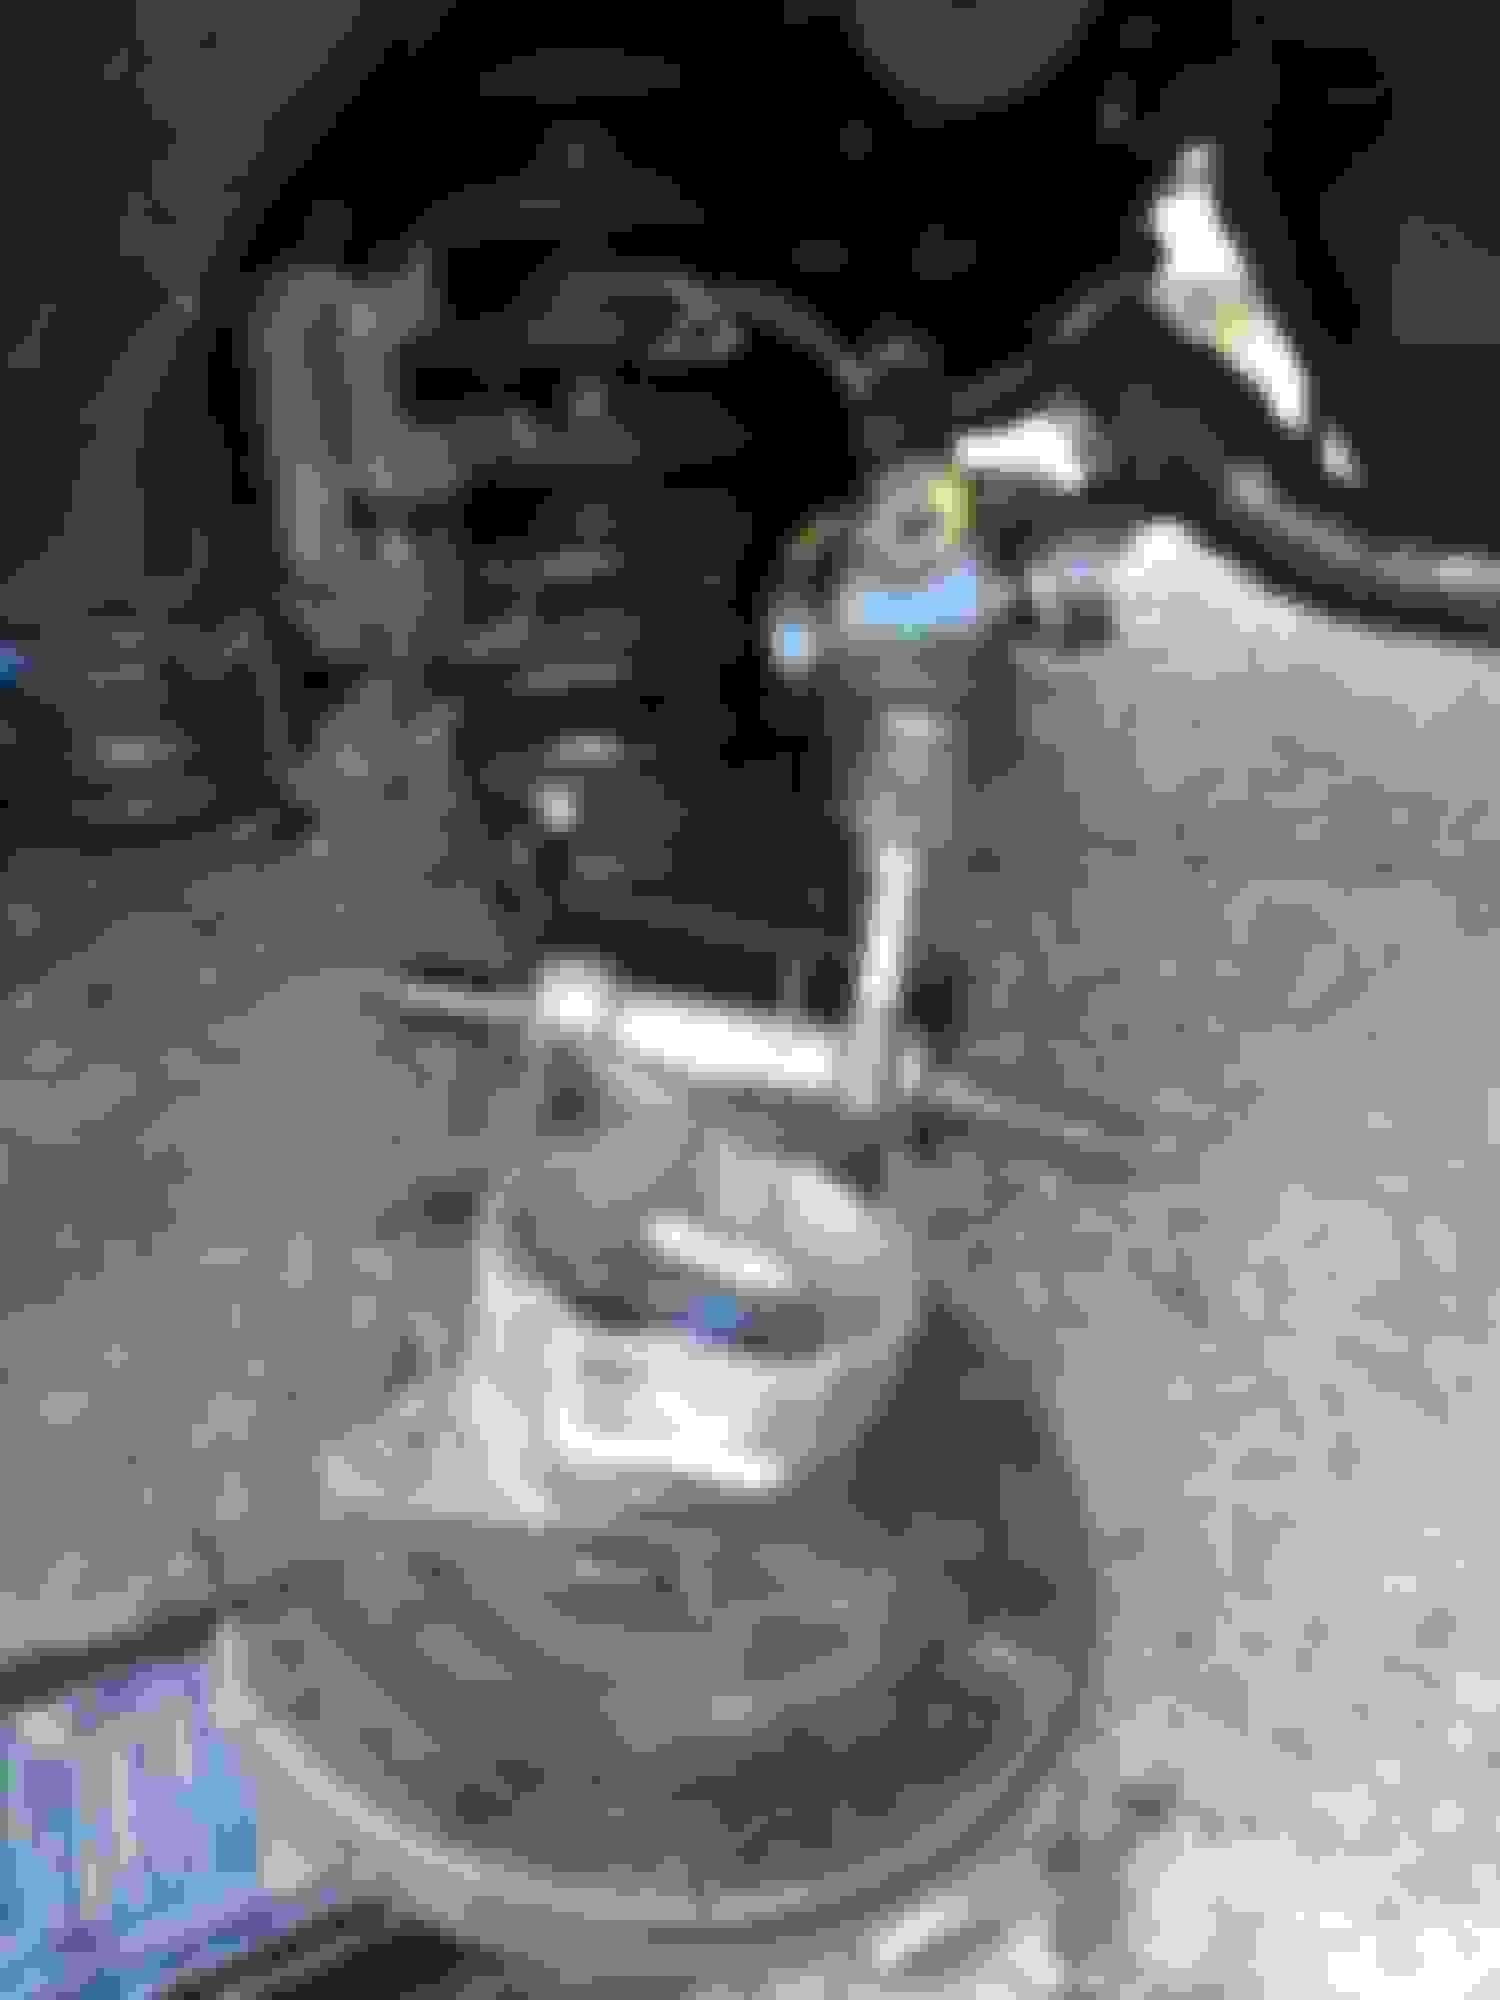
That sure looks like it likes being where it is and doesn't want to come out!
Good luck with the press, it should do the job with enough force and a nice fitting socket/spacer on the outer steel of the bushing.
Your right Carnival Kid. It worked!
I'm very glad I had the press to hand. Strange to need it for the knuckle but not the bearing disassembly. What a mess though! Got the tube out of the knuckle with a nut and bolt set up. It's quite a small diameter Those bearings look like they could do with some refreshment! Nasty mess in there, probably why it moved around so much!
Last edited by chris-jag; 09-11-2019 at 05:22 AM.
Reason: 🙃
Well I've finally finished replacing the u joints on both sides, renewing the rear wheel bearings, painting the lower wishbones and replacing the fulcrum bearings. The needle bearings in the u joints was a total pig too. That's a really hard job for the uninitiated, so remember to freeze the u joints if you've never done it before.
It's taken the better part of two weeks off n on, and I'll attest to feeling like it nearly beat me. Reinstalling the parking brake really was an unexpected nightmare job at first. Finding the rear wheel Nuts extremely easy to unscrew was alarming when I started the job.
But it drives nicely now so I'm happy 😁
It wouldn't start when I tried it first time and I had to reset it via the "disconnected earth strap to battery positive" trick. Heaven knows why. Also stalled on the first test drive. Don't know why there either.
For some reason the front shock absorber has decided to start rattling... .Funny creatures these jags!
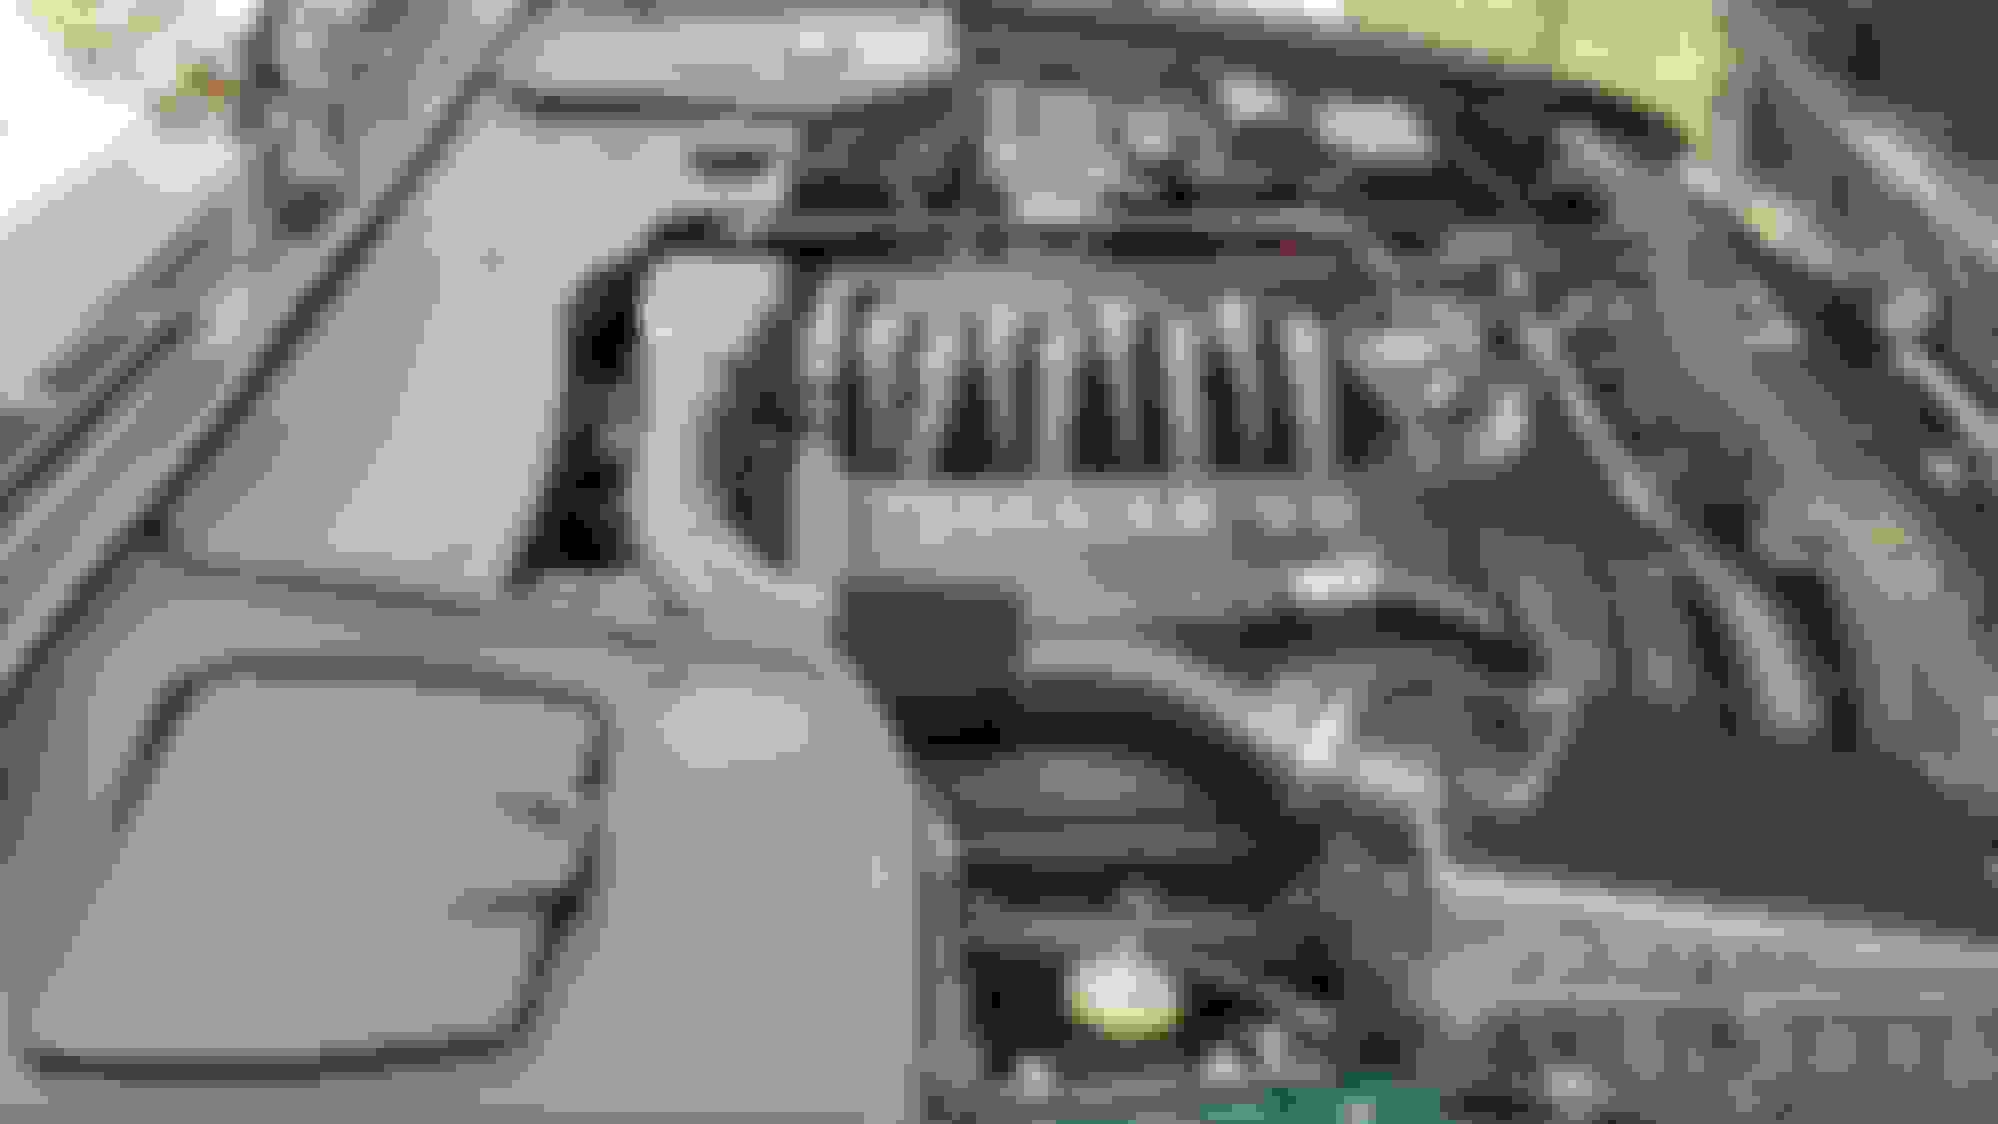
Phase 1 of engine bay cleaning commenced this evening, lovely temps in the low 60's FH made it ideal setting-wise.
Wiped everything down thoroughly w/ my own concoction(Wolfgang Uber Rinseless Wash @ detail spray dilution,a TBS of Oxiclean detergent & 2 oz of vodka, yes vodka, don't knock it until you try it lol).
Tested Meguiar's� G4116 Natural Shine� Protectant on half a engine cover, will see tomm. if it brought the color to where I'd like it. If it suits me,I'm going to remove the 3 engine trim/covers(tool kit holder etc.) clean, then soak w/ the Meguiar dressing.
Also measured to replace all weather stripping for covers & hood lip. Replacing w/ Ameriseal Side bulb Push-Steel Core Weatherstrip Seal Part # 19600 which was used & recommended by a fellow forum member.
Edit :
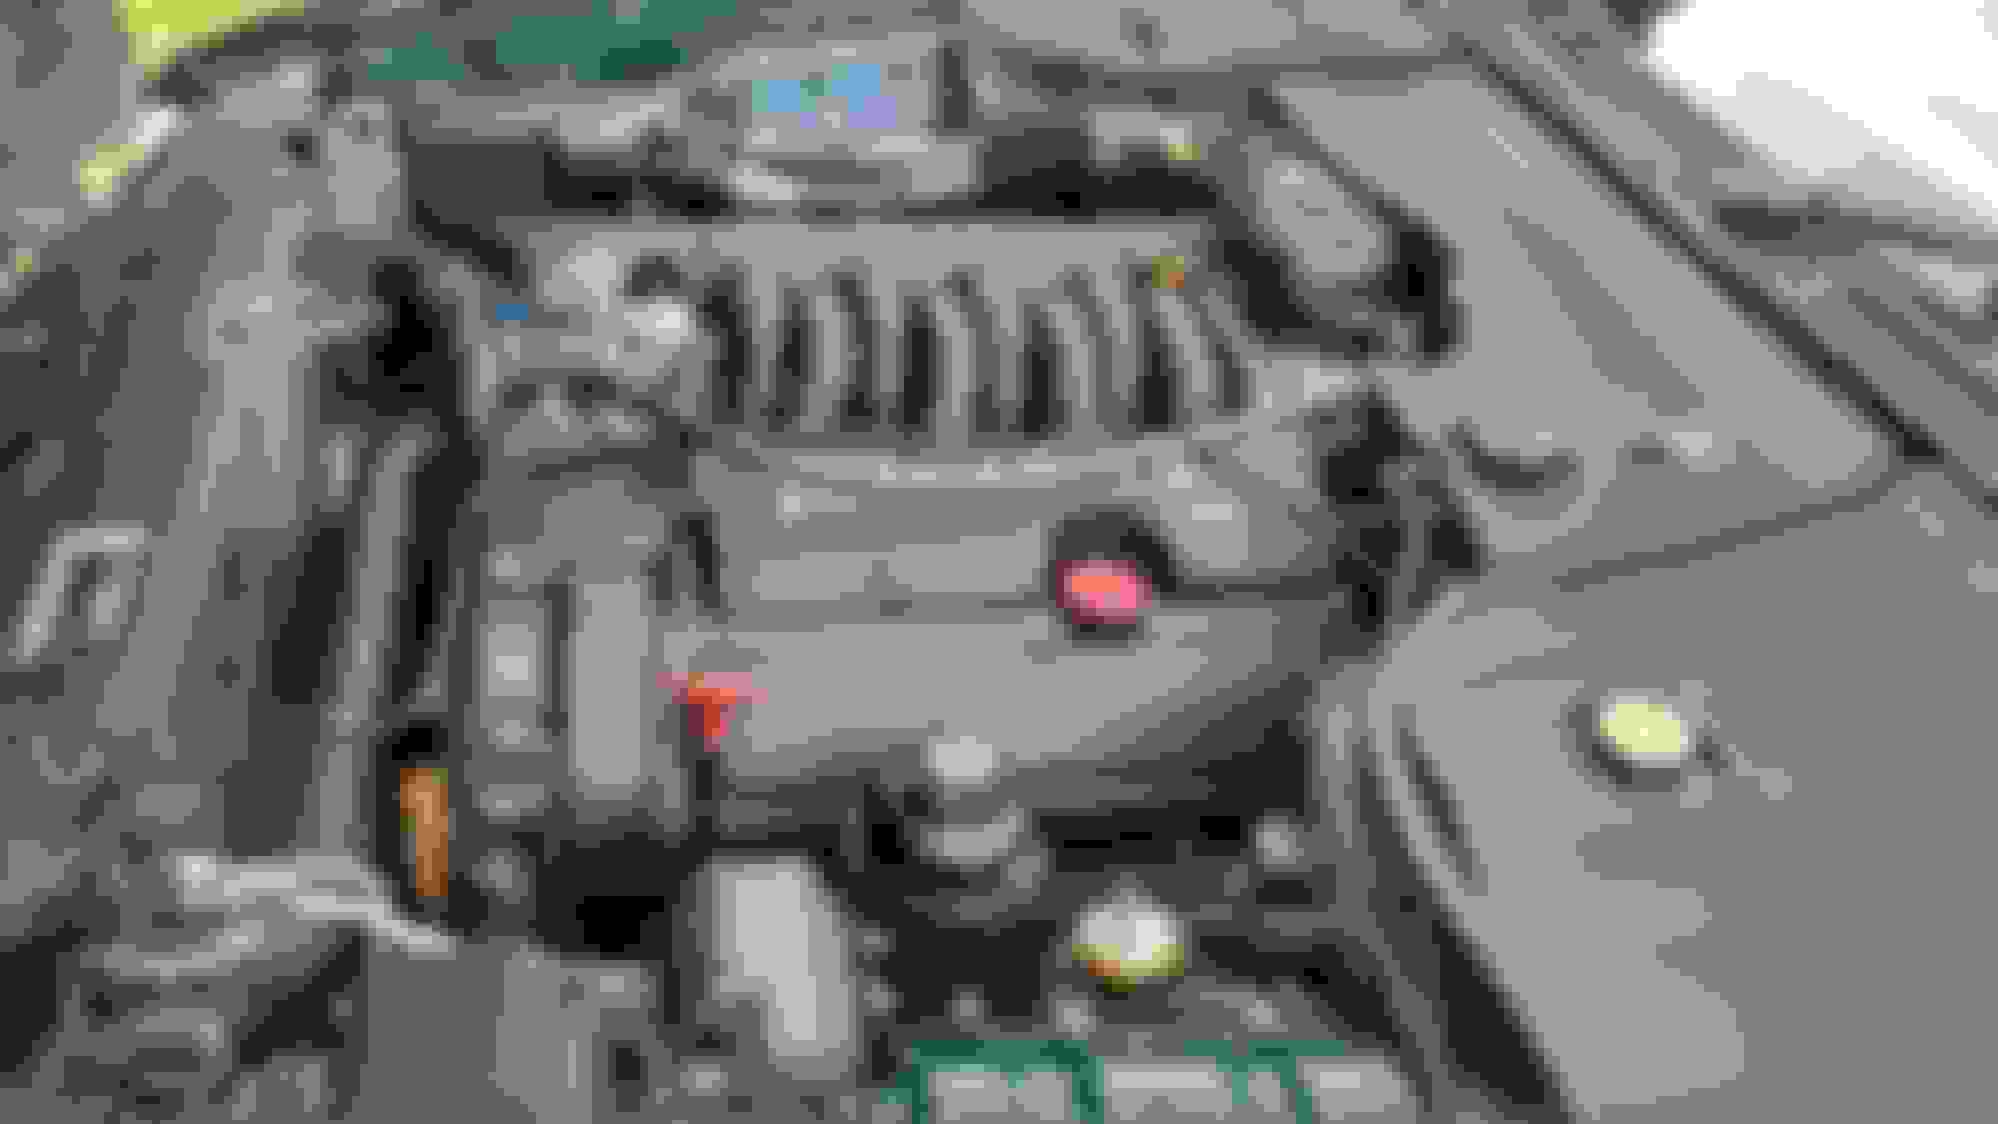
80% done still trying to find something to remove the baked on sanding wash on the front clip/radiator fan housing it seems to not want to release via wipe nor scrub, any tips ?!
Also anyone know the replacement for the hood/bonnet weather stripping, the WS that runs the length & windshield/horizontally. Any tips where to source new stickers like the coolant warning etc. would be appreciated as well.
Last edited by King Charles; 09-23-2019 at 05:38 PM.
 08-30-2019, 07:22 PM