When you click on links to various merchants on this site and make a purchase, this can result in this site earning a commission. Affiliate programs and affiliations include, but are not limited to, the eBay Partner Network.
I believe the rear hood seal rubber is NLA (https://www.sngbarratt.com/us/#!/Eng...BONNET%20SEALS) But someone posted here very recently info on an identical aftermarket rubber seal material currently available. I'll try and find the link, right now I can't remember what thread it was under.
But someone posted here very recently info on an identical aftermarket rubber seal material currently available. I'll try and find the link, right now I can't remember what thread it was under.
I posted one recently about the engine cover/trim's weatherstripping, but they are different from the hood's. I may just go to NAPA & match it w/ something I'm sure there's many same spec units.
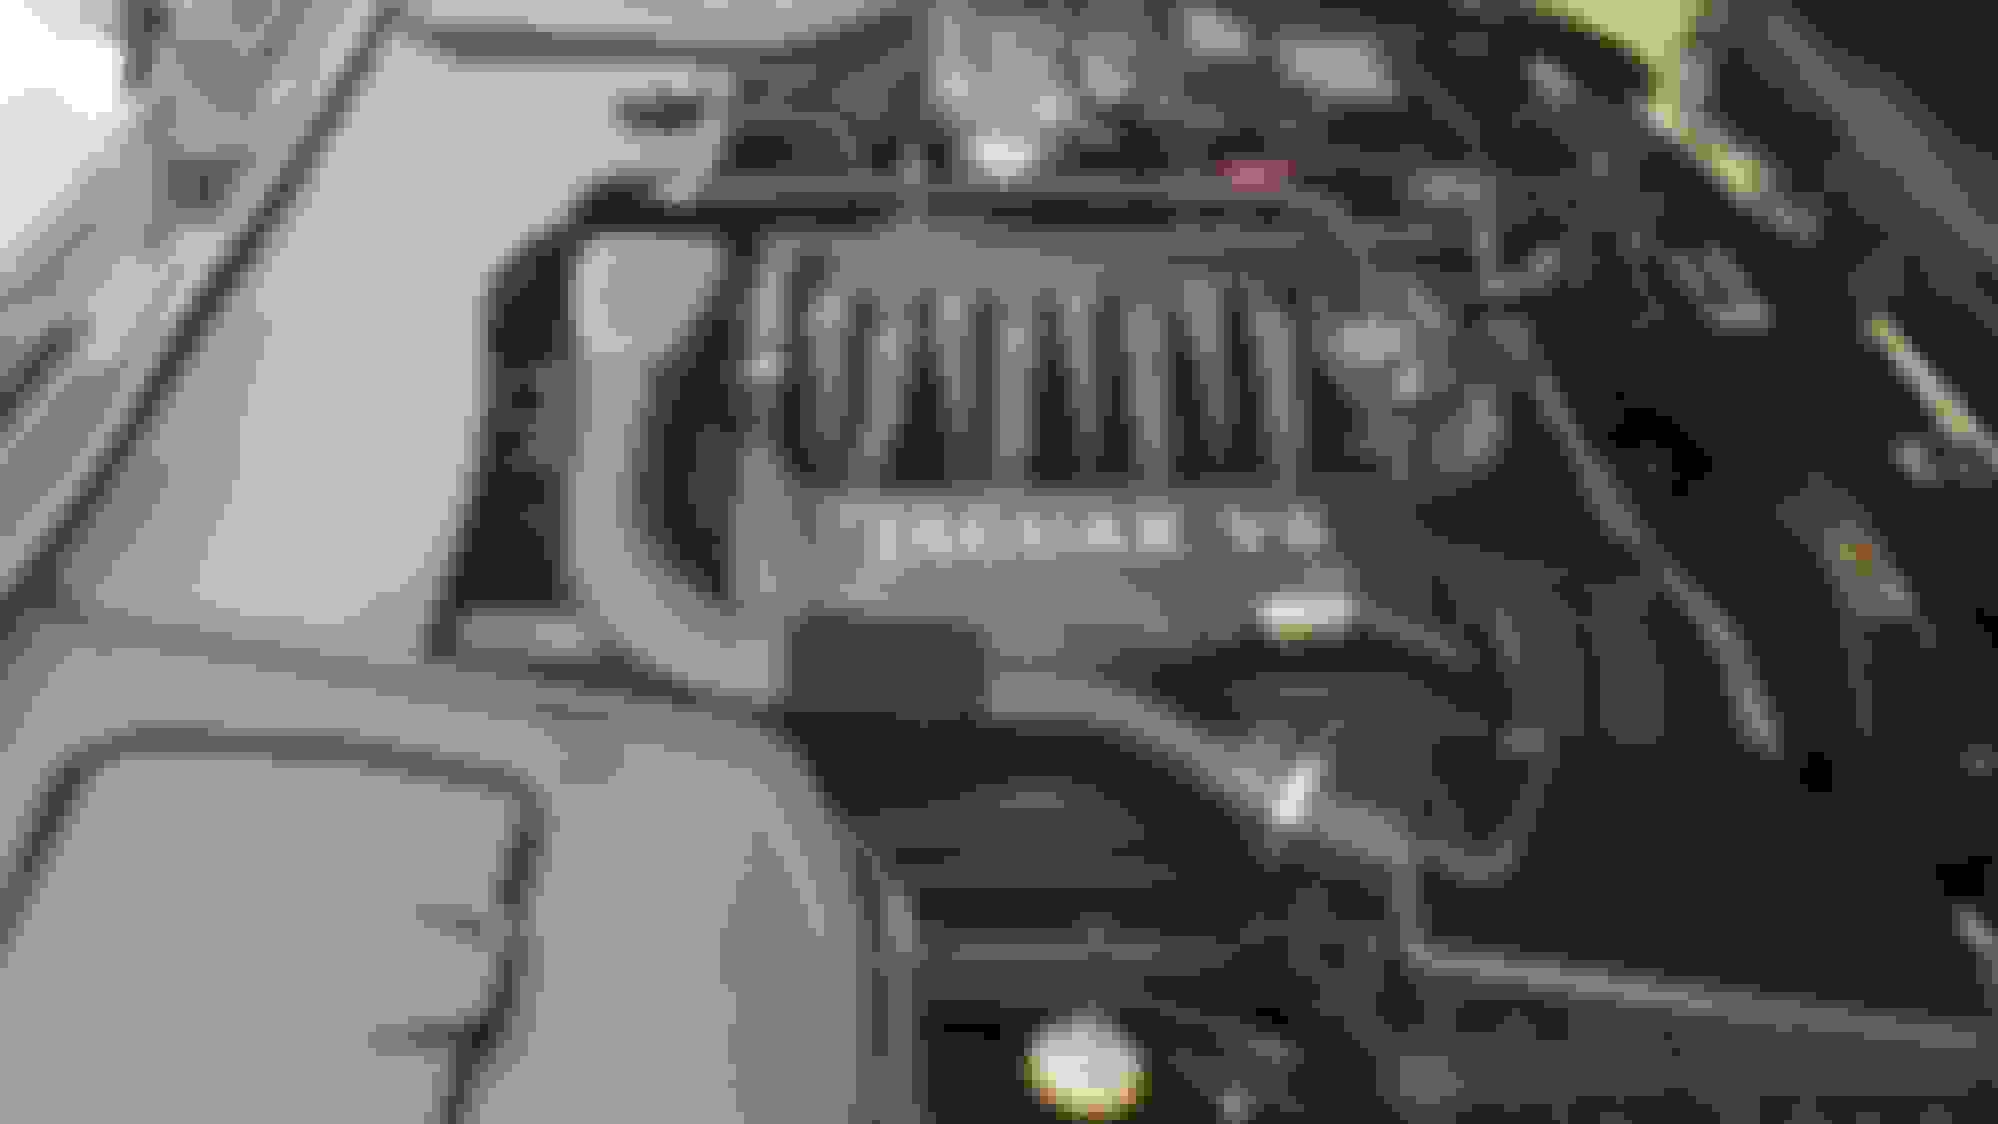
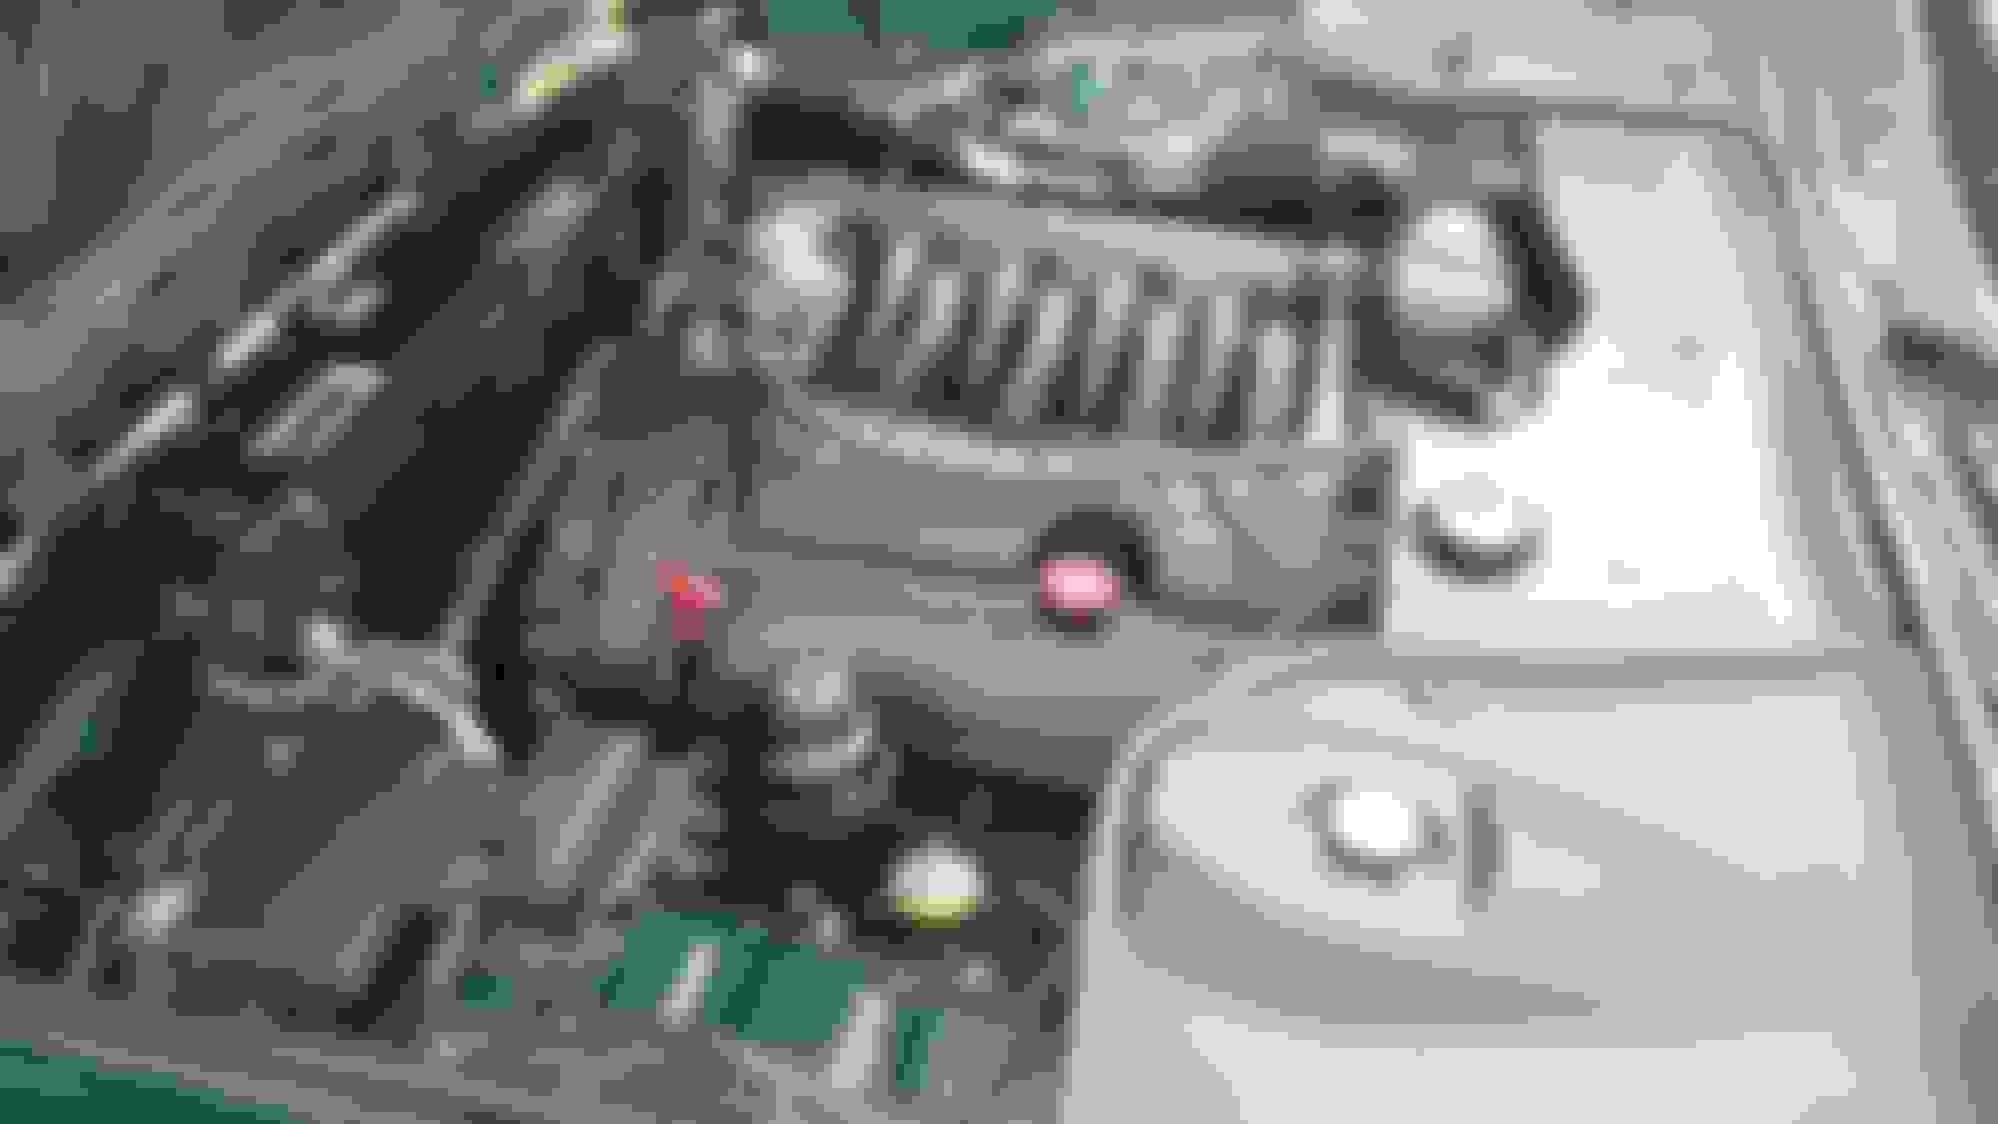
Engine bay finished , that front clip/radiator fan housing was a chore for sure, well pleased w/ the result though. Now I just need a Carnival Kid tool kit to finish it up,I spotted him on eBay so I may pull the trigger soon.
Ordered a new coolant cap & cover sticker because well why not lol.
Last edited by King Charles; 09-28-2019 at 11:03 PM.
With everything so fresh & so clean, my last eye sore is the faded discolored windshield cowling. I spoke to my paint guy & he's confident he can get a quality paint adherence using a adhesion promoter after proper preparation/sanding etc. Also going to have the wiper cover painted as well. After that I'm sure it's going to make my windshield rubber trim stand out as faded lol. Does anyone know if it can be replaced leaving the windshield intact ? The windshield itself is only 3 years old.
Picked up/ordered a new coolant reservoir tank cap & coolant sticker to replace the curling originals.
Also ordered a Carnival Kid original tool kit for the newly rejuvenated engine bay.
My new 3 inch oval exhaust tips are due to arrive today. Anyone know right off hand what size bolt the OEM tips have on them, I like to have all my ducks in a row when I'm underneath cars lol.
Last edited by King Charles; 09-30-2019 at 01:03 AM.
After that I'm sure it's going to make my windshield rubber trim stand out as faded lol. l.
There are some rather nice bottles of rubber restorer, or rubber color restorer out there.
That said, I use a rag and some scooter transmission oil, rub it carefully in, twice.
Do it in the sunshine so it "burns" into the rubber, and it will last "forever".
There are some rather nice bottles of rubber restorer, or rubber color restorer out there.
That said, I use a rag and some scooter transmission oil, rub it carefully in, twice.
Do it in the sunshine so it "burns" into the rubber, and it will last "forever".
Yes I forgot about the old power steering fluid hack as well.
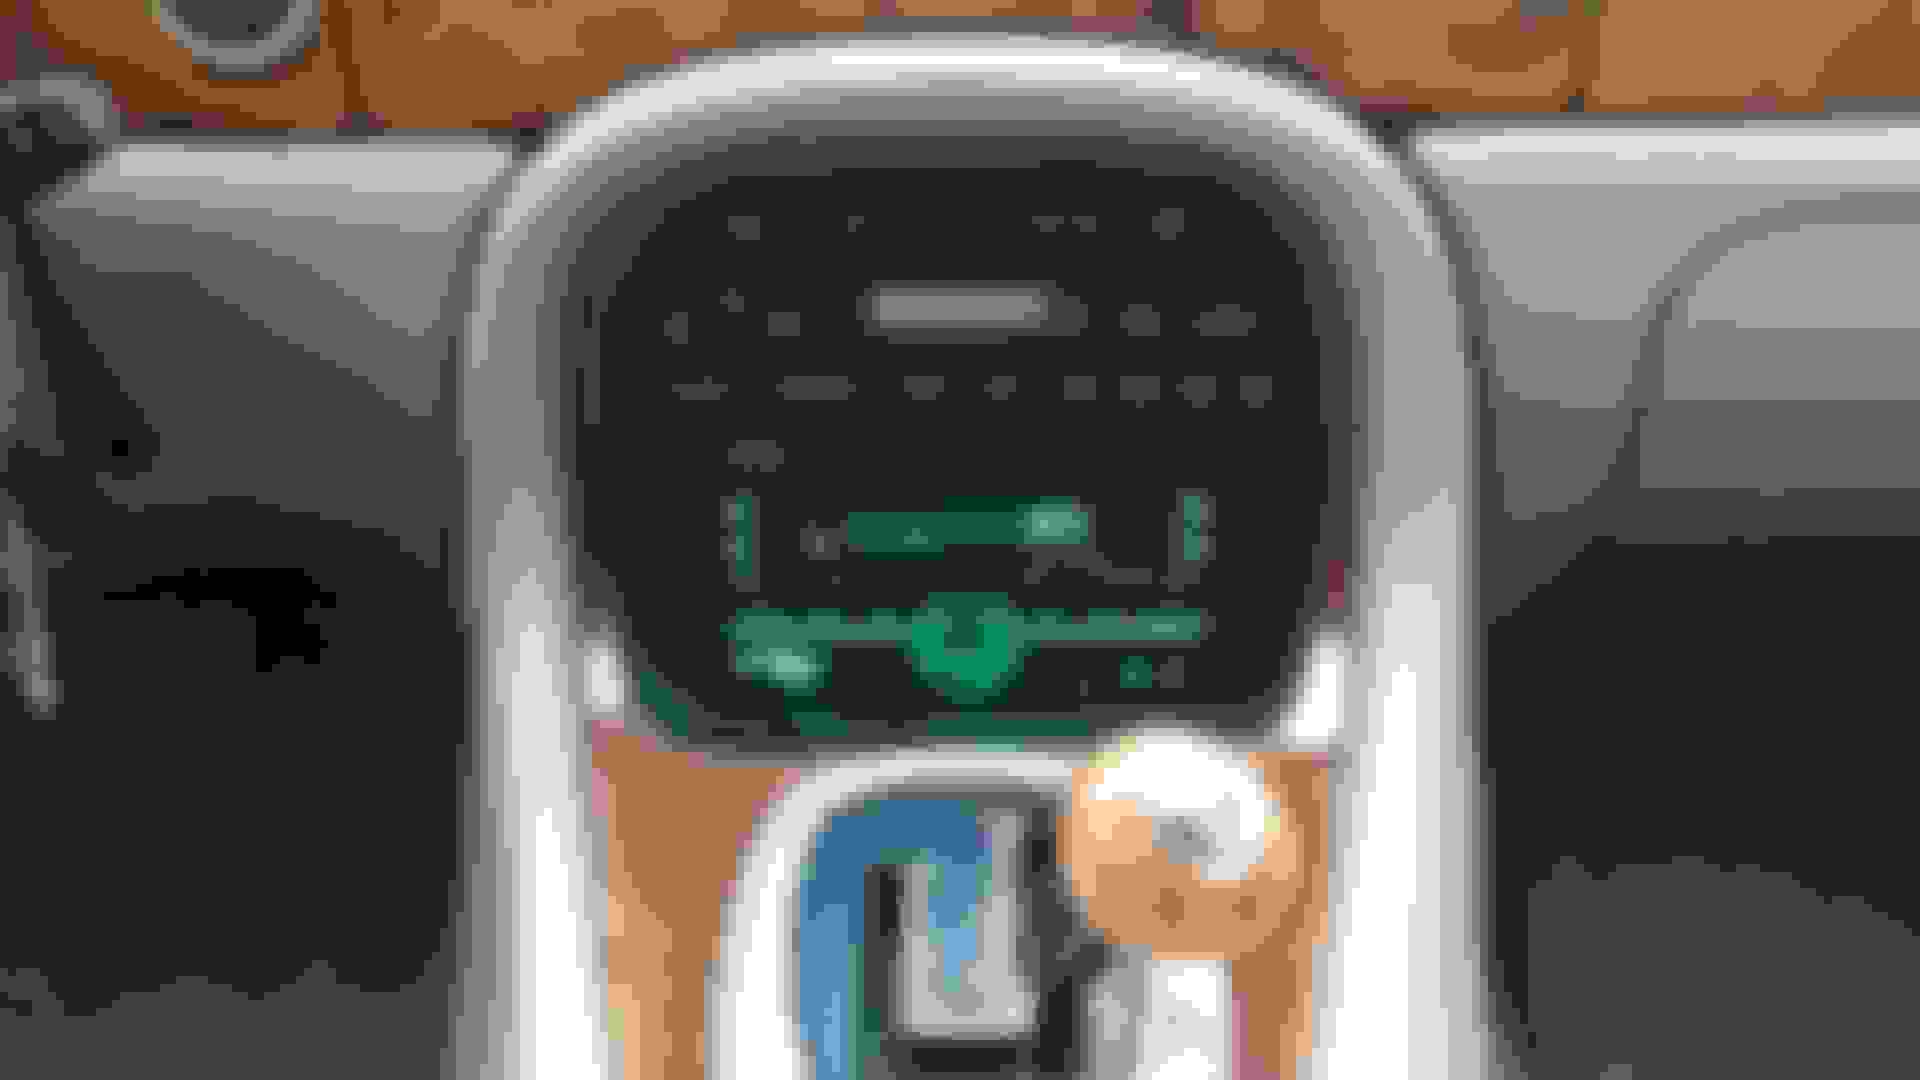
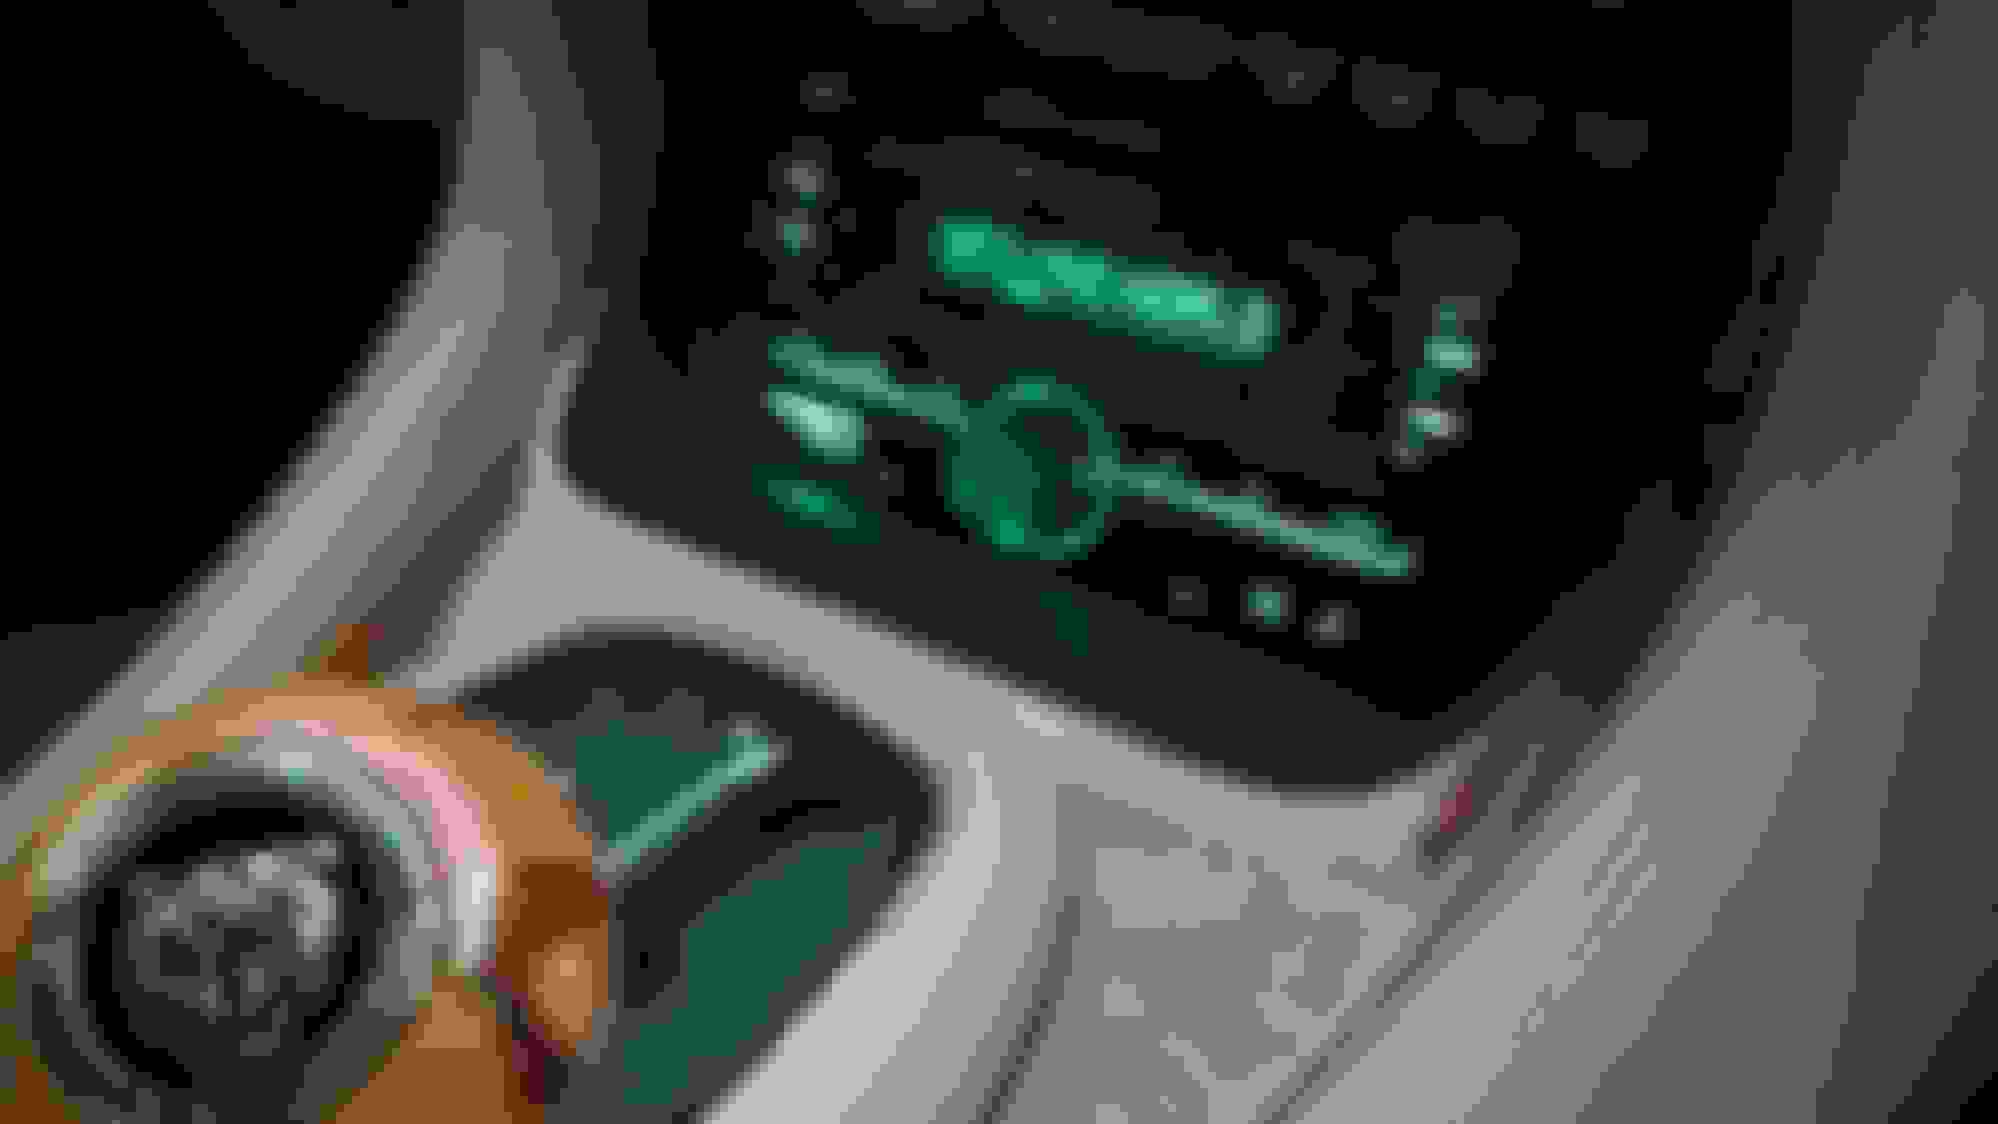
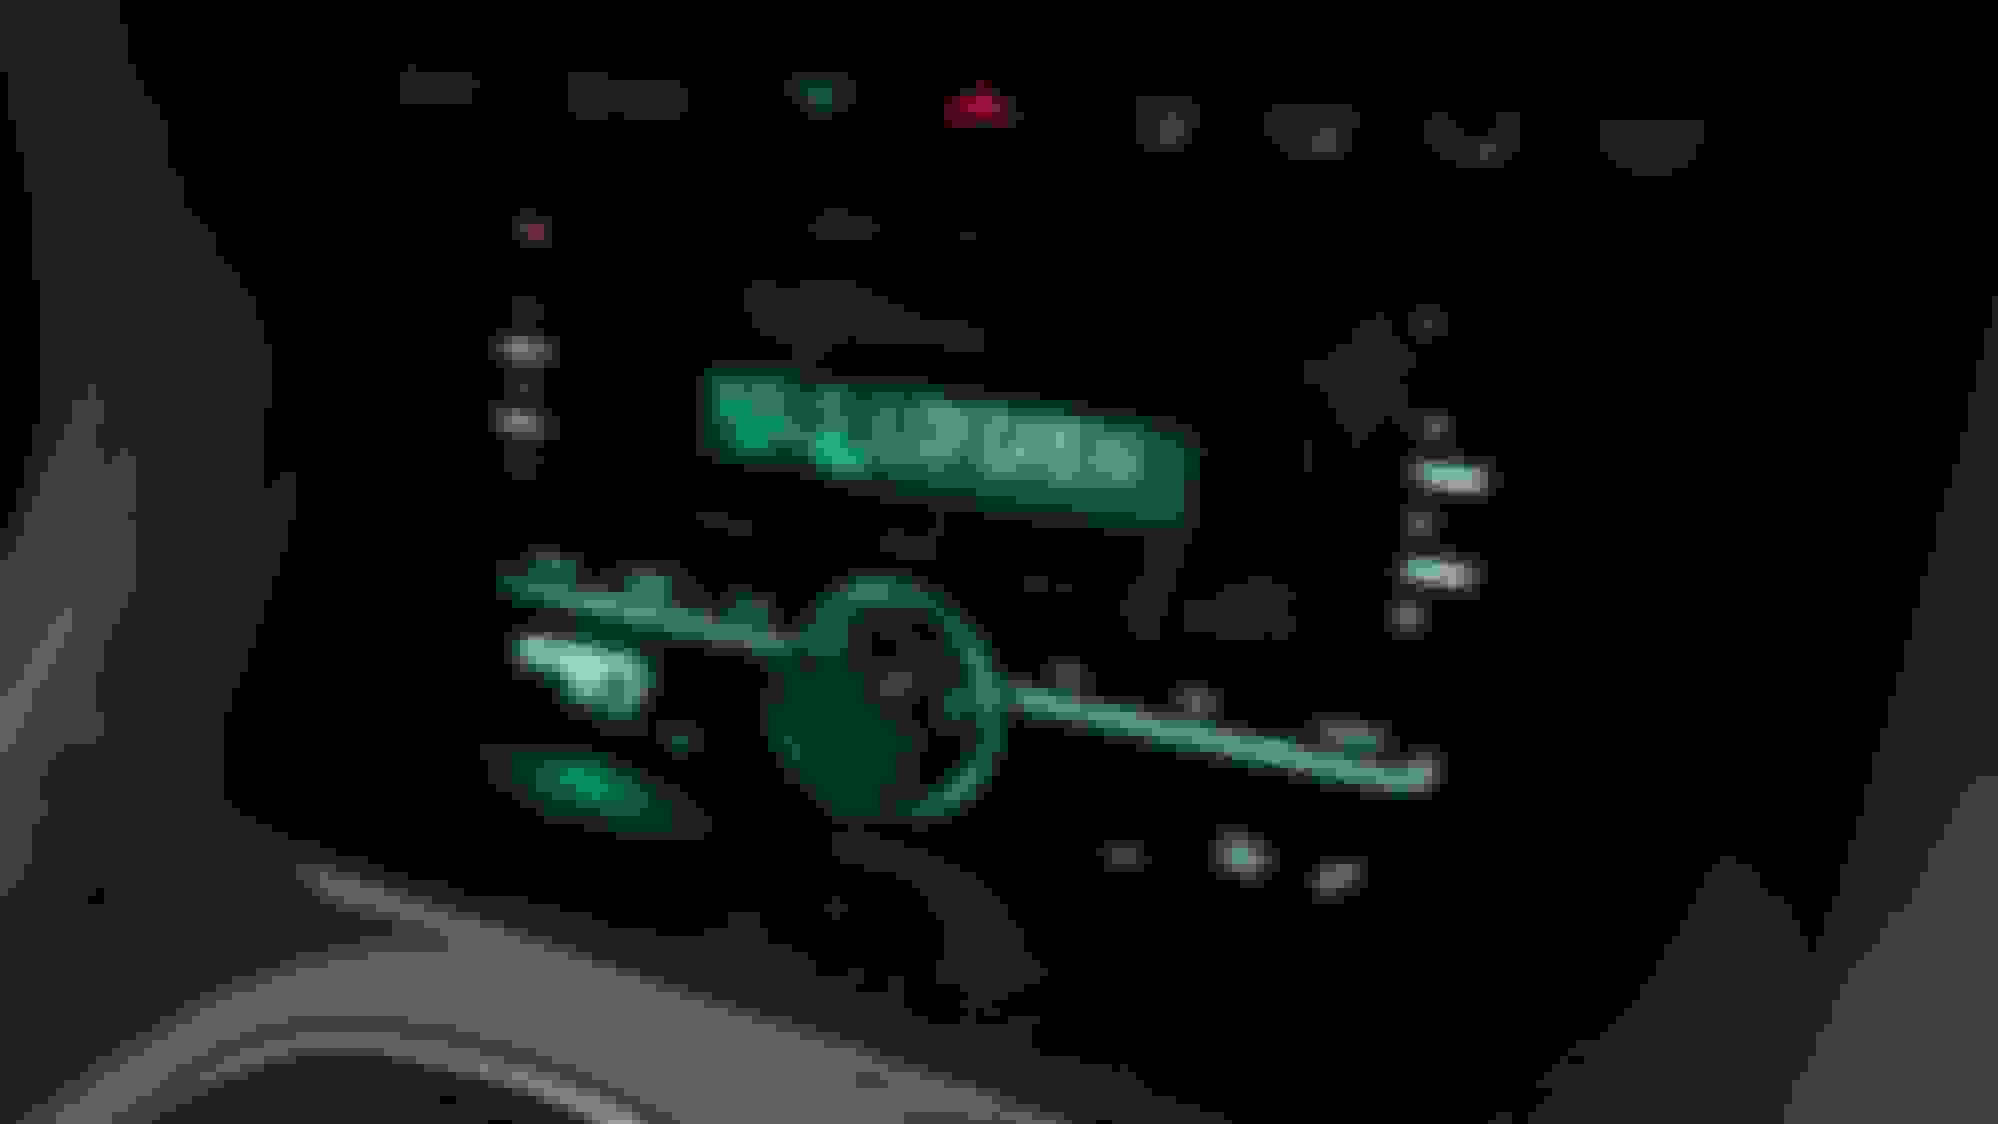
So my teen son's been heavily invested in his 3-D printer,rotary tool set & acrylic fabrication. Today I asked him to clean up the carpet in my X308 due to him leaving leaves etc. in there on his last use. Tonight I take it out for a spin & see a damn synthetic emerald attached to my head unit dial ?! Lol truthfully it looks pretty good, I may let him live. He's gotten really good w/ the printer & rotary the facets in this piece are impressive despite my sub-par photo prowess.
Exhaust tips arrived as billed & I coated w/ Collinite 845 wax w/ plans to install this week.
- Blue smoke was pouring from my driver side exhaust...
- It was present at startup and even when the motor hit temperature.
- First thing I thought of was an oil ring around one of the Pistons or a valve not seating properly.
When I opened the bonnet I didn't hear any tapping noise. That's good, right? Ok the thought of searching for what cylinder that might have oil in it was something I didn't want to entertain.
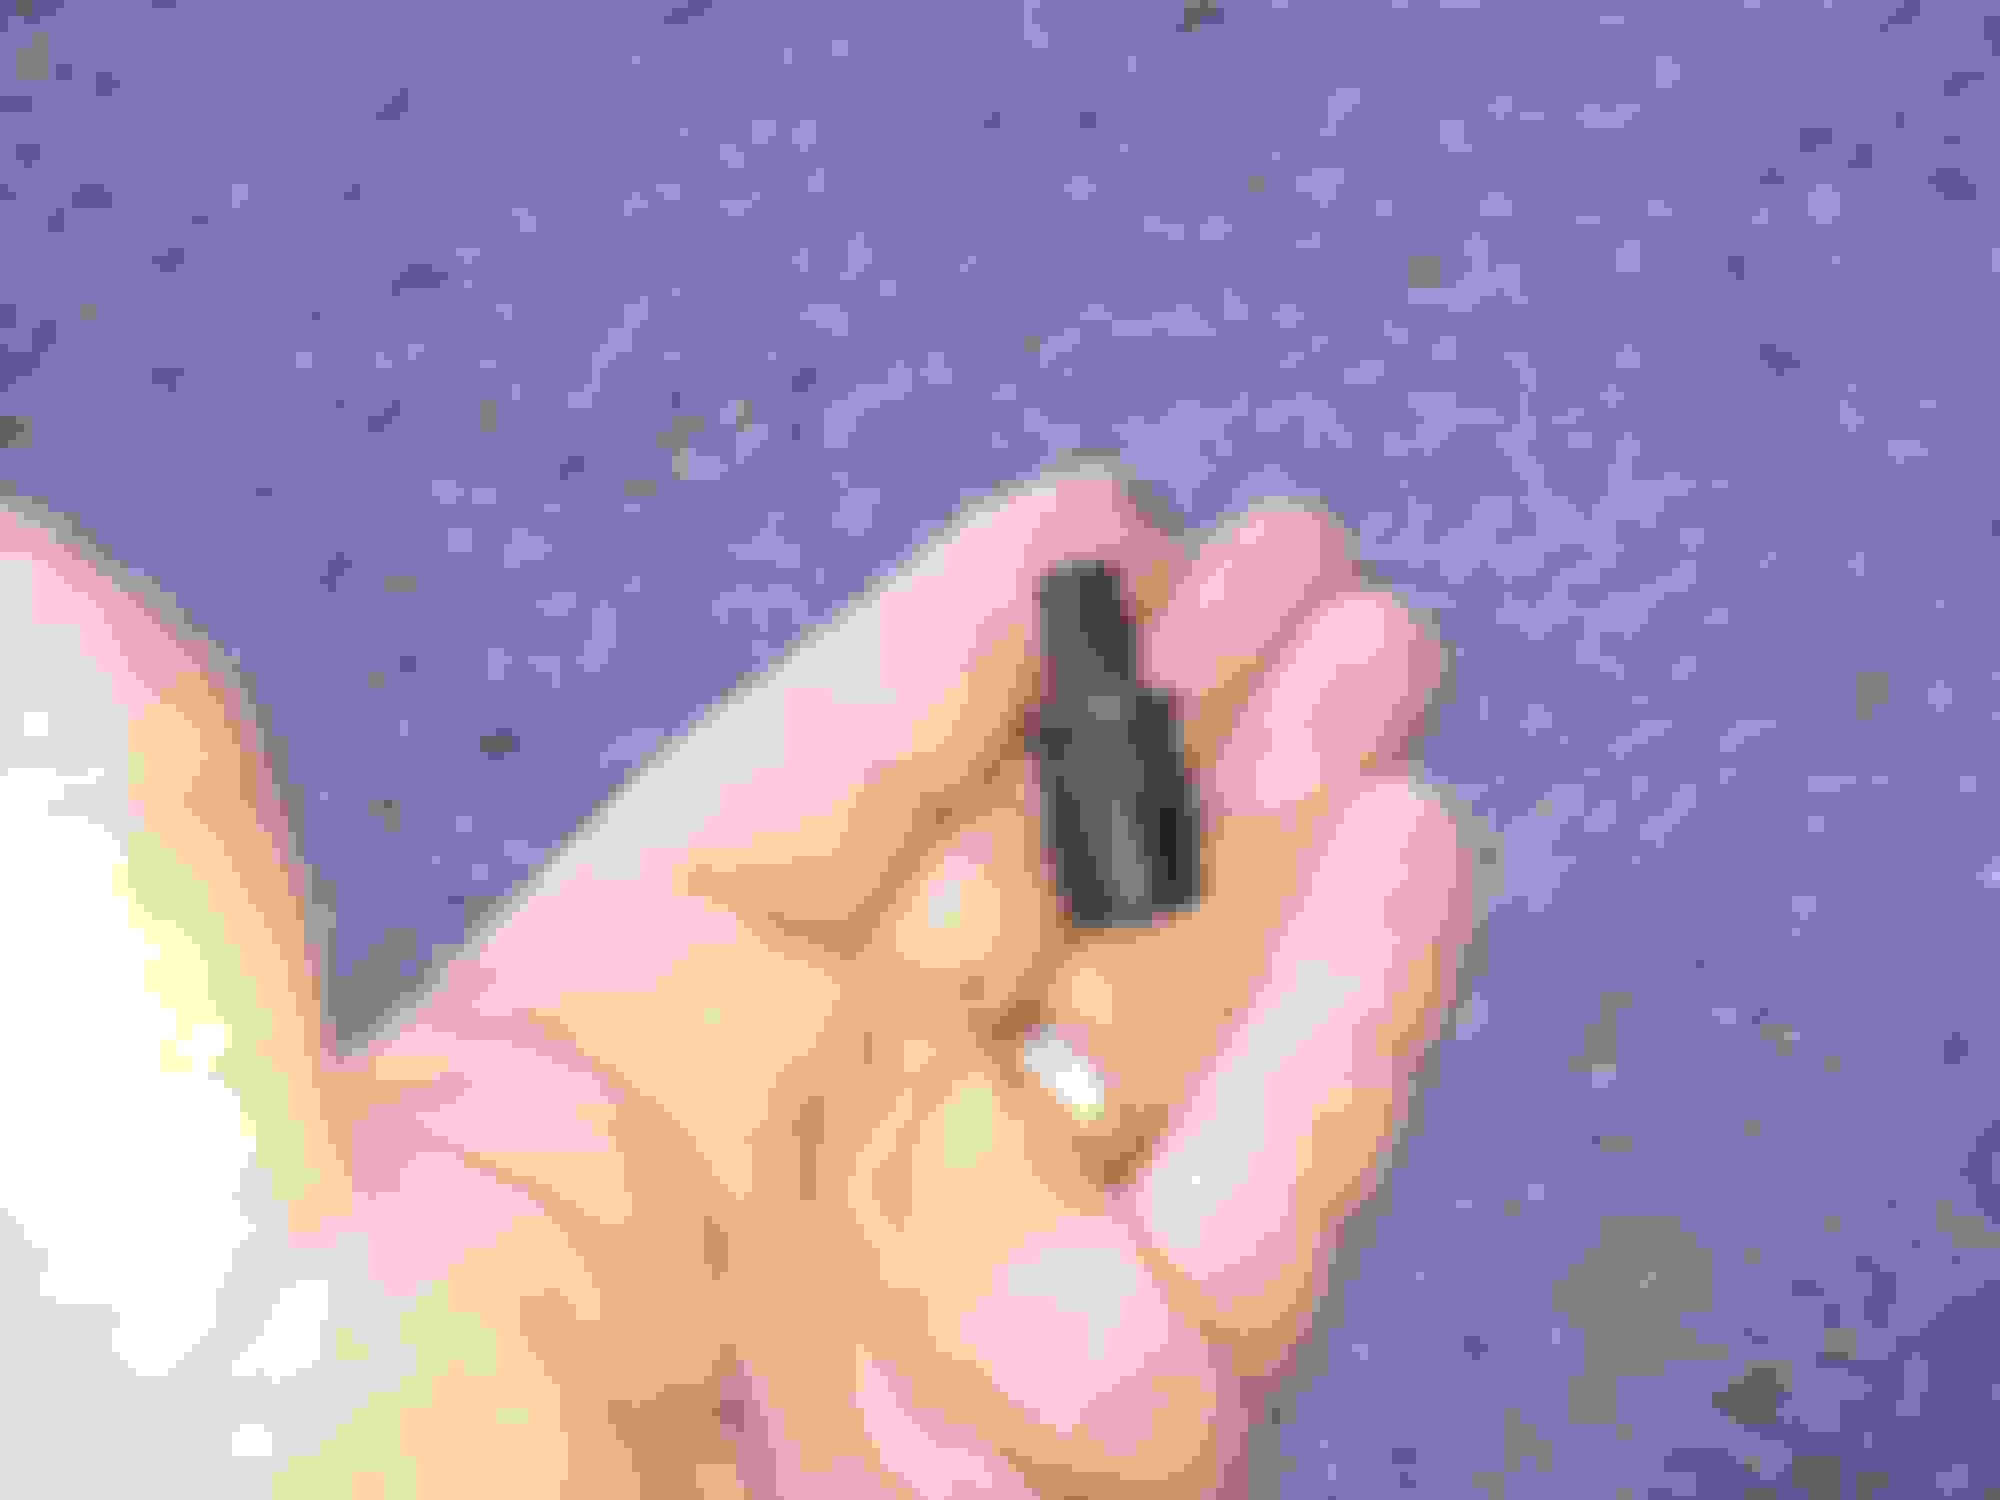
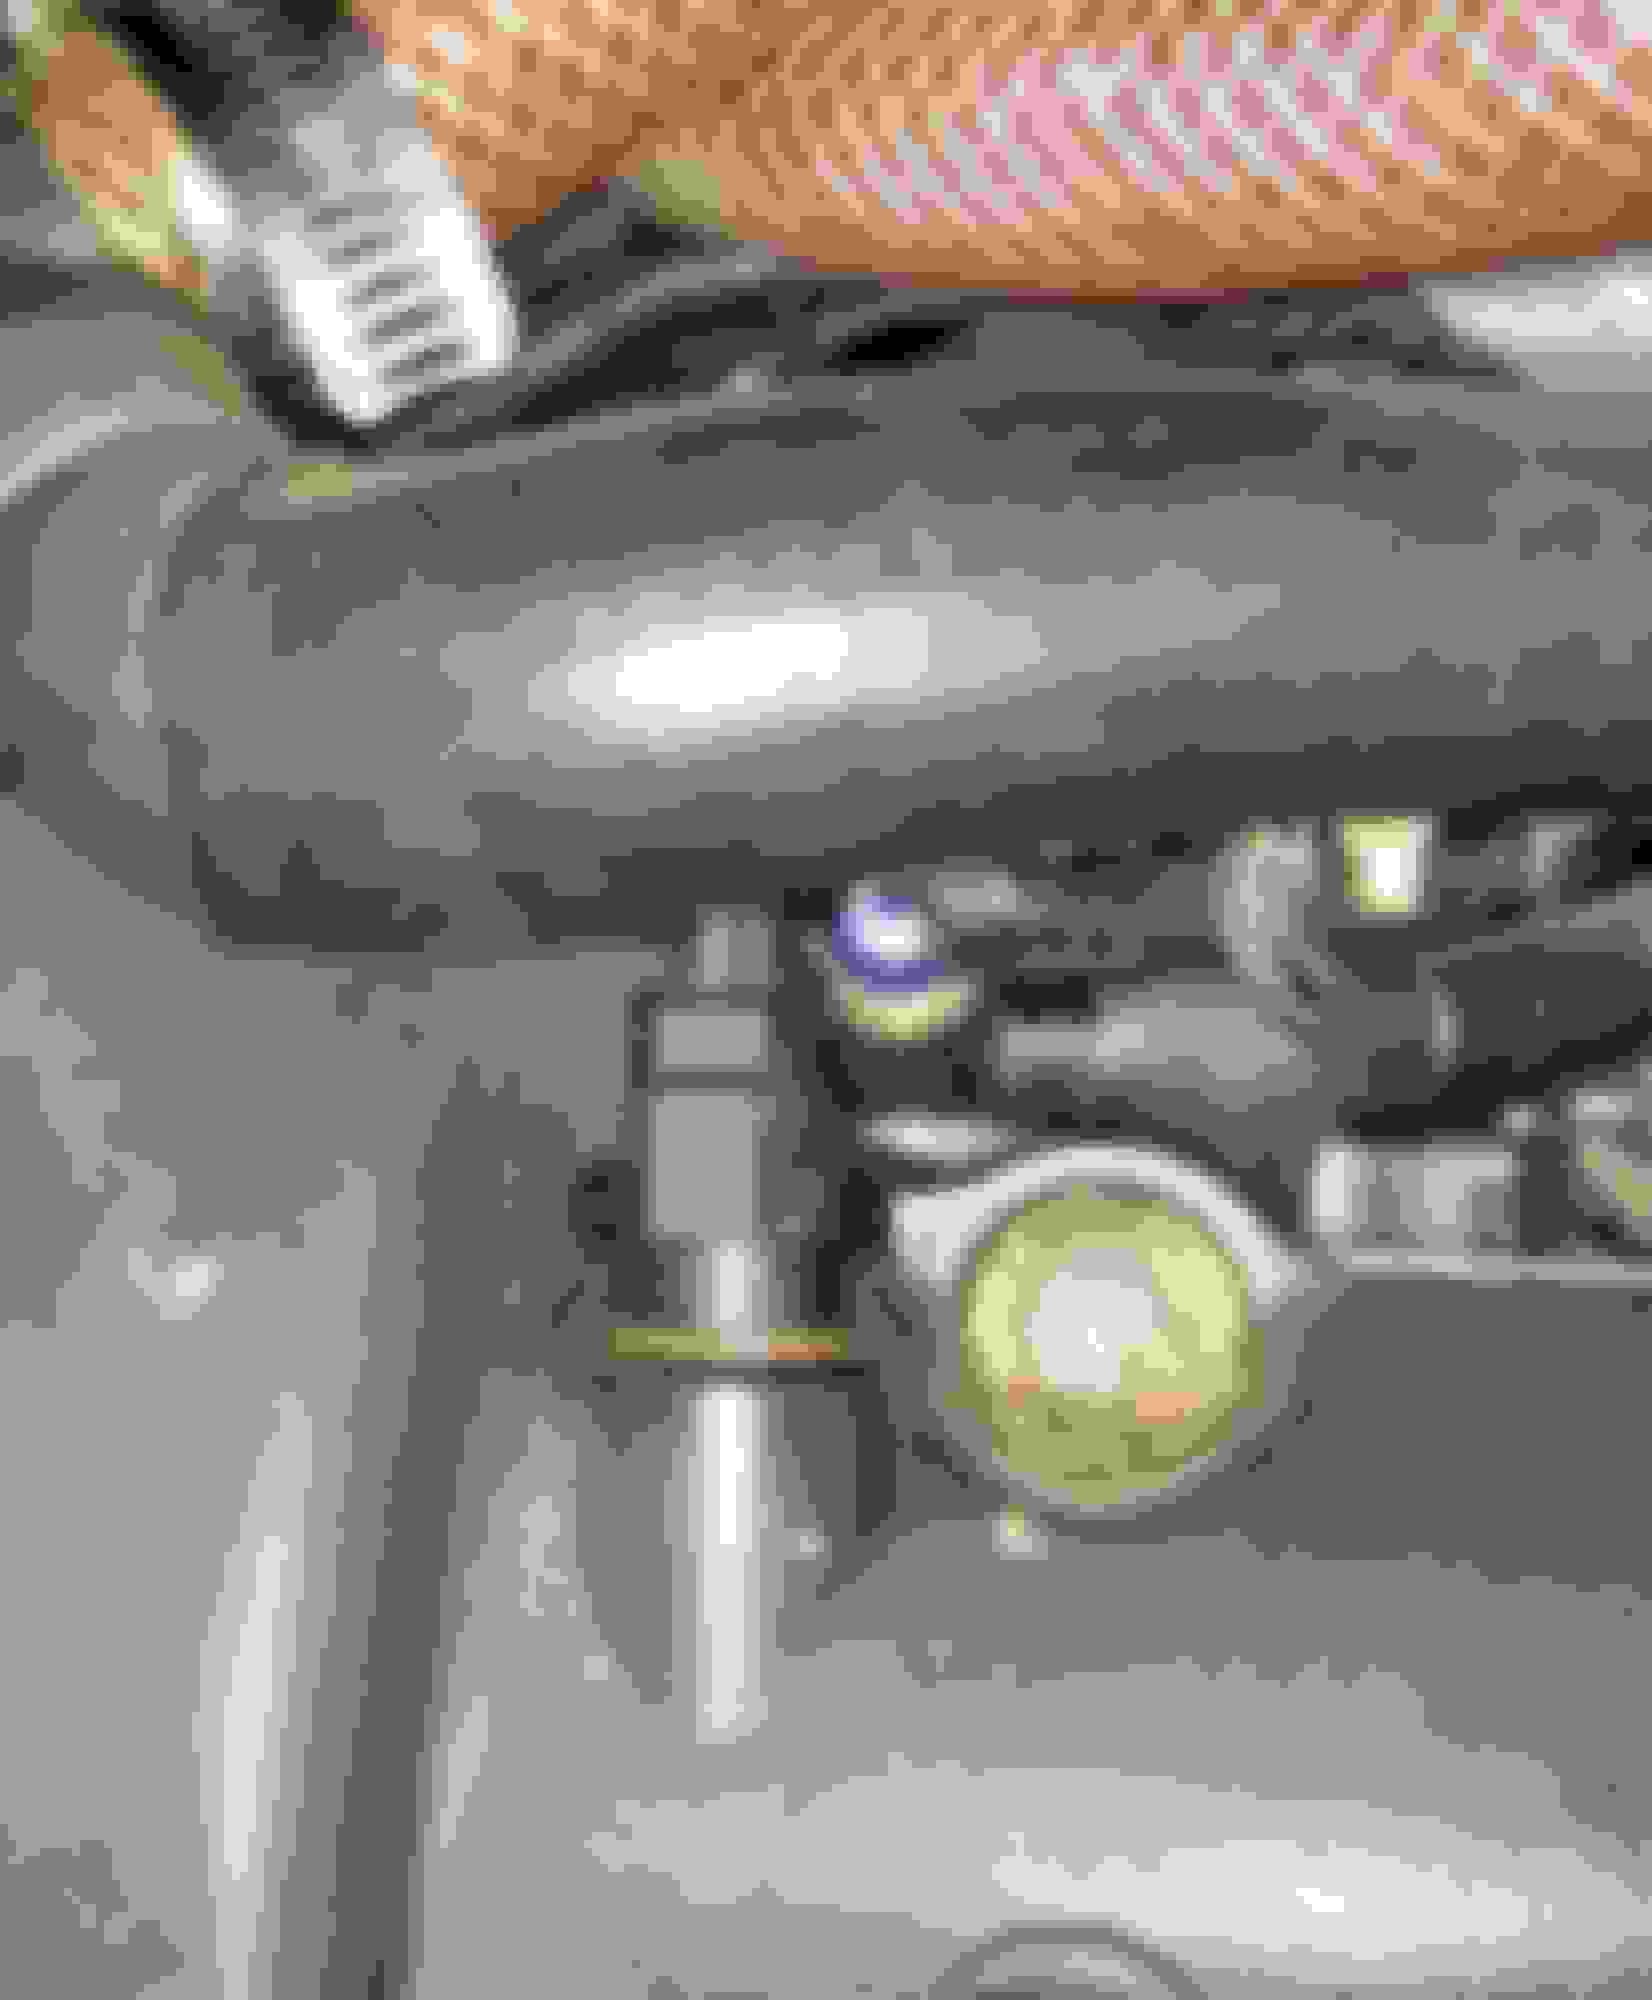
- The most inexpensive and easiest First Look would be the PCV valve on the valve cover just above the dipstick handle.
- With PCV valve in hand I proceeded to let it soak in Simple Green for 5 minutes. Then washed it clean and ran a thin wire through the hole.
- TaDa!!!! (WHEW)
- No more blue smoke.
Last edited by XJRfan; 10-01-2019 at 09:13 AM.
Reason: Spelling and grammar
Today was emissions inspection and registration day. I purchased this 38,000 mile 2002 XJR from a broker in Florida in July. He arranged to have it moved via transporter to my storage place in Texas. I was away at the time and busy in the interim, so it sat until the middle of September. When I got around to starting the car, I charged the battery and cranked it over. No start...but I noted the fuel gage was on empty and the low fuel warning light was on. I added some fuel...no start. After some research on this site, I determined that neither of the fuel pumps was operating. Checked relays and fuses...all OK...but definitely dead pumps. I concluded that the very low fuel level had uncovered the pumps, they got hot, and gave it up. The broker is on my "list".
I decided to cut an access hole in the parcel shelf instead of pulling the tank out as described in the manuals. I'm an old guy and crawling around under the car has become difficult.. Removal of the pumps was fairly straight forward, although using the trap door method makes it a job that has to be done by "feel" as you can't look in the tank at the same time you have an arm inserted in the access hole at the top (the rear window gets in the way). Still very manageable.
I did a lot of research regarding replacement pumps. Bosch and Walbro don't list the XJR. The factory pumps (Denso?) had failed at 38,000 miles and are stupid expensive. One forum member who used the URO pumps said they failed at 3000 miles. I think the low cost option (still overpriced) on the usual supplier sites are URO. So I went to Autozone and compared their premium Delphi pump to the originals. Looked like they'd fit with minor mods to the original mounting rubber, and they had a nice adapter jumper with prefabricated plugs in the kit (about $80) . Then I checked O'Reilly...similar offering. I decided on the lifetime warranty Delphi pump....but bought them from Rock Auto.(about $60). I avoided the URO and the very inexpensive pumps on the Rock Auto site. I also purchased the pump strainers recommended by R.A. (about $12). Then I had second thoughts and got to looking more closely at the original Jaguar strainers. I cut one open and discovered that they're a double strainer with a thick felt like inner membrane. One look at that, and I decided to stay with the Rock Auto offering. I'm convinced that inner felt membrane is a huge flow restrictor and probably contributes to premature pump failure. A friend on the Jag Lovers site says Jaguar and Aston Martin abandoned that original strainer design in later cars. However, it is still stocked by dealers and at least one aftermarket supplier. The local dealer wanted $40+ each (about $23 at Welsh). Mods to the rubber mounting sleeves were indeed very minor (Exacto knife and Dremel sanding drum).
I left the rear edge of the trap door attached. When I'd finished with installing the emissions cover on the tank, and was sure there were no vapor leaks, I pushed the metal back down (closed the trap door), and tack welded 8 spots around the perimeter. (The tank was covered with wet towels and some DEI aluminized tunnel shield material. Then I sealed the remainder of the perimeter with schmutz. If I ever have to do this job again, it will be a snap.
The failed fuel pump had thrown a code plus the check engine light (which cleared in fairly short order with minimal driving). My new OBDII scanner said all monitors were "green" and ready for State emissions test. So what do I do? I decide to erase that one fuel pump code that was in the "pending" list. When I pushed the erase button it dumped every freakin monitor in the system....green check marks all turned to red X's. IDIOT!!! That little button push forced me into conducting the standard "drive cycle" to reconnect the various monitors. But it wasn't just one drive cycle....it took eight of them to finally get the last hold out...the CAT. The rest were back on line after cycle number six. Overall it was over two hours of dodging semi's and diving for the shoulder when I let off the gas to go into the coast mode described in the procedure. I should have done it at night, but then I would have blown out every tire from running over debris on the shoulder. Conducting drive cycles in a large metroplex like Dallas-Fort Worth is taking your life in your hands.
So, after all that ...I'm still lovin' the damned thing. Quite an amazing machine given it's age.
When I got it running I stepped over to the old E-type, which had been sitting for four months. It fired right up with zero issues....
Here's a photo of the "new" XJR. I'm thinking about fabricating a trailer hitch and towing the "E" on a light weight trailer. The XJR is rated for something like 4200 pounds.
Thanks ! Comical w/ the $14 ground shipping for a 5 gram sticker lol.
Yes, quite ridiculous, a first class stamp is .55 cents, $2.00 would be a "reasonable" charge, $14.00 borders on usury, or at the very least indicates a blanket shipping system that needs to be corrected.
..After that I'm sure it's going to make my windshield rubber trim stand out as faded lol. Does anyone know if it can be replaced leaving the windshield intact ? ...
I use this product on the rubber door seals & it works wonders. I would try this on any rubber. Should make it look & feel like new.
"Gummi Pflege Stift"
� Conditions all weather seals around doors, hood and trunk
� Temperature resistant for long-lasting protection
� Prevents rubber from drying and cracking
With built-in foam applicator for easy application
$12.90 on Amazon. My bottle, purchased, 2013 is still in use. This should last for years treating multiple cars. Probably only need to treat every 2-3 years.
This tool worked well!, my only concern was it is cheap Chinese knock off !, but did the job. Working on my own so easier to rebuild on the car Looks like I got my work cut here All done!, that was just the start, Nearly there's!. Just need steering put back on then she's back on her wheels!.
Hi guys after many hours spent cutting and welding finally finished!, all but a bit of tidying, been putting front suspension back in and alls good!, my problem is I'm changing the tie rods &sends?, but there seem to be two different lengths (295mm 300 mm!) the new parts I have are 295mm but the old ones are 300mm!, trying to save money and don't really won't to buy another pair(bought these a while ago) and can't remember where?, has anyone had this problem?, I'm thinking it shouldn't matter!, but don't want to do same job twice!, by the way if anyone is interested in how I did my repairs I have loads of pictures, it's a very daunting task at first!, a bit of inspiration is always nice. Cheers guys
 09-24-2019, 06:15 PM