When you click on links to various merchants on this site and make a purchase, this can result in this site earning a commission. Affiliate programs and affiliations include, but are not limited to, the eBay Partner Network.
With NC's gas crisis/80% outage I'm parking Jaggy-O w/a thorough wash & use my new 5 Layer Custom Car cover, I will post my findings. Thus far it fits well/snugly even w/ no tie downs as of yet.
Not the car I want to utilize w/a gas shortage lol.
Cover initial run
Last edited by King Charles; 05-14-2021 at 08:52 AM.
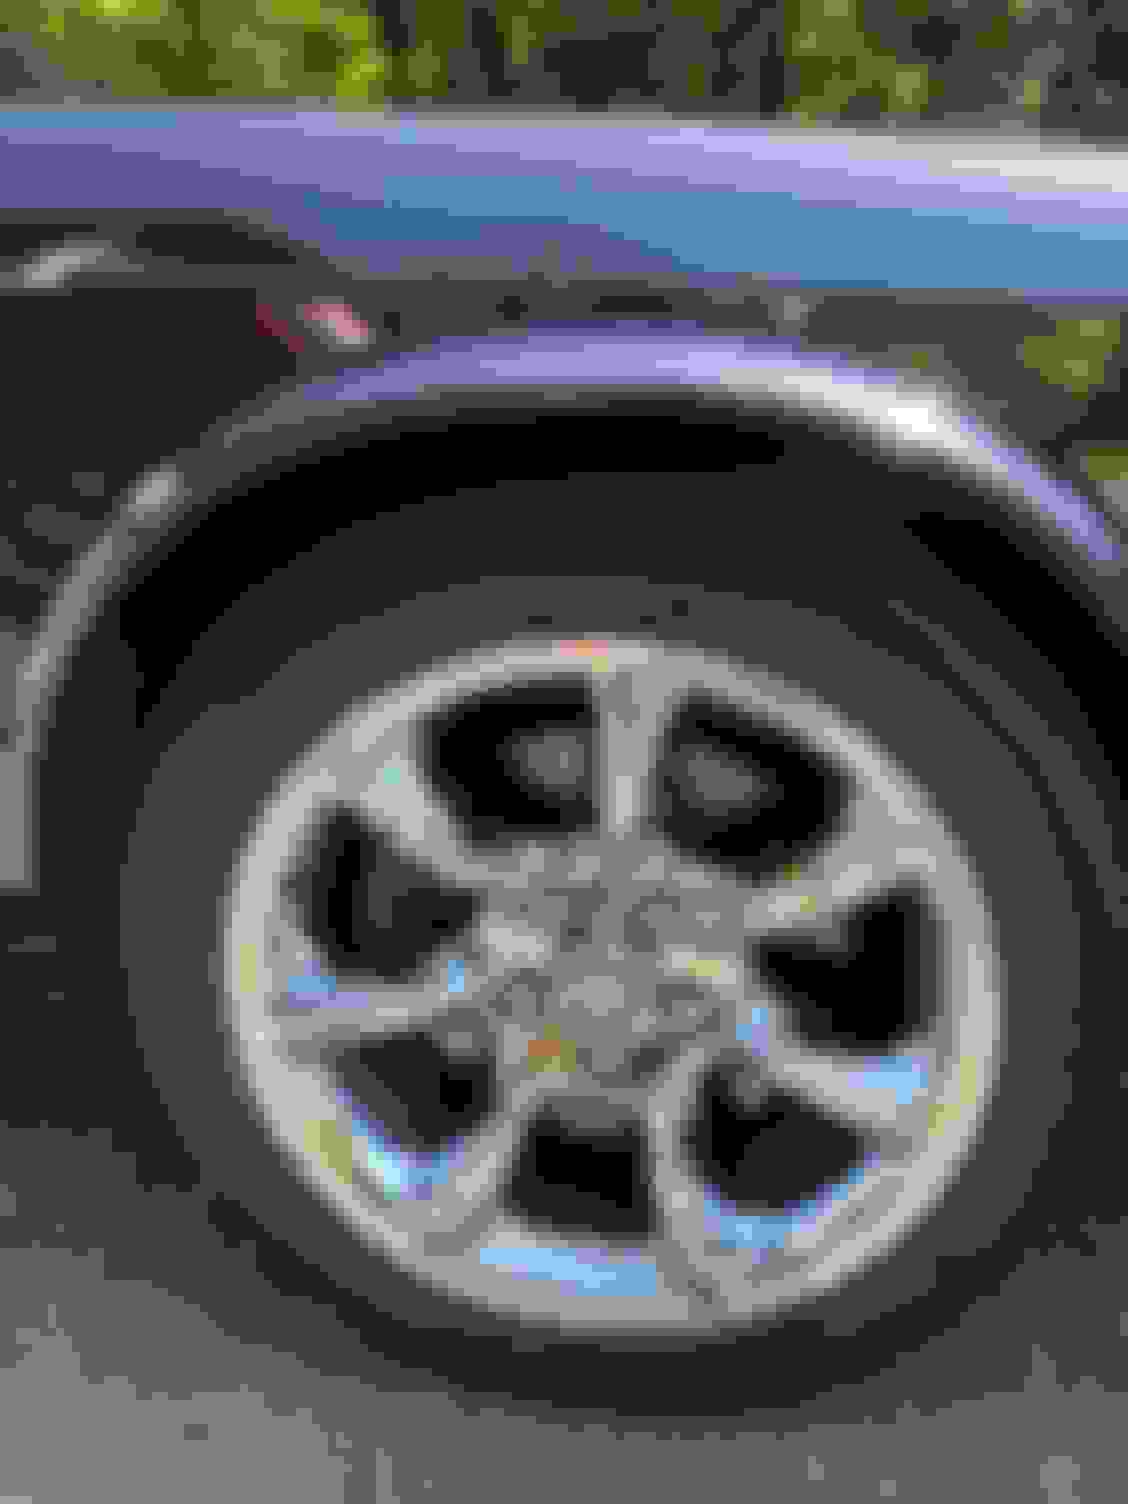
KC, what�s going on with your gas mileage? Do you idle it a lot or do you drive it that hard? My 03� SV8 with the 19� Montreal wheels, pulleys, intake & exhaust mods get 12.5 mpg and I don�t drive it that easy.
KC, what’s going on with your gas mileage? Do you idle it a lot or do you drive it that hard? My 03’ SV8 with the 19” Montreal wheels, pulleys, intake & exhaust mods get 12.5 mpg and I don’t drive it that easy.
Yes ,I leave it running when I do my errands etc. I like the cabin temp to remain the same throughout my drive also sport mode & a brisk spirit lol.
Last edited by King Charles; 05-14-2021 at 08:53 AM.
I made some changes to my ‘02 XJR the past few weeks. I know some of you don’t care for chrome on an XJR, but I think chrome really sets off a black X308. My Asteroids are chrome but a couple of them started flaking from age so I have had them re-chromed and I am so pleased how they turned out. I already shared in another post that I installed a chrome grille. I recently added chrome mirrors and today, I replaced the plastic trim around the lights and garage door buttons with wood trim from a Vanden Plas. I love it! The wood matches the rest of the wood in my car. I couldn’t be happier.
Where do you find the VDP overhead console veneer? Wrecking yard, eBay, etc I love it!
From eBay. It was like $70US. I couldn’t find just the wood trim, so I bought the whole console. It’s interesting that the wood trim has clips that hold it in place as well as glue, But the plastic trim off my car is just held on with glue. They are both pretty easy to take off and then install the wood trim.
From eBay. It was like $70US. I couldn�t find just the wood trim, so I bought the whole console. It�s interesting that the wood trim has clips that hold it in place as well as glue, But the plastic trim off my car is just held on with glue. They are both pretty easy to take off and then install the wood trim.
Finally wrapped up fuel pump replacement job that I started over a month ago (I have a toddler). I had to pull the tank a second time because I damaged the quick-disconnect retainer and the damn thing leaked the first go around. I didn't drop driveshaft or diff, just scraped up my forearms to get to those fuel lines. She's running strong but never again...siphoning gas is not for me! Atleast I waited out the gas shortage before firing up the v8 again.
Upper & Lower Ball Joints the civilized way part #1
A job I have been procrastinating on for quite a while: Today I replaced the Upper and Lower ball joints and tie rod ends on my 2000 XJ8. It has been knocking and starting to wear the not very expensive tires so time to act.
Since I had just resealed the cam covers with all new gaskets and seals, it was time to focus on the suspension.
I know the lowers and sometimes the uppers can be a real task due to having in some cases to remove the whole front suspension if the manual clamp will not break the joint free from the J suspension arm.
After looking at the job for a few minutes and inspecting the rubber bushes were all completely good and unworn, it occurred to me that no matter how bad the lower ball joint is it still can be pressed out hydraulically in situ having the correct tools. ahhh, tooools
So the process was to:
jack and support the front;
check play in front bearings;
remove the front road wheels;
remove the caliper/bracket - inspect brakes;
CAREFULLY remove the wheel antilock sensor;
loosen the upper and lower ball joint and tie rod nuts;
release tie rod from the J suspension arm (your choice of pickle fork - BFH or puller)
release the upper ball joint stem from the J suspension arm (your choice of pickle fork - BFH or puller);
release the lower ball joint stem from the J suspension arm (your choice of pickle fork - BFH or puller);
Optional - remove upper A arm bolt and remove A arm;
Press out the upper ball joint;
press out the lower ball joint;
clean all parts and surfaces;
press IN lower ball joint;
press IN upper ball joint;
remove/install new tie rod end - counting revolutions off and matching revolutions on;
reverse bullet items 1-8 above paying attention to any other maintenance items and procedures.
So I set out looking for a 10 ton compact ram that would fit in the available space of a heavy duty ball joint C Clamp setup about 3 inches, and on the locating journey found that there were very nice commercial setups to be had for > $1800 up to well over $5000. All they are is a heavy duty C clamp, adapters and a hydraulic ram. But far too much cost for a home garage.
I went 10 tons because I had tried my 6 ton bench press on my other 2001 XJ8 to no avail which netted me going to a machine shop for pressing and with a $75 fee plus fuel and car wear-n-tear.
The 2" thick 10 ton or 20 ton hydraulic ram cylinder can be found for ~ $50-$60, but what to use for a hydraulic pump?
A search netted that 10 ton hydraulic hand pumps can be found for ~$60-$70, 20 ton for $100, and air driven hydraulic foot actuated pumps for about $150 +.
A nice selection of press hardened adapters can be bought for ~ $60, and a good quality ball joint C clamp with additional adapters can be found for $60-$100.
I already had a 6 ton hydraulic bench press I bought used for $40 that has paid for itself at least 20 times over in stress, dollars and trips. I did not include that in the cost because the hydraulic C clamp setup can be used for upper and lower joints.
Total investment on the right tools - everyone needs tools .. $300 which I upgraded from my standard selection to get a hydraulic hole punch kit that netted me an additional pull style hydraulic cylinder that can be used for removing and replacing wheel bearings and sleeves using the same adapters - also in situ and being able to use the pump with other hydraulic attachments.
In any case that total cost is far less than the cost of having one ball joint replaced just about anywhere, and only an idiot replaces one ball joint so you are really in to it for over $2k if nothing else if found, then more.
Of note, the lower ball joint has zero lip on the J suspension arm to press against flatly with the adapters which is a very serious - but temporary problem.
Keeping the large forces in-line with the centerline of the ball joint and applying all the force strictly to the joint and none diverted to sliding stuff is critical to a safe and successful pressing whether manual or hydraulic.
So a few careful minutes with a 4" highspeed electric grinder and a thick cutoff wheel to remove some of the old ball joint lip being careful not to grind the J suspension arm gives the adapters a solid place to seat in several places and keeps the high forces properly aligned.
Note after grinding the ball joint seating lip for some room below, the lower adapter cup receiving the ball joint is seated nicely and safely on the outer edge of the underside of the suspension J arm.
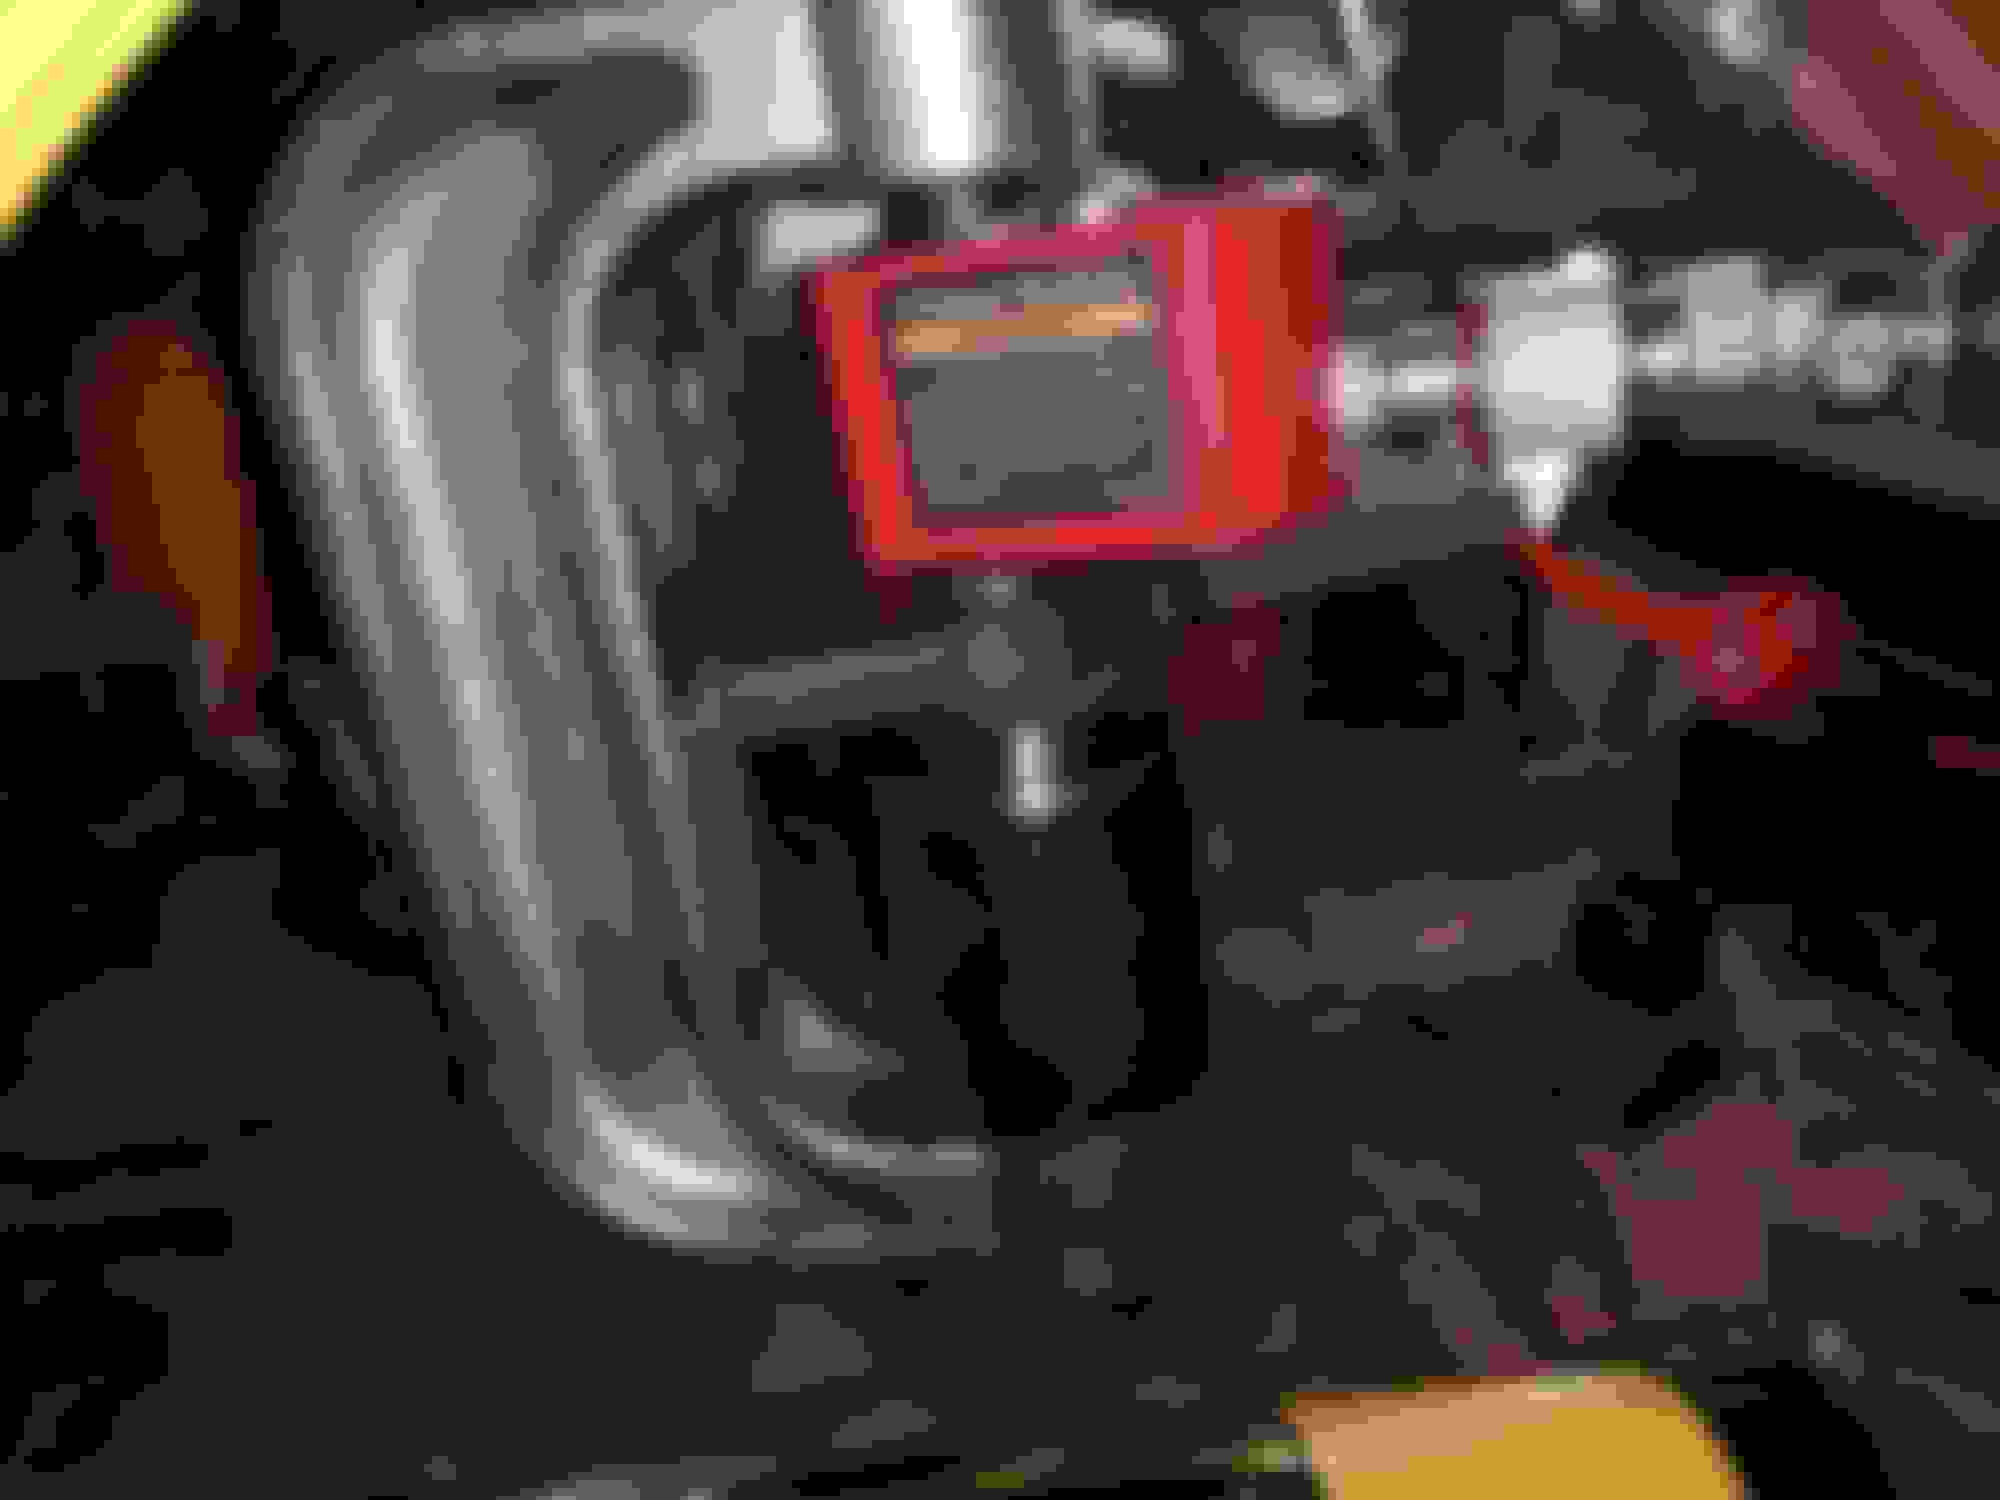
Pressing the Lower Ball joint out w/ 10 ton hydraulic ram and Maddox ball joint clamp, this one already "popped", a reposition is needed because the stroke of the ram is only 7/8" or ~2cm. Repositioning is easy due to the C clamp having an adjustable screw. Simply release the hydraulic pressure, return the ram cylinder to zero, adjust the screw on the C clamp and press again. Two very quick presses and the joint is clear
Next, pressing in a new joint back in is a bit easier, but again, keeping things in proper alignment with a different cup adapter is critical to not get the new joint moving at an angle: Pressing the Lower Ball joint IN w/ 10 ton hydraulic ram and Maddox ball joint clamp. Again repositioning is necessary due to the short stroke of the ram.
The Upper ball joints are far easier. A single bolt is used for the upper A arm, very easily removed so it can go over to the bench. Pressing the UPPER Ball joint out w/ 6 ton hydraulic bench press
Then pressing IN the upper joint Pressing the UPPER Ball joint IN w/ 6 ton hydraulic bench press
Of course the upper ball joints can be removed and installed in-Situ also using the same C clamp tool setup applied for the lowers only with different adapters, but with the ease of removing the upper A arm and having a bench press, I opted for the easier route to get another eye on the rubber bushes.
I spent more time planning, locating and assembling the correct tools for the job than the job actually took in time to press out and in 4 ball joints in situ.
Benefits:
No need to compress two very stiff road springs using all sorts of methods;
No need for realignment as none of the suspension alignment components are disturbed;
huge time savings and added safety as the suspension removal and reassembly steps are saved;
huge cost savings and the cost of what it would normally cost for only one ball joint replacement is now equity in tools
I did it myself satisfaction
The only change I would do is uprate the ram and pump to 20 ton.
With NC's gas crisis/80% outage I'm parking Jaggy-O w/a thorough wash & use my new 5 Layer Custom Car cover, I will post my findings. Thus far it fits well/snugly even w/ no tie downs as of yet.
Not the car I want to utilize w/a gas shortage lol.
Cover initial run
Kept the ole girl out of commission due to the gas crisis as premium was non-existent , I recommissioned her today !
2+ weeks in & as many heavy storms combined w/ pollen & yard debris, the cover's a winner thus far, I only noticed a few droplets as I removed & I think that's due to a incorrect initial install. I didn't pull tight enough around a front wheel leaving a crevice for water to pool. But she came from under the cover as she went, nice & clean ready for a cruise ! Only complaint I'll say is that the interior fleece side seems to be static prone & draws grass,debris etc. which you have to brush off on refitting.
Last edited by King Charles; 05-26-2021 at 11:40 PM.
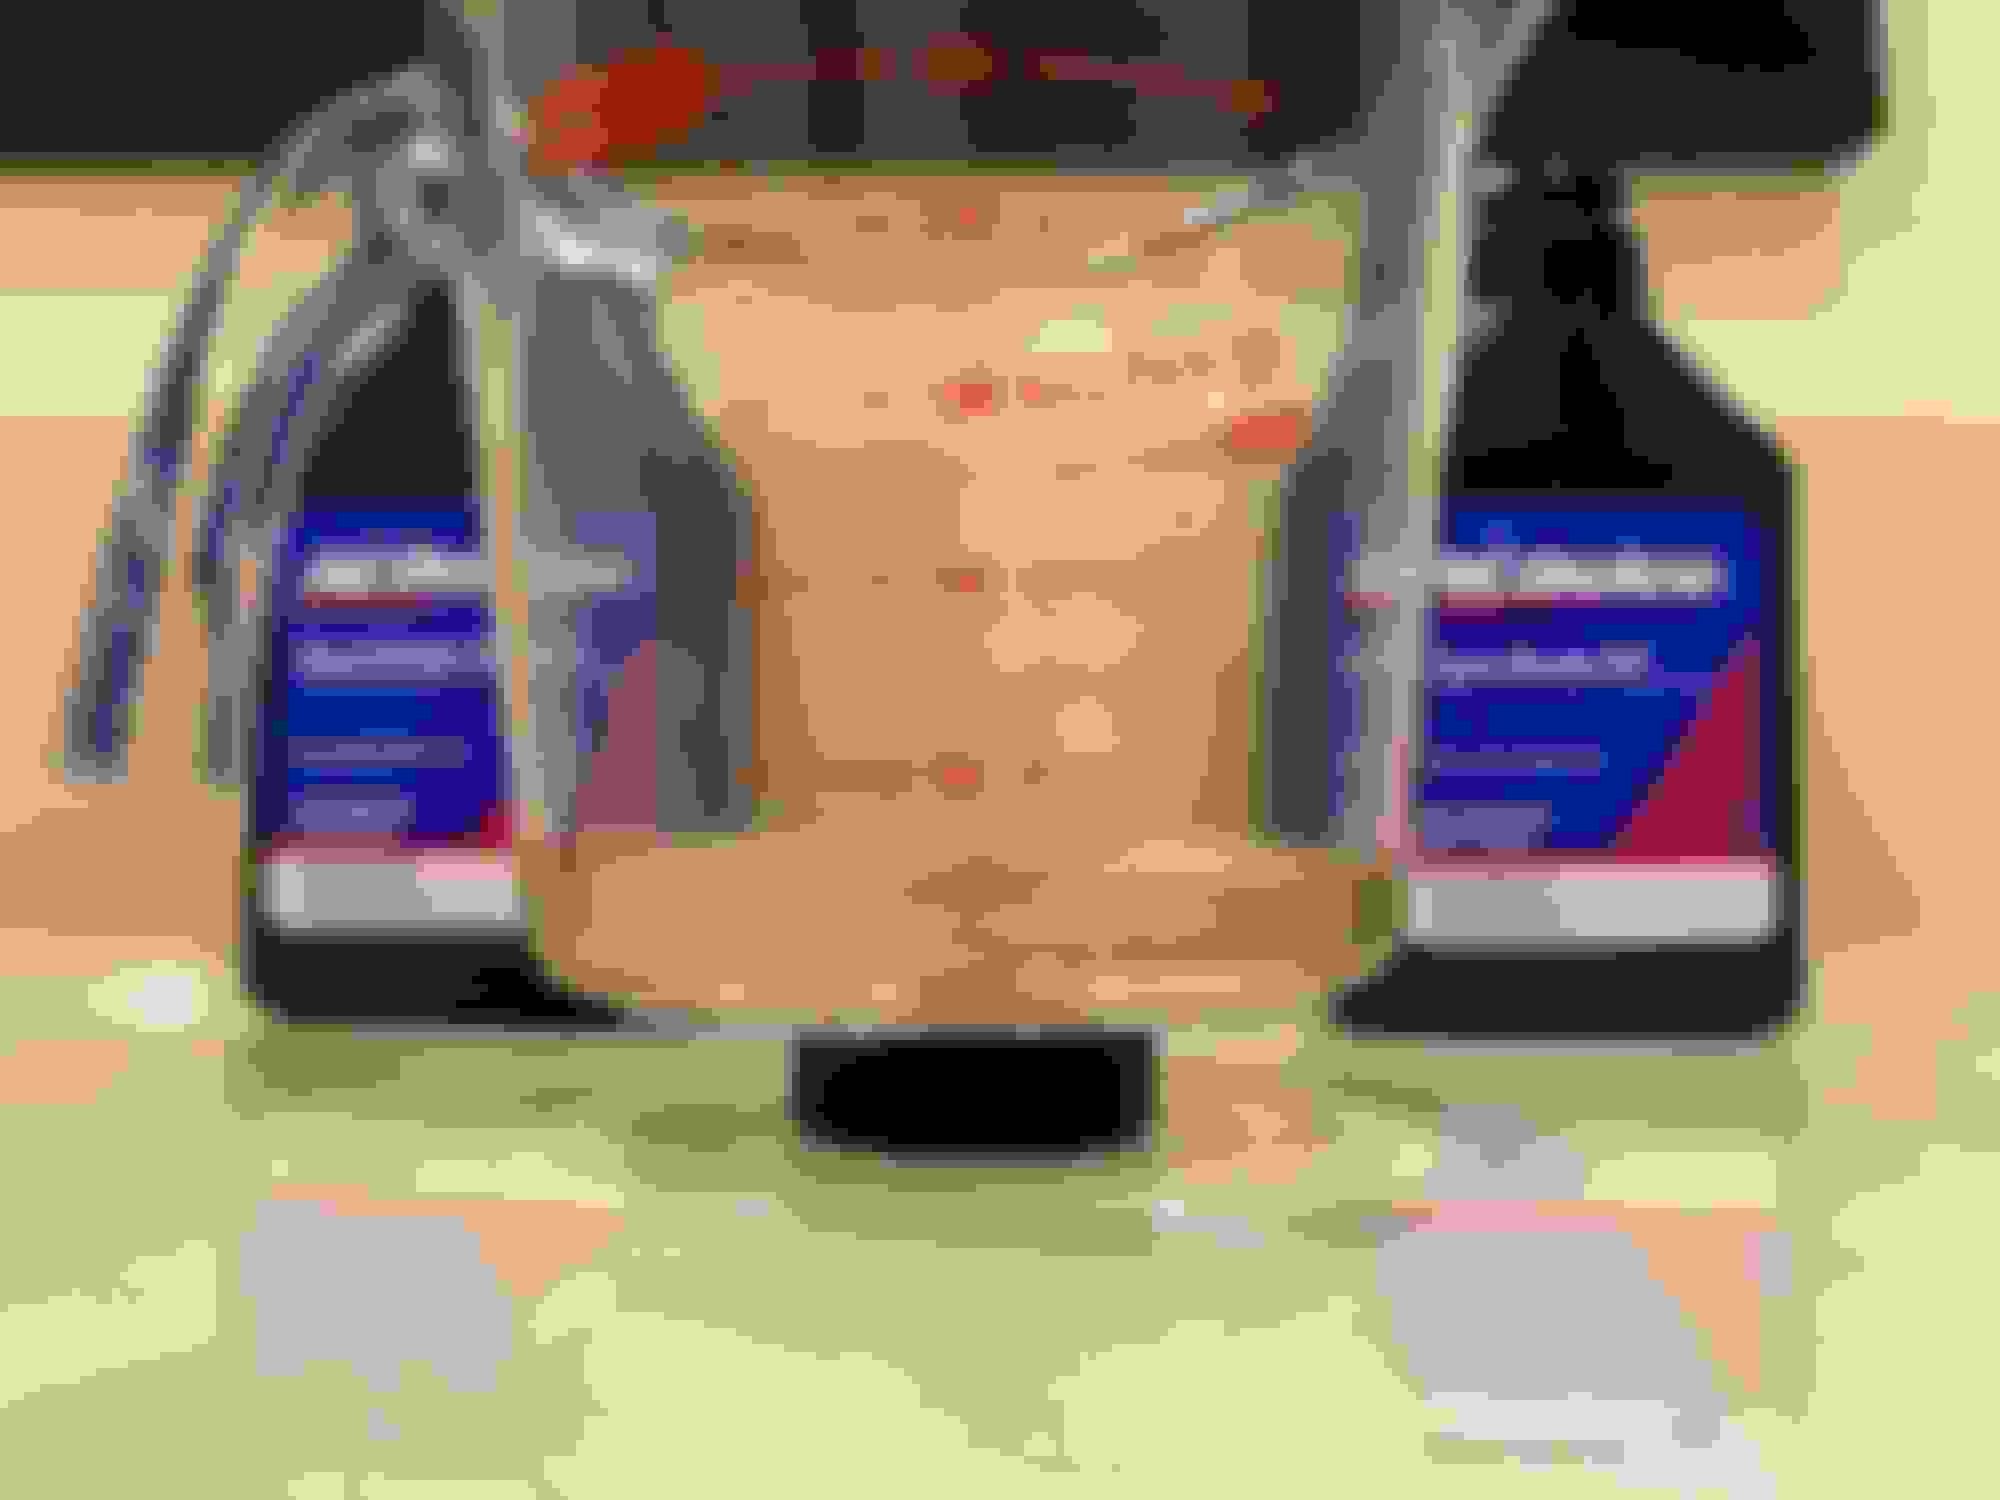
The supercharger oil extraction resulted in ~6.42 fl oz of old oil and accepted ~6.8 fl oz of fresh oil, until overflowing out of the fill hole. Given the M112�s capacity of 7.3 fl oz, it has supposedly lost ~0.38 fl oz over the course of 20 years and ~49k miles�not too shabby, I guess!?
~190ml/~6.42fl oz of old oil
~35ml/~1.2fl oz (out of 236ml/8fl oz) of fresh oil remaining
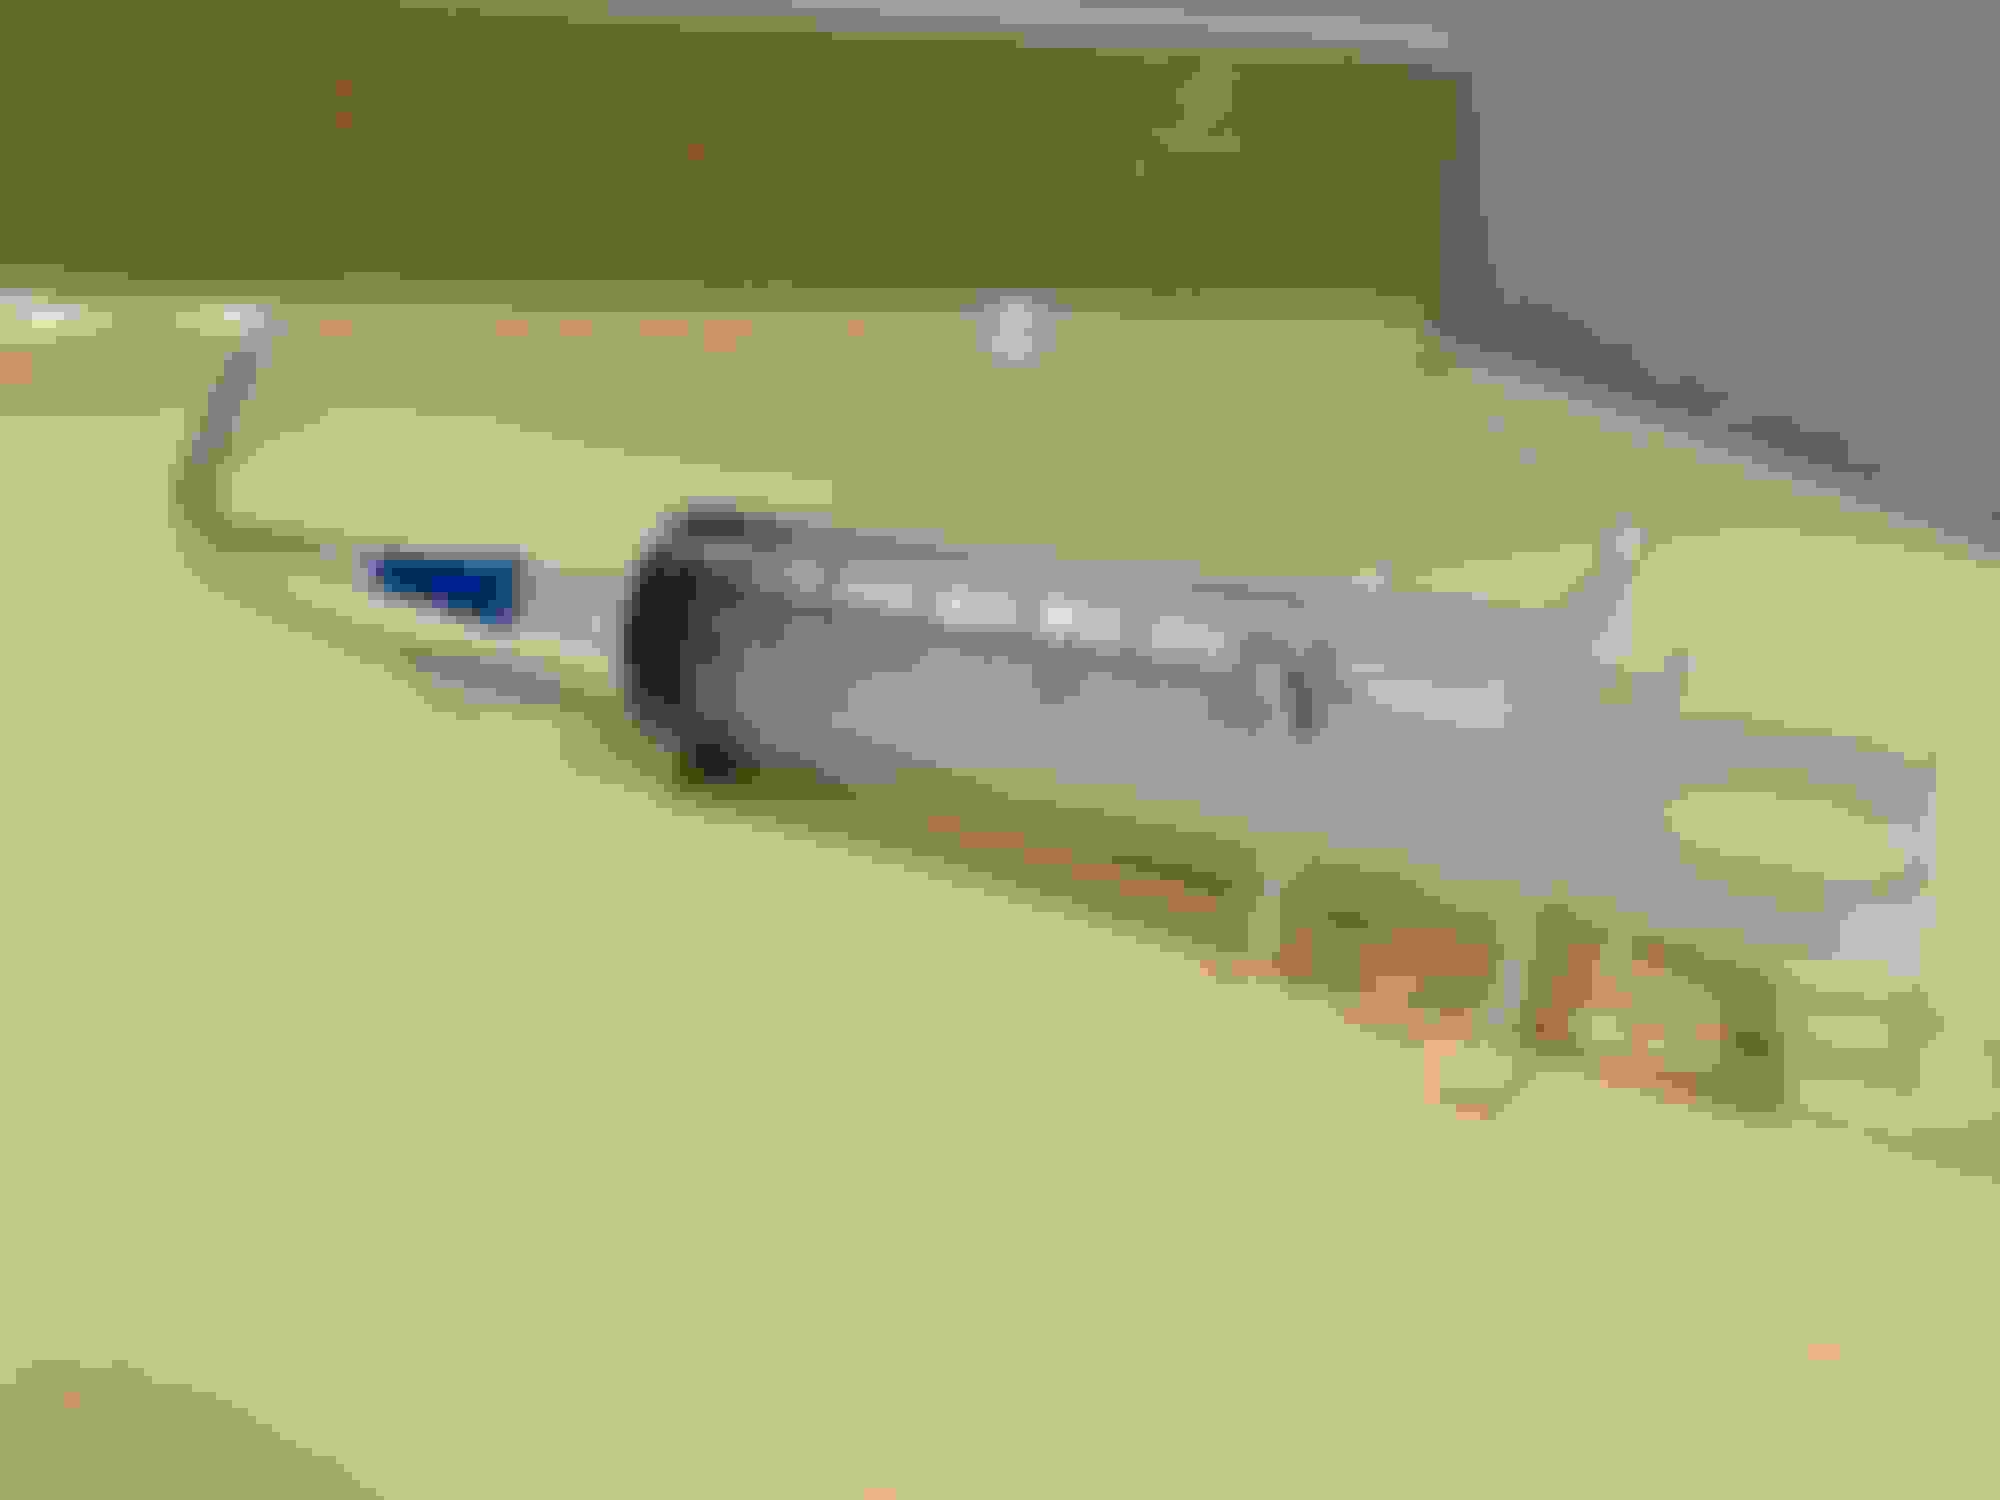
Syringe with 1/4� hose
* Despite recommendations to attach a WD-40 straw to the end of the hose (to extract as much oil as possible), I didn�t want to chance it detaching when navigating it in and out of the fill hole. *
_____________________________________
Knowing that there is ~0.5 fl oz of old oil mixing with the fresh oil doesn�t bother me all too much� Bearing that (and the color of the old oil) in mind, I suppose I�ll make a habit of changing it every 25k miles or so.
Many thanks to all contributors in the various threads devoted to this super easy and inexpensive job ($24 for the kit on eBay�including syringe & hose)!
Pumped out the contents of the gas tank into three 5gal buckets, let them sit over the course of a day until the water/other garbage demulsified, pumped the settled contents out of the bottoms of the buckets (water + other stuff?) into a waste canister, then poured the (hopefully good) gas back into the tank.
A painful lesson to keep your fuel filler drain clear. Though I think it may have been a bad batch of gas or something as well, there was a lot more water than I would have expected for just a couple hard storms.
A sample of the "waste" contents:
Little bit of gas on top, emulsified crap on the bottom. This bottle did eventually clear up too, to mostly clear on the bottom layer. Of course, it's not the ratio of gas to crap I had in the tank, it's just the leftovers.
 05-13-2021, 04:30 PM


 .. $300 which I upgraded from my standard selection to get a hydraulic hole punch kit that netted me an additional pull style hydraulic cylinder that can be used for removing and replacing wheel bearings and sleeves using the same adapters - also in situ and being able to use the pump with other hydraulic attachments.