When you click on links to various merchants on this site and make a purchase, this can result in this site earning a commission. Affiliate programs and affiliations include, but are not limited to, the eBay Partner Network.
Hey everyone, super moderator GGG suggested that I start a new thread for this topic.
I was driving my XJ8 about 2 weeks ago when my ac compressor locked up. I began looking for a step by step guide of how to remove the compressor, but did not find a whole lot of info on the forums, or on alldatadiy.com to which I have my Jag subscribed. So I finally decided to sign up and do a write up complete with pictures to help guide anyone else who might have this problem. I will probably divide this write up into three parts for easier reading. So lets begin.
Whenever you suffer a compressor failure it is always recommended that you replace the compressor AND the condenser (front core) AND the dryer. It is also important to flush the remaining components ( lines and evaporator core).
First I began by performing what work I could from the top of the engine compartment before going under the car. First if necessary you will need to have any remaining refrigerant recovered from your system.
Then I removed the radiator support panel.
Next I removed the air filter box to access the dryer. Also not the top of the radiator and condenser are now exposed ready for condenser removal.
Now disconnect lines from dryer. Sometimes a thin bladed screw driver is helpful in gently prying the hoses lose.
Now we remove the dryer.
The new dryer did not come with locating pins installed or rubber mounting grommets. I will have to transfer the old ones to the new dryer.
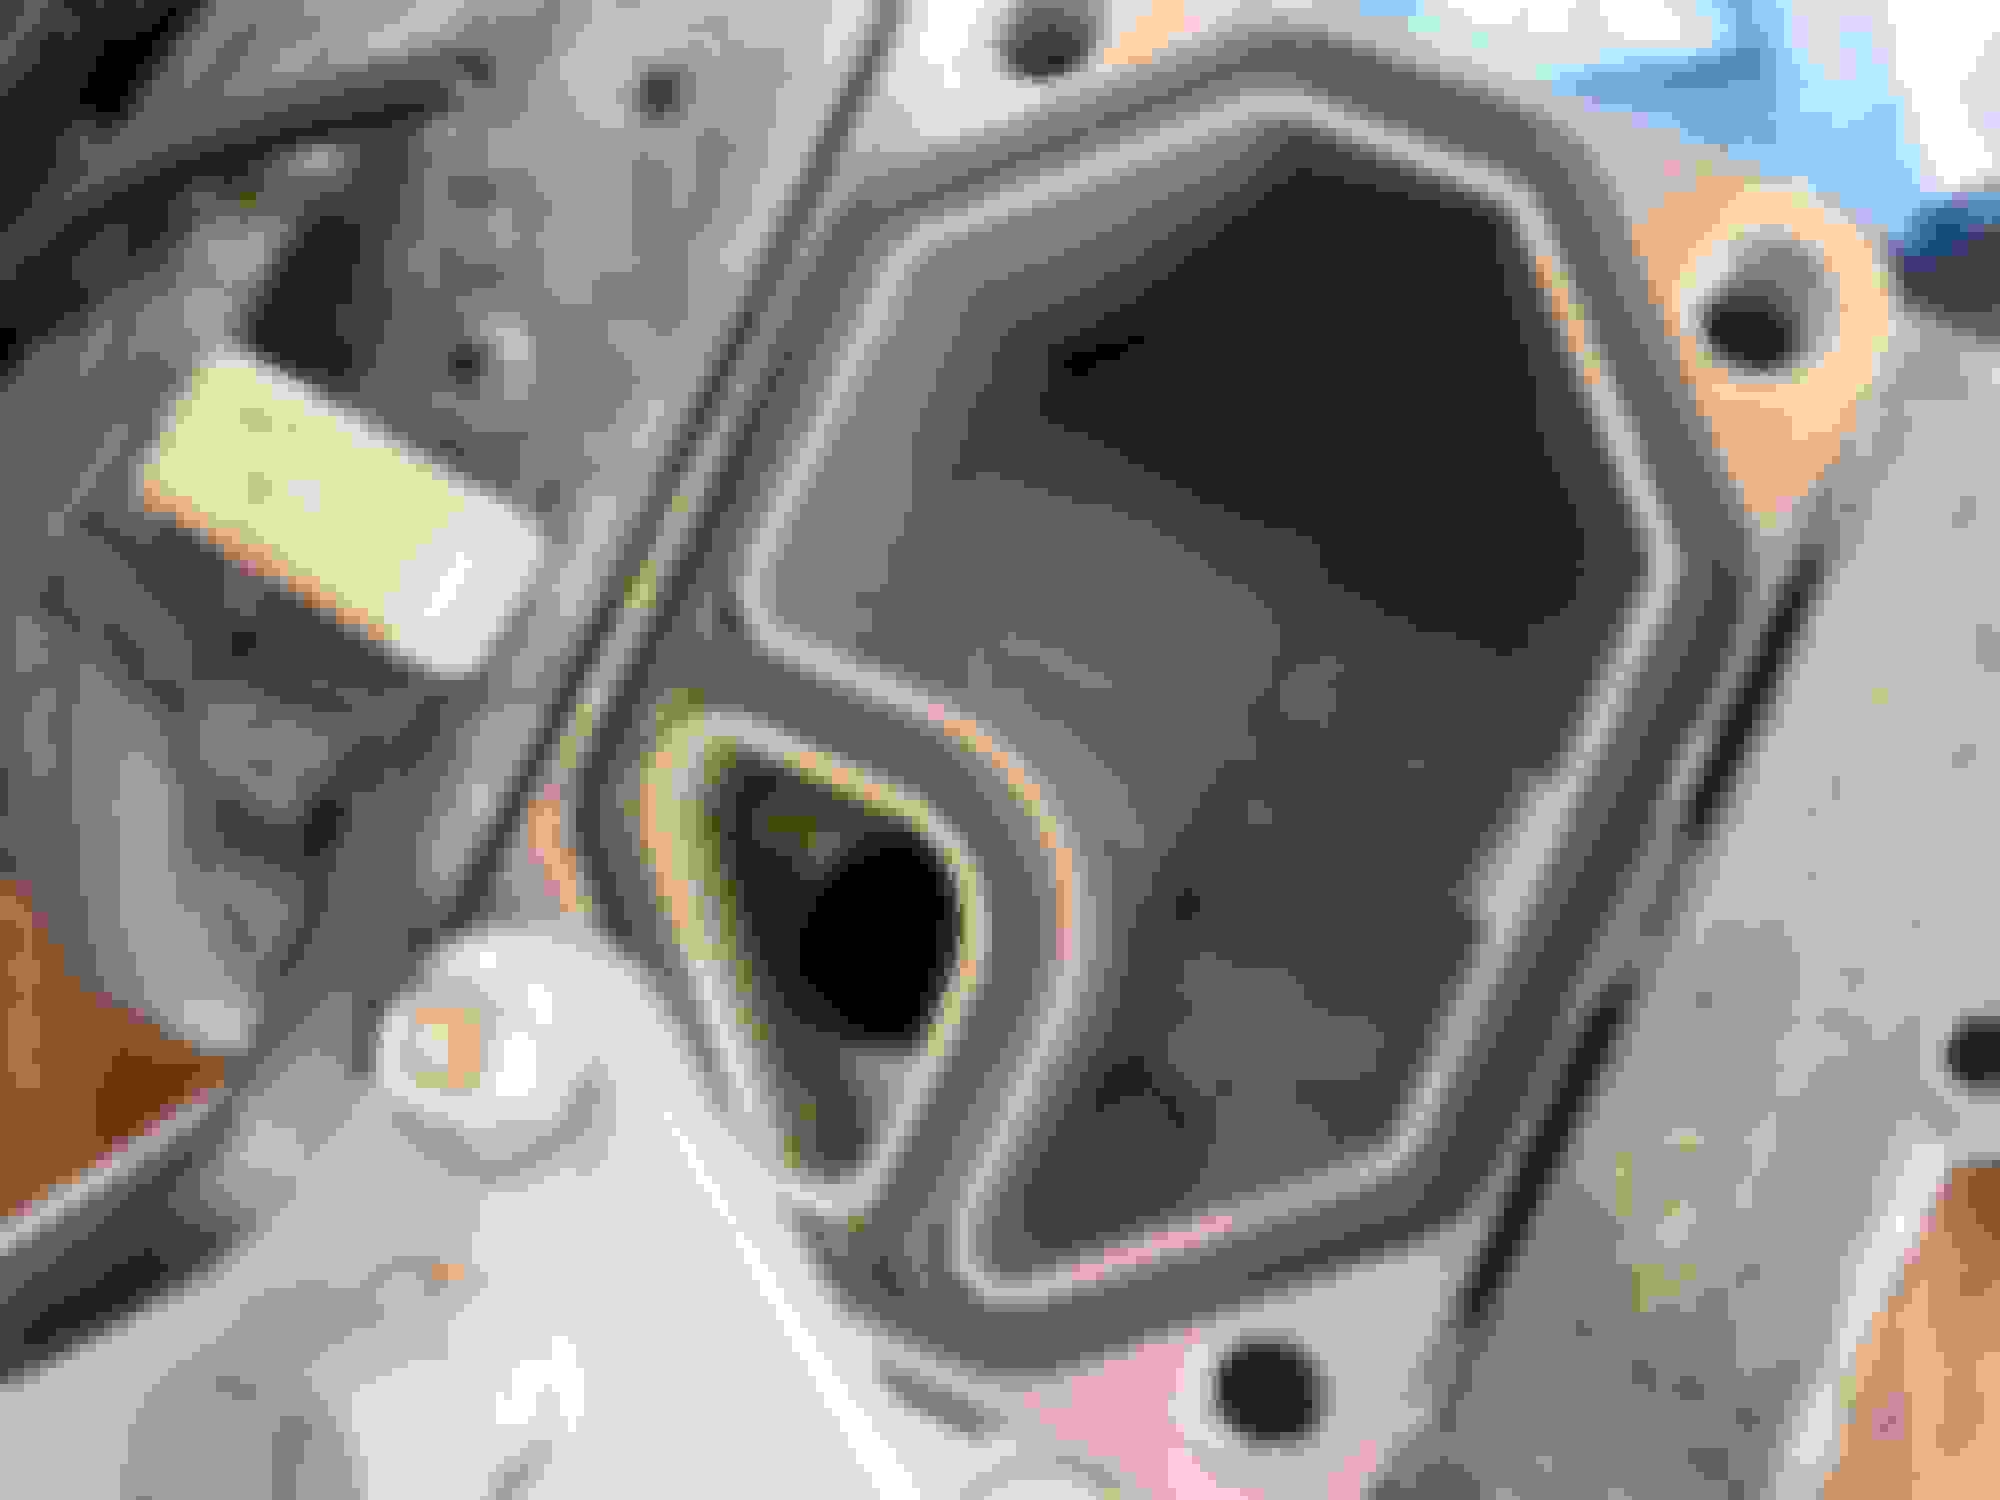
Next remove the condenser. This is tricky because jaguars official procedure is to drain the radiator and remove it along with the condenser as an assembly. The next two pictures will show why. The first picture shows the bolt head for the condenser to dryer line. The second shows the same bolt head with a wrench on it. You will see little room there is.
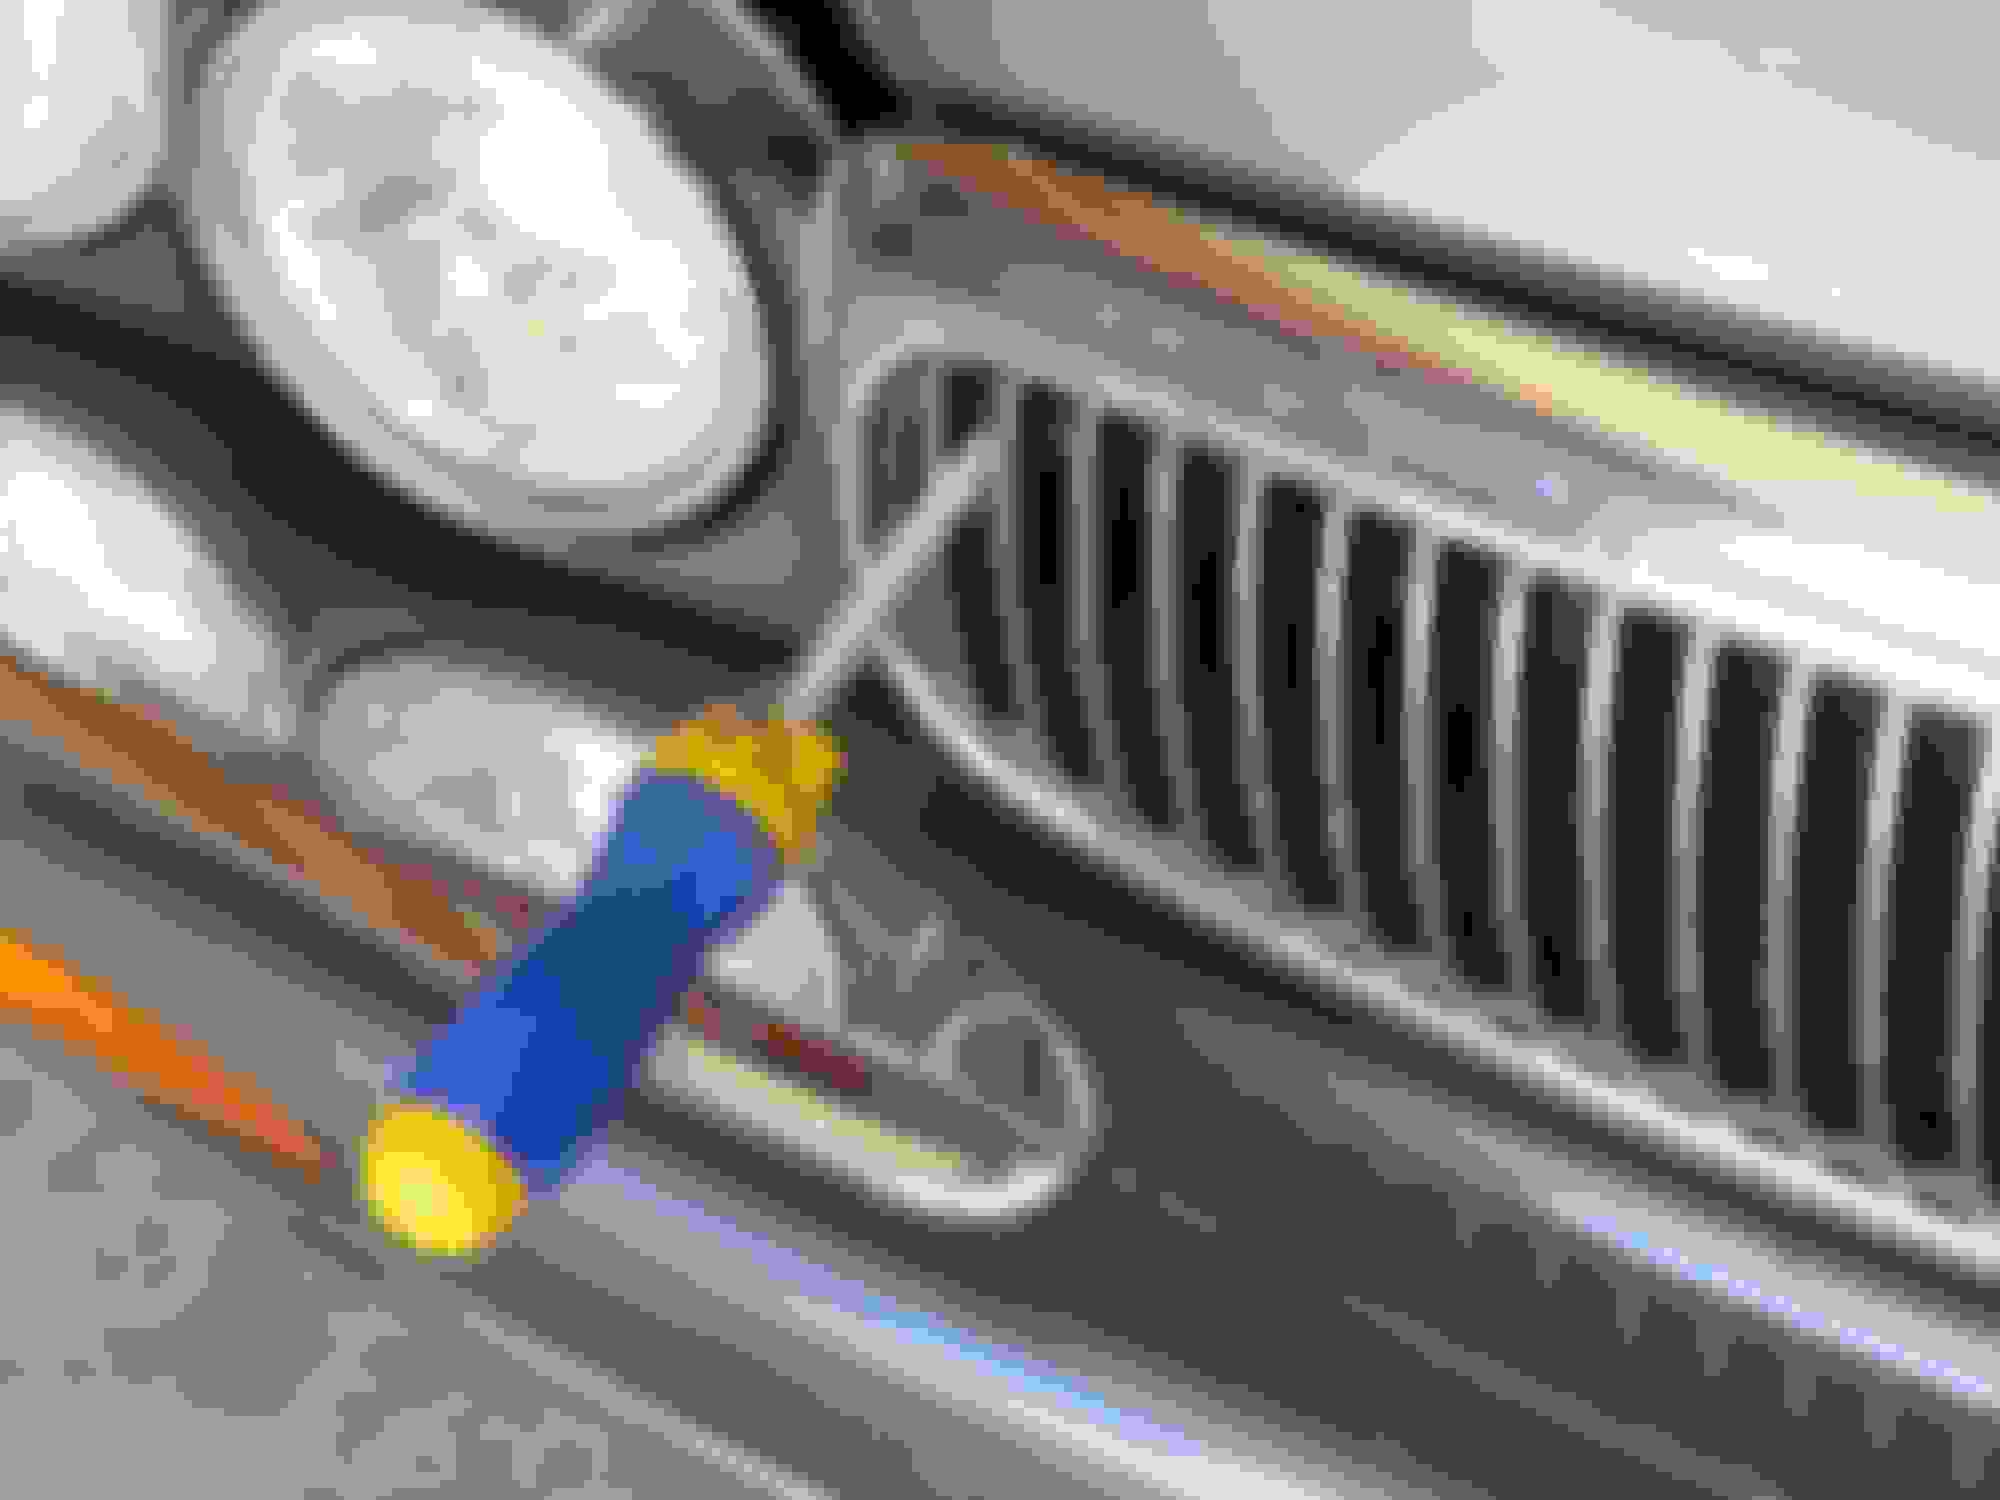
I really did not want to pull the radiator since that would be quite messy and a lot more work. I decided to try to tilt the radiator towards the engine in hopes that I could slip the condenser up and out of the car. So next I removed the grill to access and remove the condenser bolts.
Next I disconnected the ac pressure switch (remember this switch, we will come back to it later), the compressor to condenser line, and the condenser to radiator support clips.
I then took the condenser loose and began to see if I could successfully remove it from the car. By tilting the radiator towards the engine and carefully pulling up on the condenser and the condenser to dryer line at the same time, I was able to remove it without pulling the radiator! The condenser to dryer line connection will scrape on the part of the uni body next to it but it can be done this way.
And with that I think I will end this portion of the post and continue tomorrow. I hope this part of the post has been helpful thus far. See ya'll later.
While i am entirely incapable of doing this in my parking lot, and my wife would panic if I tried, you get a huge gold star on your chart for sharing such a detailed, sequenced and thoroughly understandable set of instructions.
Hello everybody, I'm back today with part two of the compressor removal write up, and today we will be removing the compressor itself.
First we will now need to jack the car up and put it on jack stands. I placed the jack stands as close to the towing/recovery hook lugs at the rear of the front sub frame as possible.
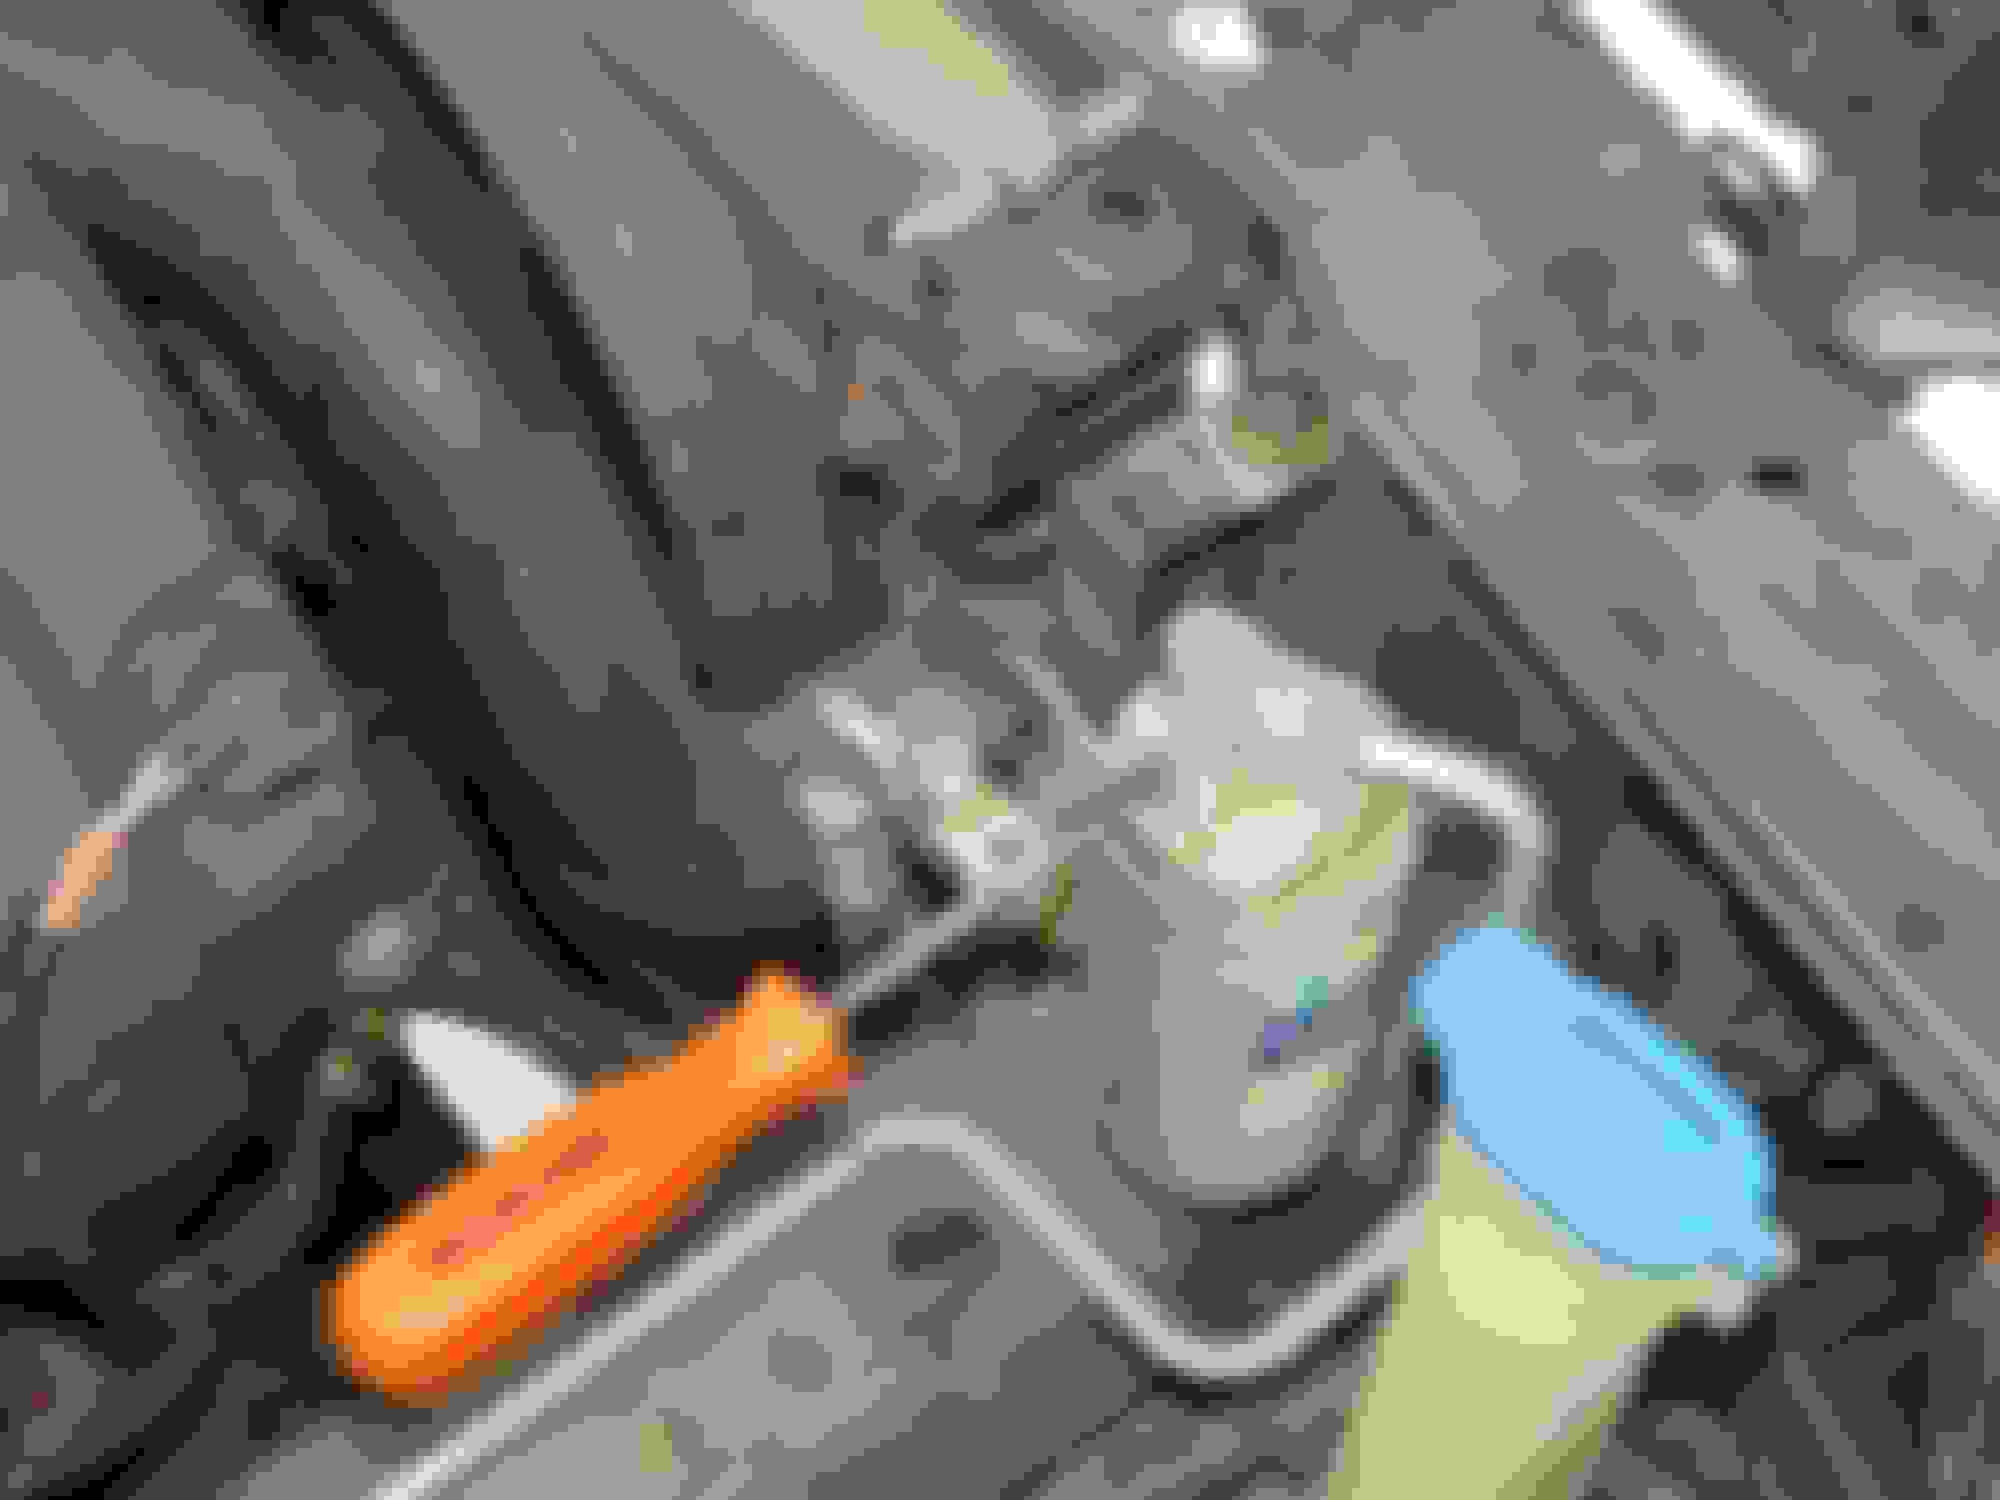
Next remove the drivers side front wheel to access the top compressor bolts and the power steering line fittings. One of the compressor bolts is visible just above the red wire which connects to the compressor, don't forget to disconnect it to. The power steering line must be disconnected to allow the compressor to be removed through the bottom of the sub frame. This is not optional you will not get it out unless the line is disconnected, believe me I tried.
These are the power steering line fittings. The larger hex is an adapter which allows the line to be connected to the pump. It must be held from turning while the smaller hex is broken loose. The larger hex is a 22mm and the smaller is 16mm if I remember correctly. Jaguar recommends you clamp the reservoir line so that it does not drain out as well as the pump.
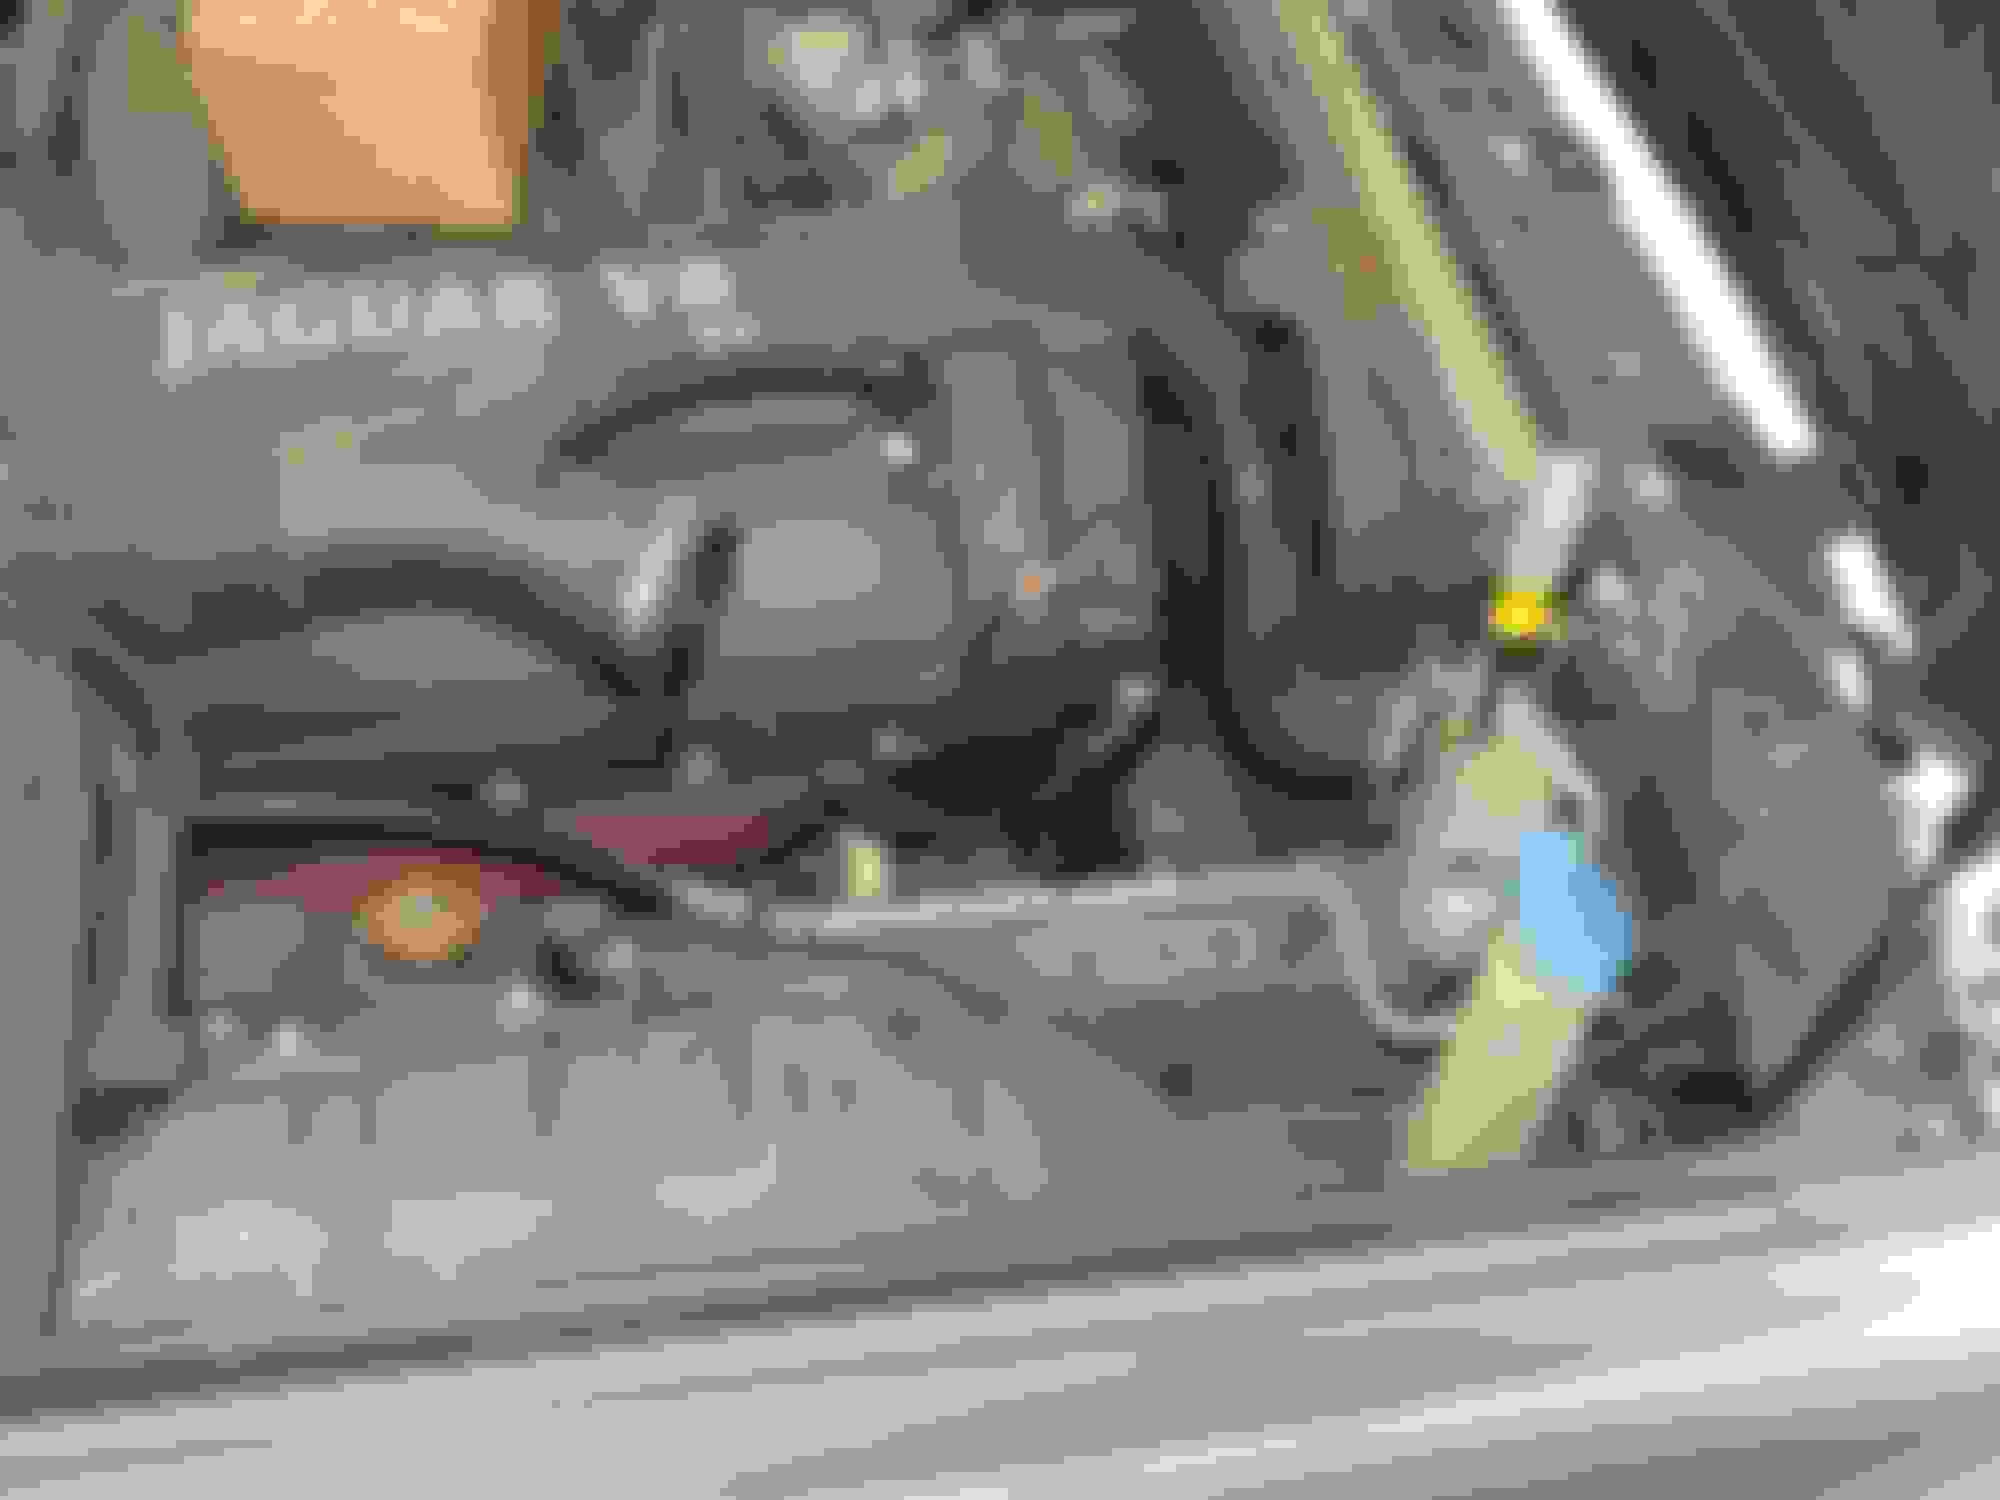
Side view of compressor.
As a side note, if the power steering fluid is old and discolored this is a good chance to change it since the system has been opened. you can use a hand operated vacuum brake bleeder such as this one from "MightyVac".
And a rubber cone shaped adapter from the kit to allow you to hold it into the end of the steering line.
Recover as much fluid as possible emptying the recovery container as needed. Then turn the steering wheel fully left and repeat, then fully right and repeat. In this way you will recover nearly a quart of fluid and since the entire system capacity is only a quart that is pretty good. When you do go to start the car be sure fill the reservoir and be ready to quickly refill it untill the pump stops pulling it down. turn your steering wheel from fully left to fully right a few times to work out the air. Refill as needed. Mobil 1 synthetic ATF fluid meets jaguar specs.
And now back to the compressor removal. After disconnecting power steering line pull it down through the bottom of the sub frame.
Before unbolting the compressor remove the lines from the back of it.
This is the toughest part of the job, that and putting the lines back into the compressor. To access the bolts to remove the lines I laid down on a creeper and using an 8mm ratchet wrench inserted my left hand through the wheel well just above the sway bar. This was the most tedious part of the job. Remember to use a thin screwdriver if needed to help pry the lines loose.
The high pressure line is the line closest to the engine. Once both lines have been disconnected the high pressure line can be easily removed from the car from the top. The vacuum line remains in the car. Now the compressor bolts can be removed and the compressor can be removed through the bottom of the sub frame. It is a tight fit but it will come out fairly easily.
I will end this portion of the post here for today and try to get the third installment up tomorrow. See you all later.
Hey everybody, I'm back today with the final part of the write up.
After removing a locked up compressor it is critical to flush out the two short lines up front, and the remaining lines that are connected to the evaporator and the evaporator itself. This is critical and not an option. If this is not done your new compressor will almost certainly fail in short order. Here is the inside of my old compressor.
Note all the metal fragments. this is why the condenser and dryer (if separate from condenser) must be replaced.
I used an ac flushing kit purchased from my local auto parts store. Similar to this one.
I had a 1/2 quart of flush on hand and purchased another gallon. this was barely enough. Two gallons would have been preferable. One word of warning ac flush is a very potent mix of solvents be sure to use gloves and and eye protection ( goggles would be best). I set my air supply at 50 psi. First I placed a catch basin under the end of the high pressure line that connects to the dryer, then I pressed the nozzle into the end of the return line that bolts to the compressor. I gently squeezed the lever 5 or 6 times to let the flush work its way into the evaporator then I held down the lever and let the rest of the solvent be pushed through. Be sure to press the nozzle firmly into the line or solvent will leak out. When the canister is empty let it continue to blow through the system for several seconds. Release the lever BUT DO NOT remove nozzle from end of hose right away. If you do solvent residue will be blown out onto you. Listen for the rush of air escaping from the system to stop then remove nozzle.
Debris from the main lines and evaporator.
Debris from the condenser to dryer line.
It took me 4 canisters of flush to clean out the main circuit, that is the return line from the compressor, back to the evaporator, through the evaporator, and out through the high pressure line to the dryer connection. The solvent must come out crystal clear and debris free. When the main circuit is fully flushed, blow compressed air through it in BOTH directions for a couple of minutes to remove any traces of solvent! You would not want to contaminate your new system! The two short lines can be flushed out outside the car. Now every thing can be put back together.
First you will need new o rings. I purchased an assortment of metric ac o rings from my local store. Be sure to lubricate them with compressor oil before installing them. I used what seems to be a new type of compressor oil made by Mahle Behr. It is made with a true synthetic base oil, PolyAlphaOlephin or PAO for short. Unlike all other compressor oils it IS NOT hydroscopic. It will not attract moisture, and is supposed to increase efficiency and performance.
When connecting the dryer to condenser line to the condenser be sure to hold the two aluminum blocks when you tighten the screw down to avoid bending the tube that connects the block to the condenser. It is very small and very easily bent.
1/4" extension shown next to the tube in question.
Hold the joint when tightening screw to prevent bending tube. Torque setting for this joint and all other joints is 6 foot pounds per alldata.
Since I had to pull up on the hose and condenser at the same time to get it out of the car, and because the above connection scraped the uni body until got past the radiator hose, I had to use the handle of screw driver to force the connection block down until the line cleared the radiator hose to prevent bending the small condenser tube. Once past radiator hose the condenser drops into place pretty easily. Aside from this reassembly is pretty much the reverse of disassembly.
In conclusion lets see what made the compressor fail. One factor is age. According to autoacrepair1.com a compressor can last 8-10 years. Link provided below. https://autoacrepair1.com/how-long-s...last-in-a-car/
Another factor can be loss of compressor oil. When the system is not in use I imagine the refrigerant could leak out , if there is a leak, but not the oil. However if the system is in use the oil is moving with the refrigerant and can escape. I new that I had an intermittent leak but was not able to find it until I tore my system down for repair. Lets look at that leak.
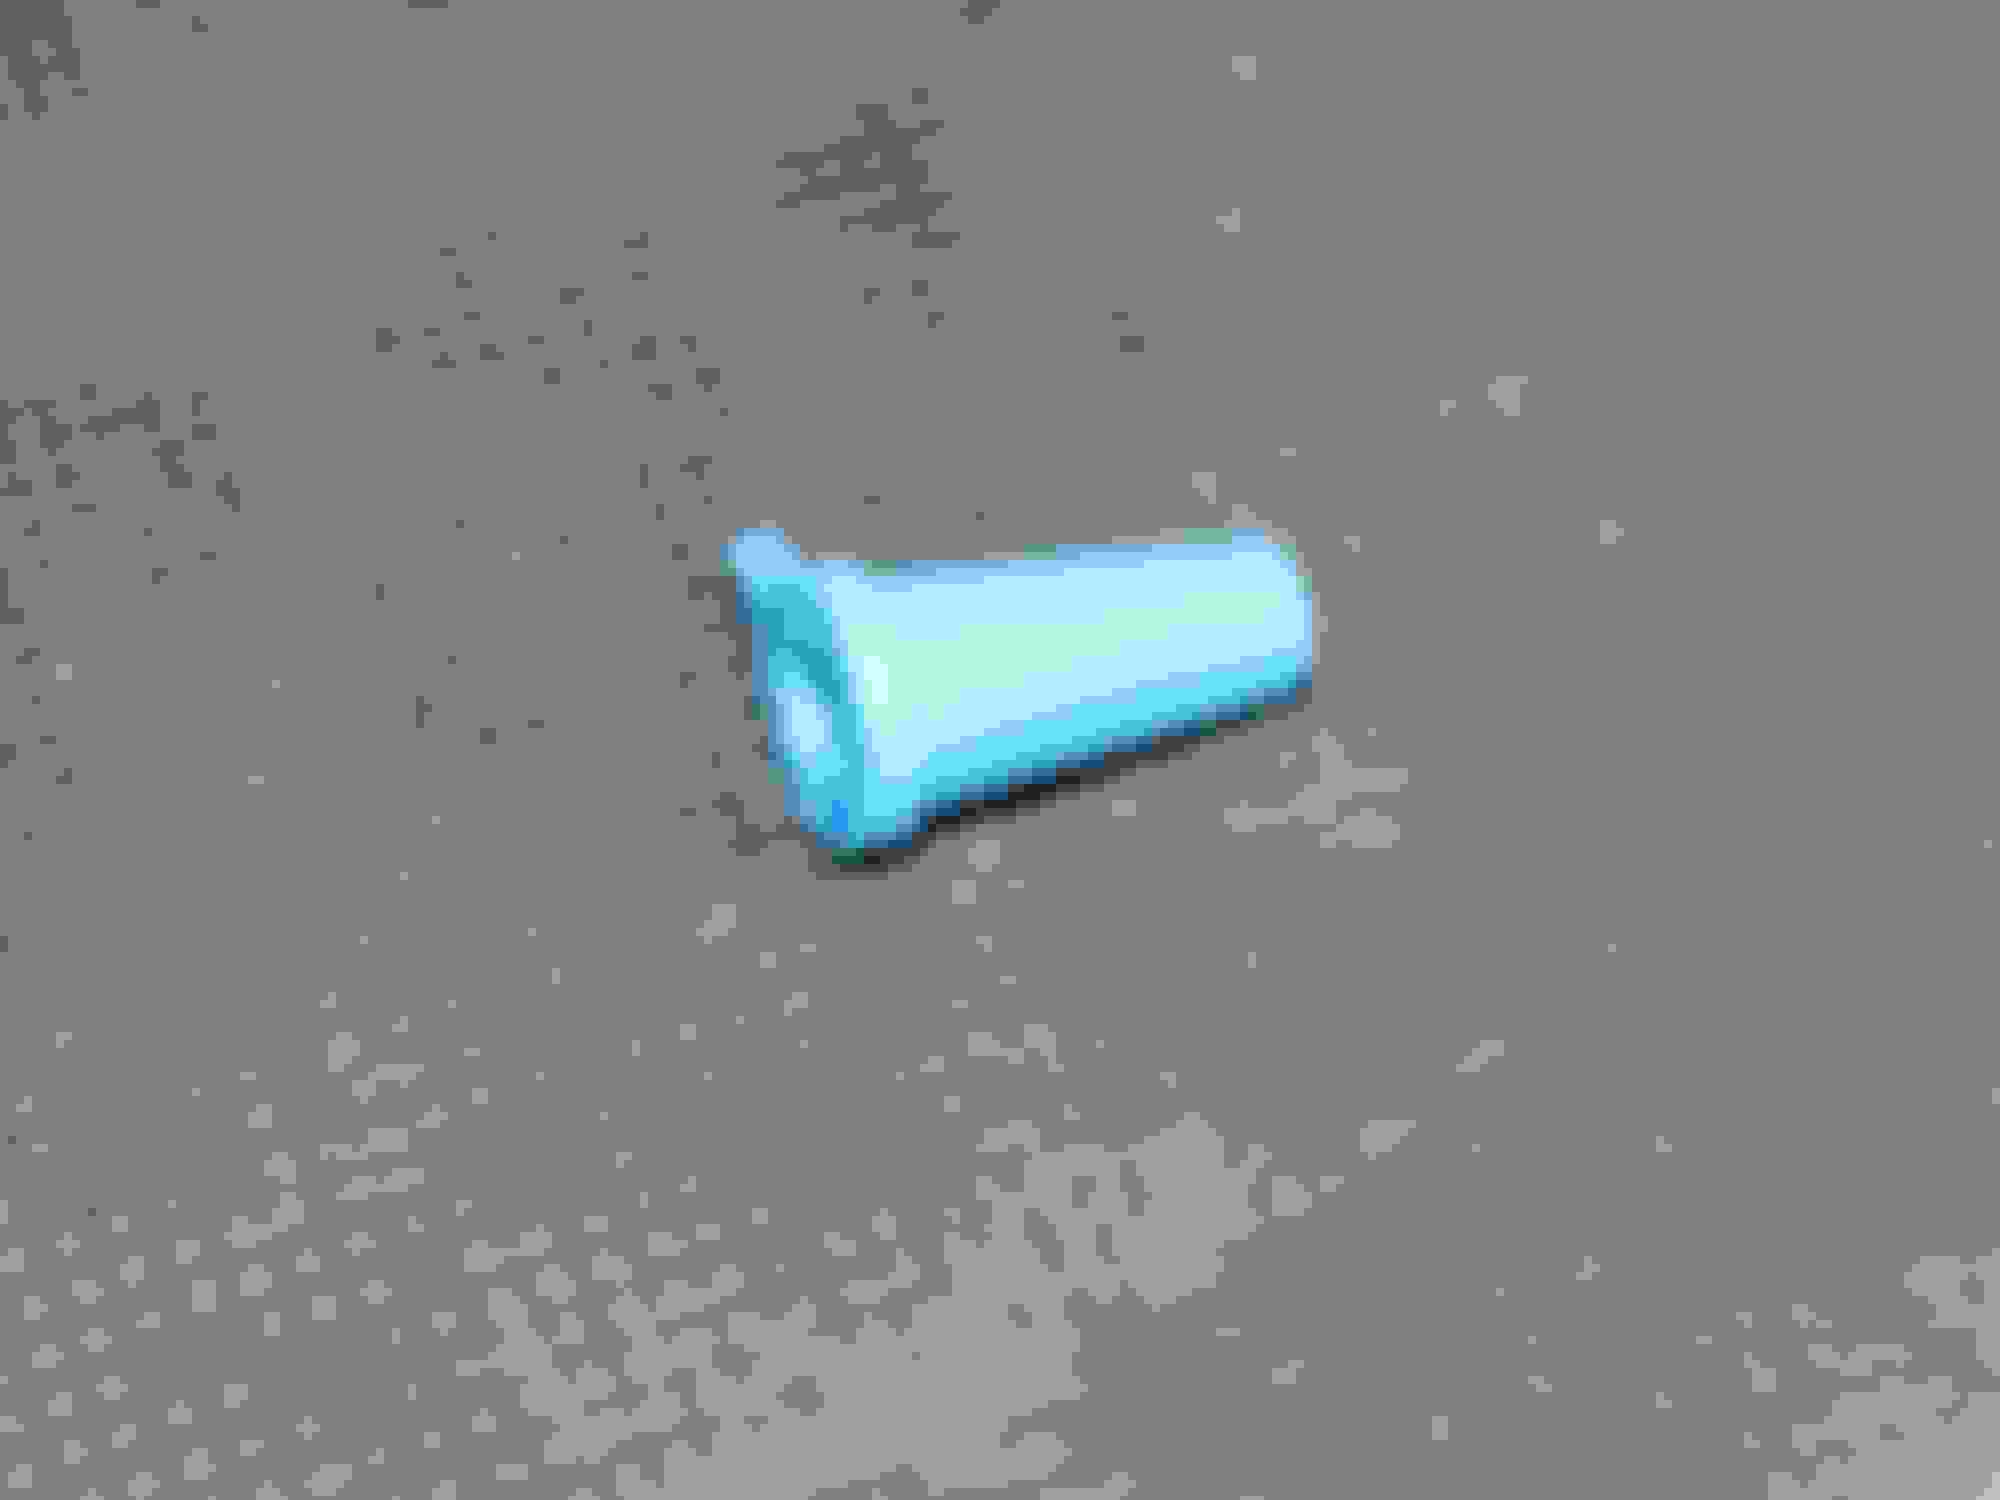
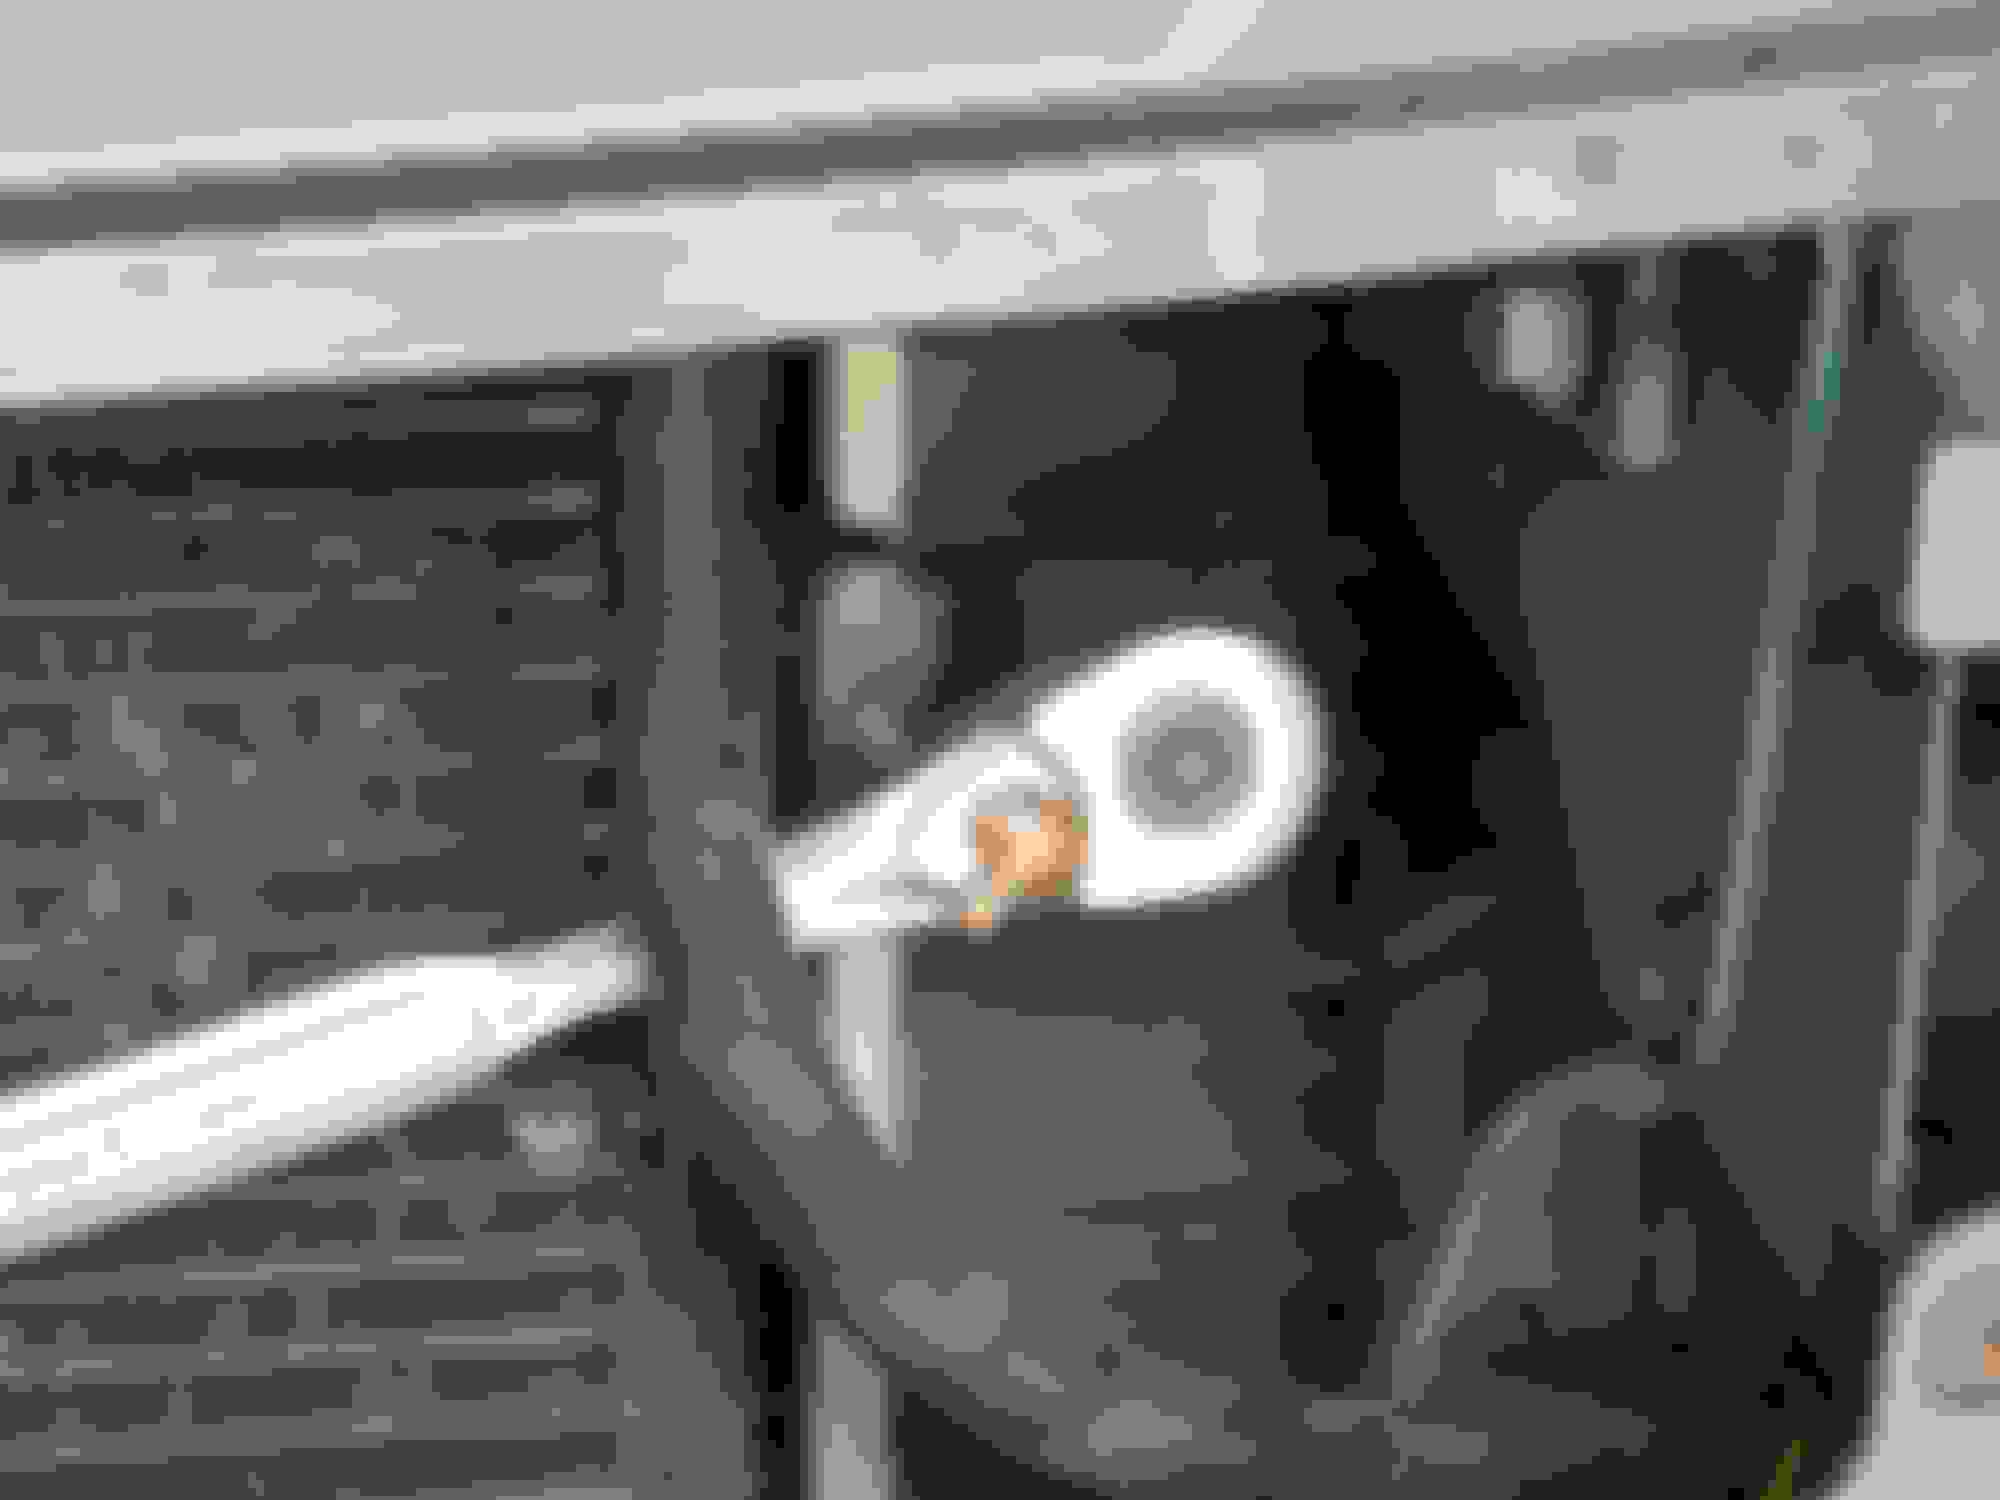
Here is my pressure switch. Note the green oily substance inside. The internal seal of the pressure switch had failed, allowing my system to leak through the switch! I did not know that this was possible. I had tried using uv dye but was not able to see the leak because it was hidden from view. I believe this can emphasize the importance of having your system checked by a specialist if it suddenly begins blowing warmer air. They will be able to find the leak that caused the problem and they will be able to replace not only the refrigerant but also the correct amount of oil that has been lost. If my compressor lasted twenty years while being starved for oil at the end, It makes me wonder how long it might have lasted had I had the system serviced say every 5 years or so. But I do think I certainly got my moneys worth out of the original compressor anyway.
Well the mechanic just called saying he finished charging up my new system so I had better go pick it up and chill out.
I hope this has been a help to all who have read it. Se ya later.
 09-19-2021, 02:16 PM


 The condenser to dryer line connection will scrape on the part of the uni body next to it but it can be done this way.