When you click on links to various merchants on this site and make a purchase, this can result in this site earning a commission. Affiliate programs and affiliations include, but are not limited to, the eBay Partner Network.
I replaced the weatherstripping for both front doors today, and adjusted the door strikers after I was finished with the job to get the best fit to the adjacent doors. I also have had an issue with both front handles (and especially the Right Rear) where there requires substantial movement of the handle before the latch releases. The right rear door releases at the VERY end of handle travel.
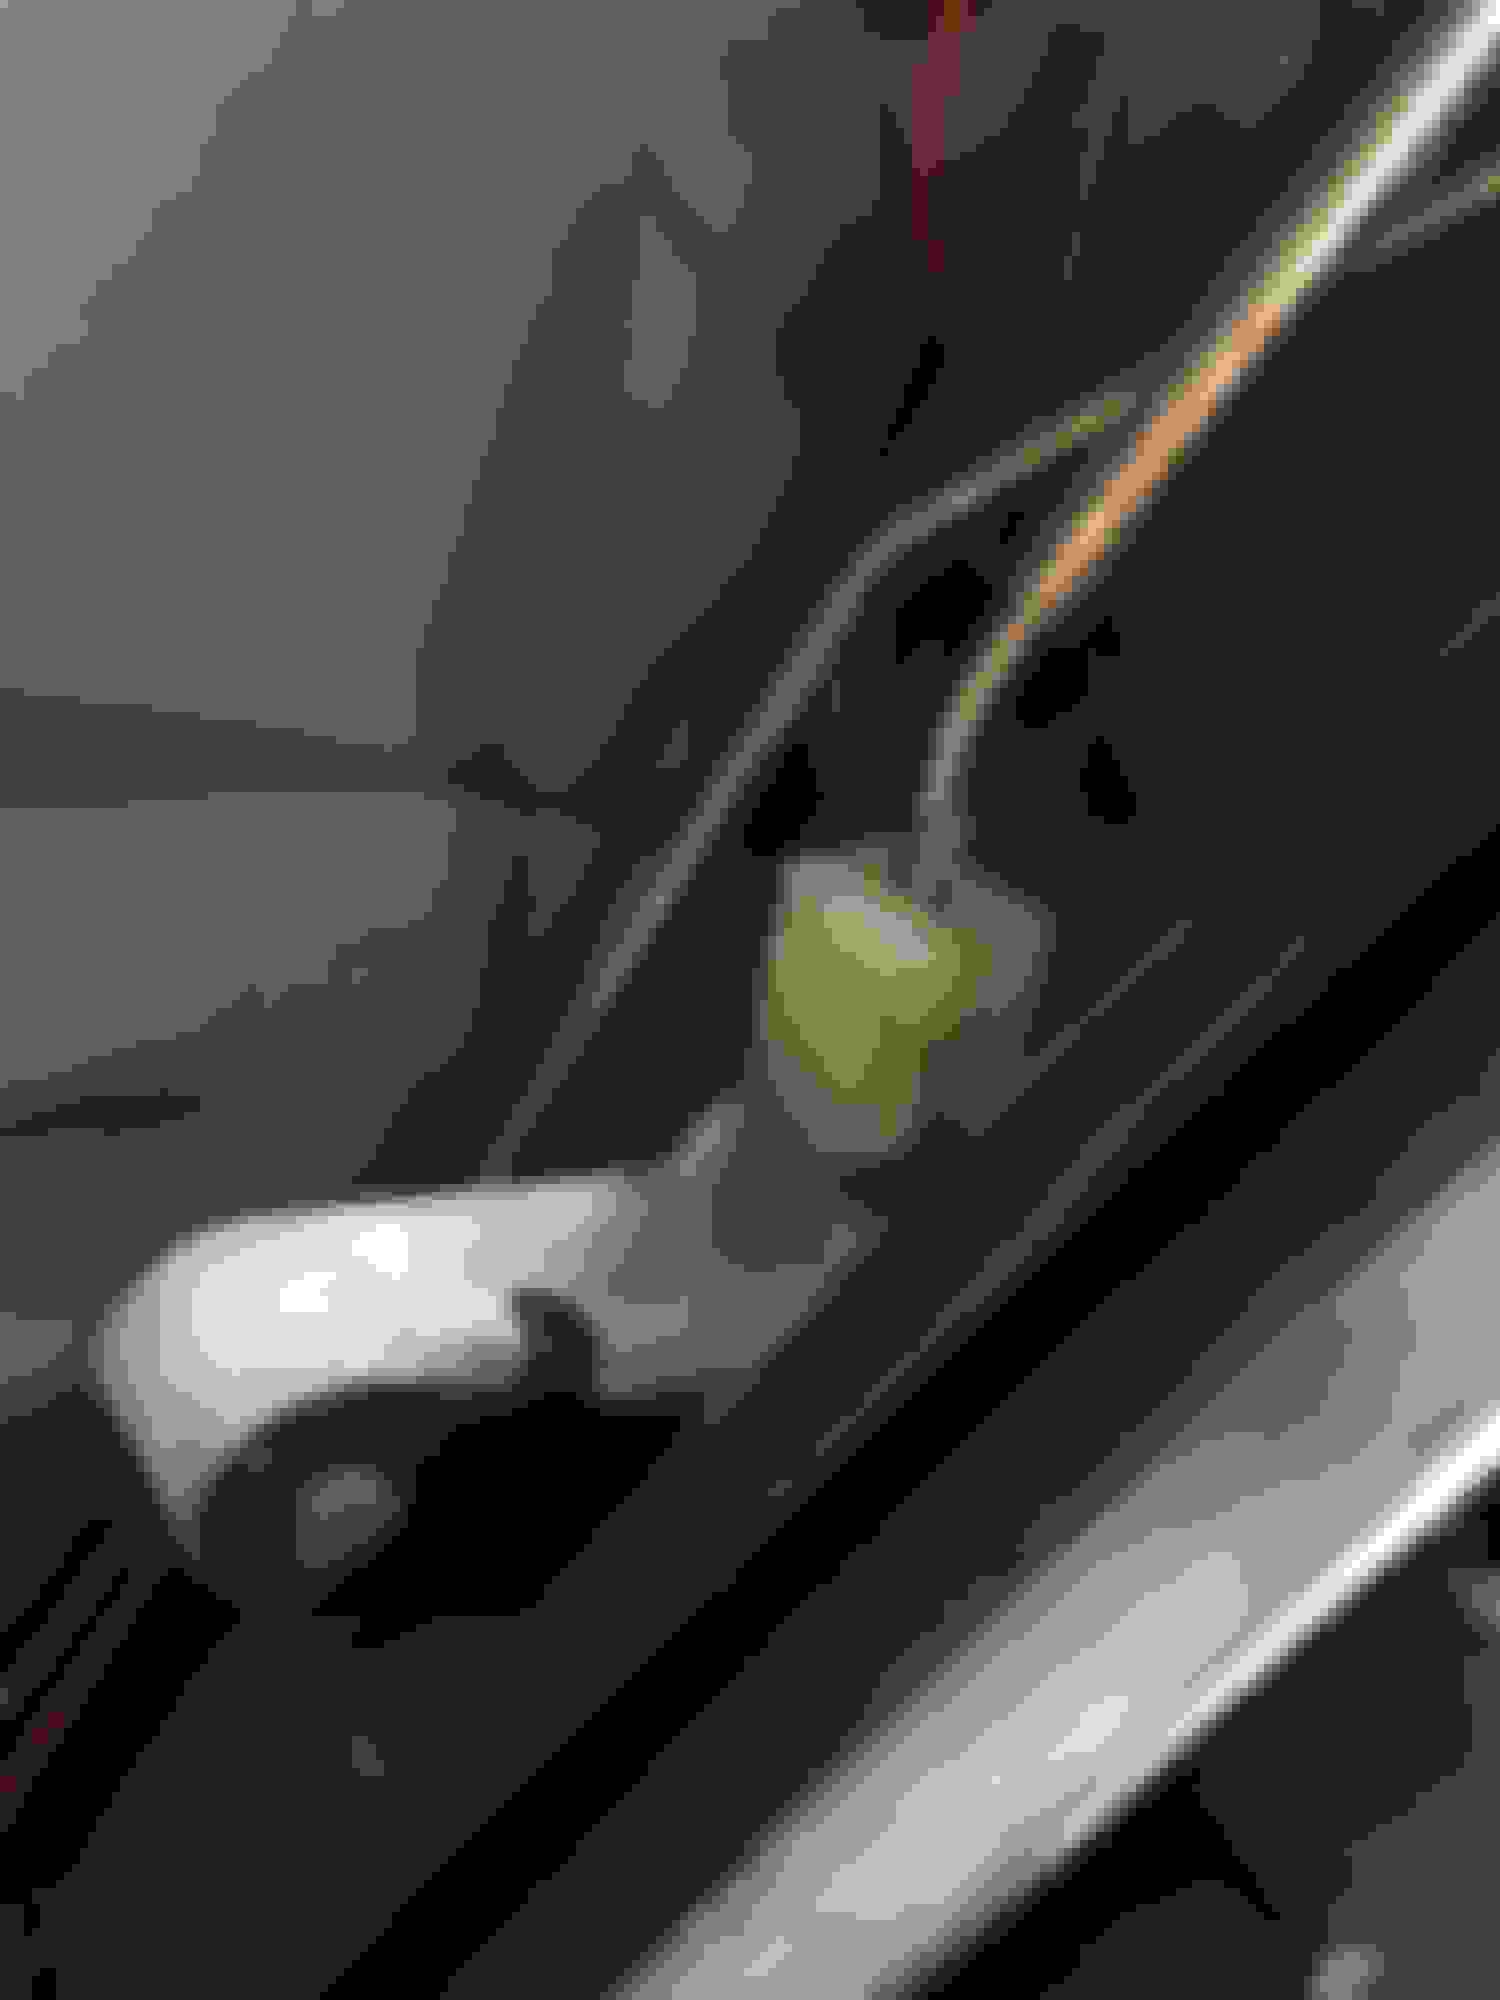
I pulled the door panels off, and found this little guy connecting the door handle linkage to the latch mechanism.
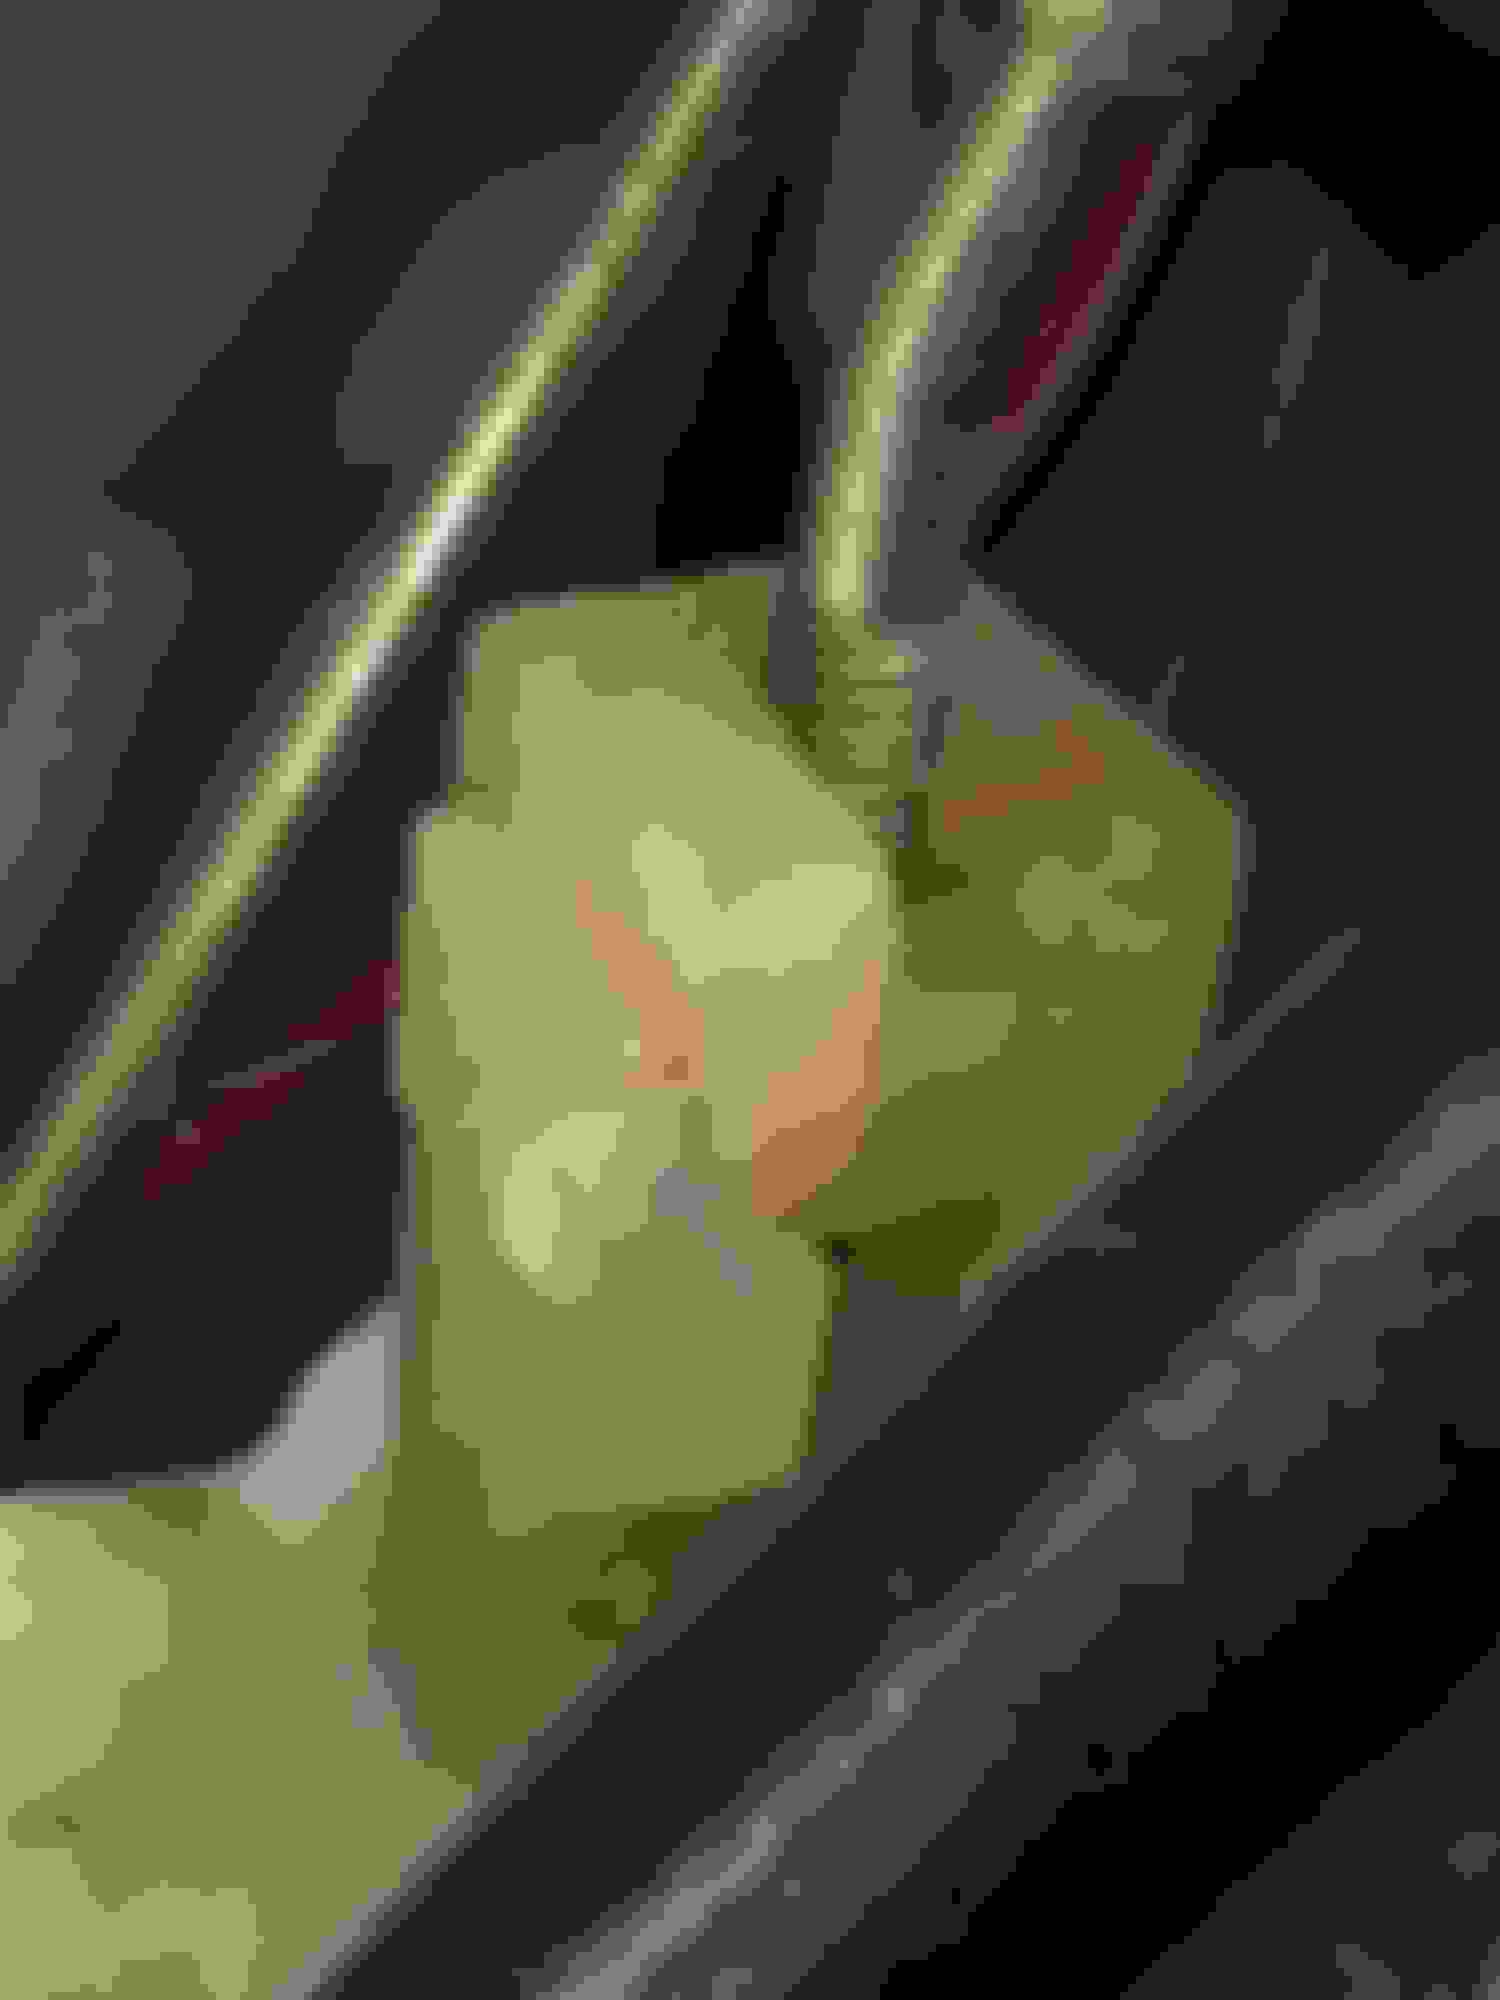
Here's a closeup:
It took a few minutes to gently figure out how to release the clip without breaking it. (Tonight's nightmare will be accidentally breaking it, rendering the outside handle useless and scouring the internet and junkyards for that tiny plastic clip!)
Anyway, the clip has two pieces. The U-profile body and a securing clip which slides into the side. The tang (front left of clip) is pressed in, but there is also another identical tang at the rear right of the clip (out of sight), which needs to be pressed in simultaneously. This will allow the securing clip to slide out the side of the body, releasing the link rod. By pressing the white lever and clip down (taking up any slack in the movement), while also manipulating the outside handle to take up the slack at the top end of the link rod, you can clip the bottom of the rod back into the body, slide the securing clip back in, and eliminate just about all play in the mechanism.
My doors now unlatch after moving the handle only about 1/3 of the way through it's full range of motion.
Hope this helps someone looking to adjust their door handle linkage or trying to get that clip off without breaking it.
Stupid Me... I have a set of new front door handle gaskets and forgot to put them on while I did this job.... Doh!
good tip and pics ..I adjusted mine when I fitted a replacement rear handle back in October and it worked beautifully, releasing early in its travel and as smooth as silk.
Unfortunately, it seemed to slowly go out of adjustment over the last 2 months and the coup de grace on Monday (in a downpour), the replacement snapped (again).
New handle on order and might try modifying/repairing the broken handle as getting fed up of replacing them. 94MY car handles aren't supposed to be as fragile as the earlier design ...don't believe a word of it. This is a $hit design.
Great pictures and detailed write-up. Mine have a lot of play and I thought I had to live with it. Also, were the door seals difficult to replace? My driver door seal is really torn up. thanks, Ren
Great pictures and detailed write-up. Mine have a lot of play and I thought I had to live with it. Also, were the door seals difficult to replace? My driver door seal is really torn up. thanks, Ren
Thanks! I went with the URO aftermarket seals and found them to be great quality and the fit was perfect. I timed my first door, the driver�s side. I started at noon exactly. Found my torx bits and had the tread plates and old seal removed by 12:10p. New seal was back on by 12:45p, tread plate cleaned and polished and reinstalled by 1pm.
Do not underestimate the absolute importance of using soapy water! I used Dawn liquid dishwashing soap, about a tablespoon�s worth in a tuna can filled with water. Used a plumbing flux brush to apply it to the back of the seal. The soap made it very easy to adjust the length of the seal by siding it in the �track.�
The hardest area for me was by the upper hinge area. The rest of the seal was easily installed by inserting it into the track at and angle, then applying pressure to the inside edge of the seal to fully seat it into the track. Once you get the feel for the correct angle, it�s a very easy process. There were only a few inches of seal that I had to use a flat-bladed screwdriver to seat the seal fully. Once it�s all in, go back over it, lift the lip along the entire length, and check to make sure it�s all fully seated. You�ll notice the spots where it isn�t, it�s pretty obvious to spot it visually.
I was worried when I read the write ups, but it turned out to be quite easy, but only after applying the soap.
Larry, there is a trick for these door handles adjustment, just install a small extra nut FIRST on the rod thread(that you see above the clip) so instead of securing it onto the nylon plastic thread only, which after 20+ years is pretty much useless, metal nut will be pushing against the top of that plastic clip first. This way it will never go out of adjustment again, you'll just need to adjust both, the clip and nut when setting it all up
When I changed door handle on mine, it would not stay adjusted for more than a month until I added that nut, mind you, reason for many XJ40 broken handles are old door seals...
As I explained it to Naki some time ago, best way to understand this is to remove the old(often distorted and messed up) seal, your doors should then open and close with a push a of finger. Its just the old seal harden up with age, often cracks somewhere or there is rust on the door lip under the seal and rubber no longer compresses like it used to so the doors are much harder to close and open, its literally being pushed out of the car, hence the broken handles.
Obviously if the door handle is out of adjustment and barely opens at the end of its travel and you still trying to open the doors it will of course snap for sure too
Last edited by katar83; 01-05-2019 at 04:13 AM.
Reason: added extra info.
Went to fit the new rear handle today but much to my surprise, the handle wasn't broken after all - it was just REALLY out of whack.
I picked up a couple of little nuts at the local hardware store and installed them on the rear door and the front passenger door rods as Katar suggested. Did the setup/adjustment/lubrication and the doors are operational again.
The passenger door really needed adjustment - it was just like Nick's door handle ..only actuating at the very end of travel. Now all sorted out and hopefully will stay that way as the little nuts on the thread add a whole other layer of insurance - the rod can't slip in the clip with that nut acting as a buffer. Great tip, thanks again Katar!
you�re the man i�ll check it out. my passenger rear door will blow the pwr lock fuse bc it can�t pull up the lock, plus the handles needs to be pulled alllll the way, and then some.
I am having the same problem with my passenger rear door releasing at the end of the travel and being difficult to open. When I took it apart, the metal rod was did not require an adjustment. Any other ideas as to what I should be checking? Could it just need lubrication?
Also - the door handle has two pieces coming out the back. One to the metal rod in question - does the other have a purpose?
I replaced the weatherstripping for both front doors today, and adjusted the door strikers after I was finished with the job to get the best fit to the adjacent doors. I also have had an issue with both front handles (and especially the Right Rear) where there requires substantial movement of the handle before the latch releases. The right rear door releases at the VERY end of handle travel.
I pulled the door panels off, and found this little guy connecting the door handle linkage to the latch mechanism.
Here's a closeup:
It took a few minutes to gently figure out how to release the clip without breaking it. (Tonight's nightmare will be accidentally breaking it, rendering the outside handle useless and scouring the internet and junkyards for that tiny plastic clip!)
Anyway, the clip has two pieces. The U-profile body and a securing clip which slides into the side. The tang (front left of clip) is pressed in, but there is also another identical tang at the rear right of the clip (out of sight), which needs to be pressed in simultaneously. This will allow the securing clip to slide out the side of the body, releasing the link rod. By pressing the white lever and clip down (taking up any slack in the movement), while also manipulating the outside handle to take up the slack at the top end of the link rod, you can clip the bottom of the rod back into the body, slide the securing clip back in, and eliminate just about all play in the mechanism.
My doors now unlatch after moving the handle only about 1/3 of the way through it's full range of motion.
Hope this helps someone looking to adjust their door handle linkage or trying to get that clip off without breaking it.
Stupid Me... I have a set of new front door handle gaskets and forgot to put them on while I did this job.... Doh!
Thanks for the info NTL, this helped me a bunch. Have a good one good buddy.
Cheers.
Happy to report that door handles are still operating without any problems, best thing I ever did was to follow @katar83 's advice and fit the small nut to the rod.
Just to clarify the fitment procedure and as a small token of my appreciation here's an illustration of the arrangement.
I just did this same exact nuts on the rod trick on two doors last week on my MY1994 and they were M4 threads on that rod.
Maybe earlier year rods were SAE threads.
 12-20-2018, 09:59 PM