When you click on links to various merchants on this site and make a purchase, this can result in this site earning a commission. Affiliate programs and affiliations include, but are not limited to, the eBay Partner Network.
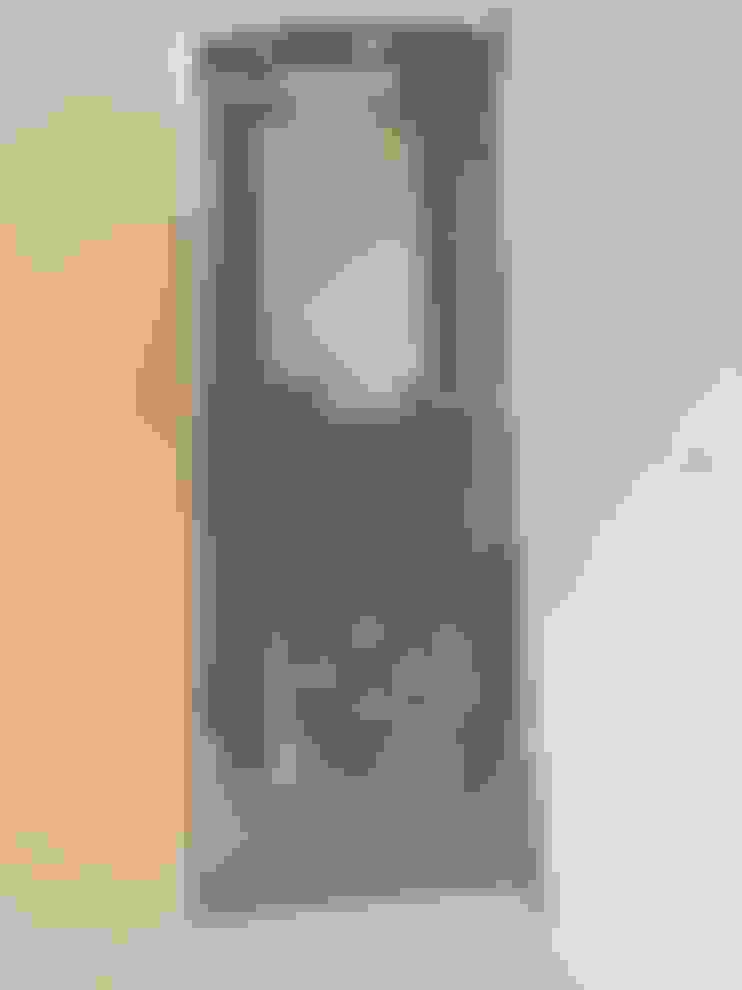
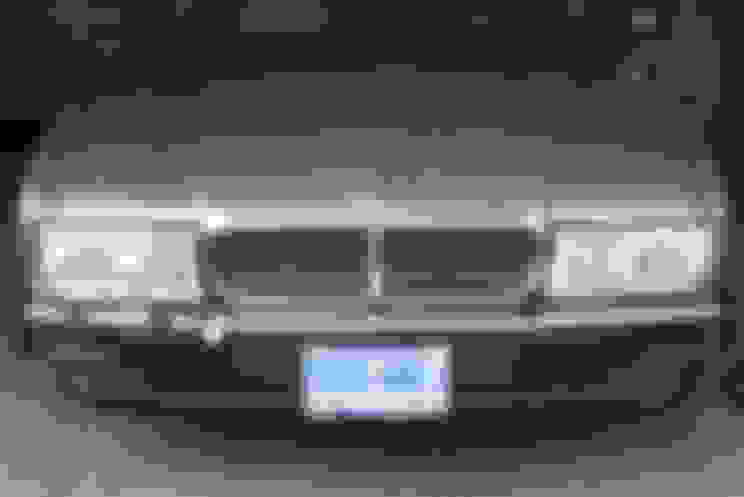
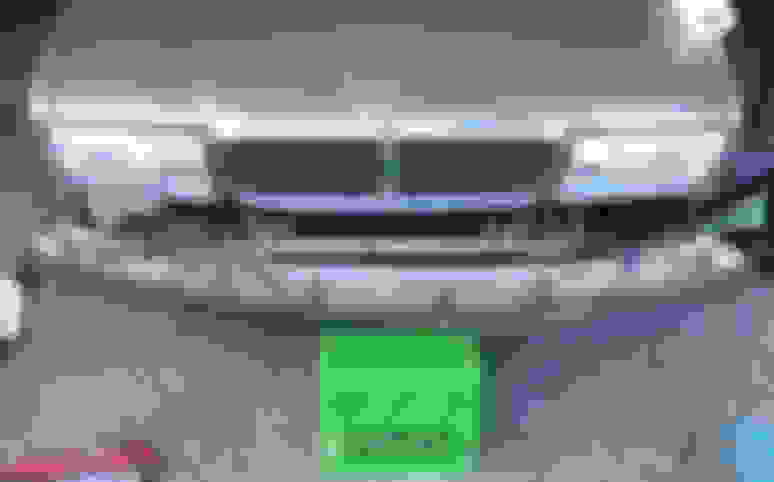
Before I got the car, (94 VDP) the passenger side section of the front bumper had been smacked back about 3/4" and the rubber on the front section was torn below and around the right indicator.
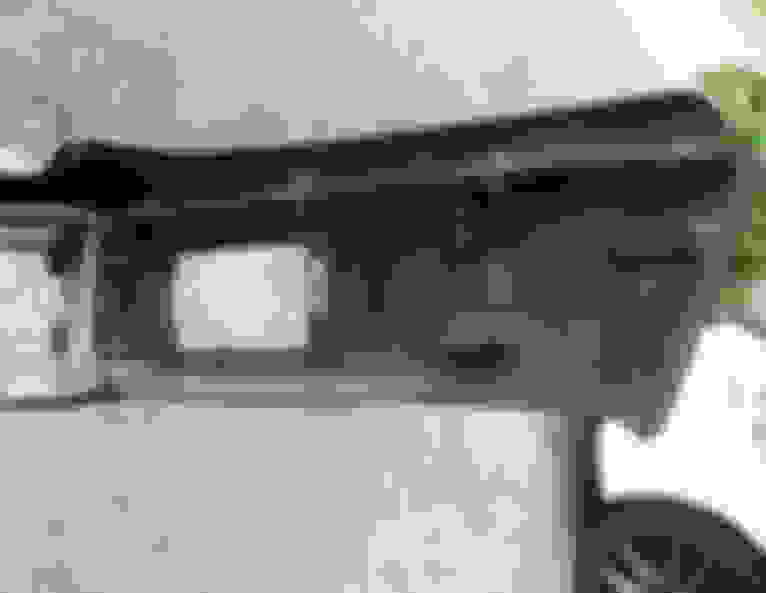
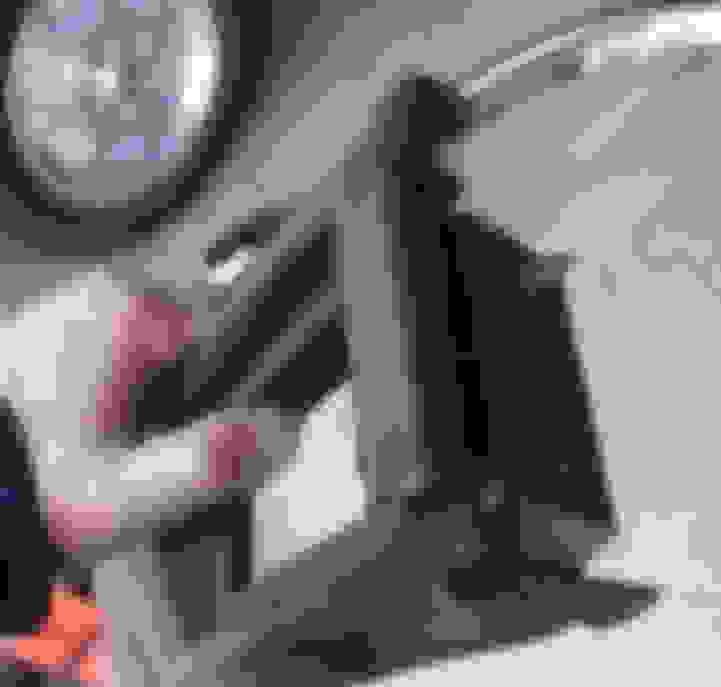
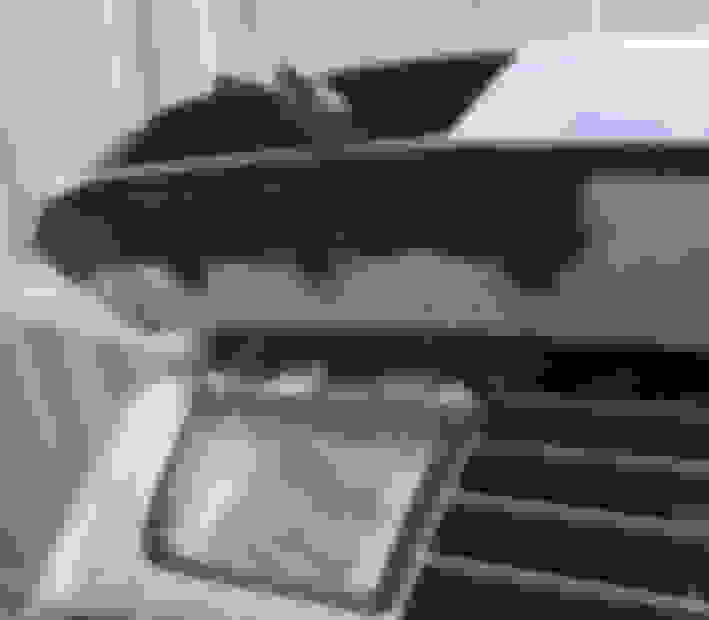
Corner of bumper with chrome finisher pushed back - obviously took a hit a one time.
Bumper damage - both passenger side section and front rubber torn.
None of the damage was particularly noticeable as the tears were covered up with black duct tape, so I just put up with it. To be honest, that repair was pretty low on the priority list.
Well last week, I picked up a complete front bumper from Jim's (manwich66) 91 parts car. According to the JEPC catalog, the bumper beam of the 91 energy absorbing bumper isn't going to fit the 94 car; or at least the parts numbers differ enough to suggest non-compatibility.
I'd also heard that the early bumpers mounting holes are in a different position than the late cars, so I decided not to remove my bumper and fit the one off the 91 but to strip the 91 bumper and see if I could swap the damaged parts.
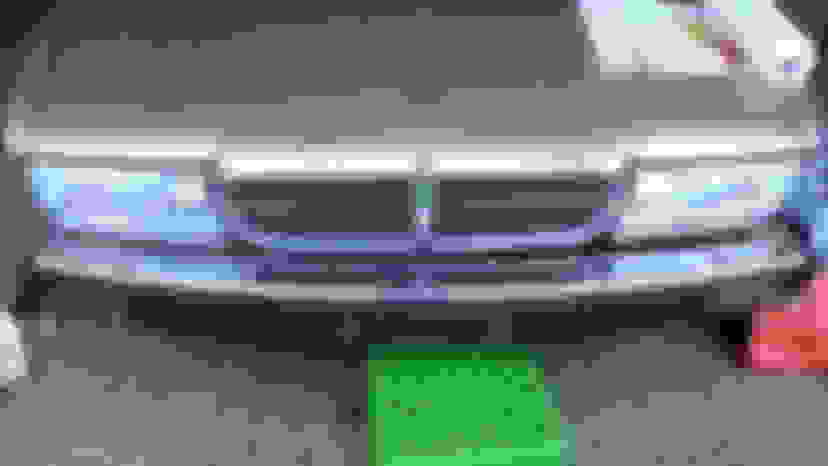
The front bumper from Jim's 91 was in excellent condition
Passenger side section after removing marker lamp. Section is secured to the main beam by two bolts. Chrome finisher also attached with same size bolts.
Bolt head is 7mm, Nut is 8mm!
Front rubber section is secured to main beam by several clips on the underside
Rubber section (top view)
Rubber component is screwed and clipped to the main bumper beam
The various components of the bumper. This bumper had 2 washer jets, as does the 94.
The job of replacing the bits starts by removing the black plastic finisher strip just in front of the grille. After removal, the fasteners for the chrome finisher are accessible. The black plastic finisher is clipped into the bumper beam and should just pop off when I pry it up - we'll see when I get into removing the bits on Monday!
Well the missus insisted we go to Vancouver on Monday so it was today (Wednesday) that I finally got to the bumper rubber replacement!
The job went along without too many hitches, I'd thought about jacking her up to get the working height up a bit but ended up doing it as-is where is.
All the turn signal & side lights were unplugged and removed first, then a plastic milk crate fit nicely under the centre of the bumper for temporary support.
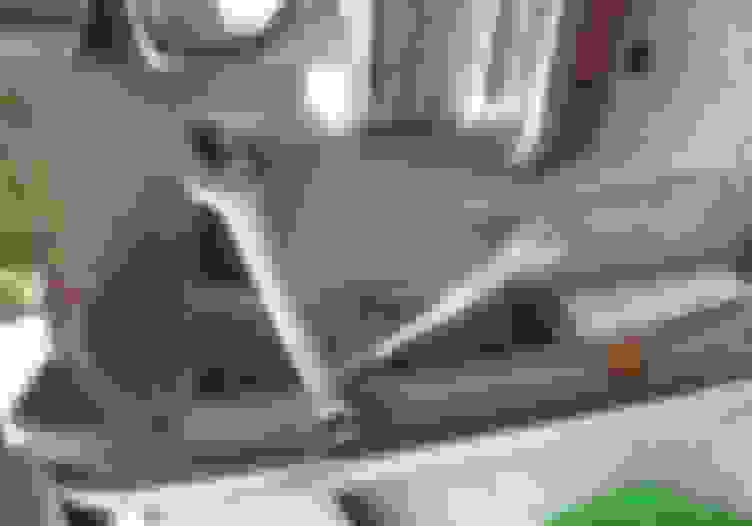
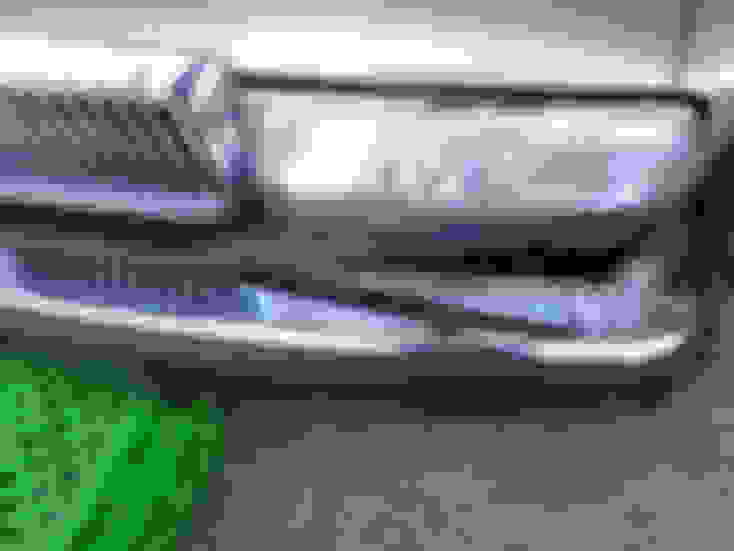
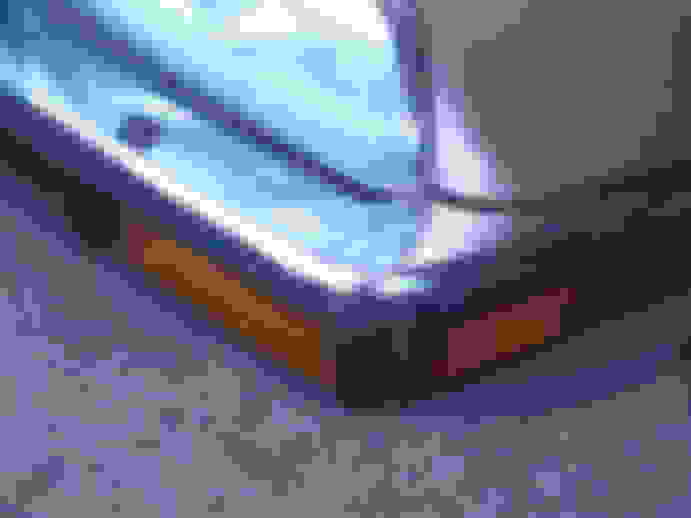
The damaged front bumper rubber, left corner torn. Lights unplugged and set aside.
The damaged corner of the front rubber section
PO's pass side rubber repair included substituting sheet metal screws for the OEM bolts
When I had a look at the bumper on my VDP, there was no way to pry up that plastic rear finisher without removing the two 19mm bolts securing the beam and easing the bumper forward and inch or so.
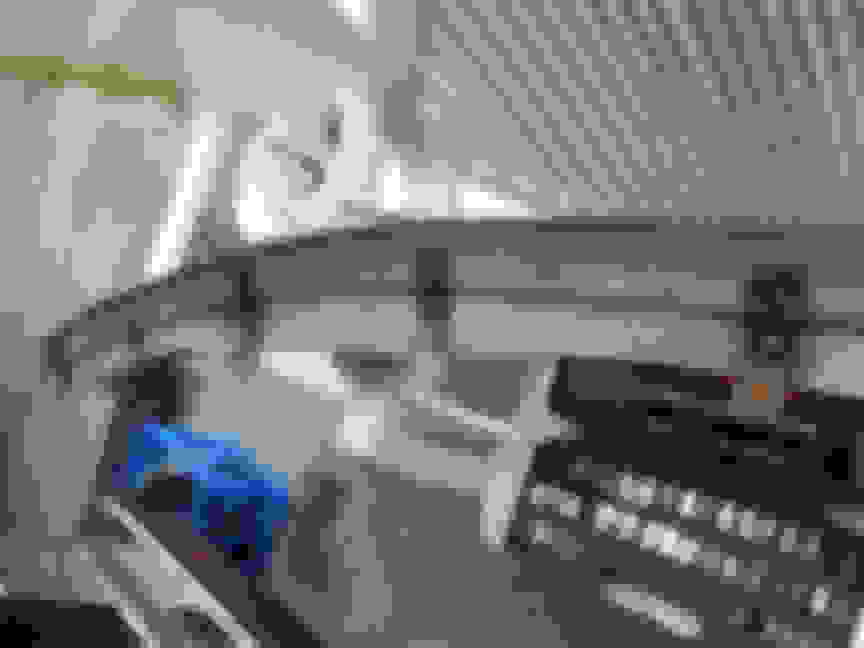
Bumper beam is secured to the energy absorbing struts on the car by two 19mm bolts
With bolts removed, bumper can be slid forward enough to get access to the plastic finisher. Pry the finisher up and off.
slight differences in the finishers -
top: 94MY VDP profile bottom: 92MY Base XJ40
With the finisher removed, the Philips head screws that secure the top chrome section are exposed. Luckily, on my bumper these were easy to remove.
top chrome section is secured by 6 Philips head screws that locate with nylon inserts in the beam
Once these screws and the small screws that secure the headlight washers are removed, a few light taps and the chrome top section can be slid forward and off the beam, disengaging the washer jets in the process.
With the top chrome section removed, another 6 Philips head screws are exposed - these are the hold down clips that secure the rubber section to the top of the beam. Removing these screws releases the upper edge of the rubber.
The clips that hold the upper edge of the rubber to the beam.
On the underside, the rubber is secured with clips that snap into the aluminum beam. Once all the clips have been removed, the front rubber section can be removed, ready for replacement.
clips securing front rubber section, underside
Once the clips were all off, I put the new rubber section from Jim's car in place on the beam. Using the BFH, gave it a few taps home so that the upper clips were fully engaged.
replacement front rubber fitted
Once I was satisfied with the position, fired in the six screws and set about fitting the clips on the underside. When the clips were all back on and the new rubber firmly in place, the chrome top section had to be fitted.
I was expecting some difficulty (due to the washer jets) but I found it pretty straightforward. Best plan is to assemble the jets to the top chrome and then slide the section back into position checking that the hose doesn't bind.
Top chrome section and washer jets reassembled to the beam
The next couple of steps were to re-fit the top plastic finisher and do a dry-fit on the side sections. My passenger side chrome was originally pushed back about 1/2" or so and I didn't want it to stay that way.
By slackening off the three bolts that secure the top chrome to the side rubber, there's plenty of "wiggle-room" to move the top chrome fore and aft until you get a nice match up with the front section.
Once I was happy with the fits, I hardened up the bolts.
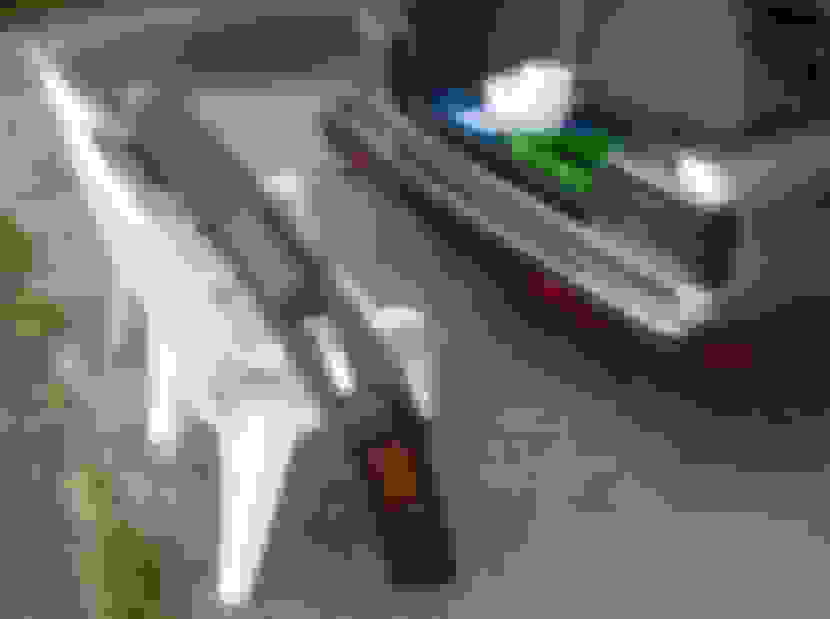
beam reassembled with new rubber and ready to fit to car
I reassembled the bumper by first installing the side sections on the car then moving the centre beam back to loosely engage with them. At this time the beam and the side sections weren't bolted up.
Next I fitted the 19mm mounting bolts and fastened the main beam back to the car.
Once the bumper was firmly attached, I bolted up the side sections that I'd adjusted earlier to fit the main beam.
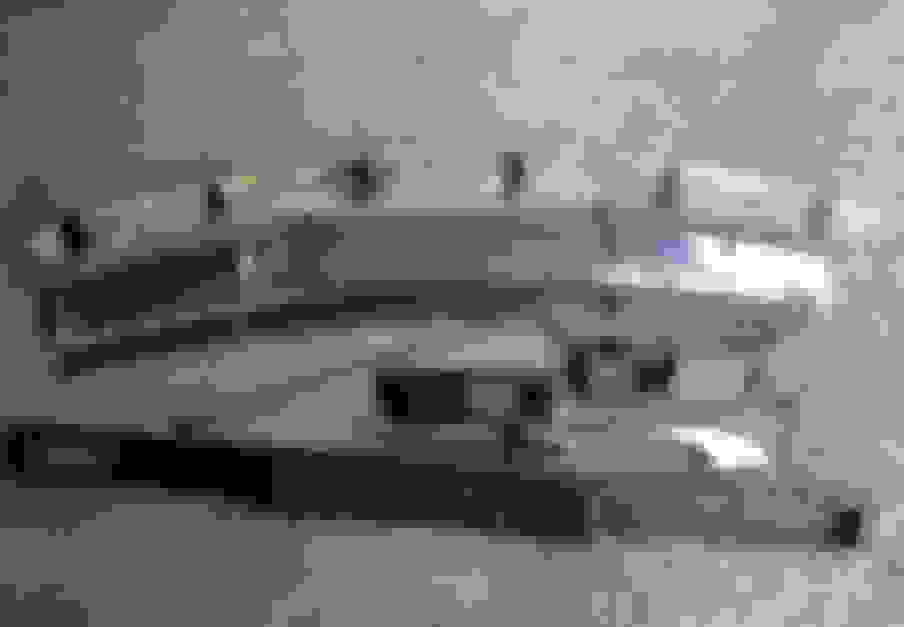
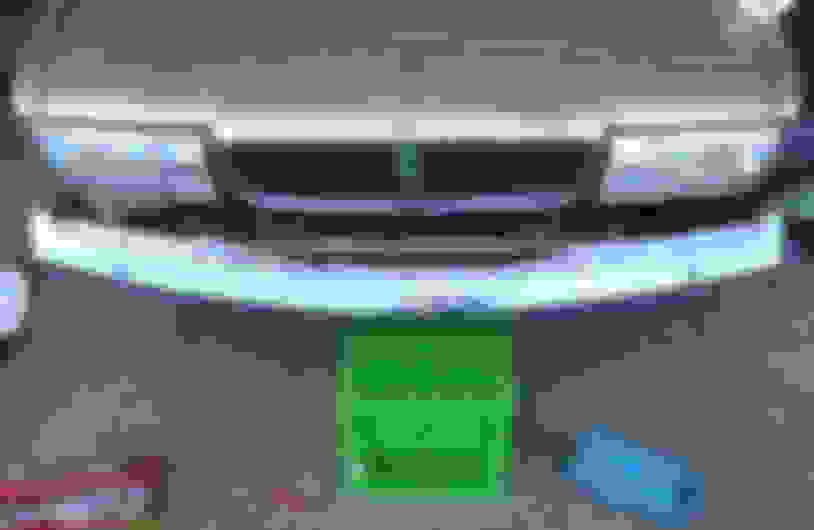
Driver's side reassembled
Passenger side reassembled
Re-fitted the lights and said another job done ..now what's next?
Wow! I am glad that things worked fairly smooth for you this time Larry!
Looks way better!
Cheers,Jim.
Hey Jim I think it was a make work project though - the only differences between that one and my old one was that black trim strip and the fact that my washers worked
Glad I finally got it done though - been bugging me since day1
New forum member. Came across this post as I have a similar issue and was wondering how hard it might be to replace the damaged rubber insert myself. Thanks for the pics and instructions -- I think I will give it a shot.
All I have to do now is find the art(s). Any suggestions on where to look would be greatly appreciated.
Hi jnatem,
Welcome to the Jaguar Forums! It's great to have you with us.
I'm sure Larry will be along soon to give you some great advice. In the meantime, please visit the New Member Area - Intro a MUST and post a required introduction so we can learn something about you and your Jaguar and give you a proper welcome.
Also, please use your User Control Panel (User CP link above left) to Edit Your Signature to add the year, model and engine details of your Jaguar to your signature so others don't have to ask in order to give you accurate replies to your inquiries.
Those rubbers are becoming quite a challenge to find in good condition I have a U.K 87 XJ6 and an AU 88 XJ6, and a AU 88 Sovereign, I thought it was a bit strange that AU 88 and the UK 87 had metal front bumper ends, while the Sovereign had plastic ones that I might add were not in the best condition. The same thing with the rear ends as well. I am glad to have found the metal ones in pretty good shape, the end rubbers are not quite as lucky but the centre sections seemed to be in pretty good shape, but I decided to remake the rubbers with fibreglass, and will be painted a satin black, I have even considered ute bed liner instead of auto paint.
 09-19-2015, 12:15 AM


 ..now what's next?