When you click on links to various merchants on this site and make a purchase, this can result in this site earning a commission. Affiliate programs and affiliations include, but are not limited to, the eBay Partner Network.
Can anyone tell me if it is possible to replace the differential pinion seal without having to drop the diff or rear suspension?
I have the driveshaft disconnected and the rubber coupling removed from the car but I would really like to replace the pinion seal at the same time.
Thanks
Yes, it is possible and Sovejag13190's photos will be helpful even if you are not fluent in French. The most important thing to do before you start is to use a center punch to carefully mark the position of the pinion nut relative to the pinion flange and pinion shaft. It is very difficult to establish the correct preload on the pinion bearing with the differential in situ. With the diff on the bench, you measure the preload with an inch-pound torque wrench while spinning the pinion shaft through 360 degrees. Obviously, there is no way to turn a torque wrench through 360 degrees with the diff mounted in the car. Once you have good punch marks showing the alignment of the nut to the shaft and flange, you will be able to tighten the nut again until the marks align, and perhaps just slightly tighter to compensate for wear in the pinion bearings. With the nut properly tightened, there should be no end-play whatsoever in the pinion shaft.
Note that when the nut was originally tightened, tremendous torque (as much as 500 ft. lbs.) was applied to compress a "crush sleeve" that fits around the pinion shaft between the two sets of pinion bearings. When you reinstall and tighten the nut, it needs to once again squeeze the bearing sets together until they come into firm contact with the respective ends of the crush sleeve. The JDHT parts website is currently down but I'll try to grab the diagram later.
Unfortunately I removed the pinion flange prior to reading this vital piece of information about marking the position of the nut. Doh!
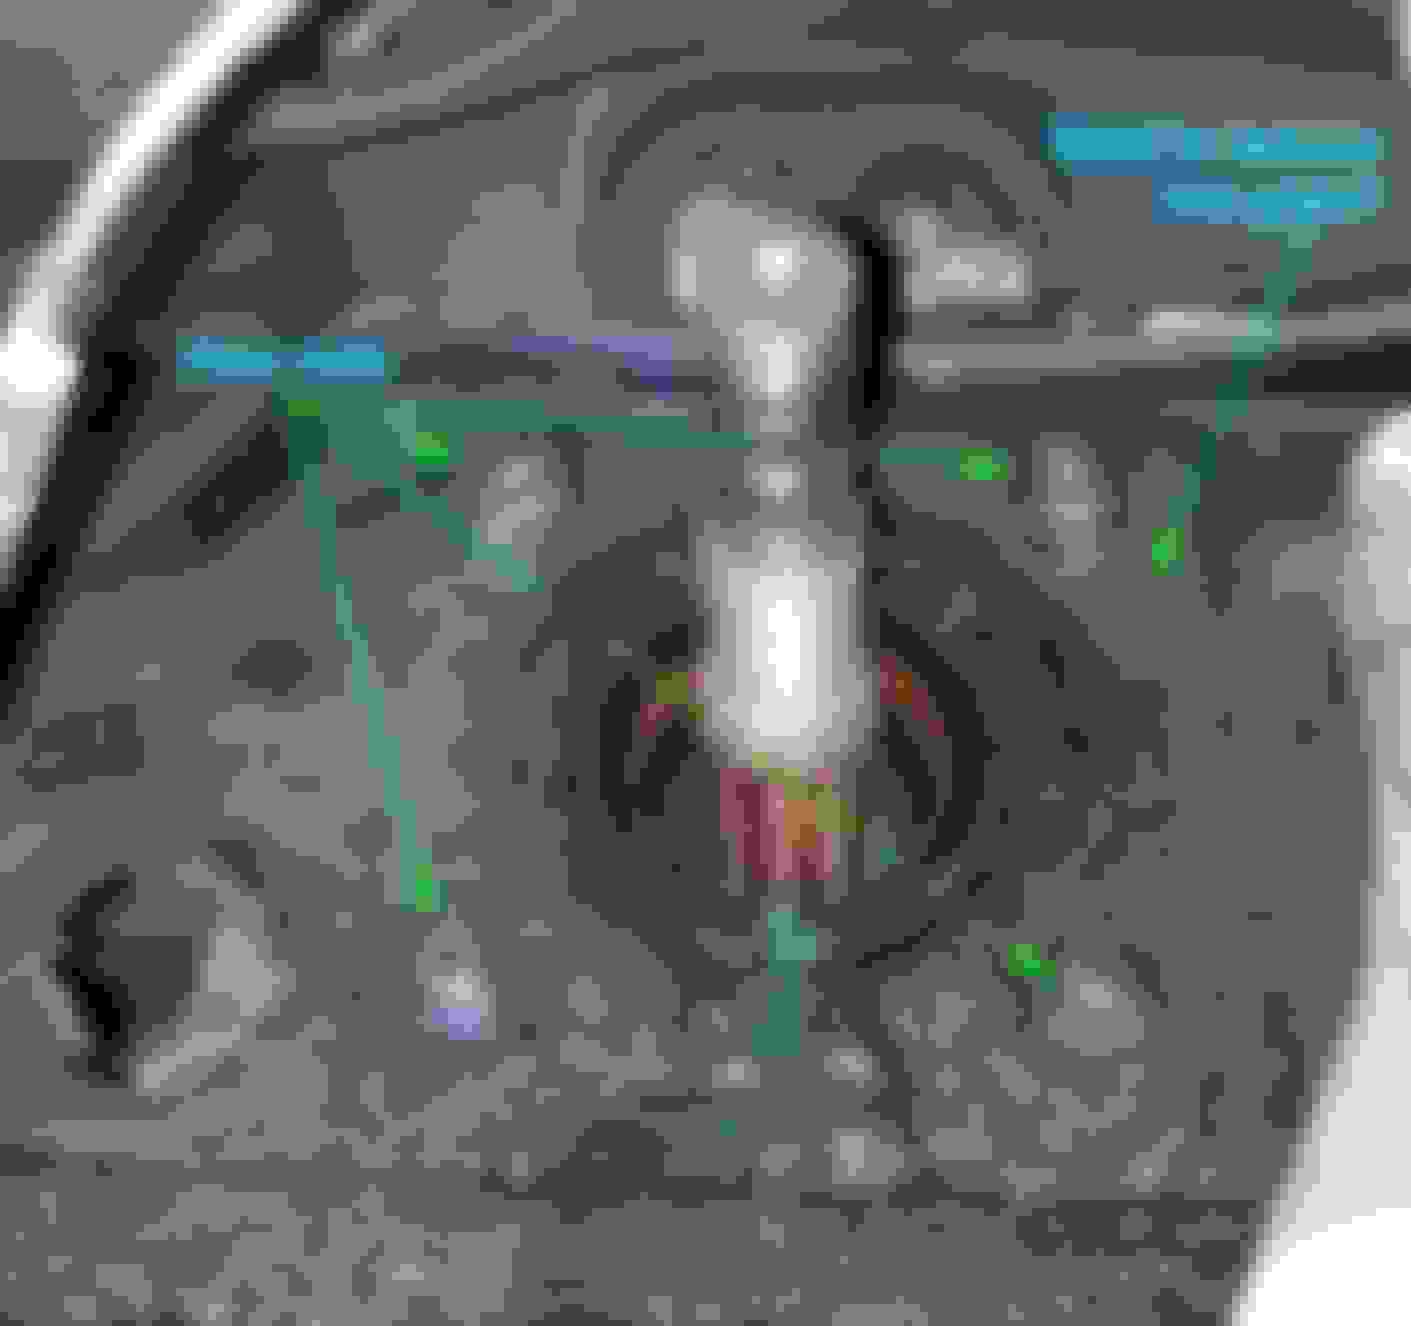
I have the flange off and now I am wondering about the four nuts on the front diff mounting plate or cross member surrounding the nose of the pinion.
Do these have to be removed before removing the seal? It looks like there is some sort of plate behind the nuts.
I have a picture with arrows and text to illustrate. Diff seal removal questions
Please pack the new seal with GREASE on the inside where the seal spring is located.
When I worked at the Jaguar dealer I saw a fellow mechanic try to replace a pinion seal in a 1996 XJ6 (SAME DIFF) and when he drove the seal 'home' with a mallet and seal driver the spring dislodged. He fought for half an hour to try to put the small spring back in place with small tools/hooks and gave up. He went to the parts dept and got ANOTHER seal.
He did the same thing and the spring 'popped-off' that seal also.
I walked over to help (HE WAS ANGRY). He went to the parts dept and they told him that #3 was it, NO MORE IN STOCK!!!
I found out what was going on and advised him to pack the seal with wheel bearing grease to keep the spring in place.(an old trick)
He said he never heard of doing that.
I have the flange off and now I am wondering about the four nuts on the front diff mounting plate or cross member surrounding the nose of the pinion.
Do these have to be removed before removing the seal? It looks like there is some sort of plate behind the nuts.
Off the top of my head, I don't think those nuts have to be removed, but if you'll clean away all that gunk with solvent and a wire brush and then carefully slide your new seal on to the shaft, I think you'll be able to tell if the outer diameter of the seal will come through the hole in that plate that is held in place by the four nuts (the studs those nuts thread onto come out of the front of the diff).
BTW, it is very helpful if you will visit your User Control Panel (User CP) and find the Edit Signature option in the left hand menu. Use that feature to add the year, model, engine, mileage and the last six digits of your VIN to help others provide the most accurate replies. Many details on XJ40s are essentially the same for all models, but many other details differ significantly from year to year and depending on the engine.

 02-16-2020, 08:00 PM