When you click on links to various merchants on this site and make a purchase, this can result in this site earning a commission. Affiliate programs and affiliations include, but are not limited to, the eBay Partner Network.
Final Solution with my rack, can help all further rack problems,
After replacing 4 racks do to massive leaks and few that was driving like on a ship, I came to conclusion that some of the problems were:
1- mixing two kind of oil mineral and red hydraulic,
2- bad result by remanufacturing that dont check the pinion section for tear in the gear,
3- the main and the most imported reason the output pressure from the hydraulic pump,
I never knew and no one suggested to me to check it, so I bought a pump opened the output port found out there is a relief valve, but I am not a car mechanic so I check on line
for companies that rebuilding the pump find out that a lot of them testing the racks and the pump with air pressure, I find out one company (I dont know if in the forum I can say it)
that said that after rebuild the check the rack and pump with oil to be sure it demonstrate road driving, I called them and they knew I am not a customer just need info, they gave me the
the pressure that the pump should have according to my car JAGUAR XJ6 vin # 595** the pressure should be at idle 600 RPM between 50 to 150 PSI, at dad pump ( when you close
the valve on my gauge for no more the 5 second should be between 1100-1350 PSI run the engine to 1500 RPM turn steering wheel max left and right the passer should be the same
on each side 850-to 1100 PSI,
I check my rebuild pump the pressure was 1635 PSI no wonder it blue the seal very fast,
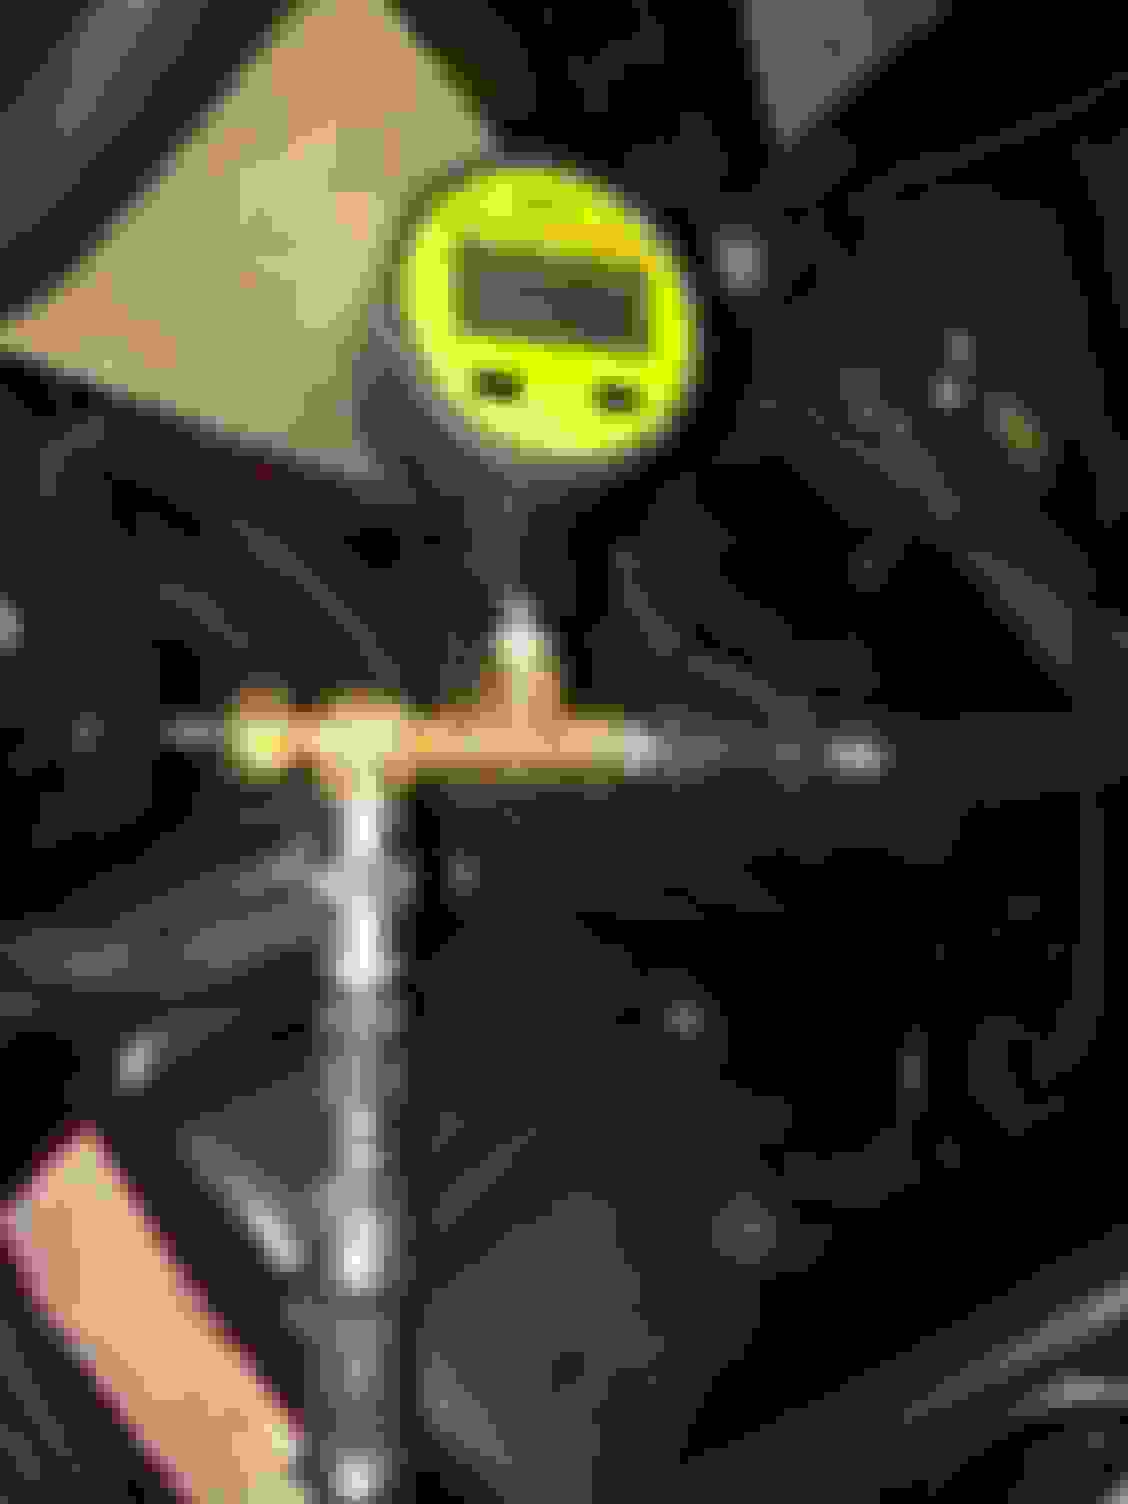
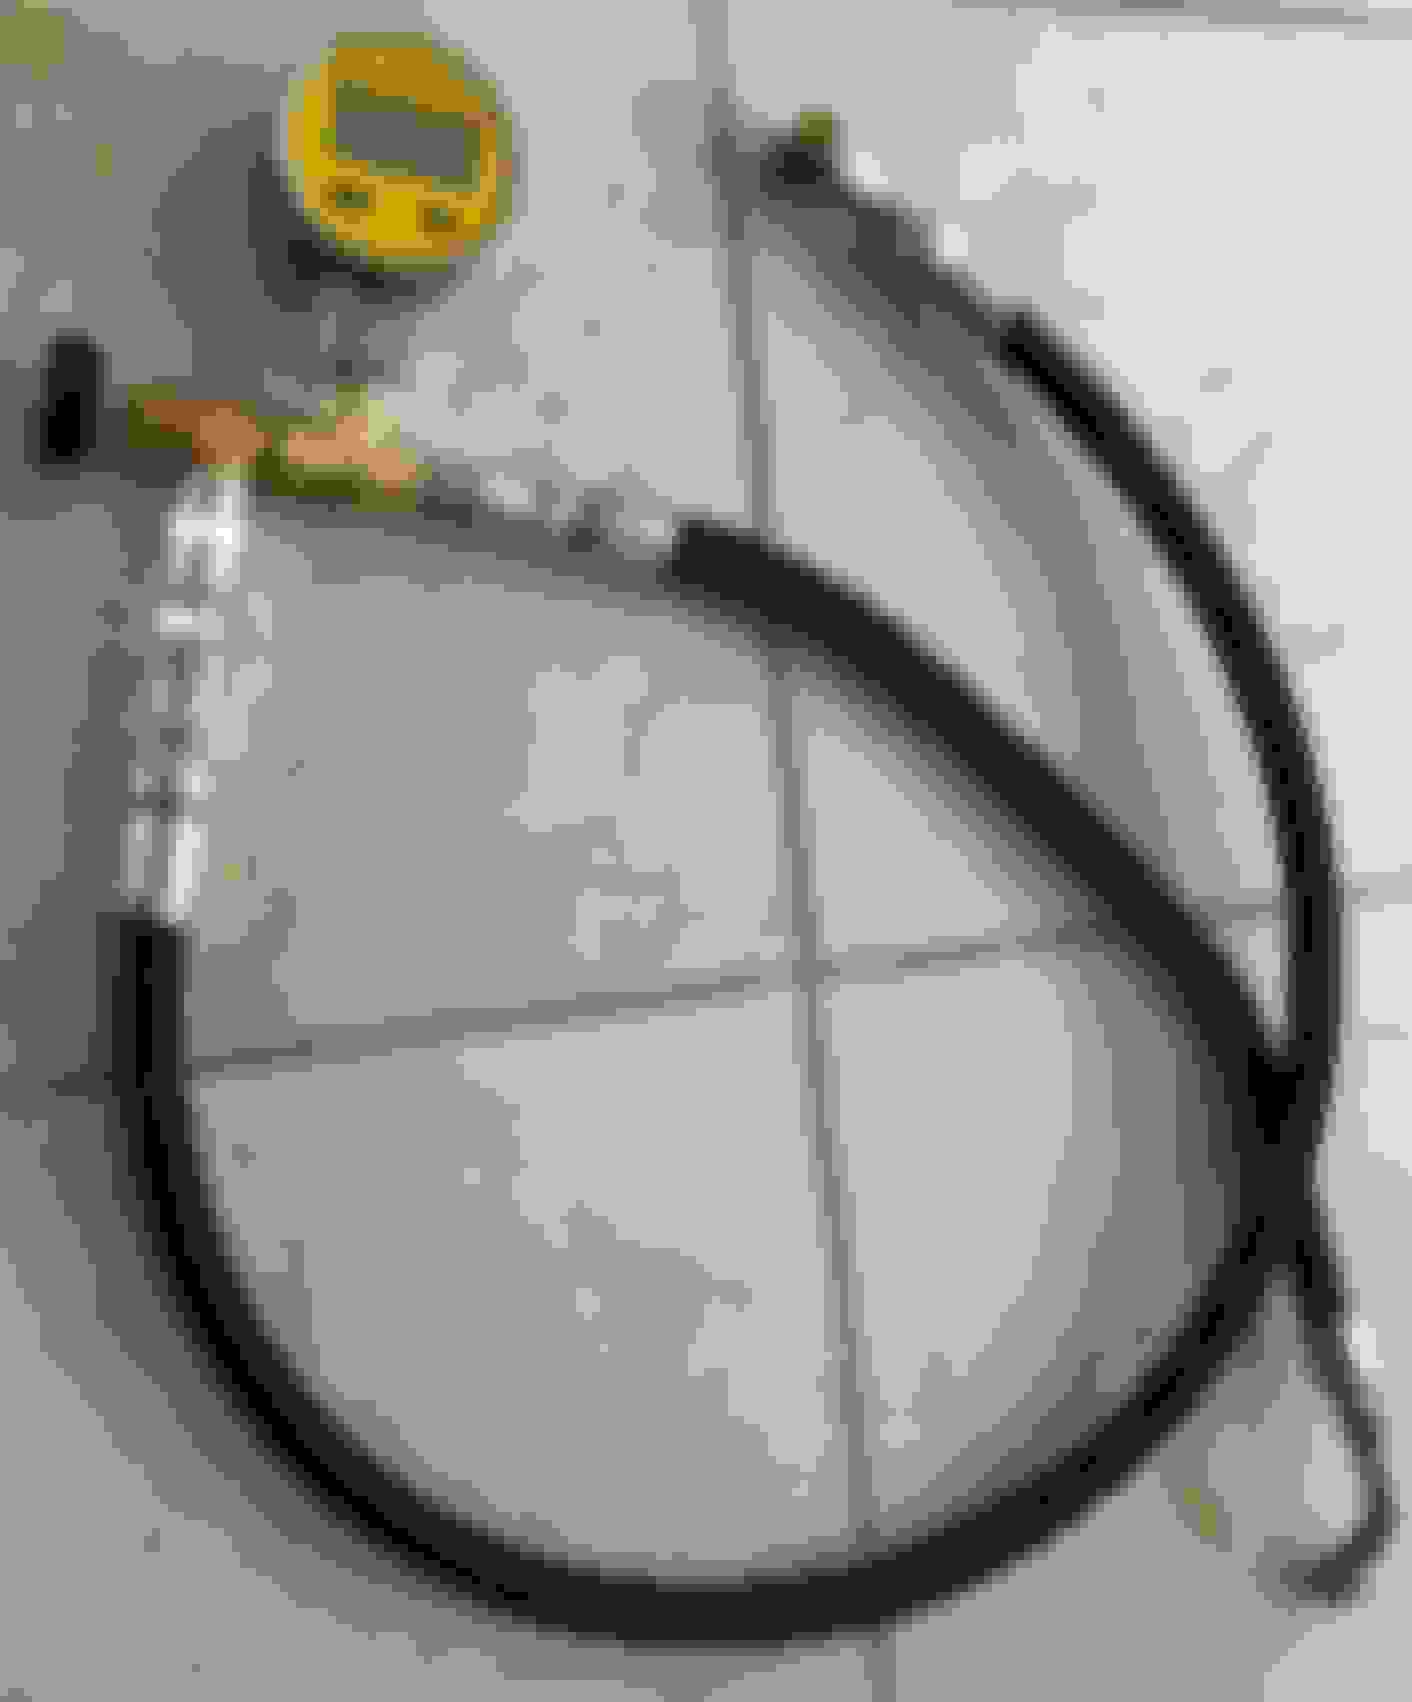
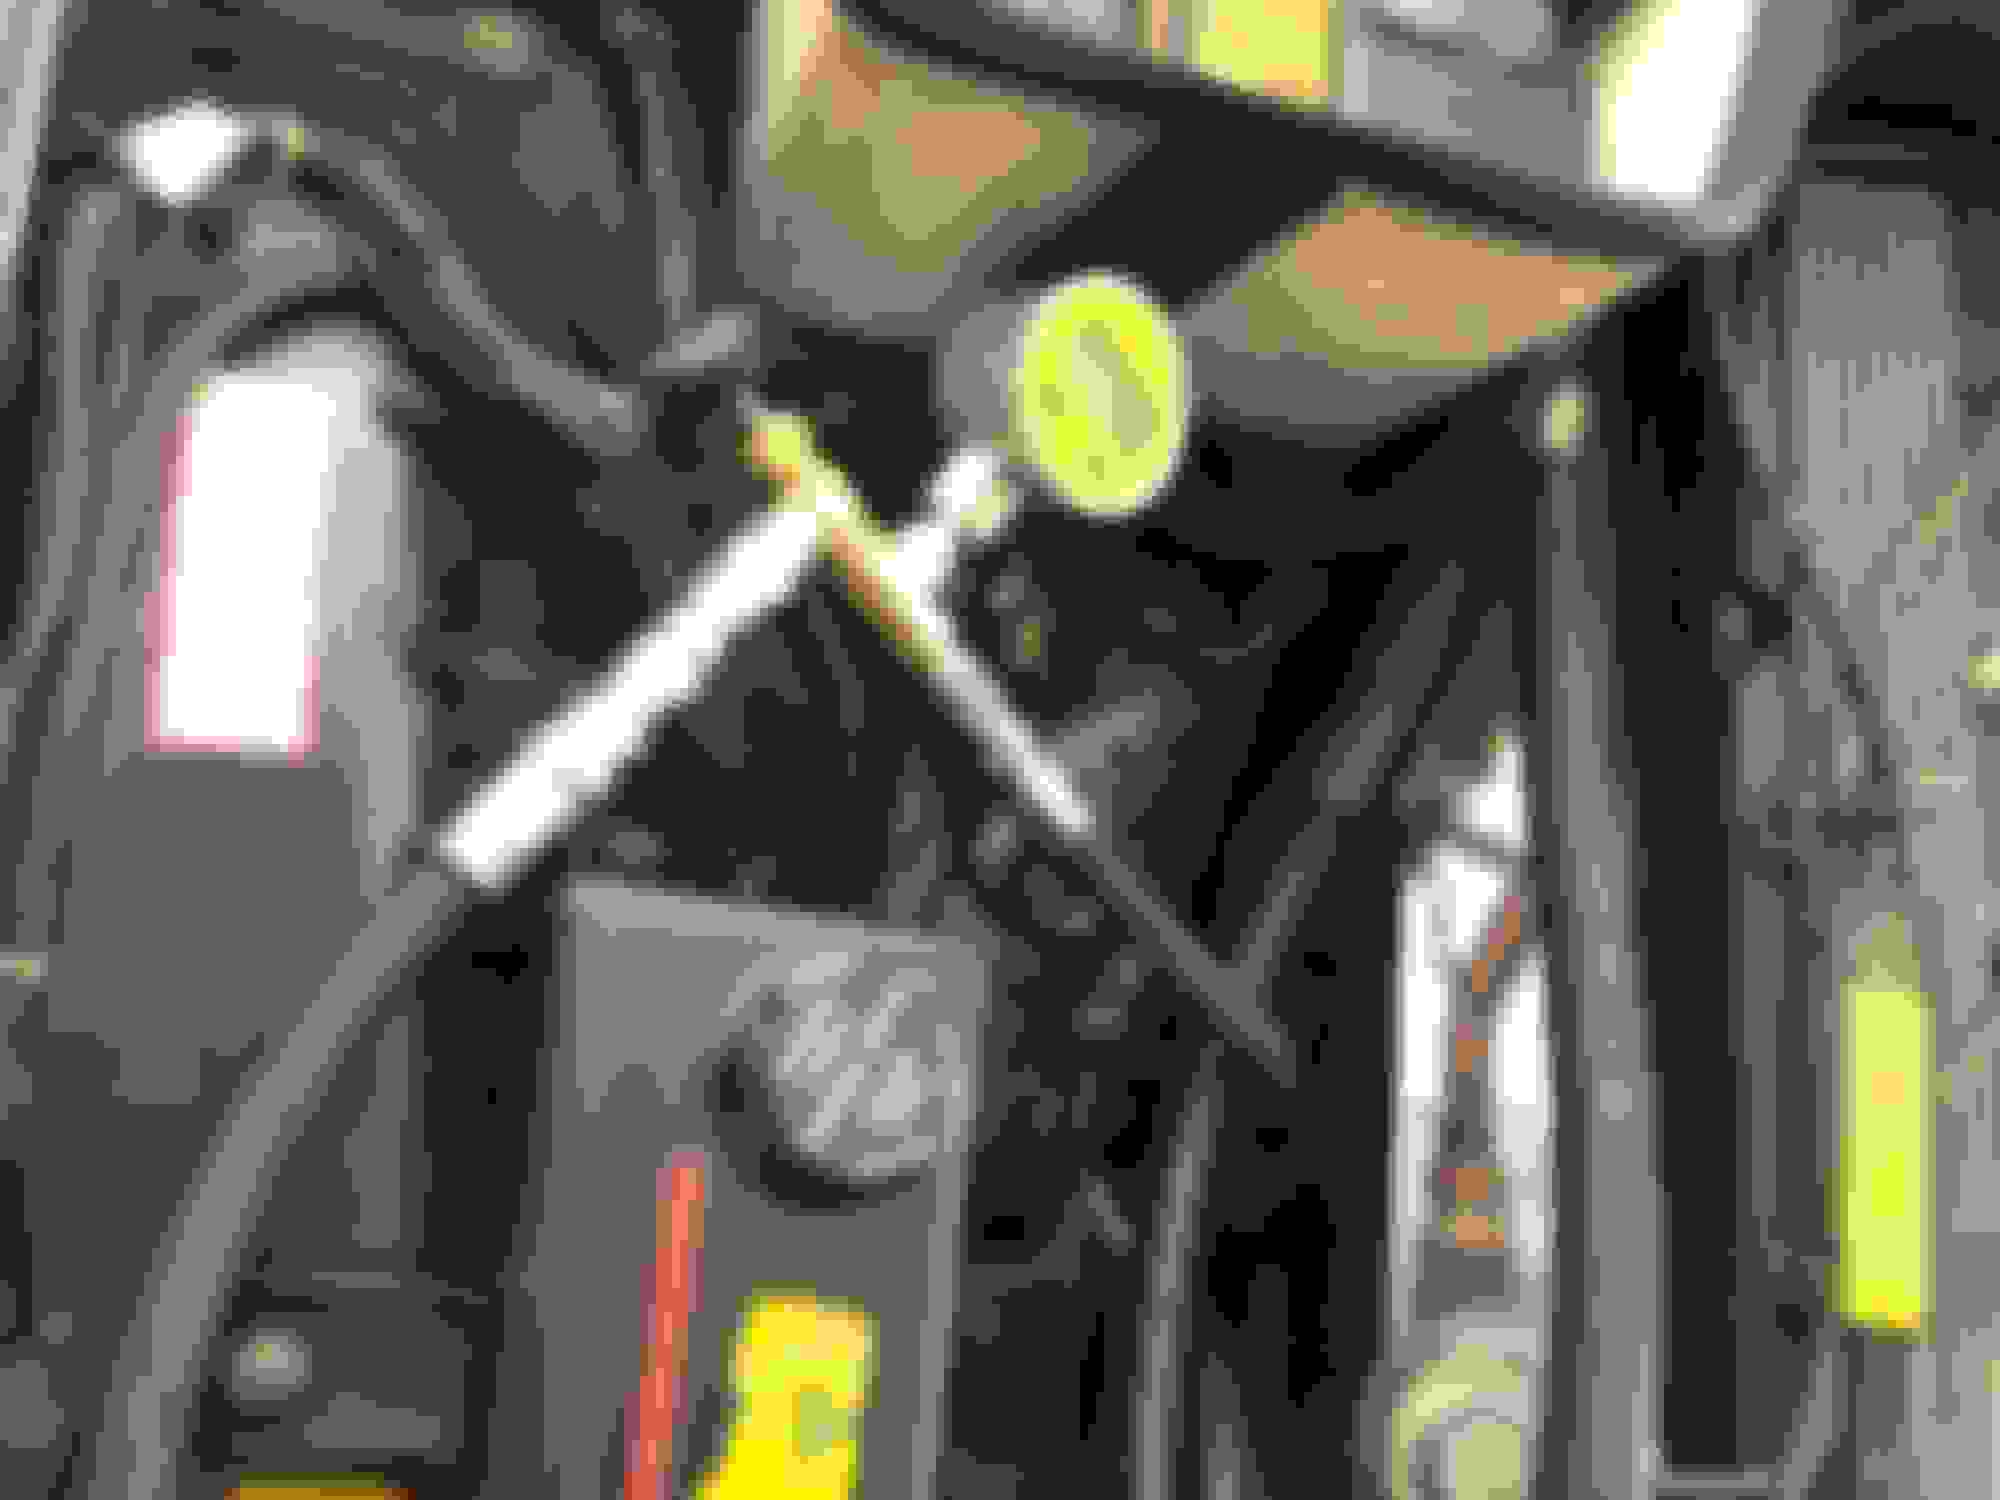
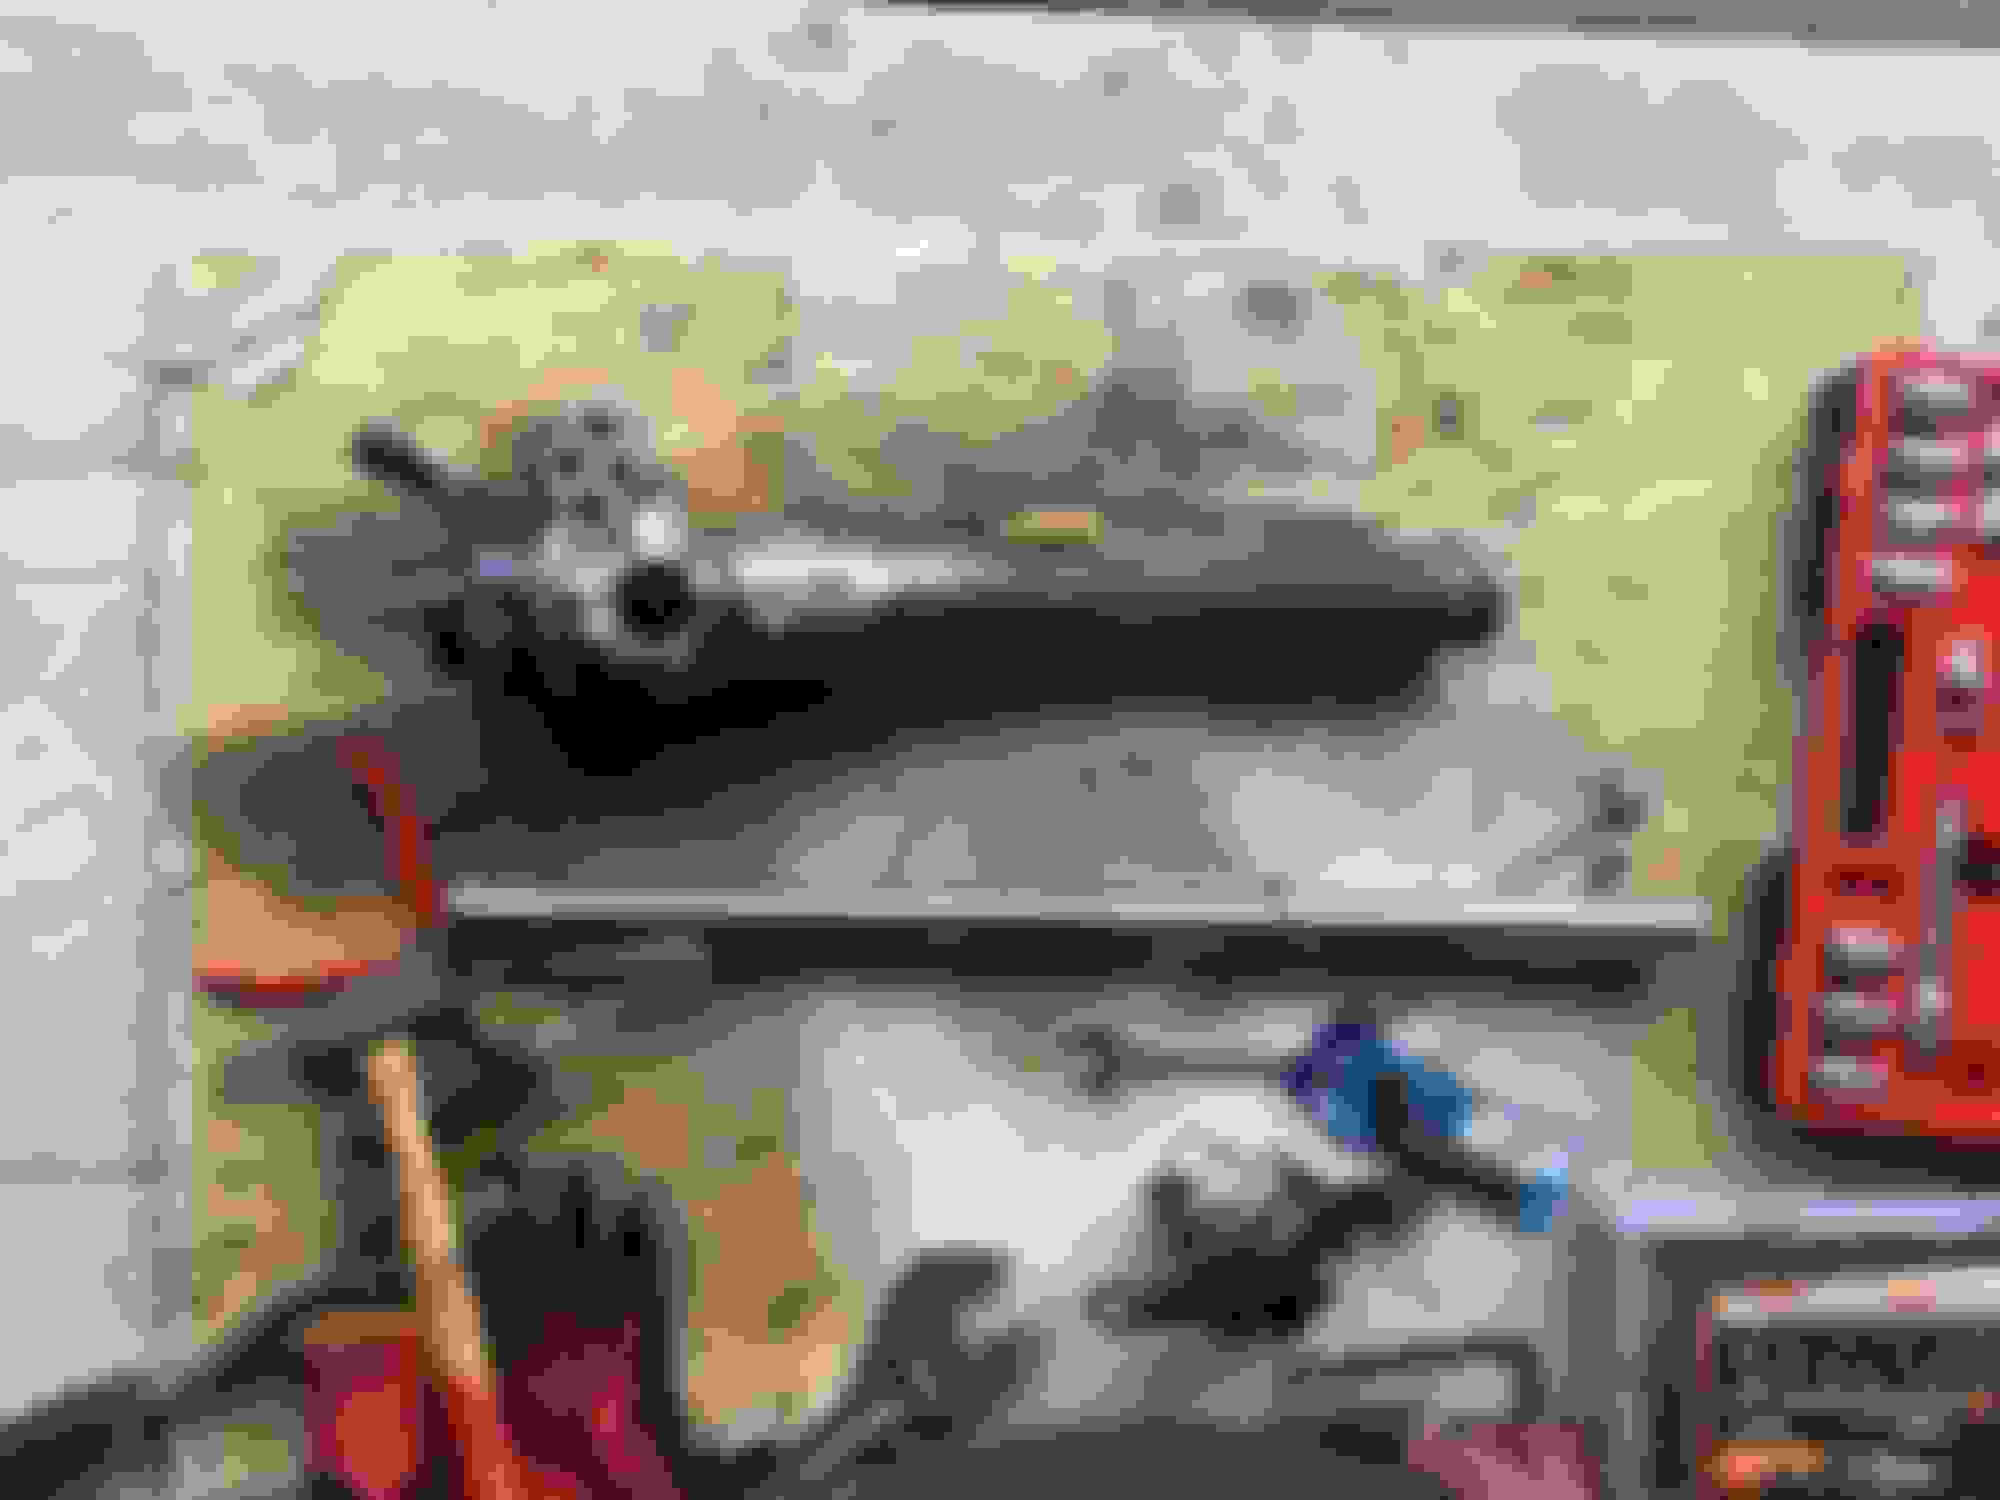
I made the tool myself with an help of a machine shop that did the adapters to fit my system the tool was installed between the pump outport and the steering rack I used a digital gauge
cost $59 at Amazon measure between 0-3500 PSI mechanical gauge I could not see the low pressure,
I put some pictures so you can see the tools including the one that let you adjust the relief valve in the pump all you need is to add or remove shims and good cleanup of the fine screen,
Now its over a month I drove over 50 miles drives great and no leaks at all thing that never lasted before
my recordation is dont buy a pump if it not stated the max output pressure
From my expereance steering rack oil leak is because two reasons
1- mixing mineral oil with regular oil that will eat out the seals.
2- too much high pressure from the hydraulic pump
I hope it will hold for years to come and don't forget to confirm that here after few more months and km done, i will be glad to discover where i did mistake and over pressurized system is an plausible explanation
Hi
as for today NO MORE LEAKS from my rack my suggestion to every one the replacing the hydraulic pump to check the output pressure I hope that when you send your pump to rebuild take out the relief valve and change it with the pump you get.
I've rebuild my pump at home and it was rather simple task, while at it i have replaced the valve with the new one, it didn't stop my rack from leaking after some time, maybe the new valve needed adjustment or maybe it wasn't exactly compatible part, who knows, congrats if it will hold up for you and serves wider public
I'm faced with steering rack replacement. Is it worth attempting a rebuild myself or should I just pony up the loot$$$ and
buy a rebuild? My car is a '90 Majestic and I do have a seal kit I bought some time back.
I've decided to rebuild my Adwest rack.
Does anyone have any info on the needle bearing JLM1108 that is mounted to the pinion?
Info re size, manufacturer, manufacturer's part number and so forth. I always replace bearings in jobs like this, whether they
need it or not.
I am going to document my journey and post the details here.
Hello Jack,
Looks very good job you did on the rack.
I tried to do the same on my AdWest rack (XJ40 3.2 1991), but I can't unscrew the collar. If I turn it it will turn with the end-part around the rack.
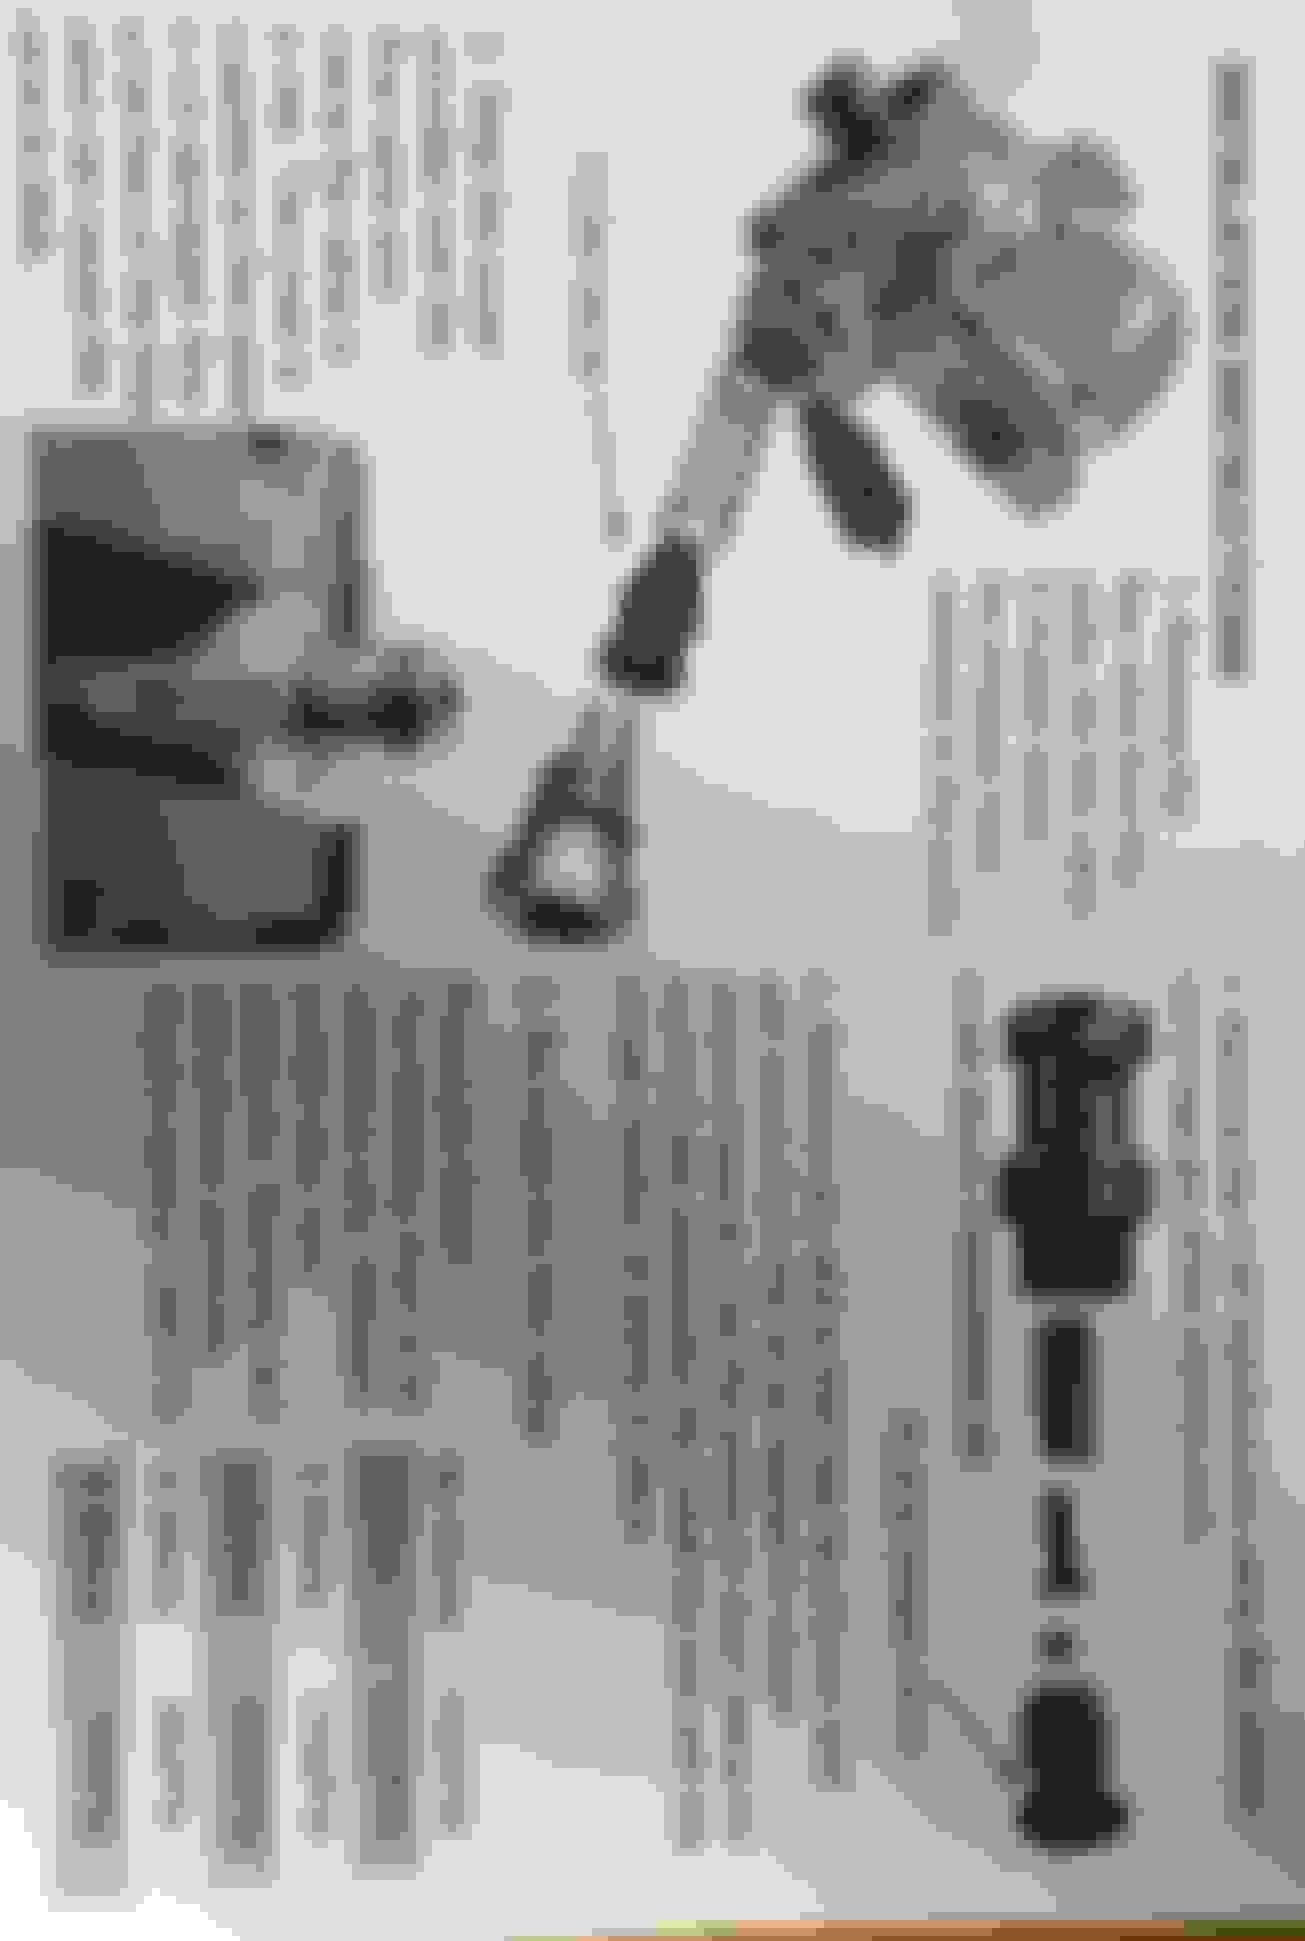
It is probably very stuck, but the problem can also be the "unscrew receded part" of the colar (see pict).
Did you had the same problem ? Any trick or advise to unscrew this xxx collar ?
I don't want to break the collar, as it seems impossible to change.
Thanks in advance
grind it out with dremel and you will be able to unscrew it with some pain, then at reassembly bend down what is left after grinding, it is tight fit so even without bending anything it will stay in place, always you can punch down in other place on the collar or even use locktite on the thread and it will be ok
I had to ask help from a car garage, they heated the collar with a torch then hit it with a hammer, it was completely stick with rust and probably old joint paste.
But finally, we did it :-)
I have another question, did you open the left part of the support (distributor side) ?
Does they're other joint inside it ?
I can't open it. Not sure it is openable...
Thanks again.
You've got it out so worst part of the job is done
Small tube is living inside the big tube, it should fall out with very little help, the tower side of the rack has no seal due to shuttle gear protruding there at turns, no need to remove it.
Make sure shuttle is is absolutely dent free and polished so it won't leak in the near future.
Thanks Jack.
I cannot take out this small tube. From both side I can see an internal collar (center section smaller than the tube). From the left side I tried to hammer this collar gently with an extension but, no succeed.
From the right side (opened side) I can see the tube moving as on this side it is smaller than the rack... From the right side (opened side)
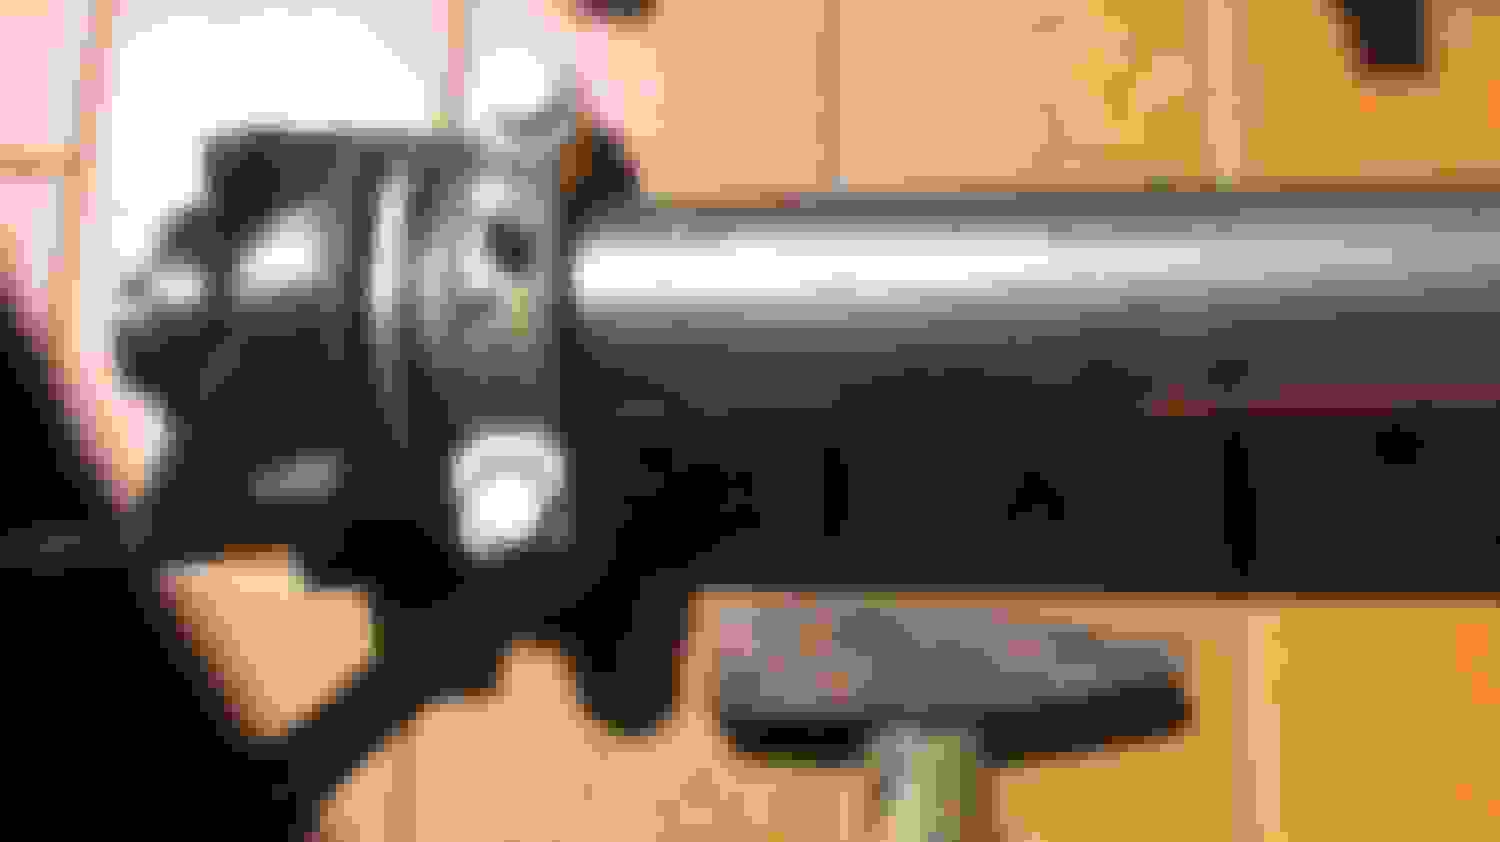
smaller tube is pressed into the rack and holds in thanks to that yellowish plastic ring, try to put shuttle back into the tube and shake it sideways it should release itself, don't hammer anything inside you don't want to bend or deform internals.
now i remember that in order to remove rack end i used that ?scaffold? ring on the photo, tightened locked in place with screw and hammered ad infinitum.
I finally did it, it was a long job, I had to hit the rack on the ground 100 times before the tube came out.
But strange, on mine no yellowish plastic ring, but a metal ring. And I don't understand how, but it is damaged.
 12-14-2018, 11:52 AM