When you click on links to various merchants on this site and make a purchase, this can result in this site earning a commission. Affiliate programs and affiliations include, but are not limited to, the eBay Partner Network.
I do have a couple of questions; I can understand about the lower control arms from under the diff, but I am not sure if I am seeing this wrong, but are the half shafts part of the rear suspension? I don't see any upper control arms. The other thing I need to ask; The driver's side seemed to just flop around where ever it liked, and when I undid the nut from the centre, the whole hub just fell onto the ground. Is this something I should consider replacing, or will a simple rebuild fix this problem? On the other side it has about 8mm play coming out of the diff, once again is this something I should look at replacing or will it too only need some rebuilding to rectify.
...are the half shafts part of the rear suspension? I don't see any upper control arms.
Hi Clive,
I am thoroughly enjoying your journey. Thank you for all the time you have taken to document the process and post the photos here. I envy your discovery that one of your diffs is a limited slip!
Yes, the half shafts serve as the upper control arms of the rear suspension, which is why the differential output shaft bearings tend to wear out and allow excessive play.
Originally Posted by Clive.R
The other thing I need to ask; The driver's side seemed to just flop around where ever it liked, and when I undid the nut from the centre, the whole hub just fell onto the ground. Is this something I should consider replacing, or will a simple rebuild fix this problem? On the other side it has about 8mm play coming out of the diff, once again is this something I should look at replacing or will it too only need some rebuilding to rectify.
Off the top of my head, there should be only 0.003" to 0.006" of end play at the diff output shafts. I think the specs are in the Haynes manual. You can download a mostly-complete U.K. edition here:
That spacer you found on one side of the diff sets the camber of the rear wheel. I think you should have also had a spacer on the other side. Perhaps someone left it off at a previous service?
I have some photo albums on removing & replacing the rear wheel bearings and rebuilding an open diff at the link in my signature.
I am thoroughly enjoying your journey. Thank you for all the time you have taken to document the process and post the photos here. I envy your discovery that one of your diffs is a limited slip!
Yes, the half shafts serve as the upper control arms of the rear suspension, which is why the differential output shaft bearings tend to wear out and allow excessive play.
Off the top of my head, there should be only 0.003" to 0.006" of end play at the diff output shafts. I think the specs are in the Haynes manual. You can download a mostly-complete U.K. edition here:
That spacer you found on one side of the diff sets the camber of the rear wheel. I think you should have also had a spacer on the other side. Perhaps someone left it off at a previous service?
I have some photo albums on removing & replacing the rear wheel bearings and rebuilding an open diff at the link in my signature.
Cheers,
Don
Hi Don, thank you for your input, as I really needed that. I also have just aquired a Haynes manual which will be more of a help than almost anything else, and I have also got a cd copy of a Jaguar manual. I haven't seen another spacer for the other side as yet, it may even be under the speedo thing on the other side. I am trying to work out if I should powder coat everything, or just use a 2K paint when I go to put all new bushings through out the rebuild of the whole rear end. As soon as I get the rear end rebuilt, I will do pretty much the same to the front end. At this point in time I am waiting to get a new dashboard top pad to finish installing the electrics, Also the glass will need to be replaced, and the carpet will need to be put in so I can put all my seats back in along with the centre console. I have got quite a bit of help from a few members, so thank you to all that have contributed to my particular build.
I have a better picture of what I can do, and even some of the things I can’t do. One of the things I am not good with is rebuilding diff centres, partly because I don’t have the tools to do it properly, and much more than that I am certainly not confident in doing the diff. Yet rest I am a little comfortable with, after all it will be going in for a wheel alignment anyway, All the bushings and bearings will be replaced, front and back, and there will be new springs, I have thought of a 2 inch lowering kit, and installing a rear sway bar, none of my cars are equipped with one. I have taken it all apart for the cleaning and new parts installed. Mine has the conversion done with the self leveling being remove, and the brakes are vaccuum assist now.
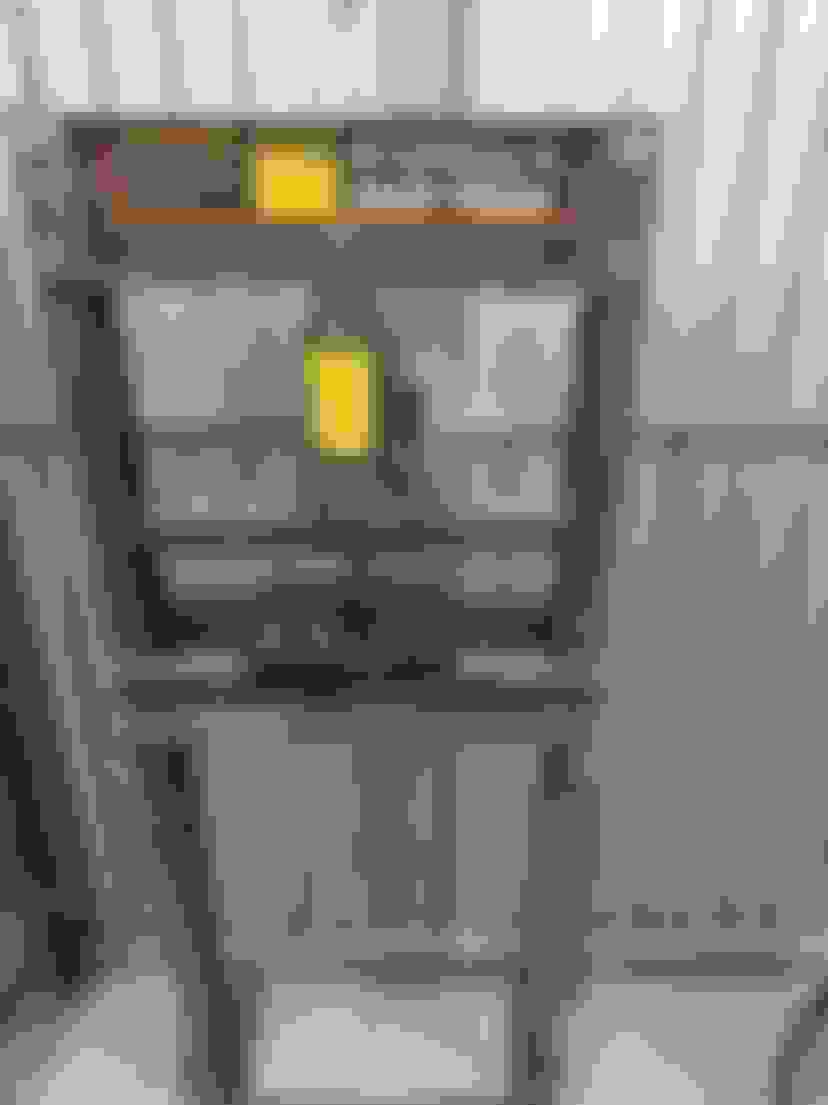
The high pressure cleaner is a great little tool to have, and it has certainly had a good workout over the years. This was my greatest bit of news I could have imagined. I hoped that my memory wasn't playing with my already deminished mind. I did do the wheel rotation thing, but for some reason the penny just didnt seem to drop. Anyway after a bit of a clean up it started to look pretty damned good. I really wasn't expecting there would be any LSD in any of the cars, so I was over the moon with what I found. It may not look like it, but it was actually quite sunny outside today, the shadow of our house was a a welcomed one I am not too good with heat, here we see the parts laid out so I could give them all a blast with the Gerni. This will help me remember where it all goes when the time comes. I am also using a colour code to keep things in order, I hope I got everything covered. giving everything a good clean and repair anything that may need it. With all the crud on these parts, only when the Gerni hit it did some of the washers and spacers come out, so I took a picture of where they came from, and to remind myself where these things belong. These pictures will serve as a memory in case I forget what goes where.
Hello everyone sorry I have been away for a while, and so things have been very quiet. I have managed to get a hold of a workshop press to do all my bushings and bearings in the future. I went mad and bought this because I have needed one for a long time and always had to take things awa the have a bush or bearing pressed out. All ready for the powder coaters to do their thing, then I will need to get some new bushings, I have to find out what it is called to get the right bushings, then press them into place ready to assemble the rear subframe. I would be greatful if you could tell me what this part is also called, as I need to press in some new bushing to tese as well.
Many thanks Don B, It certainly will help to get all the bushings I need to rebuild the whole subframe, I will be doing the same with the front end. Now I am back at work things will take a little bit to catch up again, but it is all looking really good for me now.
Hi everyone it has been a very long time since I have posted anything at all. So hopefully things can start to change, new job and different rosters makes things a bit tricky until I get use to it all. So one thing at a time for now, I changed my steel hoses under the car, my British car is the one I am keeping and it does not have a charcol cannister, where my 2 Australian cars do, so I have changed them around, and fitted the cannister behind the front bumper. I didn't get a chance to take any pics, however I will get around to it. I have also been making some floor mats for the car because I am looking for something a little bit different, so here is one of the mats I have been working on. Now before anyone falls out of their tree screaming they are not Jaguars. I know! all the leapers I have are painted gold, and finding a pattern for Jaguars is not so easy. I decided it was a nice picture and it fits the gold colour of my other cats, I am going to reverse this image on the next kit so I will have a left and right side. They will ony be in the front for now, and they will be mounted on rubber mats so they wont all scrunch up. I will also make one of these to go over the spare wheel, just to brighten things up a little more. The next challenge will be finding a colour for the rest of the background on the backboard of the boot and the rest of the floor and whatever else may need covering. The next thing to get started on will be the front bumper. I have taken the rubber off the front bumper, they do look quite sad, and getting new ones will probably cost more than the car is worth, so I decided to have a go at making up some fibreglass ones instead, and I did away with the reflectors on the sides. It may look a little rough right now, and it is still in the shaping stages for the moment. It looks a bit shabby right now, but it is coming together, not done fibreglass before, so here we go. A new trick to learn. If all goes well it will be done on the rear bumper as well. I am not sure about the paint to use just yet, I have thought of gloss, or maybe even satin black. or I may paint it with black bed liner for a textured finish. The will be getting the chrome trim pieces put back on as if it were the original rubber ones. Sadly for me right now, I have not had much luck with making the molds for now, so I now have to use filler to take away any of the imperfections. I am using fibreglass reinforced filler here, then when it is all done, well I am not sure just yet if I need to paint some resin over the top or do I just start priming it all up and get ready for the paint. Well that is the front bumper for now I will not bore you with every tiny part of this build, it will be shaped and undercoated by the time I take anymore pictures of it. I also need to buy some more green paint to do the front doors and the other front guard, I know the grass is a bit long, hopefully I will get that done too.
I know I had made fibreglass ends for my skirts, and whilst that was what I used it was not the same as making a mold then making a part from the mold, obviousely my mold making skills are just plain woefull, I never seem to get them to release from the molds, no matter what I use. Anyway time will tell if it will work or not.
Okay people I have just aquired a vehicle, okay 2. the first job I have to address is the timberworl inside. I have managed to get some timber veneer .6mm thick. My question what glue do you use and how does it handle the heat I am in Rockhampton 4701 and it gets really hot inside cars here very quickly. Just about all of the veneer inside are cracked an separating from the base, and as you can see here it has completely left the metal parts in the consul.
I have a replacement ash tray piece that I purchased. Didn't need it when I found the wires had just ben disconnected. Its available.
Hi I have a complete ash tray unit I will sell if you are interested./ I was going to replace mine because the light did not work. When I pulled it apart someone had just disconnected the wires, so I have one available.
Hi I have a complete ash tray unit I will sell if you are interested./ I was going to replace mine because the light did not work. When I pulled it apart someone had just disconnected the wires, so I have one available.
Fortunately I have been able to re cover the veneer on all of my vehicle timbers. They have a different colour now compared to the walnut I think it was, I used an Oak burr veneer then stained it with a Jarrah stain which gave it a red appearance, and with some gold pinstripe it came up rather nicely. This is how my ashtray ended up, I stripped it back and used an Oak burr veneer, then stained it with red Jarrah. With the same theme used on the doors and a bit of gold pinstripe, they ended up looking like this. I liked the colour so much I even decided to cover the instrument panel as well.
Hello everyone it has been a while, and all has not been so well, but no need to go there and not a lot has happened, anyway I di have to modify my front subframe, then get it certified and ready for modification plate, all needed to put the old girl back on the road. I also decided to powder coat all the suspension parts as well as the subframe, then re assemble it all ready to put into the car.
this is a rear shot, I think the powder coating looks good, I hope it is as sturdy as I am told and should last for the time I have the car anyway. The next pic is the lower part of the suspension, for the most part it will almost be done in either green or gold. I am in the green stages of the build right now. These are the lower sections of the suspension, I have to get the bushings and ball joints next, then press what needs to be pressed in and then assemble it all.
Here we see a completed engine mount that is used in this conversion, I took a liking to it quite some time ago. This one is the left side, they have both used the existing engine mount pedestal, simply re arranged the mount itself. I liked them because the held the engine in place regardless of the position of the car, and not as likely to fail because the rubbers had perished. The bolt or the metal would need to break before the mount had a total failure. That was my chain of thought at the time.
The right side was slightly different, however was still basically the same thing. the position of the engine and other components made this a thing to create differences. This one is the right side. Here I needed to get clearance above the mount, which is why it was made slightly different. This is the view from the front.
This is the right side again, but from the rear, just to give you an idea of how it was constructed. Using these mounts I was able to leave all the steering rack and other components where they were.
Rather than bore you all with little add on's to this part, I simply left it until it was ready to put into the car. Here is the finished product with all the mew bushings pressed in and ready to be bolted into the car. I only had today to get this done so it will have to wait until I get a weekend of fine weather to remove the old frame and install this one.

 06-19-2023, 11:51 AM