When you click on links to various merchants on this site and make a purchase, this can result in this site earning a commission. Affiliate programs and affiliations include, but are not limited to, the eBay Partner Network.
Today I had to get a couple of jobs done but I sat the timbers in place to see how they looked, before today I had only a picture in my mind of how they would look. No need to imagine anymore.
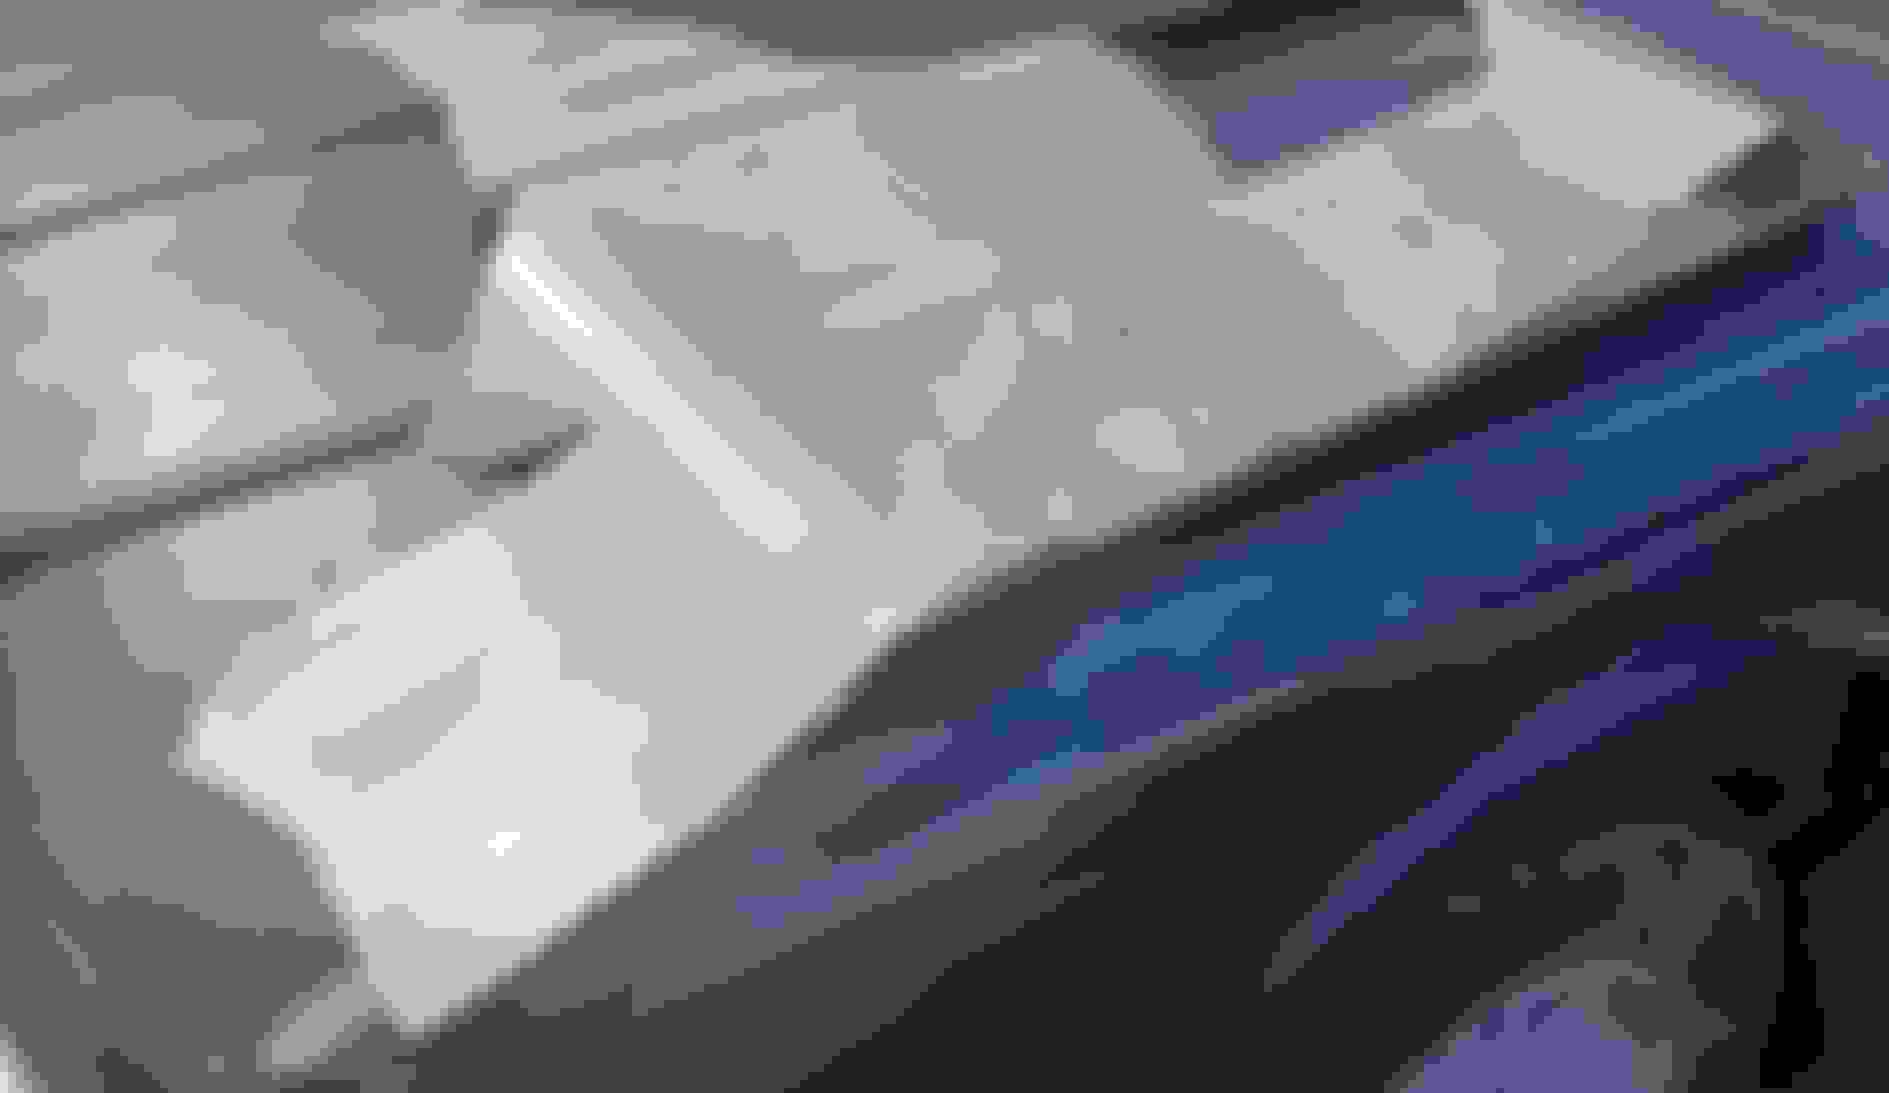
Door trim timbers have been put in place only for pictures as the car will be resprayed soon. I have taken a liking to the red colour of the timbers.
Well things are moving pretty slowly for now, So I have decided to have a go at puting a veneer on the instrument cluster surrounds. I think by using the same veneers as I did with the rest of it the colours should be a perfect match.
Here is another little problem for me to get worked out. The new veneer has a totally different colour to it when placed alongside the original coloured timber, even though the dash has what looks to be a fake timber, the colours are certainly not going to match. Here is a piece of veneer that I used on the other timber trim parts, simply cut out and stain with the same colour as the rest of the timberwork then seal it all down with clear, sand and polish, and it should all look the same.
Well I had a big day planned for sanding the paint off the bonnet, I am going to make a fiberglass one instead of looking for a reasonable steel one, but I need a good shaped bonnet to make the mold, so I got to sanding away, but the paint kept chipping at the edges. So I tried to put my nail under it, and I almost died laughing at the way the paint just peeled off the car. Good job I found this out before I started painting it. Going to sand it all back to bare metal now, I sure don't want to have my paint blow off while driving down the highway. I know the clear on the green car is not real good, still considering fixing the old girl up as well, we will see what happens later on as the gold one gets closer to painting. (Hehehehe,I hope)
I am not sure if removing paint is suppose to be this easy. This is pretty much how it came off the bonnet.
Dont think thats factory...more a bit of a blow over from the local panel shop. Check the you tube video "making of the xj40": https://m.youtube.com/watch?v=oQxCCd7Wy8Q
Last edited by mickvic; 08-14-2022 at 06:01 AM.
Reason: correct spelling
I did watch quite a few video's of the XJ40's, having things go the way they did, just makes me want to tear it all of now to make sure it all gets done properly this time around.
These little buggers, This one may look alright, but it has a lot of cracks in it, but still has good shape. Because I am having quite a bit of trouble finding one of these things, I can only hope that this idea works out, and I will have a brand new silicone rubber version to put into the car.
Filled it up with modelling clay and set on a flat surface ready to place into a frame to make a mold out of silicone rubber. Just have to wait until I can get down town to get a couple of trays to make the molds in.
Well the first attempt at making the mold didn't quite make it. All the video's I watched said take the time to mix it all properly, so that is what I did. Well it seems there are quite a few different silicones on the market, some are fast setting , while others can take a long time to set. The latter I would have prefered, I got the one that goes off in 10 minutes, so by the time I had finished mixing it all and started to pour, it started to set, so it didn't have time to seep into all the nooks and crannies. I will get a slower setting silicone next time and it should work this time.
Things did not end up as I had hoped they would be. The decision to strip all the paint off revealed the old girl had taken a massive hit in the side, carefully and skillfully shaped in body filler to look like nothing was at all wrong, sanding to the metal revealled the poor old girl should never going to see the road again. time to start with the original plan of doing the green one instead. On a good note, all the things I have done for the gold one can now be put into the green one.
After having the paint peel away from the hood so easilly, I decided i would not take anymore chances and strip the car back to bare metal. It would seem it was a blessing in disguise, it would appear the gold car is in very poor shape indeed. Chucking on some black primer to seal it for the moment, so far, so good. It looked so good when I first saw it in the daylight, I never imagined it would be such a wreck in the end. Hidden under a massive amount of body filler, all sanded and made to look so good until the paint was removed.
The hood scoop came today, but I am a little busy right now to have it all ground out and made to fit as a fully molded in part of the bonnet, the it will be all painted in 2019 Jaguar racing green.
The hood scoop came today, so I sat it in place to get an isea of how it would look, I think it is okay. I know it isn't centred yet, but it also hasn't had the base taken out in the middle for the hood to have a nice blended in look. This old girl is certainly going to be a bit different, if anyone is interested, the scoop was made for a Holden Torana A9X.
Always good to have a sound car as a project base, maybe that was why the paint was peeling off def not origonal paint. Bonnet scoop is not a great option for mine but each to their own. If you want to impress holden and ford boyz with a tarted up jag then you are oon the right track. Id be doing mods tastefully and modestly to complement the clean lines of the jag. Forward facing very low slit type scoop a la aston martin...and modest rear wing. I like those skirts off the falcon though. Black out grill as well. Keep us posted!
Well today was a bit of a calming day as I looked into the removal of a rusty trouble spot that appears in all 3 of the car I have, this may look like a serious problem, but it is actually quite an easy fix. As you can see from the outside it looks rather bad, but it should only take about 3 peices of metal to be cut and welded into place. The windscreen will need to come out, and that will be left to our local windscreen fitter to take it all out without damaging the rubbers. I will remove some good metal when I cut out the rusty parts so I have a solid peice of sheetmetal to weld to. Removing the dash has been a bit of a challenge for me, I have not pulled a Jaguar down this far, so it is a learning curve for me at the same time, I would rather damage this car's interior trying to figure out how it all comes apart, this way I will know how the remove it from the Sovereign without damaging anything that may need to have new stuff. I will not be cutting any of the wiring to get them out just in case I don't have a replacement item to put there. You will notice that the tube the drain from the sunroof is not rusted away or damaged, I was rather pleased with that idea, it will make the fitting of new hoses so much easier. I think I have also found a rats nest inside the heater box, good thing I intended to strip the vehicle down all the way to an empty shell for painting so even all the vaccuum lines will be replced with new stuff, and I think some of the bellows may need some work as well. Things will probably slow right down here shortly as I prepare for the rust repairs and the prep for paint, because of the hole outside, water has been coming inside and has created a couple of rust holes in the front floor section on the passenger side of the car, (Australian cars are right hand drive if were wondering which side I am talking about.
It may look bad, but it is a fairly easy fix, and all 3 of my cars have the same problem. I admit it looked a lot worse from the outside, on the inside things looked somewhat brighter. Not knowing what differences there were from the XJ6 to the Sovereign, I decided I would remove the interior of the XJ6. 2 reasons for this; 1 I needed to get at the rust damage from both sides to fix it properly; 2 because if there is a difference in the Sovereign's wiring then it will be transfered after the rust repair have been made. Getting close now the the rust problem from the inside, the rust is just a little higher up than this picture, it has also given me a few surprises along the way. Here we see the rust damage from the inside, this will make the job ahead a lot easier. I will be removing all the rust I can see and into a bit of the solid metal to ensure it will not reappear in my time with the car. This is one of the little surprises I had. part of the heater I think, where it goes into a fan, or from a fan, that means I will remove all the heater and fans and give them a good clean out, and replace the foam with some new stuff.
Today was a lazy day, this morning I had to help a friend find a rear wheel off his Bedford van, we were out for a couple of hours, alas we did not find it, so I came home after lunch and started to get some panels cut and shaped, I won't be able to weld them in today. Time has beaten me this time around.
Remove the windscreen to see how much work I have to do, a bit of a clean up with the wire wheel, move the hood and guard so I can get at everything. remove the outer sections to see how bad it is underneath, not too bad to me I think. a couple more plates to make yet. first panel bent up and a flange put around the edge to tidy the appearance up a little. Now for the trial fit; that looks pretty good to me, I just have to push the plate into the firewall and she should be good to go. You may not see it here, the paint is starting to bubble and so I will get the rust out before I get ready to paint. there are a few of these little holes around the windscreen frame, I think I will give these a good clean out and fill the holes with glass filler.
Well today was a good day, I managed to get one side of the car's rust issues sorted, the shape of the bottom plate was testing me out pretty good, but I was somewhat victorious. I just have 1 more rust issue to fix then it is onto the boot floor pan. I am going to try something in the boot this time around, simply because I want to use twin pipes on each side, we will see how it goes.
Trying to get some sort of shape that can be used in here, little bit of panel beating to get the desired shape
Weld in the new firewall piece, and should come up good.
I have had a mixed bag with the weather today, so I tried something with the frond guards, I am not sure what I am looking for just yet, anf the guards on this car are pretty rusted out compared to the other 4 from the other 2 cars.
I have been stuffing around with this panel for some time, and it has been rather frustrating. I would start a weld and it would immediately turn into a hole, (not enough metal behind it) and I would chase that hole all over the place, then I had a bit of a brain fart and figure I have recently purchased a flange making tool, (air operated, I get lazy at times.) So I cut out a panel and put a flange all the way around it, then preeded to weld it in, unfortunately it got too dark to continue, so that will have to wait until Sunday now. I have to work tomorrow with the SES in our area, (I am a member of Yeppoon group) and that will leave me with Sunday to continue to the next step.
The rust had a pretty good hold on things just here, so I decided to cut a fairly large section out in an effort to remove any rust still behind the panel. The hole and the replacement panel made up, now to try and get it in there without stuffing things up too much.

 08-08-2022, 08:13 PM