When you click on links to various merchants on this site and make a purchase, this can result in this site earning a commission. Affiliate programs and affiliations include, but are not limited to, the eBay Partner Network.
Elinor and Carl,
Like you, I've researched different methods for quite a while, knowing this day(s) would come. This method seemed the most accurate, given that I didn't have lasers nor was I going get any. I have about $18 for the two 3/4"x10' pieces of EMT. I think the one thing to keep in mind would be checking to see if the rear track and the front track are different, most cars are. Here's a site that explains it pretty well, there are others:
This the first time I have gotten so detailed with an alignment at home, I have zero confidence in the shops around here to do most anything to my standards. This comes from experience.
Dave
P.S. You may have noticed that my signature has changed, moved from future-tense to current.
Last edited by LT1 jaguar; 10-14-2021 at 02:46 PM.
Reason: Wrong wording
OK, lots of discussion about caster, but wot do you guys use to measure it?
I use the Longacre digital gauge with swivel plates, but struggled to get consistent results and used another digital level to check the Longacre gauge which seemed to give different readings when set at the vertical & horizontal planes when setting the CAMBER measurements.
Yes the string method for toe in Elinor is surprisingly accurate, and you can achieve measurements down to 1/2 a mm. if your eyes are up to scratch!
My problem with the string method to adjust toe is how to get under the car to adjust the trackrods, without a pit, I cannot see how it can be done. Any ideas?
OK, lots of discussion about caster, but wot do you guys use to measure it?
I use the Longacre digital gauge with swivel plates, but struggled to get consistent results and used another digital level to check the Longacre gauge which seemed to give different readings when set at the vertical & horizontal planes when setting the CAMBER measurements.
Yes the string method for toe in Elinor is surprisingly accurate, and you can achieve measurements down to 1/2 a mm. if your eyes are up to scratch!
I also have platters and a triangulated level device and can change Camber and Caster just fine.
In fact, after my rough setting, I was Very pleased to see just how close I was when the Hot Rod shop lasered the car. I would have run with that were it not for the changing of the crossmember to the XJS, and recommendation from Greg to have to have the car laser set (took them a long time but now I *KNOW* readings both front and rear).
Maybe my problem is that I make toe setting too hard. But last time we did this, the Most Beautiful tires ever to touch pavement were Destroyed by wrong toe in only a few 1000 miles. This has made me a bit paranoid I suppose, and not trusting myself.
(';')
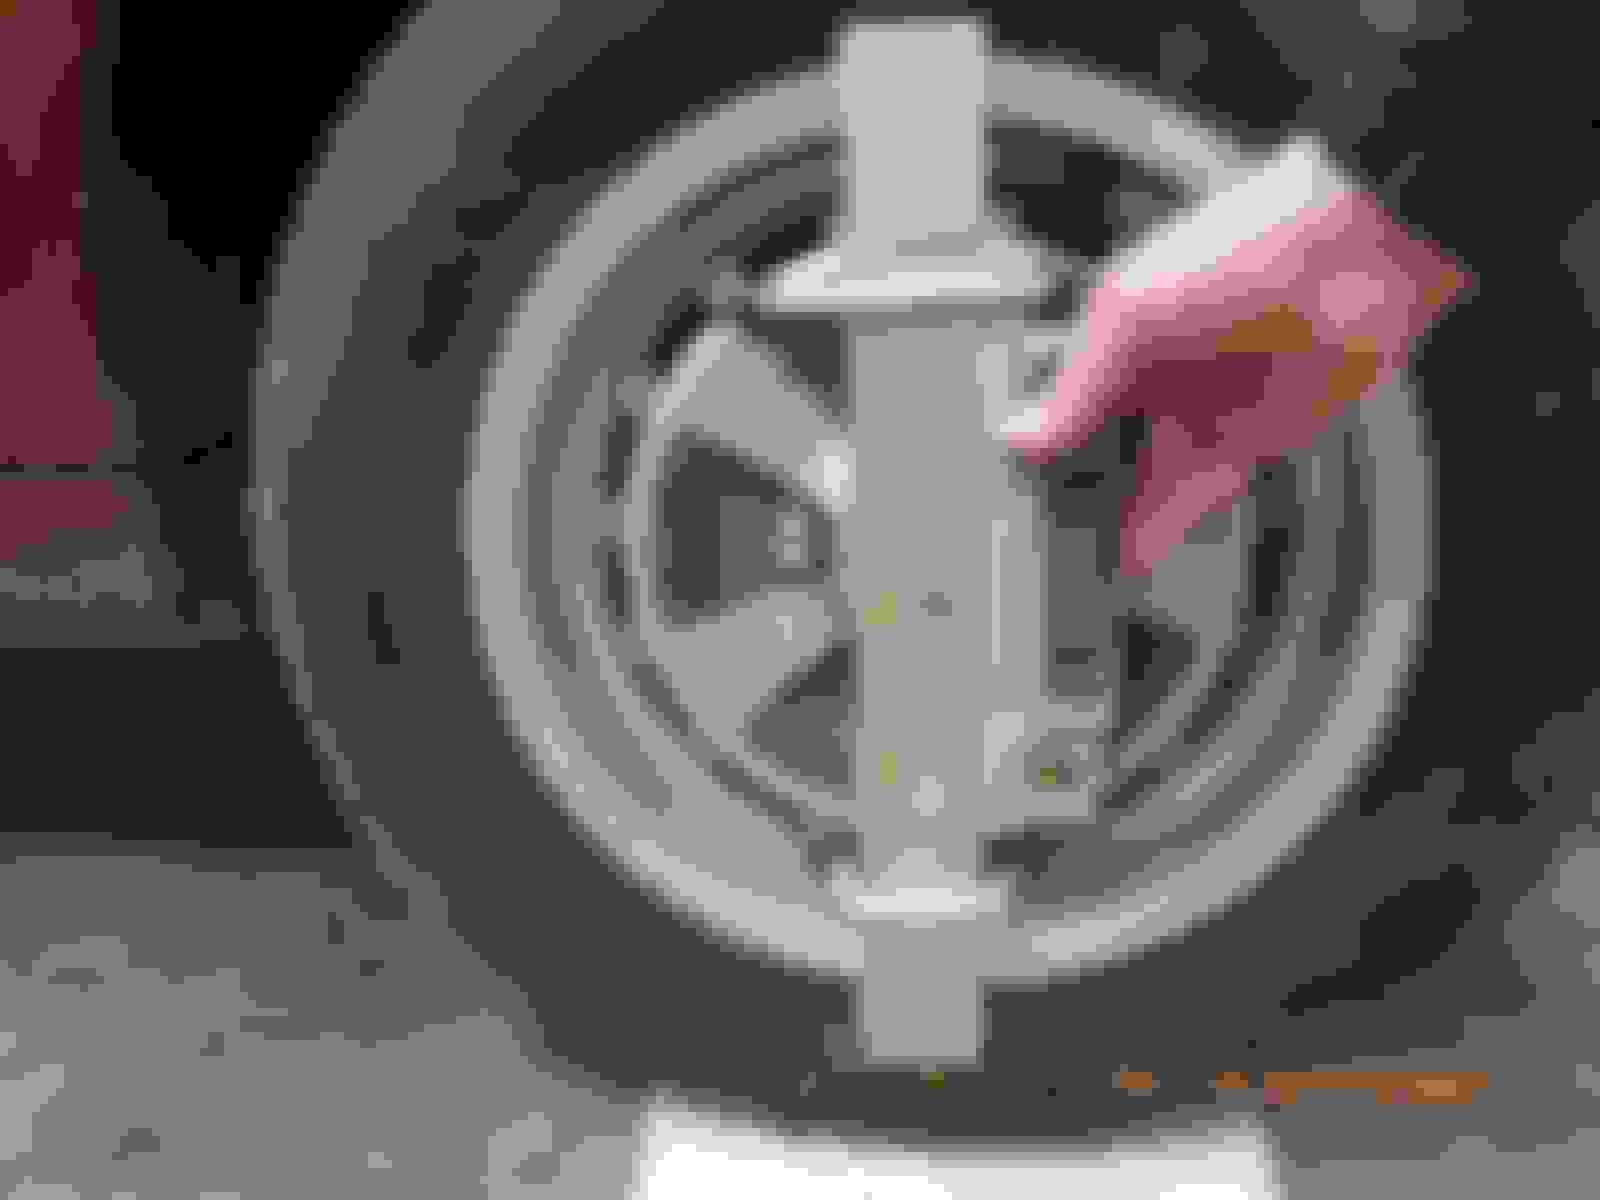
Caster first. Peel-n-stick tiles, shop-made "bridge", e-level good to .1*
Drive on the tiles if at all possible so that suspension is in settled position. Center steering wheel, attach "bridge" to diameter of wheel without contacting the tire. Bungee cord is a wonderful thing if you have some.
Plumb the bridge.
Plumb the bridge, but don't worry about zeroing yet, that's in the next step.
Turn wheels 20* right (or left). You can faintly see my 20* line on shop floor.
Turn the wheels 20* either way and make sure they stay put. A well used suspension might not stay in exactly the same spot, fortunately mine did. Get a helper or strap the steering wheel if needed. With the wheels at initial 20*, zero the display on your level-don't bump it out of position. You don't have to read it or do anything else, just push your "zero" button and go to the next step.
Turn wheels to 20* in the opposite direction, 40* from current position.
Turn the wheels 20* in the opposite direction, 40* from current position. Make sure they stay there and then push the "hold" button on your level, or read the display and write it down. This number is your caster! It's as simple as that. Now do the same for the other wheel. If you don't like your caster, you are in for a treat, it's time to jack up one wheel (I did one side at a time, I don't see why you couldn't do both at once if you have two jacks), remove the wheel, decide if you want more or less caster (you'll want positive caster) and move the upper/outer ball joint shims accordingly. Take from the back and move to the front for more positive caster and take from the front and move to the back for less positive caster. Tighten the bolts, replace the tire and set it down on the tiles again. Now you have to bounce the suspension and/or nudge/wiggle the car back and forth to try and settle the suspension as best you can. Set up the bridge, plumb, 20* one way and set "zero", 20* the other way and read caster angle. Repeat as necessary.
CAMBER:
As in picture #2, attach bridge and plumb. Attach the level as normal and read the display. Make sure you can identify whether you are reading positive or negative. For example, mine reads 90* when it is vertical, so when the display says 89.8* it could be on the positive side of 90* or on the negative side. There would be only .4* between.
Here is where you can use your judgement concerning the flatness of your floor. My shop floor is over 40 years old and there a hollow spot under the cement about in the middle, but it is pretty flat, but with small irregularities. If you think your floor is pretty bad, you can use a carpenters square as close to the wheel as possible, with one leg vertical and the other straight out from the car, it will be on edge now. Put your level against the vert leg and zero the display. Now attach your level to the bridge and read the display, you will have taken the uneven floor out of the equation.
If you don't like your camber, same drill as before with the jack and wheel. Add or remove shims between upper/inner control arm cross bar and frame attachment, the same number added or removed from each bolt.
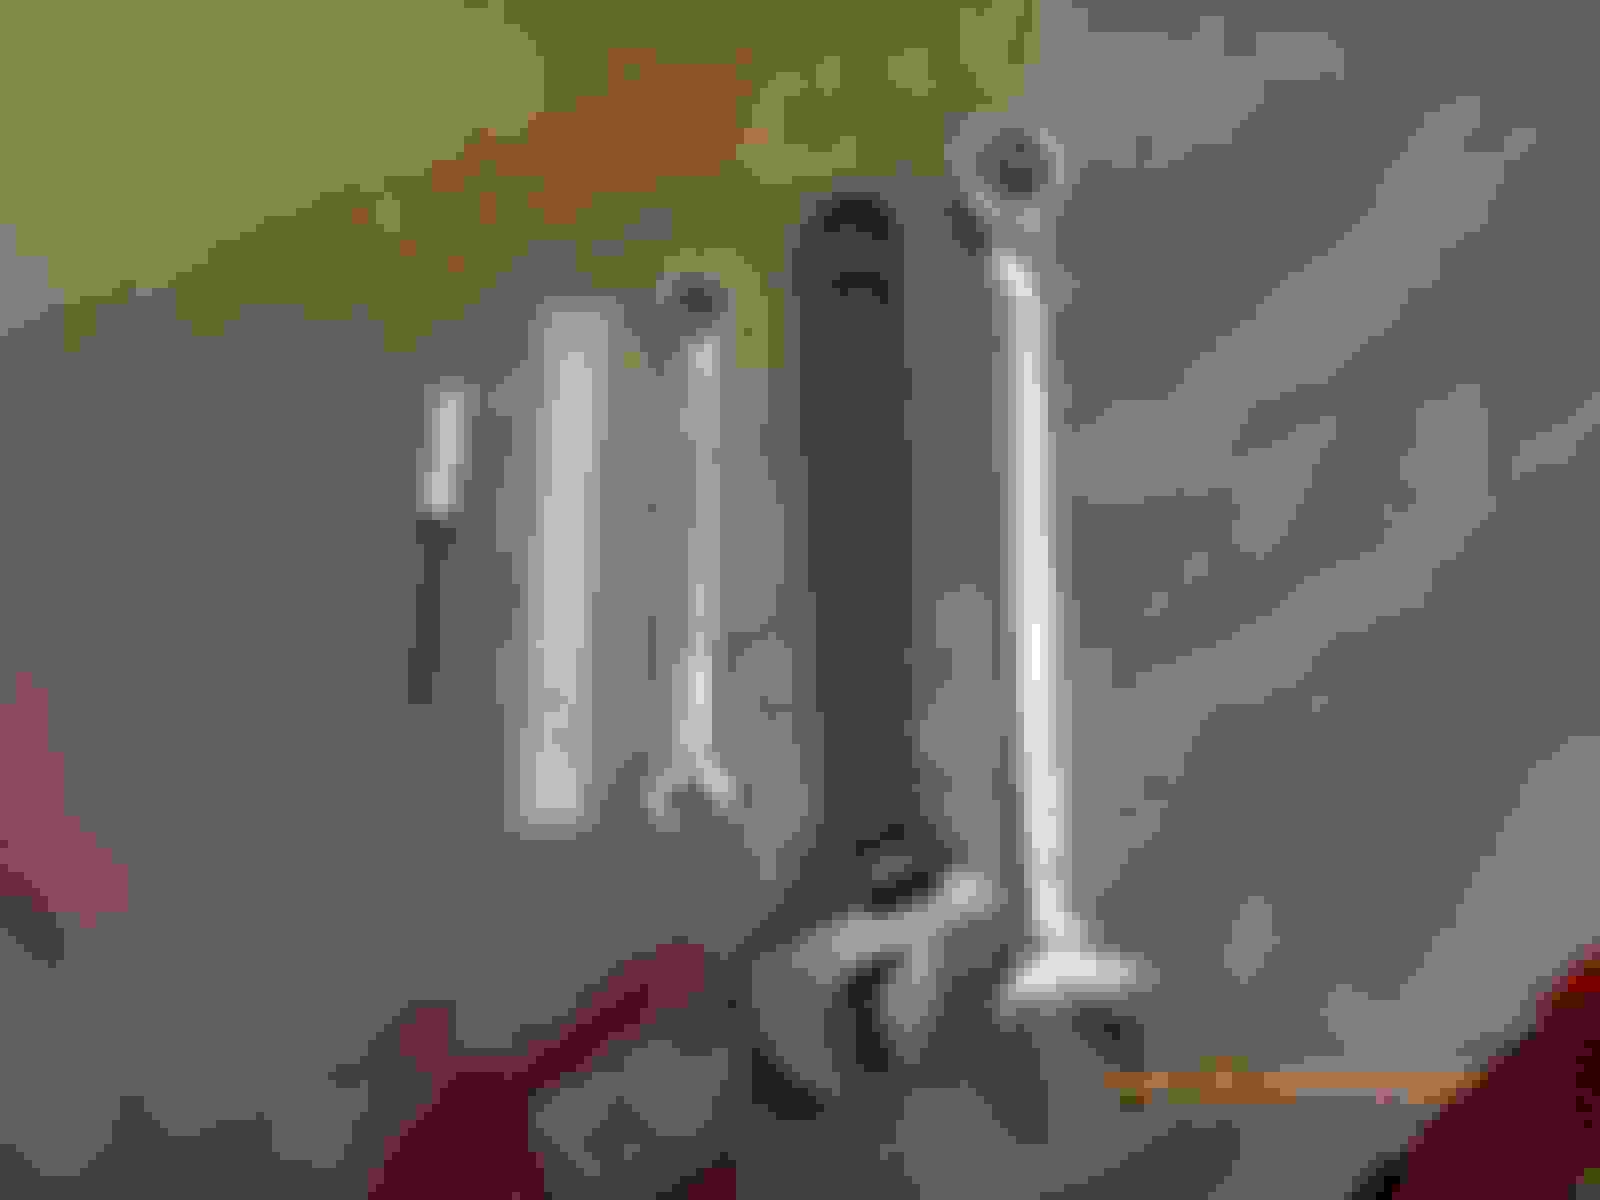
TOE:
Tools you need plus string, electrical conduit and jack stands.
Still on tiles with suspension settled, put something on the floor so you don't get dirty and lay down behind the tire. Loosen jam nut on outer tie rod end and insert the rack centering tool in the hole behind the small bolt (see the picture) 5/16" head on bolt.
This is you laying behind the tire.
Centering the rack is a whole 'nuther topic, it's outlined in the shop manual. Briefly, the aluminum casting to the right of the tie rod boot has an oval plate held with two bolts and in the middle is a very large nut screwed on a large threaded thing. In the middle of that thing is a very small bolt (plug), removing that plug opens the hole where the centering tool is inserted. The tool will fully seat in the hole when the rack is exactly in the center of it's travel, which is where you want to be when setting toe-in. I made my tool using a drill bit that was very close and then just ground it down until it fit the hole, add a professional handle.
2 pieces of 3/4" EMT, jack stands and string
Setting up the "cage" seems time consuming the first time, but not bad. The first thing I did was to see if the front/rear tracks were different. I have the shop manual on my computer in the house, but I'm not going in to look at it, so I took the toe gauge I made years ago and measured the front and rear track. The new tires have a very thin groove in the middle, made it very easy. I found that the rear was 11/16" wider than the front. After the fact: shop manual says .60" wider at the rear.......close enough for me.
Since we are setting each side separately, each front tire will be 11/32" farther away from the string that the rear tire. I set the string in the rear to just touch the rear tire and then measured from the string to the top of the hub opening in the center of the wheel. At the front I set the string at the rear measurement plus 11/32", now the string is parallel to the center line of the car. The hard part is done. Mock-up. Measuring distance from string to rear wheel.
Mock-up. Represents measurement from rear plus 11/32"
Now simply measure at front and rear of rim to the string and do the math. Smaller distance at the rear of rim will give toe-in. Use edge of the string against the ruler for more accurate measurement.
Mock-up. Front of rim. Mock-up. Rear of rim.
Set one side at a time, go vertical to prone several times to tweak the tie rod and when you like it, tighten the jam nut. Do the same on the other side. Remember, if you want 1/16" total toe-in, for instance, each side will toe-in 1/32". Don't forget to remove the rack centering tool if you used it and put the plug back in. You're done. Drive it and see what it feels like.
Feel free to add or detract to anything I've said.
Saly the XJS is too low to do the toes; but I LOVE the castor method, and the camber is just what I did (but without the bungee cord which will from now on be used too).
Greg, I have never seen an XJS except in pictures, they must be pretty low. The reason I put something on the floor to lay on was for the same thing. I couldn't get low enough to reach everything comfortably when I was on a creeper.
Is that a Borla exhaust/muffler I see in your picture?
Dave
Last edited by LT1 jaguar; 10-16-2021 at 02:27 AM.
Reason: needed to add a question, again

 10-14-2021, 12:02 PM