
'72 XJ6 rear brake overhaul


#44
 03-25-2015, 04:44 PM


#45
03-28-2015, 12:25 PM
On a side note, my centre console needed a bit of work as can be seen in this Picture.

The centre console and the front seats are out of a sIII, hence the gap between the console and the dash board tray. Anyhow, the ski slope had been modified by a PO to accomodate the B&M hammer shifter, but he had done a pretty bad job. I pulled it out, ripped off the leather and drilled some holes for a couple of cup holders and a Power outlet. I covered the ski slope with the same wrapping the rest of the car is wrapped in, and had a local upholsterer make me a new boot for the shifter. I had the console toplid recovered as well. Made a vast improvement I think!

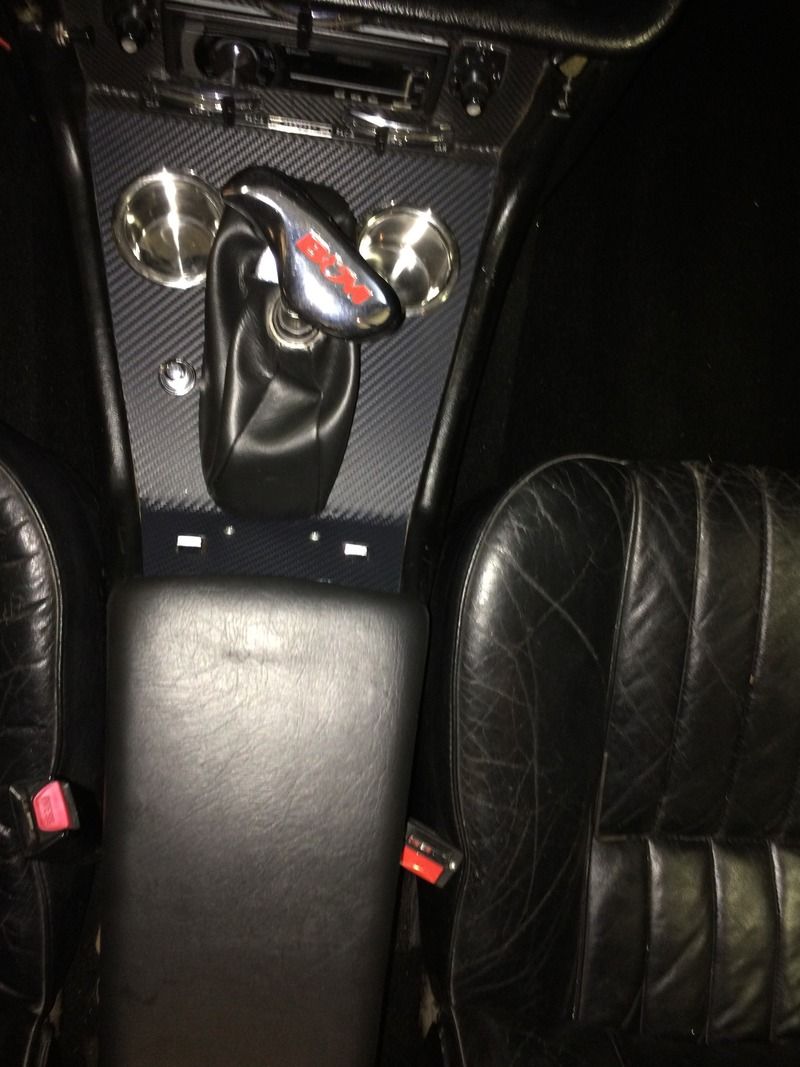
I still need to adress the gaps between the console and the tray, but that'll have to wait 'til another day!
Cheers
#46
03-28-2015, 02:55 PM

Veteran Member
Join Date: Mar 2014
Location: Tehama County, California, USA
Posts: 25,445
Received 9,208 Likes
on
5,386 Posts
The following users liked this post:
Aviator-Olav (04-11-2015)
#47
04-11-2015, 08:23 AM
I had a bit of a set-back in my IRS project Monday last. As I backed the car out of the garage, brake fluid gushed out of a brake line on one of the calipers. I jacked it back up, and spent a few hours fiddling about with it. Time wasted completely, the fitting was stripped and there was no way it would come off with the IRS in the car. So I dropped it again. I wish I had done that immediately instead of fiddling about under the car for hours! It took me exactly one hour and it was on the floor

New brake pipe installed.
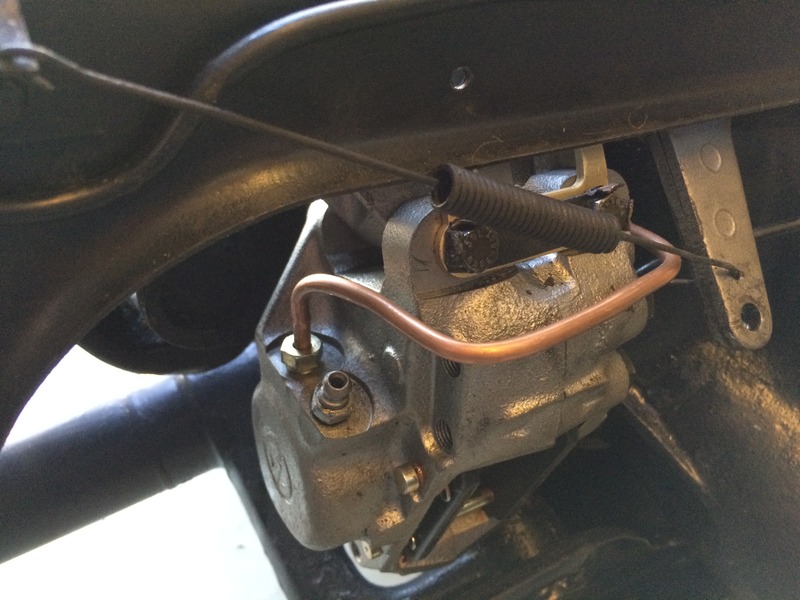
It took me about two hours to put it back in the second time.
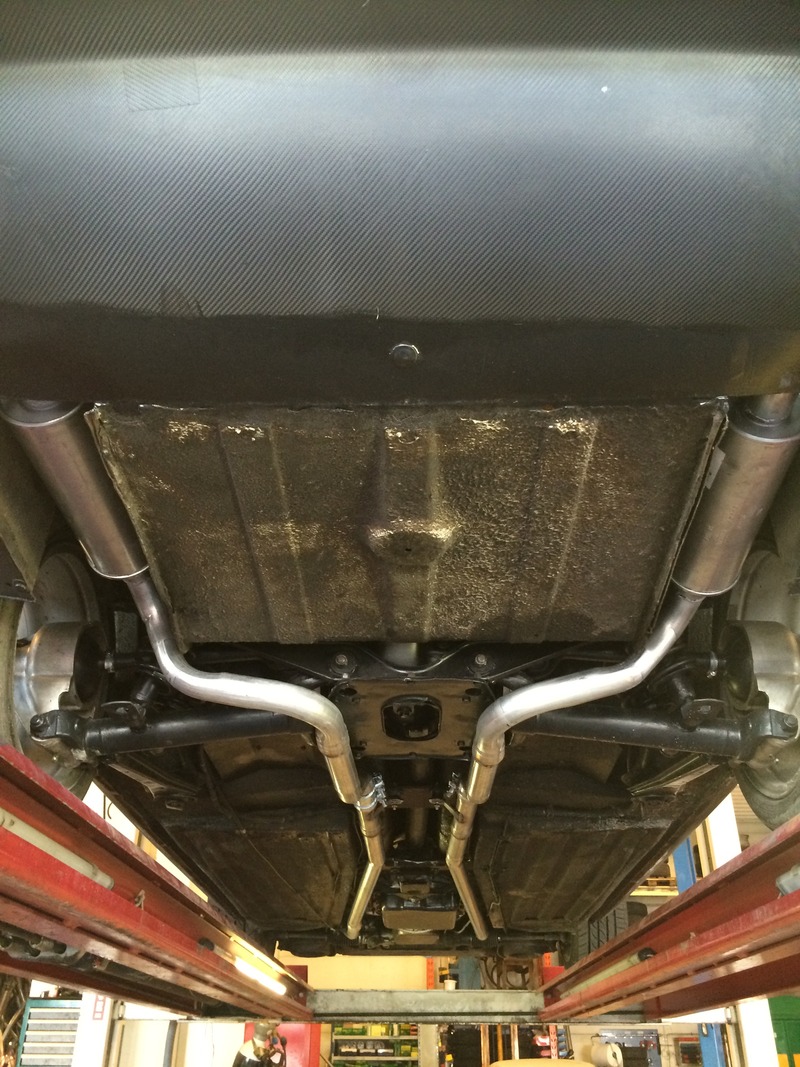
Finally I could back the car out and enjoy it! Wrong! The exhaust made a terrible racket, and it was leaking all over the place as well. I bit the bullet and had a new exhaust fitted. Routed under the IRS. Thanks Roger Mabry for putting that idea in my head! 😊
My son loves the car! He doesn't want to get out!

That wraps up this project, I hope this thread has been helpful to some.
Cheers!
Tor

New brake pipe installed.

It took me about two hours to put it back in the second time.
Finally I could back the car out and enjoy it! Wrong! The exhaust made a terrible racket, and it was leaking all over the place as well. I bit the bullet and had a new exhaust fitted. Routed under the IRS. Thanks Roger Mabry for putting that idea in my head! 😊

My son loves the car! He doesn't want to get out!

That wraps up this project, I hope this thread has been helpful to some.
Cheers!
Tor
The following users liked this post:
LnrB (04-11-2015)
#48
04-11-2015, 08:40 AM
Veteran Member
Join Date: Mar 2014
Location: Tehama County, California, USA
Posts: 25,445
Received 9,208 Likes
on
5,386 Posts
#49
04-11-2015, 09:02 AM
Veteran Member
I am currently replacing that rear valance with a new copy from SNG Barratt so I can exit the exhaust under the IRS in my '71 car instead of just
underneath. PO had the original holes filled up and welded shut! It looks too odd for a Jaguar that way... will use the curved exhaust tips.
I plan to use ball clamps instead of flanges for easy removal for servicing the IRS should that be needed again (mine is already done).
It is a shame that all our hard work and paint is not shown while driving down the road!
#50
04-16-2015, 11:47 PM
#51
04-17-2015, 05:26 AM
#53
04-18-2015, 02:21 PM
The following users liked this post:
Oceansidesurf (06-17-2016)

Thread
Thread Starter
Forum
Replies
Last Post
Currently Active Users Viewing This Thread: 5 (0 members and 5 guests)